 Rob Vincent
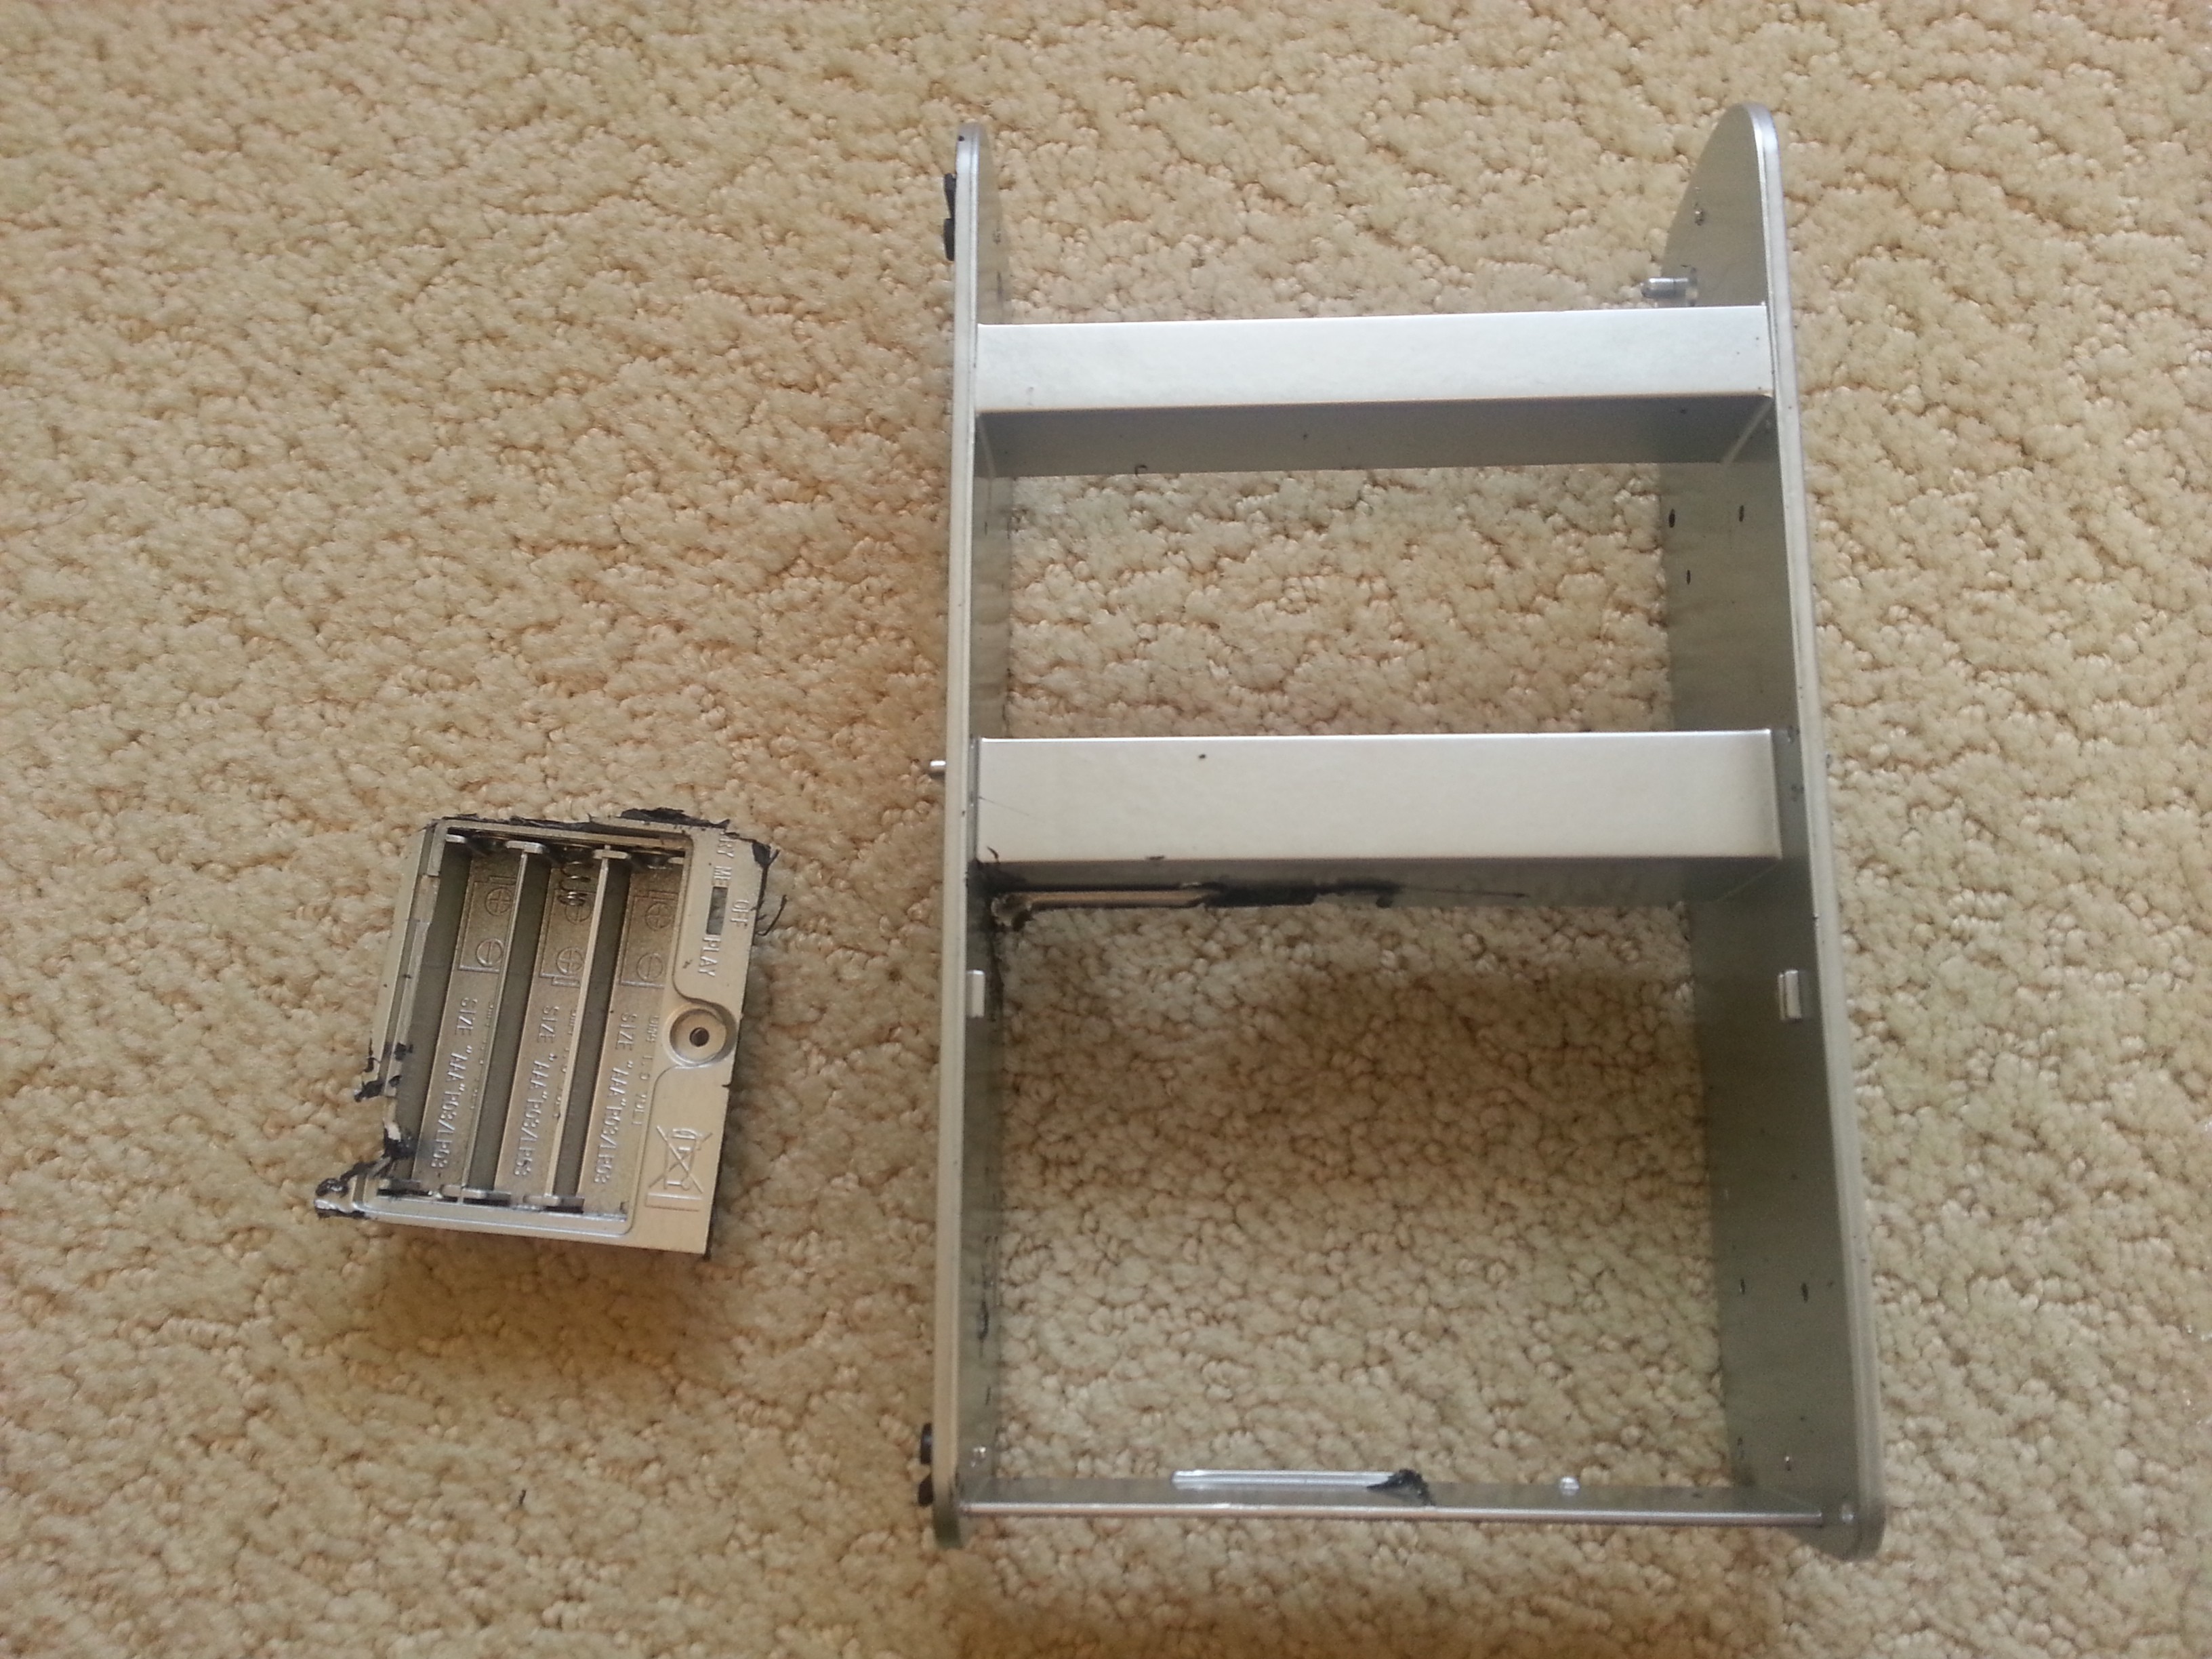
Now that we've disassembled the toy tricorder, and my Adafruit order has arrived, we're going to have to do some modding to what's left of the tricorder to fit the hardware we want to cram into it.
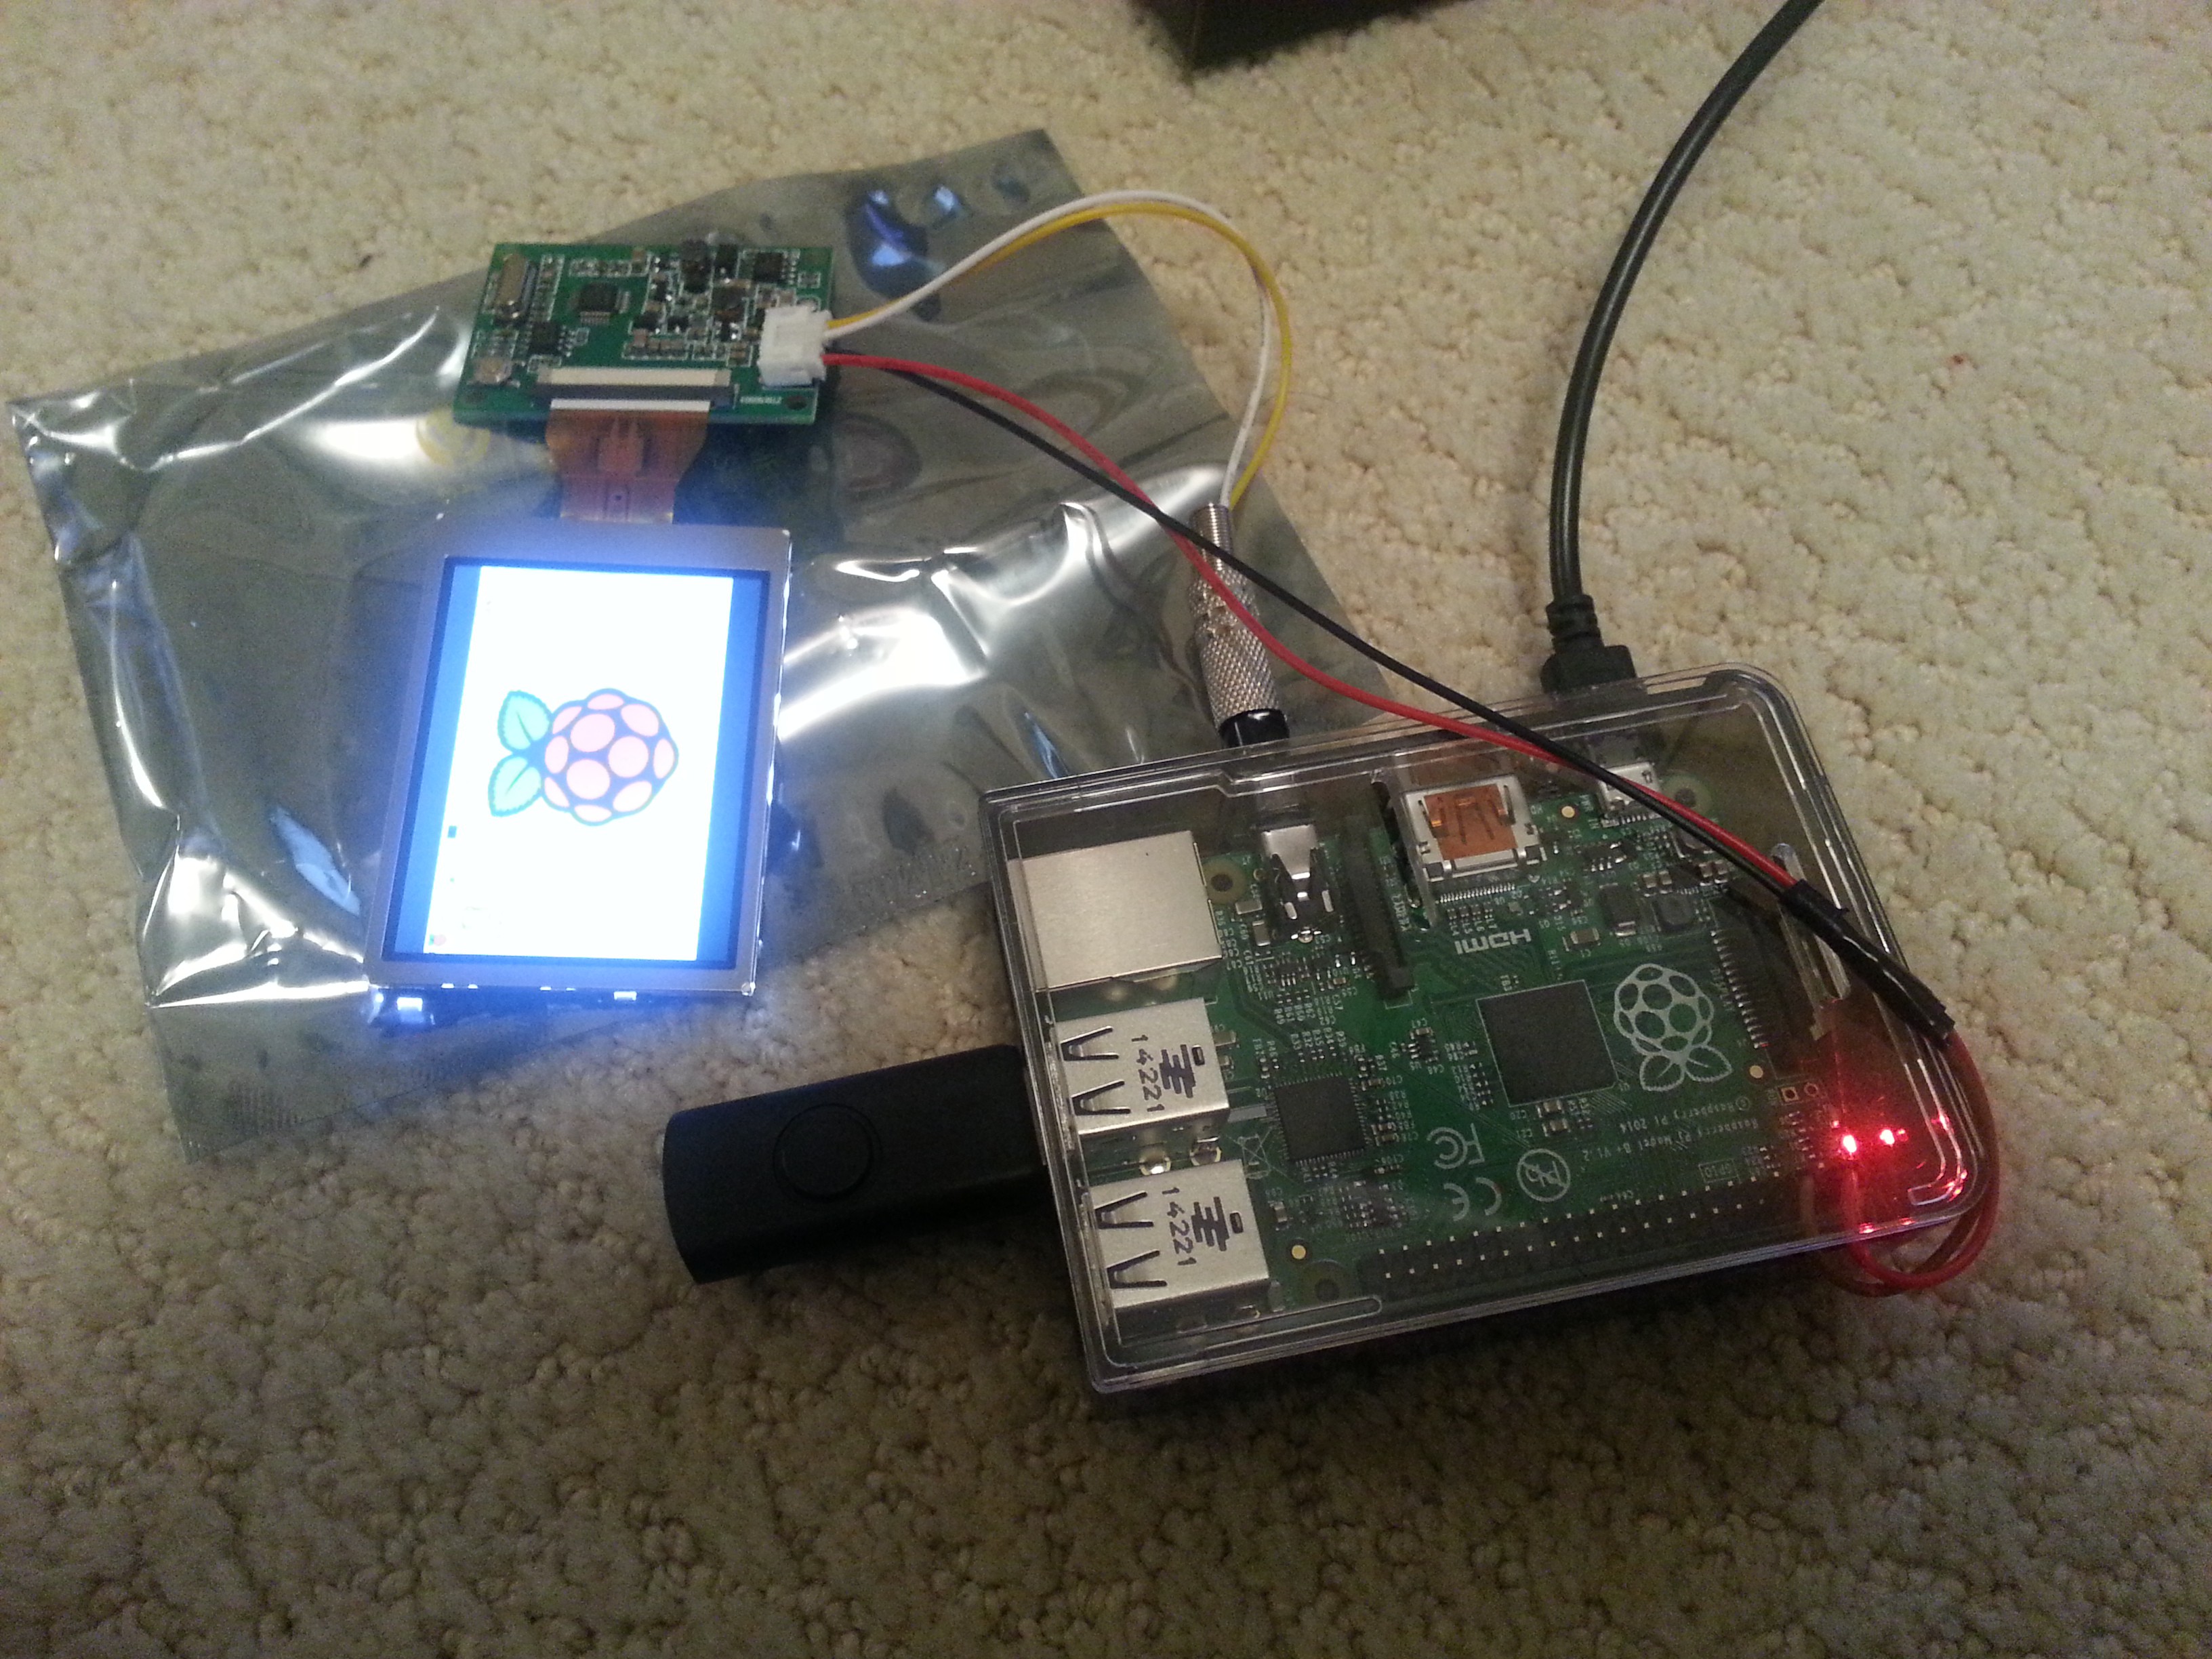
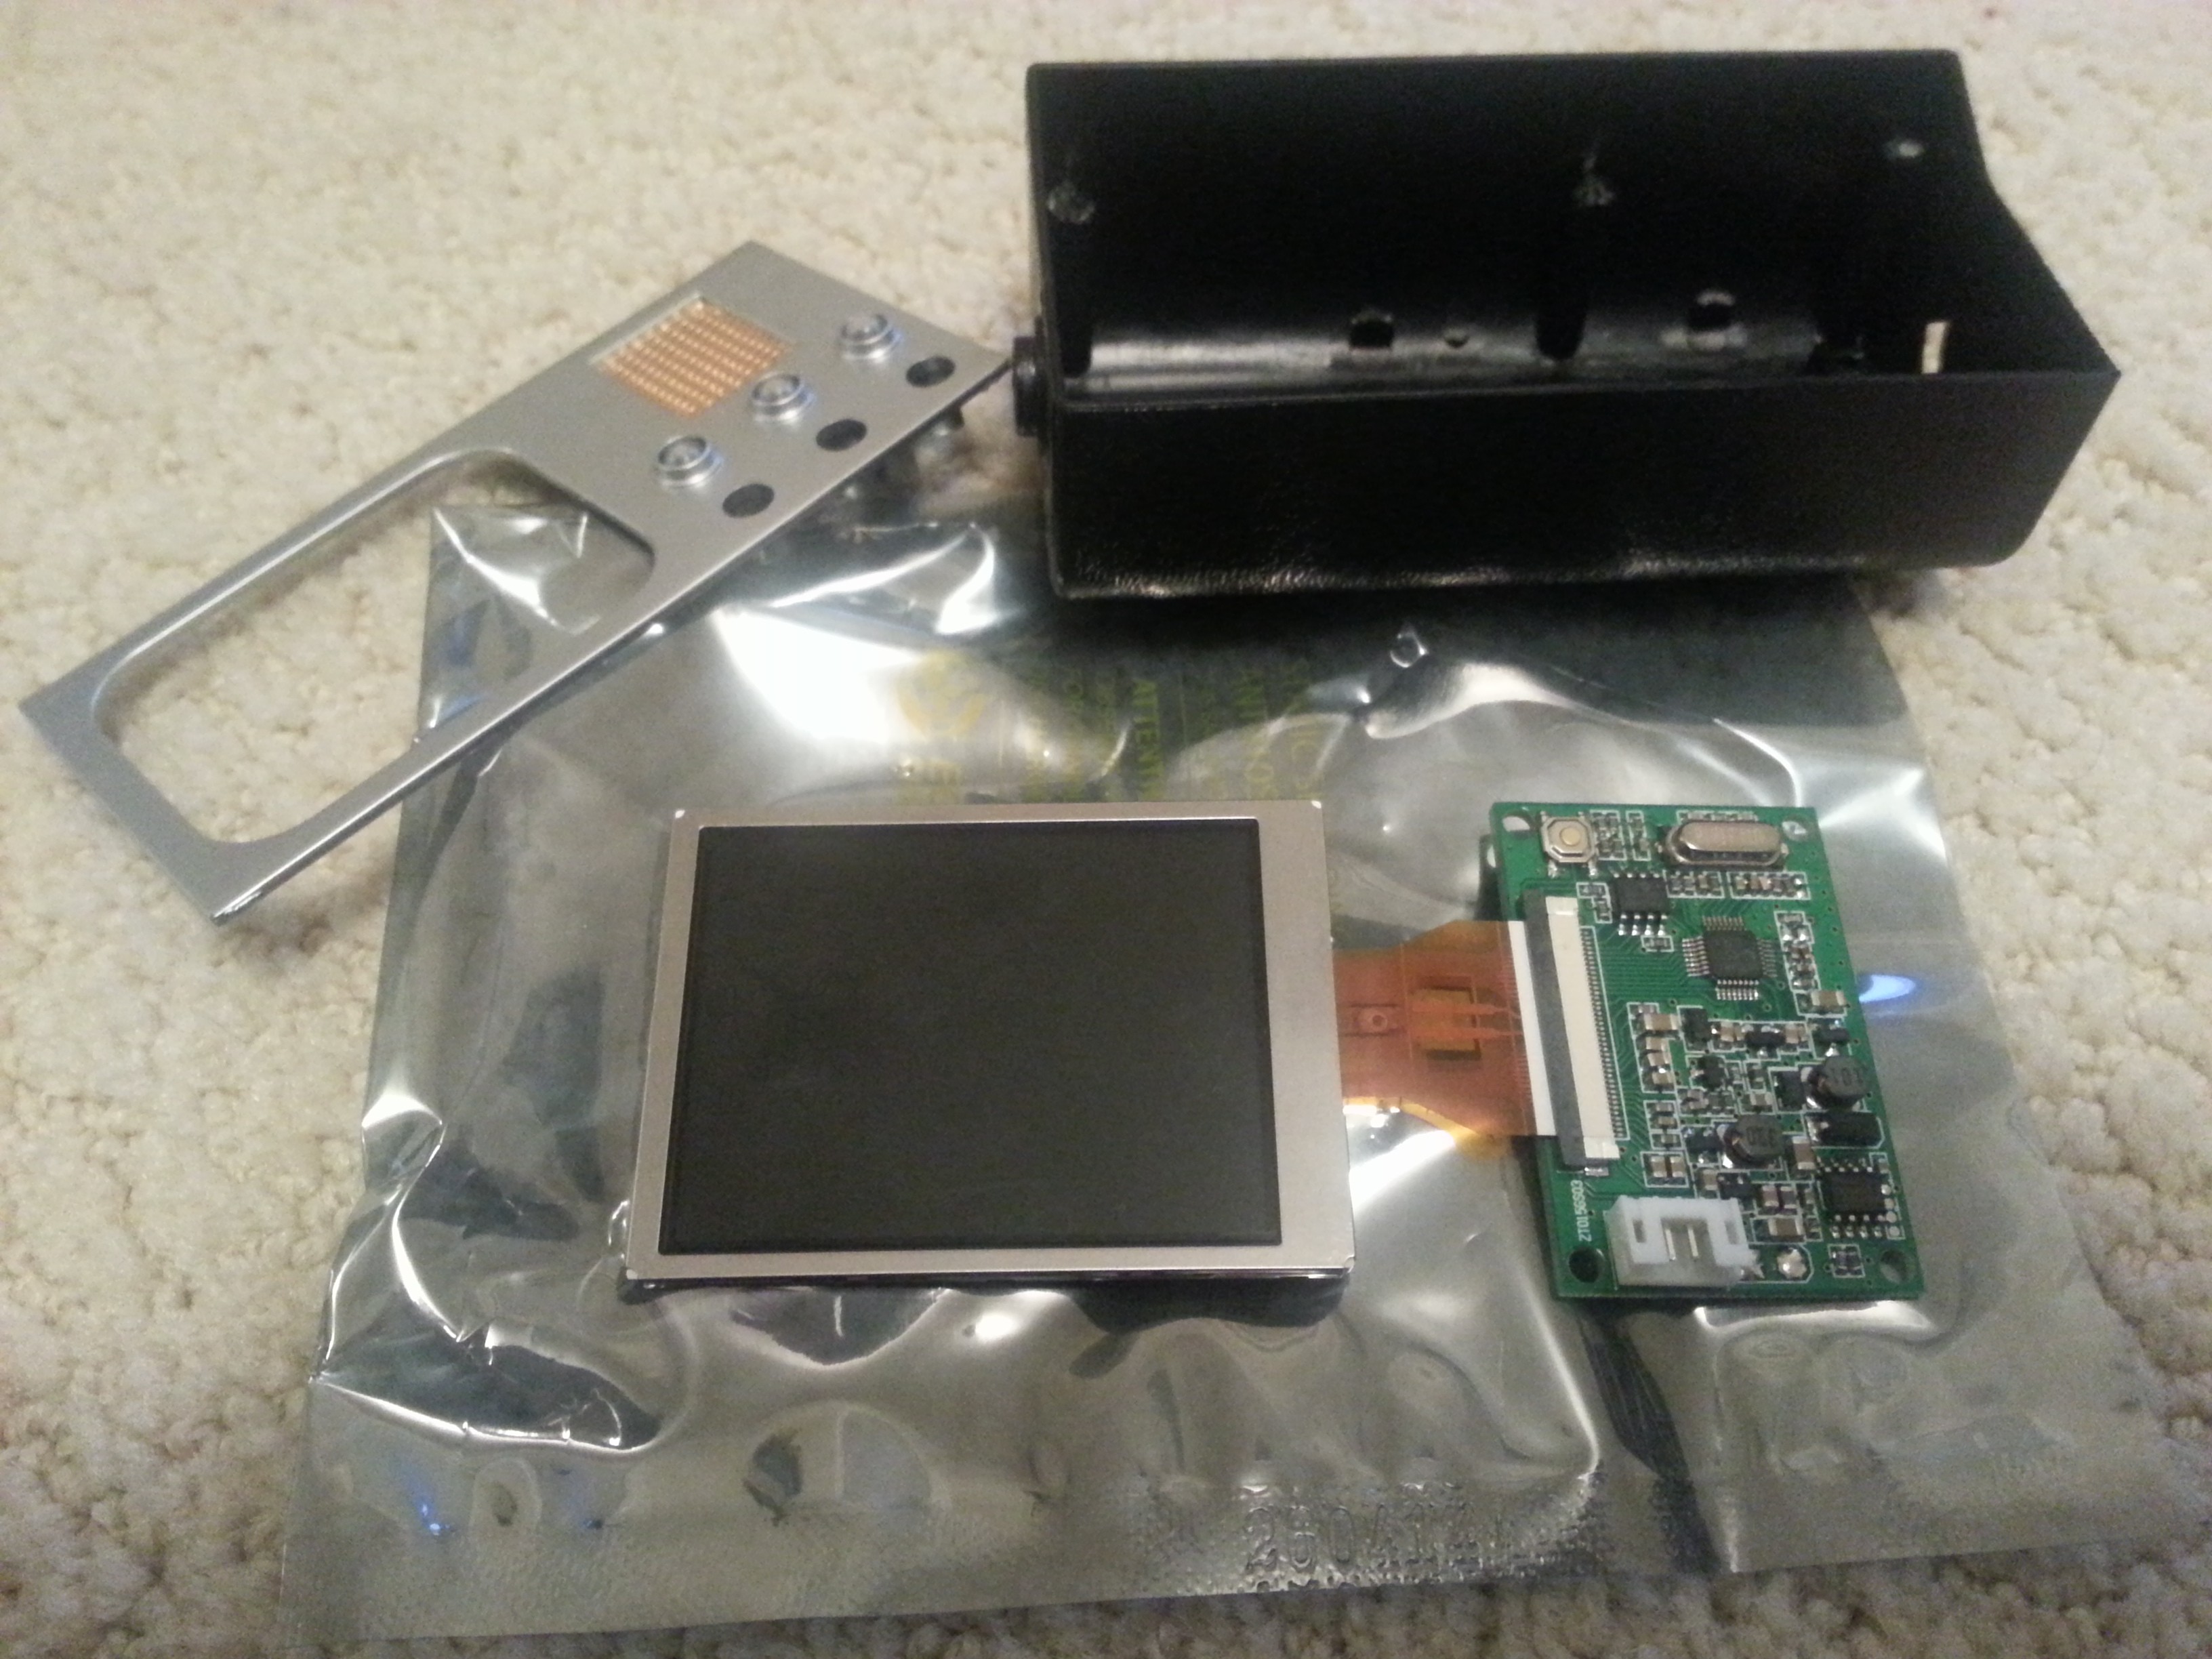
Let's take a closer look at said hardware.
- Raspberry Pi Model B+ - I chose the B+ over the more powerful Pi 2. I don't think I'm going to be pushing this gadget to do multi-core-level work, but we still get the extra GPIO pins and improved power-efficiency. While my primary goal is just to get a Pi running in the tricorder shell, I think if we do end up adding sensors to this, we'll need all the pins and battery power we can get.
- 2.5" diagonal TFT television - The find that put me over the edge toward finally starting this project, after having it in the back of my mind for a long time, was this screen which happens to be just about the same size as the simulated screen in the toy. I knew it'd be a distinct possibility of fitting this perfectly in place of the toy's screen. Plus, though this is specced at a 6V minimum, it seems to do just fine connected to the Pi's 5V pin.
- Misc - I have a cellphone recharger I'll be using as a battery, and a wireless handheld keyboard/mouse combo.
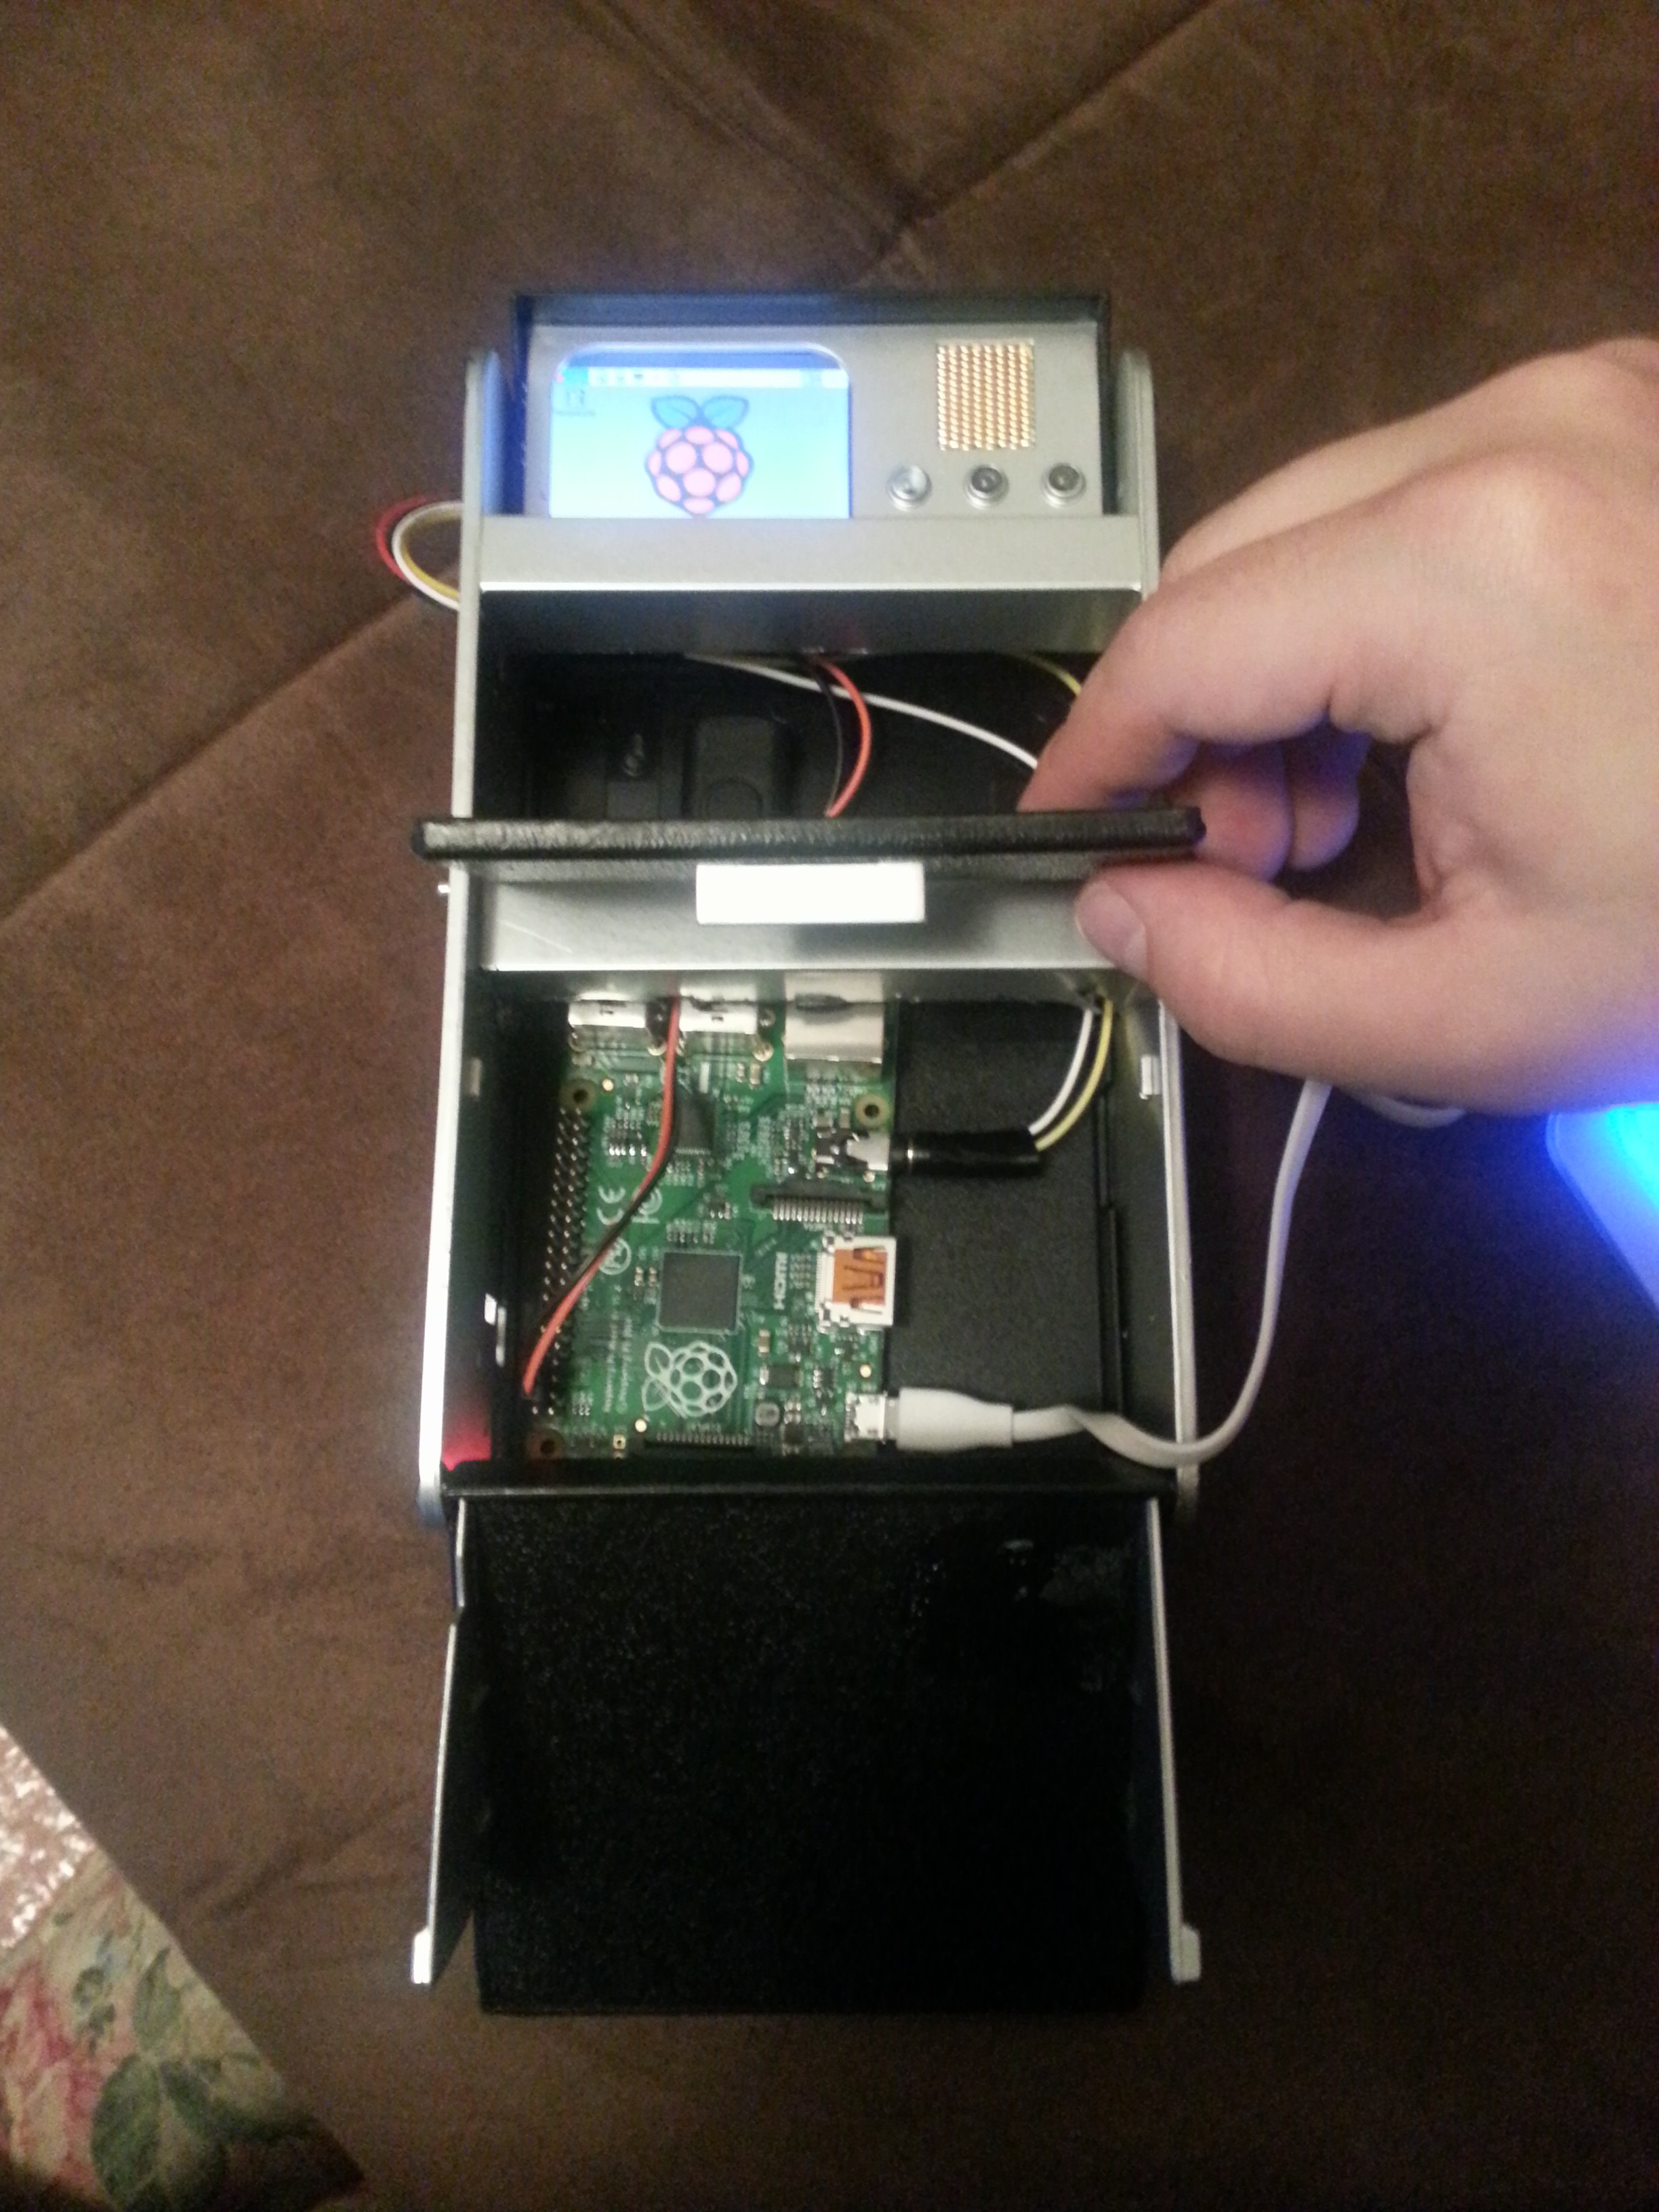
Here's the hardware connected up and running. The USB dongle you see is the receiver for the keyboard.
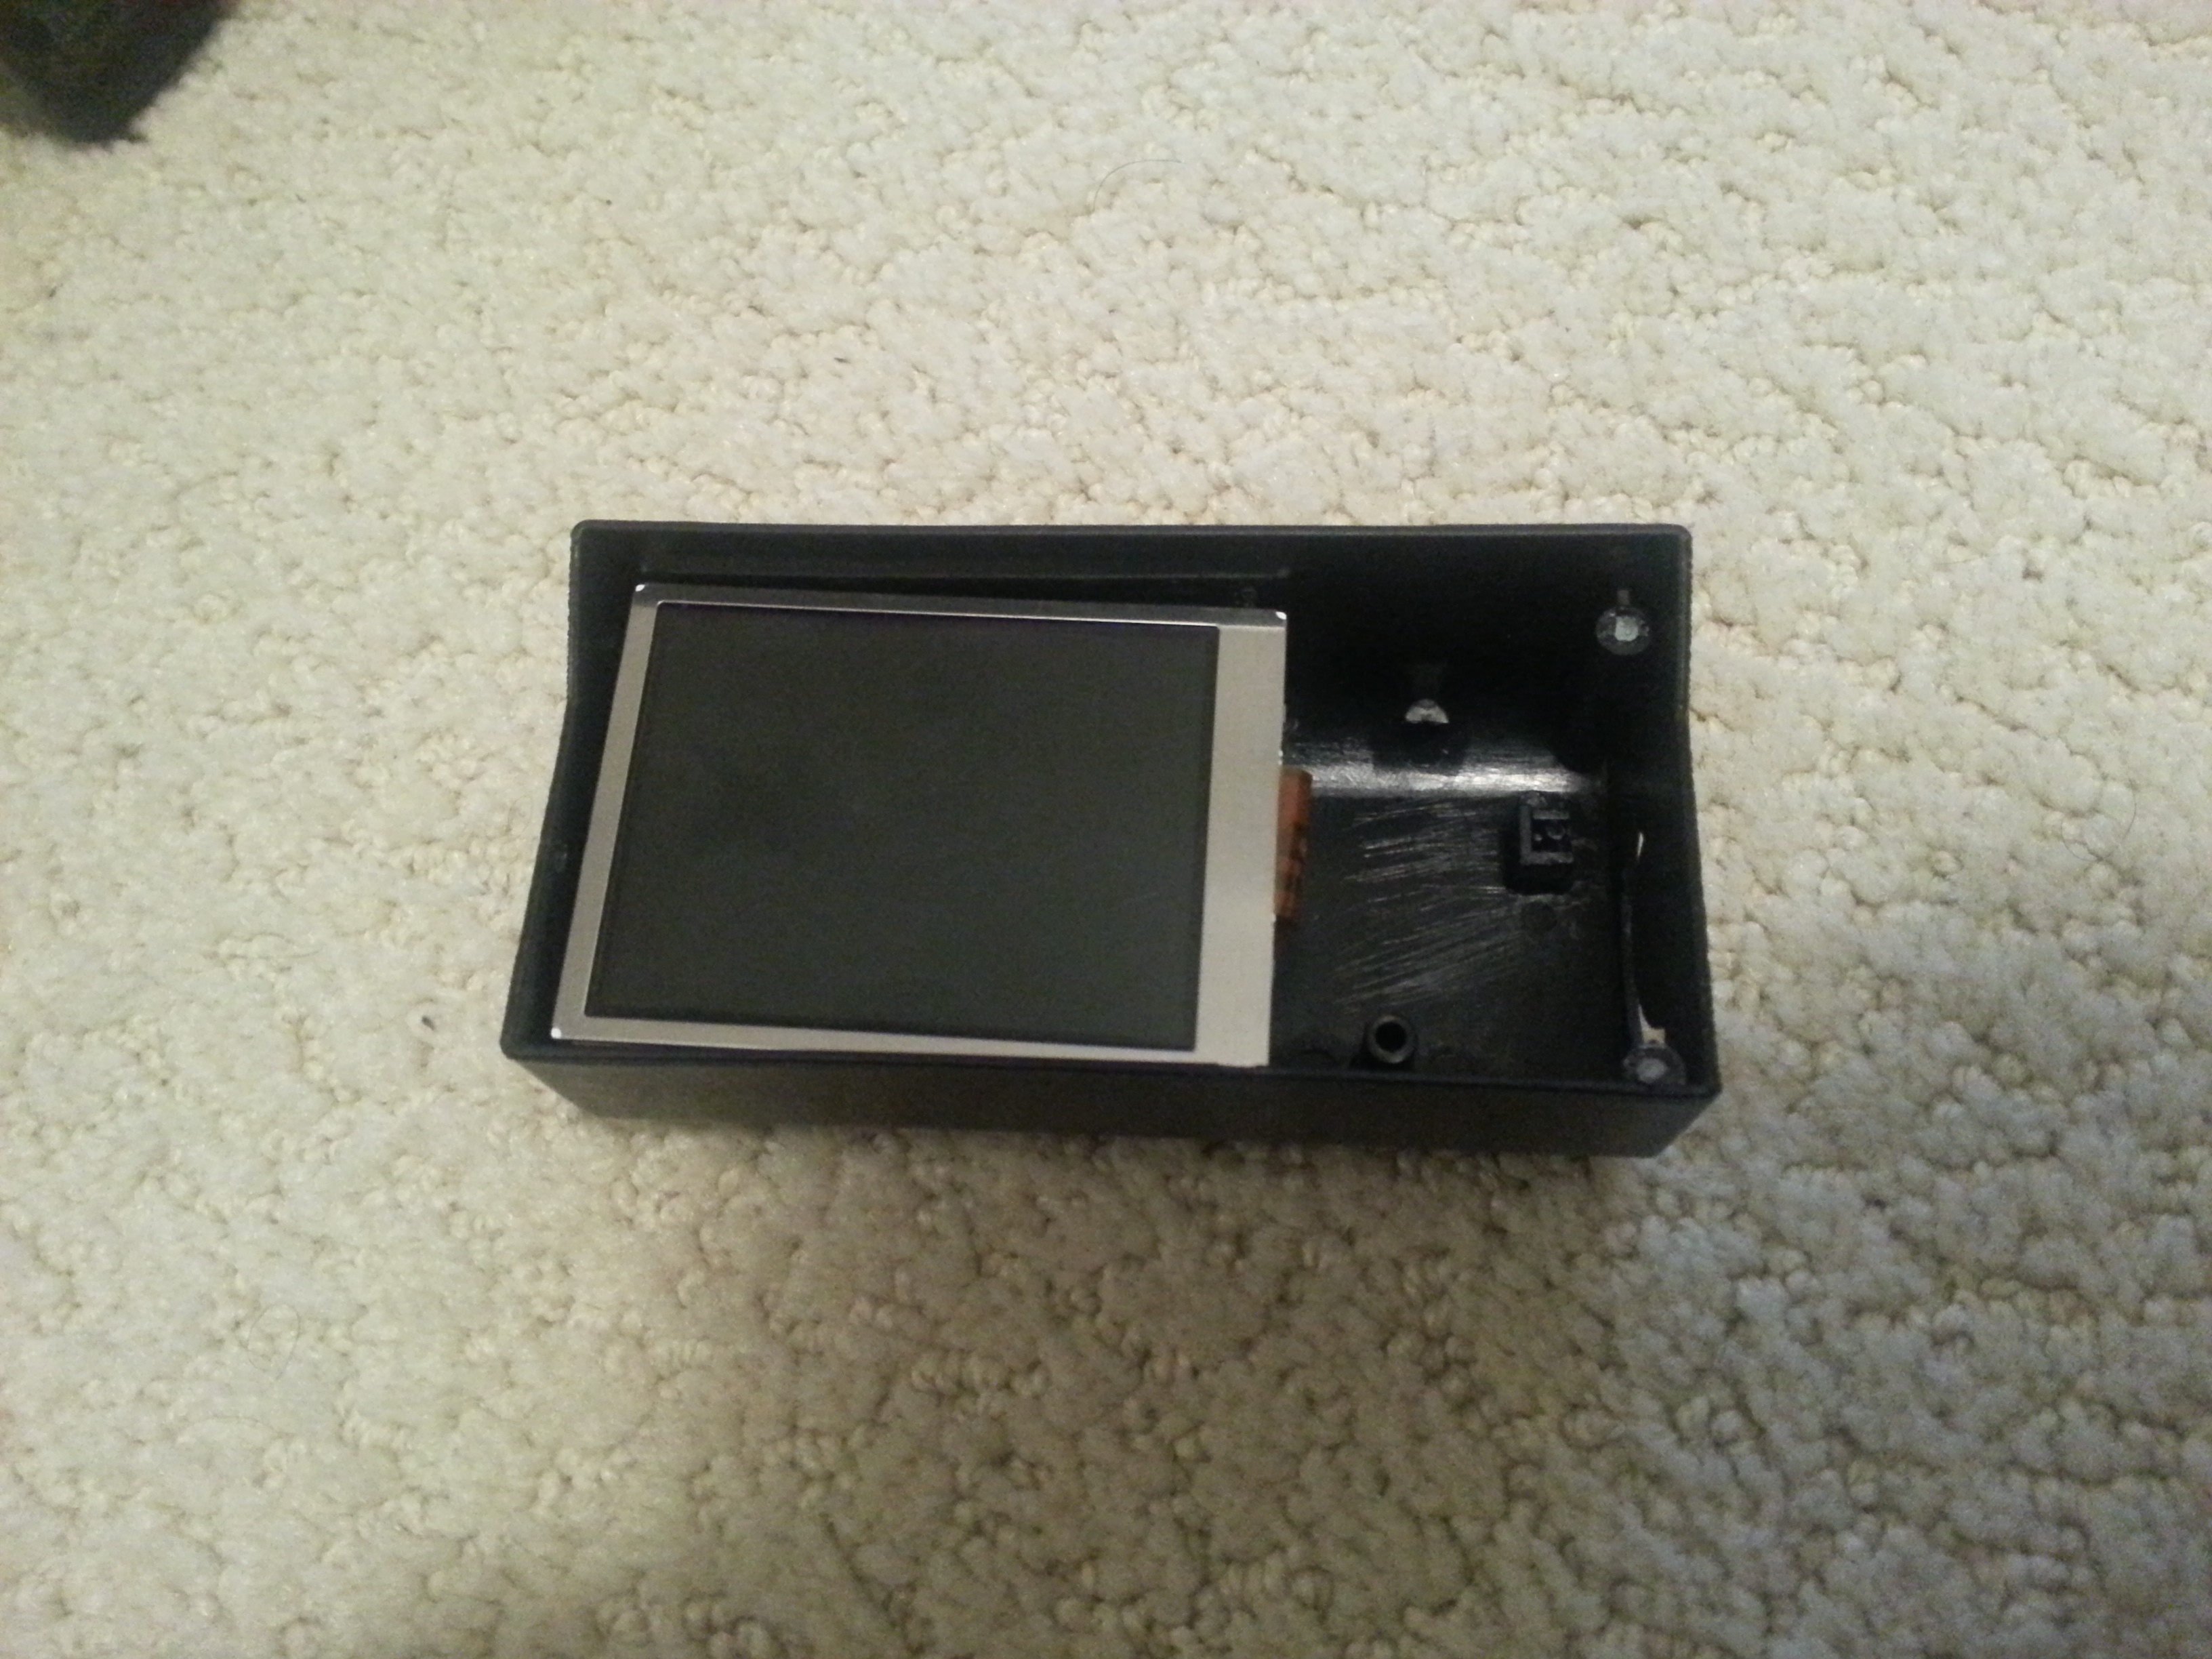
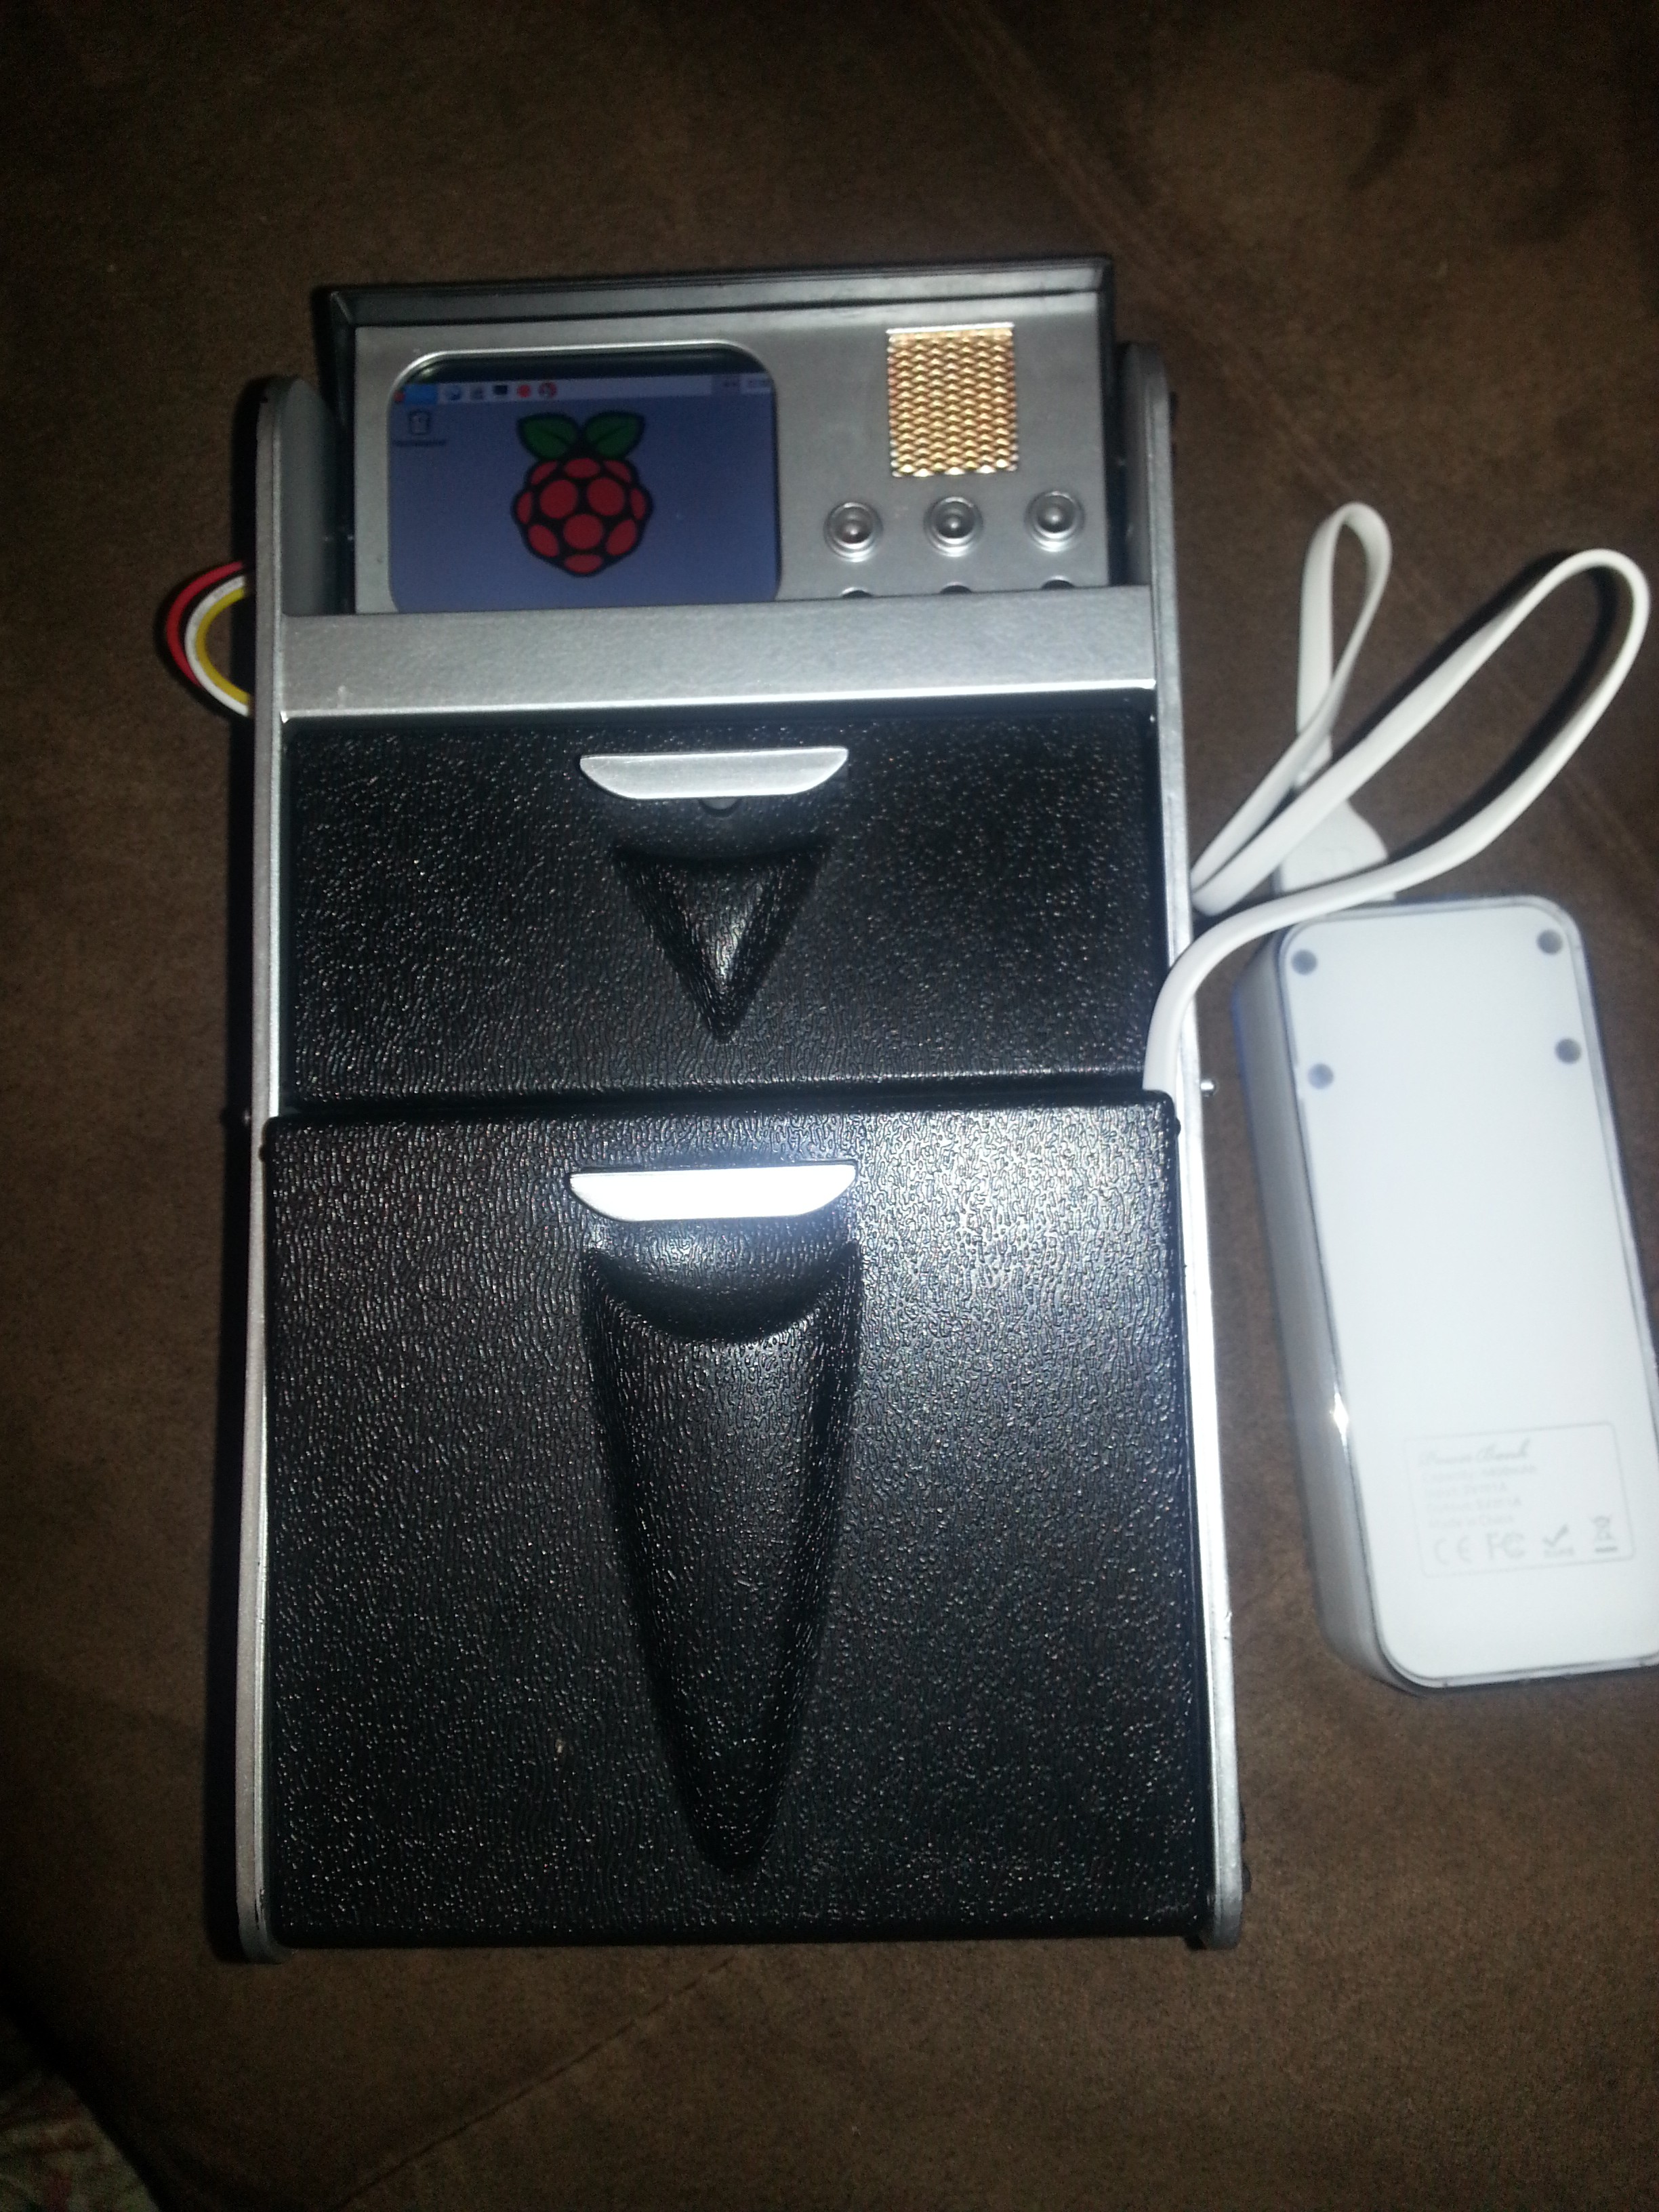
 After cutting out some of the plastic pins and supports from inside the head unit, the TFT and its controller board fit beautifully. Our tricorder has a screen!
To fit the Pi into the tricorder body, we have to do a little more plastic surgery.
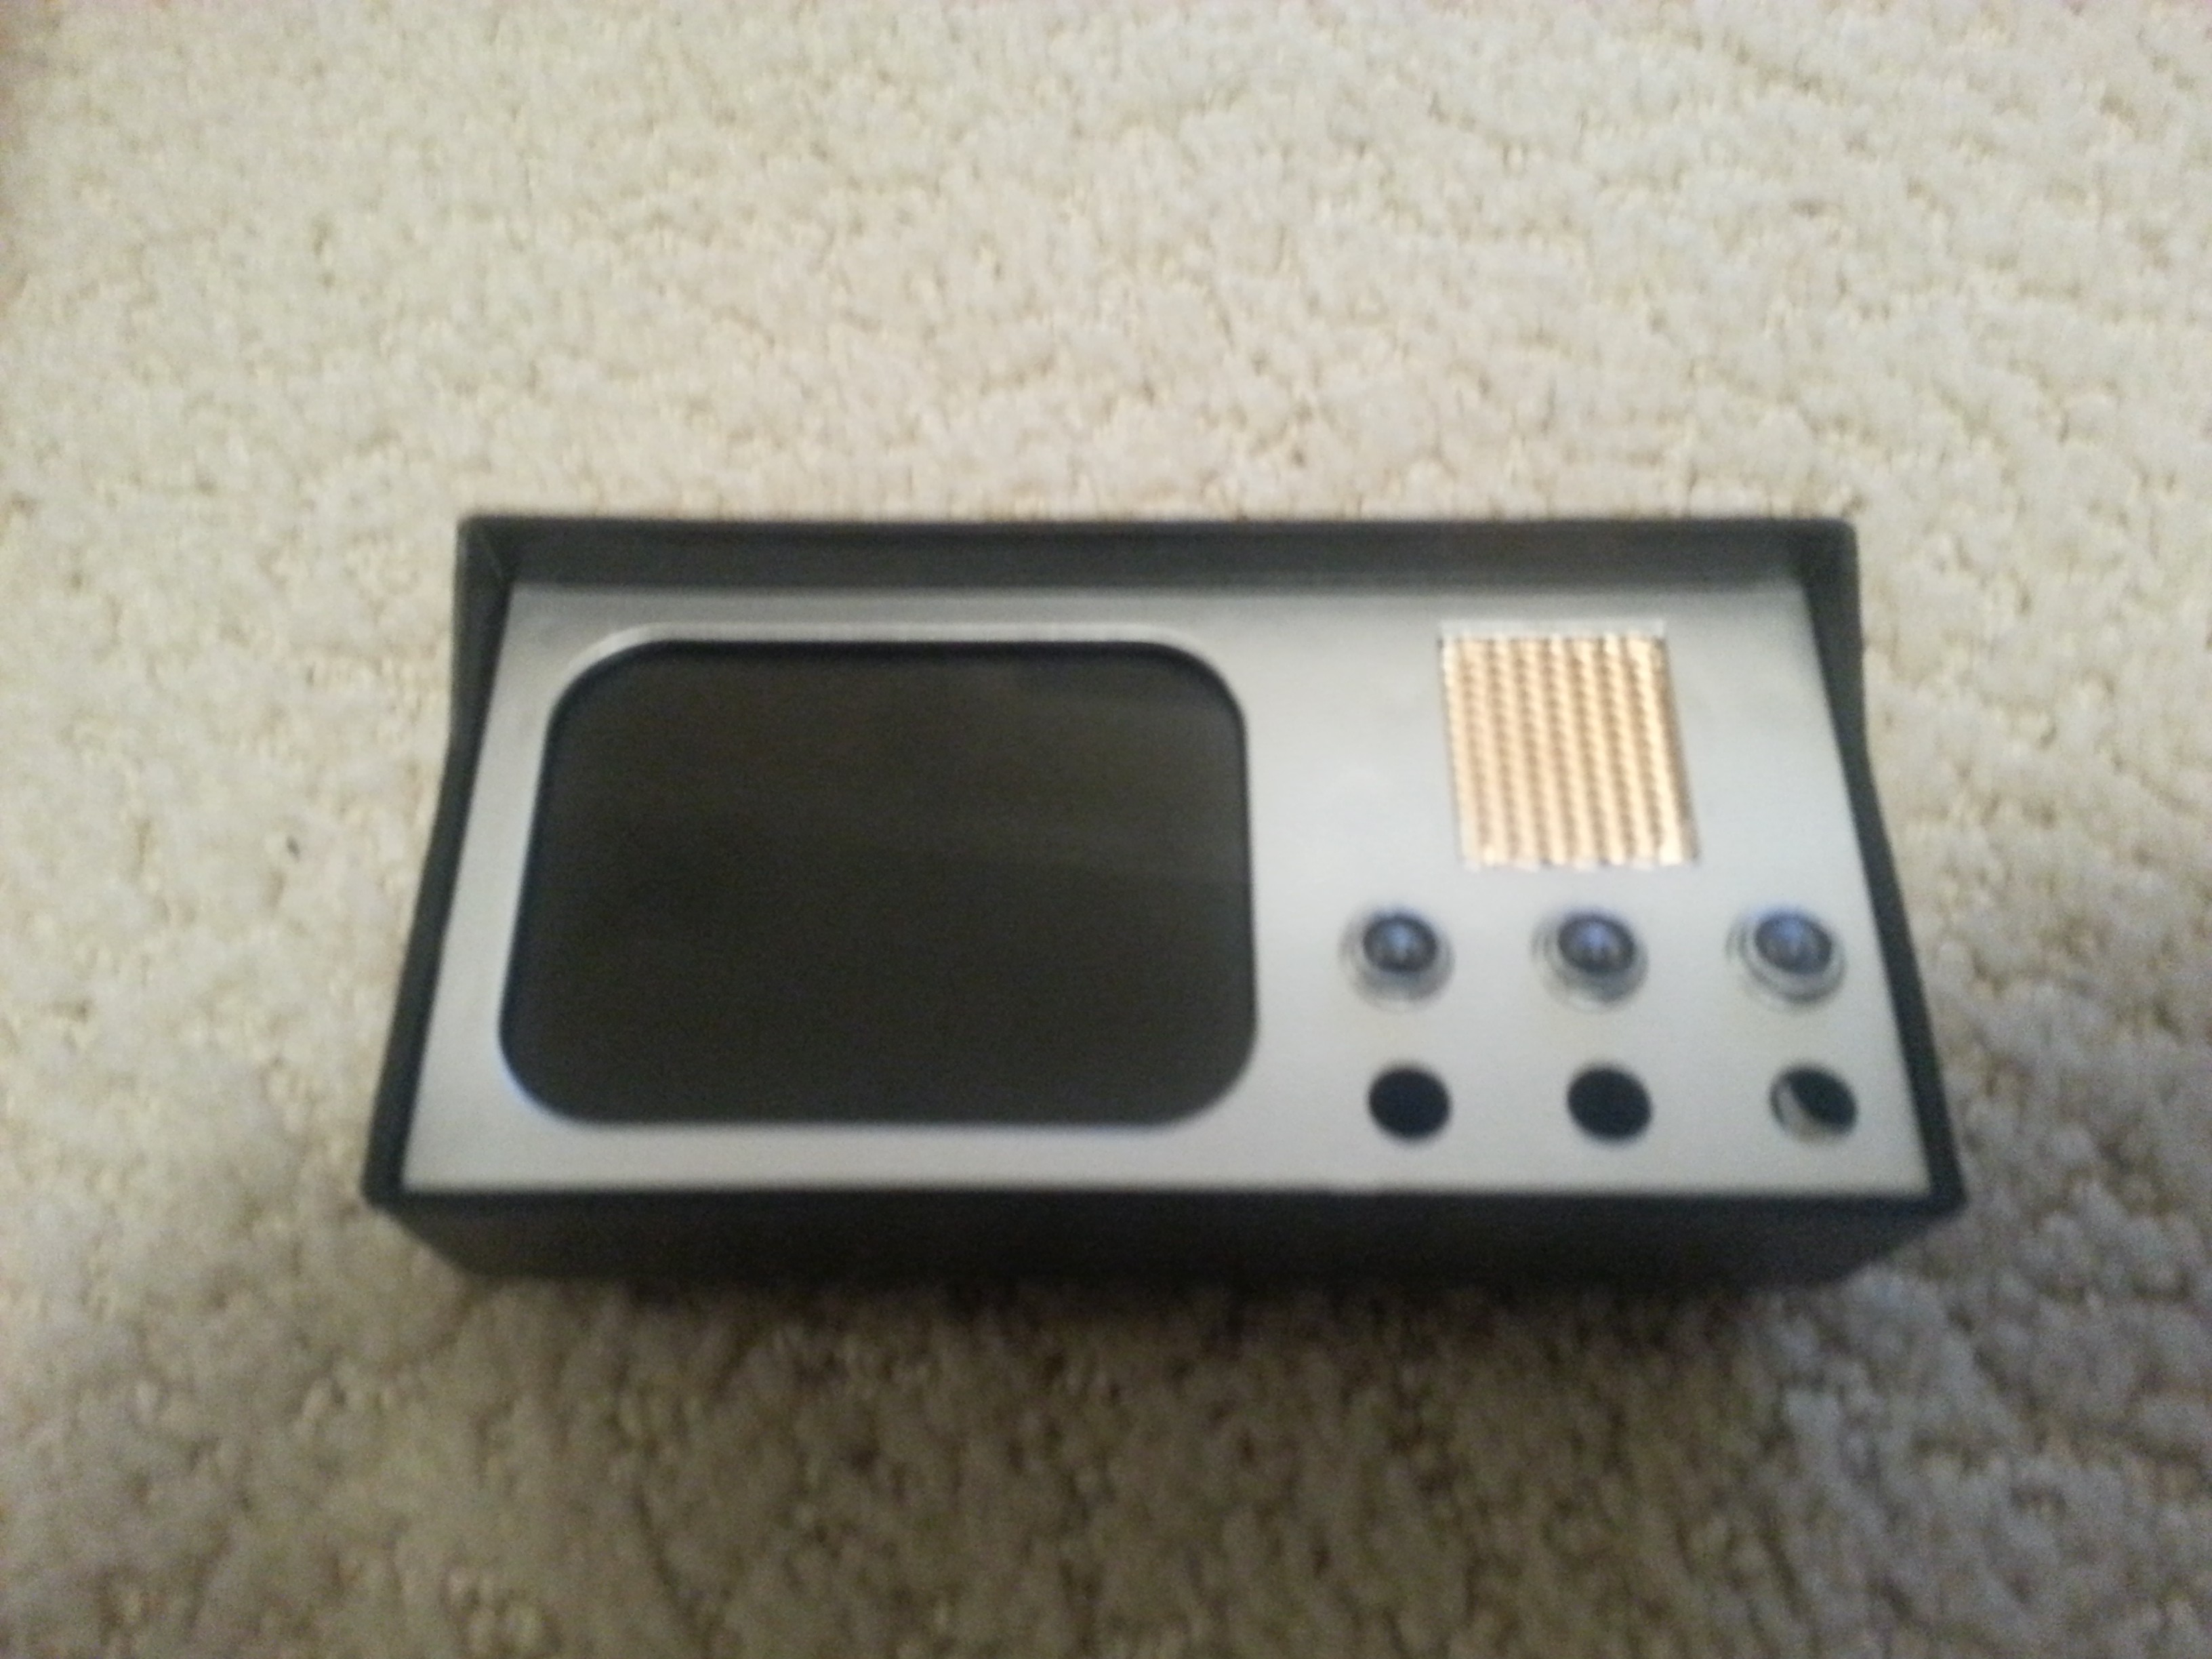
Looking nice!
Discussions
Become a Hackaday.io Member
Create an account to leave a comment. Already have an account? Log In.
Looks like a perfect fit, especially the display!
Are you sure? yes | no
It is! Though I haven't yet photographed it, I've even managed to get the curved CRT-style clear lens from the original screen to fit over the TFT, and it looks even better. I can hardly wait to show this thing off.
Are you sure? yes | no
that feeling must have been great :3
Are you sure? yes | no