 Dave Pedu
The bottom most layer of the Pi Rack mounts an ethernet switch and some simple connections to bring power up to the Pis.
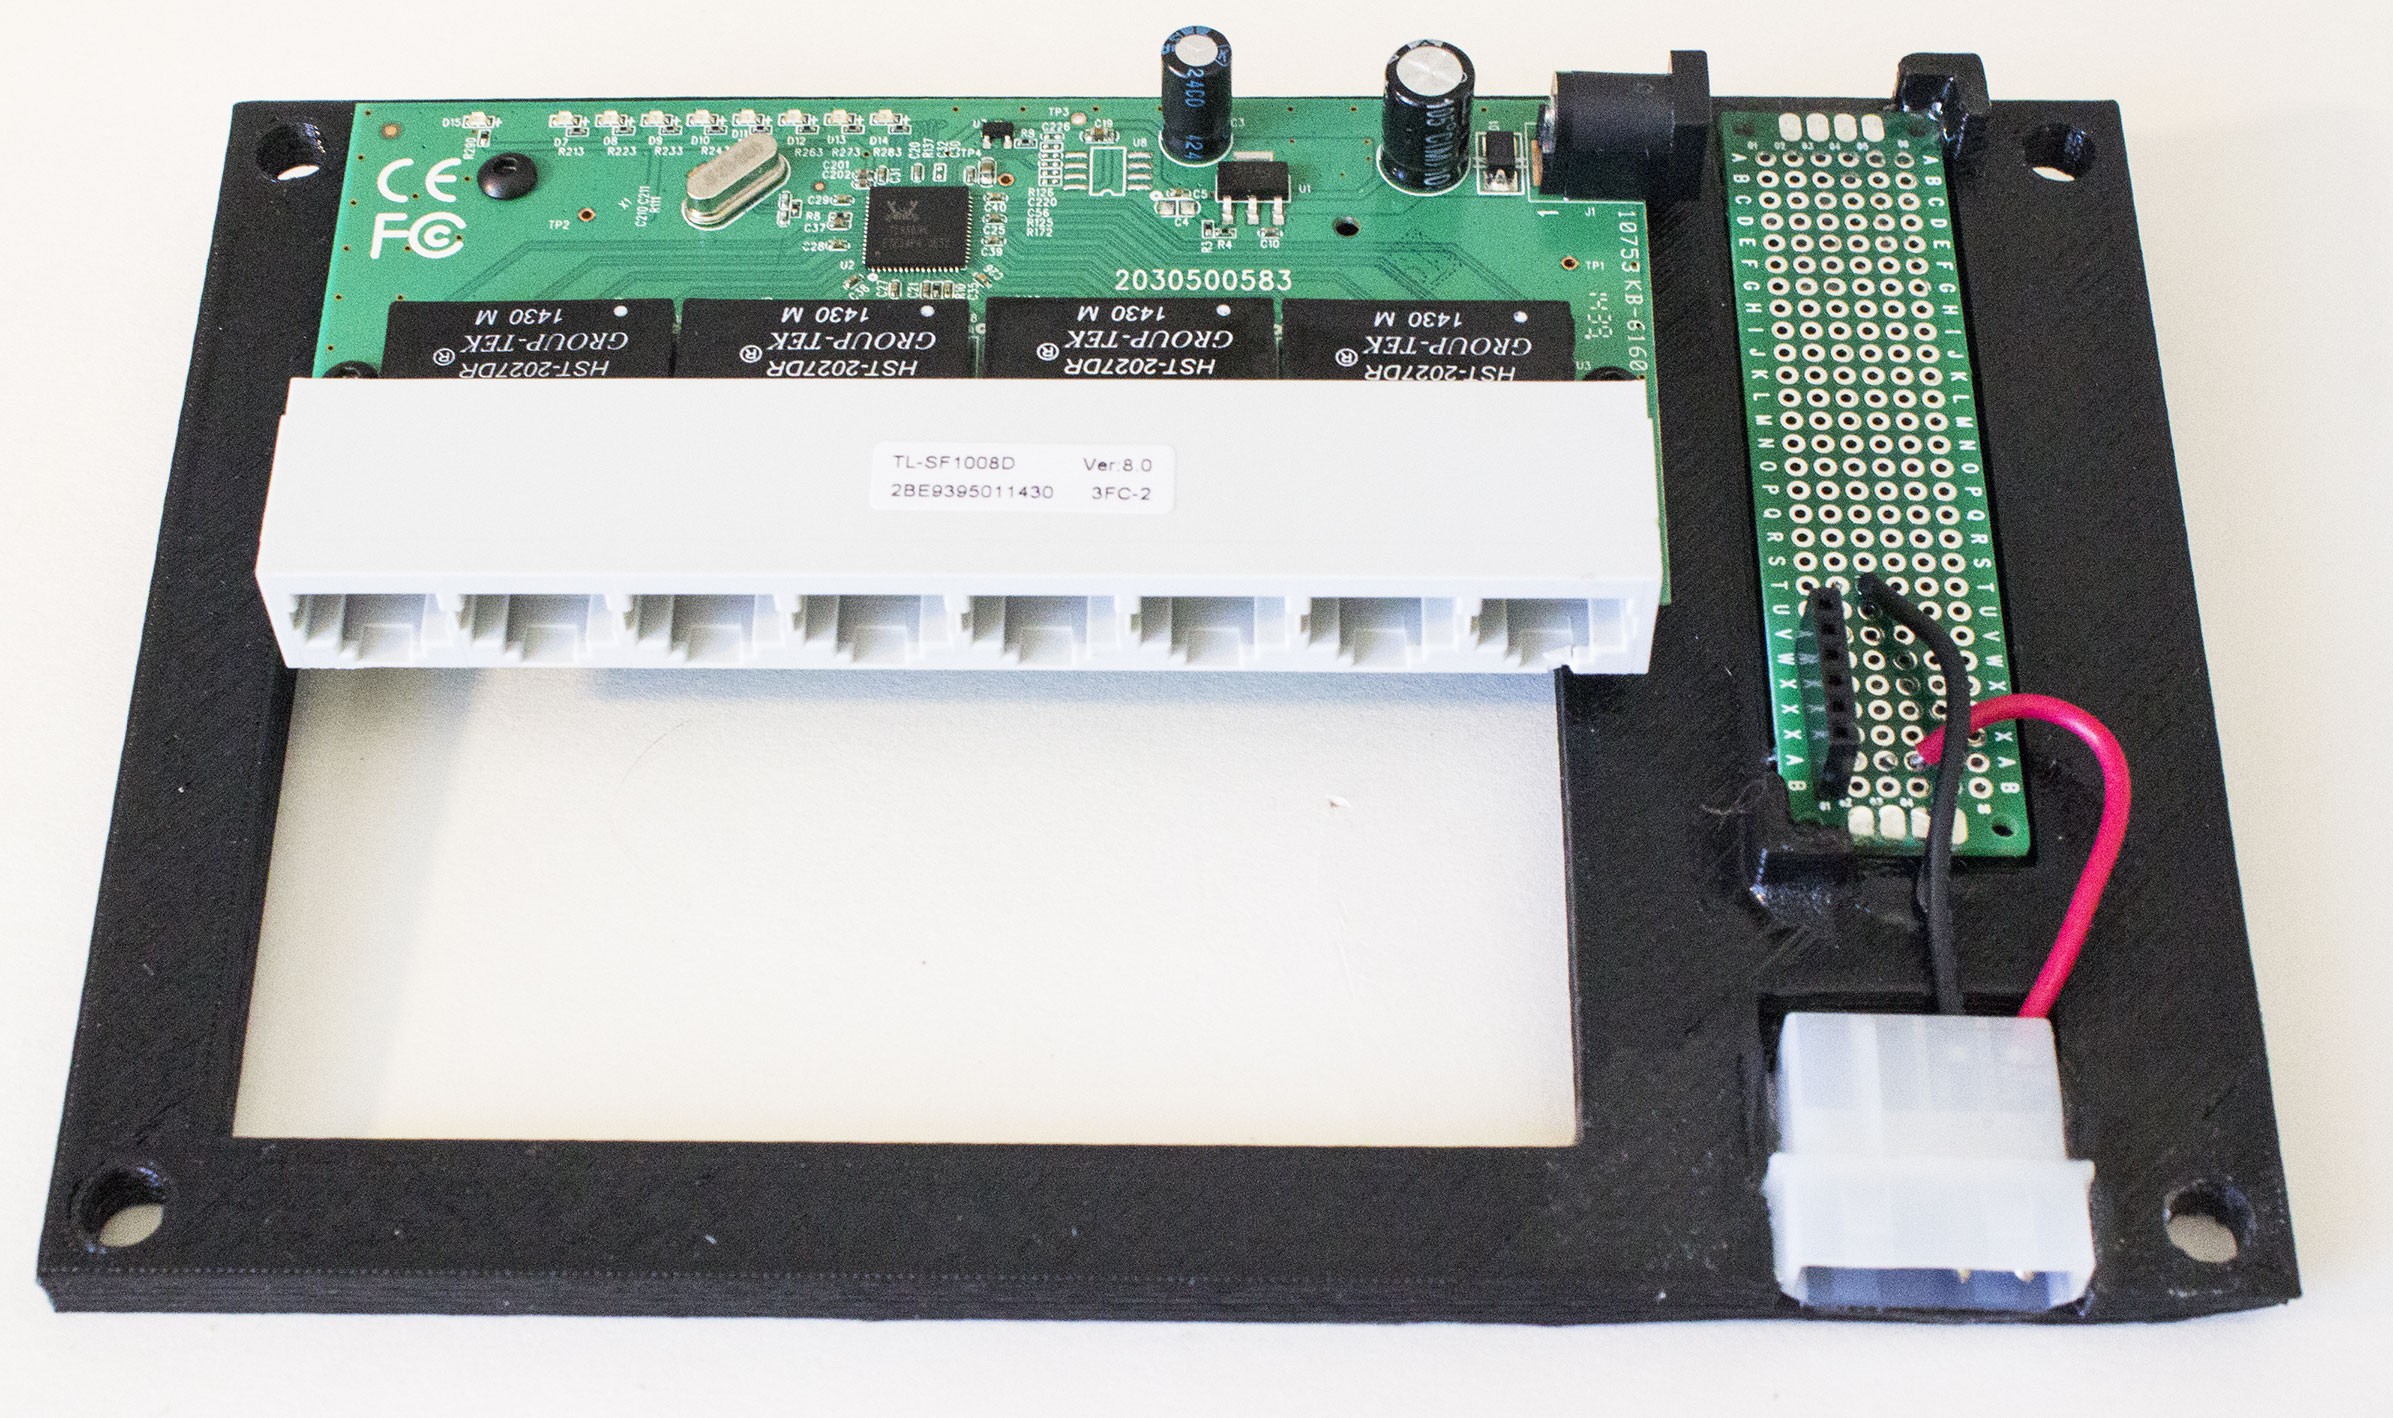
Wanting to keep things simple, I decided to use an ATX power supply for now, as they provide a steady 5v power source good enough for computers, so powering a Pi would be no effort. The 3d printed bottom piece has recesses for the molex connector and a piece of prototype board (it's oversized because I wanted space for future additions - maybe a simple fan controller if needed). All that's really here is a SIP socket that power/ground is connected to.
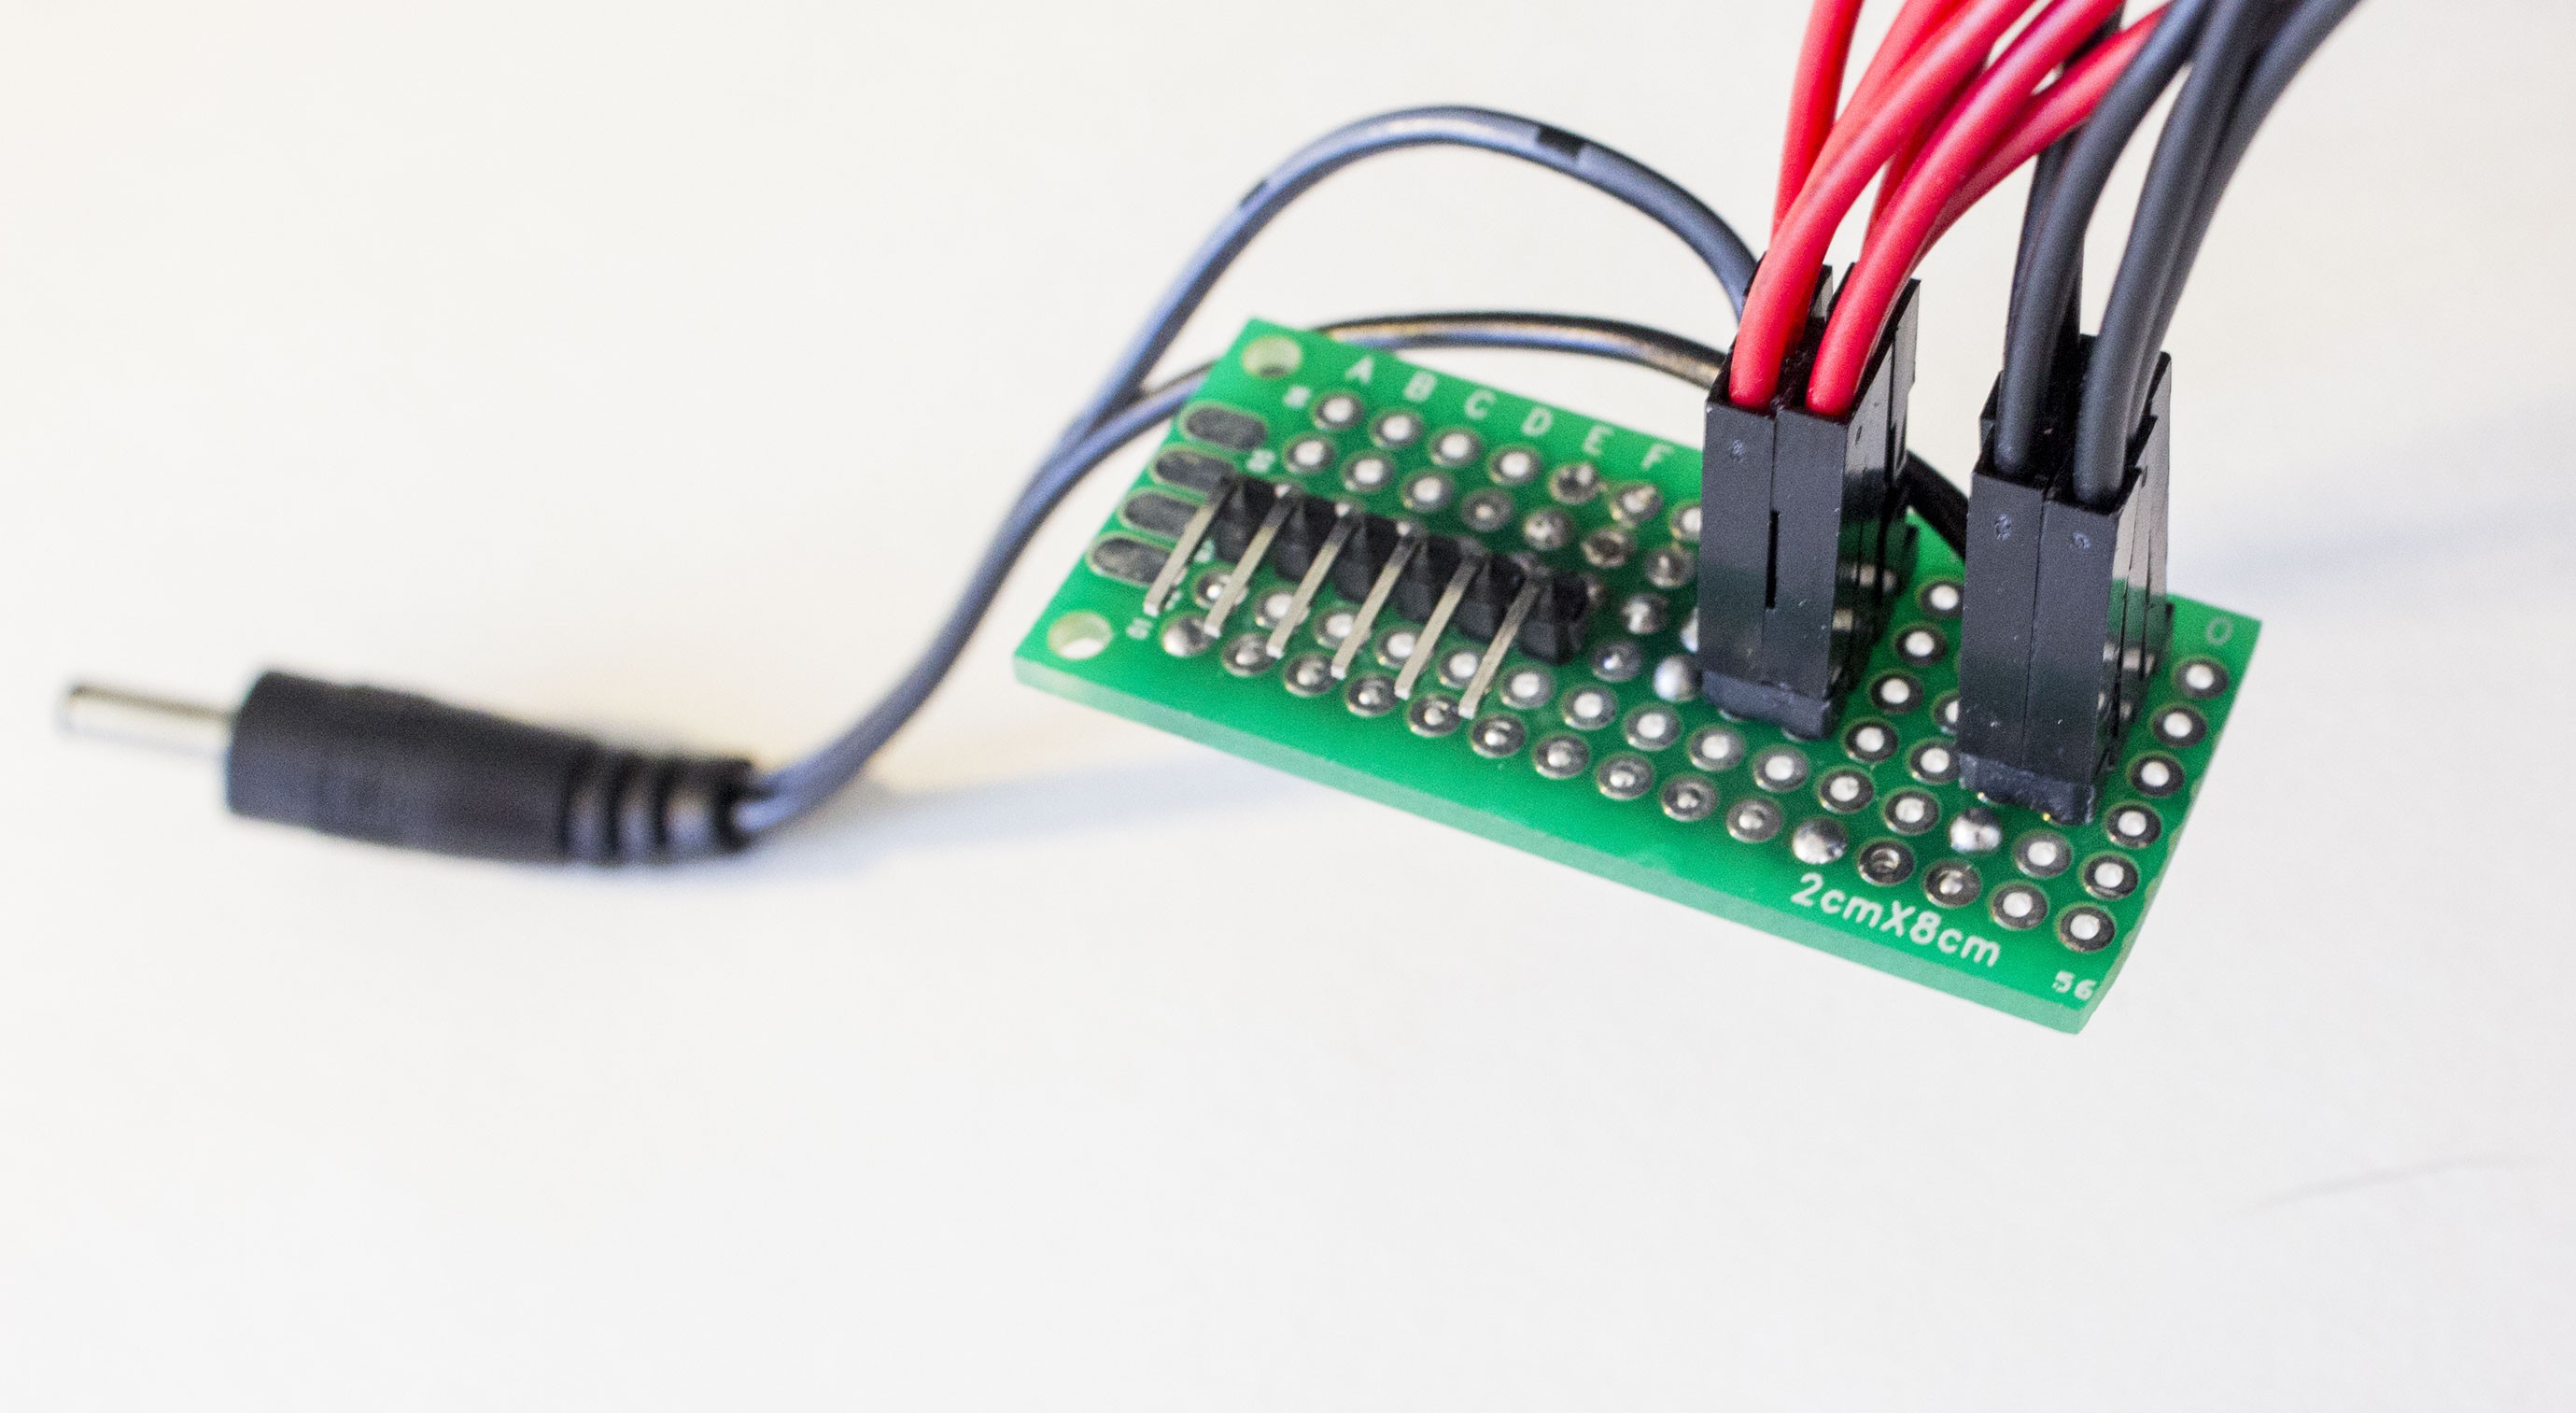 To connect to the power-providing SIP socket, this little right angle breakout board provides a pin for each PI, the jumpers are simply plugged into this. I also cut the switch's original power supply cable and resoldered it here so its powered entirely from one supply.
This connects to the bottom socket something like this:
 What's neat about this is I can experiment with different power sources in a fairly modular way - just need a 6 pick SIP socket.
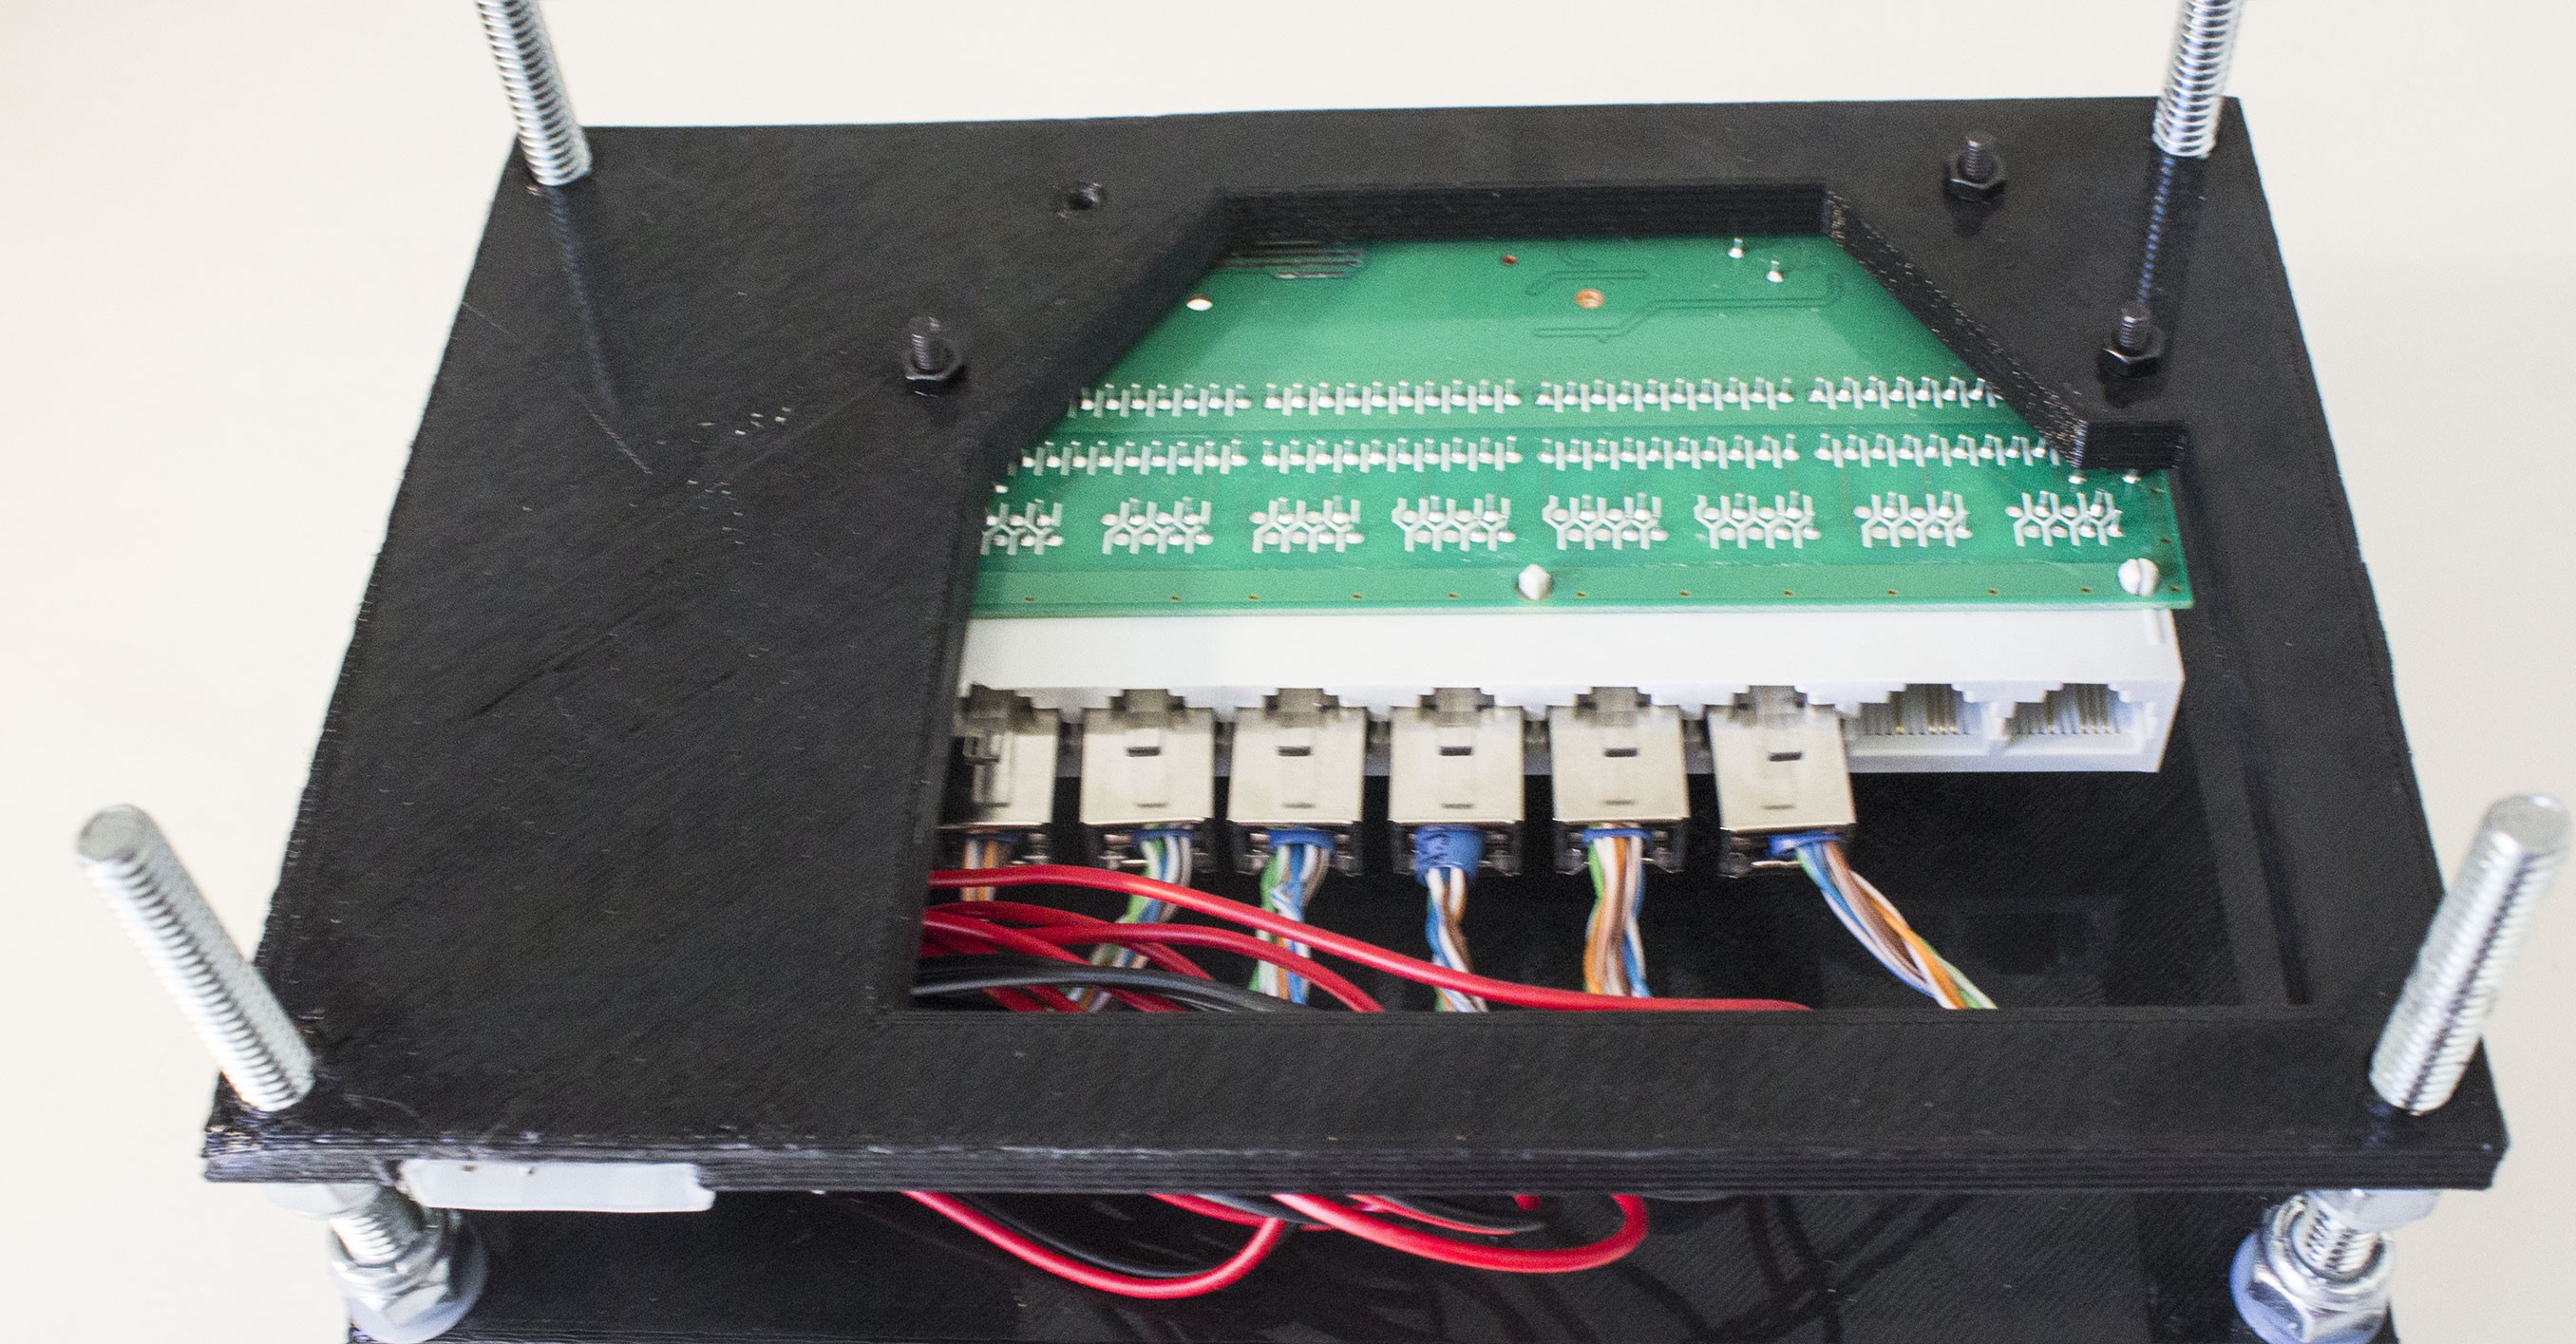
All that's left is to flip the base over and bolt it in place! An opening gives easy access to the ethernet connections, and spare ports for the uplink.
Discussions
Become a Hackaday.io Member
Create an account to leave a comment. Already have an account? Log In.