 Mark Langford
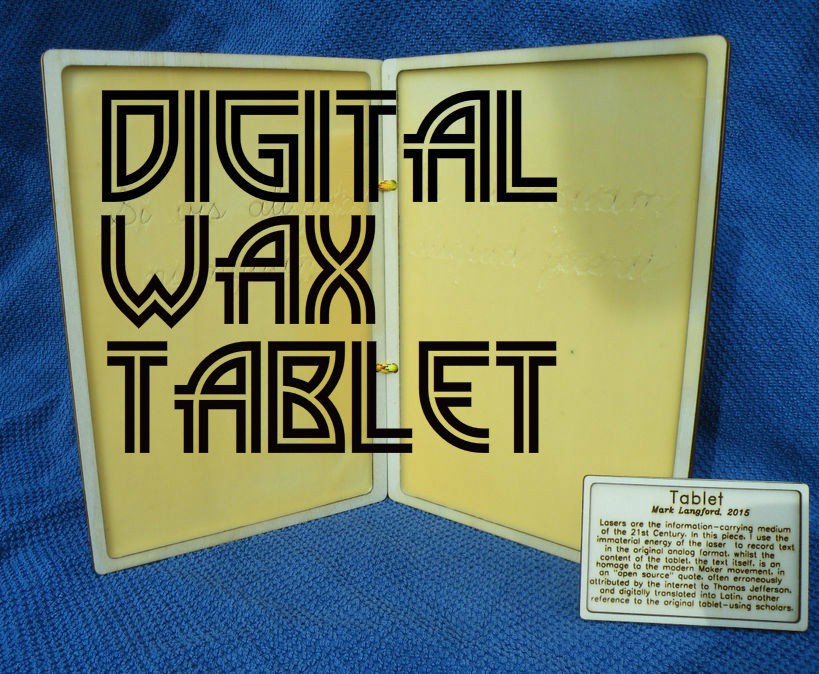
Here, in the 21st century, we rely on lasers. They are surgical implements, makers' tools, and they transfer unimaginable amounts of data around the planet every moment of the day.
In the past, though, notes were taken in a more prosaic manner - scratched into the surface of wax tablets.
I decided to bridge the gap of centuries by creating a wax tablet, and writing on it, all with a laser.
Step 1: Materials and Tools
Materials:
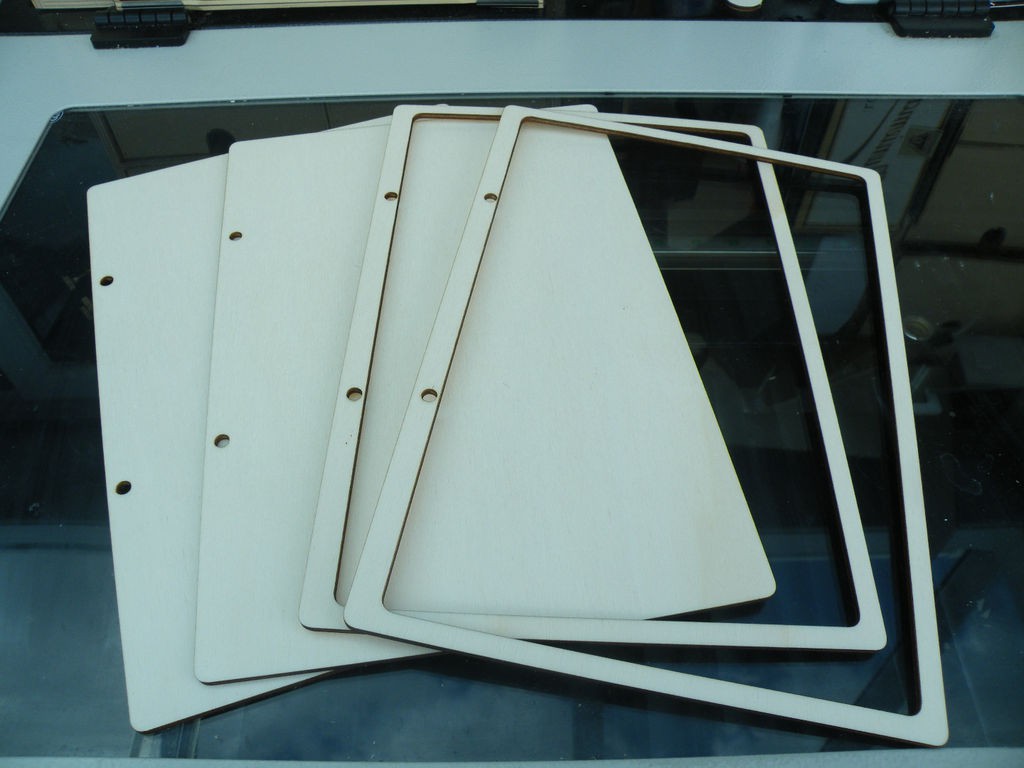
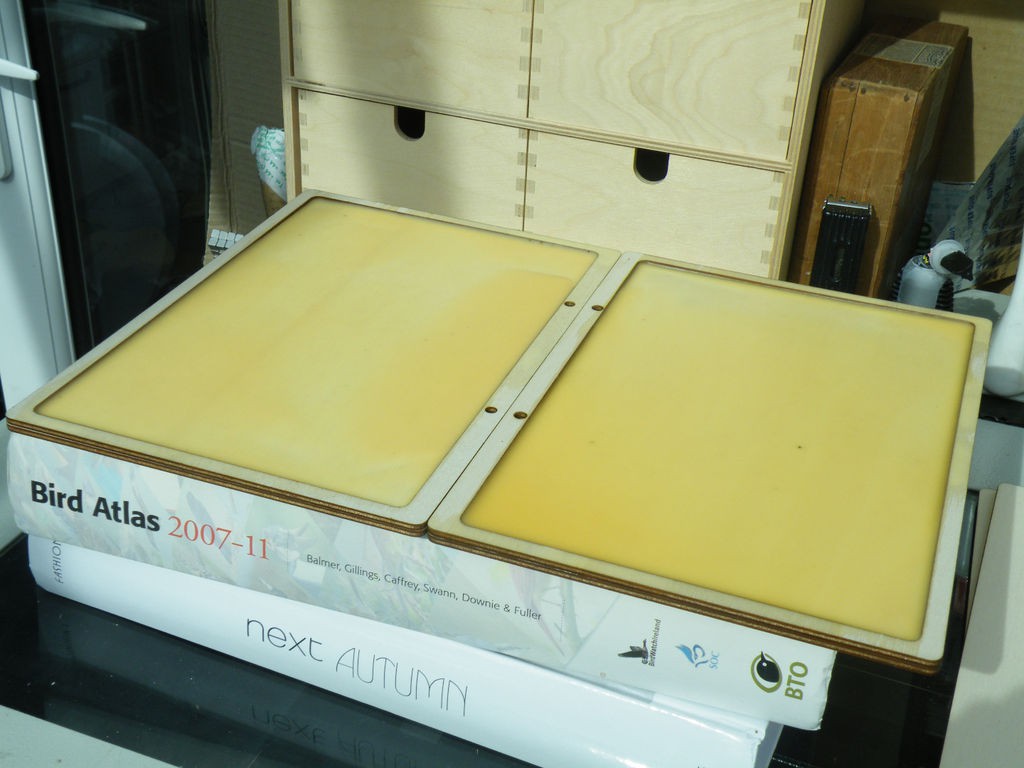
The tablet is made of 3mm plywood, bonded with ordinary PVA woodglue.
The hinges are made of paracord.
The wax itself is a blend of tealight and crayon wax.
Tools:
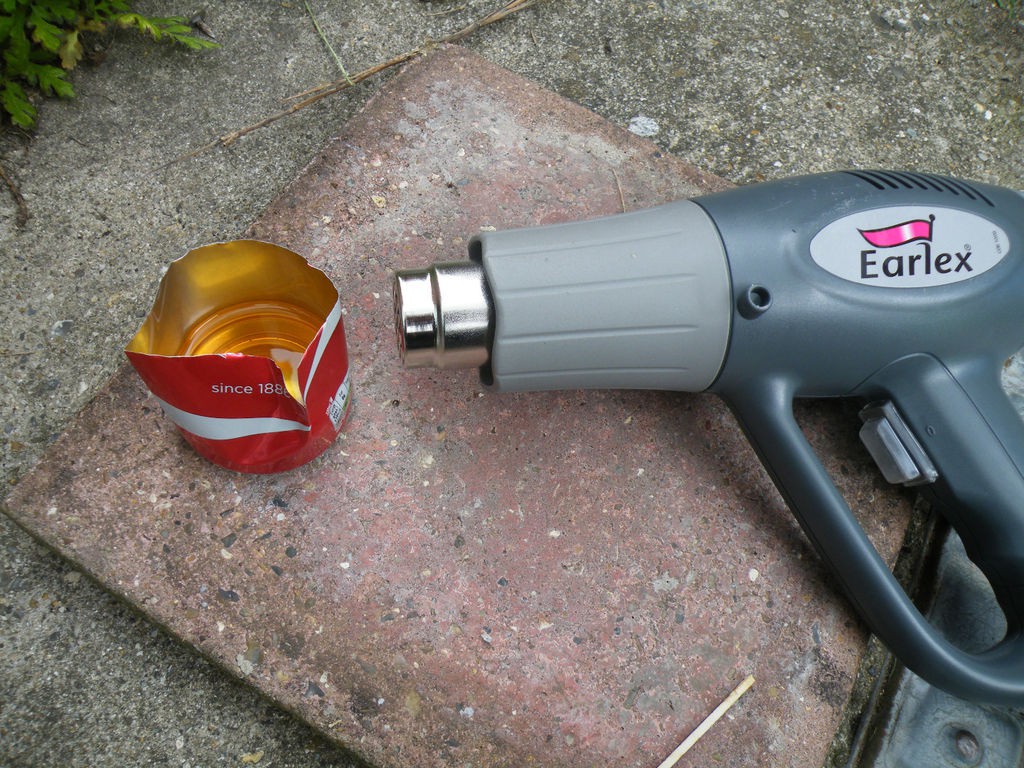
Hot air gun plus an empty soda can.
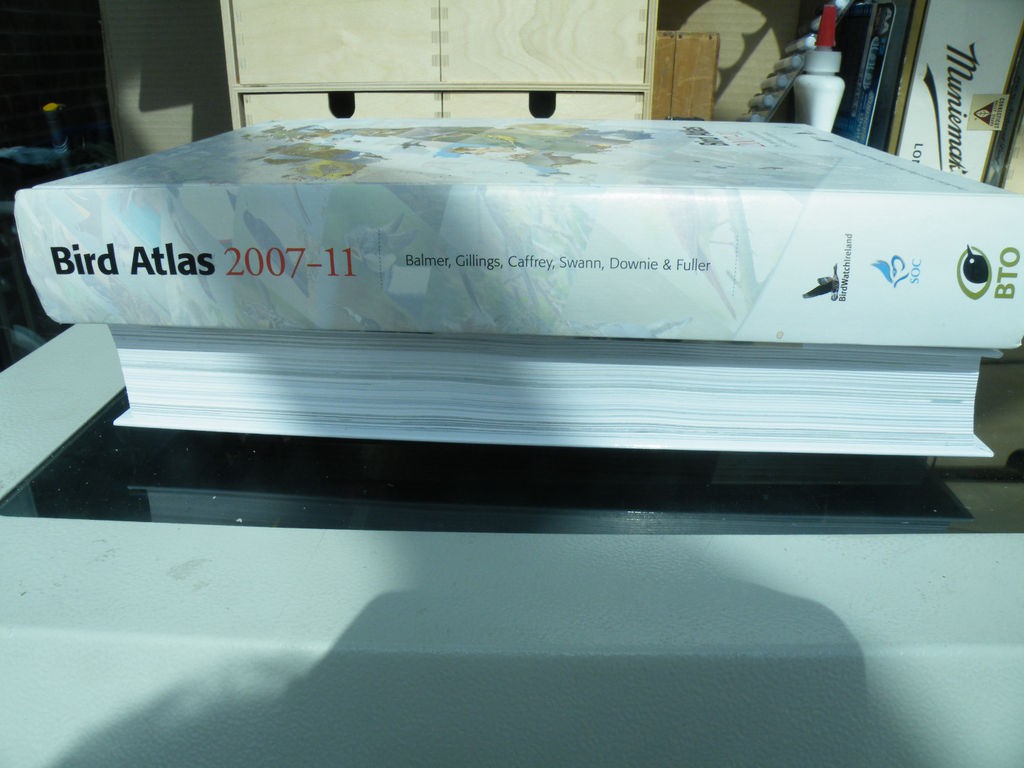
Clamps or a pile of books.
A laser cutter.
If you don’t have access to a laser cutter yourself, you can take the artistic statement of analogue versus digital even further by getting your parts cut online. If you use Ponoko, and upload the file I’ve attached to this step, you can get the parts cut from 3mm birch for about $18 (I shrunk them slightly compared to my original, so that they’d fit on one 24x12 sheet, and left the plaque off to save you lasering-costs).
You could, or course, make your own tablet fairly easily with hand-tools, but, for me, that would negate the artistic imperative of this project.
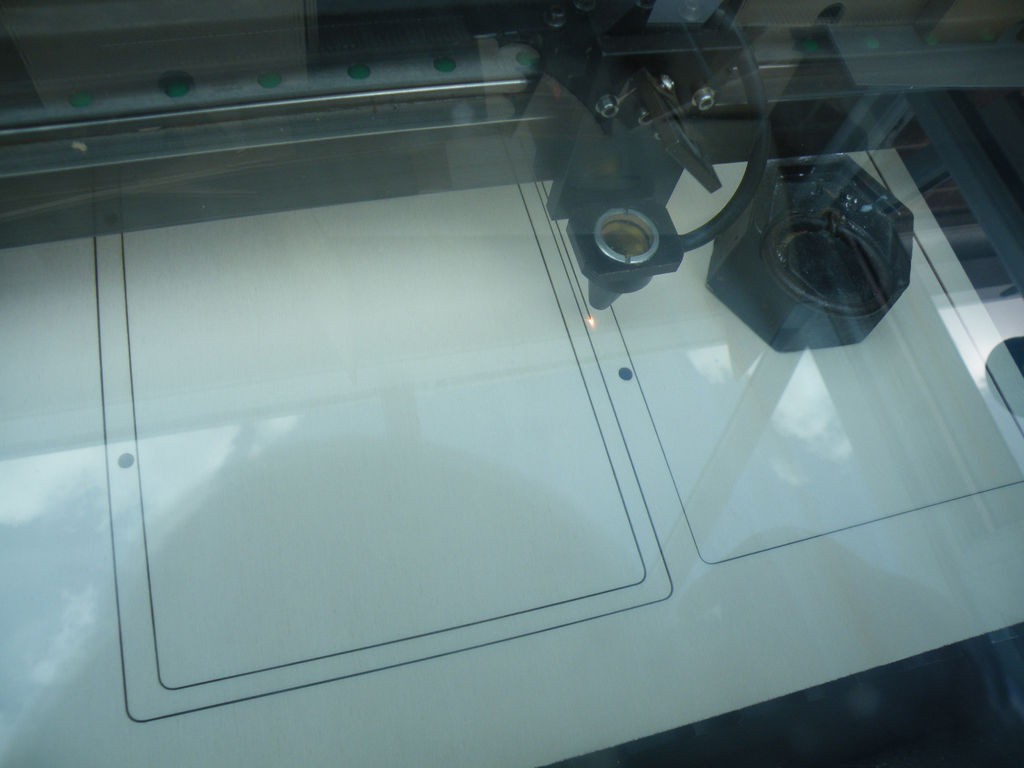
Step 2: Files and Cutting
The design of the tablets was very quick, a couple of minutes in Inkscape.
I have included them here in a variety of formats for the sake of completeness - if you do not have your own laser cutter, you can use them as templates for manual cutting, or to send to the online laser service of your choice.
Download Wax Tablet.dxf
Download Wax Tablet.pdf
Download Wax Tablet.svg
Download WaxTab.ecp
Step 3: Glue and Clamp
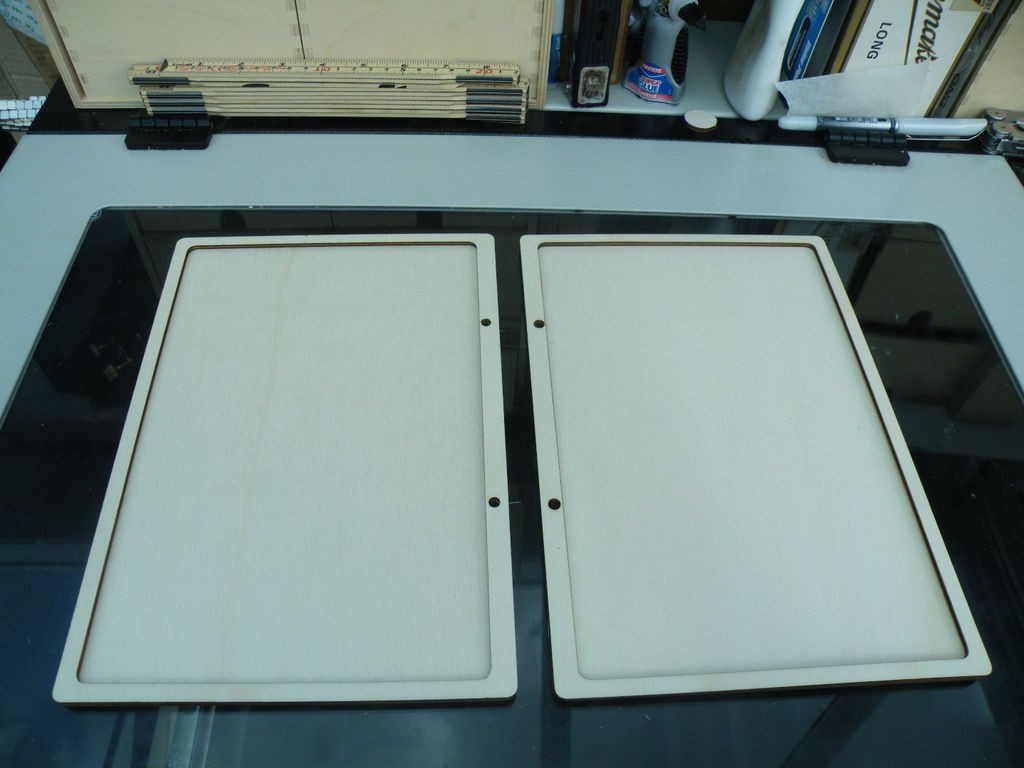
A pretty self-explanatory step - the parts of the tablet were glued together, and clamped* firmly until dry.
You shouldn't skimp on the glue, or the liquid wax might ooze between the layers and make an awful mess.
Leave the glue to dry or cure for as long as needed.
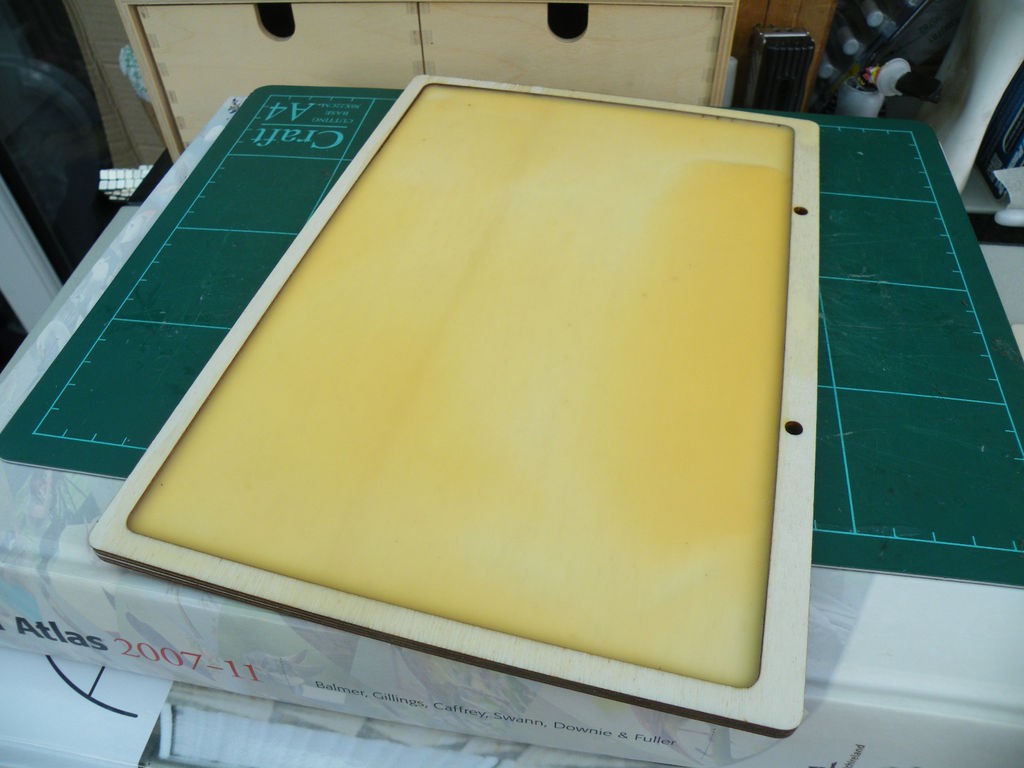
Step 4: Adding the Wax
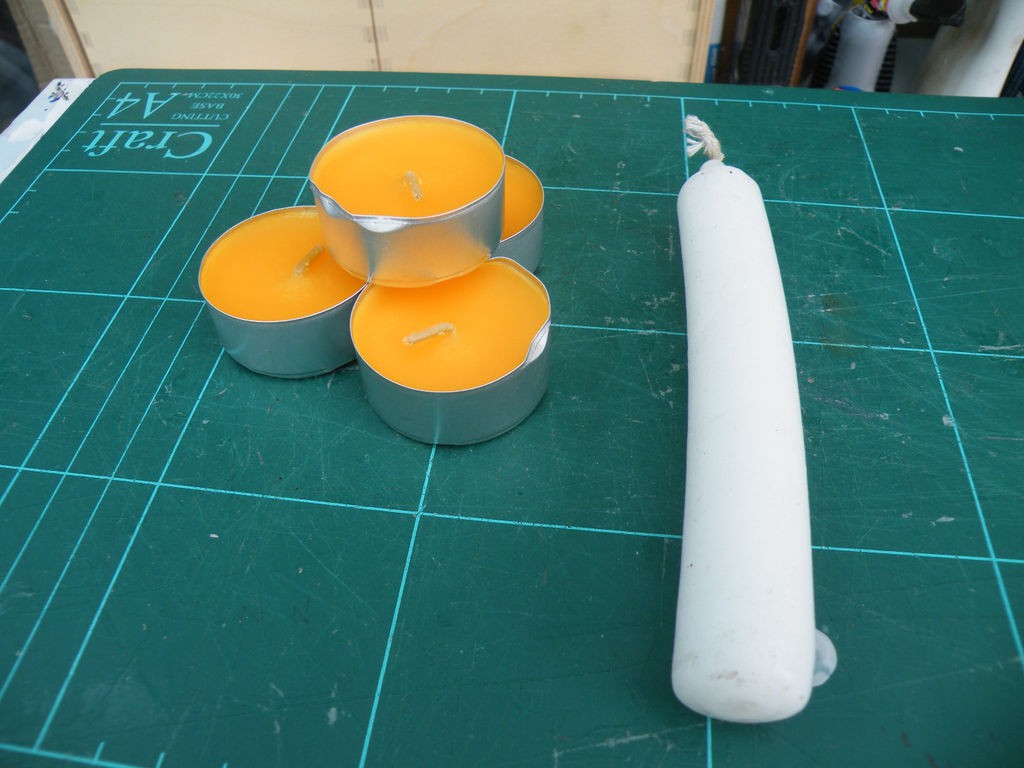
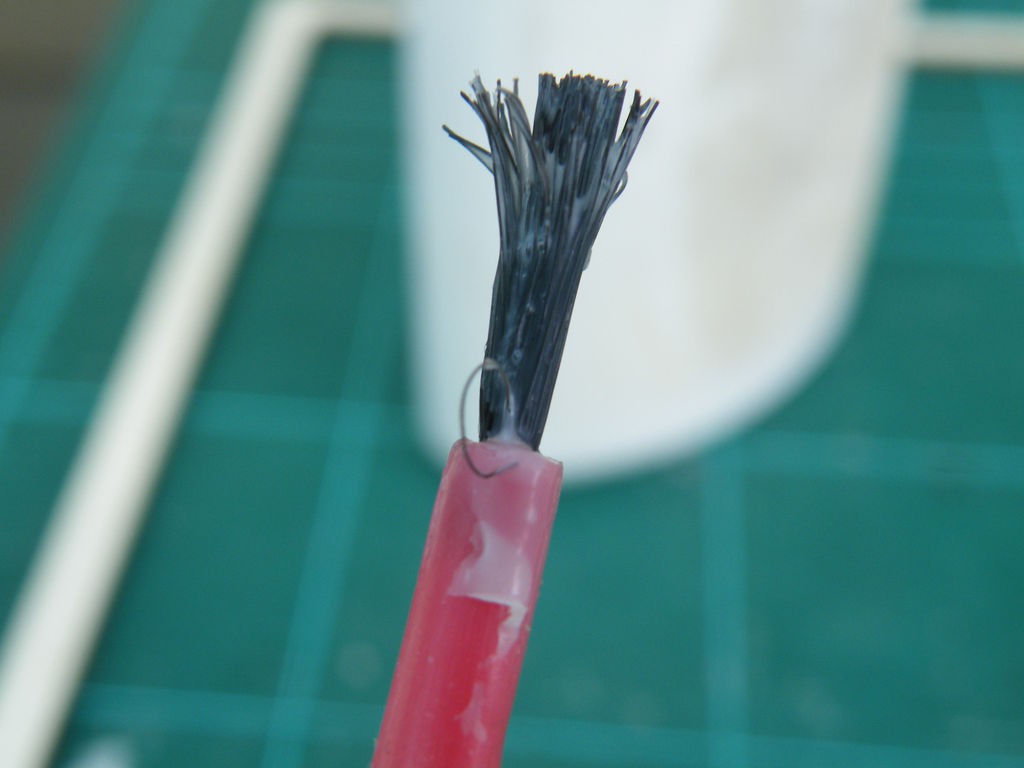
I chopped up a couple of scented tea lights with a spare normal candle - I have seen wax tablets in museums, and the wax always seemed to be a bit on the cream-coloured side.
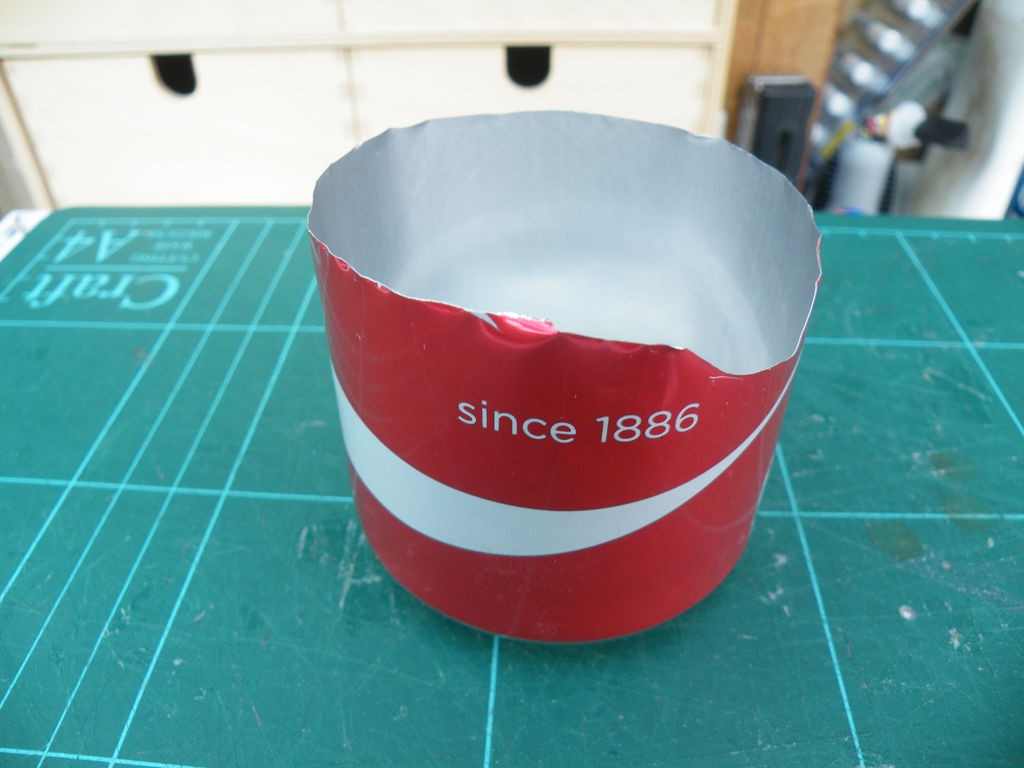
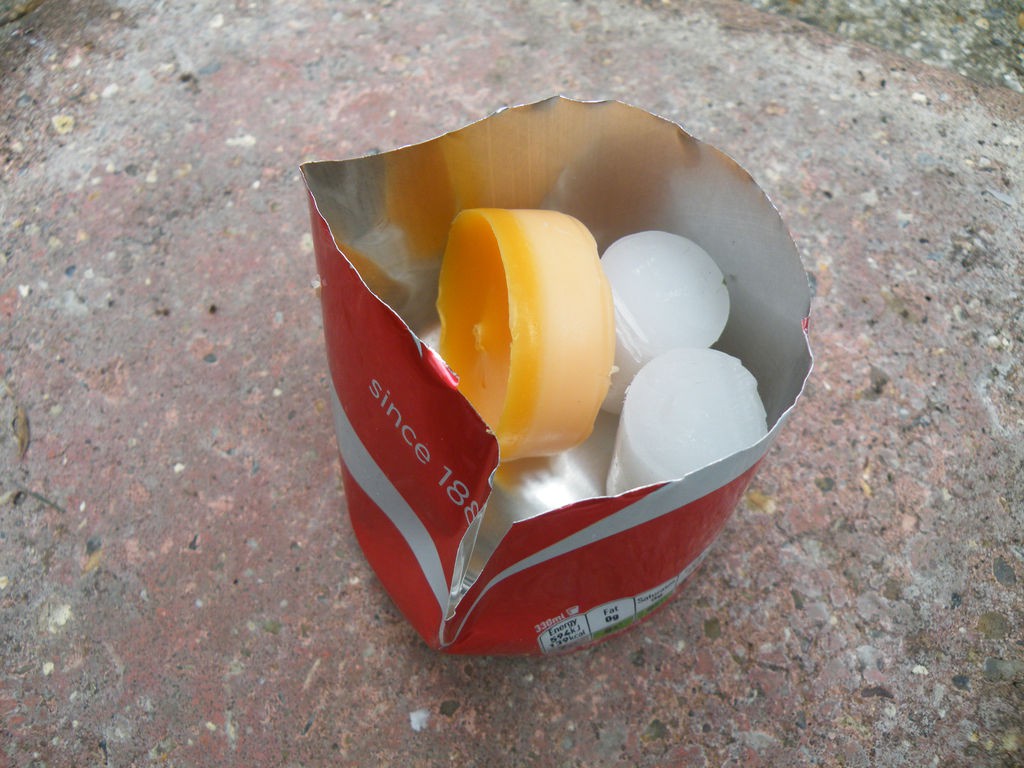
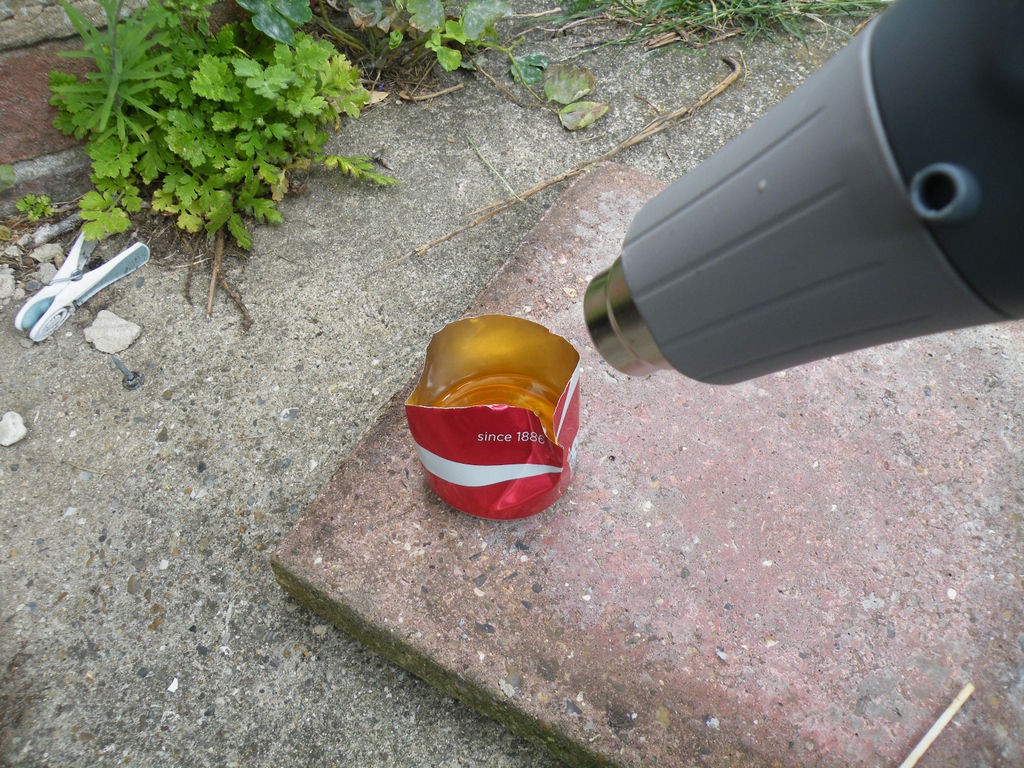
I melted the wax in a cut-down soda can, pinched together to make a pouring spout and a small handle, using a hot-air gun.
You can also use a waterbath to melt the wax, whichever you prefer.
Wait until the wax has been completely liquid, so that is does not solidify too quickly after pouring.
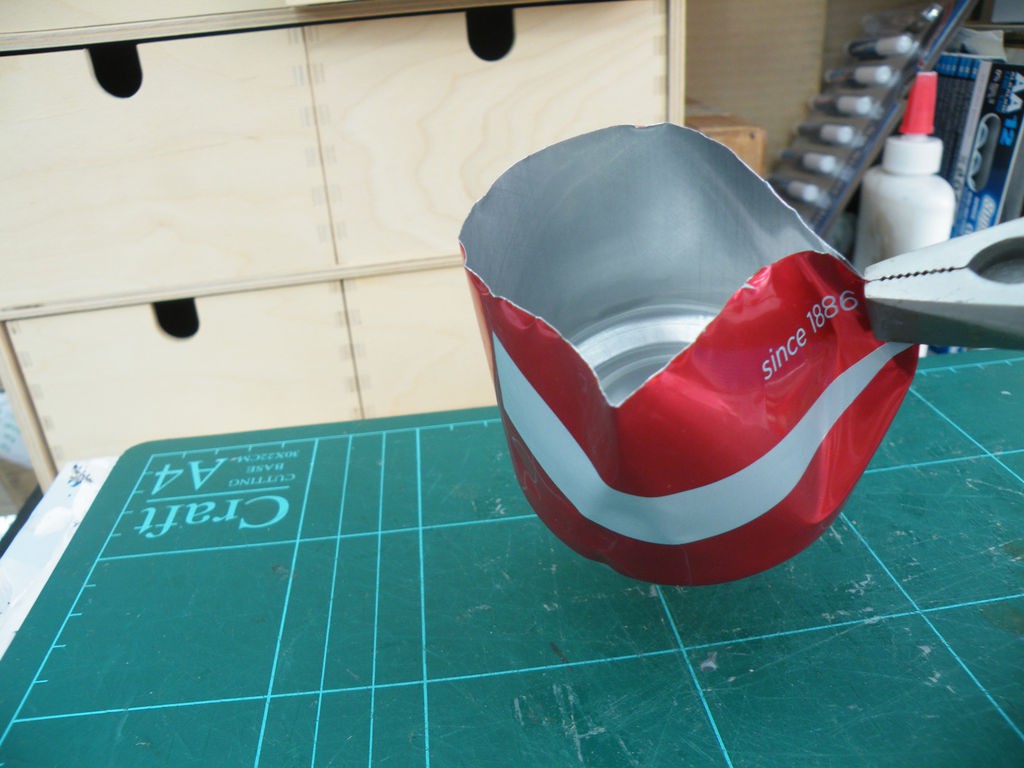
Step 5: Pour...
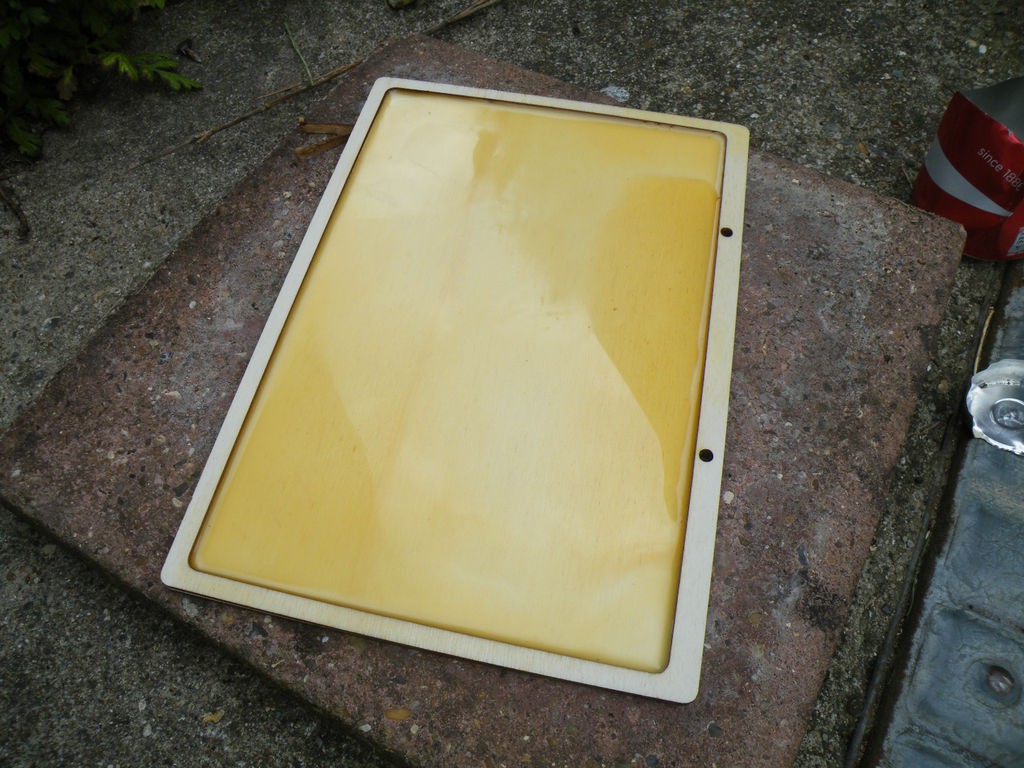
I held the hot can with a pair of pliers and poured the wax into the flat and level tablets.
Leave the wax to cool and solidify fully before moving on the the next step.
Step 6: The Inscription
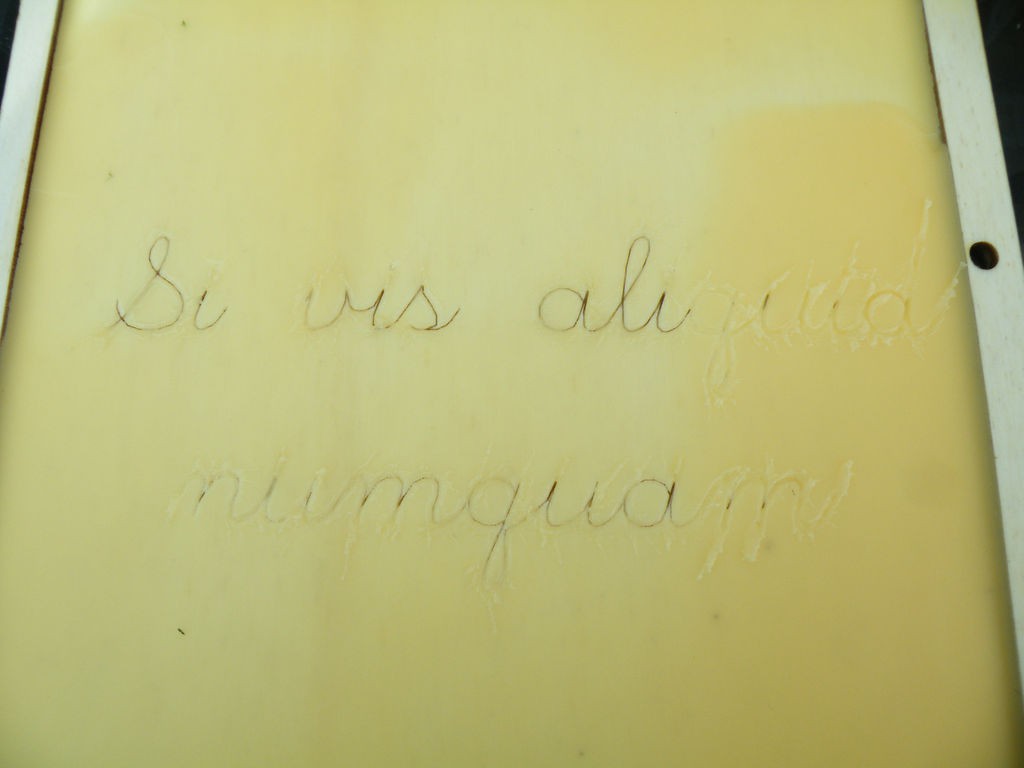
To make the full artistic statement I wanted, the text had to be relevant and significant.
There is a quote I like, sometimes attributed to Thomas Jefferson, but with no true provenance:
If you want something you've never had, you must do something you have never done.
I wanted a little more gravitas, so I used Google Translate to turn it into Latin:
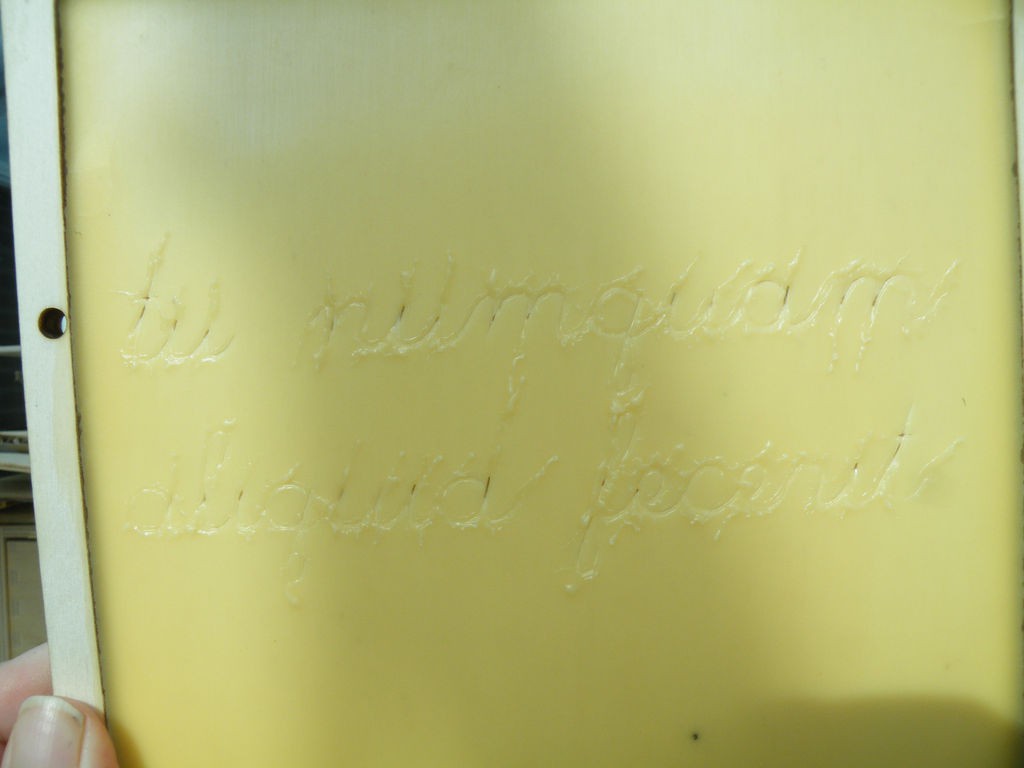
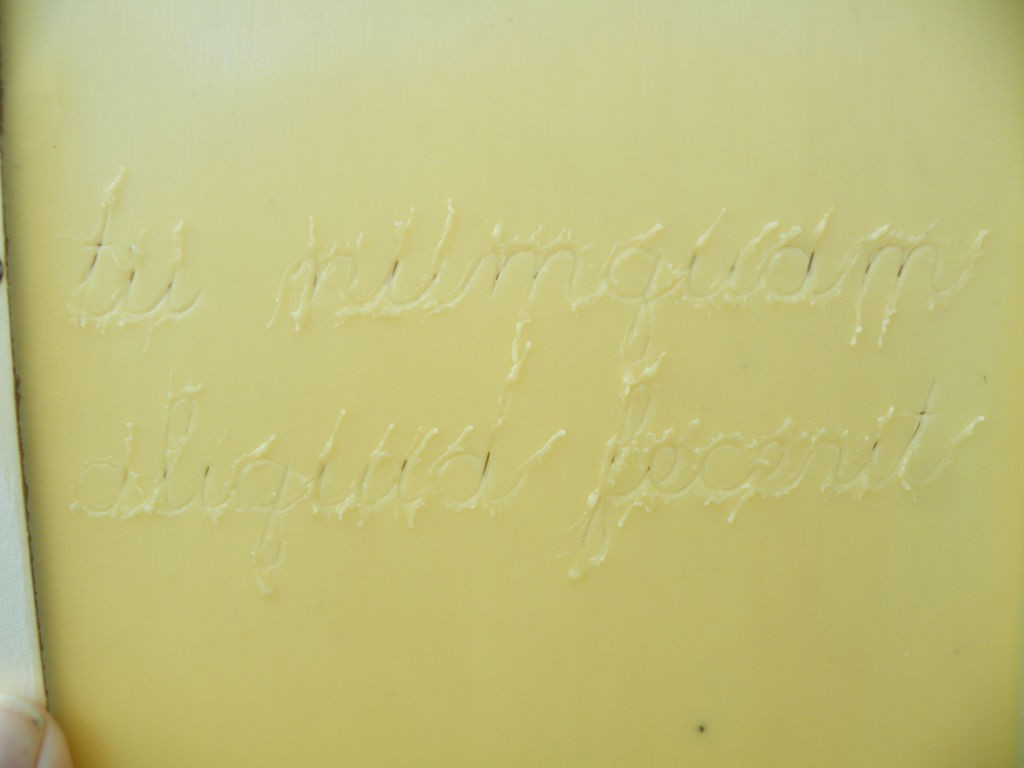
Si vis aliquid numquam tu numquam aliquid fecerit.
I came up with another file to laser the words into the wax, adding half the inscription to each "page" of the tablet. Original wax-tablet writings were heavy on straight lines, thanks to the act of scratching with a pointed stylus, but lasers can be more delicate than styli, so I used a cursive font.
Lasering the text was a lot fiddlier than I had imagined - it was hard to find a balance between laser speed & power that was powerful enough to etch the wax, but low-enough power so that only the wax it etched. After practising on actual candles, it turned out that small variations in the thickness of the wax had a big effect on the results. In the end, I had to slightly de-focus the laser to reduce the marking of the wood.
(In Ancient Rome, if you made a mistake with the inscription, you used...
Read more »


wow. Just amazing