 MakerBlock
Date: 1/29/2017
About a year ago my MakerBot Replicator 1 started to have trouble extruding plastic consistently. After making sure there were no blockages and making sure the filament wasn't to blame, I pulled the extruder apart to find out what had happened.
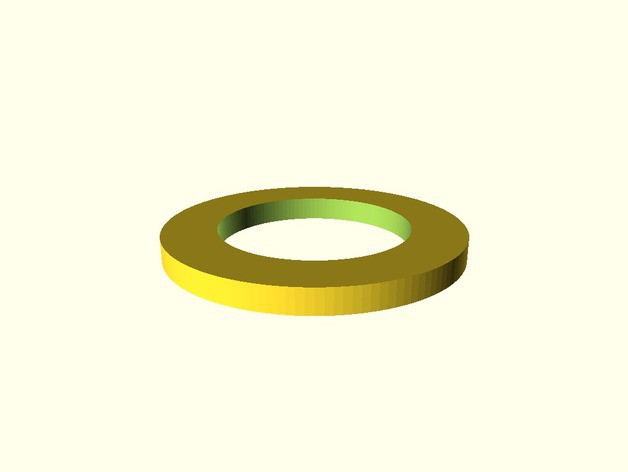
Years of extruding plastic had worn a groove into the delrin plunger, basically making the extruder much looser than the machine was designed to operate. The plunger has these thin washers that sit behind it - placed at the factor to optimize the pressure of the delrin plunger against the filament. I designed these very thin spacer to fit behind the plunger along with the stock washers.
I know you're probably asking - why not just install the extruder upgrade every single other MakerBot operator is using??? Well, that day I had a 3D printer that was able to print (admittedly, poorly) the washers, and could have printed the extruder upgrade, but I didn't have screws, springs, etc needed to assemble the extruder. This fix got my printer working better almost instantly... and kept it going until the hardware arrived in the mail. :)
Since this contest entry is really a collection of entries, I've uploaded the STL and OpenSCAD files to Thingiverse here.
Discussions
Become a Hackaday.io Member
Create an account to leave a comment. Already have an account? Log In.