 Mark Langford
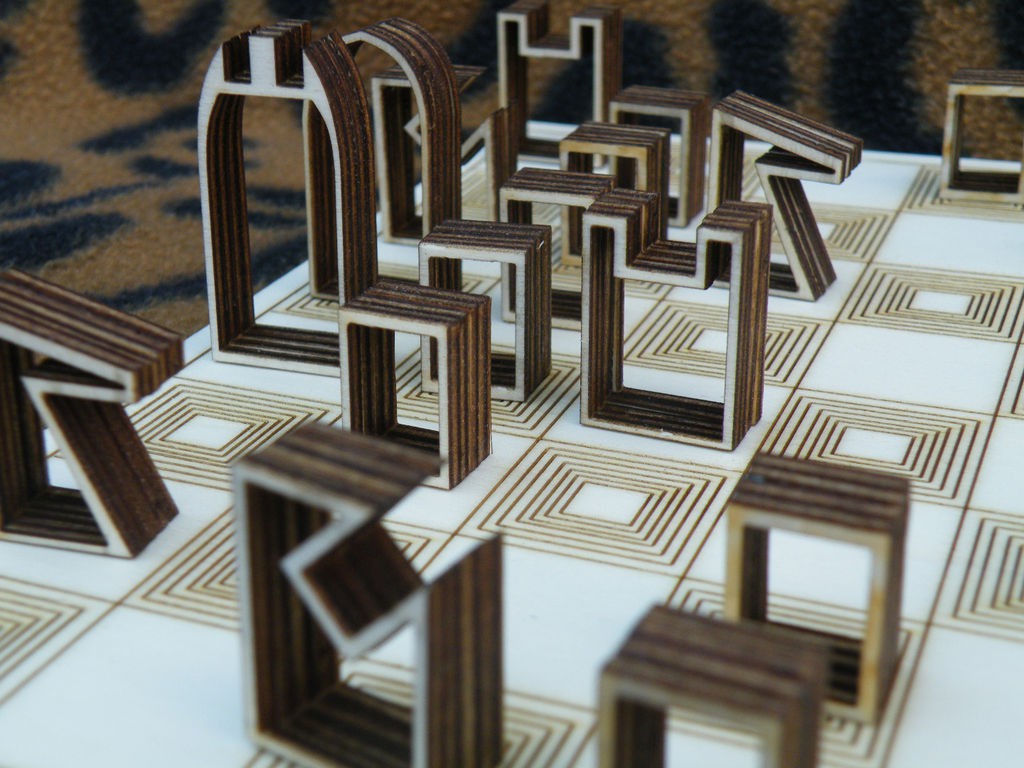
Sometimes, you just need to make a chess set.
This is mine.
Step 1: Design & Cut
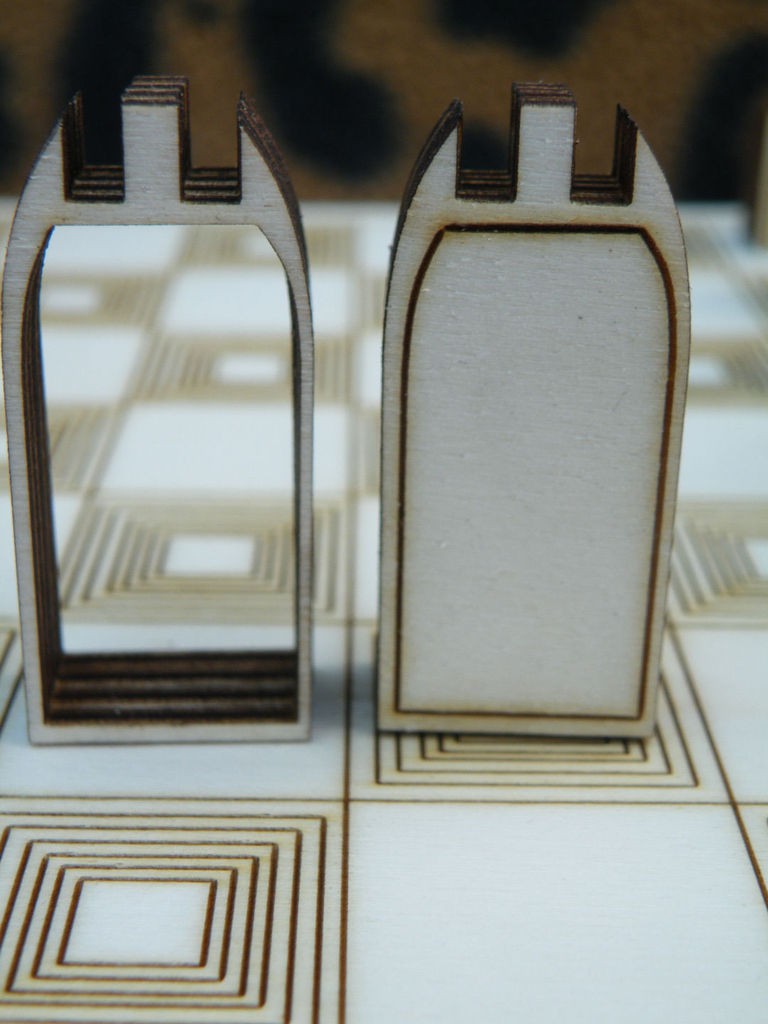
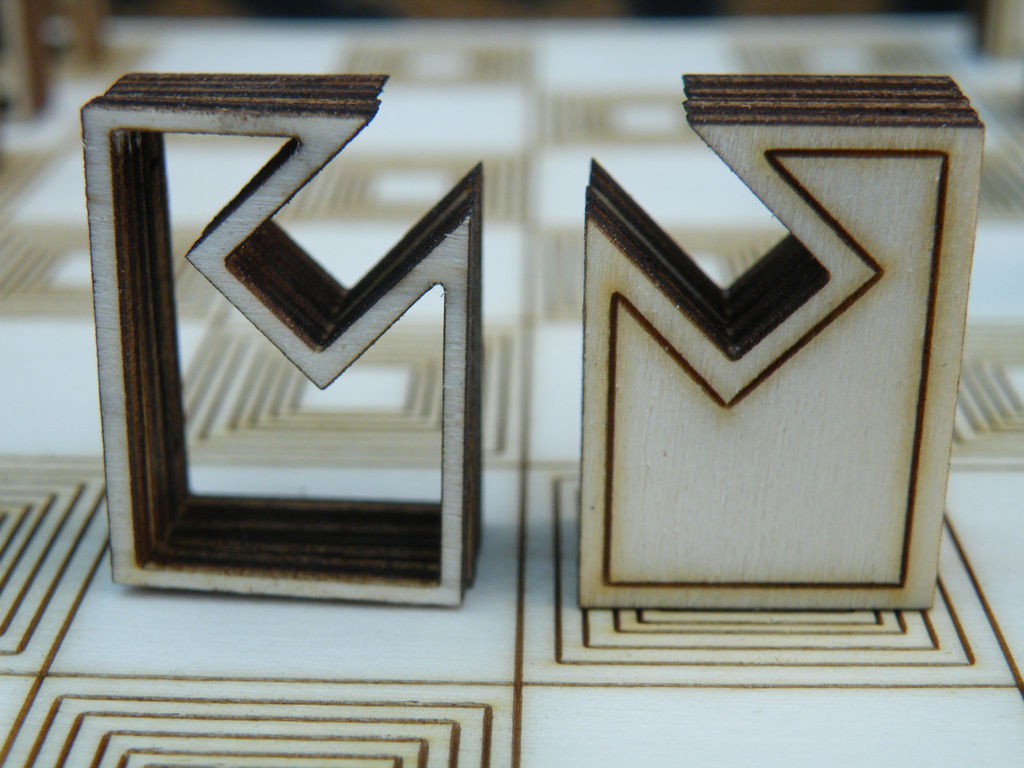
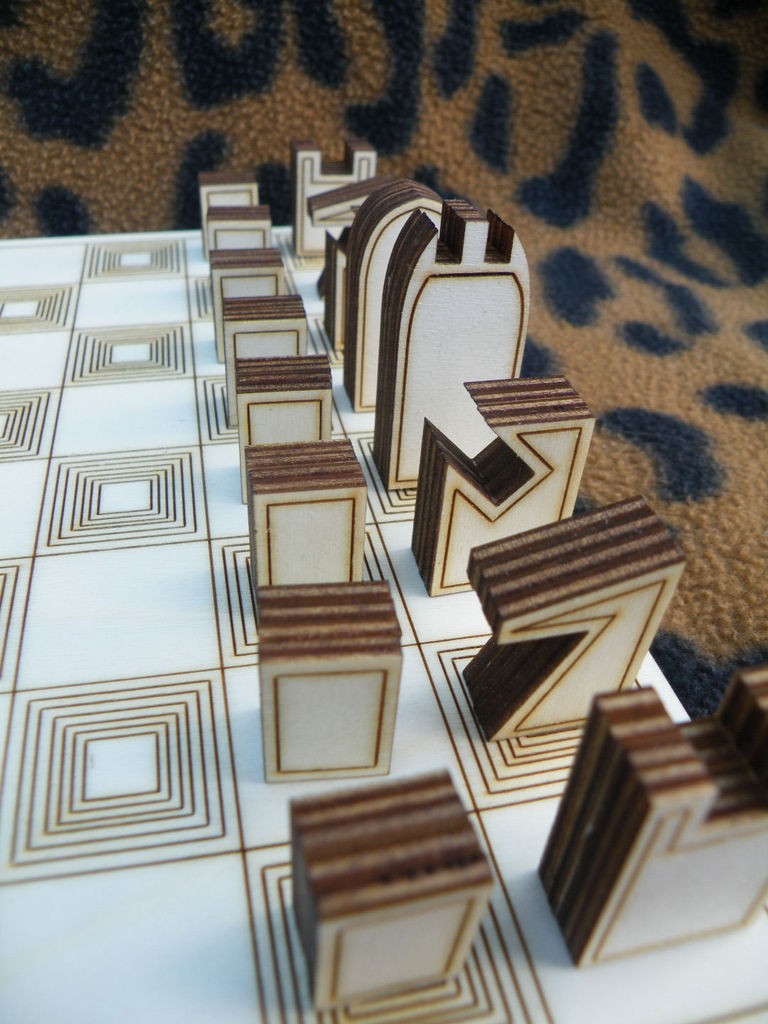
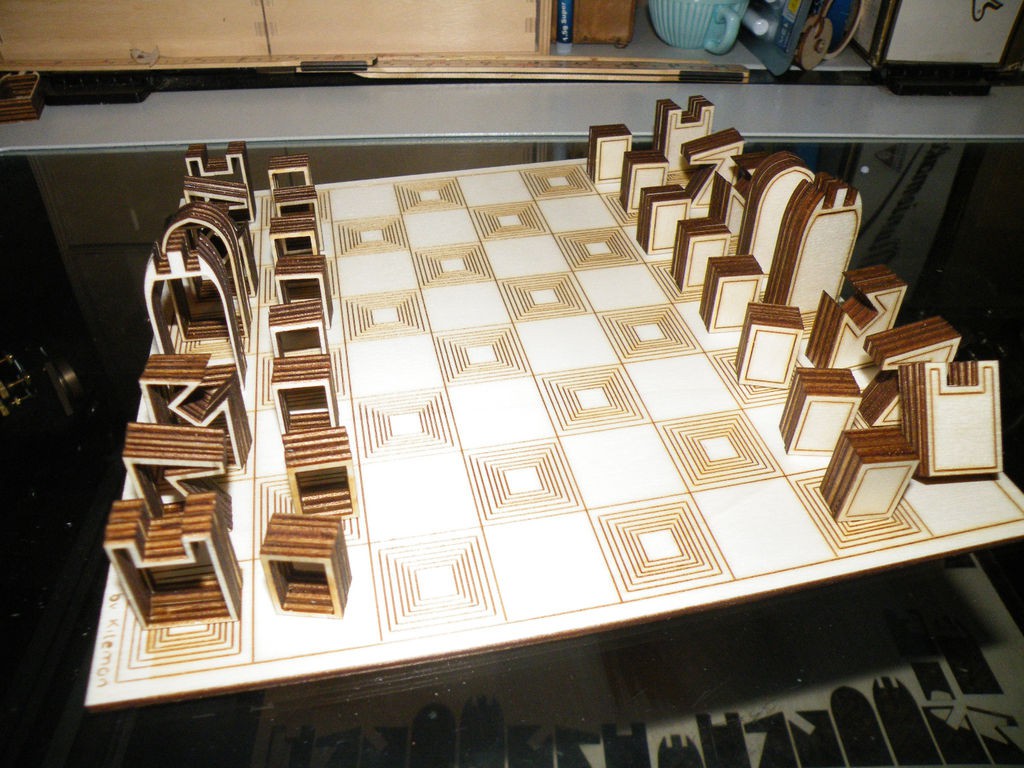
I didn't want to go traditional, but I also didn't want to stray too far from the usual chess pieces - I hate having to pause and remember which piece is which.
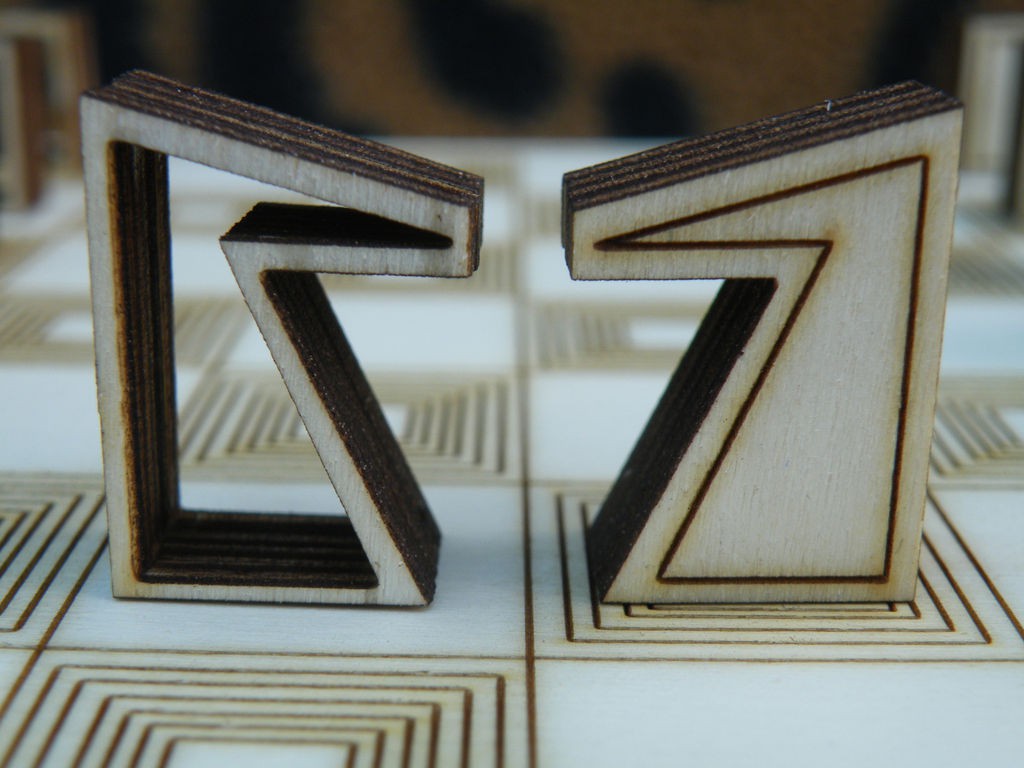
So, I decided to use a simplified silhouette of the pieces, but rather than "black" and "white", I went with "filled" and "outline", and gave the filled pieces the same inner-line as I used to hollow out the "outline" pieces.
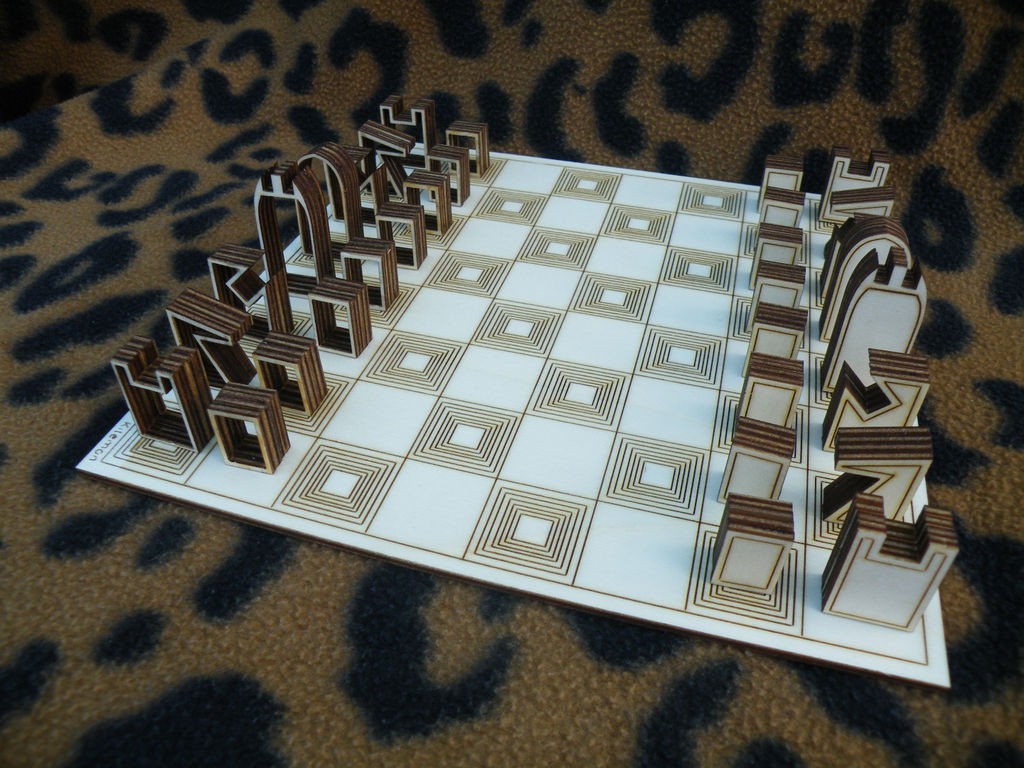
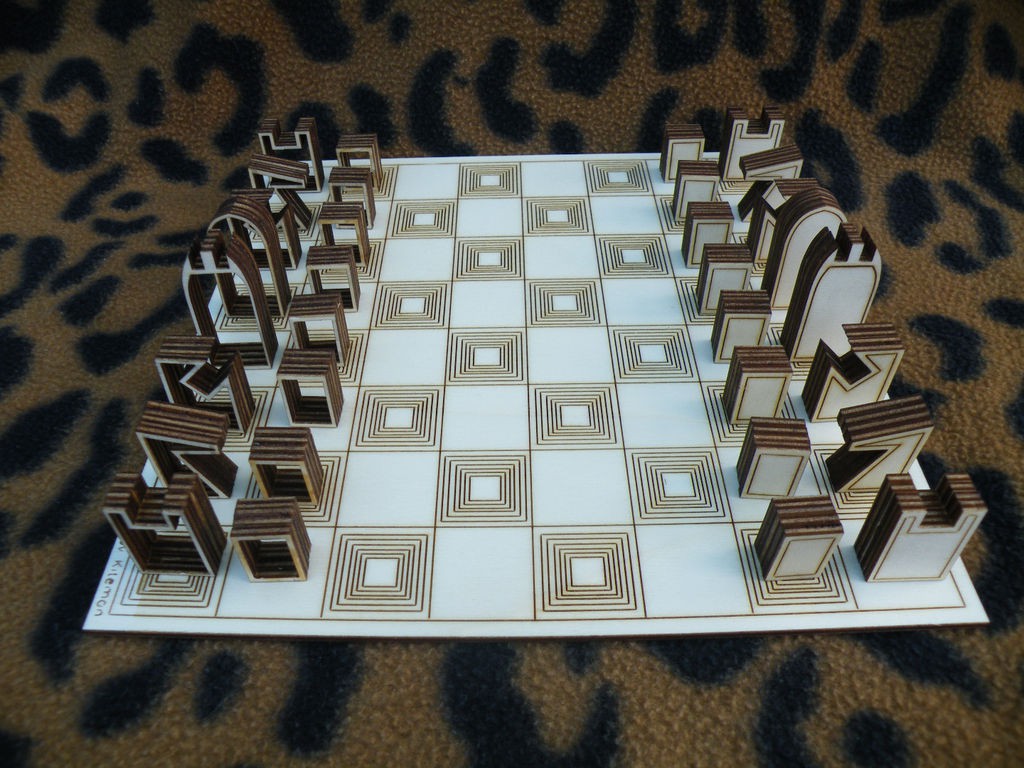
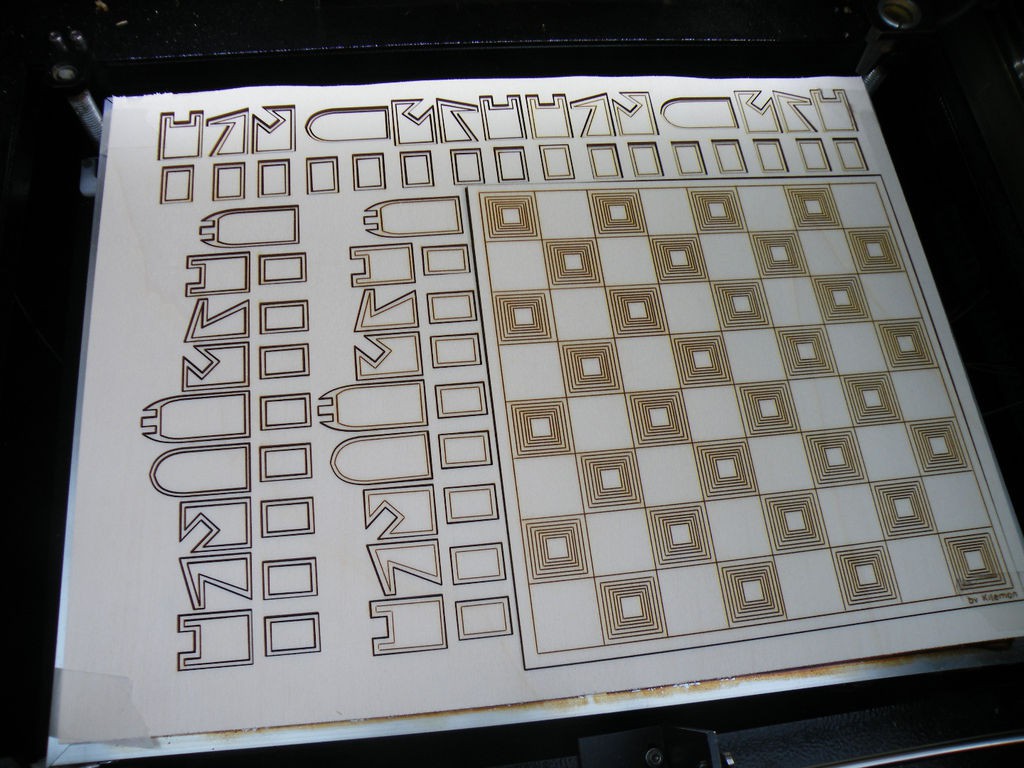
The board is as simple as I could without resorting to engraving - drawing lines to darken squares is a lot faster than engraving the entire square (and, it turns out, cheaper!).
I’ve added the cutting files to this step so that you can make your own, maybe even by hand. If you don’t have the tools to do your own laser engraving, I’ve also created files that you can use online - cutting it all in 3mm birch will cost you about $50, plus postage.
To get the outline design on both sides of the pieces, I’ve mirrored the pieces to be glued back-to back. If you’re using 3mm thick materials, you’ll need to cut the files twice and glue four layers together. If your laser is more powerful (or you’re cutting online), you can use materials twice as thick and get away with only cutting once and just gluing two layers together.
Download chess outline.pdf
Download chess outline.dxf
Download chess outline.svg
Download ChesLine.ecp
Step 2: Gluing
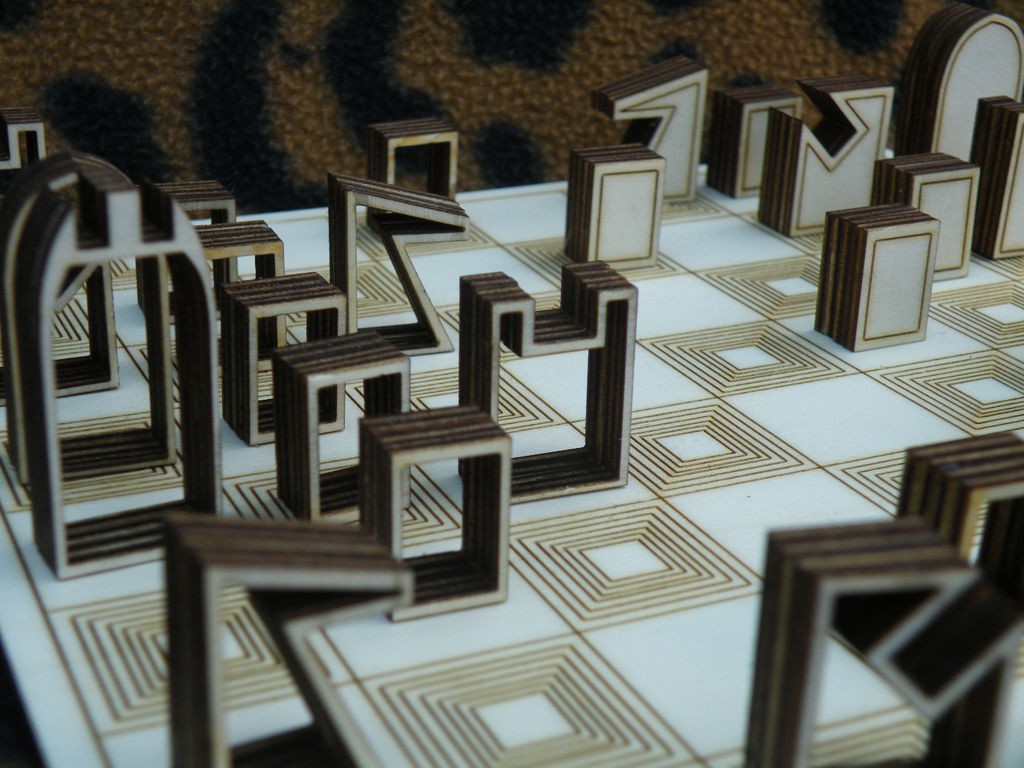

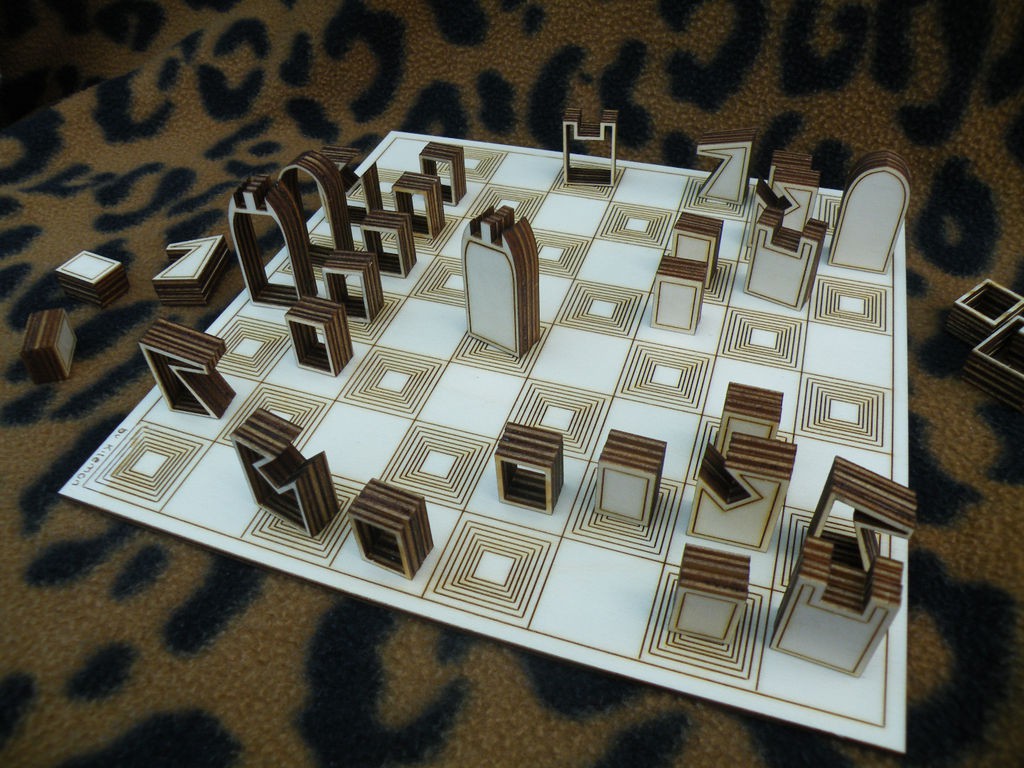
The plywood I cut the set from is only 3mm thick - not so stable on one edge.
So, I mirrored all the pieces, and cut out four full sets, which I then glued back-to-back to make pieces four times as thick (12mm total) and much more stable.
You can use most glues to hold the layers together, since there isn't any real load on the layers, but the two best options are PVA (wood glue, white craft glue) or cyanoacrylate ("CA", "crazy" or "super" glue).
I used CA, just a small drop on each corner. The glue sets quickly, but there is enough time to align the layers - you just need to be careful not to glue the pieces to your work-surface or your fingers.
If you use PVA wood glue, you will need to press the parts while they dry. Not many people have 32 clamps - easier to lay all the glued pieces onto a flat surface and then lay a board or heavy book on top to hold them together until the glue dries.
Step 3: The Board
The board is a matter of personal taste - some people like having something with a bit of weight to it - in that case, you should either cut an extra layer of 3mm board and firmly glue & clamp them together, or cut your board from thicker material in the first place.
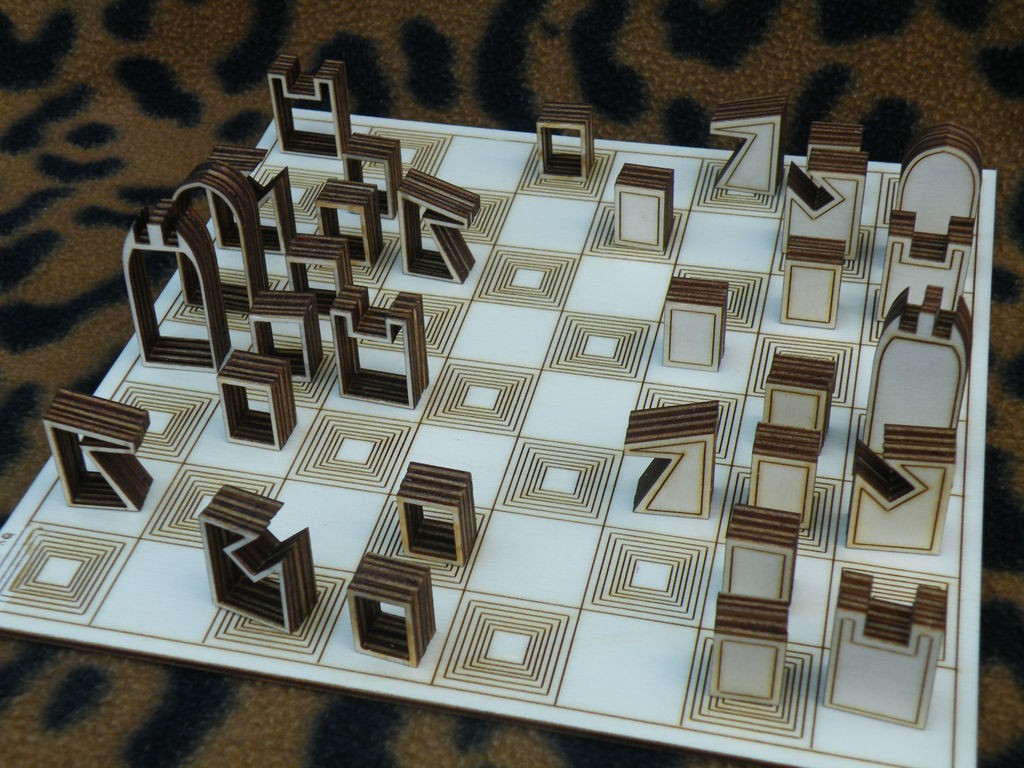
Step 4: Play!
It's not really the intention of this instructable to teach you how to play chess, but Google is your friend - find an opponent, set up the board, and off you go!
Just in case, though, here are a few to try, each with a different style:
Chess Kid (video starts as soon as you open the link)
There are many other similar sites just a few clicks away.


 Pete Hoffswell
This is very creative, I love playing chess :)