 icstation
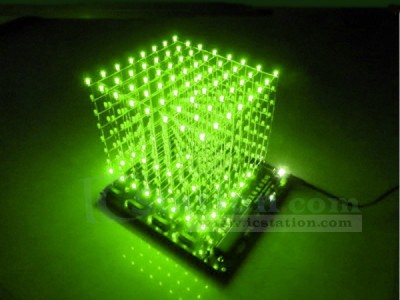
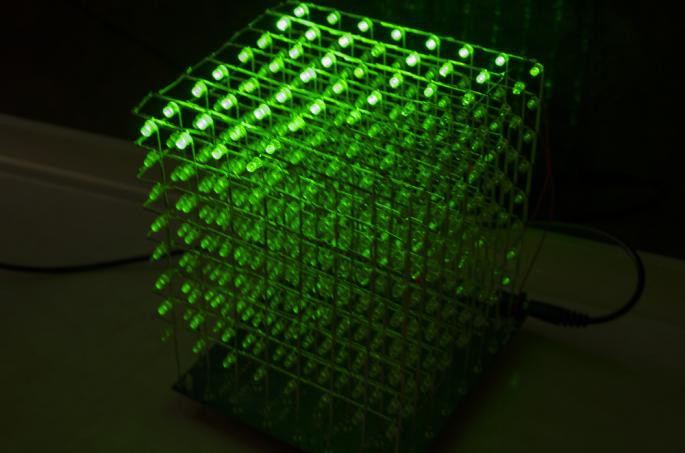
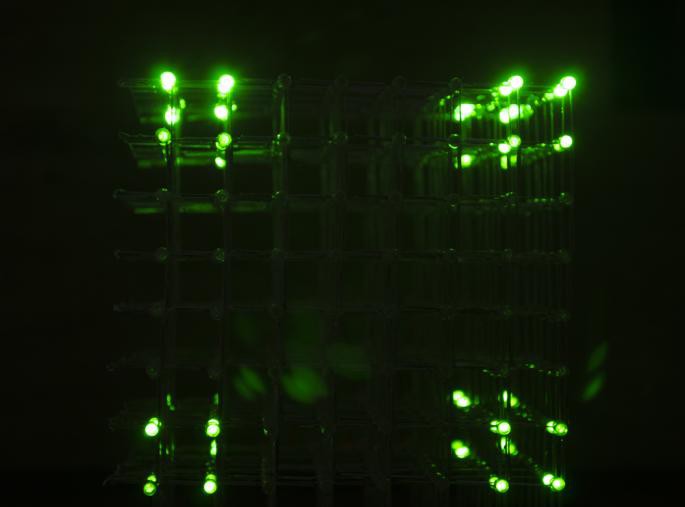
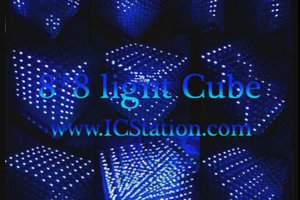
3D LightSquared DIY Kit 8x8x8 3mm LED Cube White LED Green Ray
1.Accessories
3mm white green LED x512
XH2.54-40P round female pin x2
20P IC socket x9
74HC573 DIP x9
USB to DC005 cable x1
DC005 power socket x1
18P IC socket x1
ULN2803 DIP x1
40P IC socket 1
STC12C5A60S2 (with code) 1
A09-103 Resisters x1
8*8 Self-locking switch x1
10uf 25V electrolytic capacitor x2
12MHz crystals x1
22pf ceramics capacitor x2
470ohm resistor x8
4.7K ohm resistor x2
LED 3mm x1
0.8mm cable x1
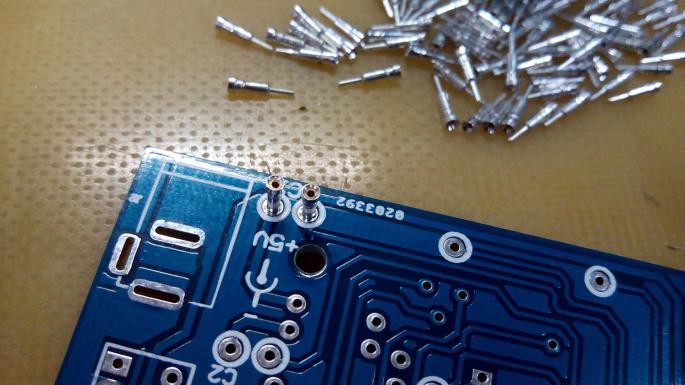
2..Solder contacts are cleaned to the board. A total of 72 pieces.
3..Go to the resistors, capacitors and other small things
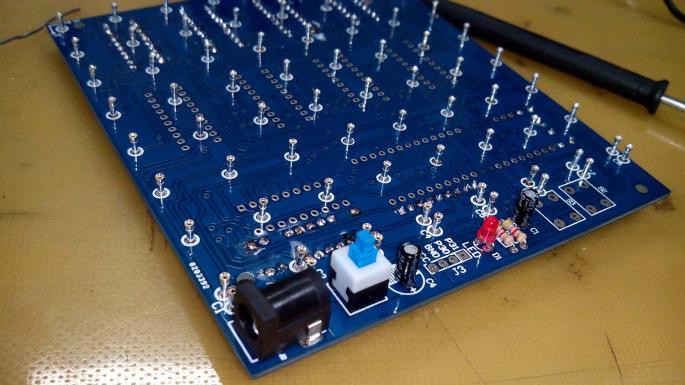
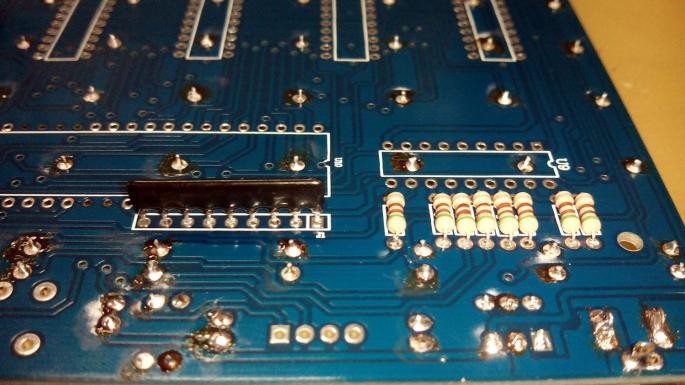
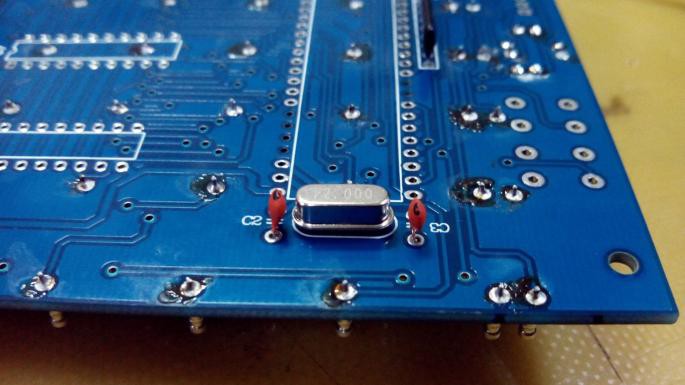 On the product page shows the type of resistors SMD. In fact, come resistors type MLT. Soldered resistors, and their 10 pieces, 4 capacitors, quartz resonator, the power button, power connector, 9-pin LED and resistor A09-103.
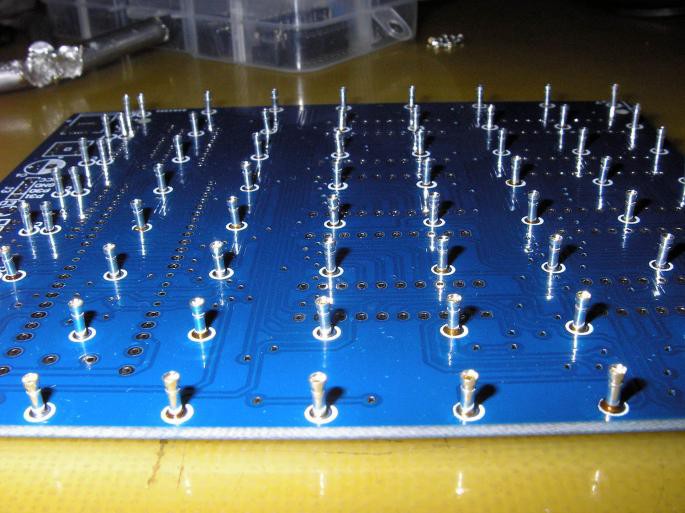
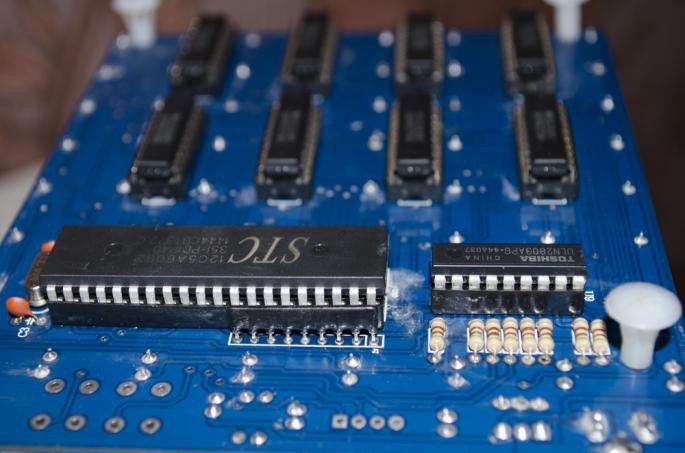
4.Go to the soldering DIP sockets for ICs 8 panels of 20 pins, 1 bar for 18 contacts and 1 bar for 40 contacts.


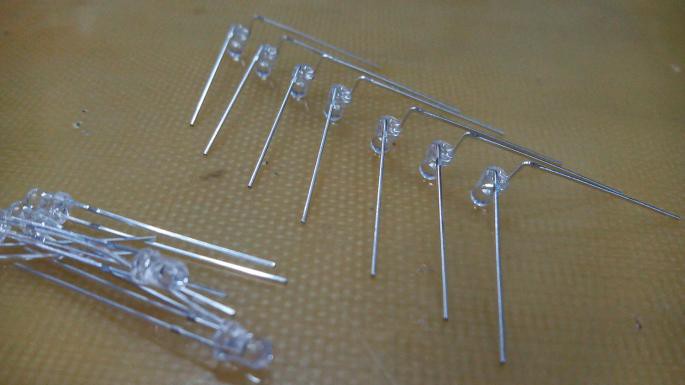
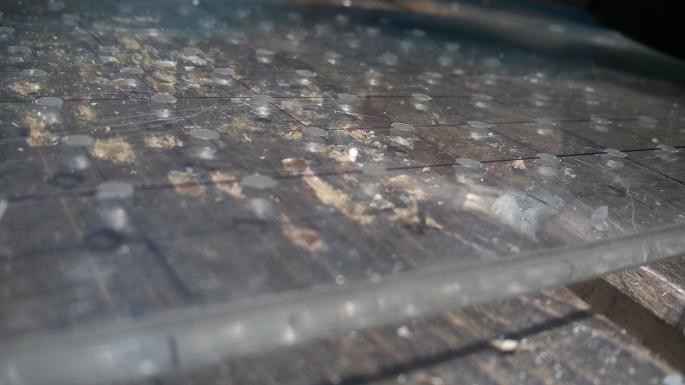
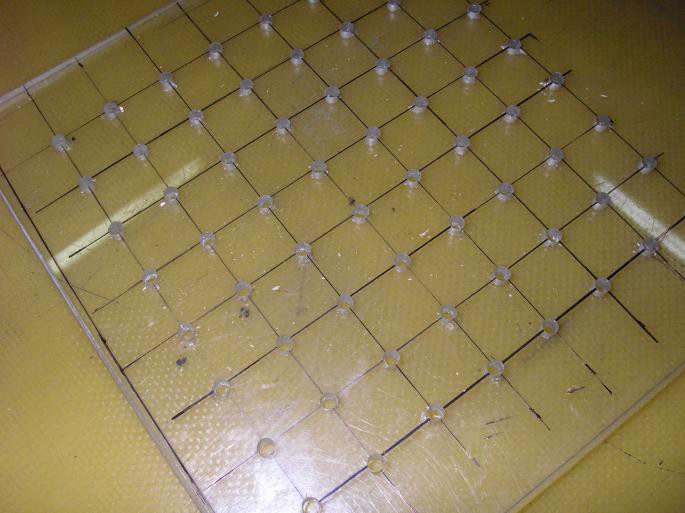
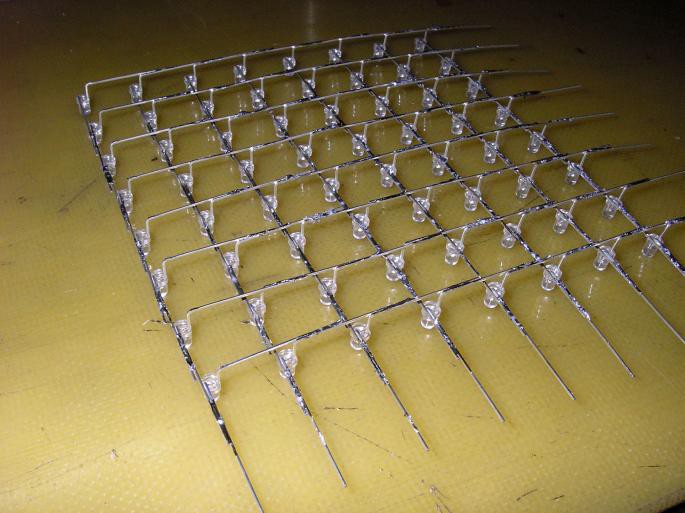
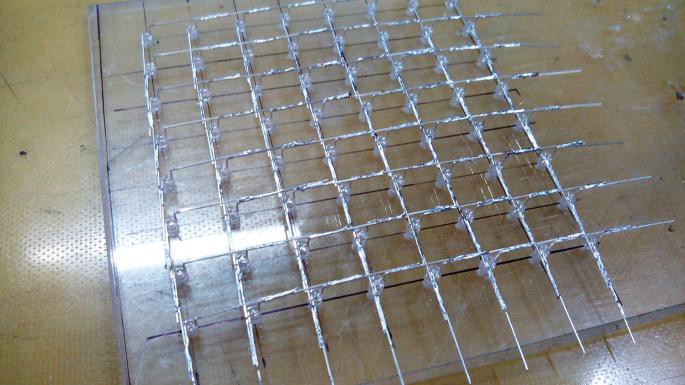
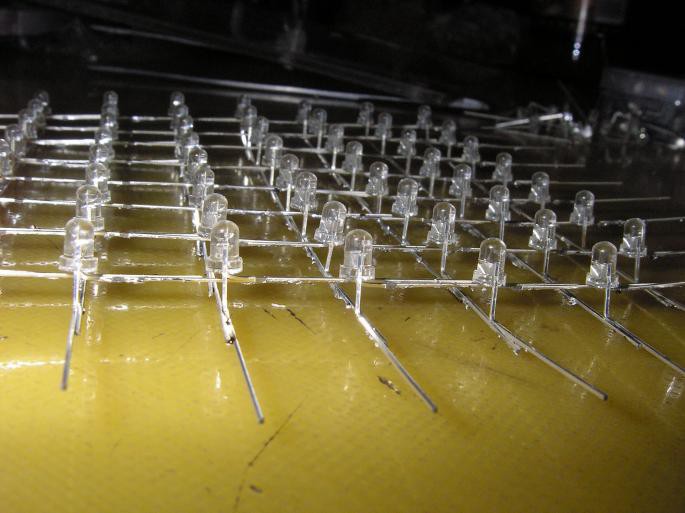
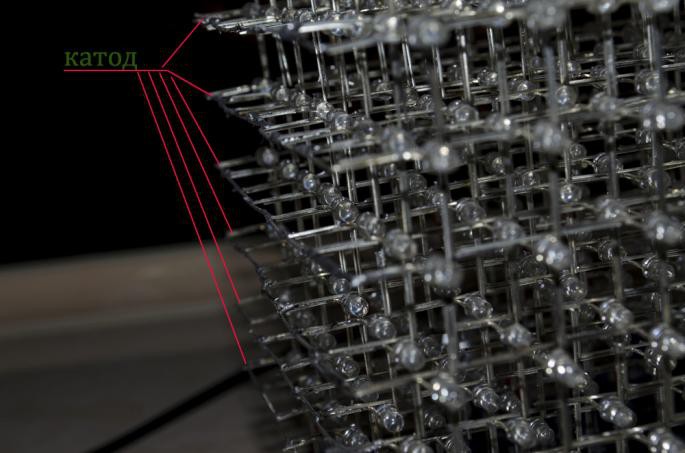
6.Go to work with LEDs.
For convenience, soldering LEDs I made a template of Plexiglas. Draw the lattice 8 x 8 mm with an interval of 15 and drilled holes diodes.


 Robyn W
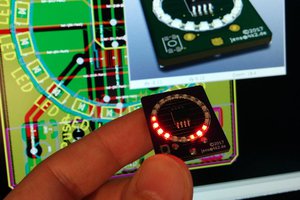
 Jens Hauke