-
Mini Update
01/12/2017 at 21:28 • 0 commentsSo I found a solution to one of my problems with the project. Initially I was going to mount the display on my TGY-i10 radio but then I was like goggles are cooler. Off the shelf solutions are pricey so I was gonna design my own and 3D print them. Thanks to openess and sharing I won't have to:
https://www.rcgroups.com/forums/showthread.php?2429042-Mr-RC-Cam-s-DiY-3D-Printed-FPV-Goggles
Everything right there to print goggles for the 7 inch screen I have wired up and working with the 5.8GHZ radio. Now just gotta see if it will fit on my Rep1 style 3D printer bed.
Stay tuned.
-
Random Update
01/01/2017 at 18:26 • 0 commentsHey so this project hasn't been abandoned it was just put on the backburner because I cheaped out and bought everything from china, turns of the PCB was garbage, so I bought an authentic one from hobbyking. At some point I'm going to completely disassmble my near finished build and resolder everything, hoping to get aerial in the next two months or so depending on how much time I have to dedicate to it. Stay tuned!
-
FPV Screen Test
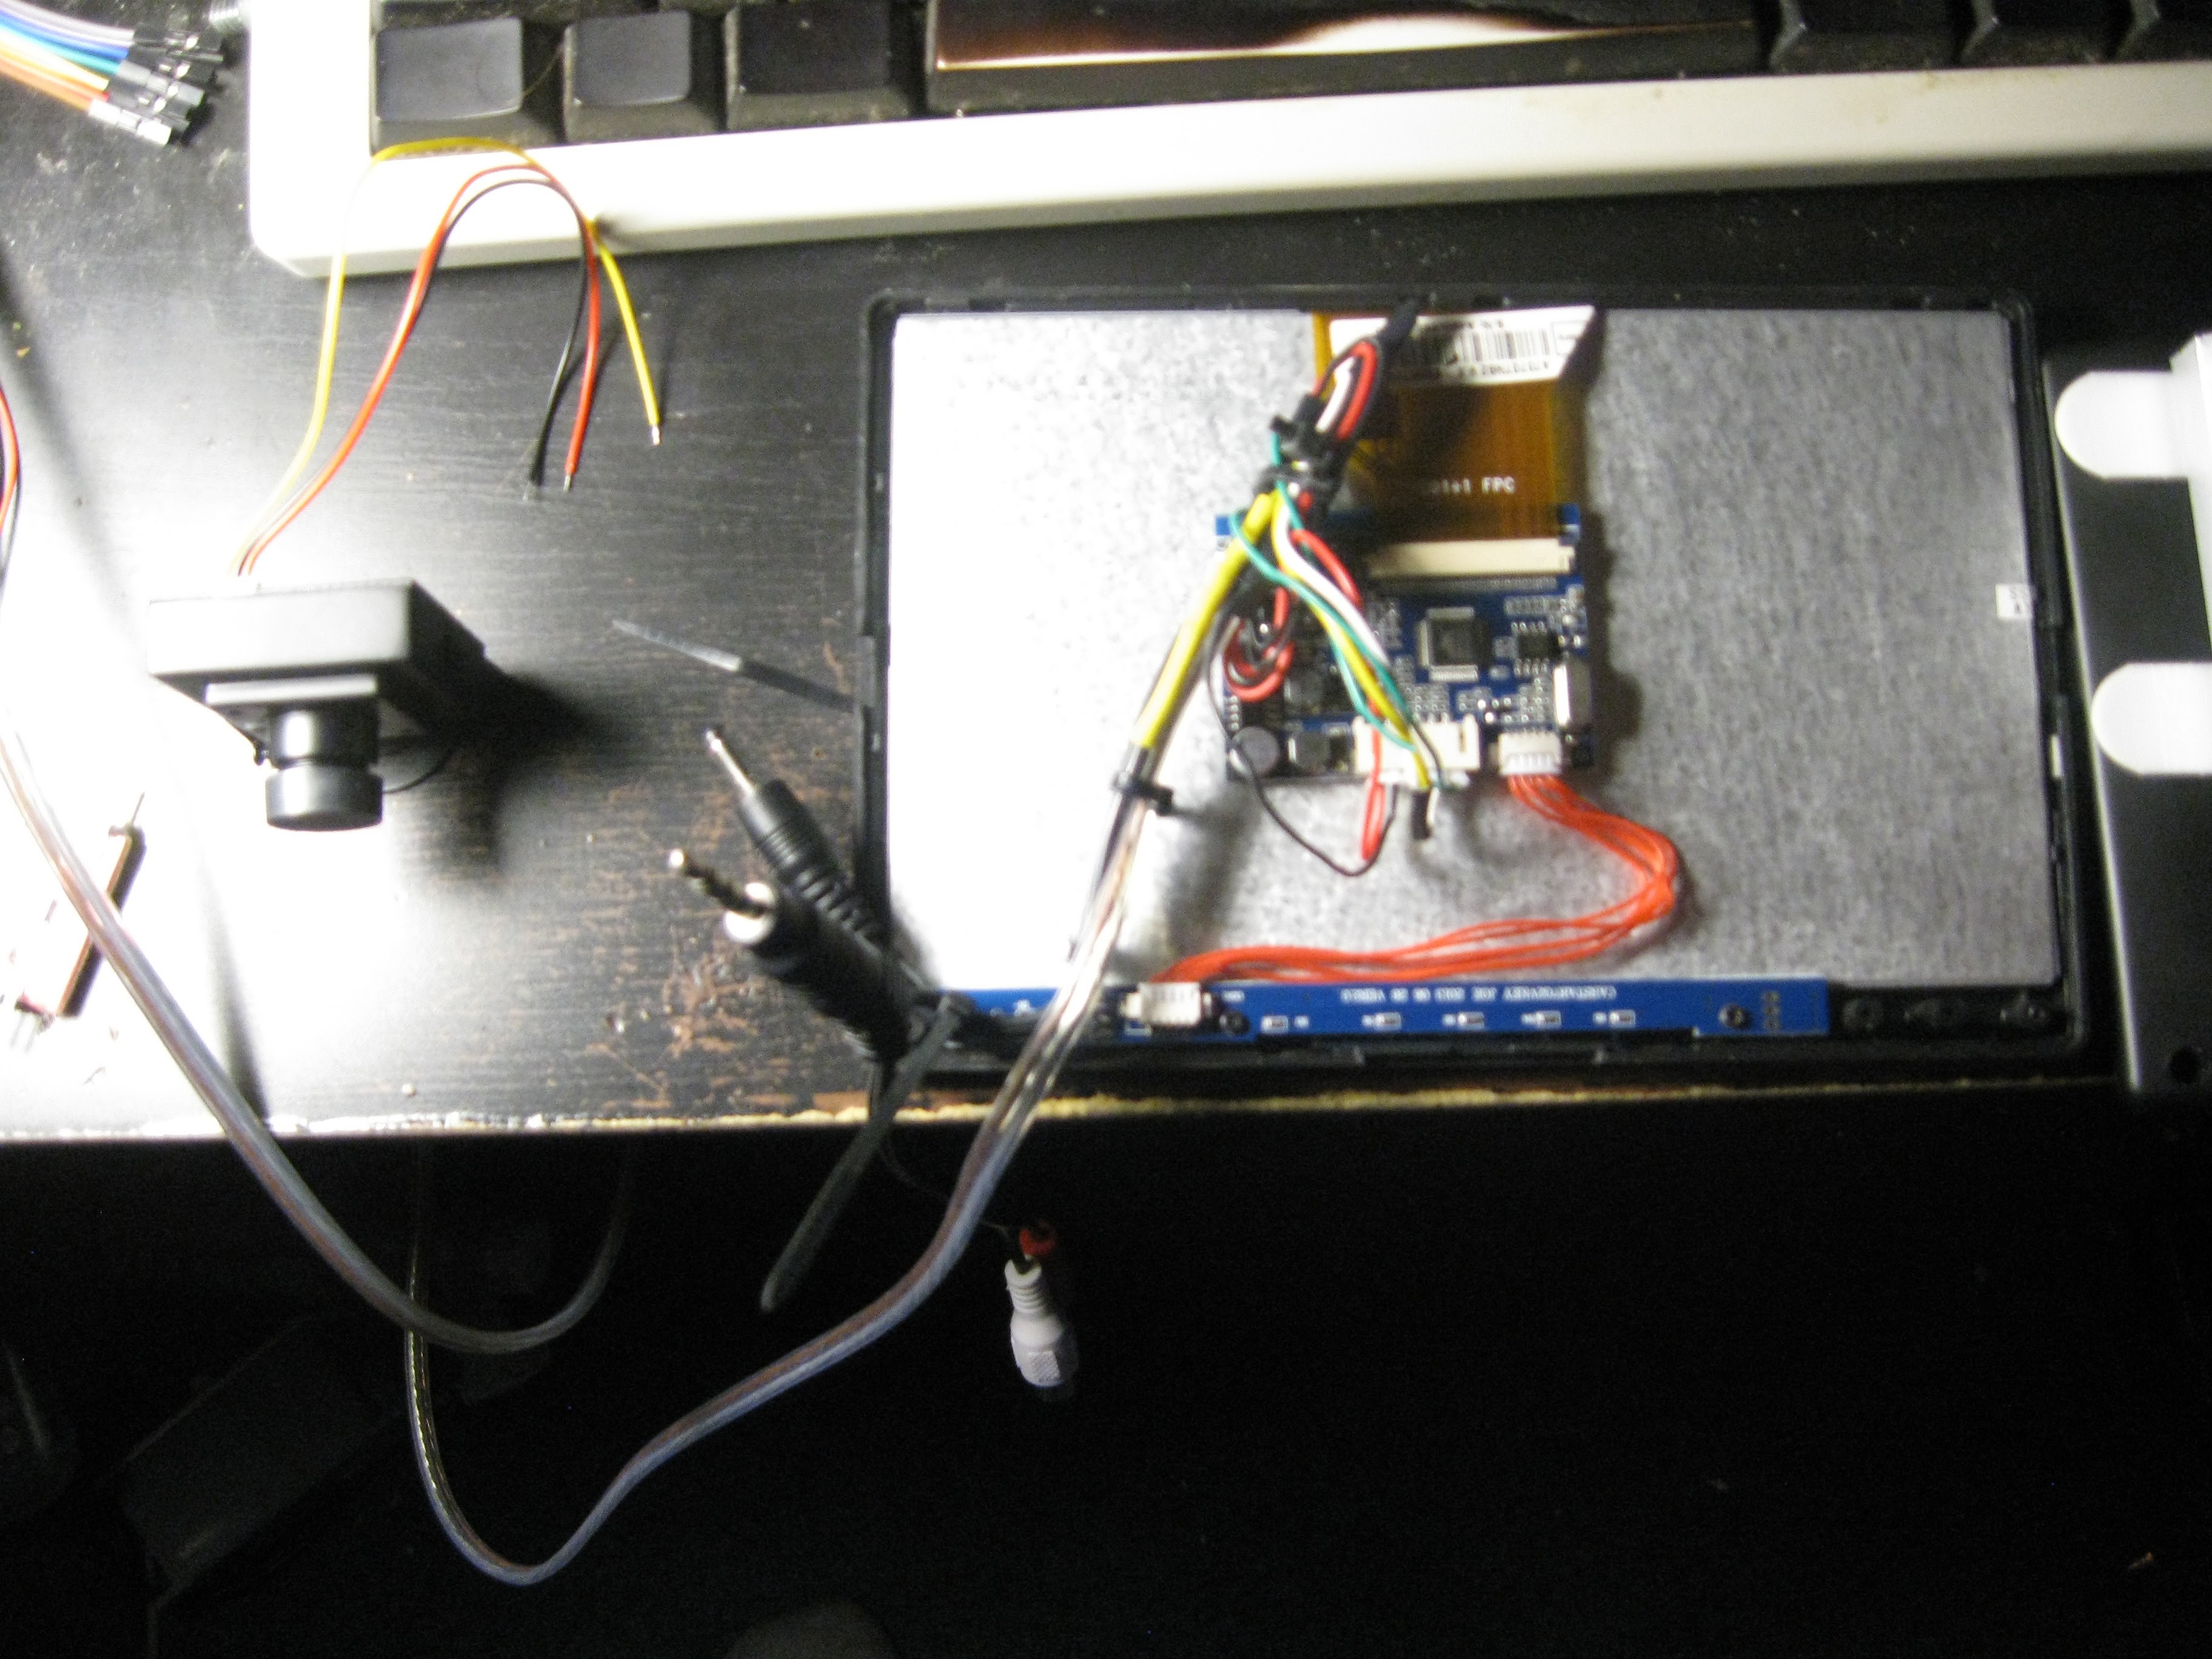
11/11/2015 at 01:13 • 3 commentsLast week I soldered up and tested my FPV screen. This screen gives me the video feed with telemetry data overlayed from the quadcopter's camera. The transmitter and receiver are the generic PAL 5.8GHZ analog set you can find on ebay or alibaba. This test was merely just a power on test, to test the screen wiring, in a later post I will show the transmitter and camera working.
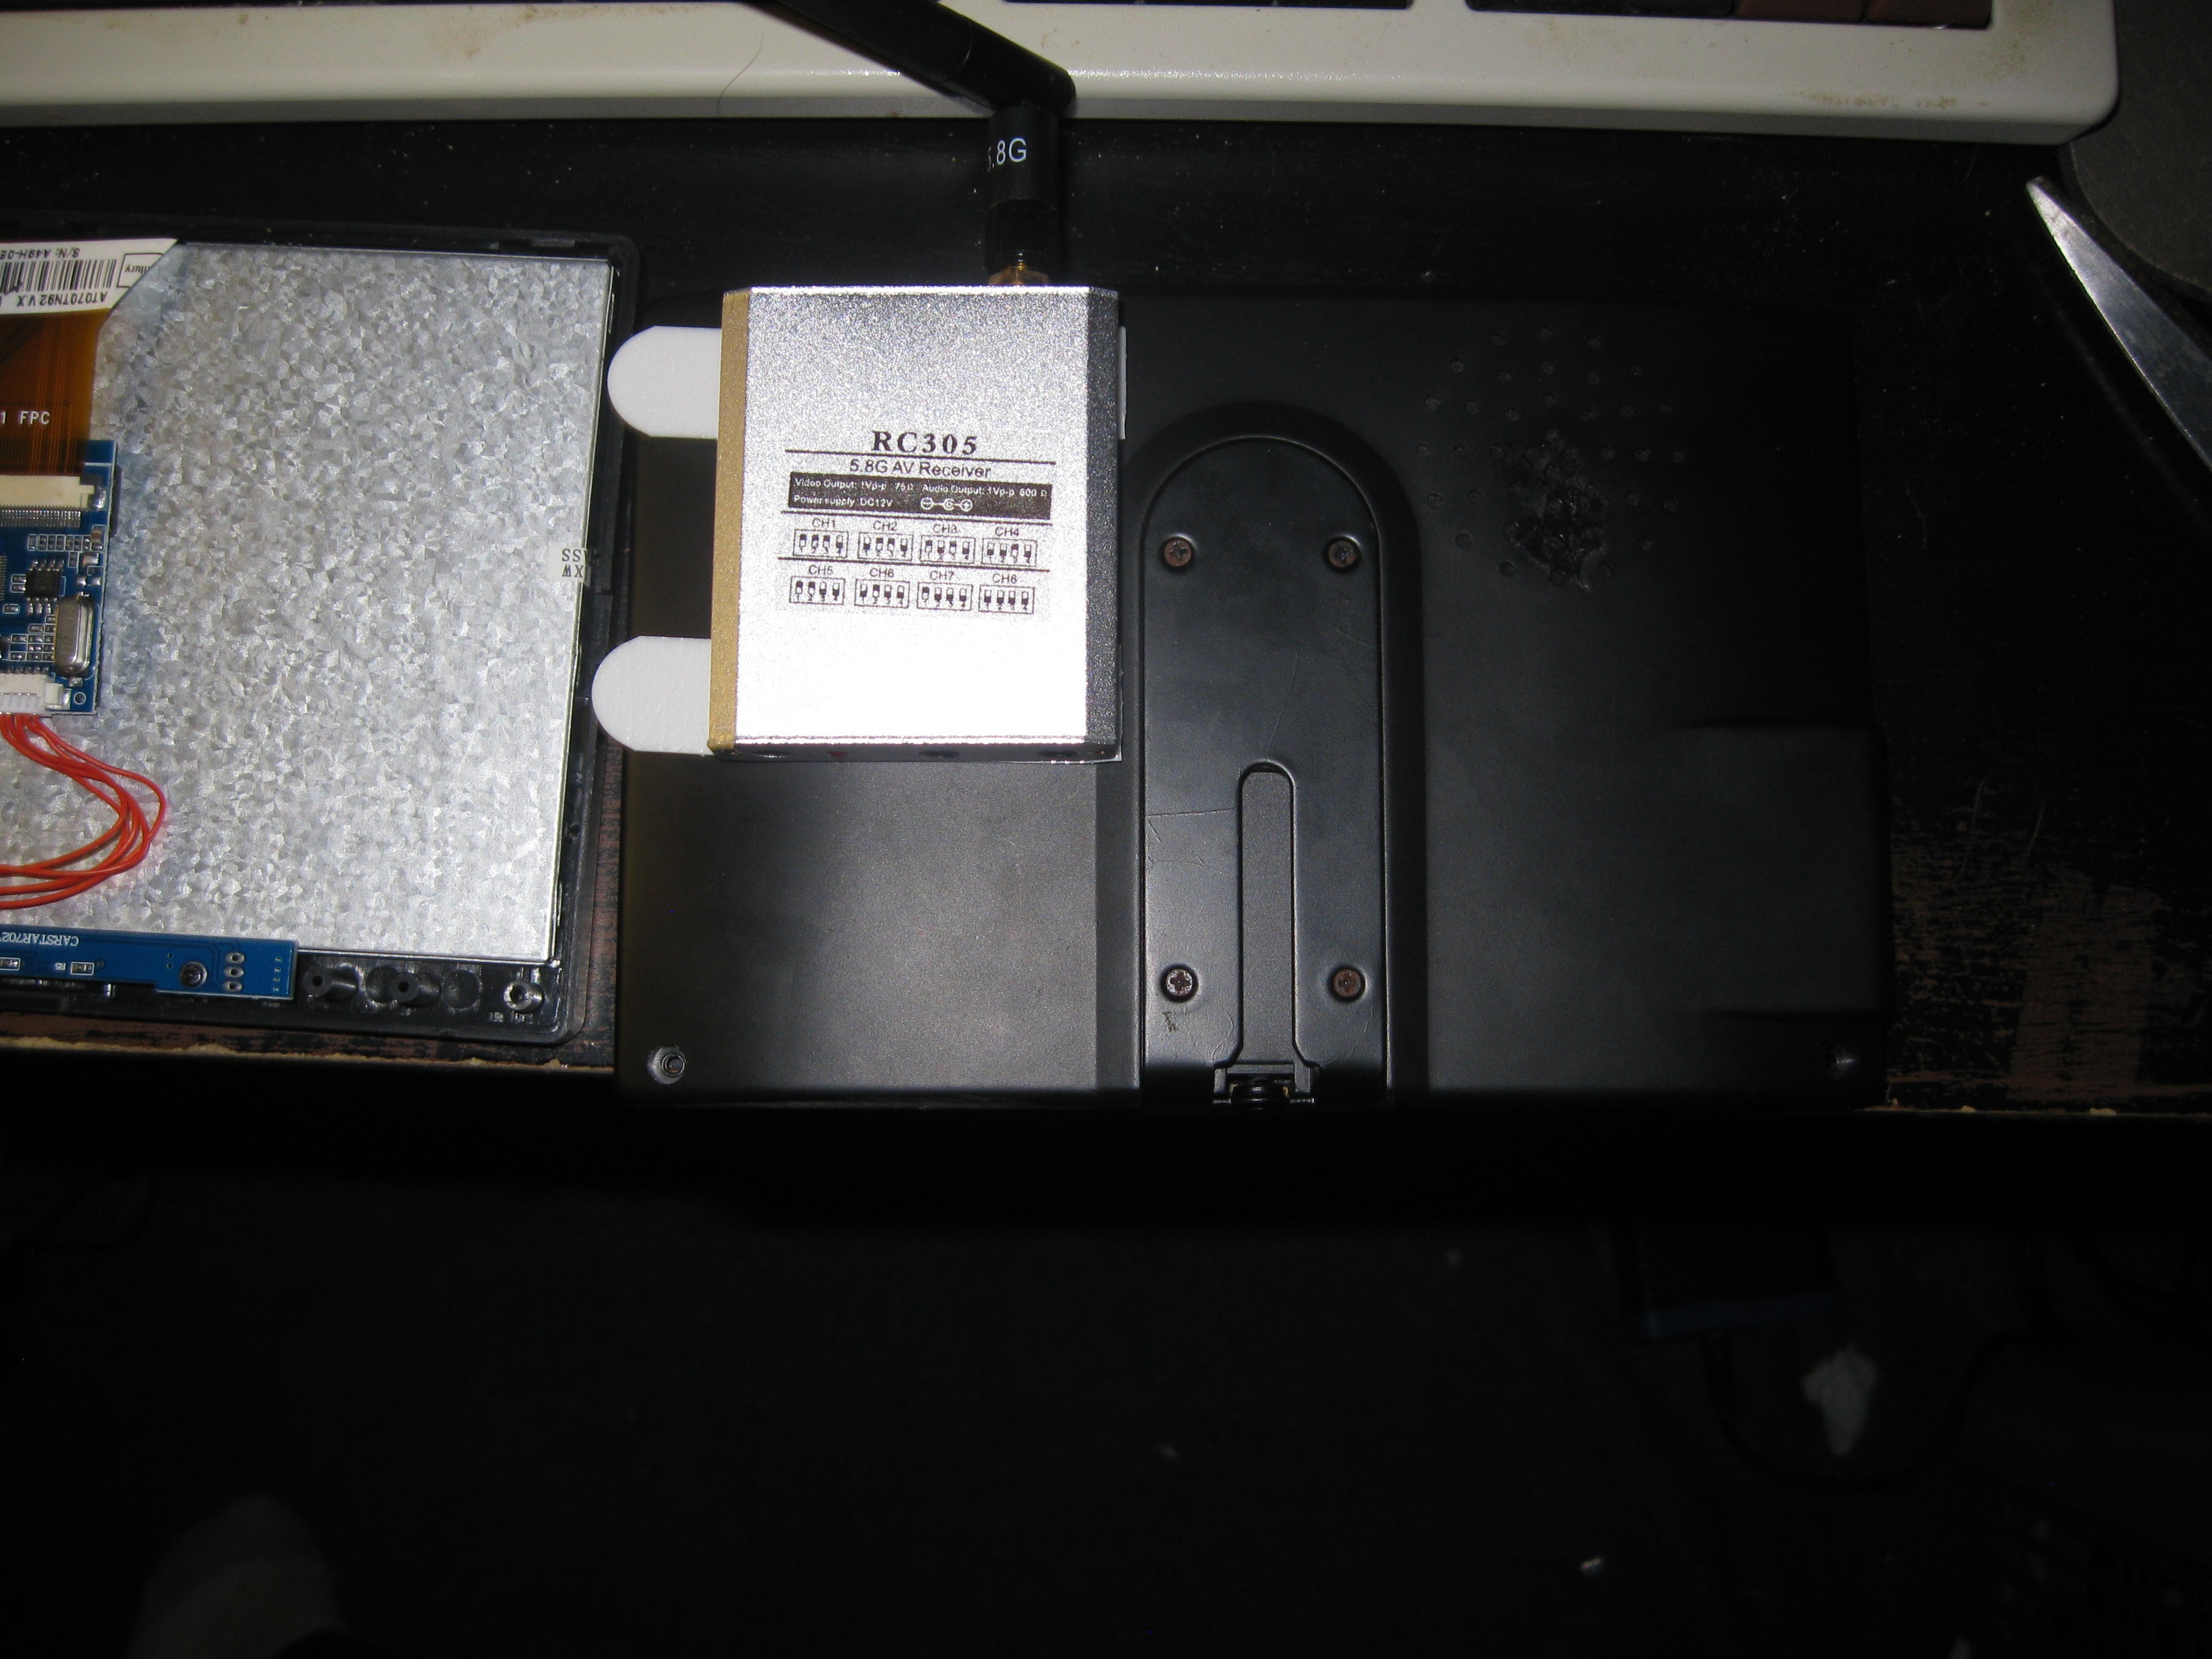
Back cover of the screen, 5.8GHZ PAL receiver attached with command strips, eventually going to make a 3D printed casing to graft to the back of the screen for mounting the PCB of the receiver sans case.
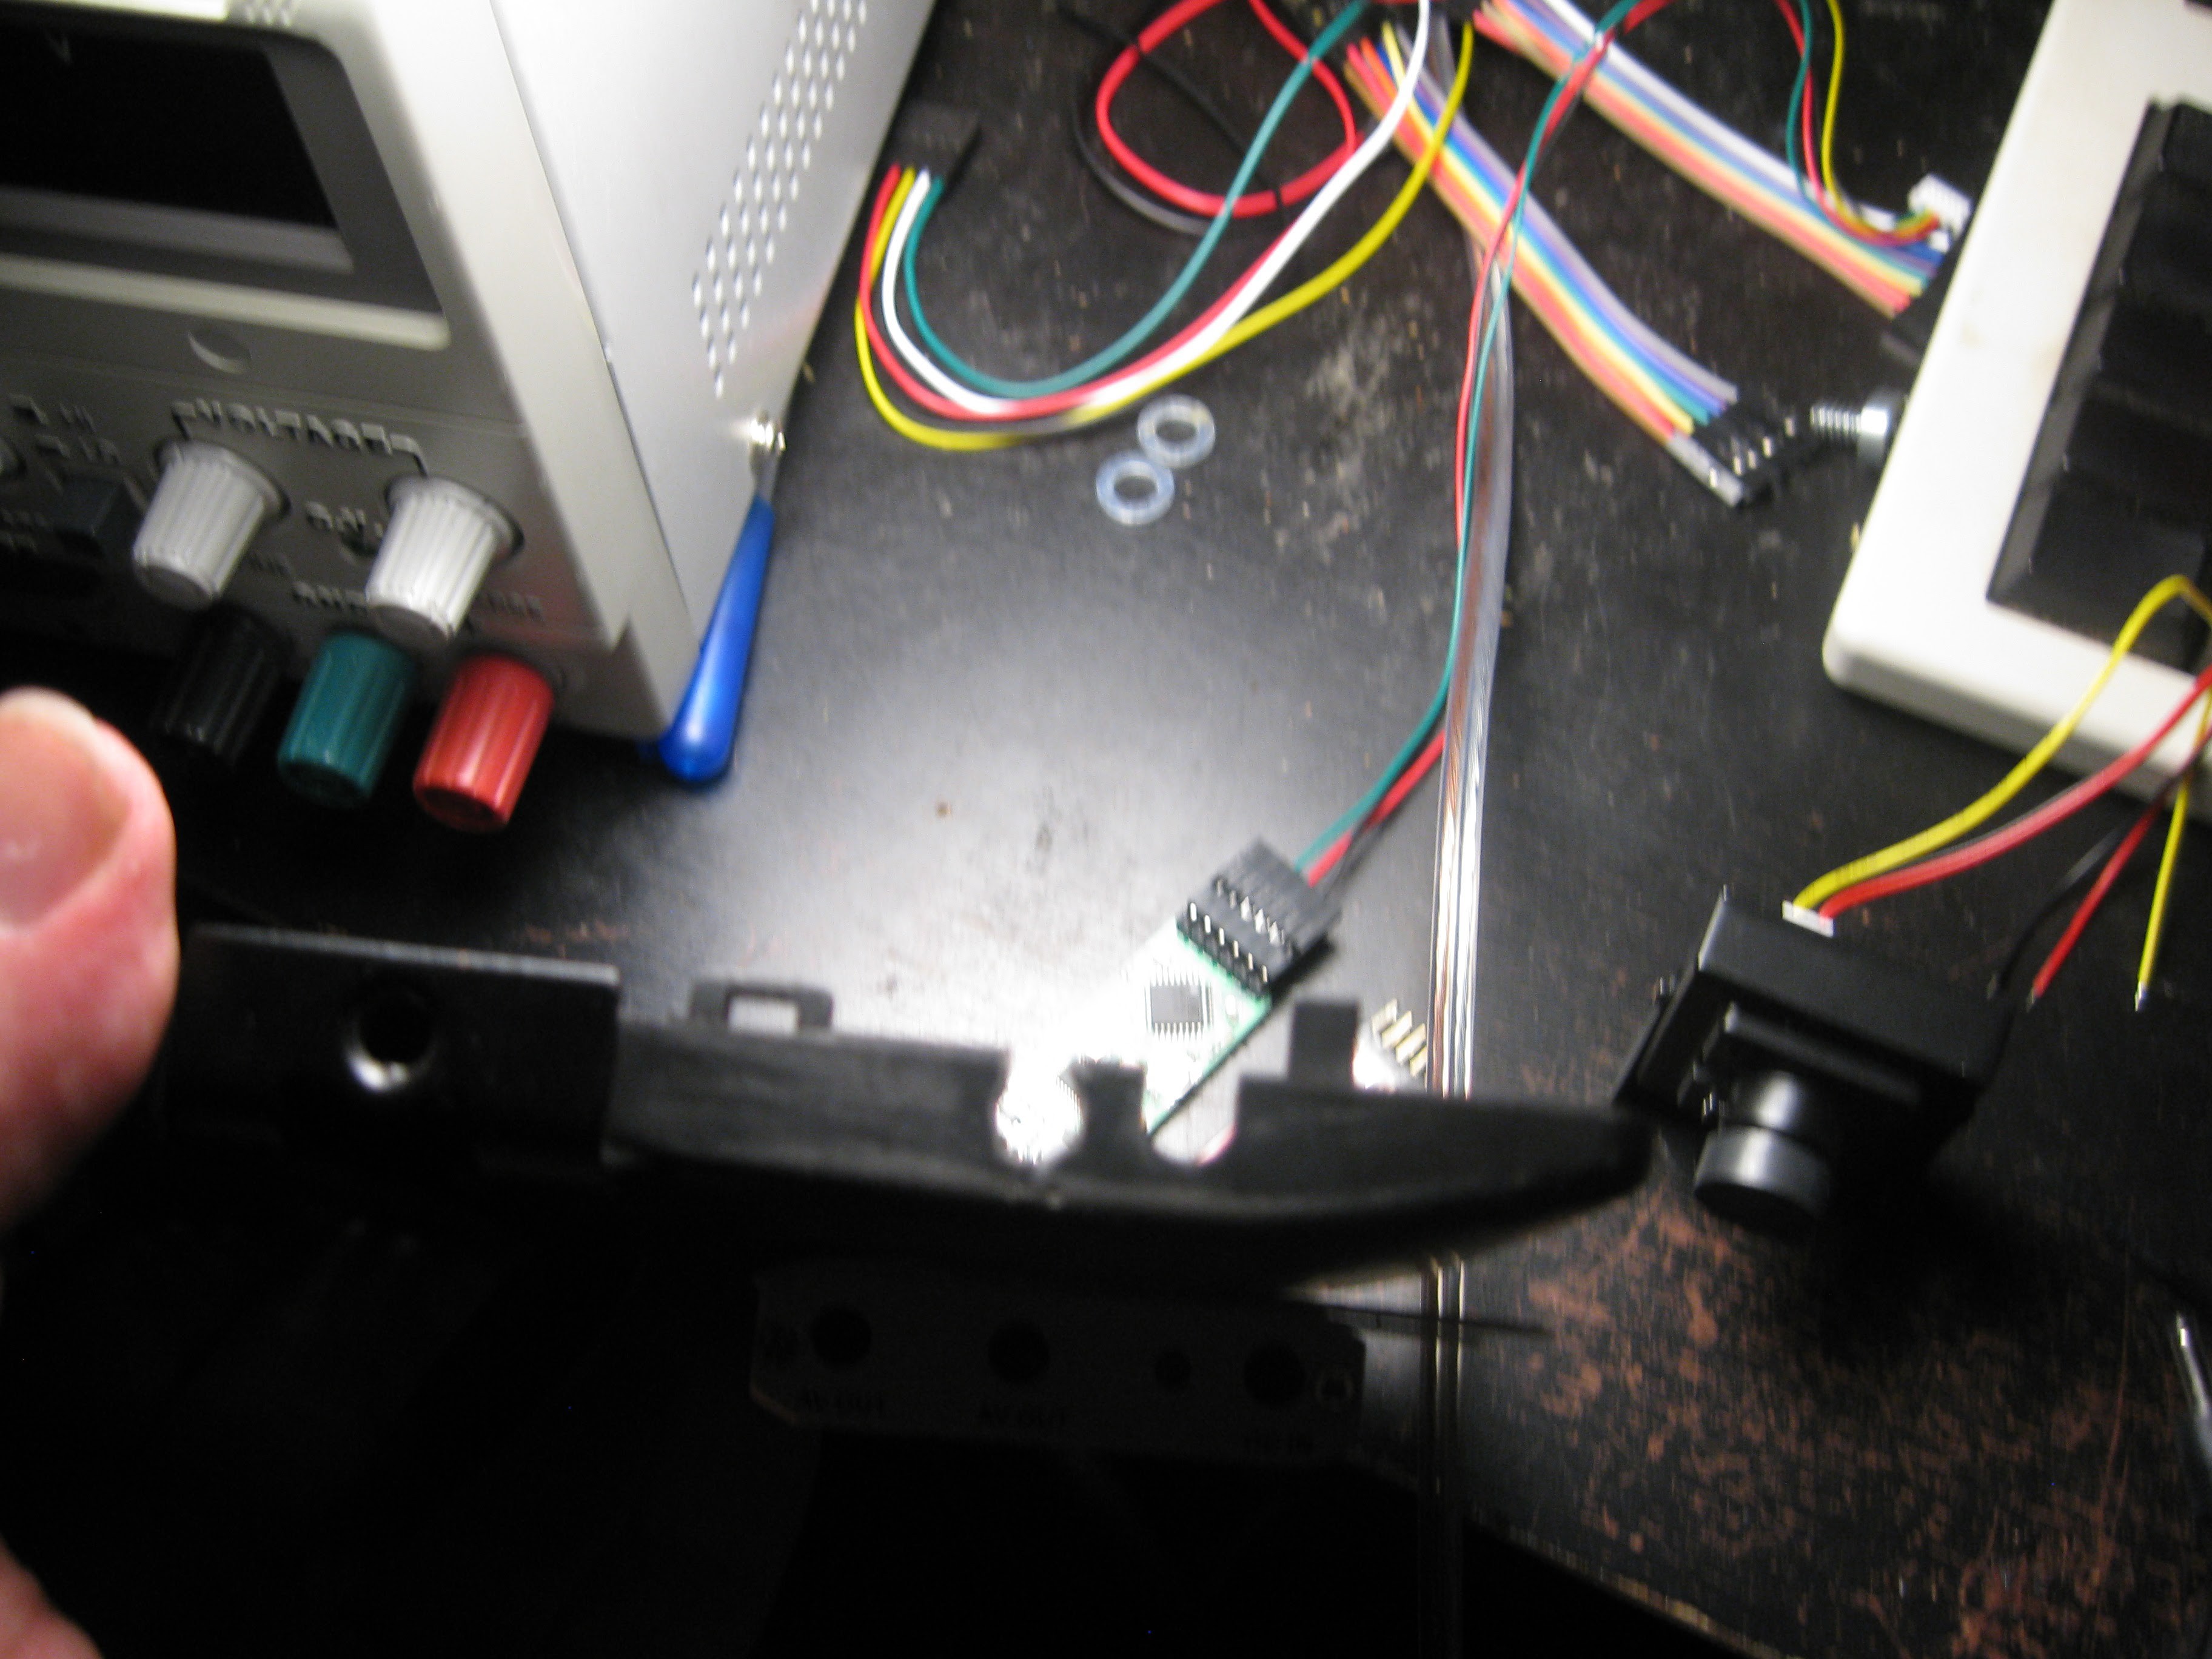
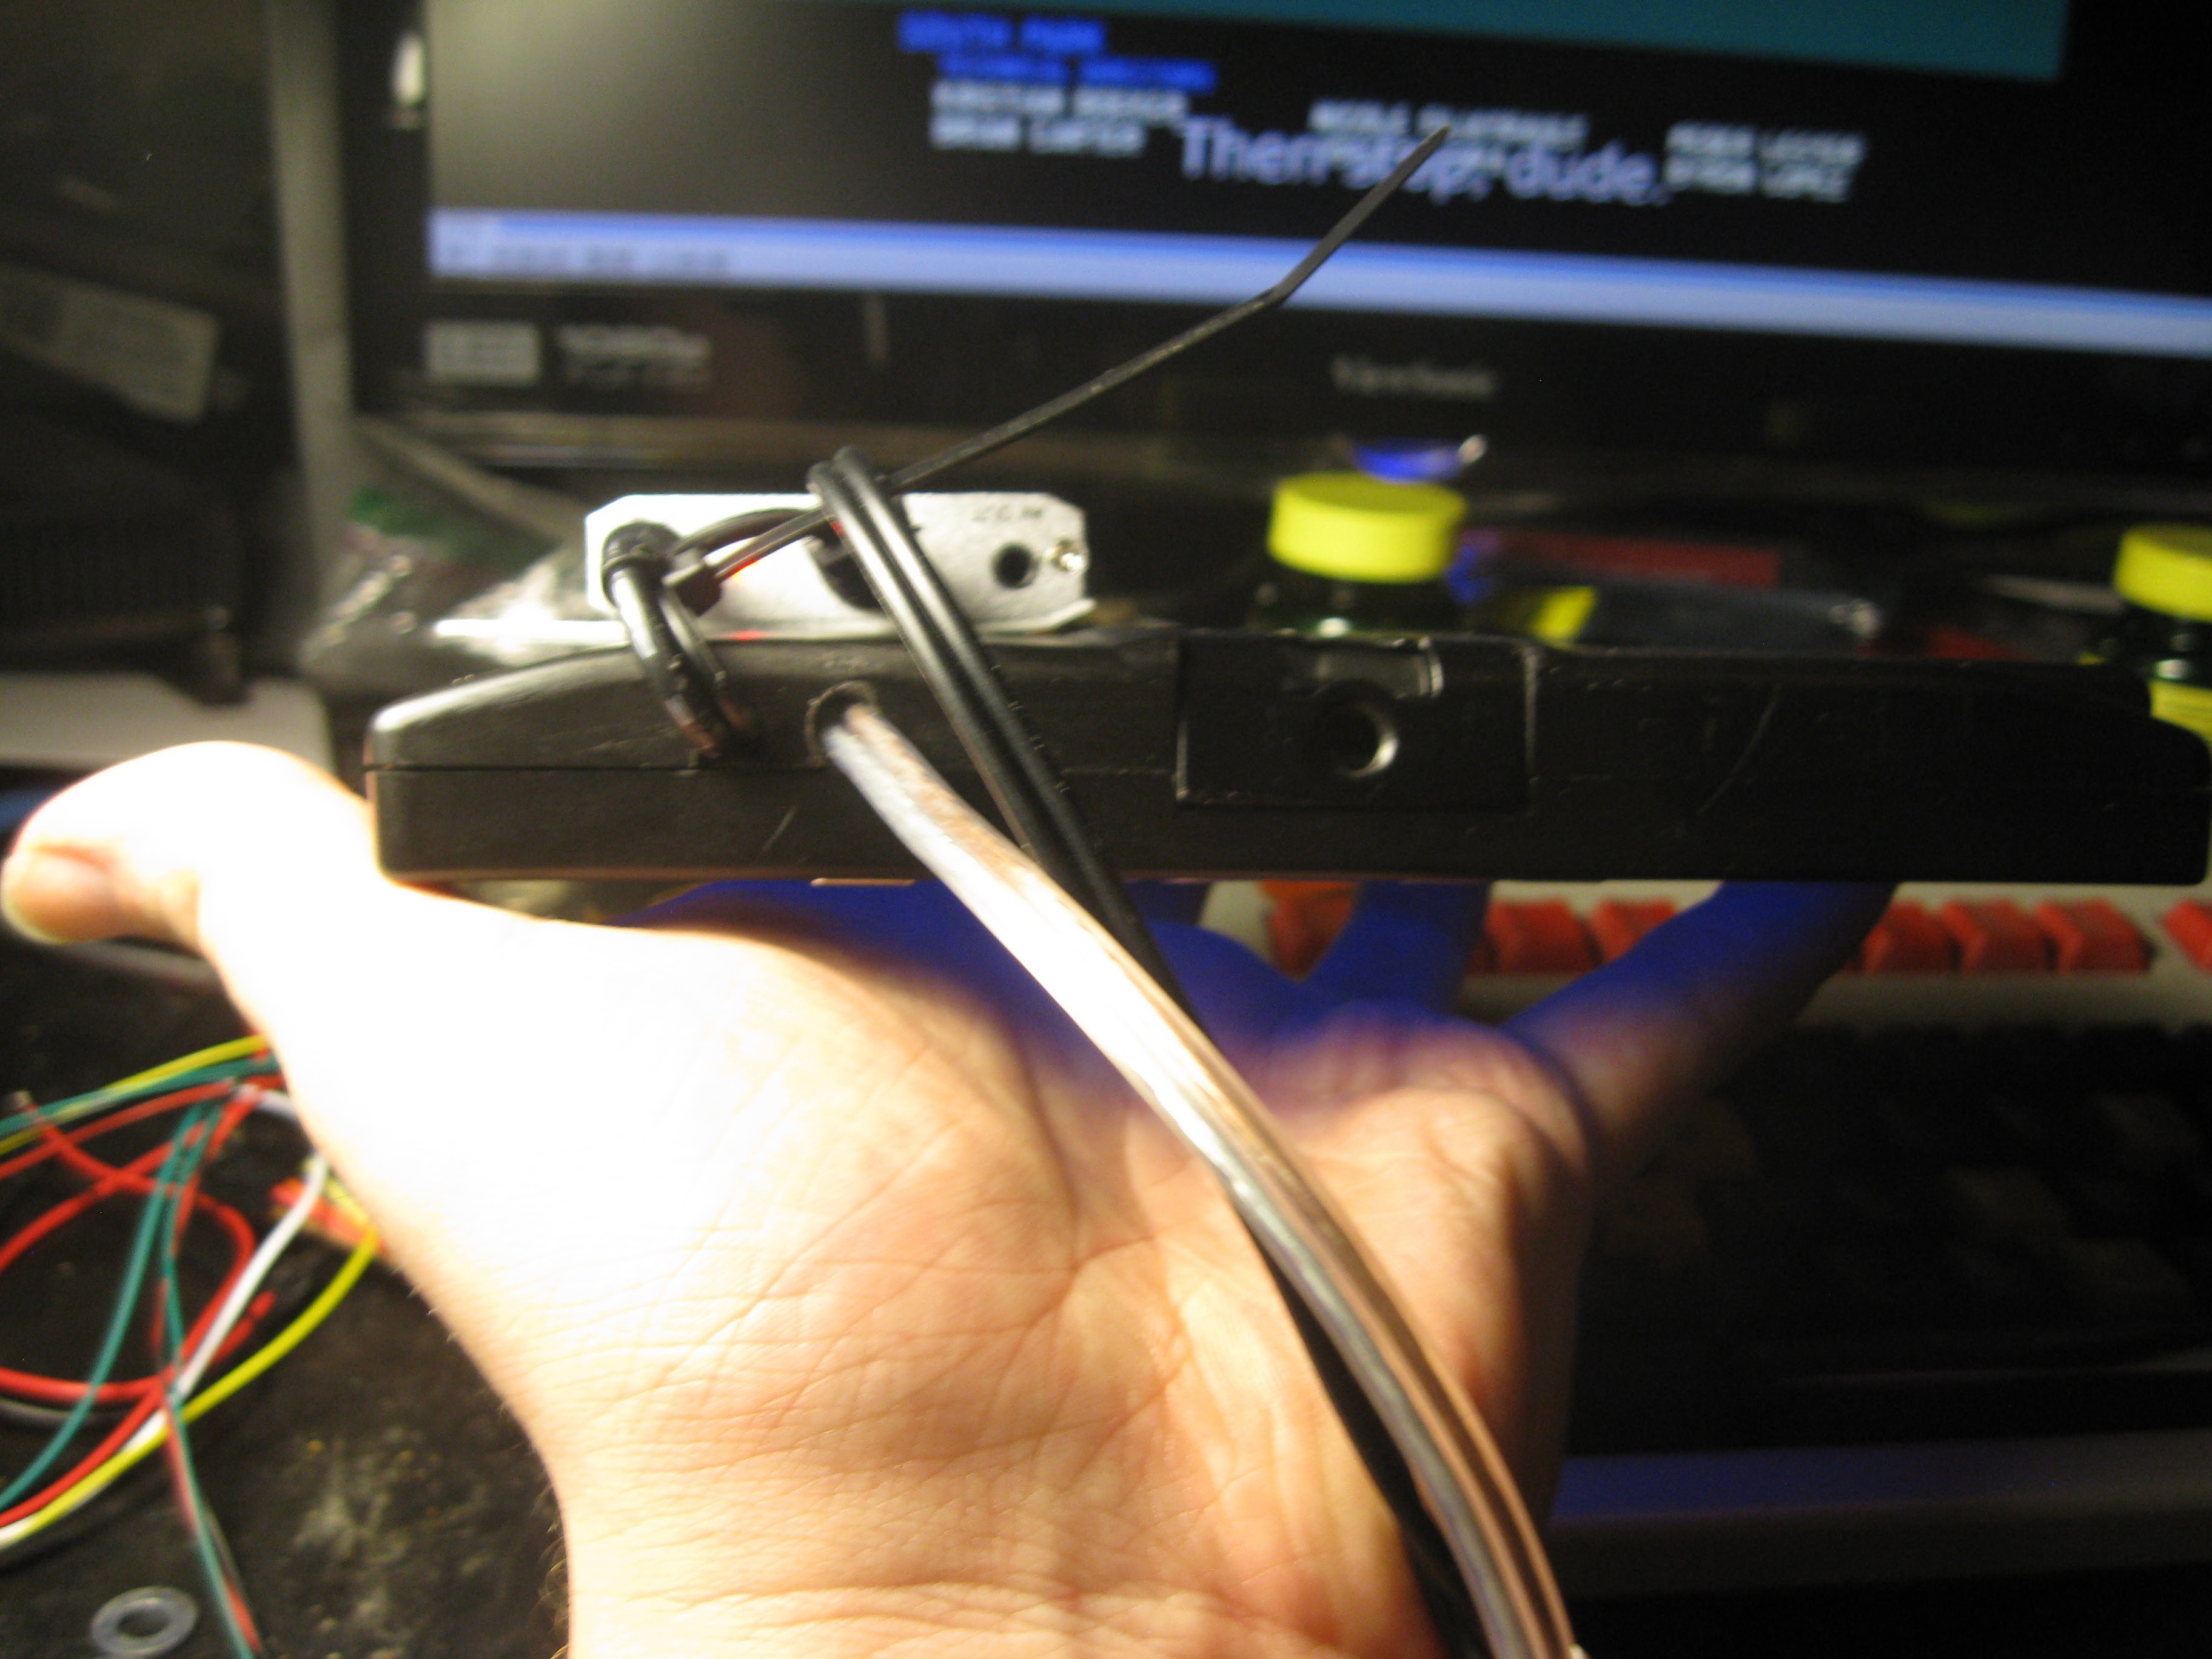
Second hole drilled in place next to stock video cable hole. The second hole is for the power cable that will connect to a battery, the cable is long so the battery can be placed in my back pocket.
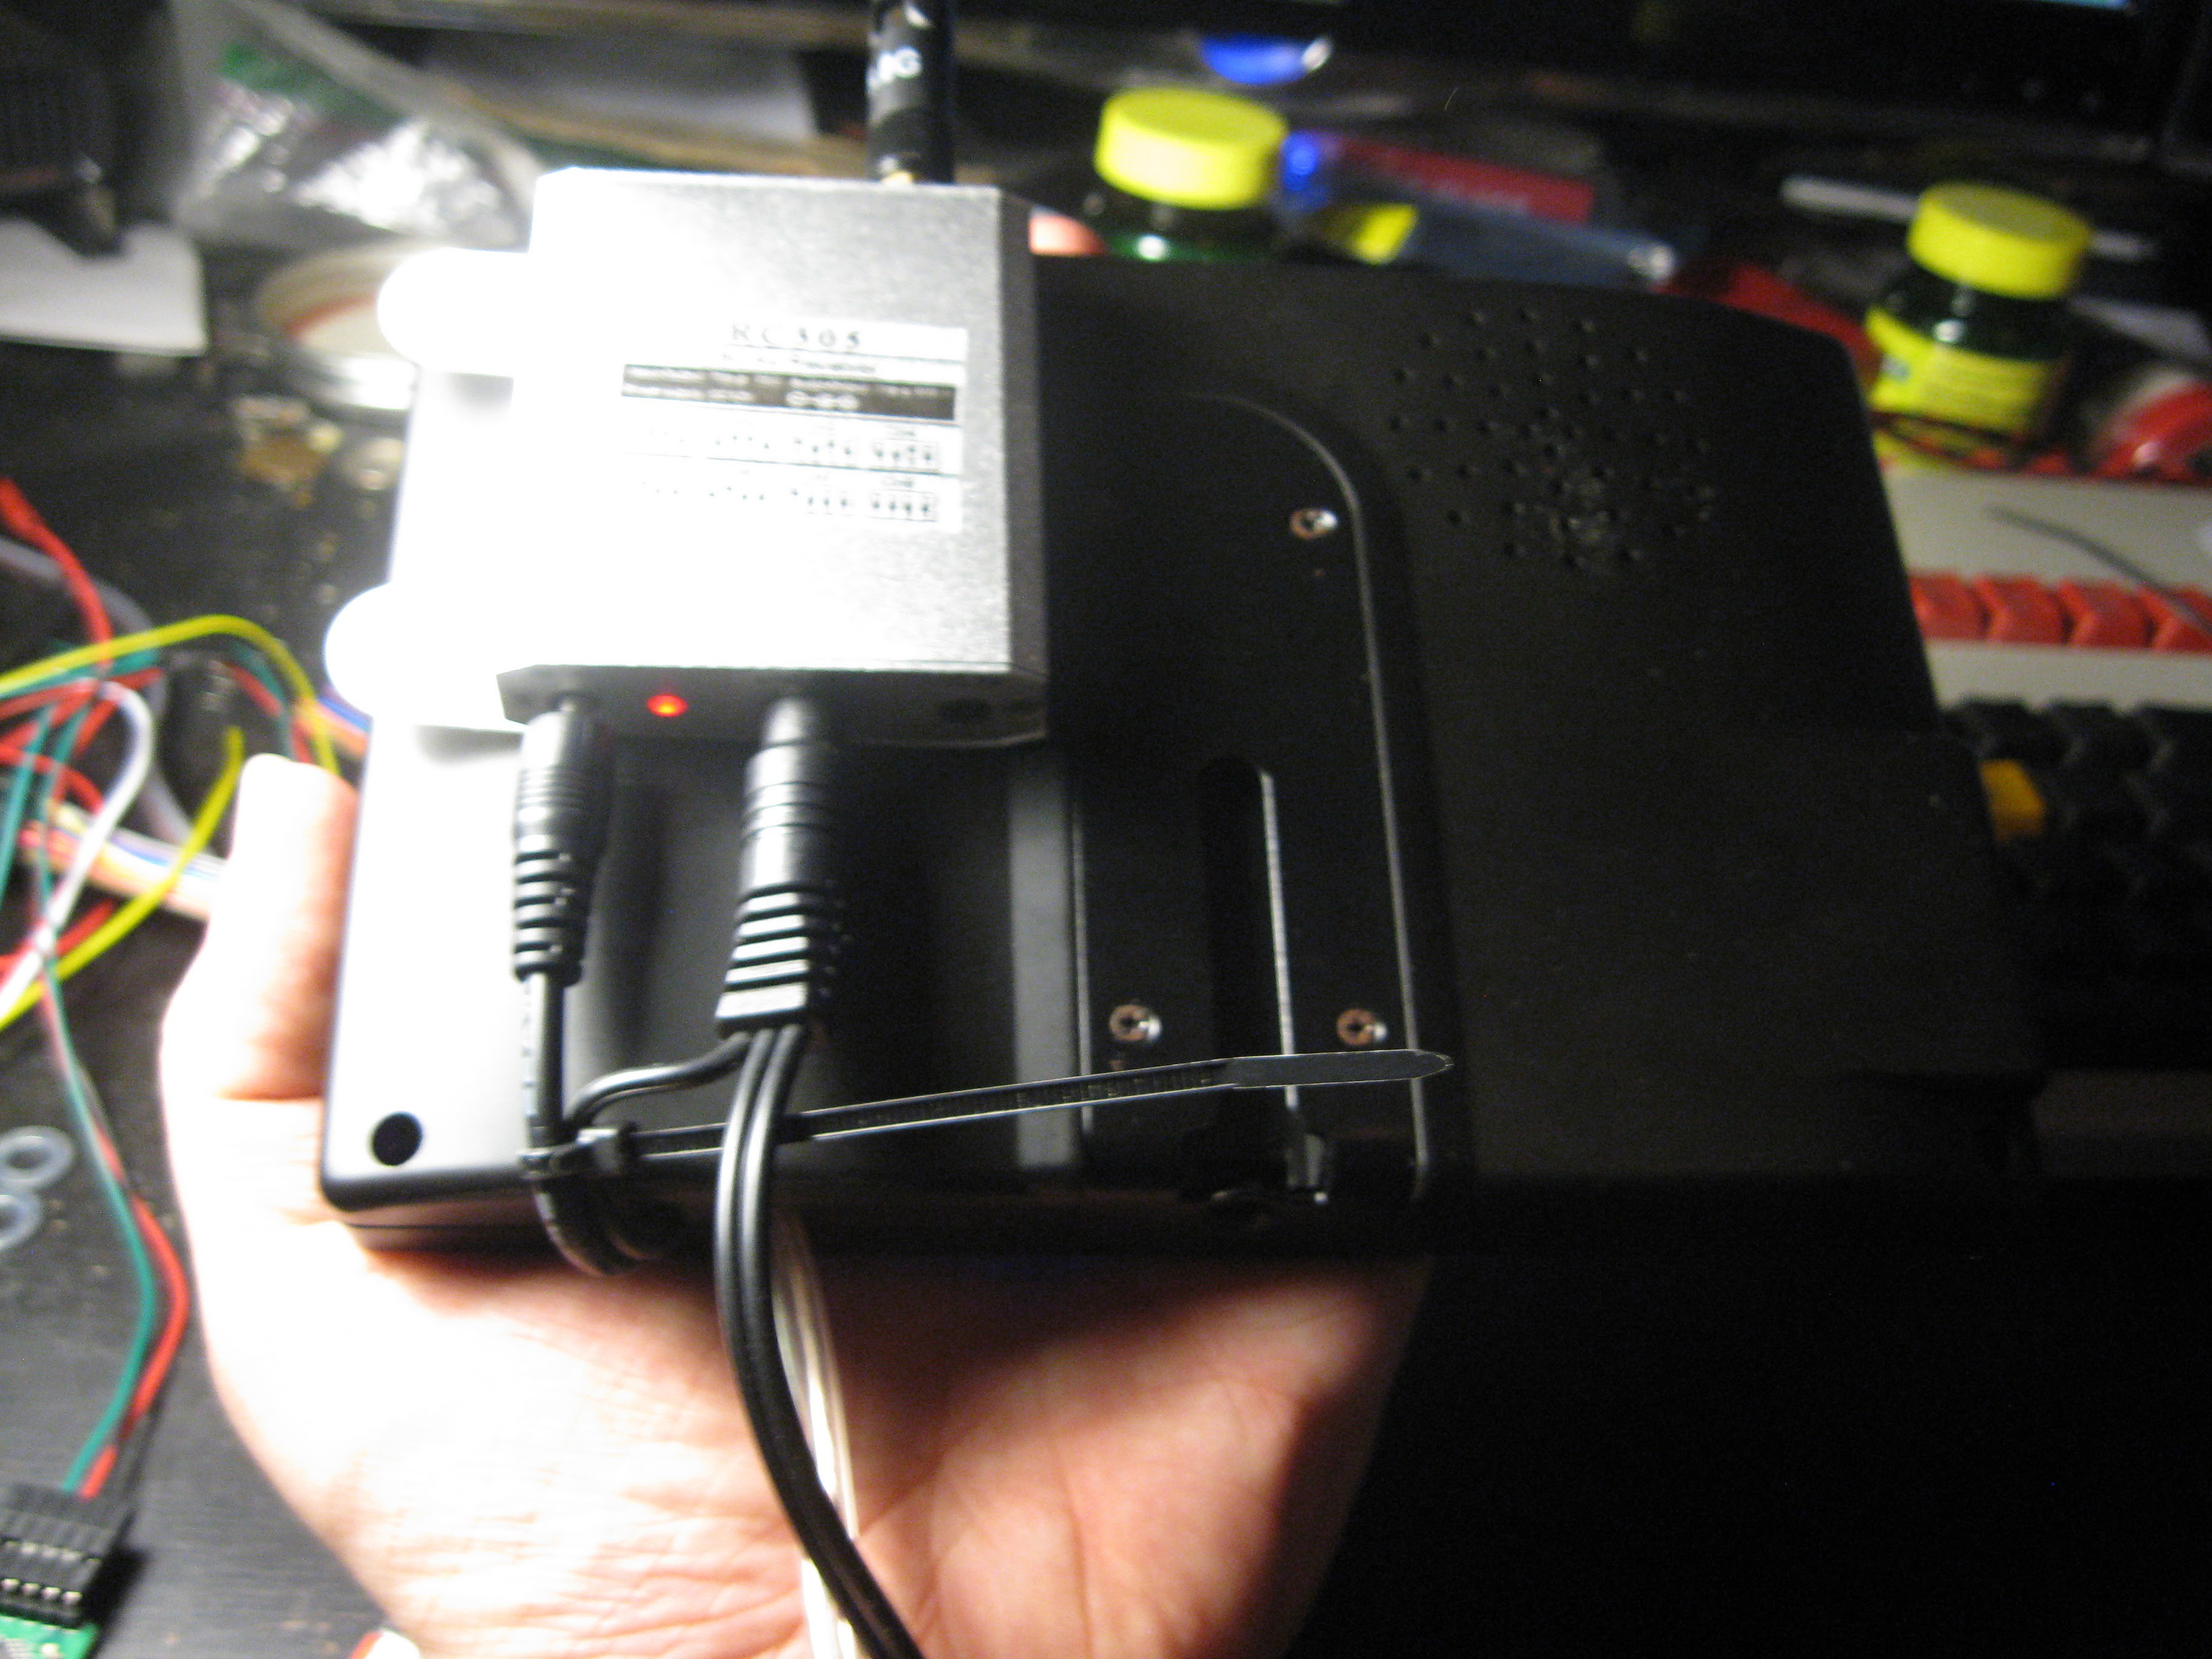
All put back together and powered on. Note red LED on 5.8GHZ receiver.
Bottom view, showing wiring from radio receiver into screen, and power cable.
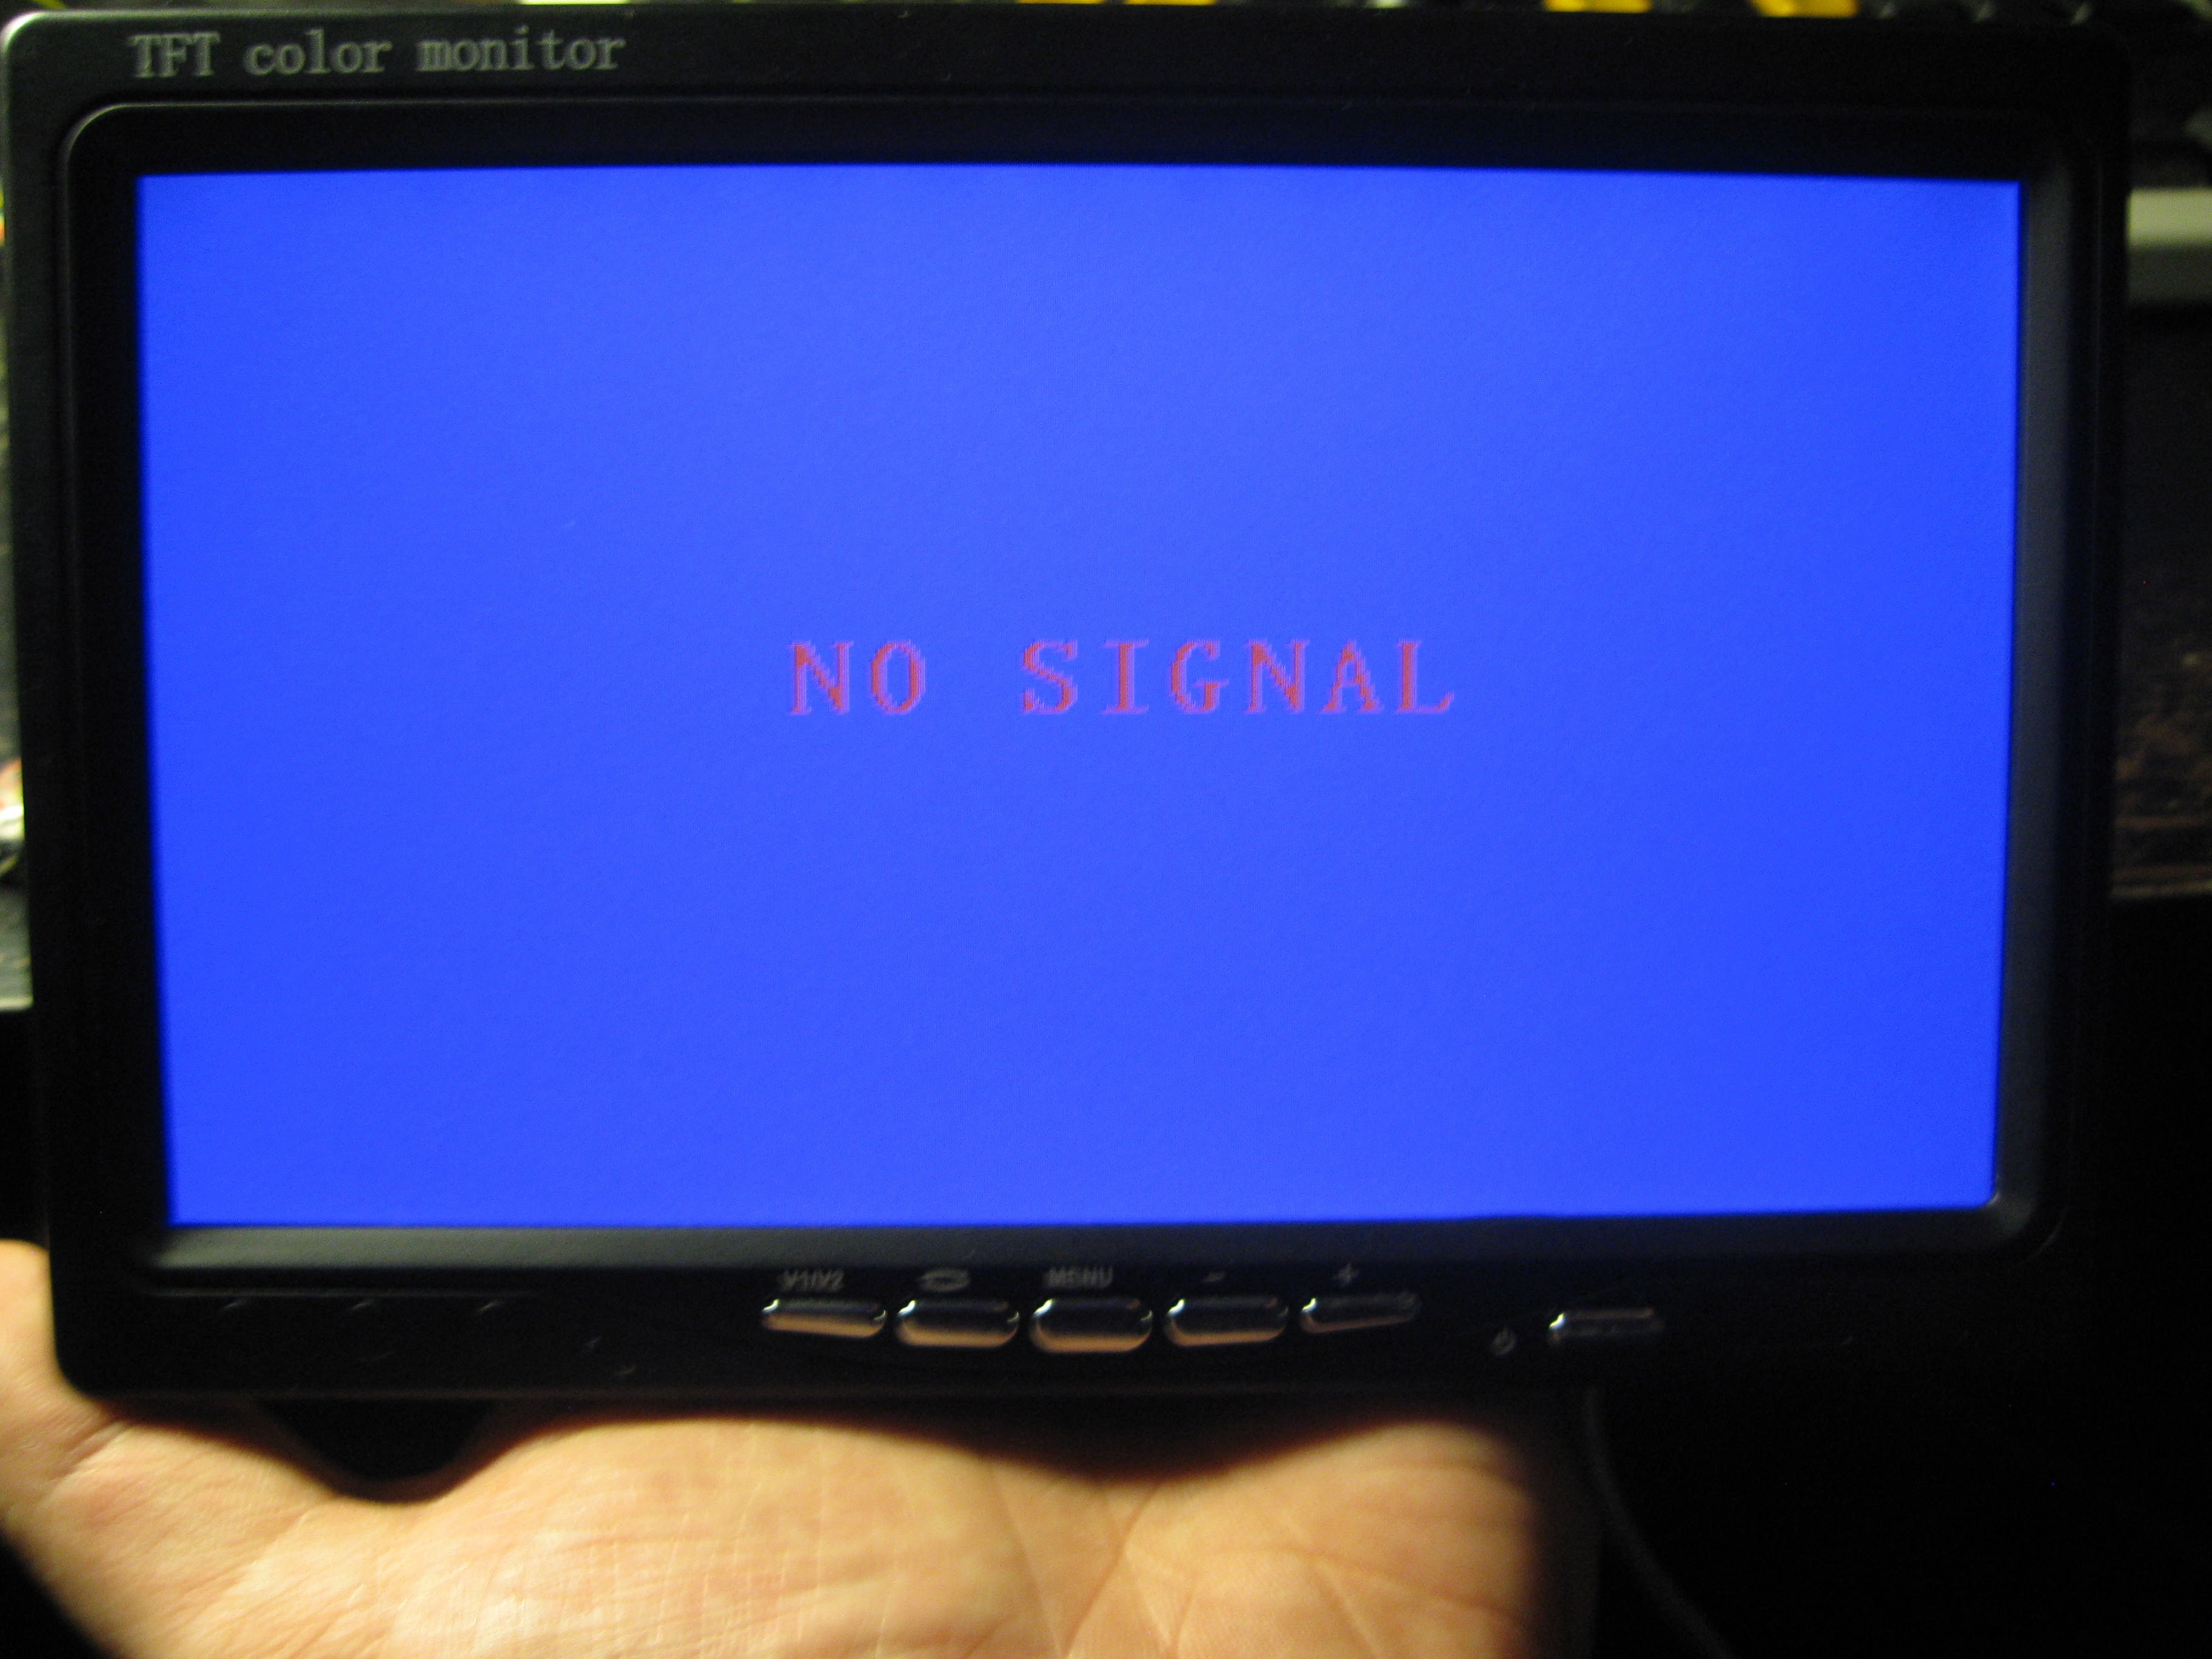
Default screen when no signal is detected on the input. The screen has two analog inputs switchable by the buttons on the front or included remote.
Thats all for the screen test, radio and camera test in next update.
-
In the Sky Soon
10/11/2015 at 03:23 • 0 commentsSo there aren't too many updates or logs for this project mostly because it took about a day to assemble the damn thing a second day to correct some of the soldering and then placed on the backburner while I worked on other things. Anyways I plan on getting the props balanced when my balancing tool comes in this week and hope to be in the sky by the end of the week.
S500 Quadcopter Build
A Project page for my S500 frame and APM2.6 Quadcopter build, with WiFi firmware loading via ESP8266
 AVR
AVR