 Stephen M
Hello Everyone,
I haven't updated recently because I've been focusing my time on working on the project. Normally I update when I hit a roadblock, but in this case I just hit a milestone!
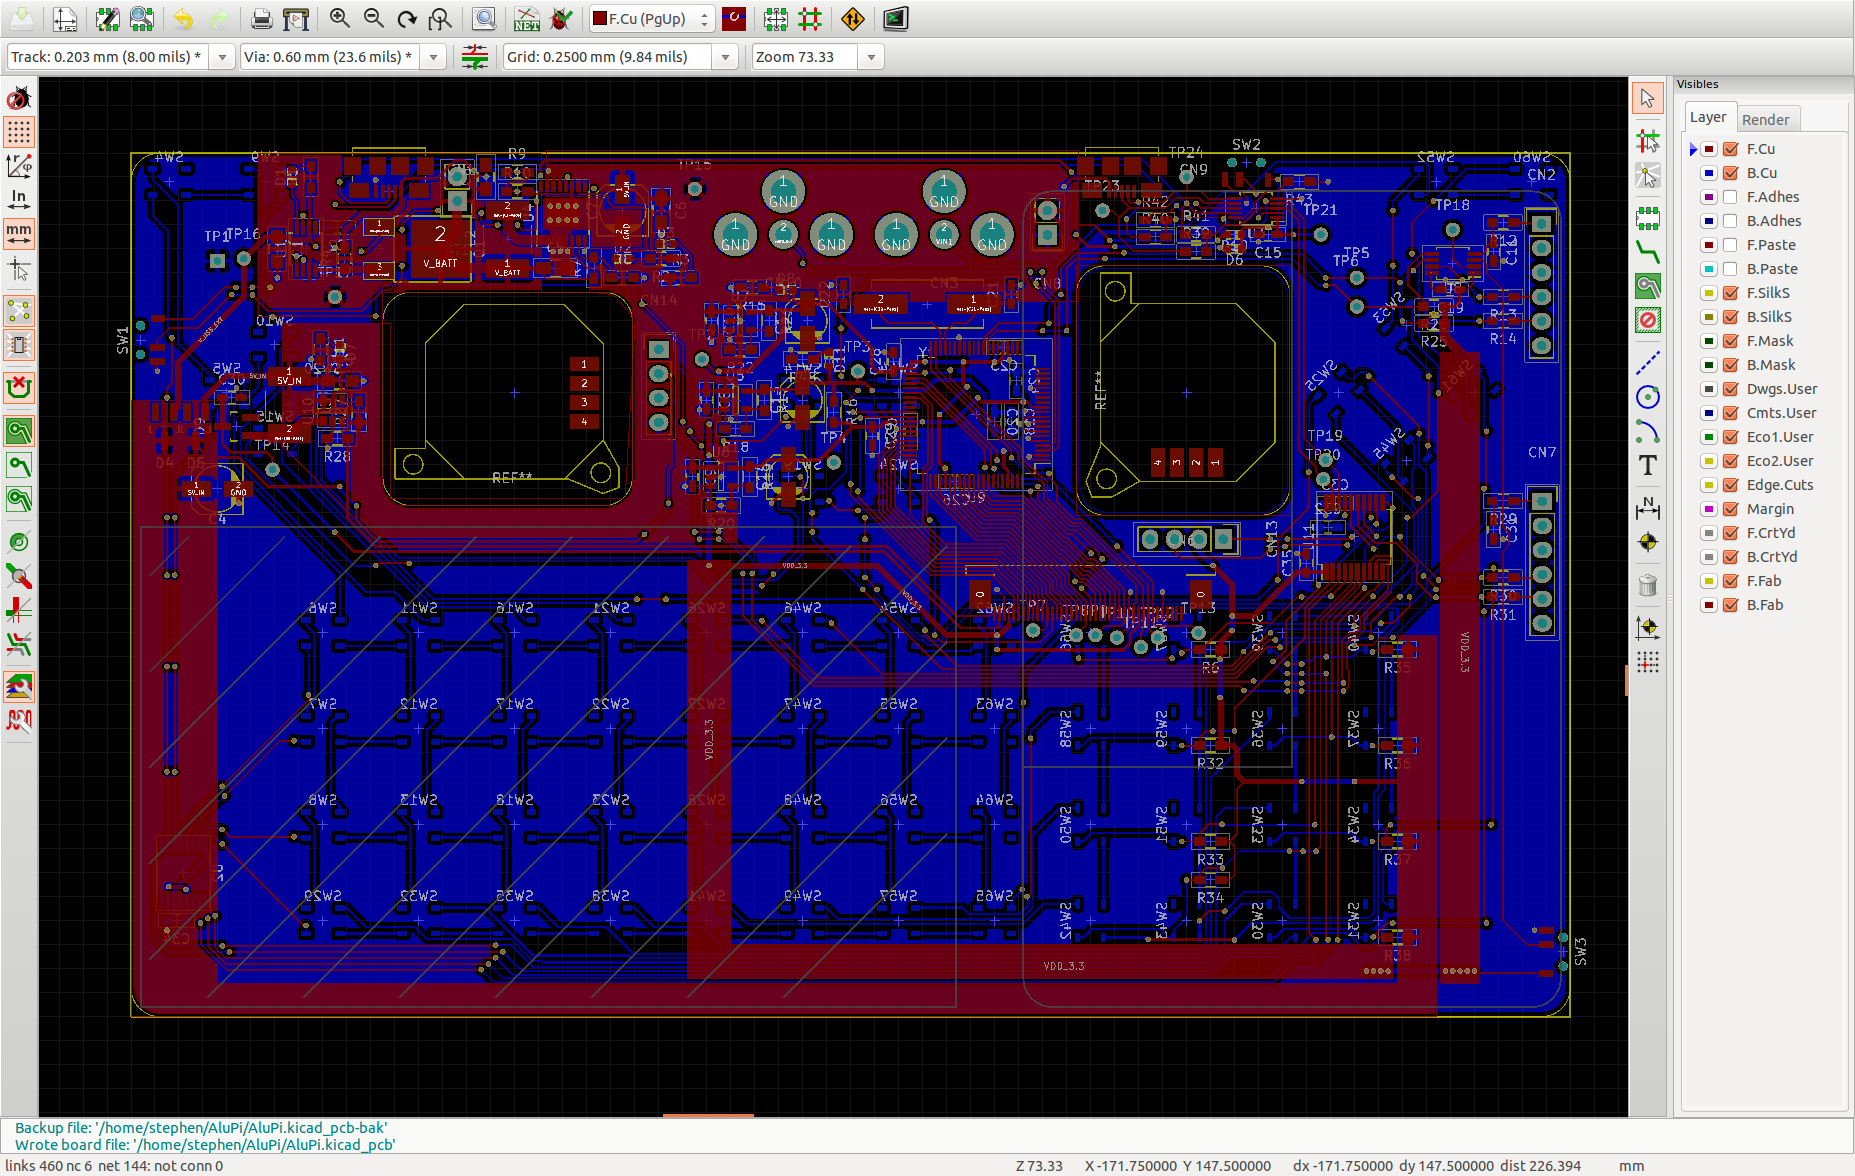
I finished a preliminary version of the the schematic Friday June 5th. I spent that weekend building up a mouser cart with the parts, and modifying the schematic to better match the availability and cost of components. This took way longer than I anticipated, and resulted in a completely different battery charging circuit, battery, analog nubs, and many other things.
Initially I was planning on making a prototype circuit board with no mechanical constraints so that I could get a smaller, cheaper board (100mm by 100mm) to verify the electrical functionality. That would mean that I would still need to order another board to do mechanical prototyping, and 3rd board to finalize the project. Instead, I decided to go for the full size board from the start (150mm by 90mm) with mechanical constraints. This made routing very difficult.
#Start Rant
The analog nubs, battery, buttons, raspberry pi, and the various connectors caused posed mechanical constraints. No components could be placed on the top side where the battery will sit. No components could be near the push buttons on the bottom of the board. The clearance on the bottom of the board is about 3mm. The analog nubs create huge holes in the middle of the board. The LCD connector had to be in a very specific place so that the LCD cable lines up exactly. The LCD driver had to be oriented a particular way so that the data lines wouldn't cross. Lastly, the raspberry pi USB, HDMI, DSI, CSI, and A/V connectors can interfere with the component placement on the top (and their positions aren't that well defined). And then there are the electrical constraints...
#End Rant
There are innumerable things that I could change, but I need to keep moving forward with the project. Major things are: I decided to leave the audio portion of the design to the next board revision, the USB signal integrity will probably be terrible, sub-optimal component placement, and inadequate heat dissipation.
Things that will be changed for this revision will be changing the top right and top left buttons to right angle tact switches, and moving silkscreen designators.
Mechanical Stuff
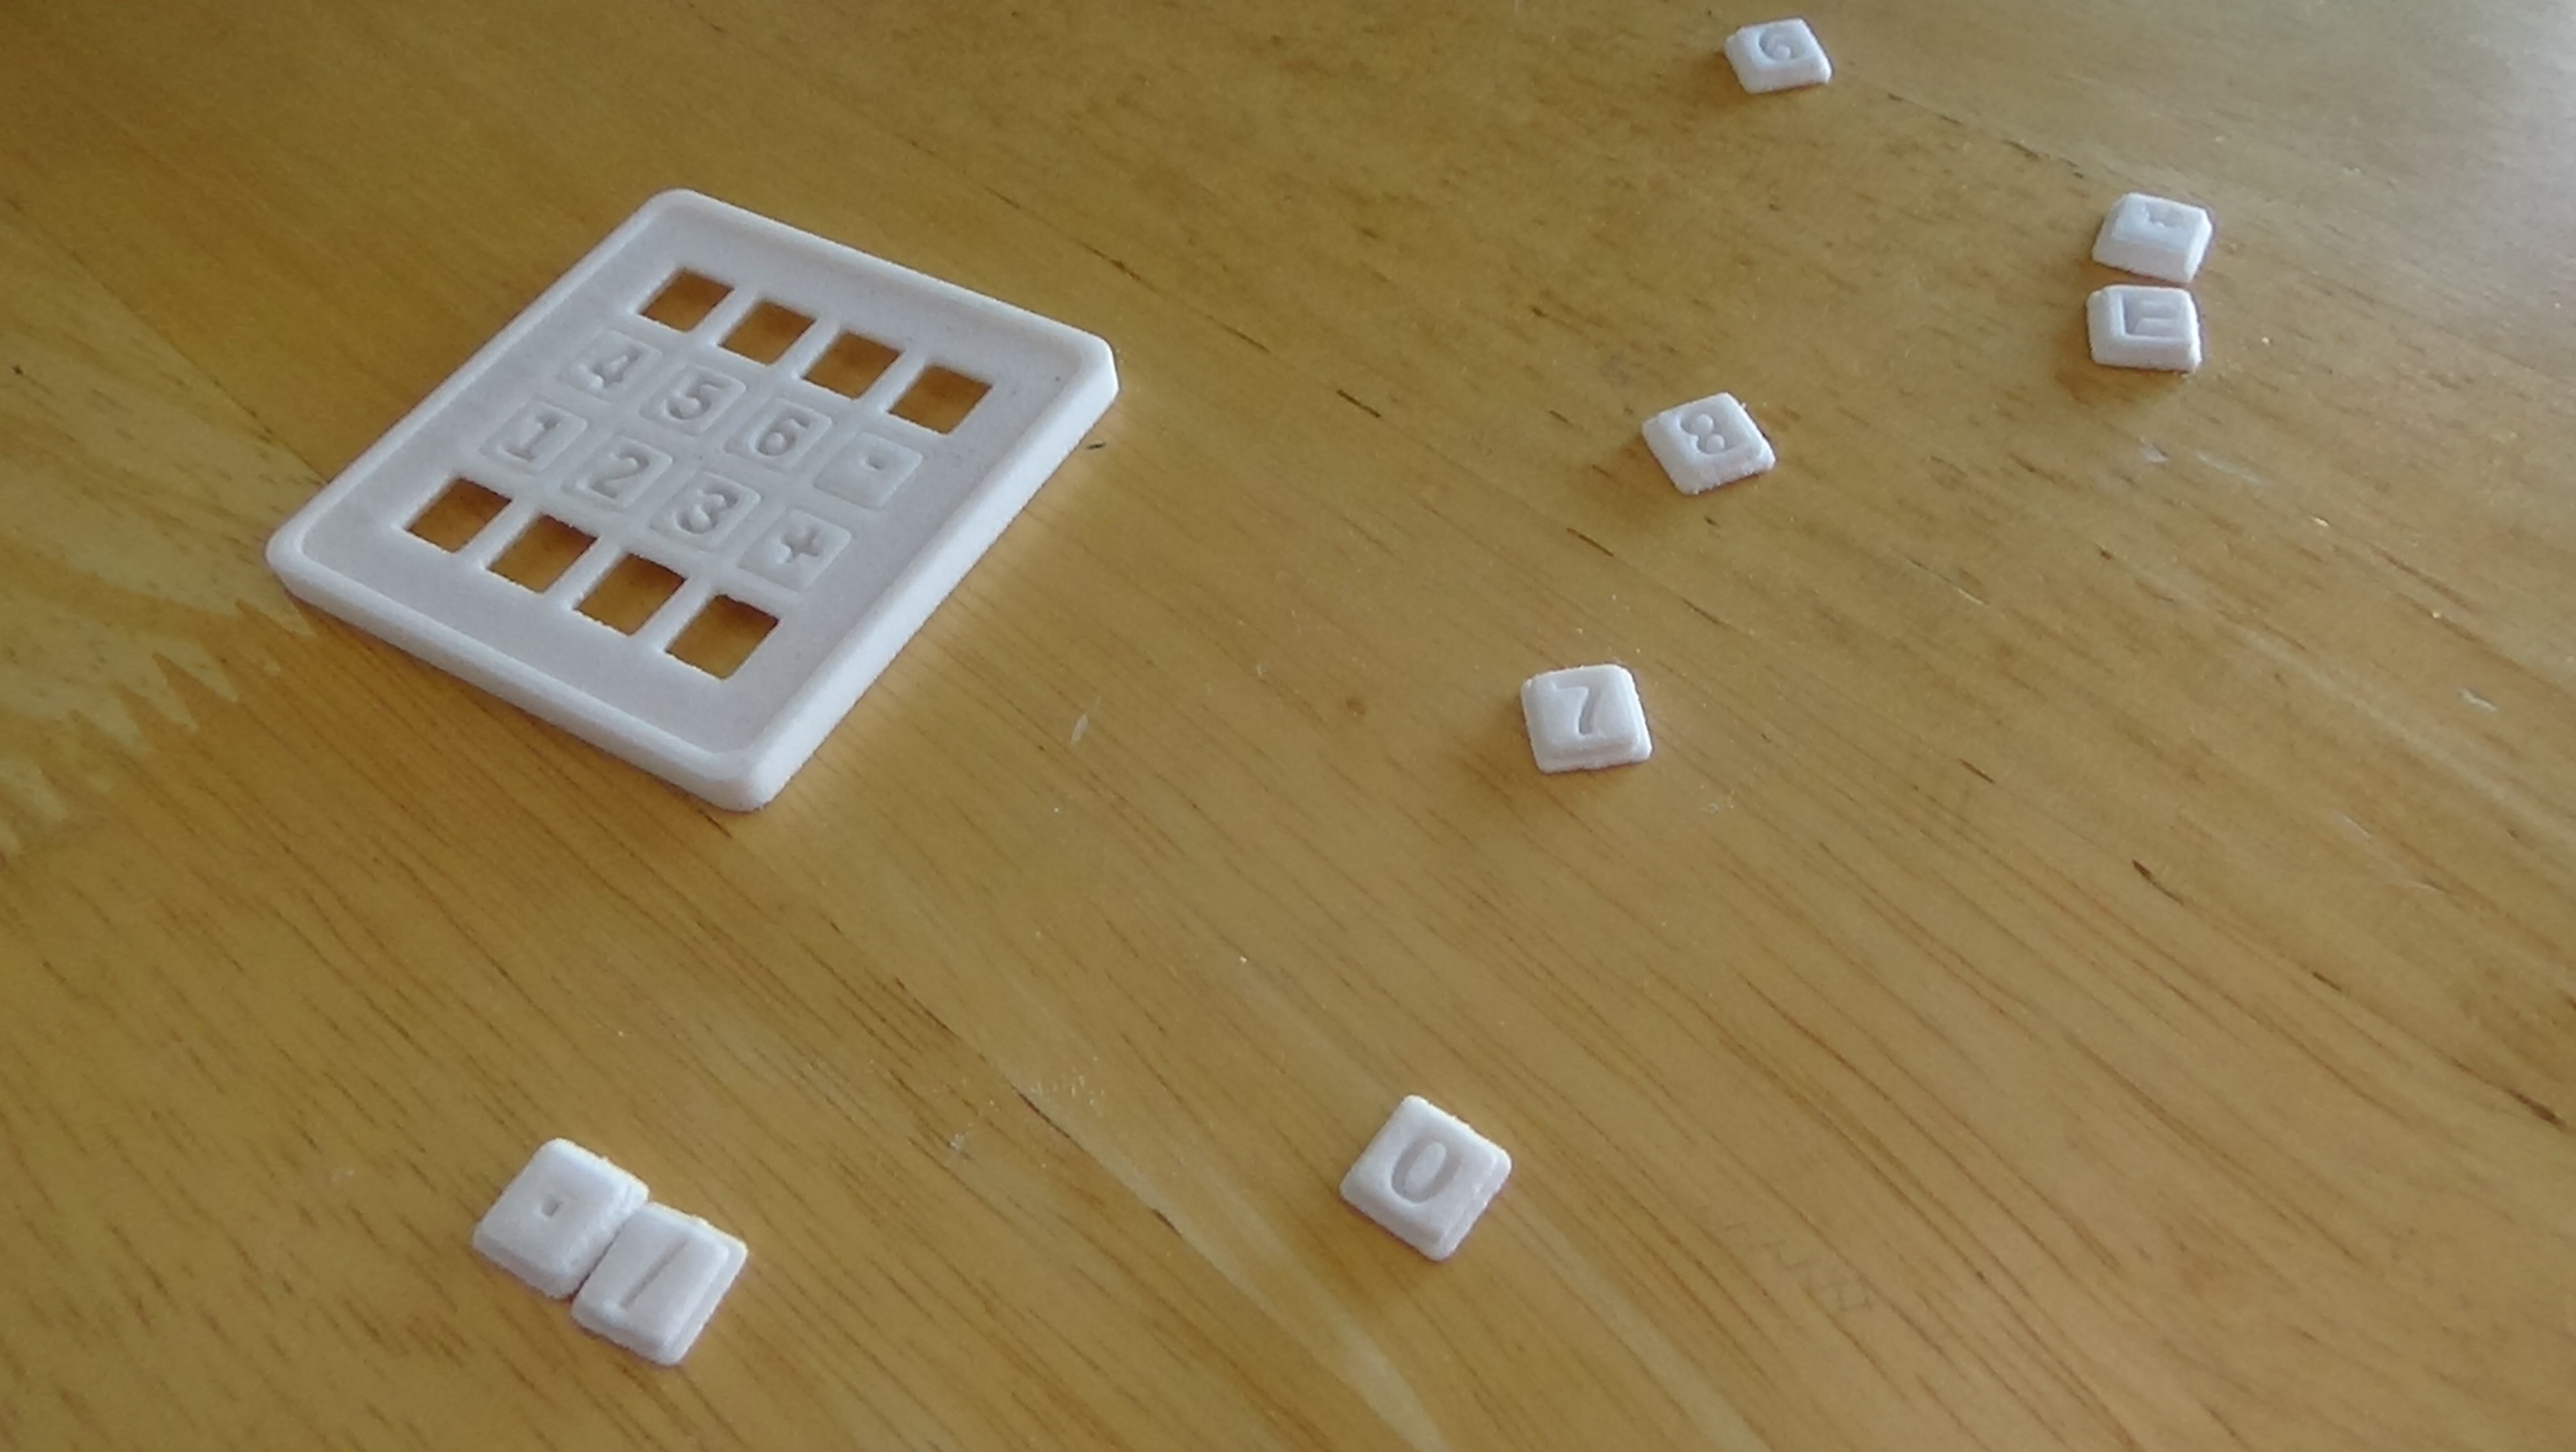
I got my little keypad thing from shapeways! Unfortunately I didn't start my project early enough to get the free credit, but it was inexpensive enough anyways when there are few other options (like $6 before shipping). I put in small supports between the buttons so that they would be one part during manufacturing. I was able to break them all out, but it was a bit difficult to remove the middle ones (the ones still attached in the picture below). Since I don't have sandpaper I can't do the post-processing that they need. Based on the buttons that came out cleanly, and despite not having a PCB to test with, it seems like the design works fairly well. I want the 3D printed pieces to be manufacturable using a consumer 3D printer, so I might have to buy one to start prototyping with.
Software
Since I want the design to be platform agnostic, there will be no custom software on the raspberry pi. To achieve this, the keyboard and gaming controls will interface with the raspberry pi through a microcontroller over USB. I ordered a USB dev board so that I could start working on the microcontroller software (with a known good board) before getting my boards in.
Things are coming along!
Thanks for reading,
-Stephen
Discussions
Become a Hackaday.io Member
Create an account to leave a comment. Already have an account? Log In.