 Mark Langford
I've been laser-cutting in earnest for around a year now, but most of my Makes have been either two-dimensional, or built up from 2d layers.
To move into the third dimension, there are a number of online "box" generators, of which my favourite is Makercase (created by Jon Hollander), but they only produce cuboids.
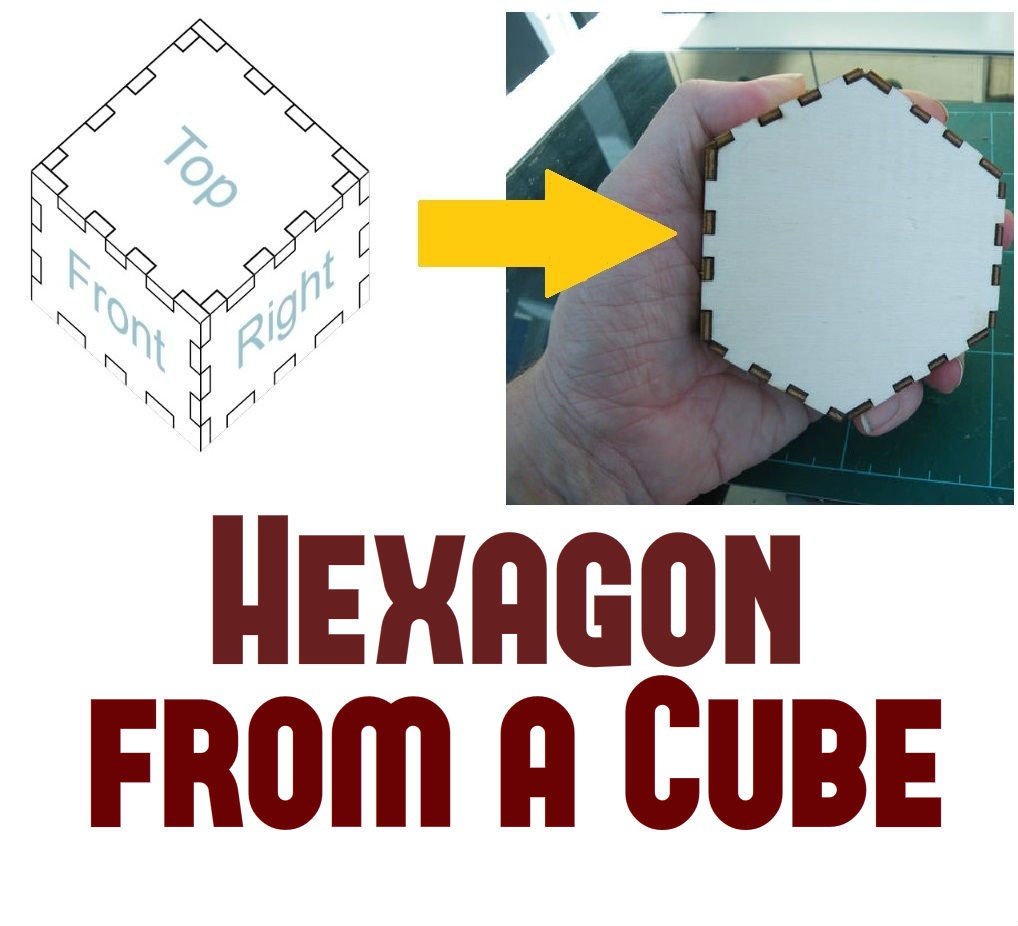
This is how I use a cuboid plan to cut a hexagonal box.
Step 1: What You Need...

To create the files, you need...
Access to MakerCase
A vector editing programme (I'm using Inkscape, which is a free download)
If all you’re interested in is making the hexagonal box, then you can take a short-cut by using one of the various online companies that will do printing in 3d and laser cutting for you - you can use the file I’ve attached to this step and get the box cut from a “P1” sheet of 3mm thick material for less that $7. After that, assembly is quite easy.
If, though, you’re interested in how I created the file, read on...
Download HexBox 3mm P1 Ponoko Ready.svg
Step 2: The Cuboid

The hexagonal box starts as a cuboid.
It is important to make sure that the top of your box is a square.
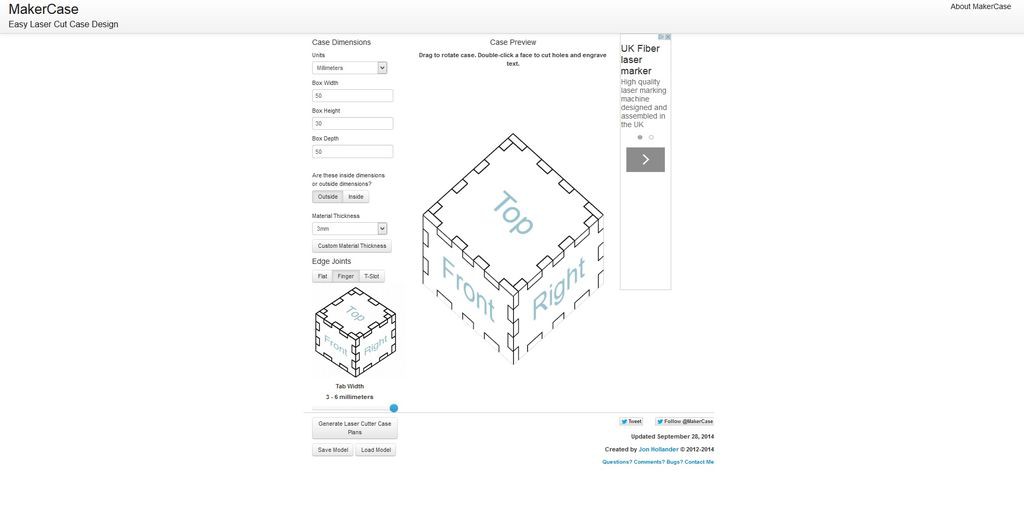
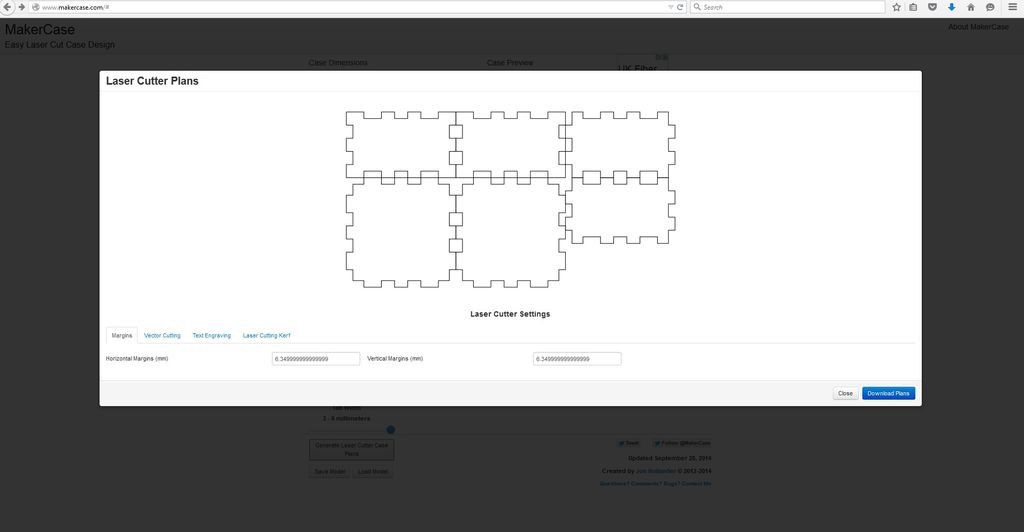
On the Makercase page, set the dimensions you desire, select finger joints, and download the file. Pay attention to the thickness of the material as well - I am using the default 3mm setting.
(I have attached the same SGV file I started with, so that you can work along with these instructions if you wish.)
Step 3: Find Your Edges
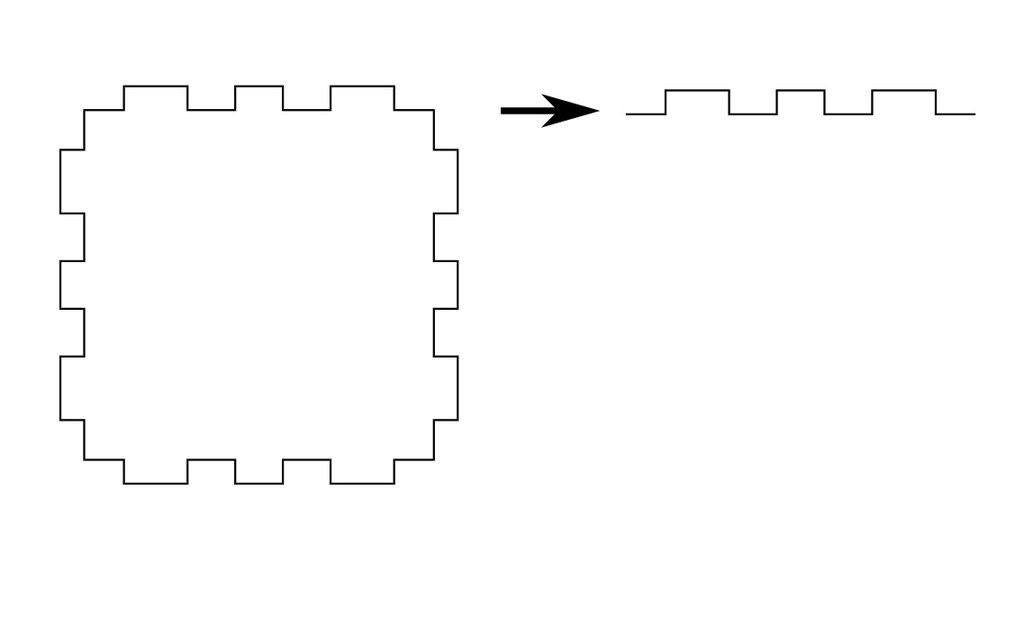
Using your vector software, identify the top and bottom of the cuboid box - they will be the sections that are the same on all four side.
(If the height of your box is different to the width & depth, the top & bottom will stand out clearly.)
Delete one of them, and trim off three sides of the remaining square piece.
Step 4: And S-t-r-e-t-c-h
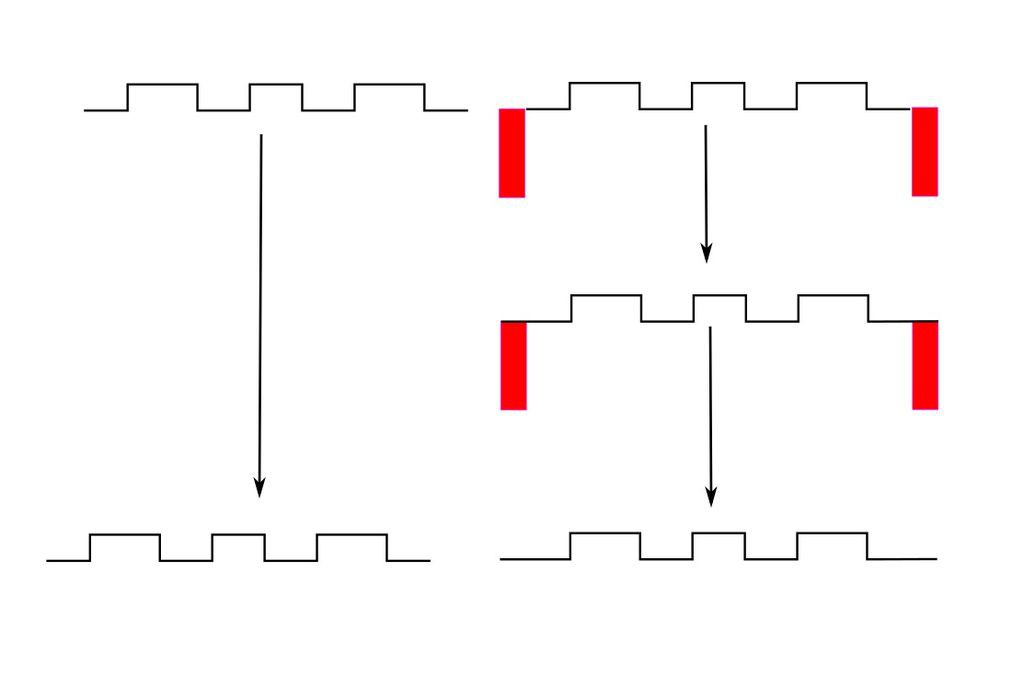
You need two copies of that single side.
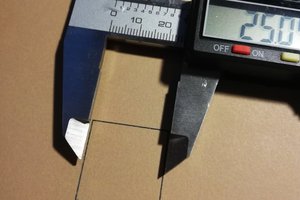
One remains unchanged, but the other needs to be lengthened to account for the thickness of your material.
I use a box with a fixed, 3mm width as a temporary ruler, then use the node editor to stretch the end parts of the line.
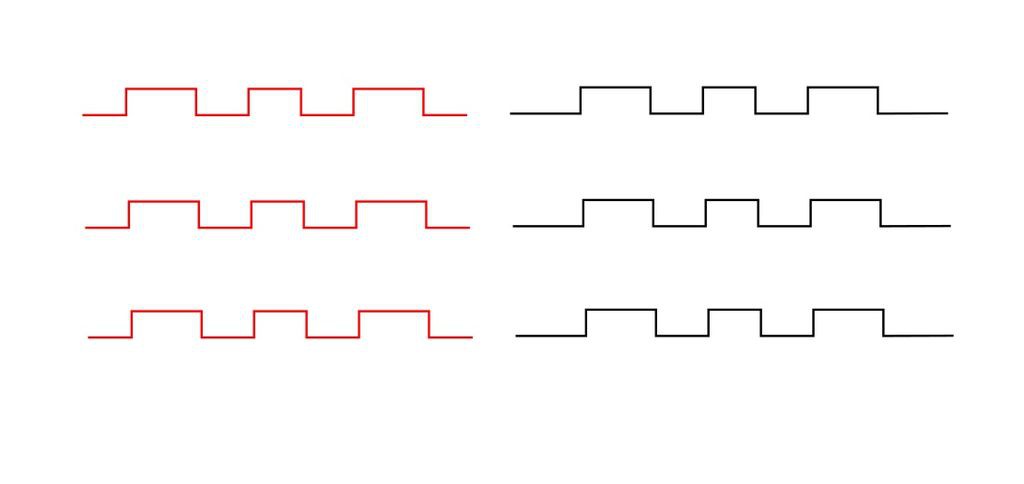
You then need two extra copies of each line. In the image above, I have coloured the short version red to avoid confusion.
Step 5: Rotate
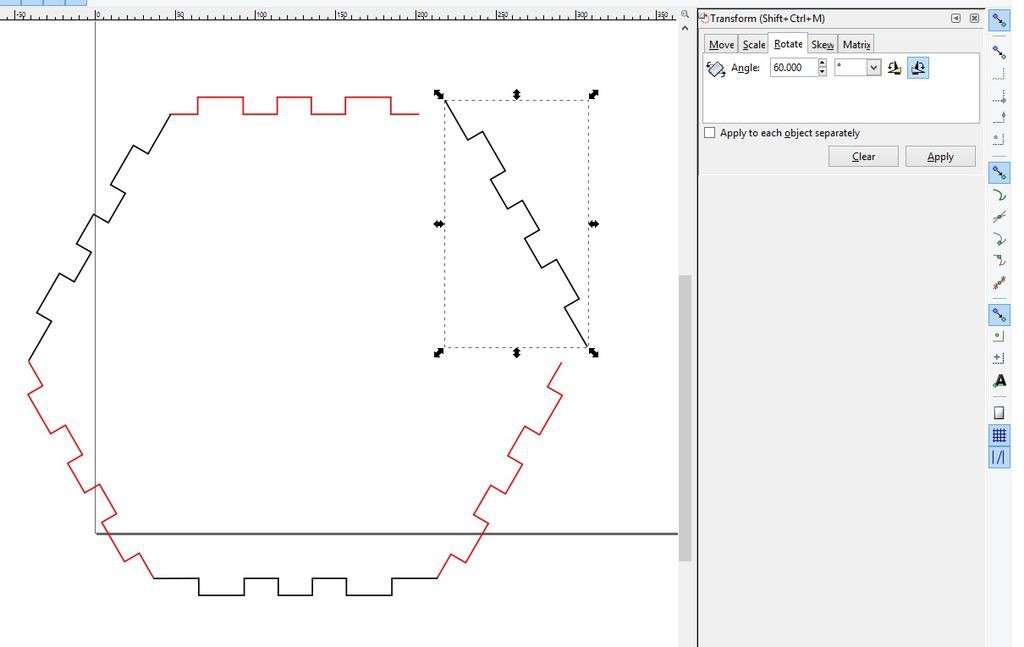
Using the Transform tools of your software, five of your lines need to be rotated in multiples of 60o to match the angles of a hexagon.
You make sure you don't accidentally get a line inside-out, it is probably easiest to rotate the lines in turn:
60
60 60
60 60 60
60 60 60 60
60 60 60 60 60
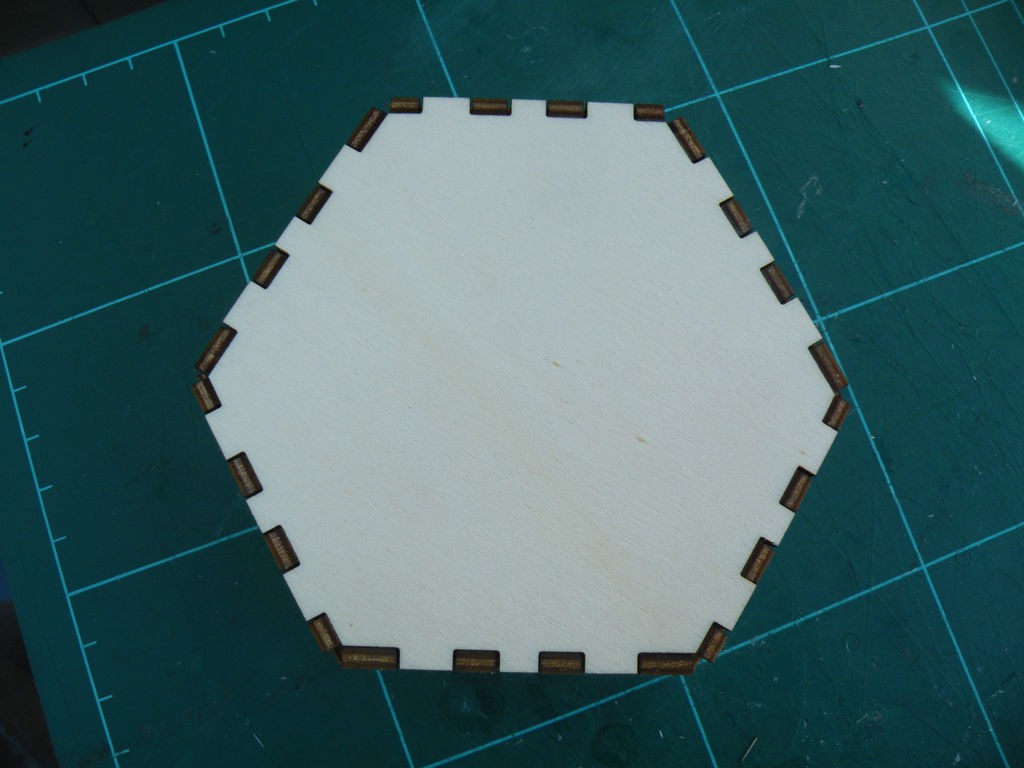
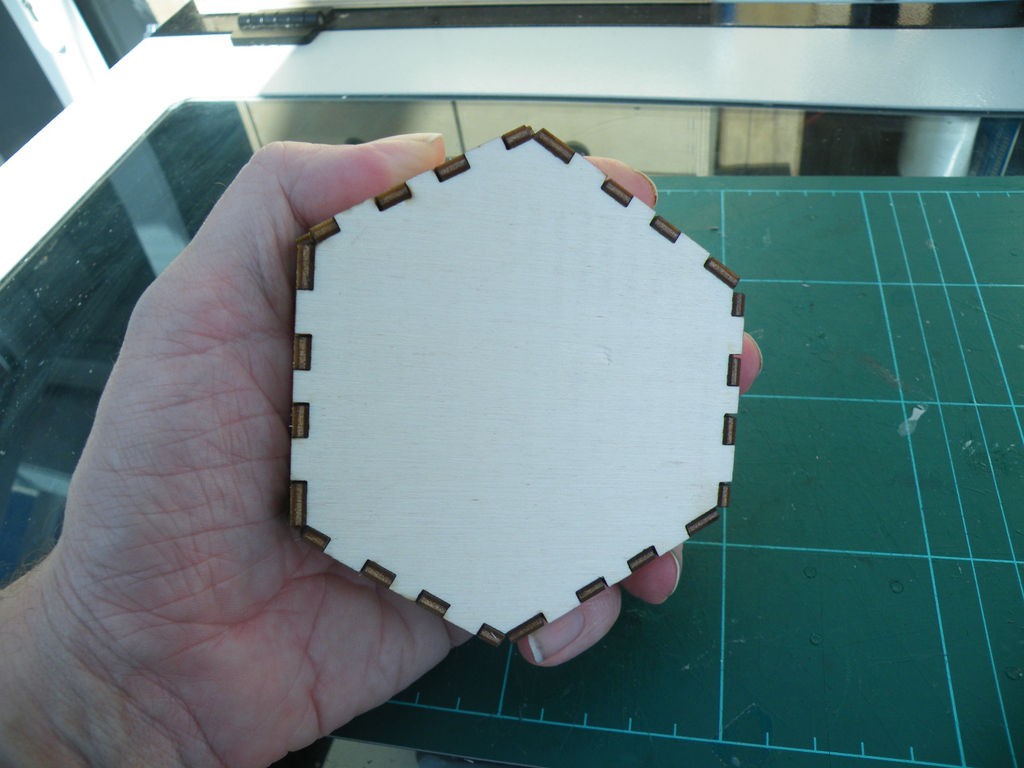
Then, arrange them all into a tidy hexagon.
Step 6: Extra Walls
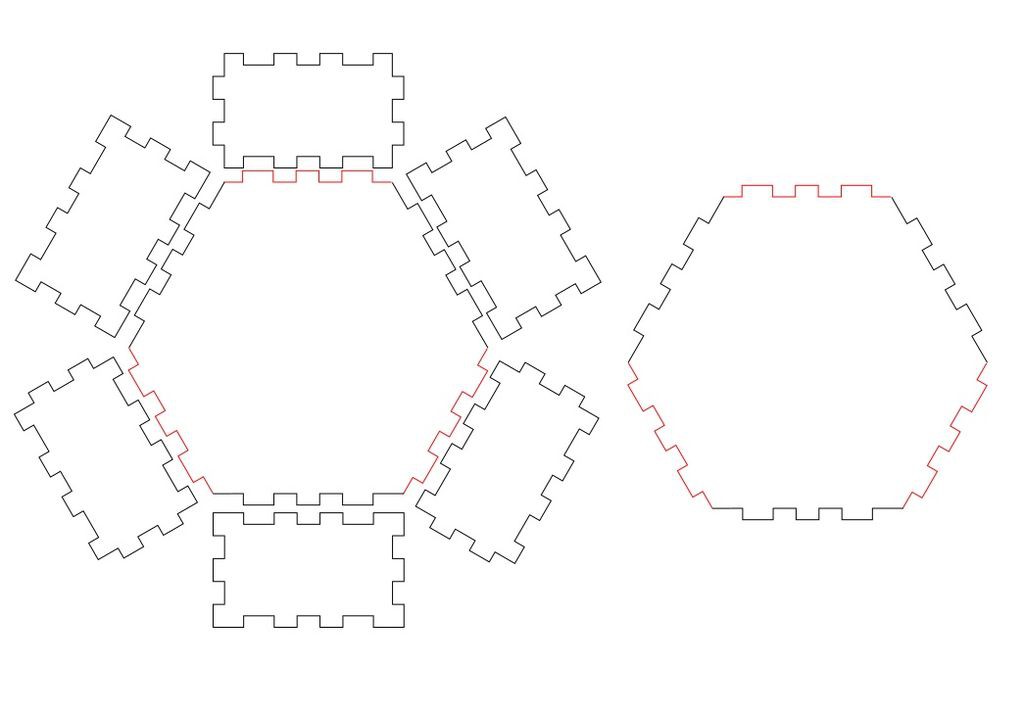
Going back to the whole file, the box currently only has four walls, because it started as a cuboid.
You need to copy and paste one extra of each wall, and and extra copy of the hexagon you have made.
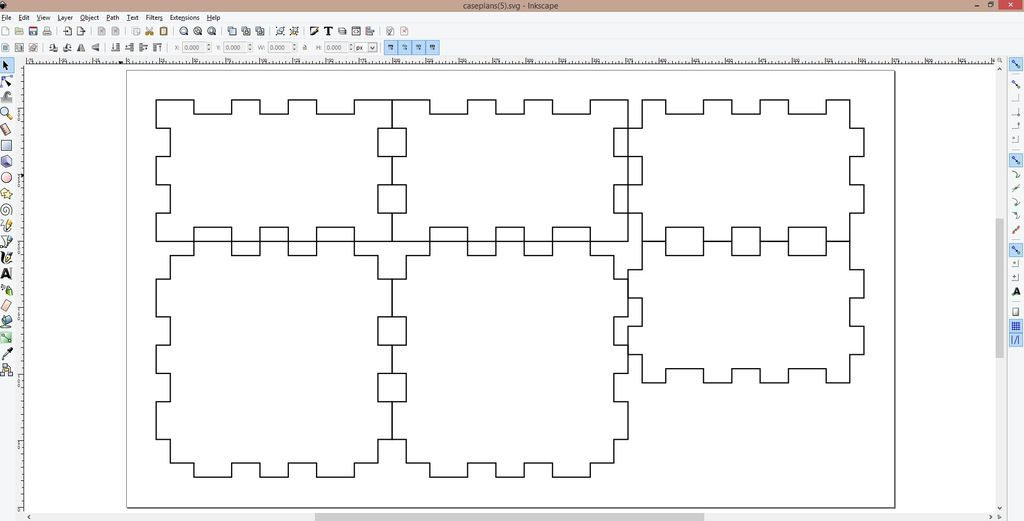
I don't normally arrange it like this, but I've laid out the pieces in the screen-shot so that you can see you have a wall to match each edge of your top and bottom.
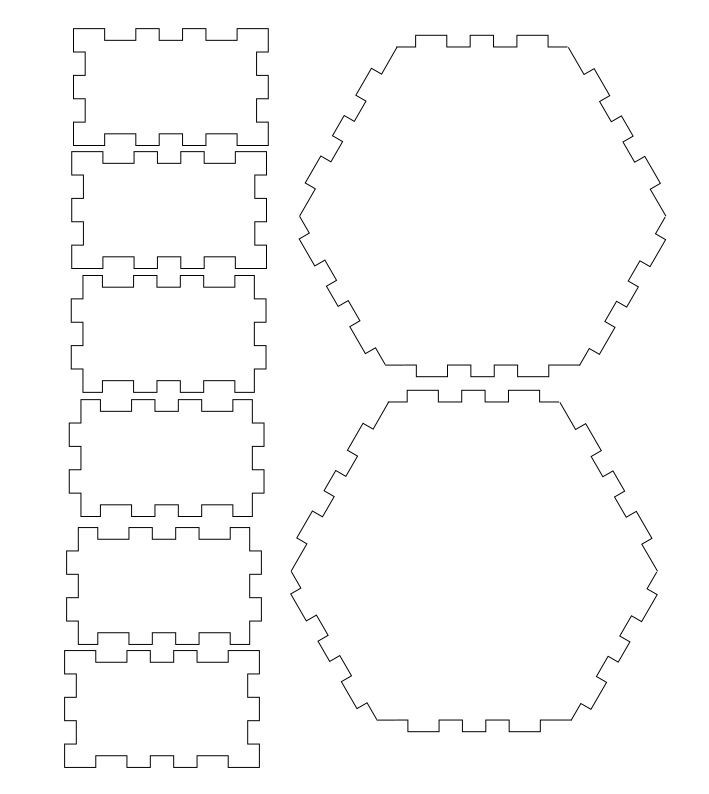
I have also added to this step the finished files of the box, laid out in a more sensible manner.
Download HexFinal.dxf
Download HexFinal.pdf
Download HexFinal.svg
Step 7: Cut It!
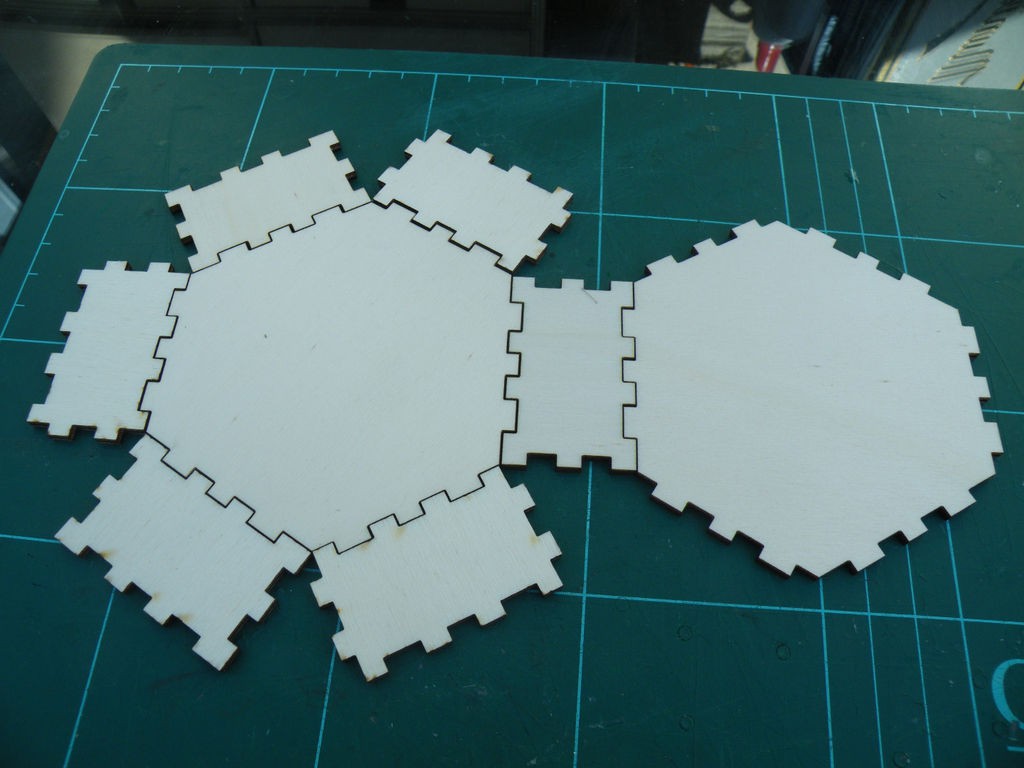
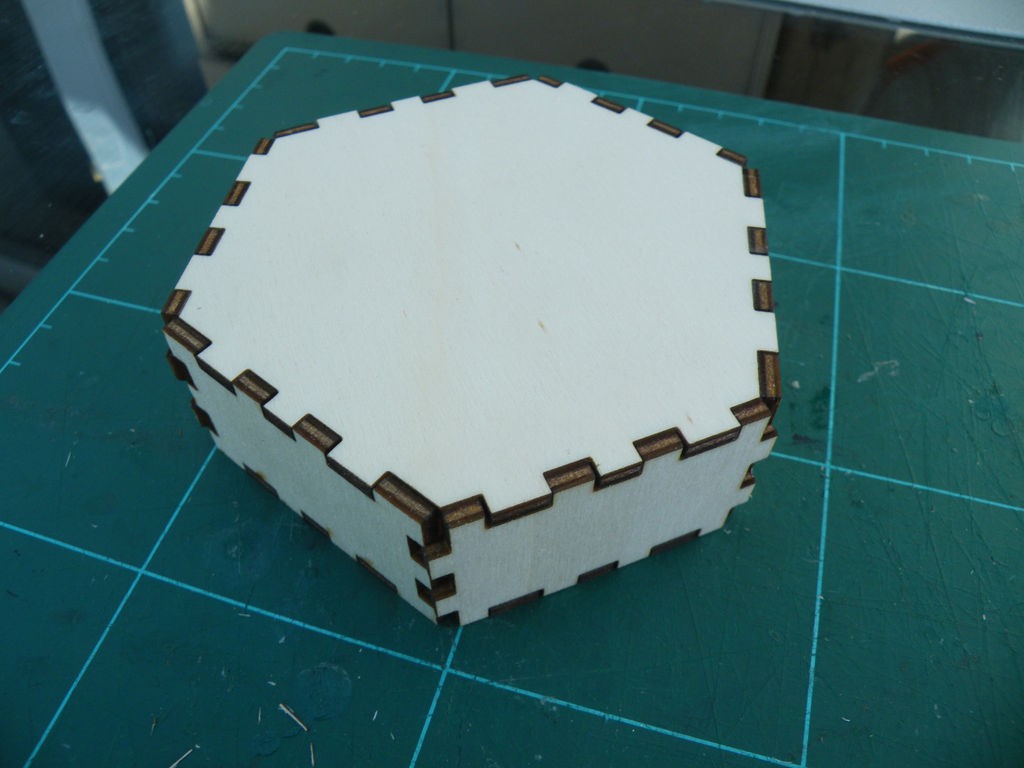
All that remains now is to cut your box out, and glue it together.
Just remember to make sure that you line the top and bottom the same way round!

 Ringo2k


This is a nice show case on how to use a box generator to create more complicated forms from simpler ones.
Nevertheless my box generator (https://hackaday.io/project/10649-boxespy) can generate boxes with an arbitrary number of sides: http://festi.info/boxes.py/RegularBox
It also adjusts the fingers on the non 90° edges to meet right at the edge itself.