 Ossum
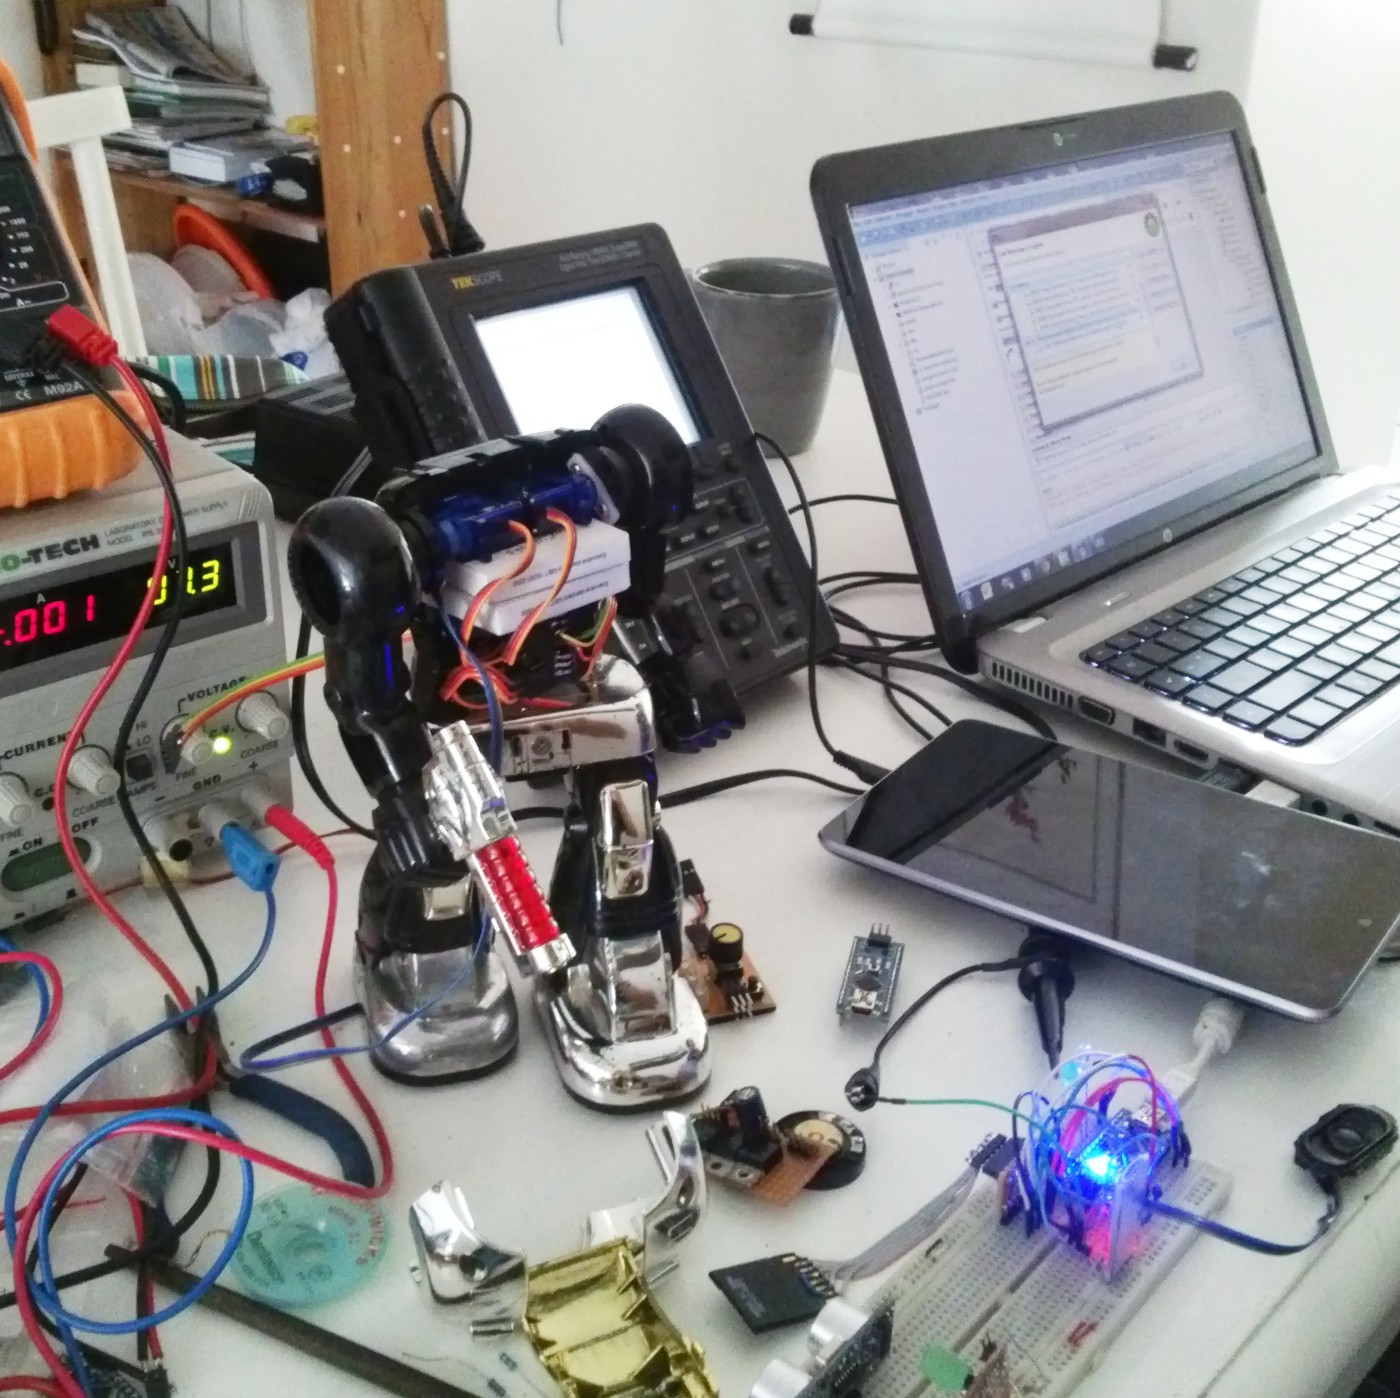
OssumScott and I got together on Saturday to hammer out the final details and give Scott a chance to the Bluetooth module working properly. Armed with a scope this time he made much better progress than I had. Having the hardware also meant that he could do some tweaks to his code to fix a few bugs, I'll let him elaborate on that though.
In the meantime I got stuck back into the wiring. Most of the wires needed to be trimmed and terminated, because excess length was wasting valuable space.
I also wired up the LEDs for the shoulders and visor, with inline resistors. It seemed simplest if we ran the LEDs directly off the micro's IO pins, so they got resistors to bring the current down to about 15mA (The visor got two hi-bright red LEDS in series with 120 Ohms of resistance for 15mA current. The Shoulders got 270 Ohms for their single green LEDS, aiming at a similar current.)
The shoulders didn't diffuse the lights very nicely, so I took a bit of waterpaper and dulled up the inside of the green lens as well as sanding the LEDs themselves to make them less directional.
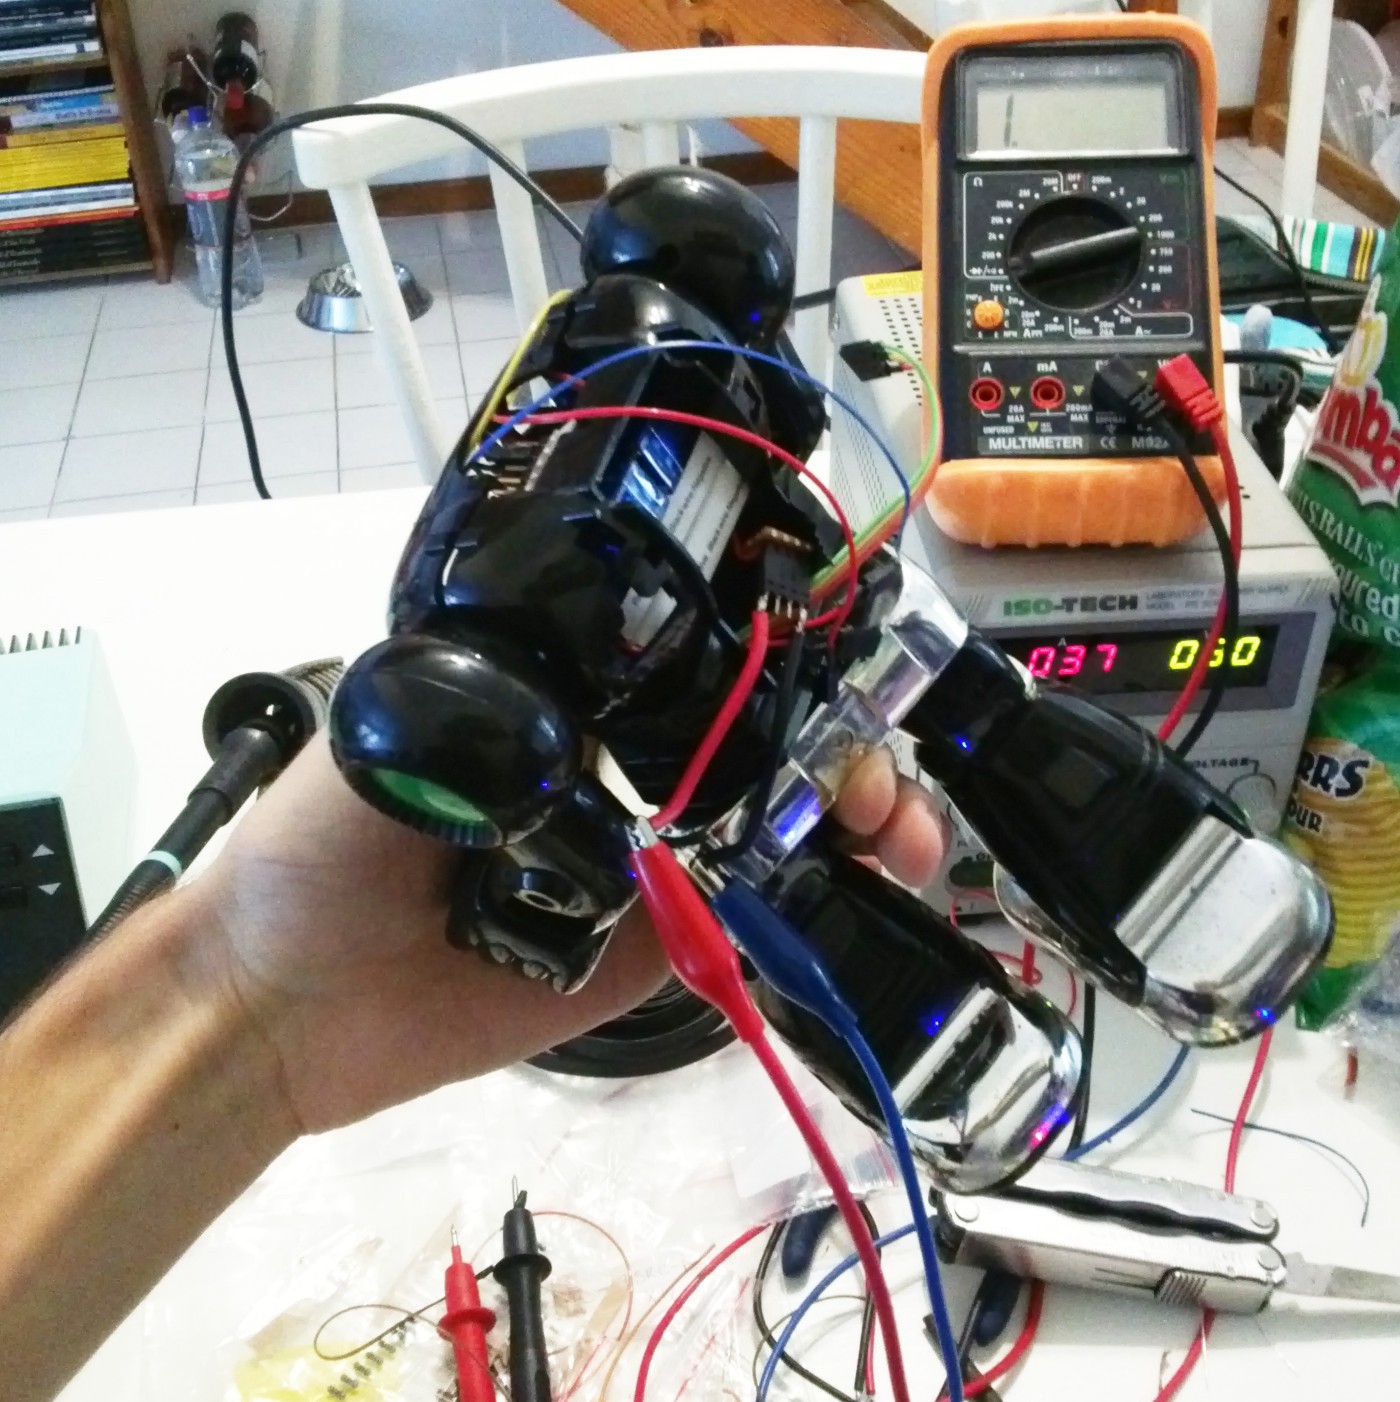
 Testing the power distribution board is working, feeding it from a supply and checking the current draw.
The original plan had been to put the Arduino and Bluetooth module in the "backpack" where the AA batteries used to be, but space was just too tight. instead we soldered cables with pins and sockets directly to the Arduino, which I had previously removed the headers from. Here it is with long wires for testing, these are got trimmed dramatically once I knew where things were going to fit.
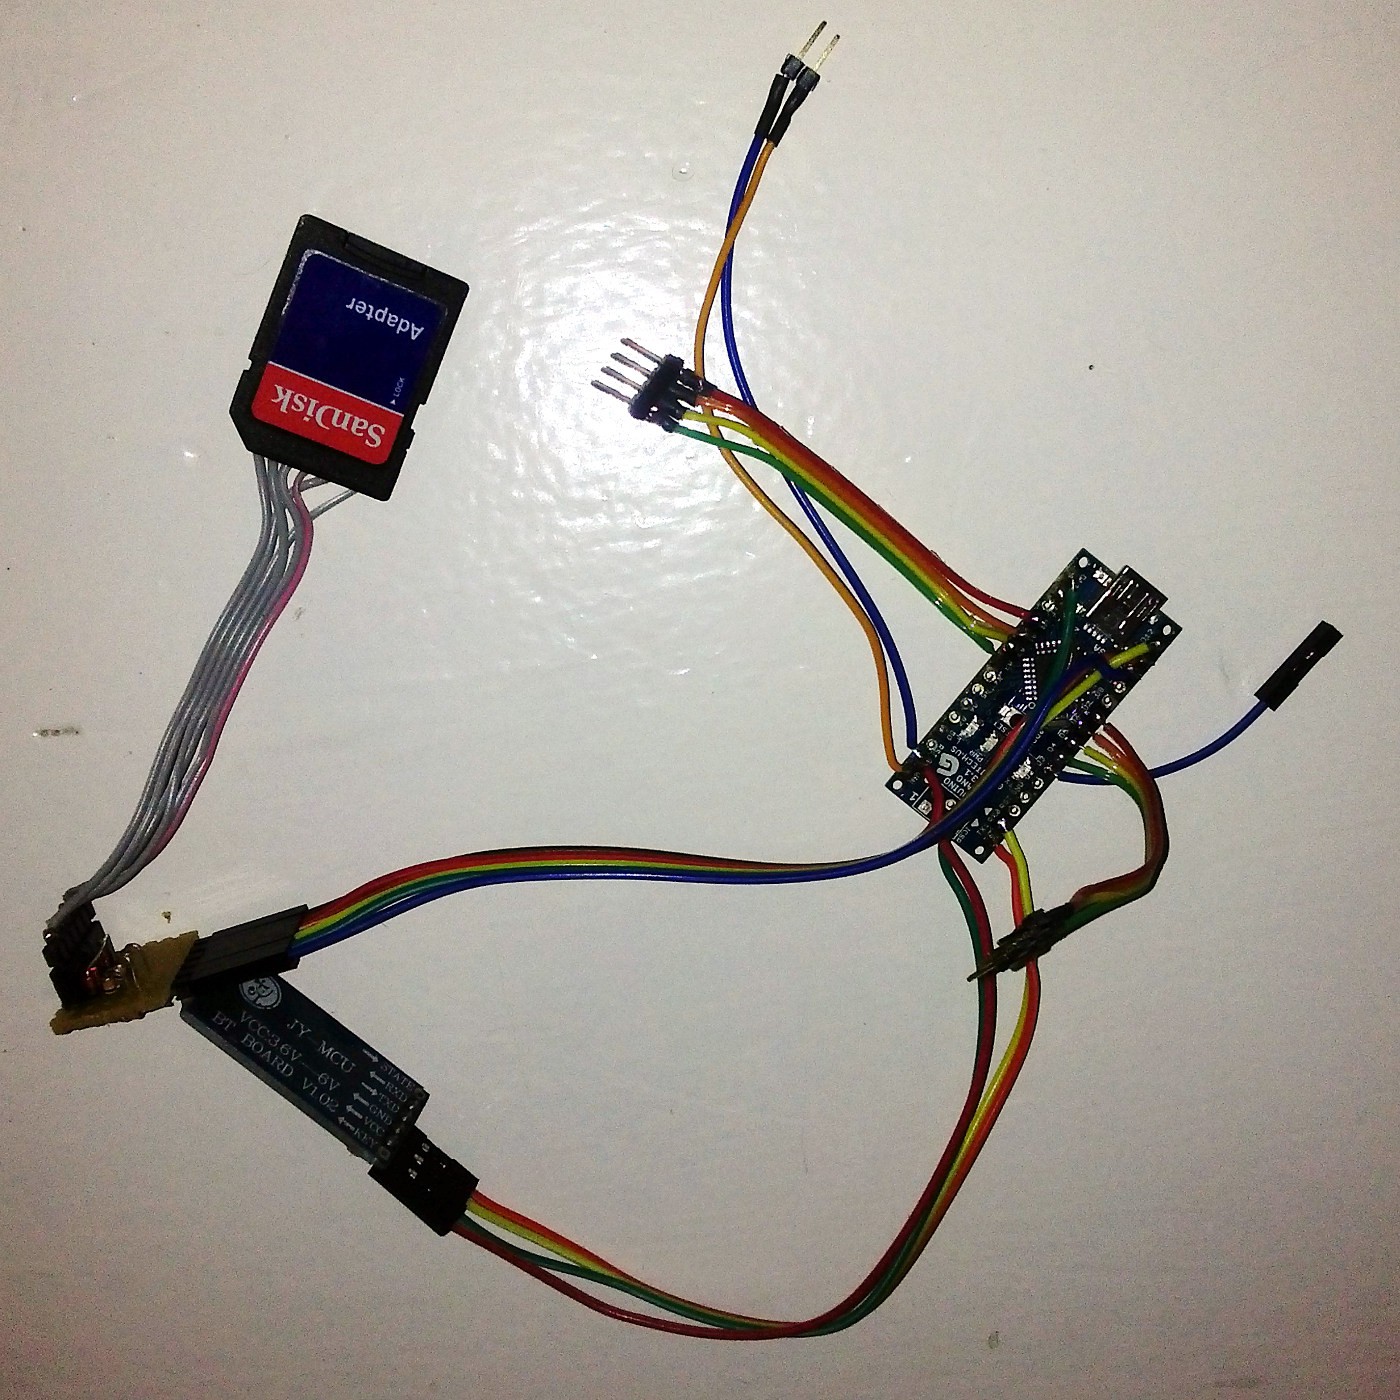
It was important that the Bluetooth module can be disconnected, since it cannot be attached while the Arduino is programmed.
Here I am starting to get things into the right places, this was really a puzzle to fit everything in such a tight space.
 By 2:30AM this morning things were starting to look a bit neater, most of the cables have been trimmed to their final lengths and the chest plate can bit fitted on (barely!).
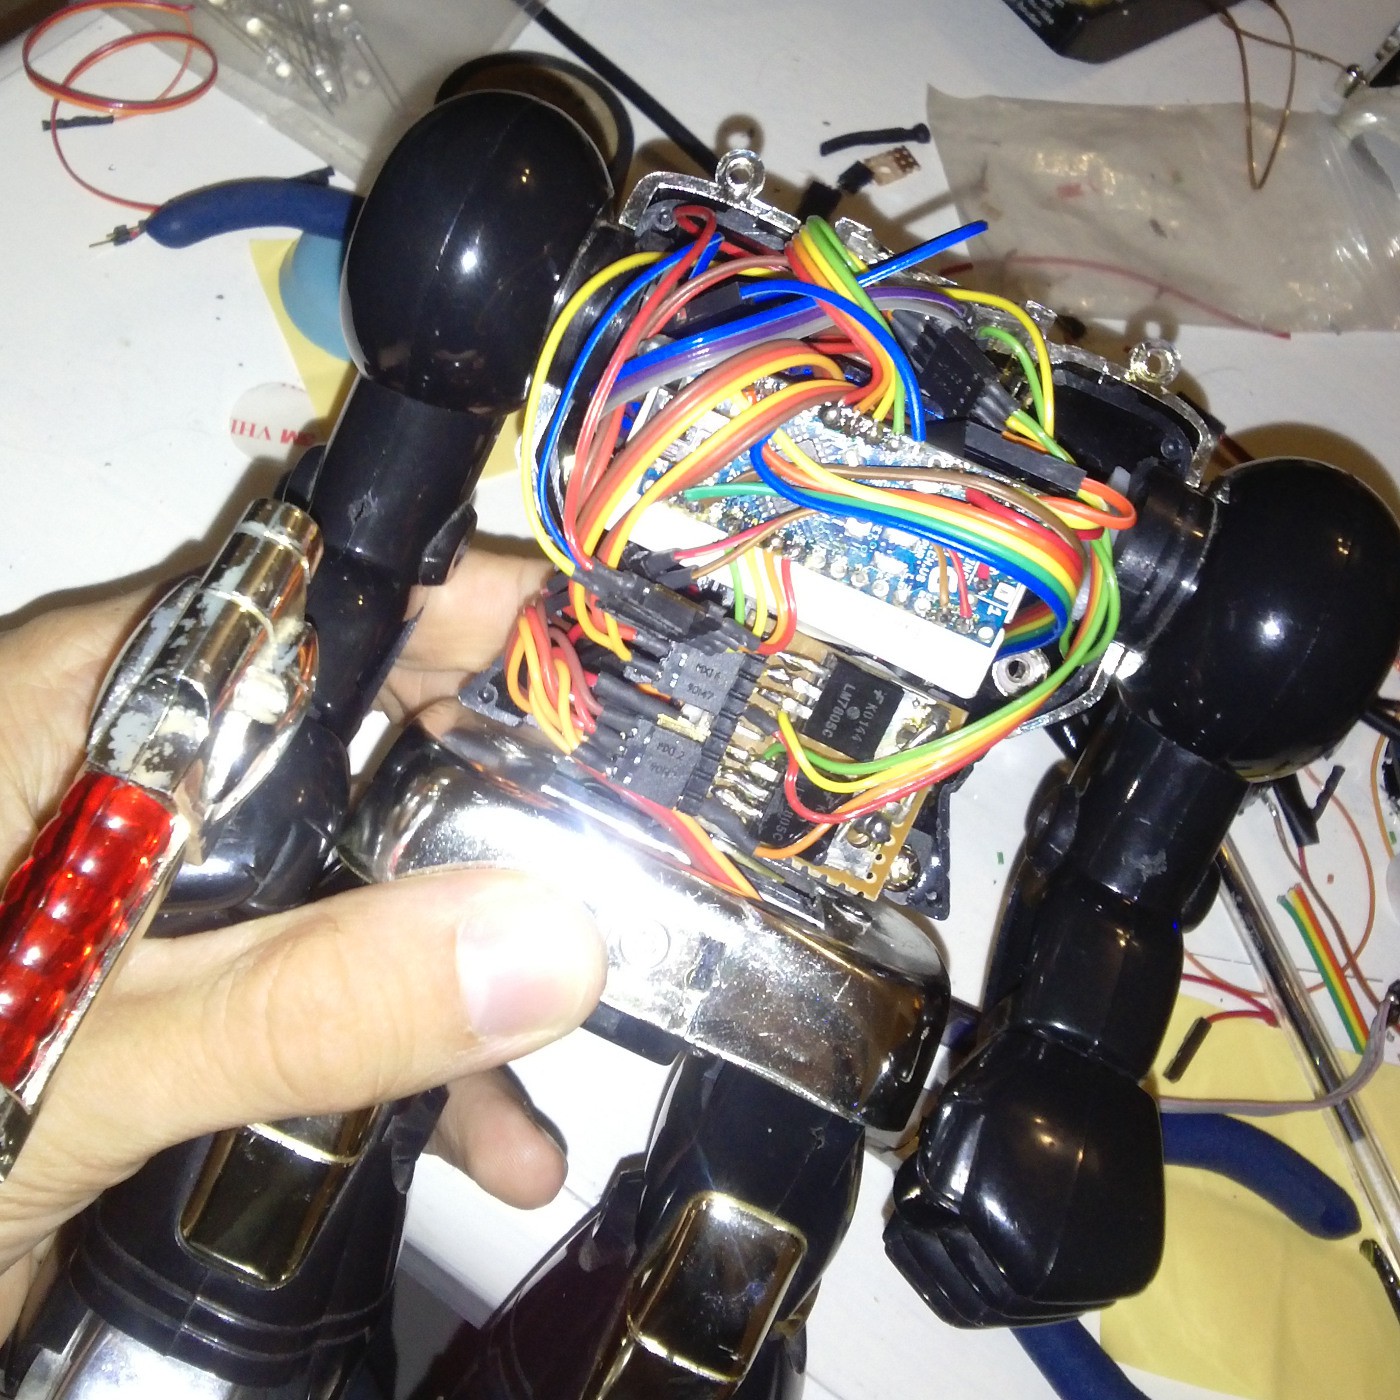
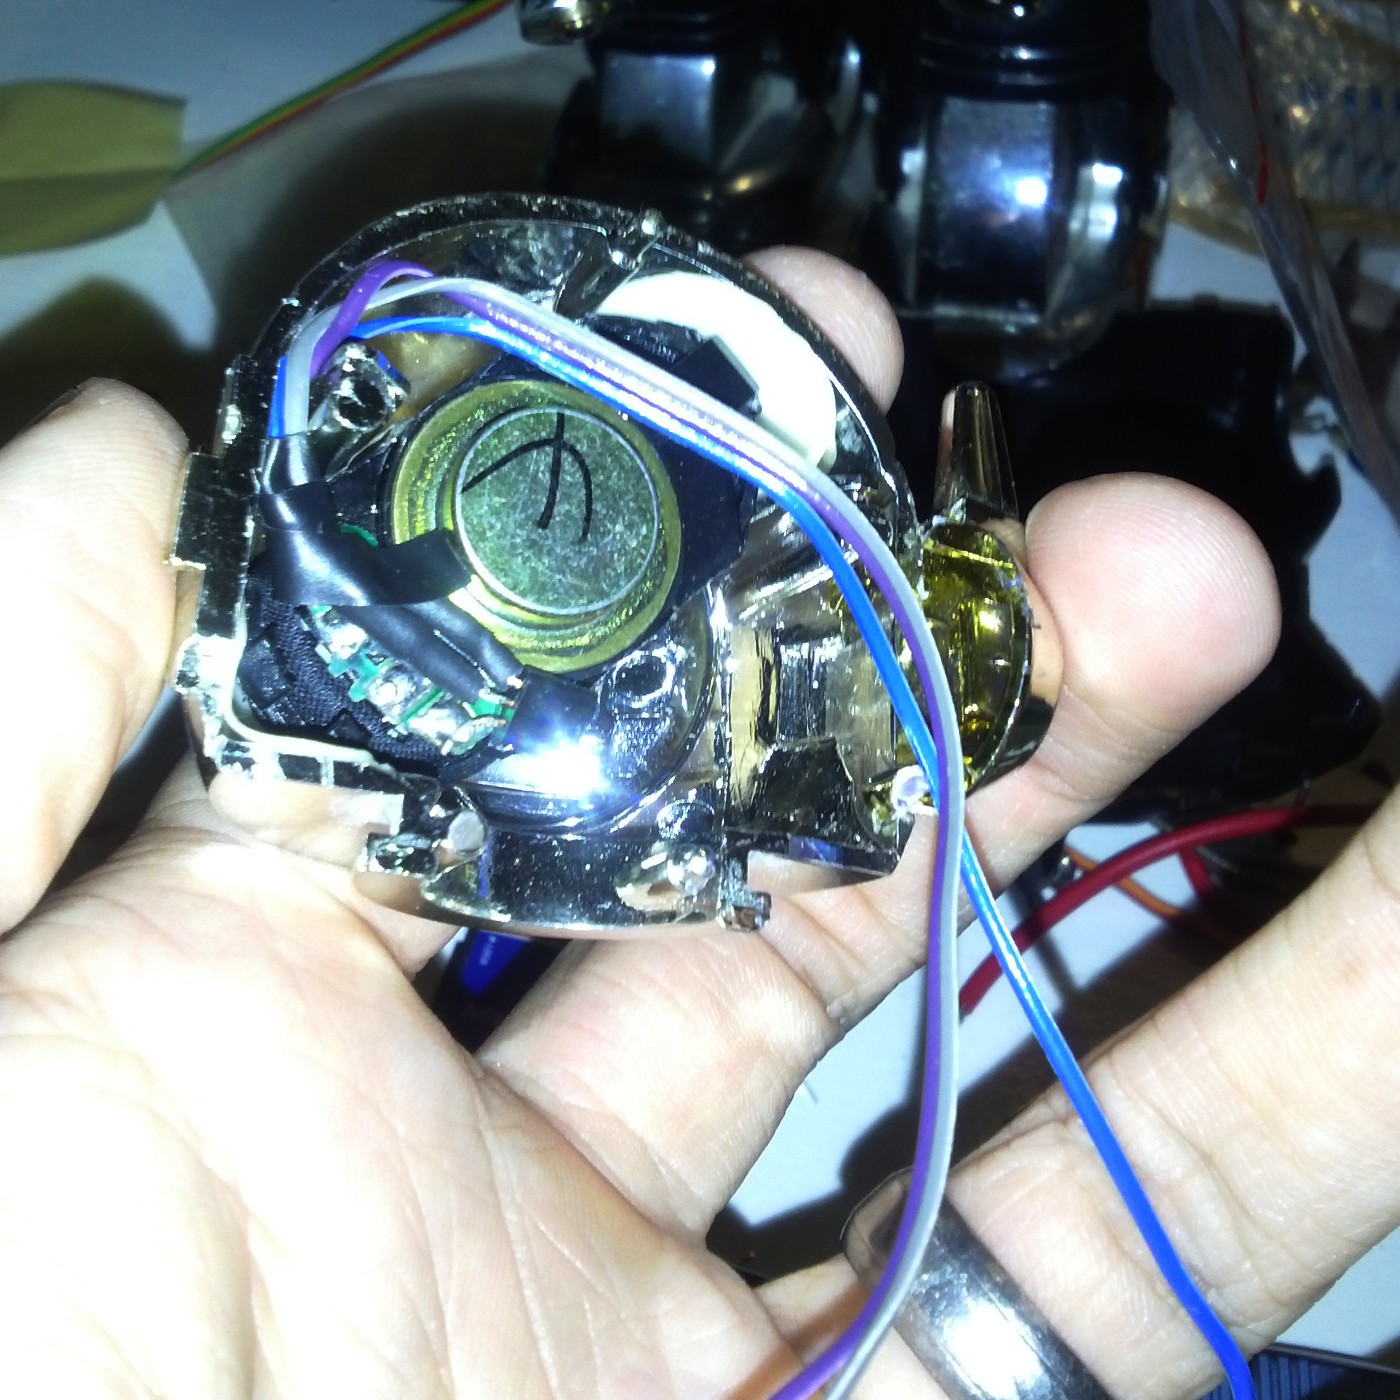
The old 4 Ohm speaker that I scavenged out of broken 15" LCD monitor just fits into the head, after some liberal chopping of the plastic bits with side cutters. I made sure that the speaker and LEDs in the head were well stuck down with 3M adhesive pads, to make sure that nothing vibrates annoyingly when the speaker is working.
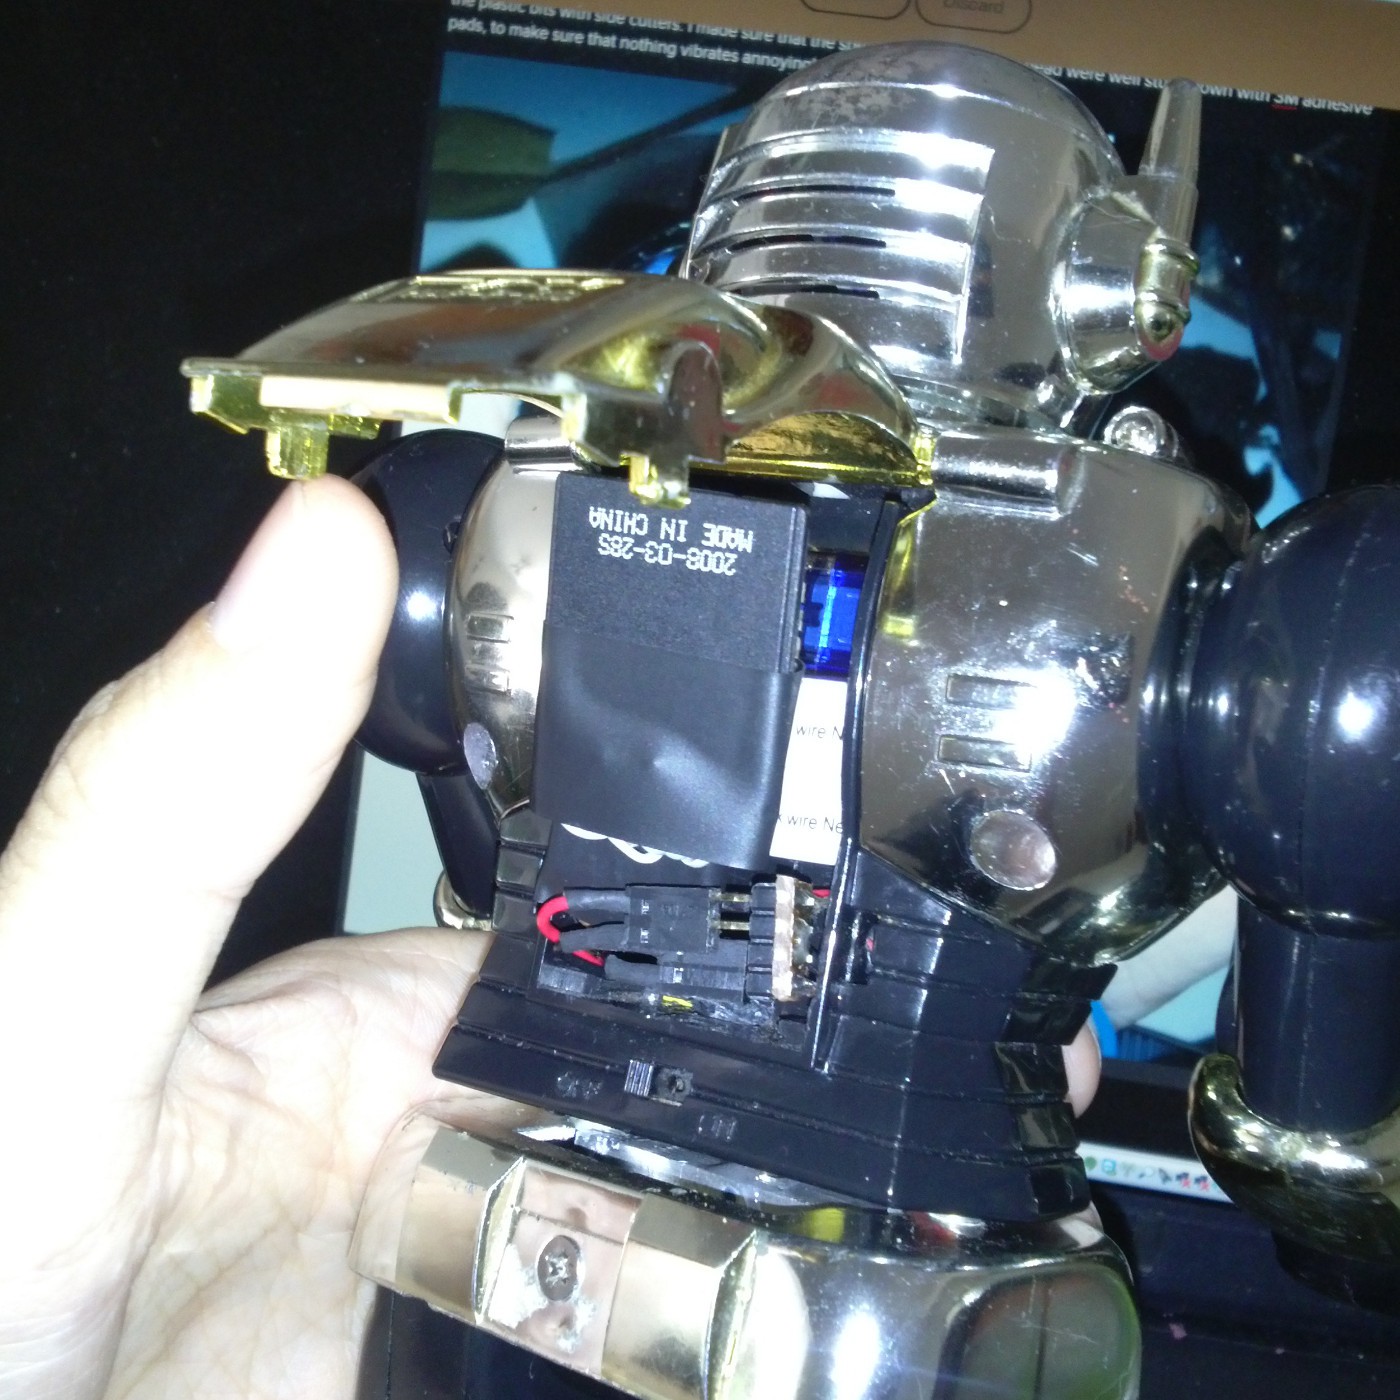
The micro SD card adapter sits in the back, which is actually quite convenient, allowing us to upload new soundbites whenever we like. You can see the battery connectors too, so the batteries can be charged without disassembling anything.
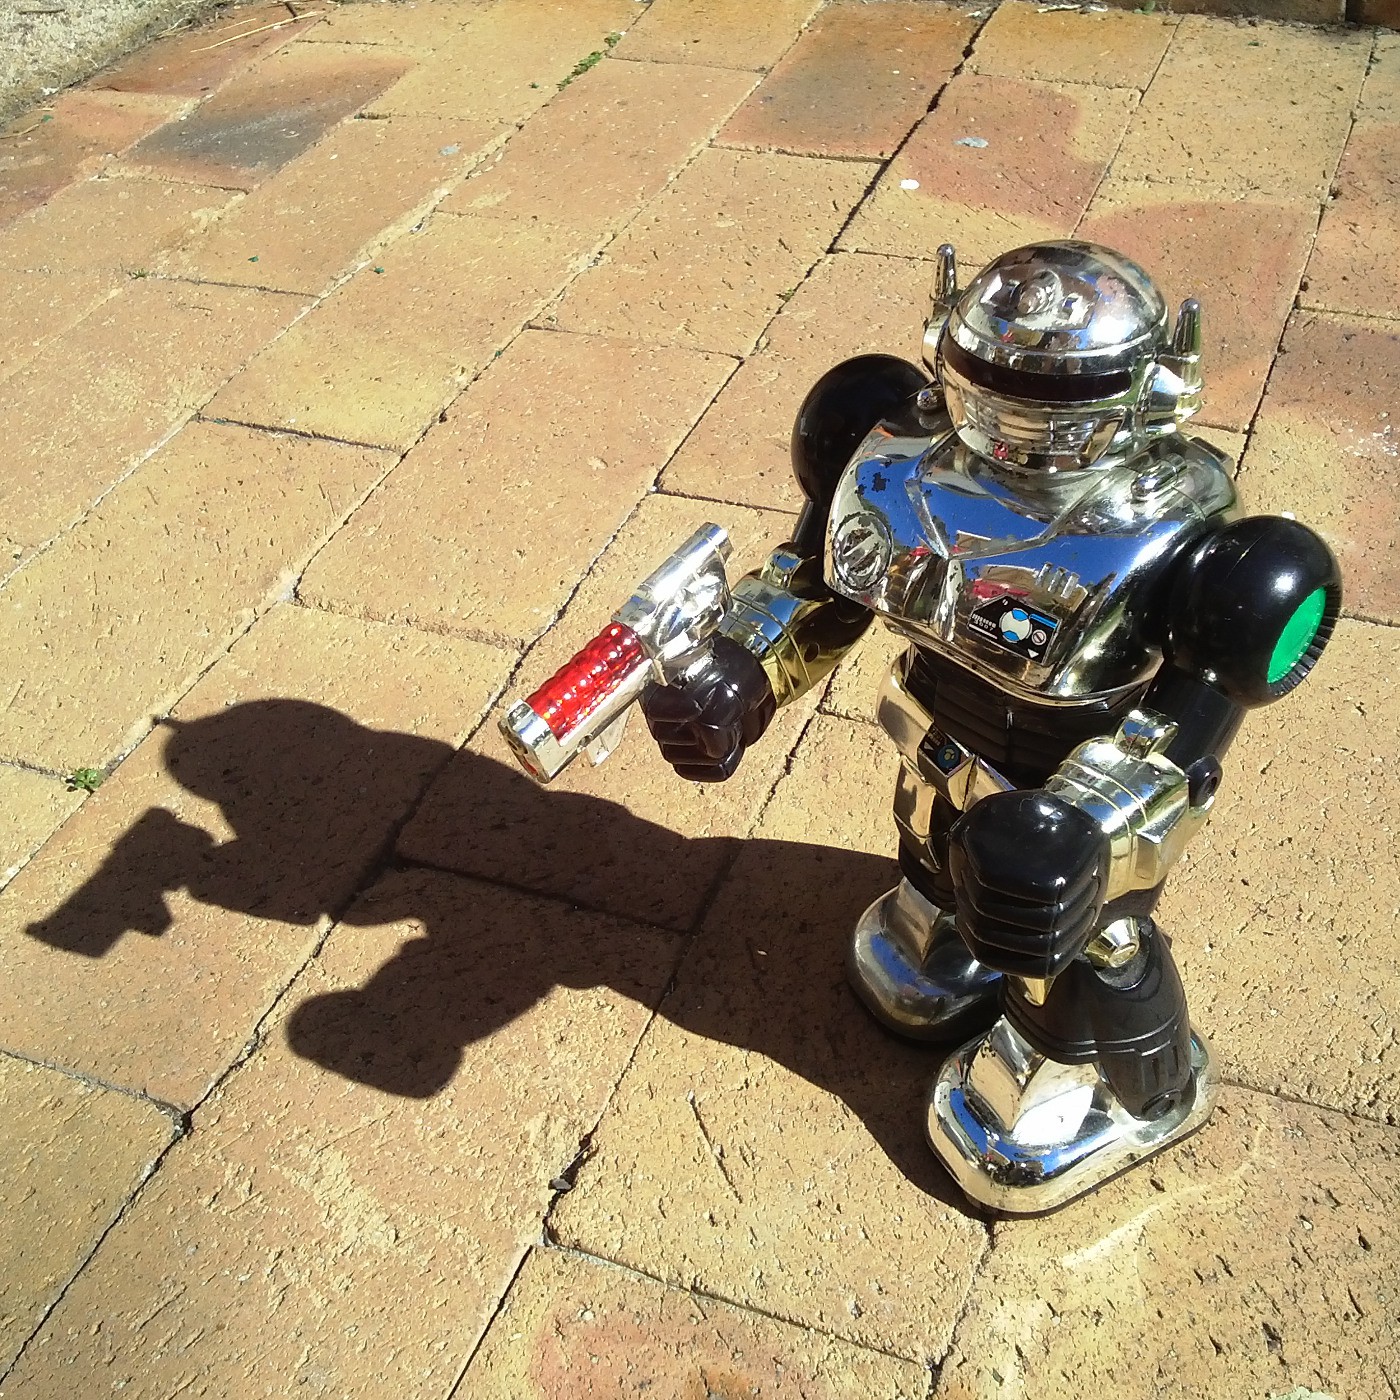
 And here he is, complete, all trim re-installed, looking like his good old shabby self, yet stuffed with modern technology! I will get some video tonight, but I would say we can call this project done. At least for now!
Discussions
Become a Hackaday.io Member
Create an account to leave a comment. Already have an account? Log In.