 Ossum
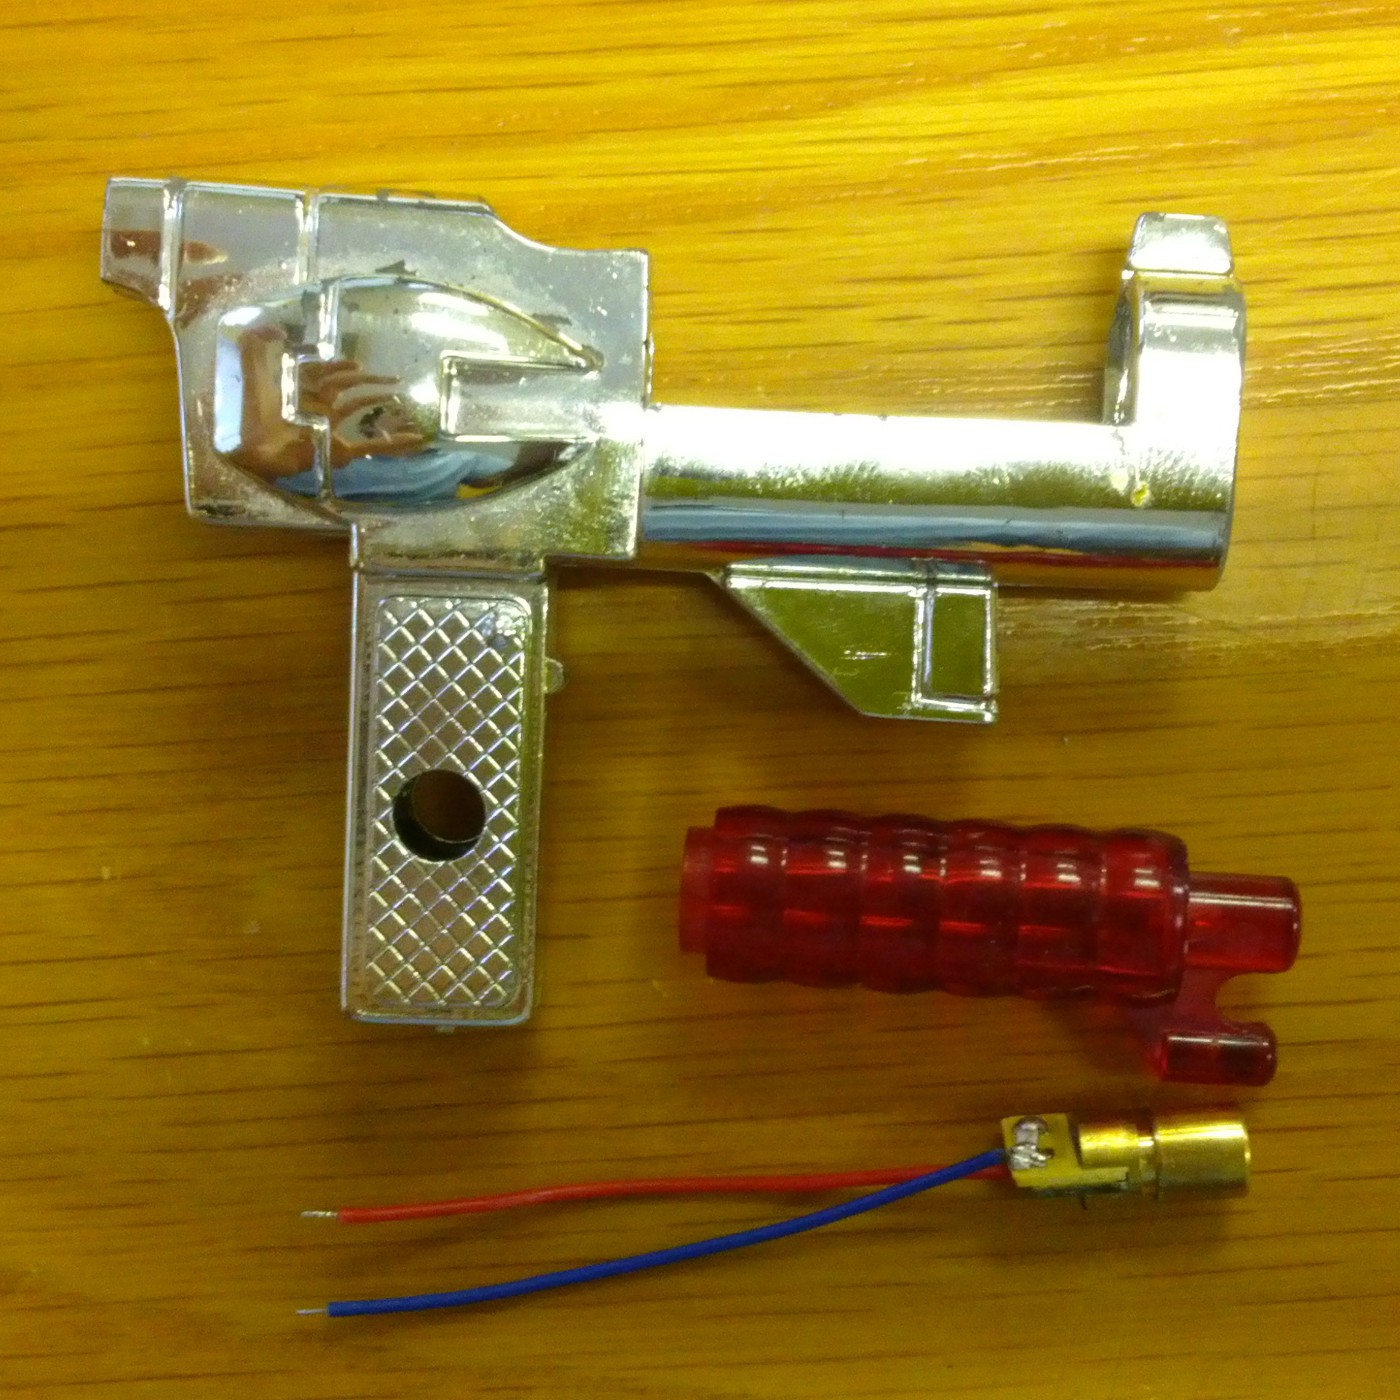
OssumFinally we take a break from mechanical nonsense and play with lasers. Fortunately Scott always has a shipment coming in from DealExtreme, and the most recent one happened to have a 6mm, 5mW, laser pointer diode in it.
The diode could have been made for this application, the diameter is perfect for the gun barrel. All I had to do was (very) carefully drill the front off the red lens. Since the plastic is so old and brittle I just turned the bit by hand. Trying to use the power drill on this plastic just bites in and tears out chunks.
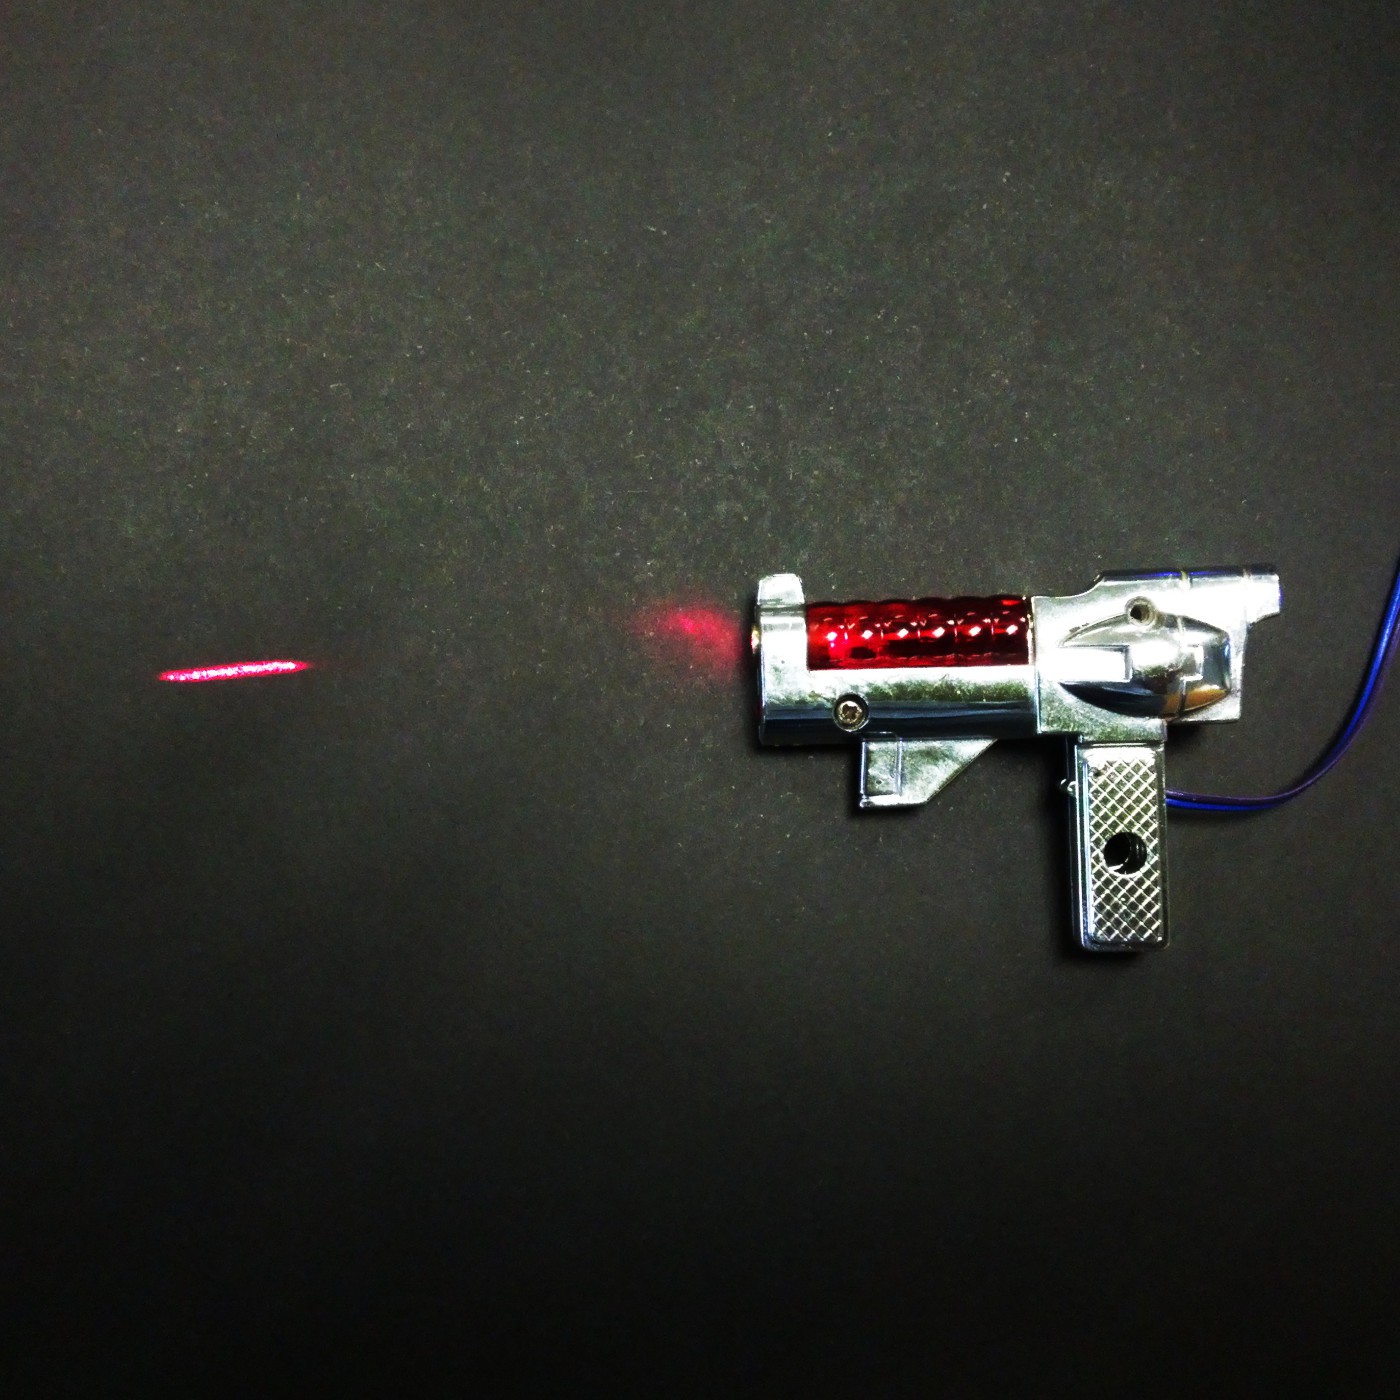
 I popped in a current limiting resistor (although it has a 33 ohm in series already, it is designed for a 3V supply, so a bit more resistance was required) and got this result:
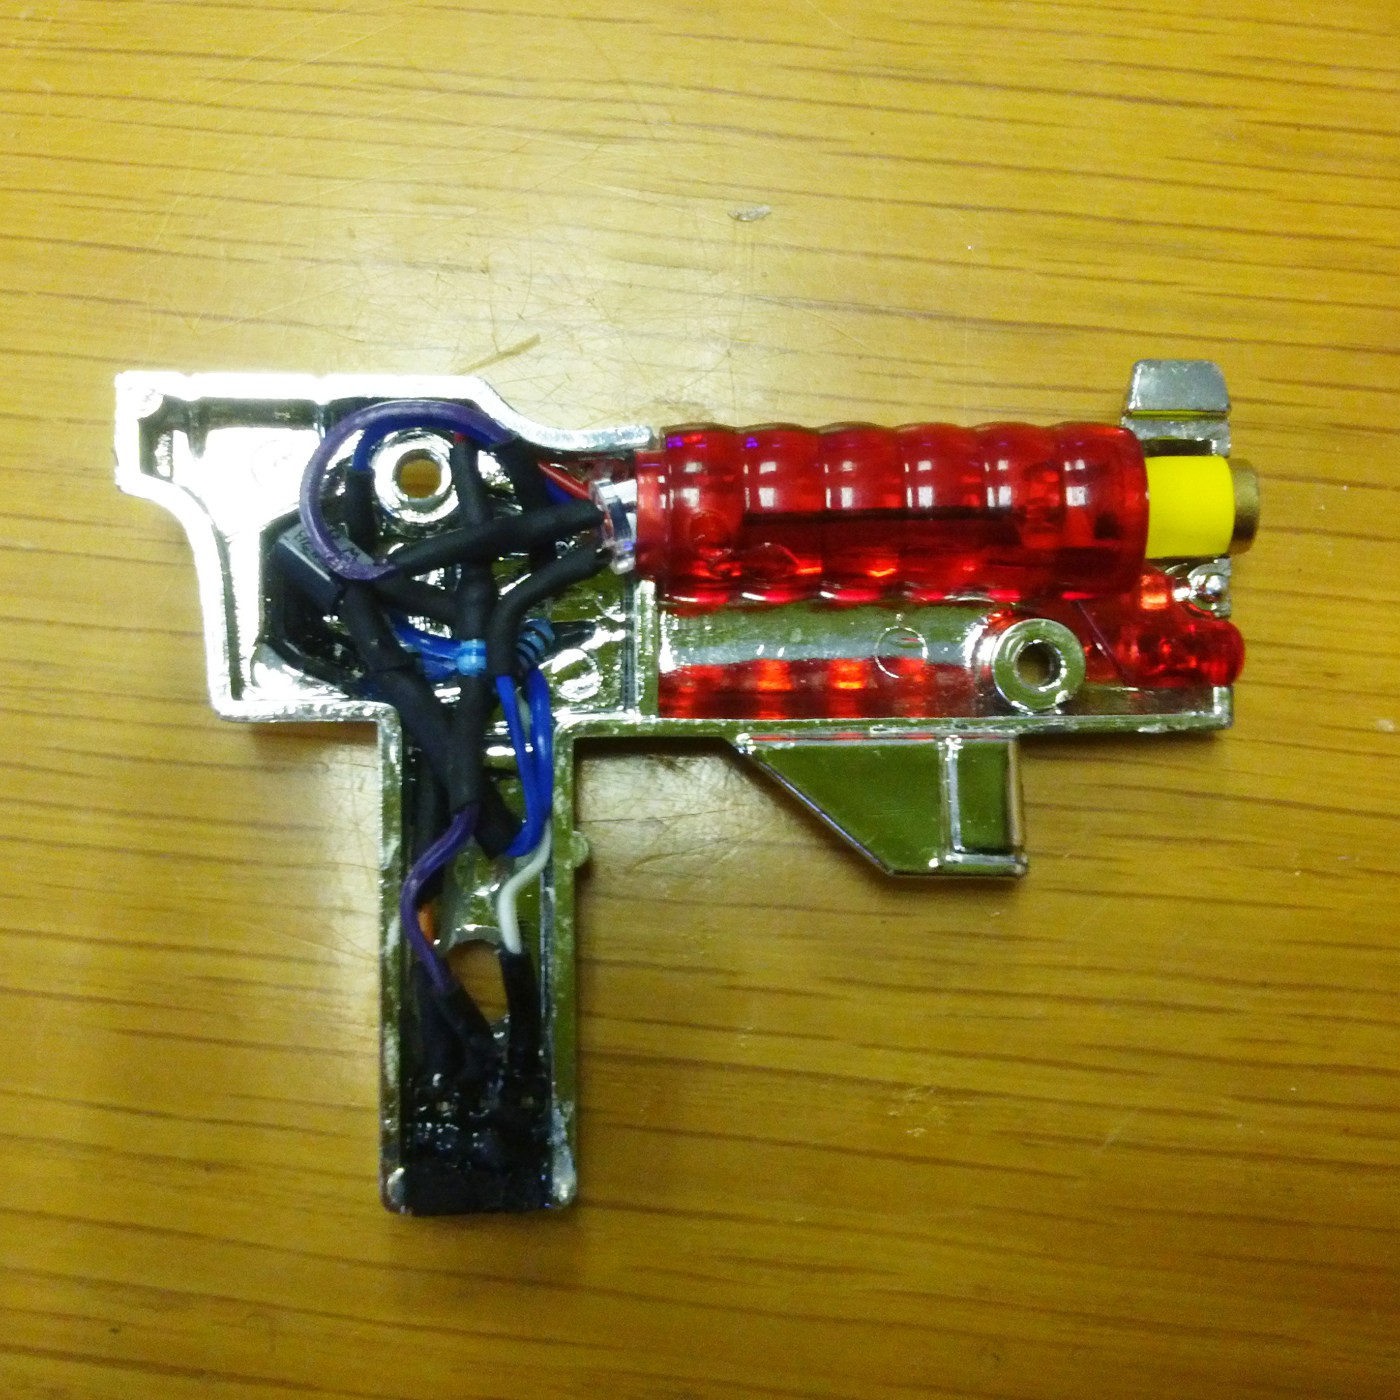
 That is pretty cool, but it would be a lot better if the gun itself still lit up, so I opened it up again and put in a bright red LED to light up the barrel.
Scott introduced me to DigiKey's handy tool for simple schematics called schemit, so here is a diagram that I drew with it.
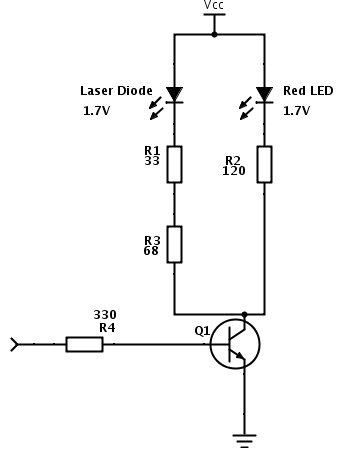
Since we are now pulling more current than the micro can supply directly I have included a transistor to turn them on and off. It seemed like a cool idea to be able to swap weapons out at some stage, so I attached this whole lot to a bit of 2.54mm socket, so that it has the same interface as all the servos.
Here it all is, shoved back into the gun. You can see the 2.54mm socket at the bottom.
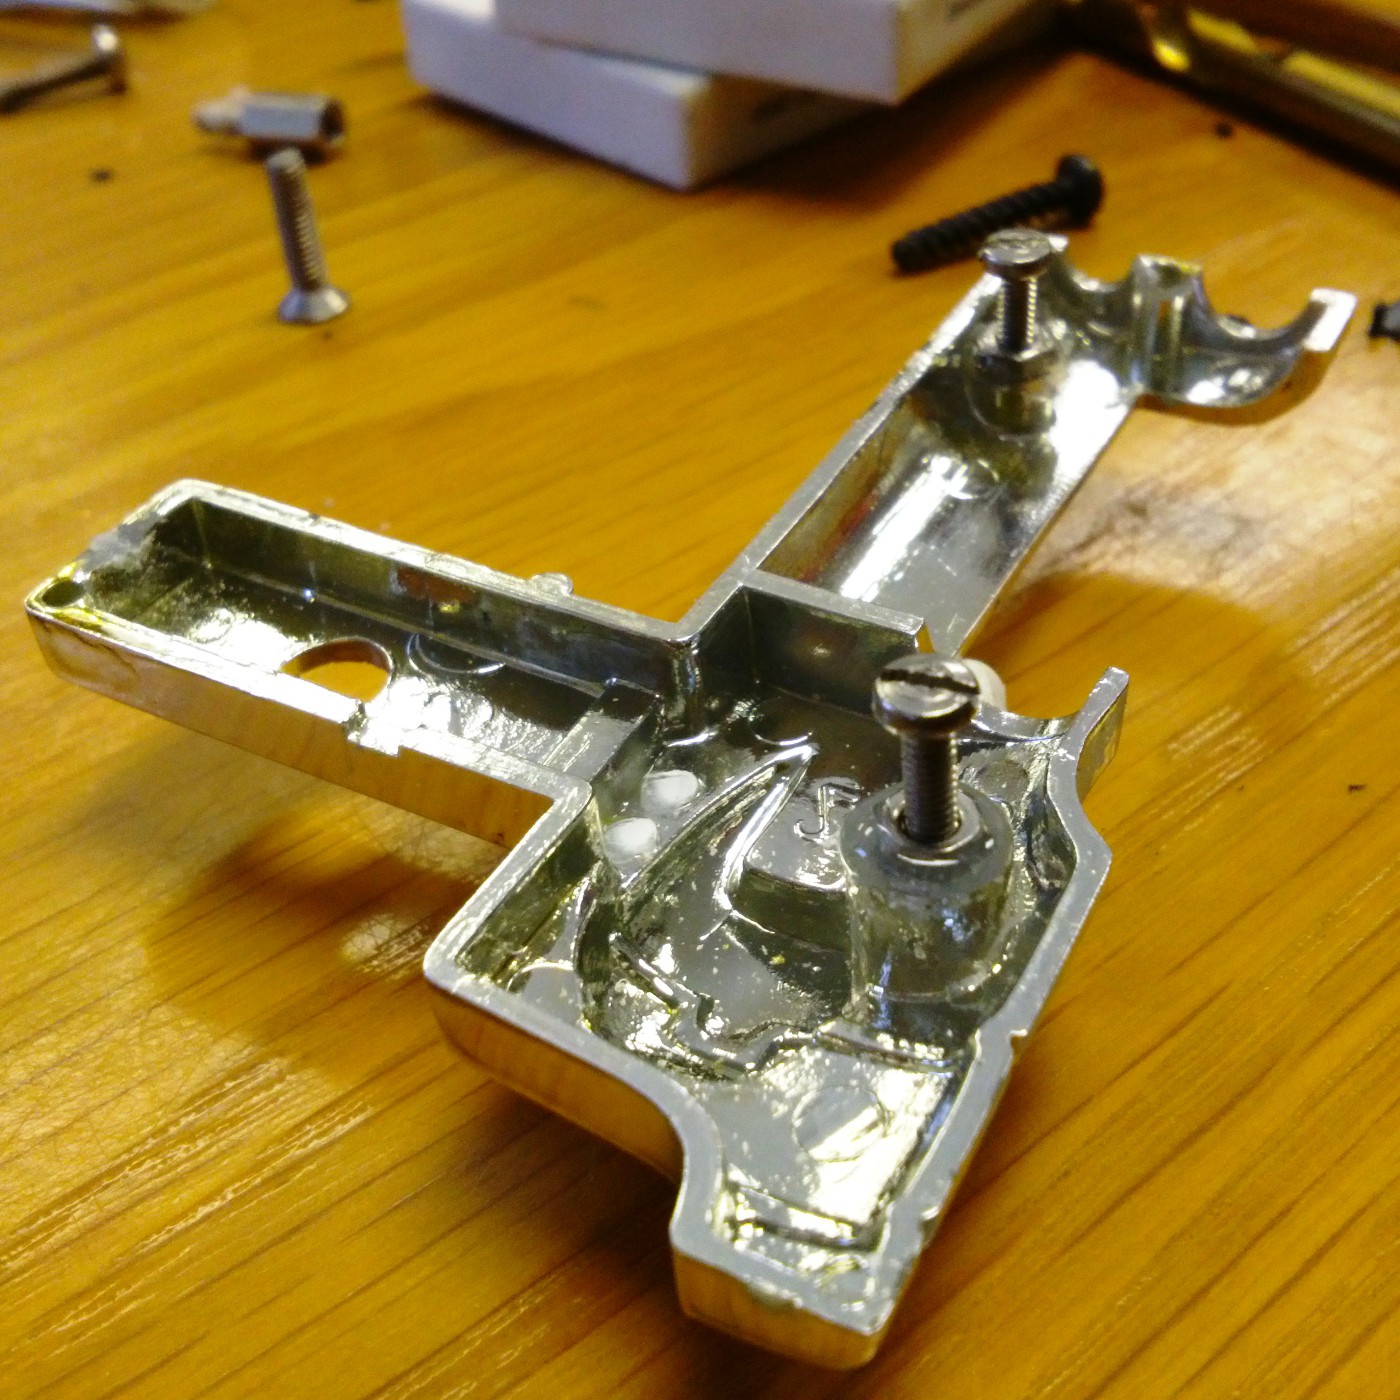
The gun, as with everything else, was originally held together with self-tapping screws, tightened into the plastic. This is deeply offensive to me, so I cut away some of the crappy plastic "thread" and epoxied some M2 nuts in its place. I can now open and close the gun as many times as I want without worrying about stripping the threads (you know, for when I need to install the burning laser that someone sponsors us).
Discussions
Become a Hackaday.io Member
Create an account to leave a comment. Already have an account? Log In.