 Ossum
OssumThere was not a lot of space left in the chest after installing the arm servos, but they couldn't go anywhere else. The next biggest things are the batteries, so they needed to be placed next. I tried all the orientations I could think of, the only way that they would fit, while still leaving room for a torso servo, was to cut out some more of the battery bay and put them directly under the arm servos.
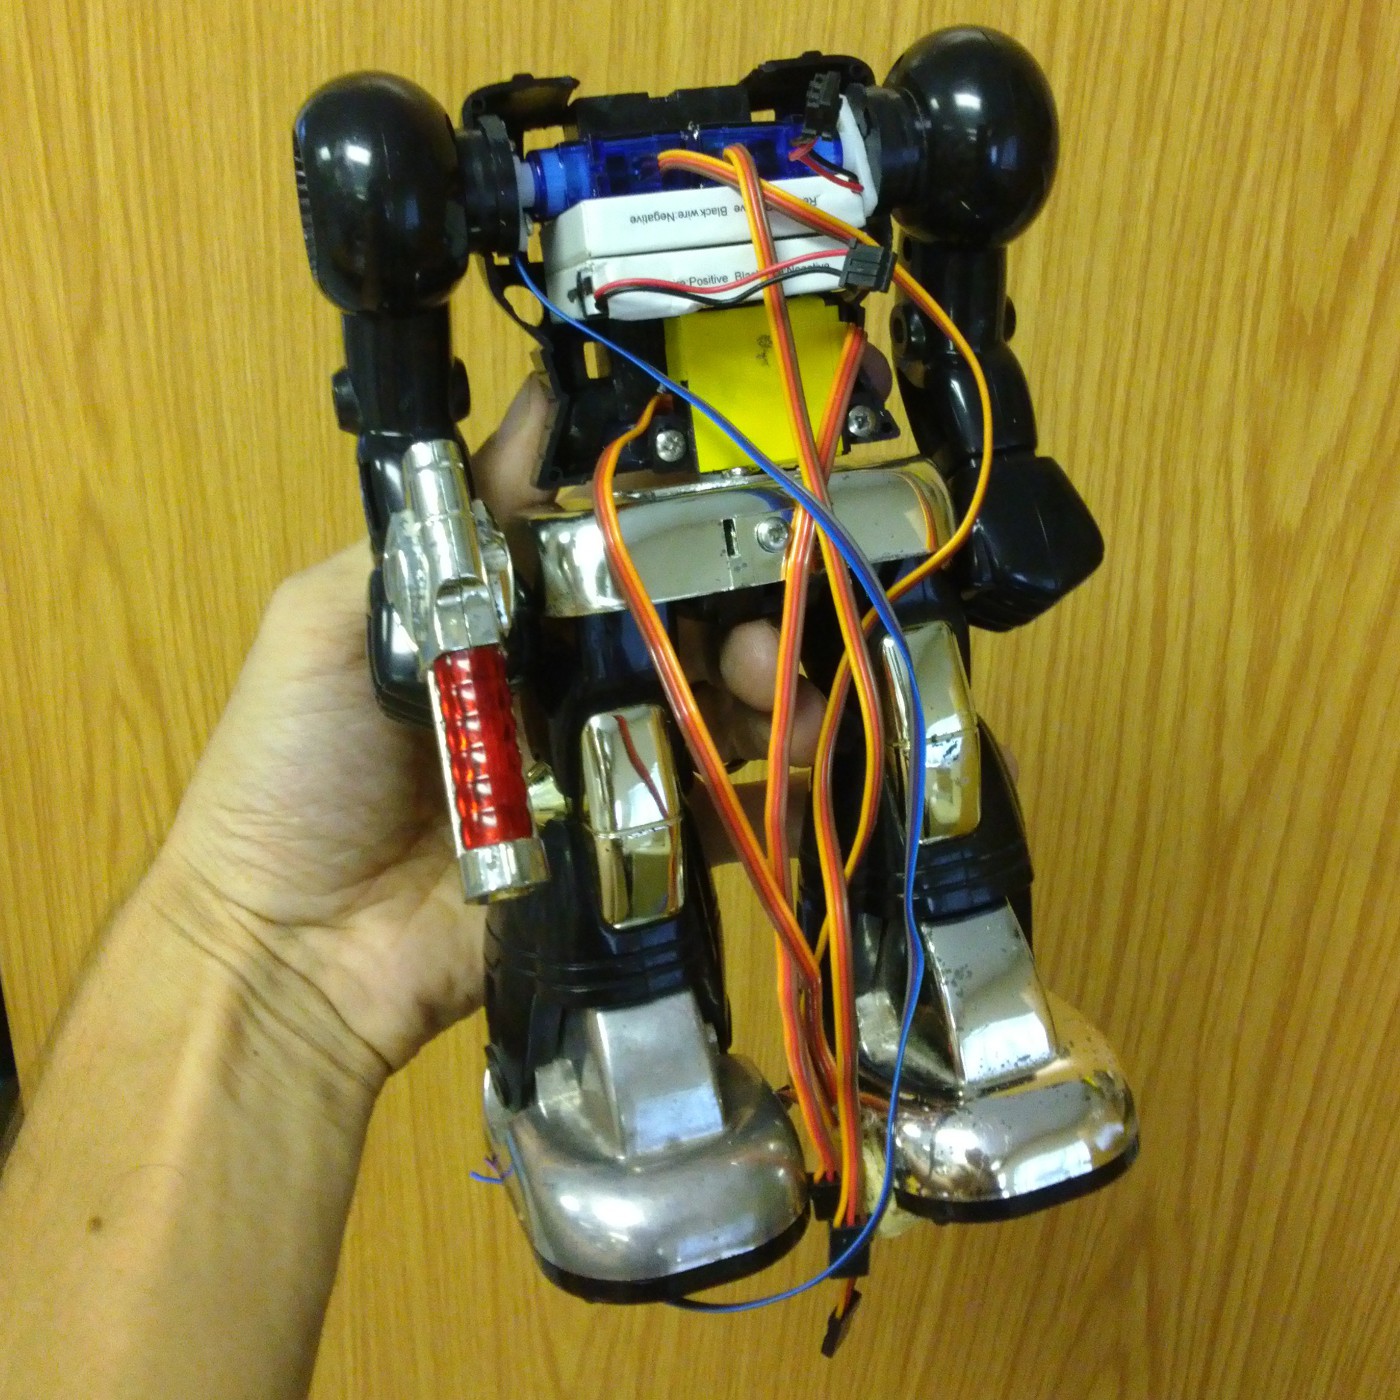
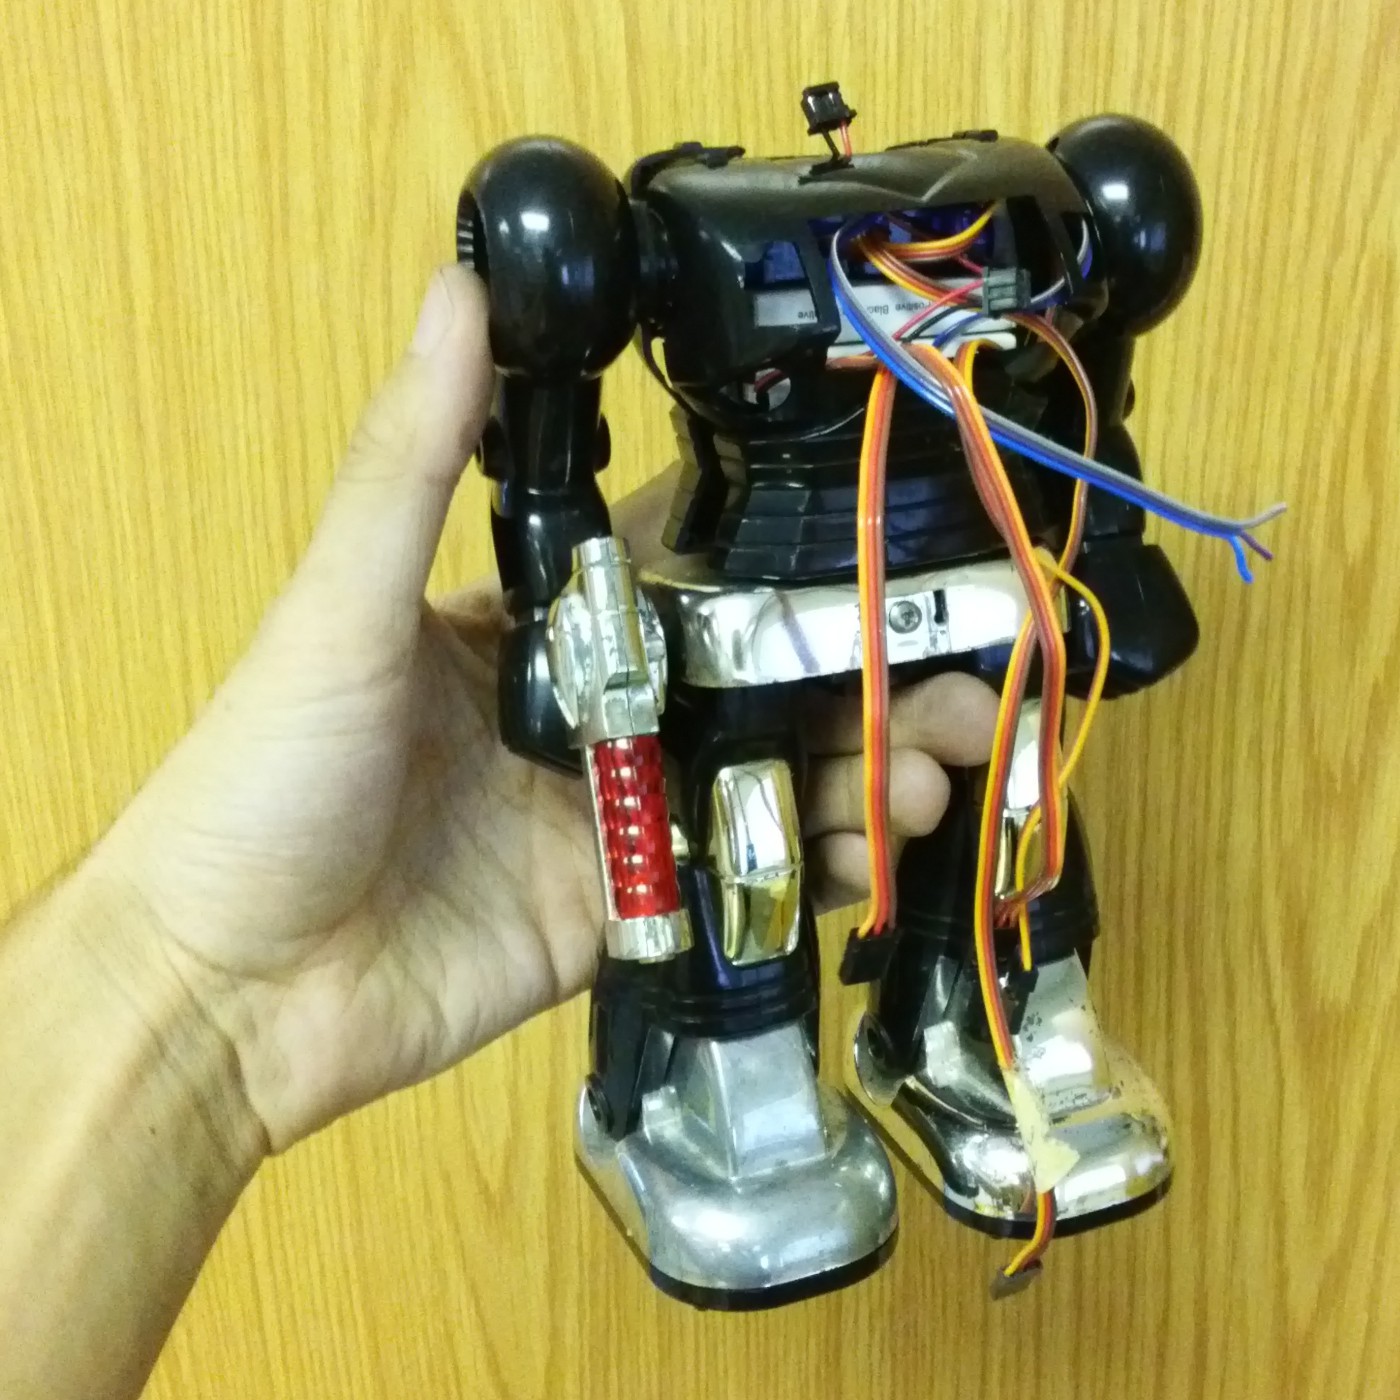
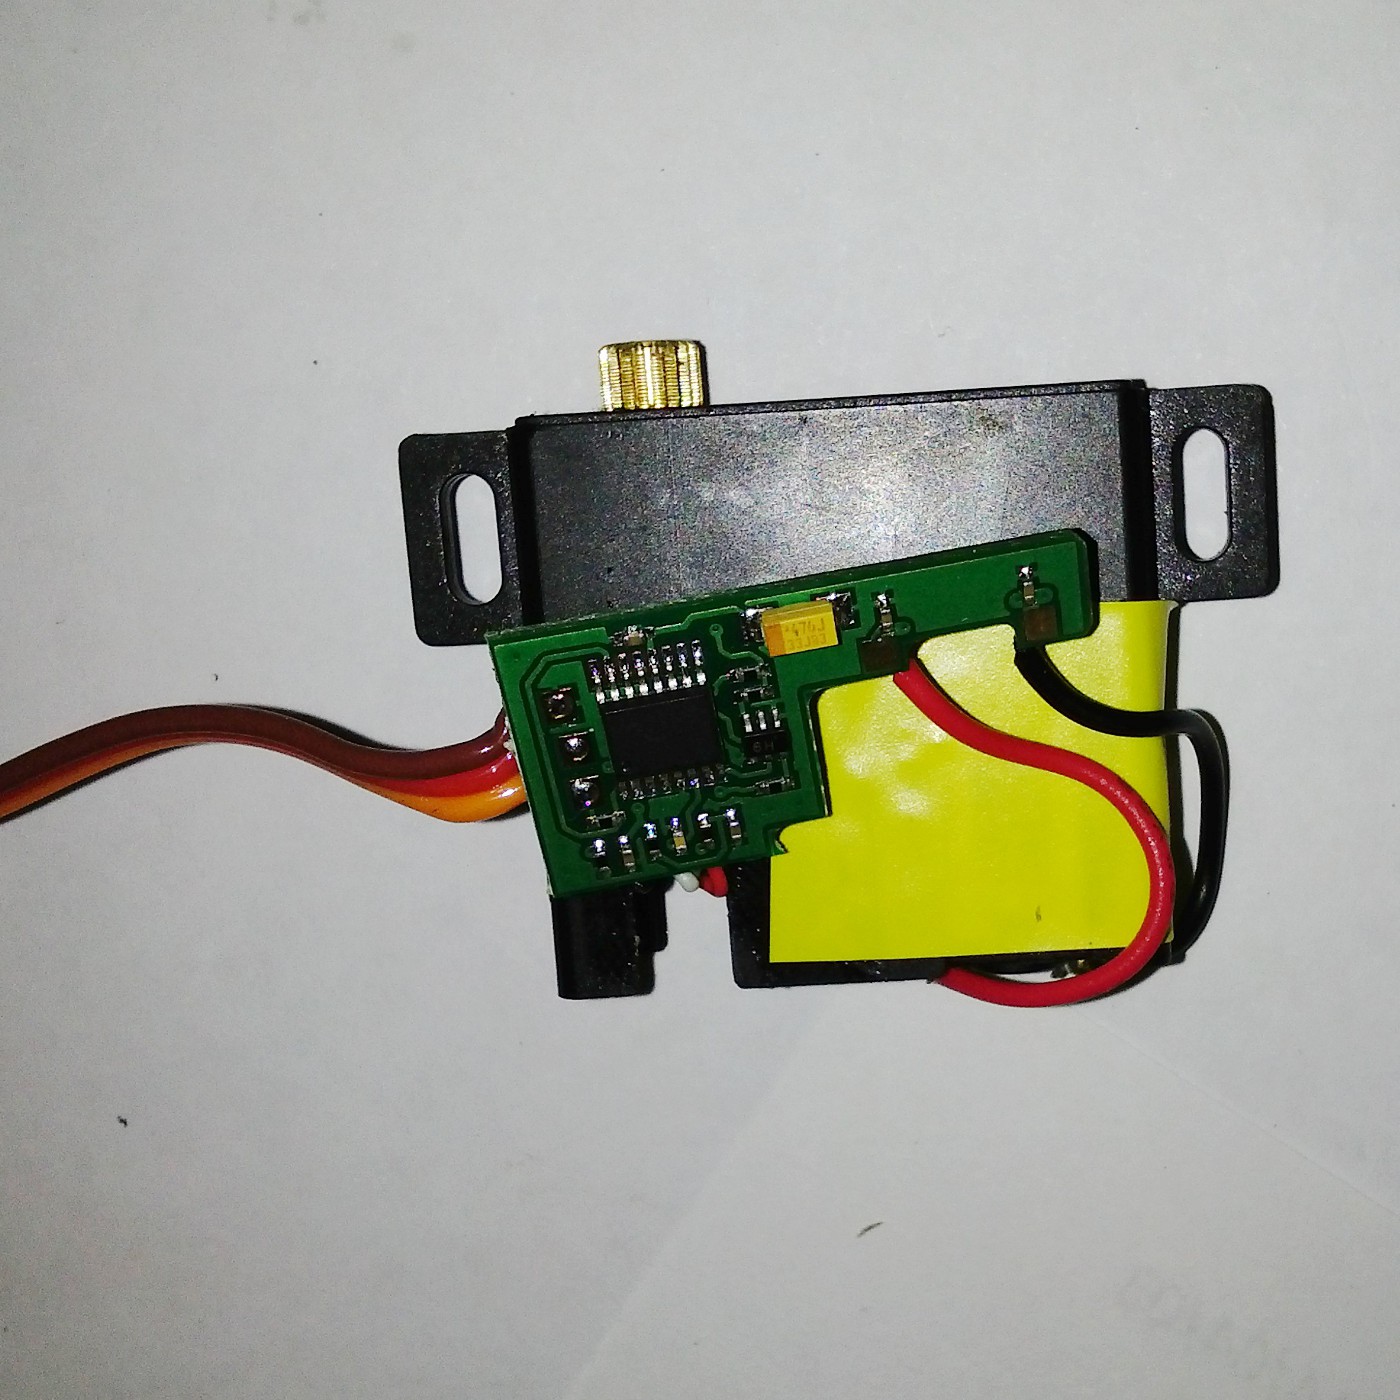
The torso servo just fits under the batteries, although I had to disassem
Here is the modified servo.
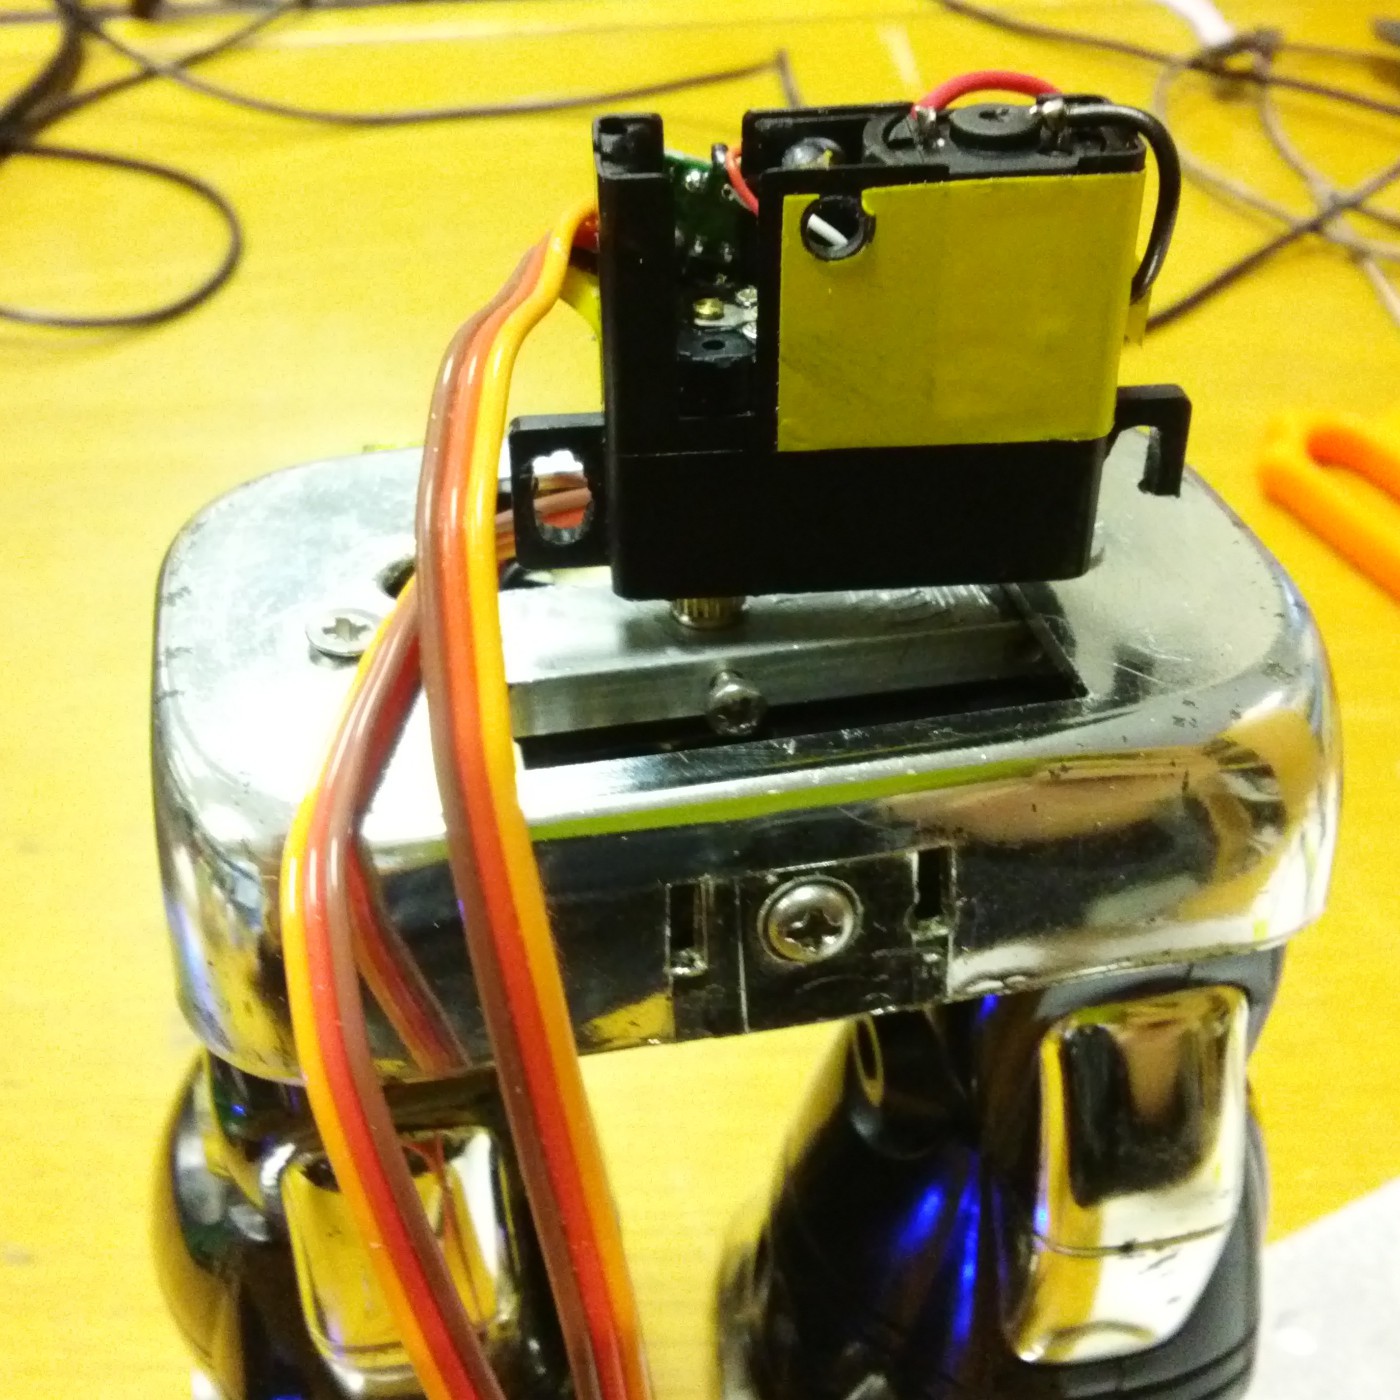
Mounting the torso servo to the legs took a number of iterations. The thin sheet of aluminium, cut to fit the opening, was the second attempt. Using an plastic servo horn screwed into the metal worked nicely, but since the aluminium sheet was only supported in two places there was too much flex forwards/backwards.
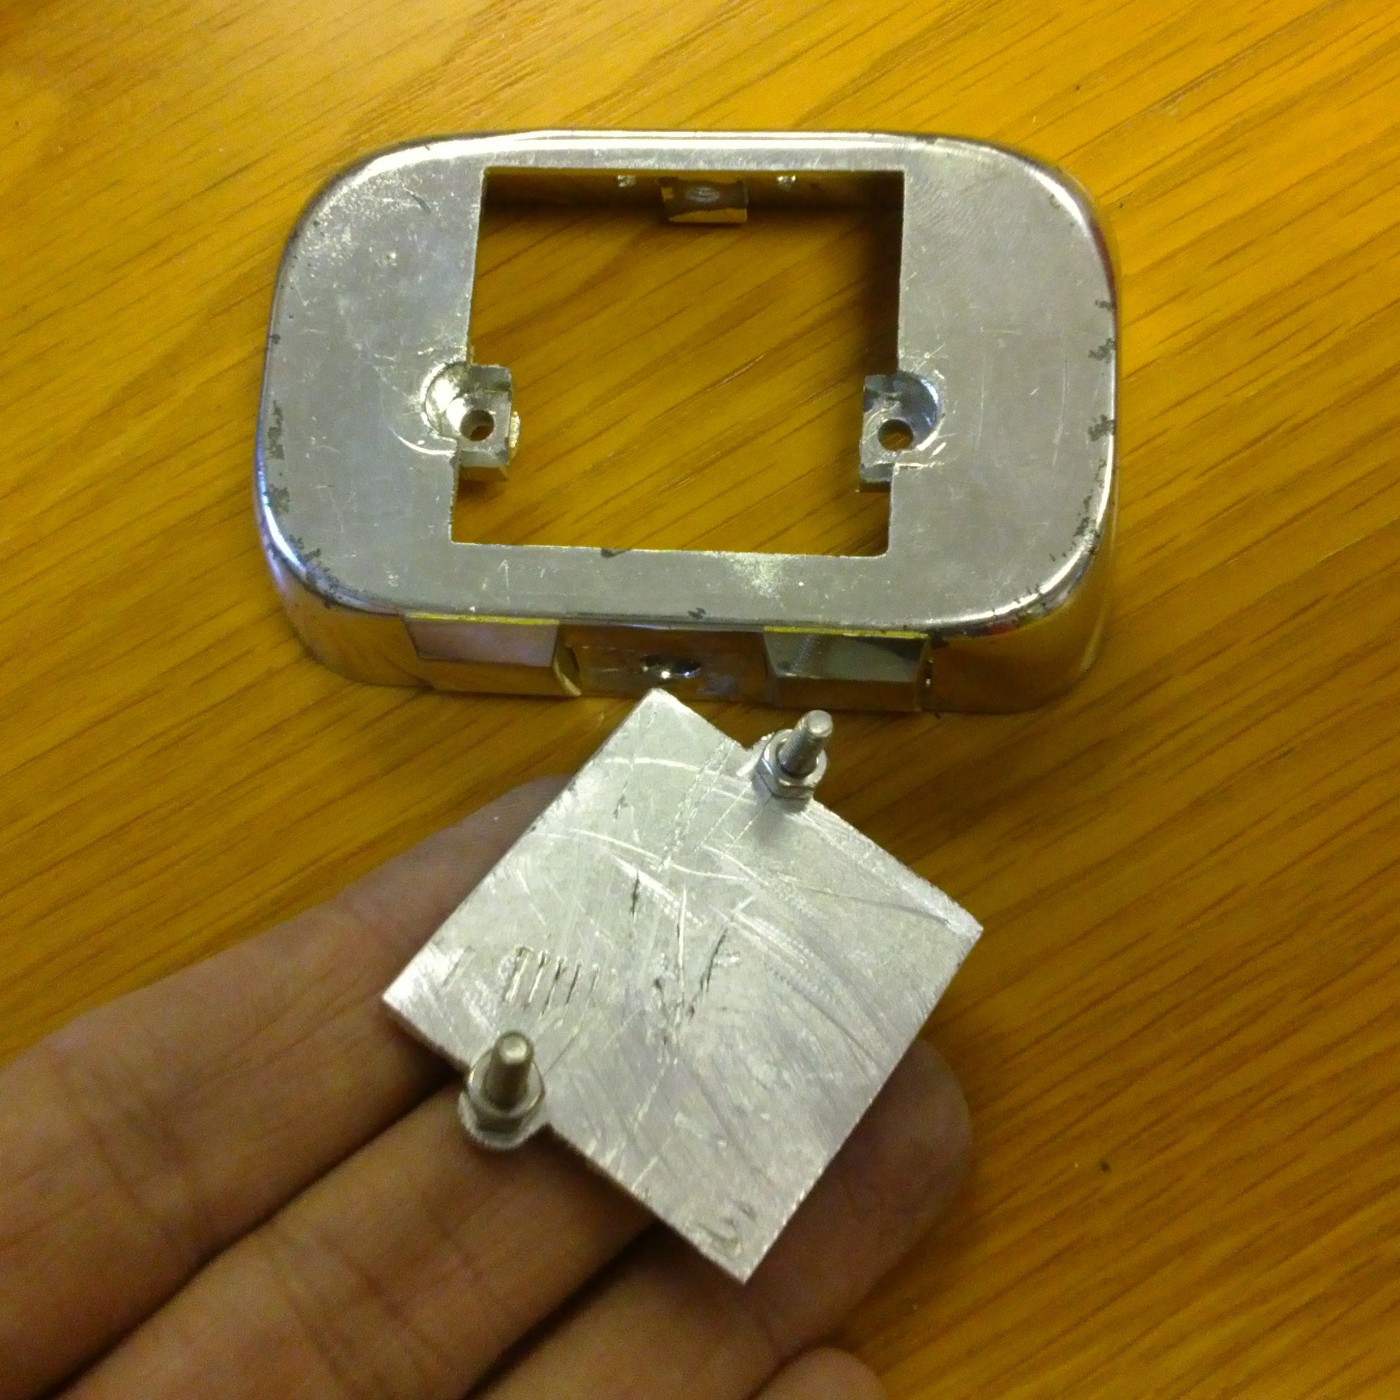

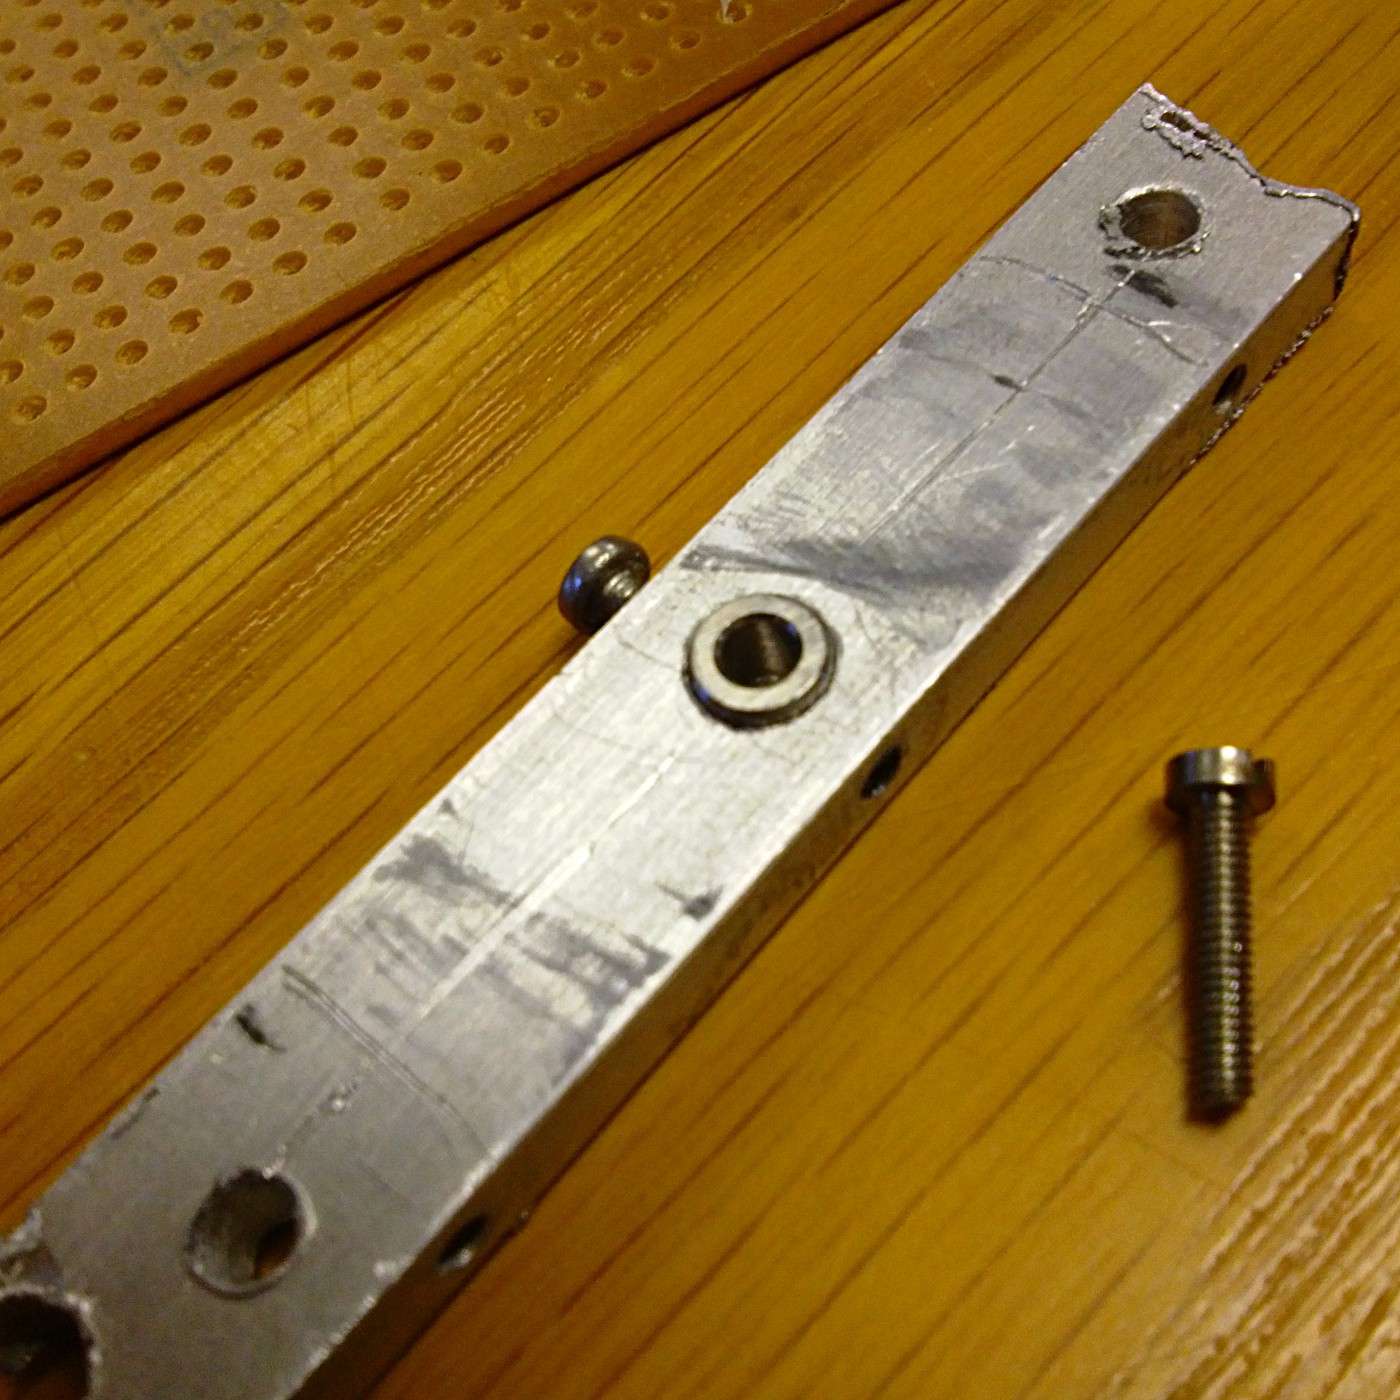
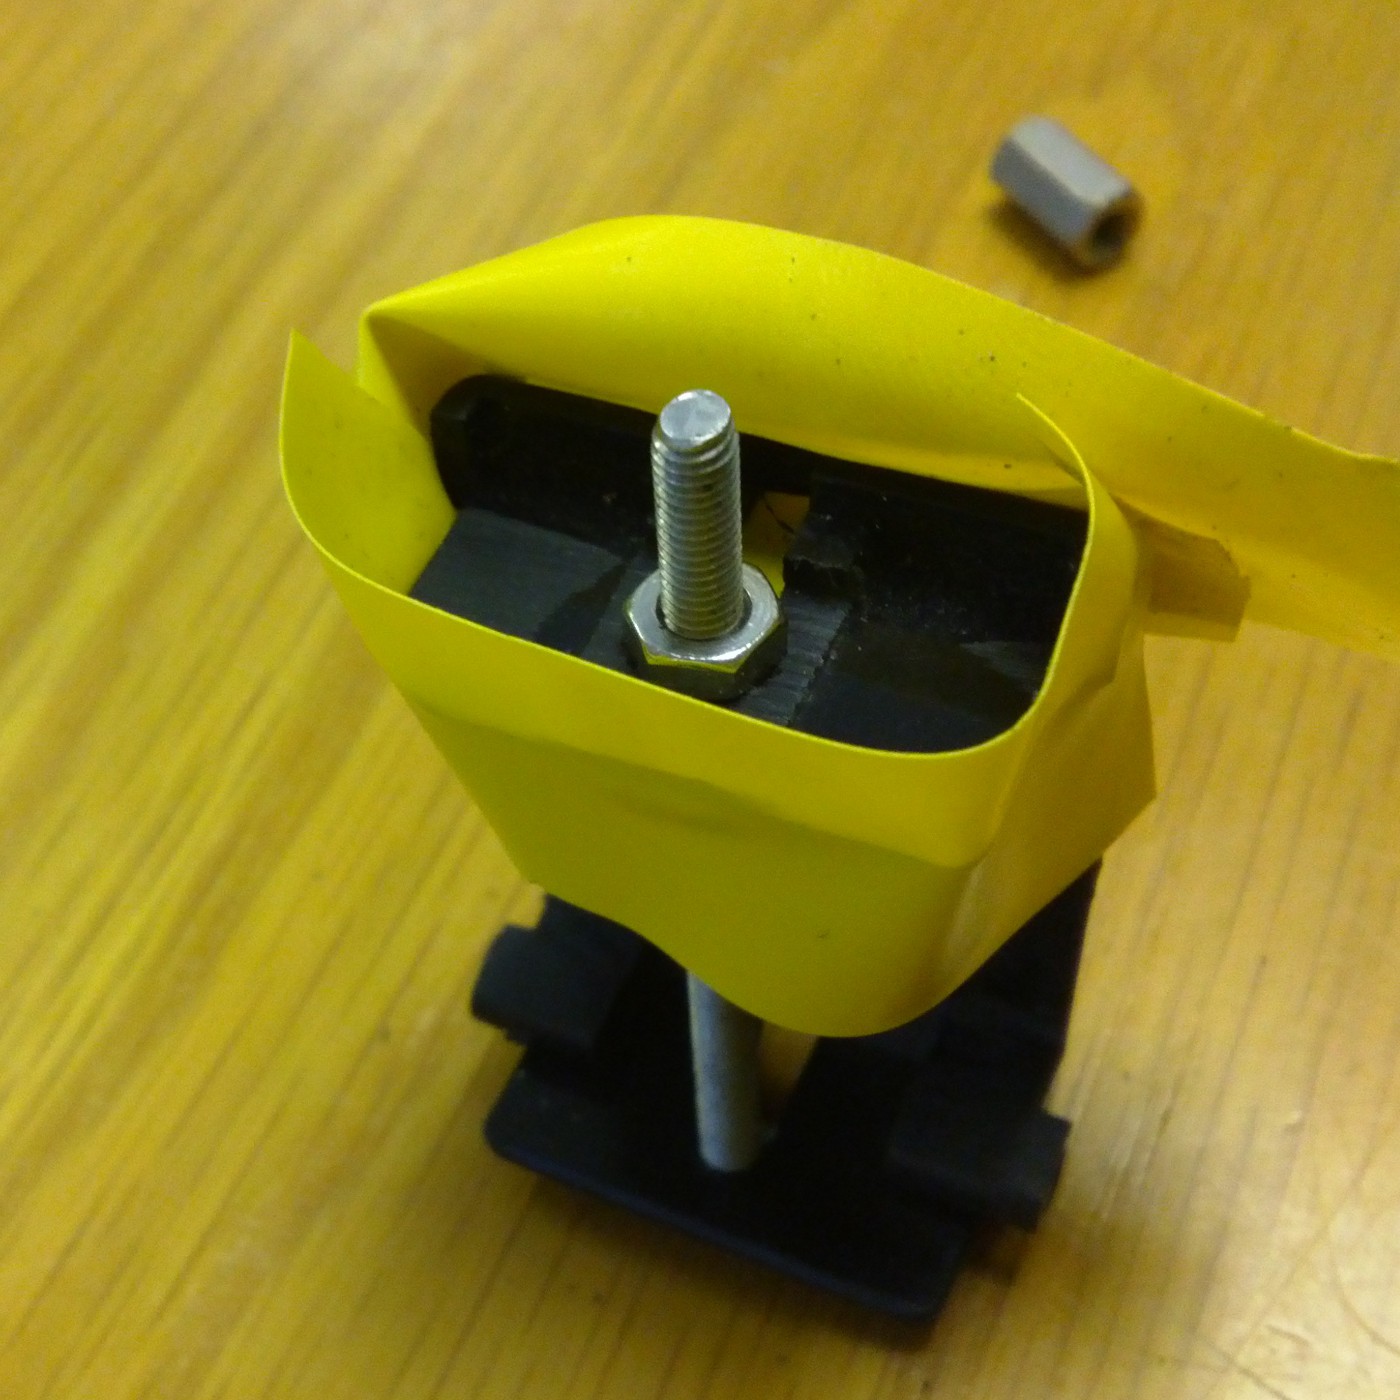
I then tried an approximately 4mm thick bit of aluminium that I scavenged out of an old circuit board (it was a heat-sink). It has tapped holes down the lengths, so I drilled a 4.9mm hole perpendicular to those that the servo's output shaft would fit into (almost all the way through) and a 2mm hole the rest of the way. The servo was too low like this, so i popped a stainless steel spacer in the hole and put the servo on top of all of that, supported by a long M2 screw. The whole assembly is very sturdy now, there is no play to speak of.
The servo is affixed to the upper body with 3 standoffs which have been epoxied into the back half of the torso shell.
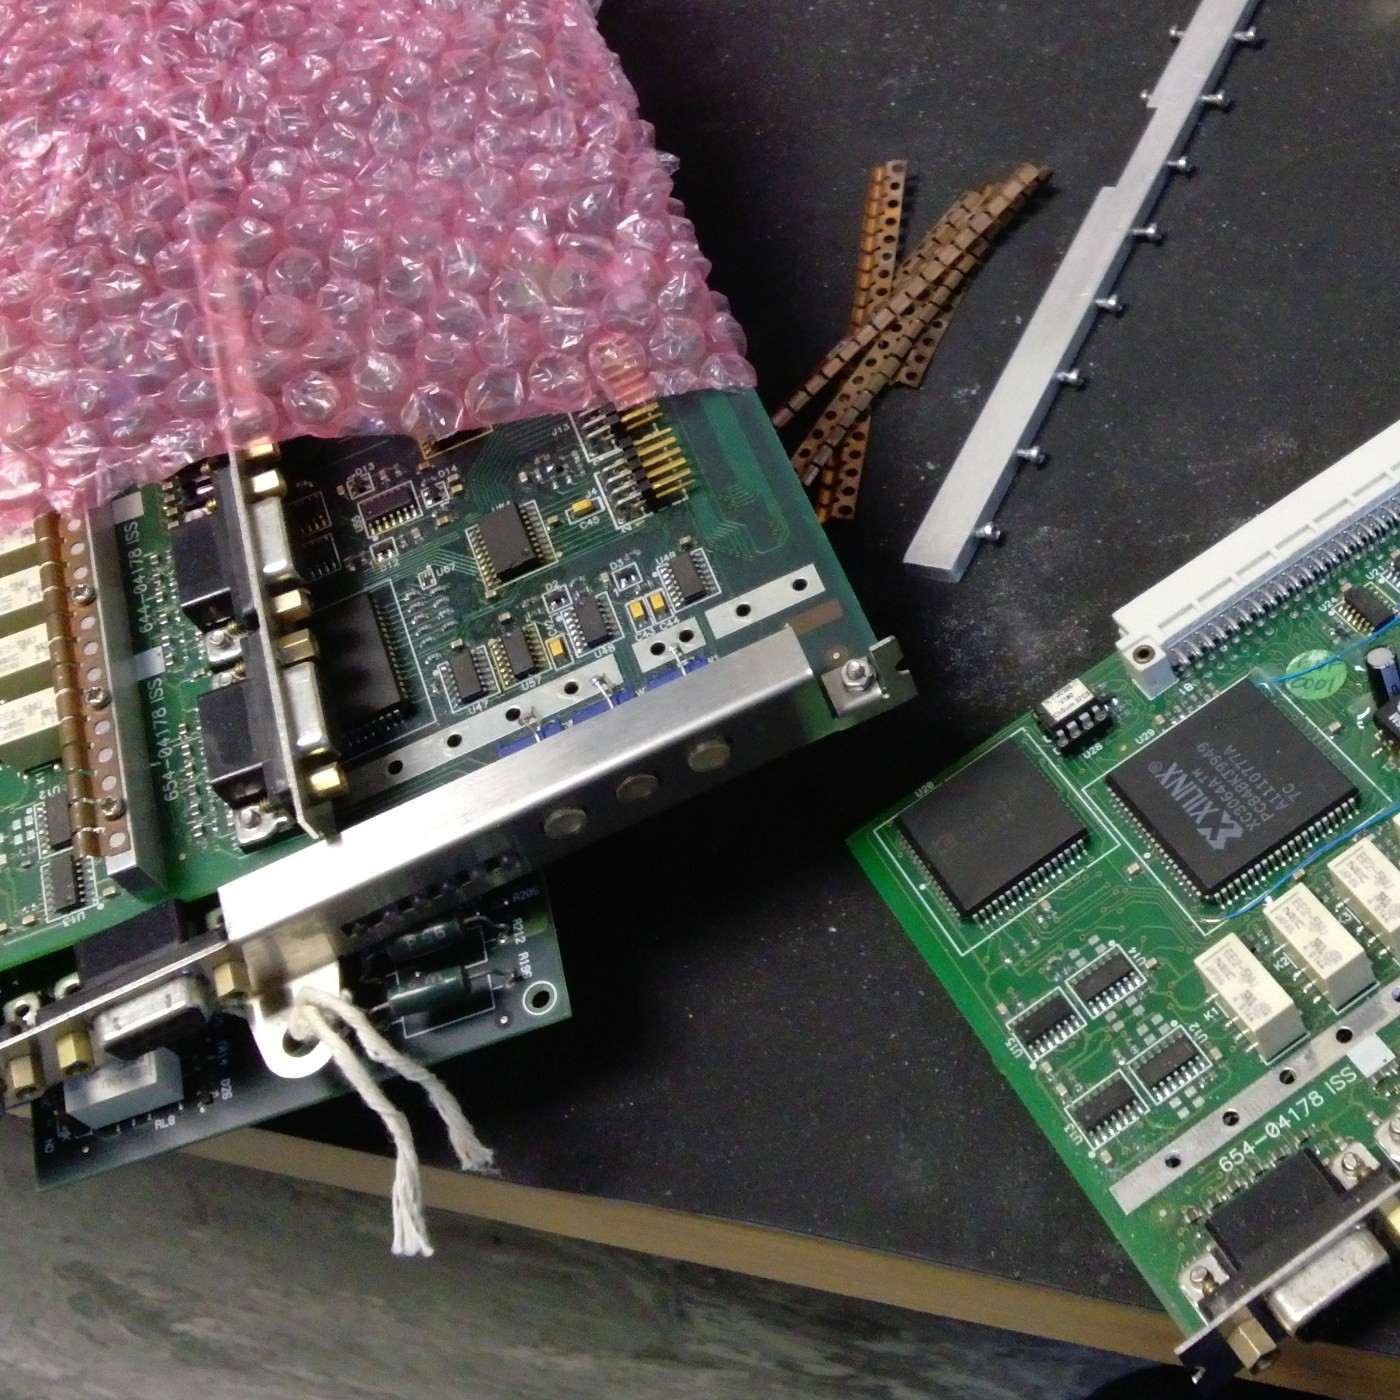
I am now working on placing the Arduino Nano that is the brains of the operation. I also need a regulator board, to bring the batteries' voltage to an acceptable level, while still providing enough current for all the servos. After bouncing some ideas off Scott we reckon that a 7805 regulator per servo will be the way to go, but I only had two. I took a stroll down Scrap Alley behind the factory at work and picked up some vintage boards destined for the scrap yard. As expected, some of the boards had 5V regulators and other useful bits and bobs, so it looks like I am in business for the next phase.
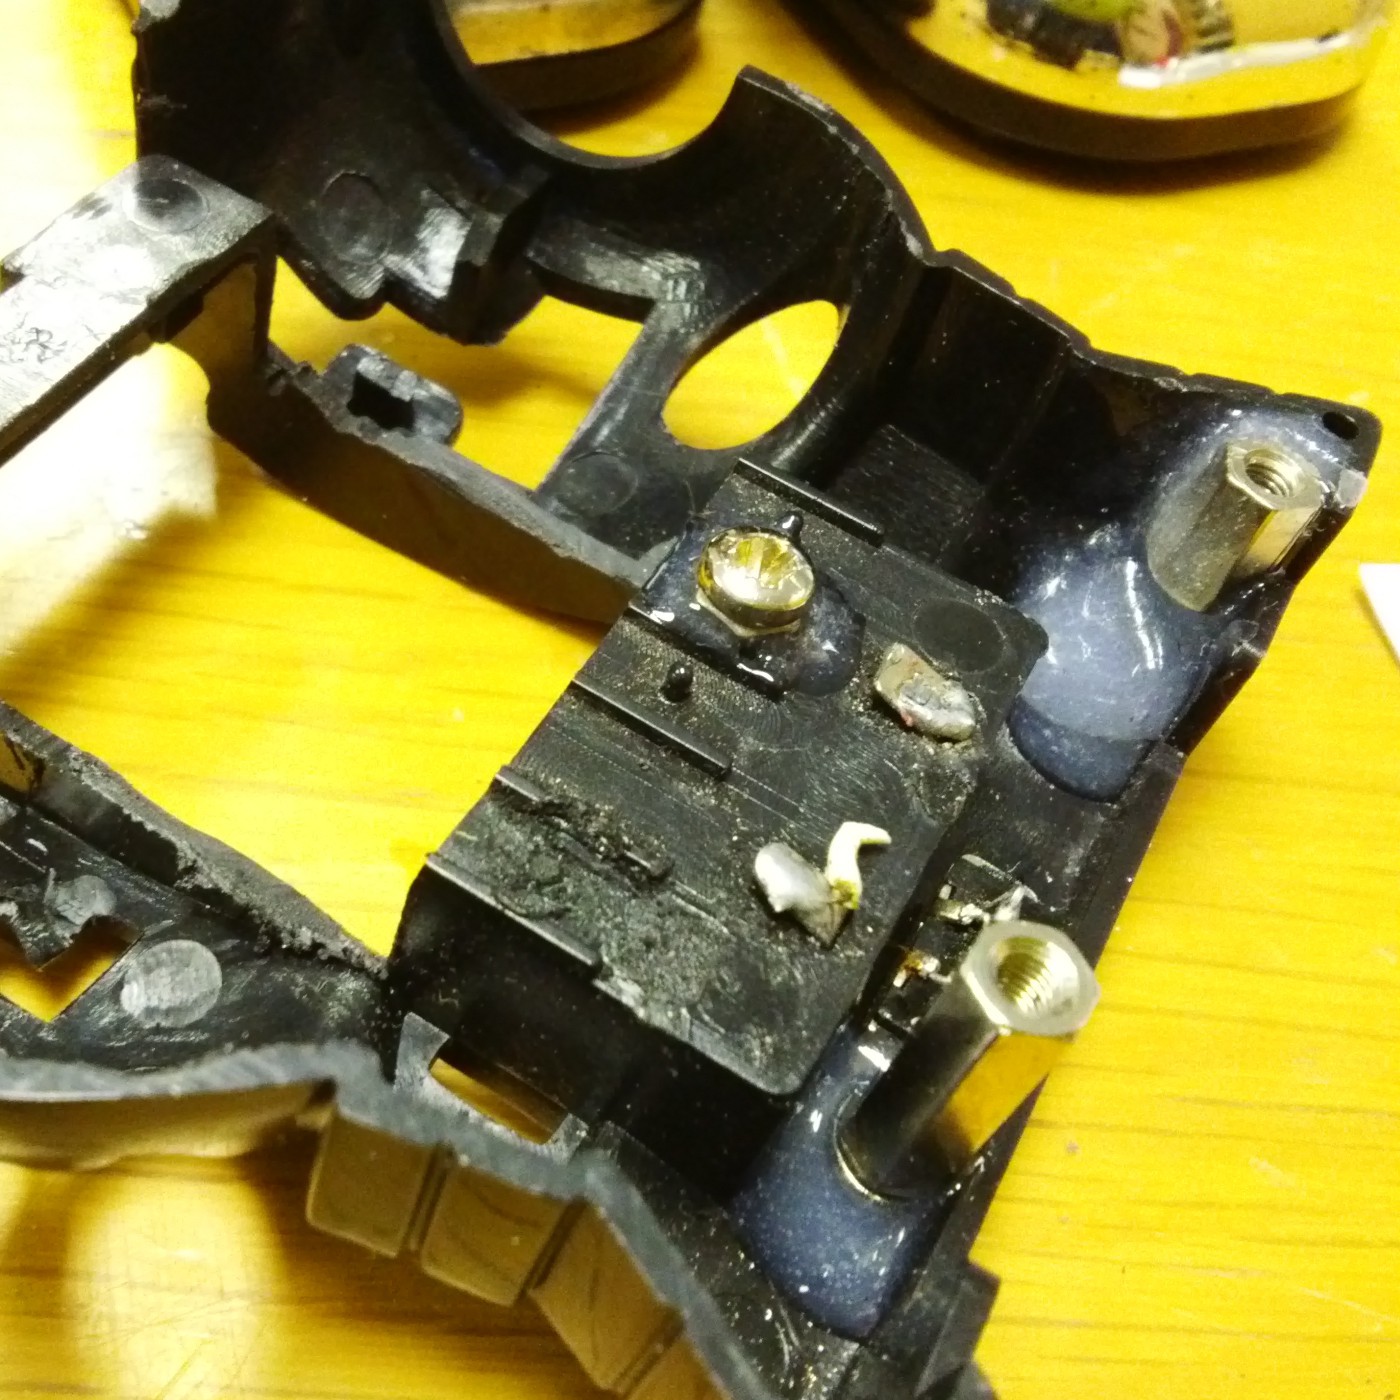
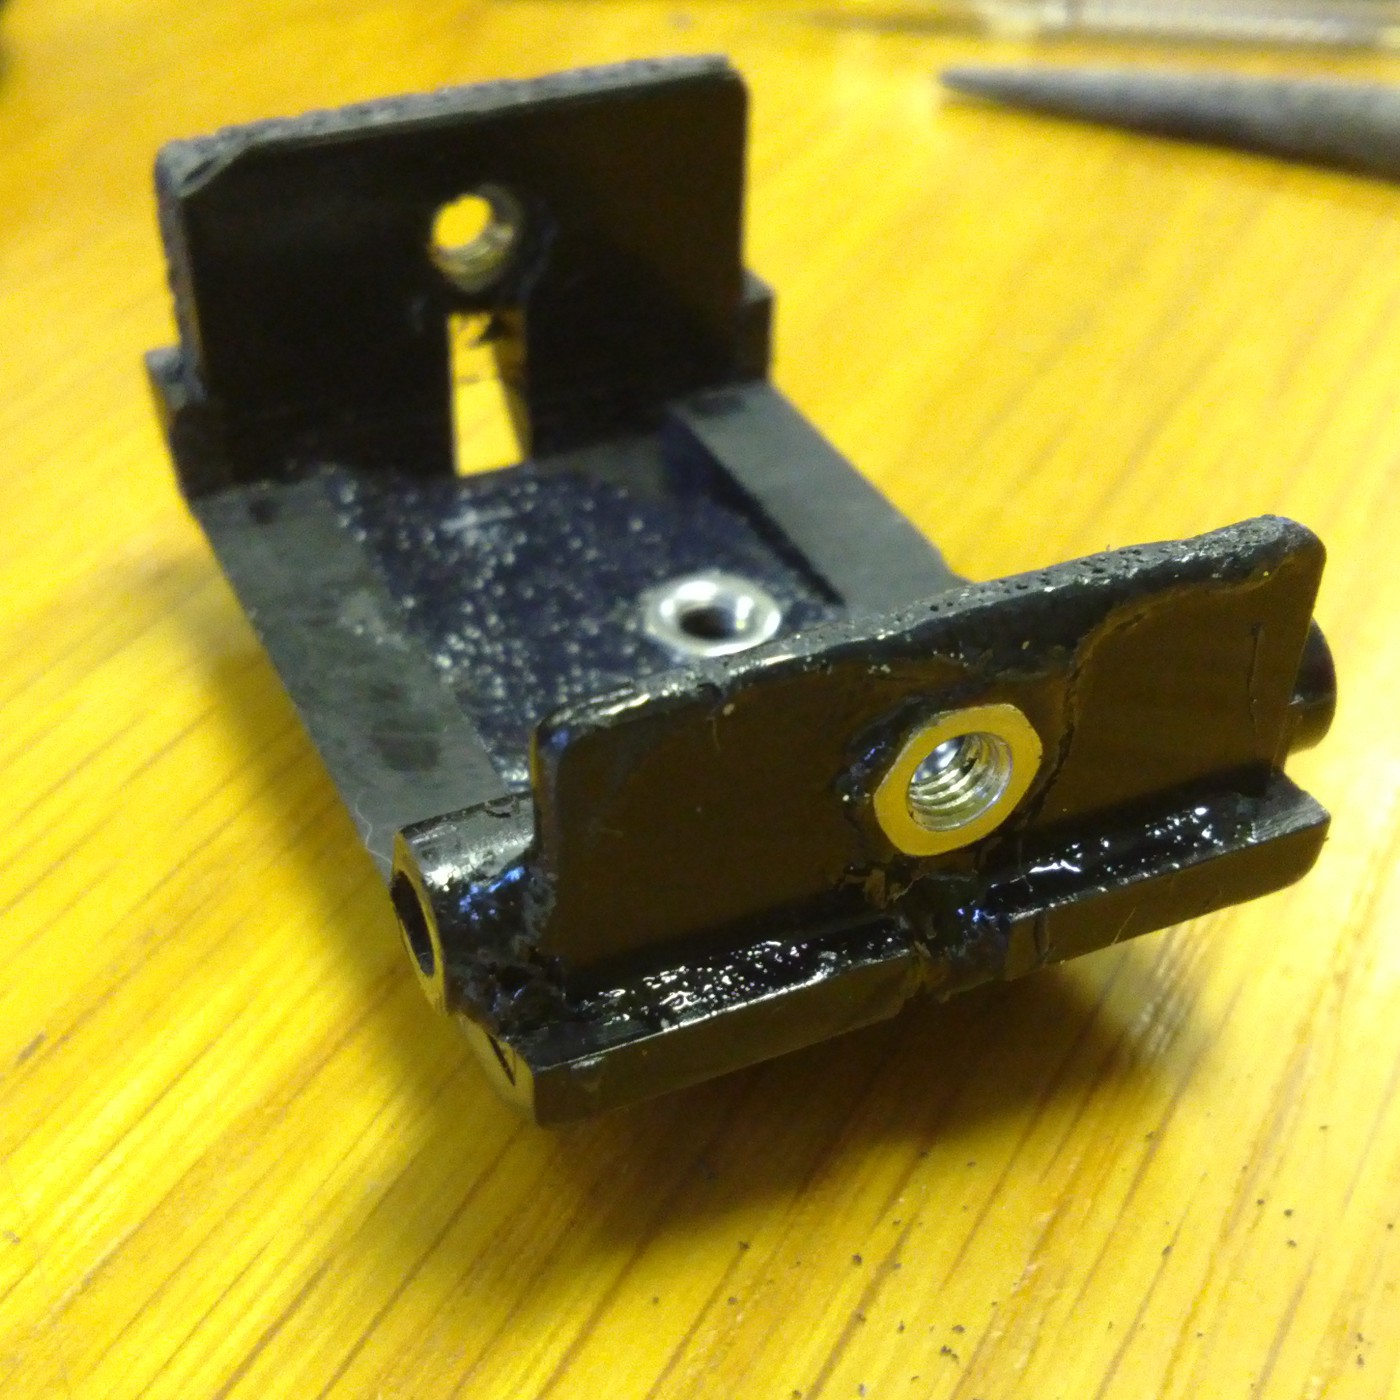
 Here are other things that have been going on in the background too, such as setting a pair of nuts into the pelvis, since the original fasteners were just screwed into
Discussions
Become a Hackaday.io Member
Create an account to leave a comment. Already have an account? Log In.