Ok, it's been some time since last log, and I changed a lot of things. Until then, I worked a lot on the hardware, and just coded a basic pygame script to experiment my changes. So, this code was very unoptimized, with one single big loop. It was time to work on this part.
- I started to rewrite the code to get more performance from it. I threaded the 3 main parts : usb capture, image processing, and displaying. From there, I could measure "framerates" of those threads, and find the bottlenecks.
- First obvious bottleneck was usb capture framerate, locked around 10fps. The USB is rather limited on the Raspberry Pi, especially on B : first, USB and ethernet share the same chip, so bandwith suffers. Second, the RPi powering circuit is very basic, and USB could only get ~200mA. So I decided to hack the board and directly route the 5V from power input to USB. This did the trick, and I could capture at almost full speed (27-30fps). I documented this hack here.
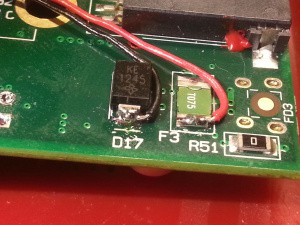 | 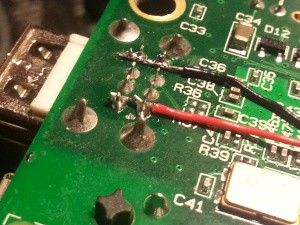 |
- Second bottleneck is in the display thread. I found I reached the SPI max bandwidth : if I remove 1 screen, framerate jumps to 22-24fps. So, after many tweaks, I could not get more than 10-12 fps on each screen. This is not much, but it's very stable and both displays are perfectly synced. Unfortunately, I don't find a solution to this, except using a HDMI display I don't have (yet).
- At this point, I decided to try replacing the USB camera with the Pi camera module (NoIR version) to get a better image. So I built an additional shell with cardboard to hold the module, while allowing to slide in and out. It also hides part of the cables, and I painted it black.
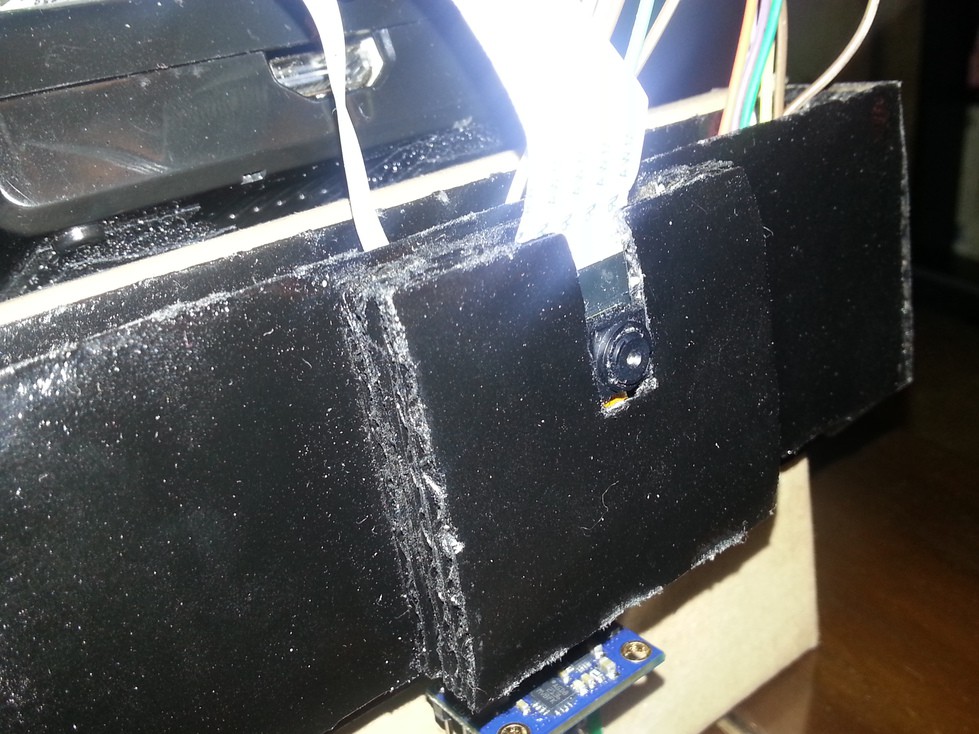
- Then, I had to find a way to capture Pi camera module at full speed in pygame. Adafruit uses a nice trick in their camera script, but 10fps was not enough. So I ended using an alternative UV4L driver. With it, the Pi camera is used as a regular webcam, but it still uses the GPU. So, my pygame script could capture at full speed. It is running so nice that I decided to write a python lib for it.
- I added a GY-80 10 axis IMU to the device. This is a gyro/mag/accel/baro combo I'm using in a custom headtracker I built to play Elite: Dangerous and flight sims (working very well by the way, I plan to sell it on Tindie as soon as I rebuilt it wireless). This IMU is a bit tricky to use, and I had to partially write 5 python libs to make it work. It is still not very well calibrated, especially the magnetometer. But it's ok for now.
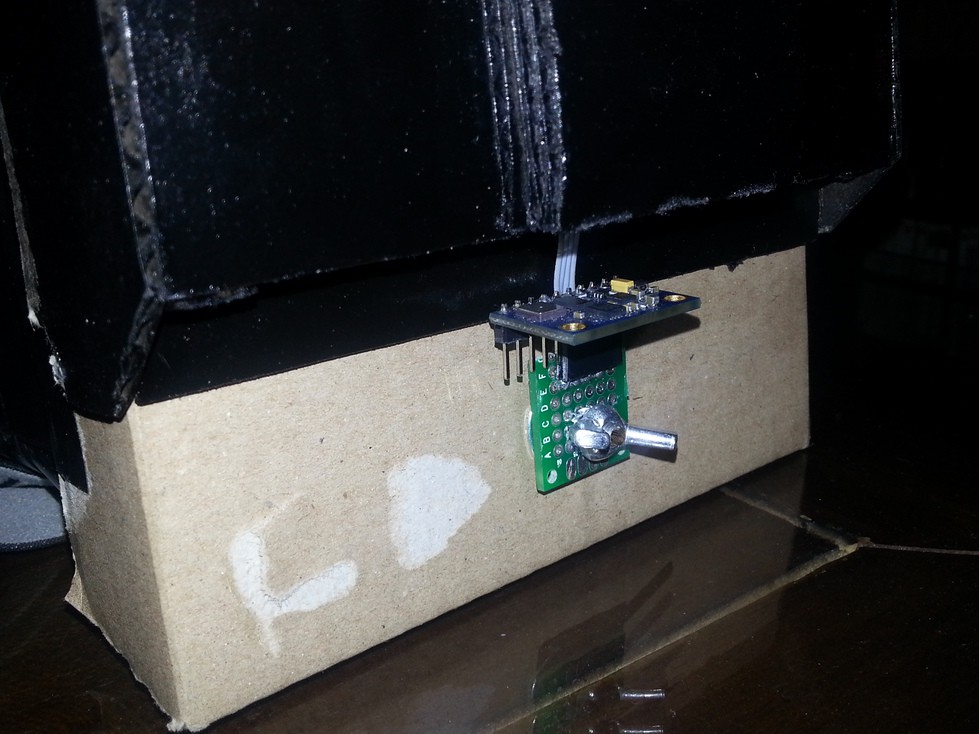
- With the IMU working, I added some "telemetry" to the display : 2 lateral scales show pitch ant altitude, and a central bar gives the horizon. I don't use roll and yaw for the moment. I also show the ambient temperature in a corner.
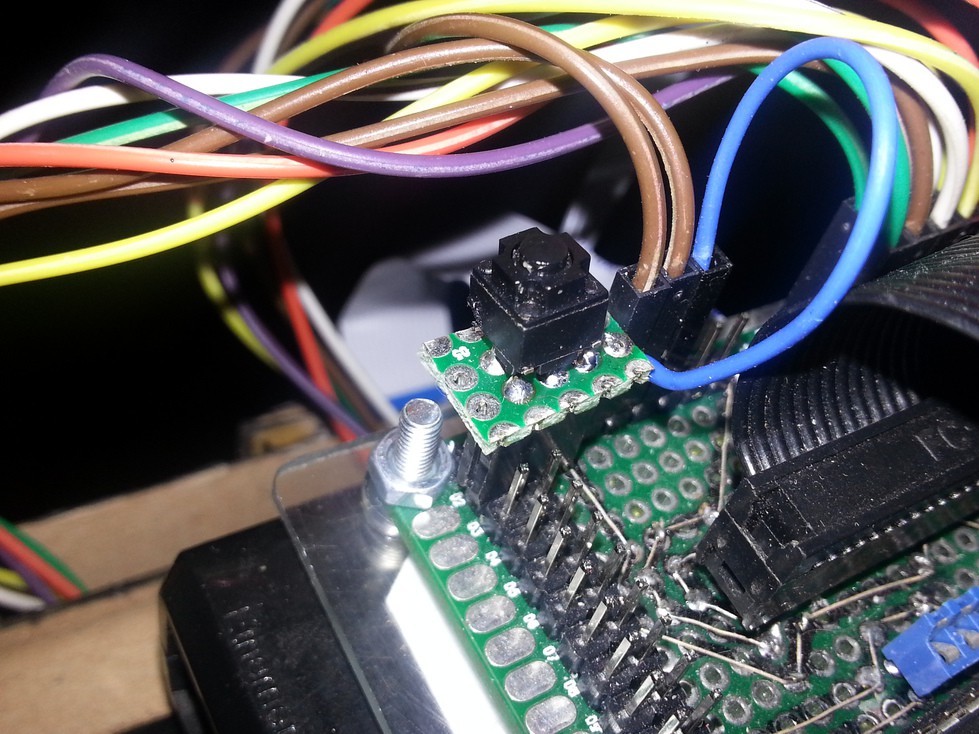
- Finally, I added a single button to the breakout board. The python code I wrote can do few things with this single button : short press calls/stops the HUD script, a longer press reboots the device, and an even longer one power it off. From now, I don't have to plug a keyboard or access it remotely anymore, except when developing on it.
So, so far, the device is running well. The biggest problem is about the displays. Once I will have upgraded to a HDMI display, I won't be limited by framerate. I also plan to upgrade to a Raspberry Pi 2, to give some room for OpenCV video processing. I have so many ideas at this point...
But even at 10fps and with 240*320 resolution per eye, it's a great device and I don't feel any VR sickness with it.
I will release the full code on my GitHub once the cleanup is finished.
A last detail : I tried to use a BeagleBone at a point, because I have a very nice 7" 1024*600 display for it. But I quickly found the USB bandwith is also limited, and I could not capture at more than 10fps with a USB webcam. There's nothing I could do to it, so I abandonned the idea. I don't want to kill my only beagleboard doing a similar hack I did on the Pi. 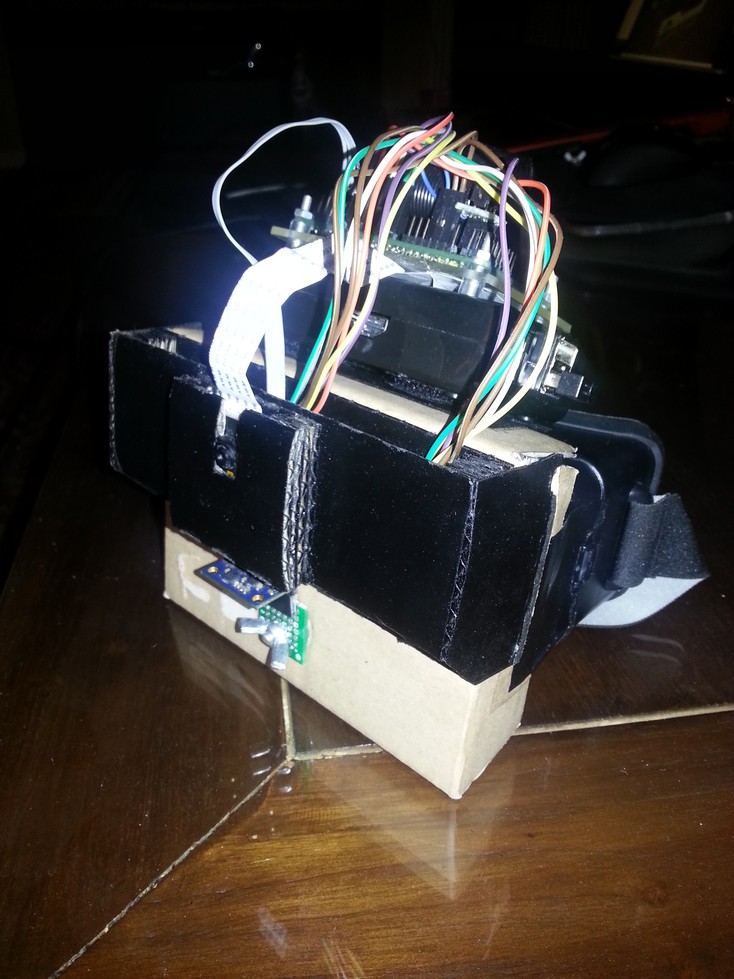
 Arcadia Labs
Discussions
Become a Hackaday.io Member
Create an account to leave a comment. Already have an account? Log In.