 deʃhipu
The newest Hackaday Prize Hot List is about human interfaces, so I decided to work on that a little over the weekend. I found an analog joystick module lying around, so I'm going to try and make a custom controller for Tote.

First a quick test. The joystick has two pots for the position, and a button for pushing down the hat. That means we can have two modes, one for walking around, and one for changing the body posture. For a quick test, I connected it to a Pro Mini and tested with this simple Arduino sketch:
void setup() {
    Serial.begin(115200);
    pinMode(A0, INPUT);
    pinMode(A2, INPUT);
    pinMode(12, INPUT_PULLUP);
}

void loop() {
    Serial.print(analogRead(A0));
    Serial.print(", ");
    Serial.print(analogRead(A2));
    Serial.print(", ");
    Serial.println(digitalRead(12));
    delay(300);
}
It seems to be working perfectly. Next, I need an IR diode, for sending the signal to Tote. Quick rummaging through my parts box, and I found one, and a 100Ω resistor for it (the LED calculator says it should be 90Ω, but I couldn't find any).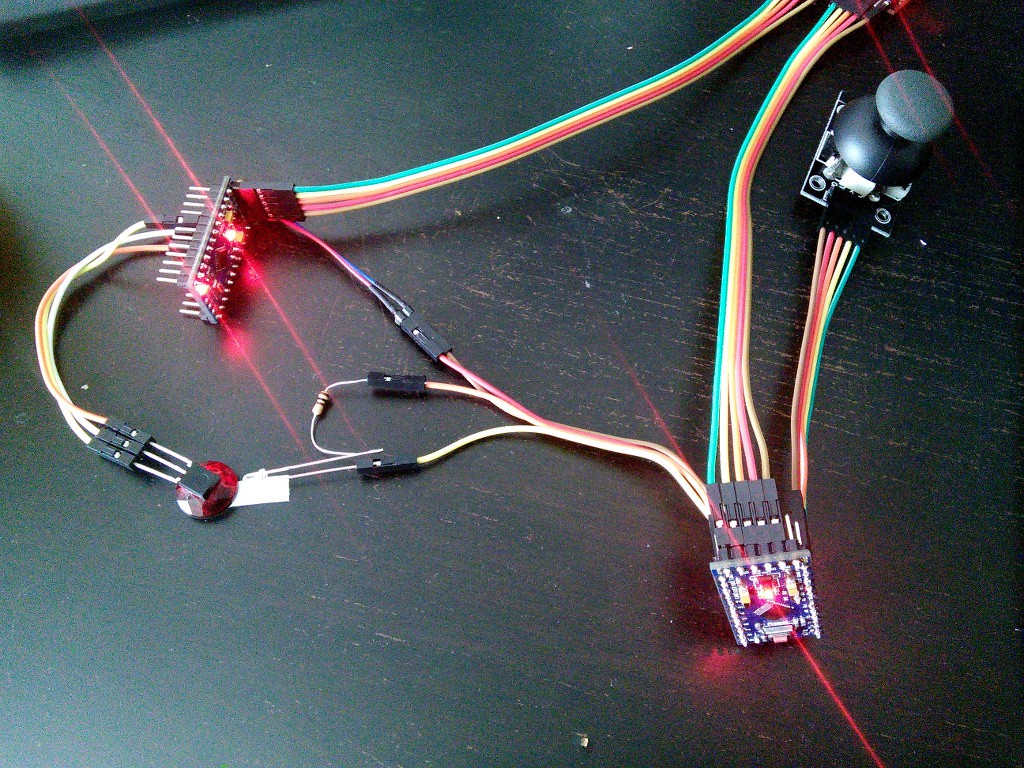
I also took another Pro Mini with an IR receiver and sample code to read the IR signals, for debugging. Now, my initial idea was to send the joystick position encoded as two bytes in the command (button code), and the state of the button would change the "address" part of the signal. Turns out it's not that simple.
The two bytes in the command code are not just arbitrary bytes. One has to be negation of the other. So effectively I only have one byte that I can send. So I decided to send two separate commands, with different addresses, one for the x, and one for the y. The code for that is quite simple:
    switch (IRaddress) {
        case IR_ADDRESS:
            tv_remote(IRcommand);
            last = IRcommand;
            break;
        case 0xFA10:
            creep_dx = -(0.0 +
                         (IRcommand & 0xFF) - 128) / 42.5;
            break;
        case 0xFA00:
            creep_rotation = (0.0 +
                              (IRcommand & 0xFF) - 128) / 3652.605943958998;
            break;
        case 0xFA11:
            creep_height = min(TIBIA * 1.25,
                max(TIBIA * 0.25,
                    creep_height + (0.0 + (IRcommand & 0xFF) - 128) / 64));
            break;
        case 0xFA01:
            creep_dy = (0.0 + (IRcommand & 0xFF) - 128) / 42.5;
            break;
    }
Additionally, if the button on the joystick is pressed, you get different functions -- walking sideways and changing the robot height. All this added to ir.ino. All that was left was to put all the parts, together with a battery, in a box:
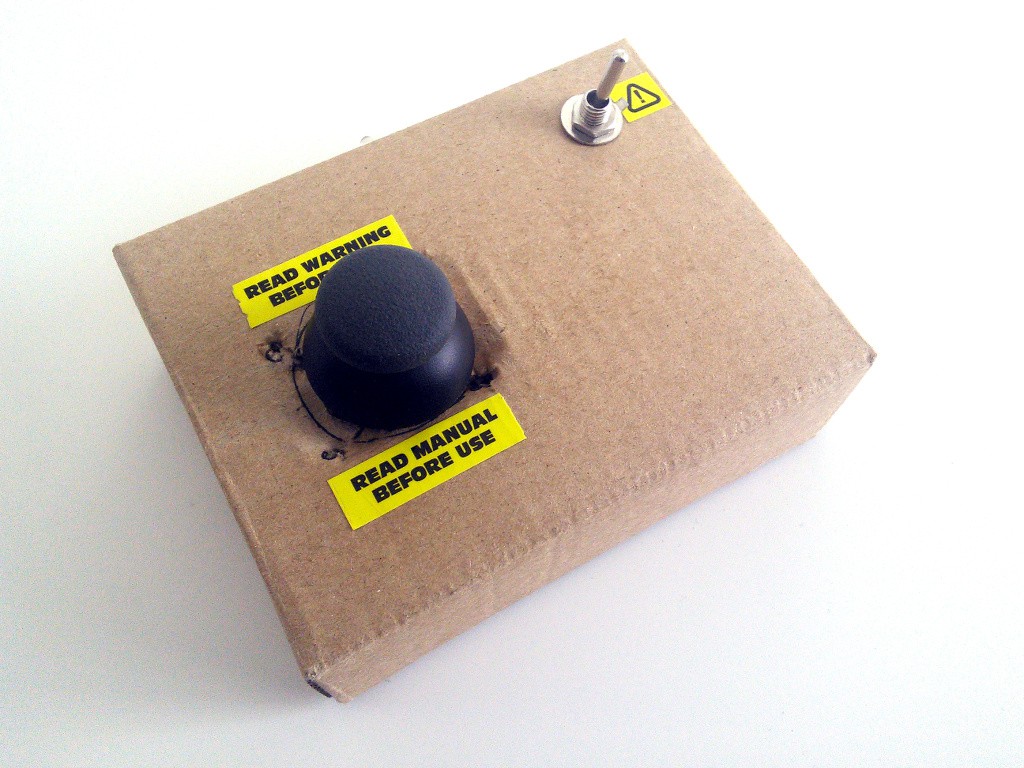
Some stickers taken from LiPo cells complete the look. Here's the controller in action:
Discussions
Become a Hackaday.io Member
Create an account to leave a comment. Already have an account? Log In.
I had previously attempted to include a thumbstick with Kagaku's base, which ended, well, not very well, and it looks like it's because I tried to connect it directly with the Arduino. If I'm understanding this correctly, you didn't do that and that may be where my problem lies. Could I ask you to explain further how you connected the thumbstick?
Are you sure? yes | no
You can see it on the photos -- it's connected directly to the analog pins and power of the Arduino...
Are you sure? yes | no
Okay, because I saw mention of a diode and a resistor and wasn't 100% sure. Looking at it today, I think I got it now (it's already been a LOOONG week). Sorry for that.
Are you sure? yes | no