 nanu
nanuThis Project has mainly three parts:
- the dome.
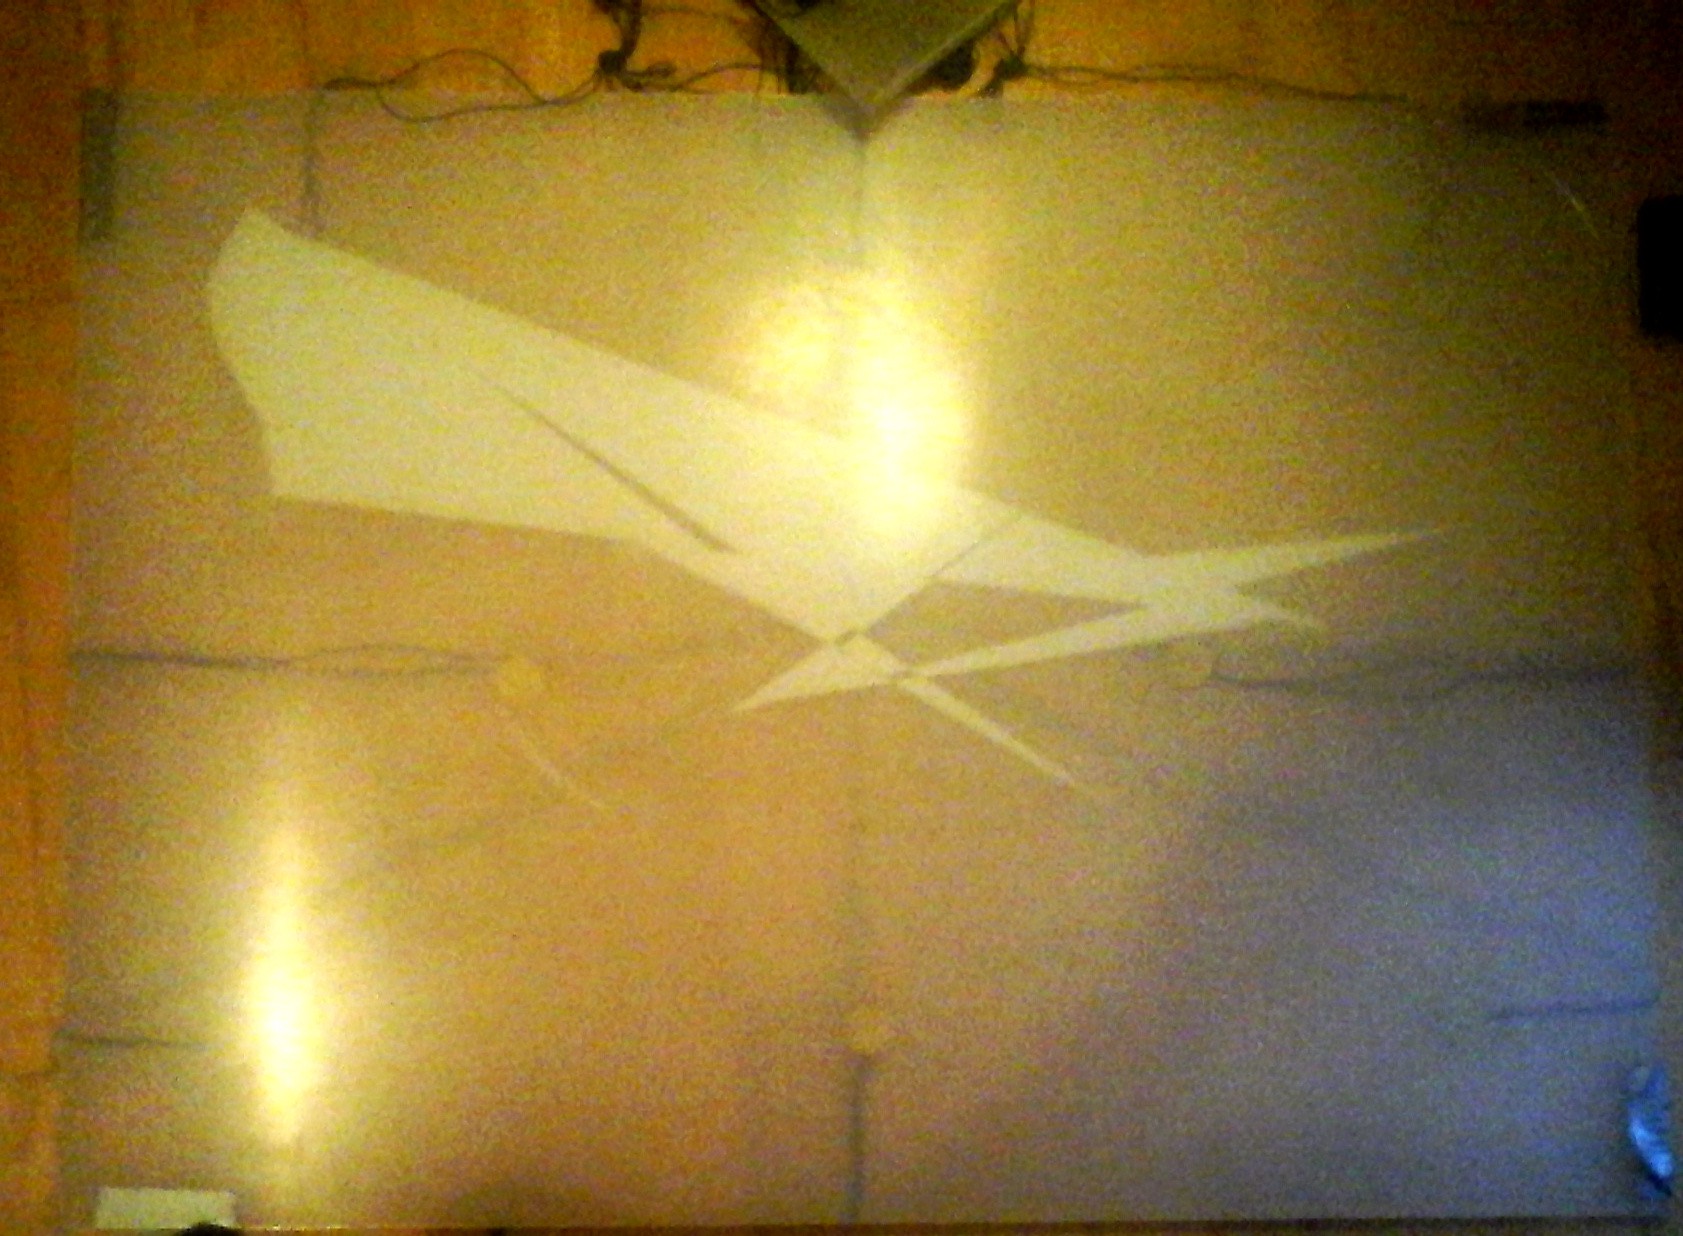
- White pvc cover for the dome for projections and rain protection (work in progress)
- A controller -Box
- WS2811 Strips
Vision
The vision of the dome is to have a fully interactive media art installation where the visitors controls with his movements the light and sound. But this is still far beyond and work in progress.
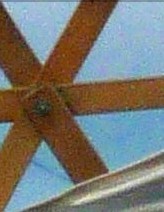
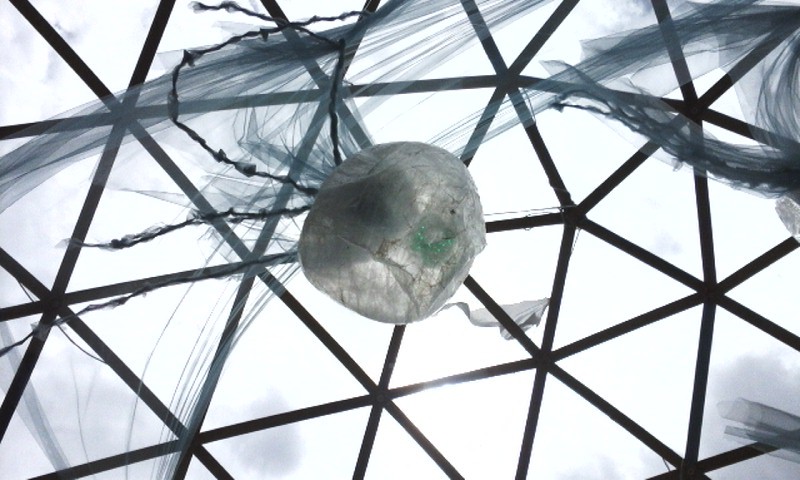
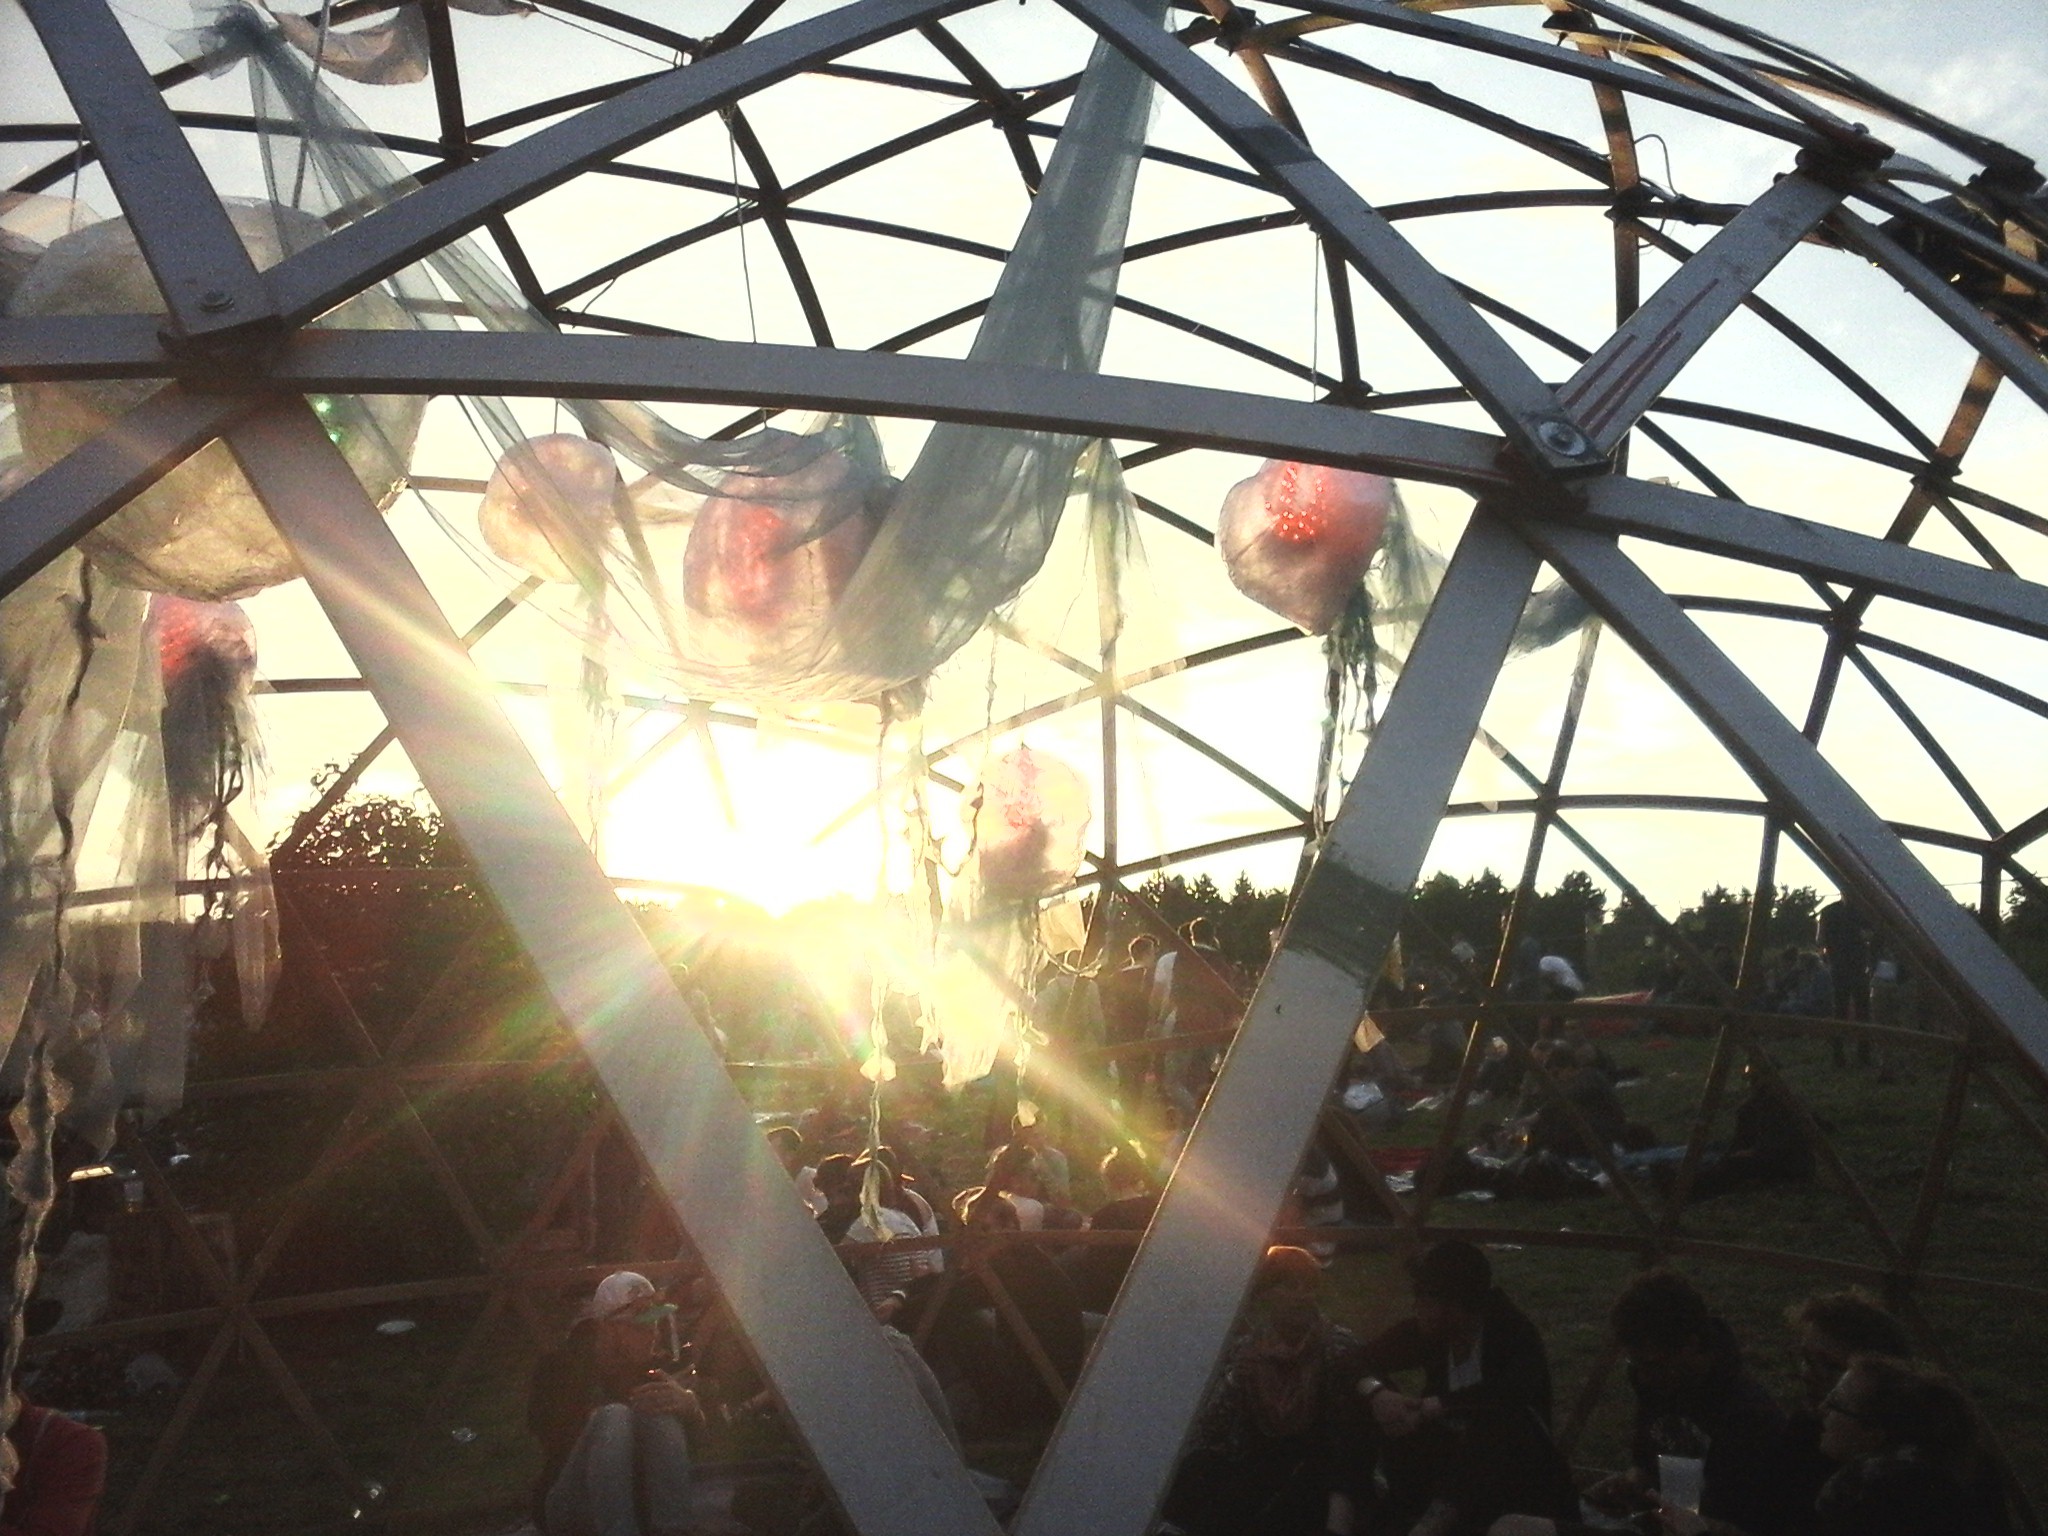
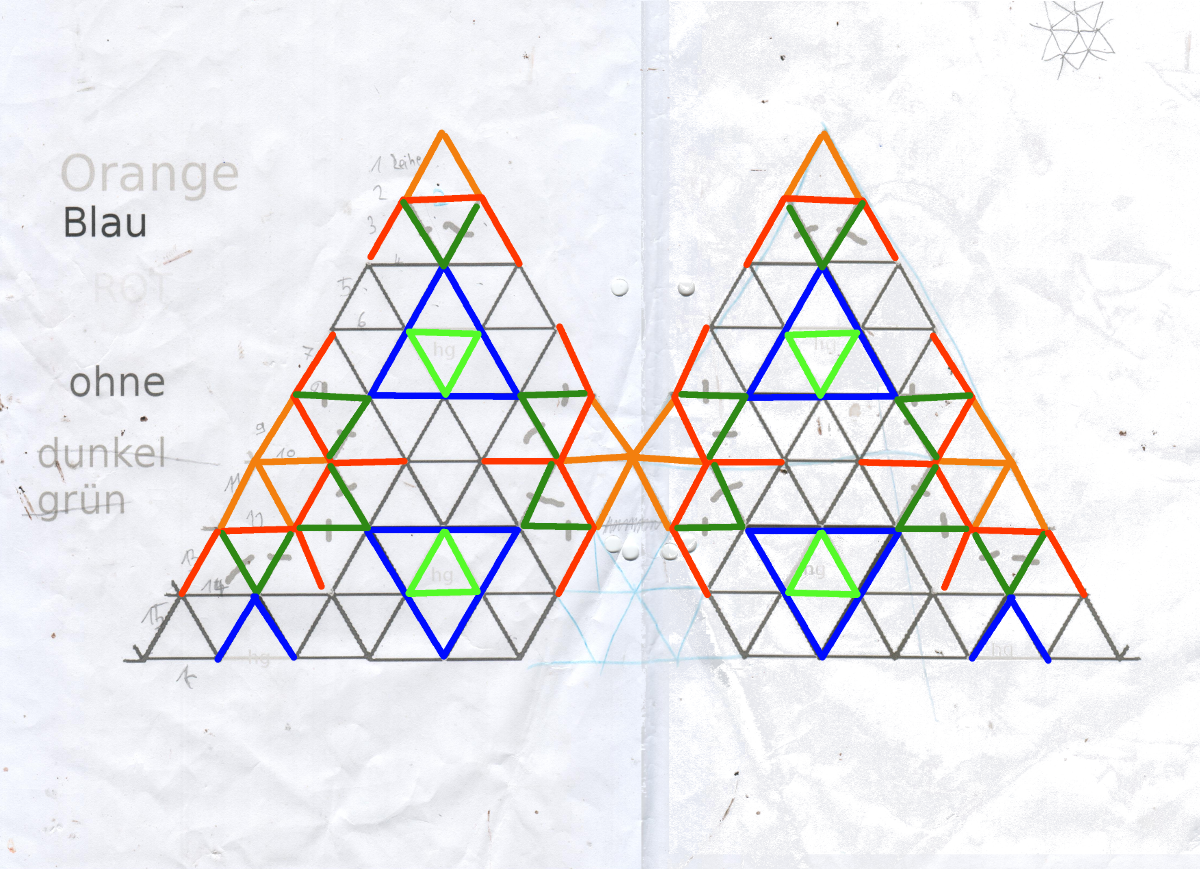
The dome
It is made of slated frames. If you can upcycle the frames the only costs are the screws -> Yeai.
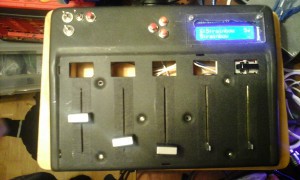
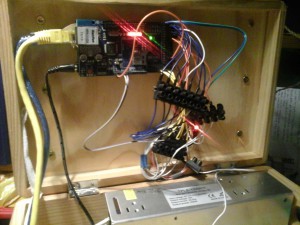
The controller Box
The controller Box consists of
- Arduino AtMega 2560
- An old modified equalizer
- Some Buttons
- LCD-Display
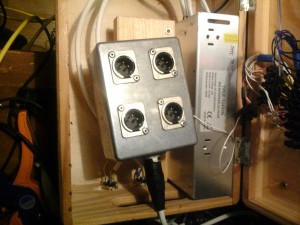
- 500W Power-Supply
- XLR-Box for re-supply of power
- and a Wooden Box
has two modes: manual mode and Art-Net mode.
Art-Net is a protocol to send DMX-Data over the network, so more or less, this is a Art-Net Ws2811/ws2812 converter.
For the manual mode there are several programs selectable, which still can be modified with the sliders to control speed or colours.
Here is the code for the ArtNet Ws2812 and here the one for the controller-box.
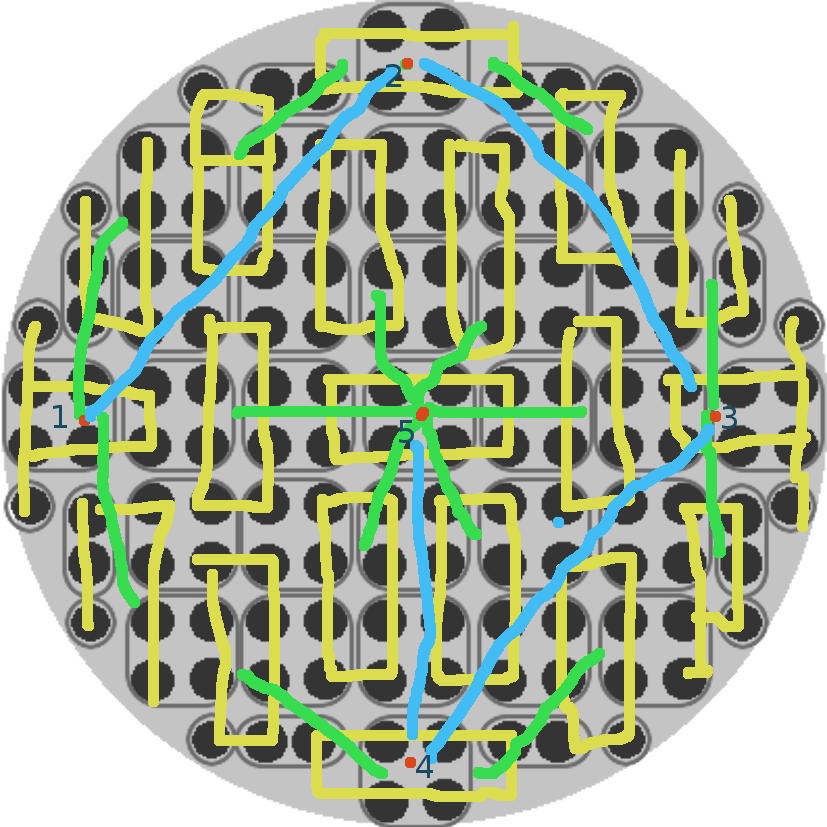
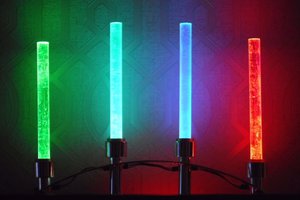
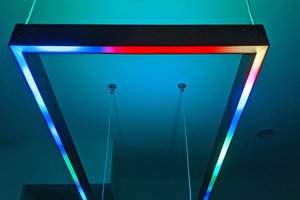
WS2811 Strips / Art pieces
We had two more advanced Art installations.
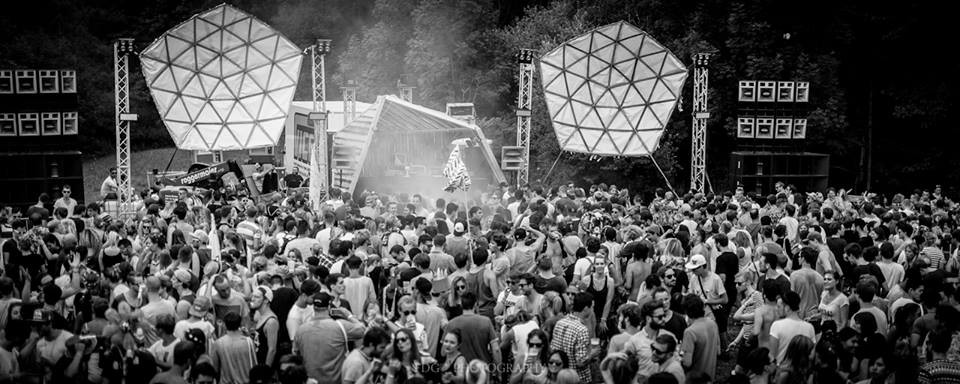
One was as screen for mapping the visuals on a festival. It included two of the controller boxes, so the VisualArtist (VJ) was able to control the 40m LED-Strips added to the frames.
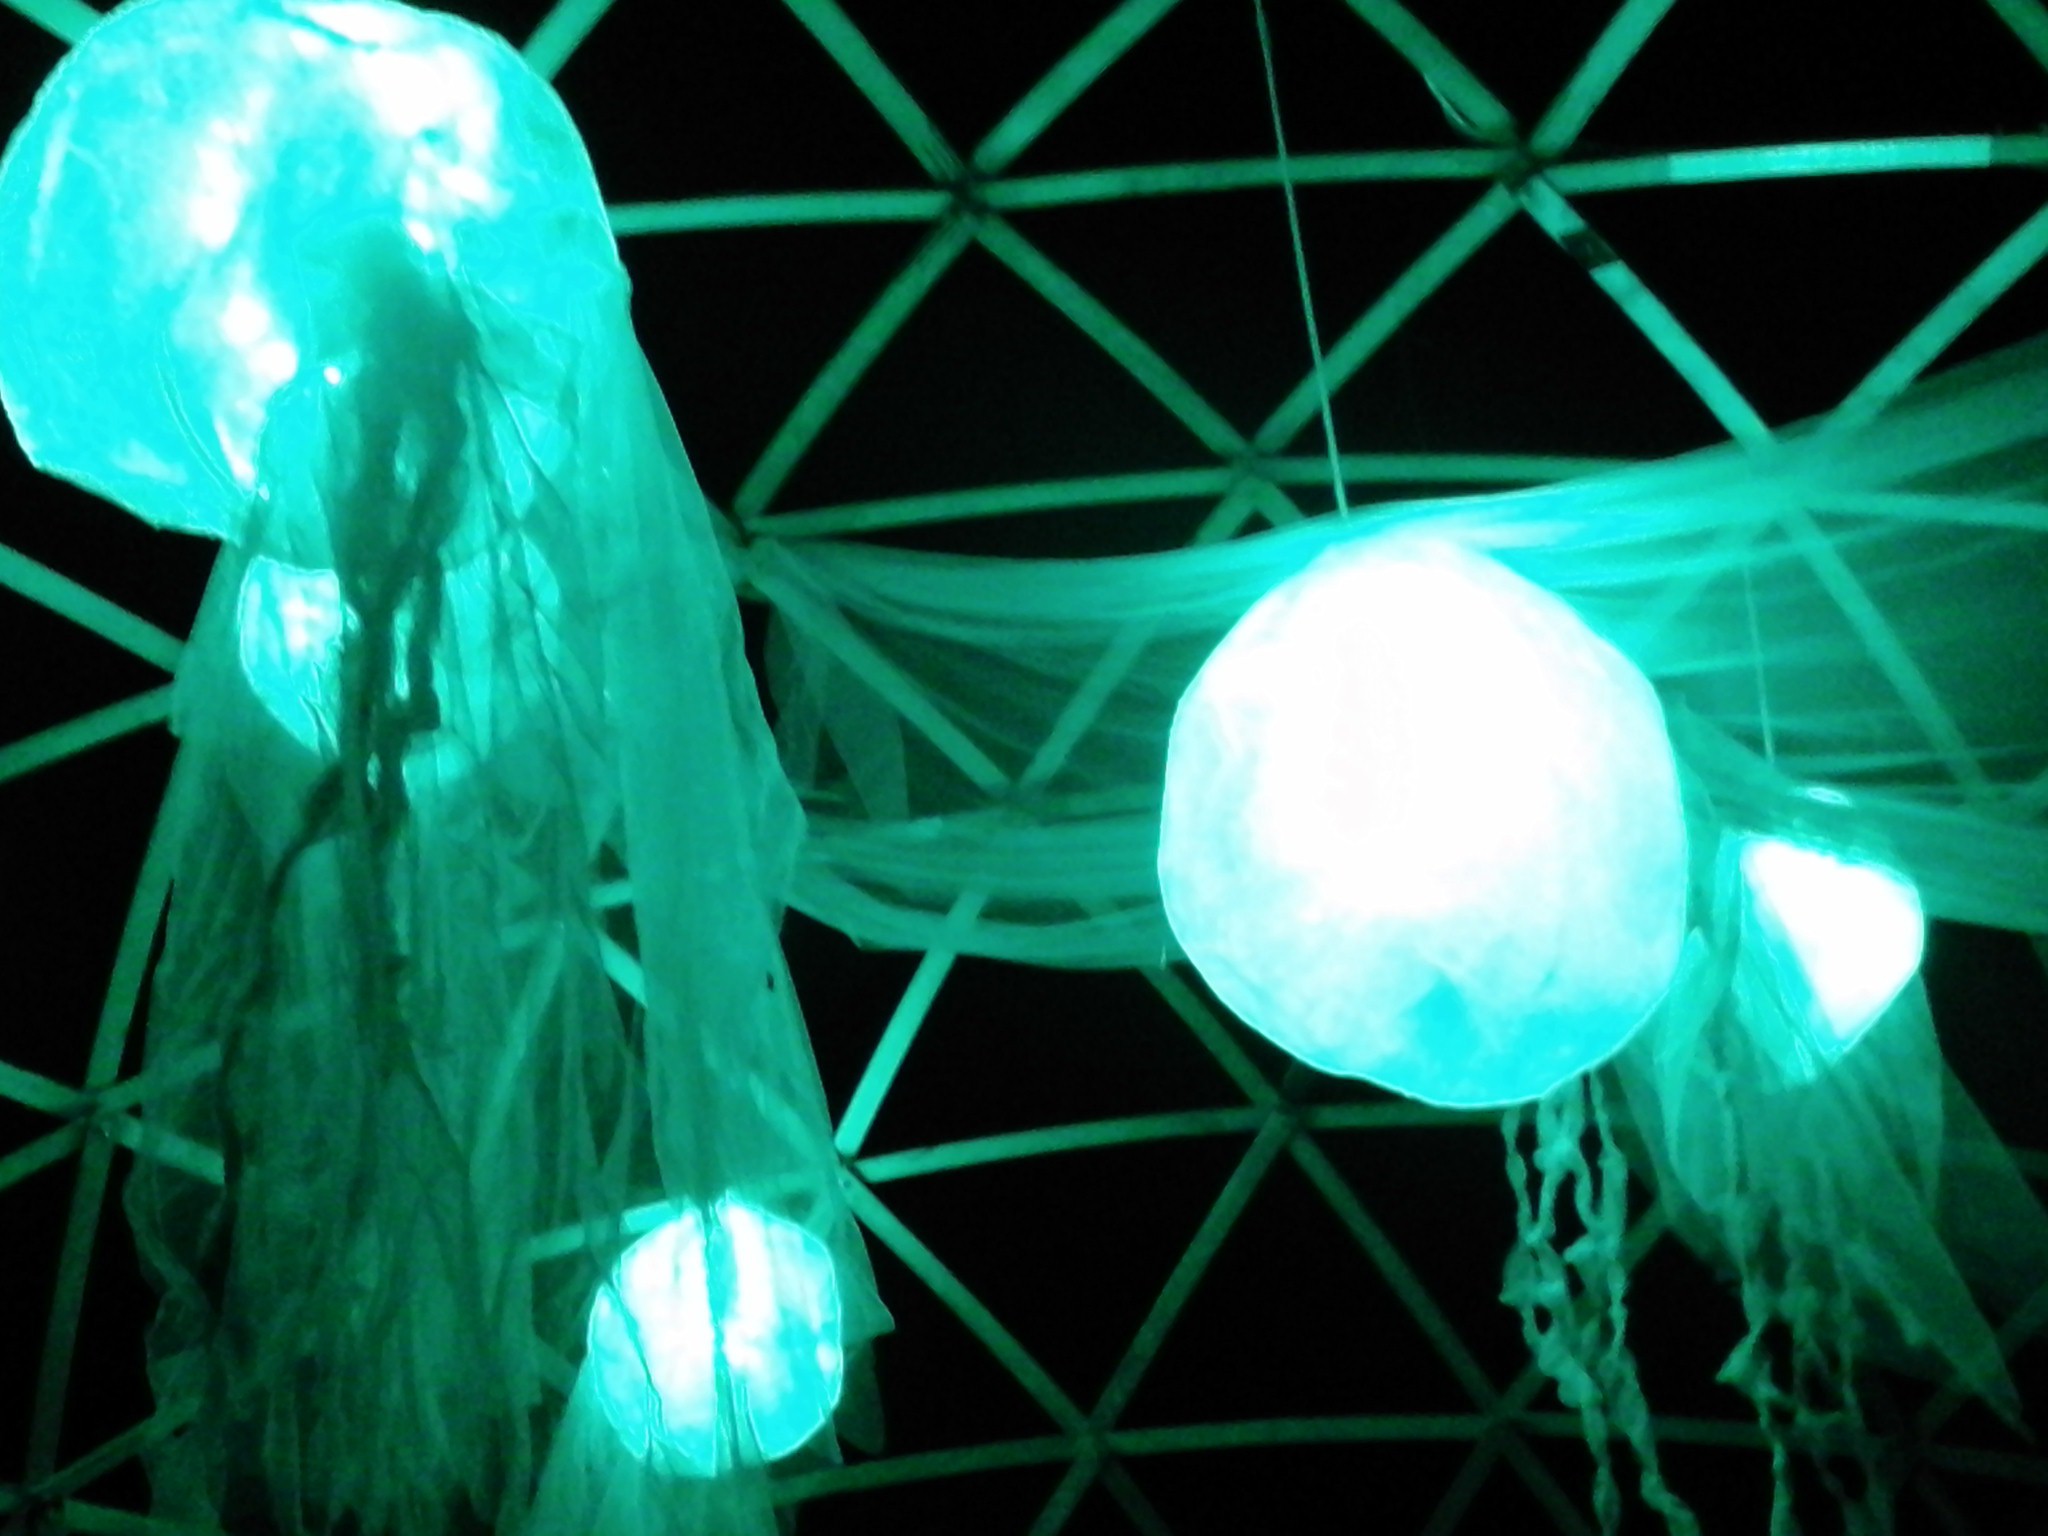
The other one was jellyfishs playing with light like a swarm.
 Steve Pomeroy
 Owen Trueblood