 danjovic
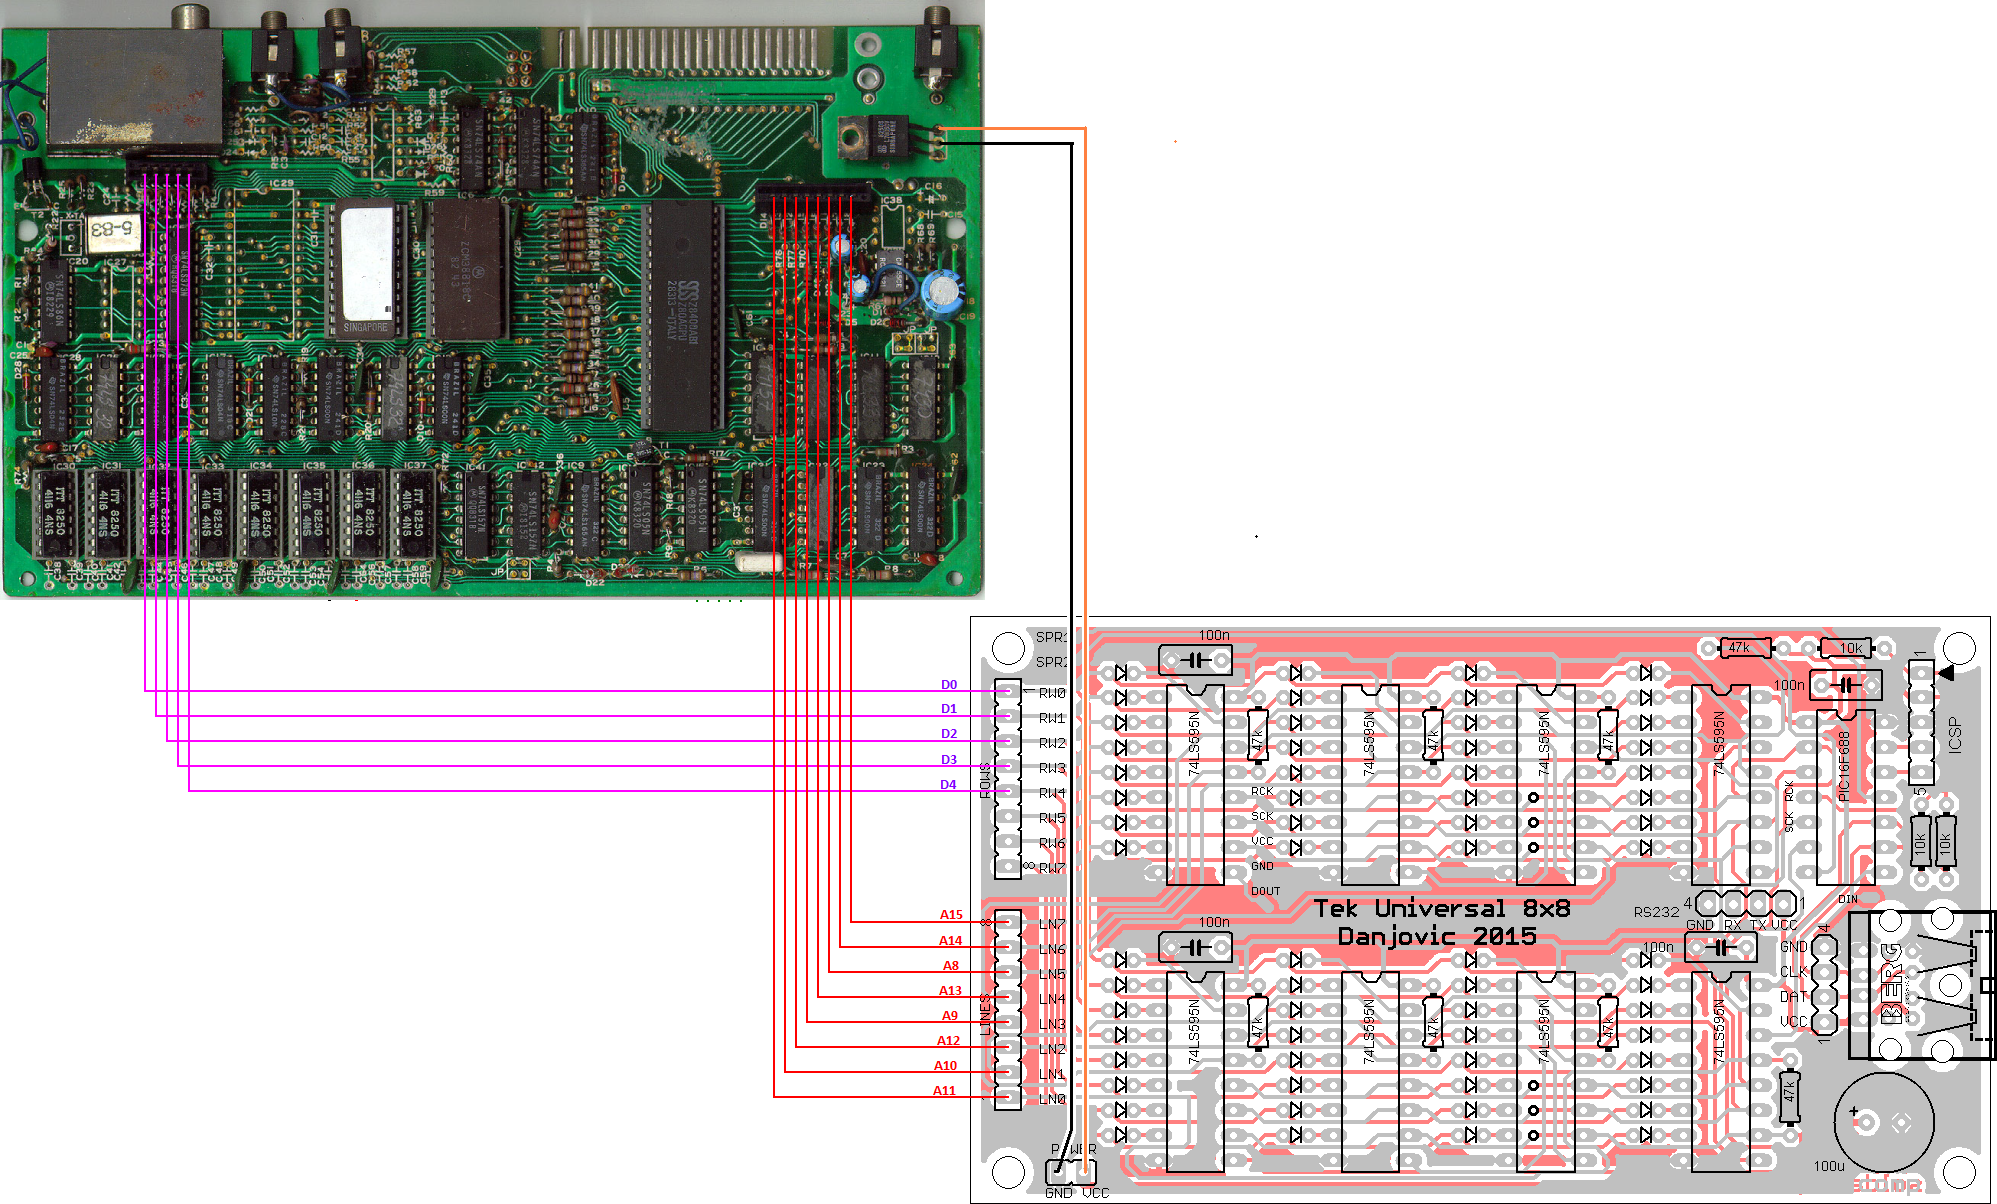
The circuit consists of a PIC16F688 microcontroller that reads the PS/2 keyboard and eight 74HC595 shift registers. Each key read rom a PS/2 keyboards is translated into a map of bits that are serially sent to the shift registers.
The current board has the following features:
- Capable of emulating a 8x8 matrix expandable to 8 x n (board has already solder points with identification for that).
- Three connectors for PS/2 Keyboard: Mini Din -6, 4 pin header and USB female (some keyboards can revert to PS/2 compatibility when they can't establish an USB connection).
- 2 I/O pins for reading special modifier keys or indicators (like caps lock, etc).
- Serial 'Header' serial (TTL levels) for ease of debugging or for 'cross typing' (send pressed keys to serial and activate received characters - this is just a possibility and it's not implemented yet)
- PIC ISP header for development and burning new firmware.


 RunnerPack
 Boardman
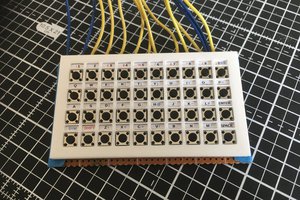
 David Boucher
 haydn jones
I am happy to see your project, I need a reliable keyboard for my ZX81/ Timex 1000. Thank you for the hook up diagrams !! I need to translate the comments in the code just so I learn. Thanks for sharing your work.