0%
0%
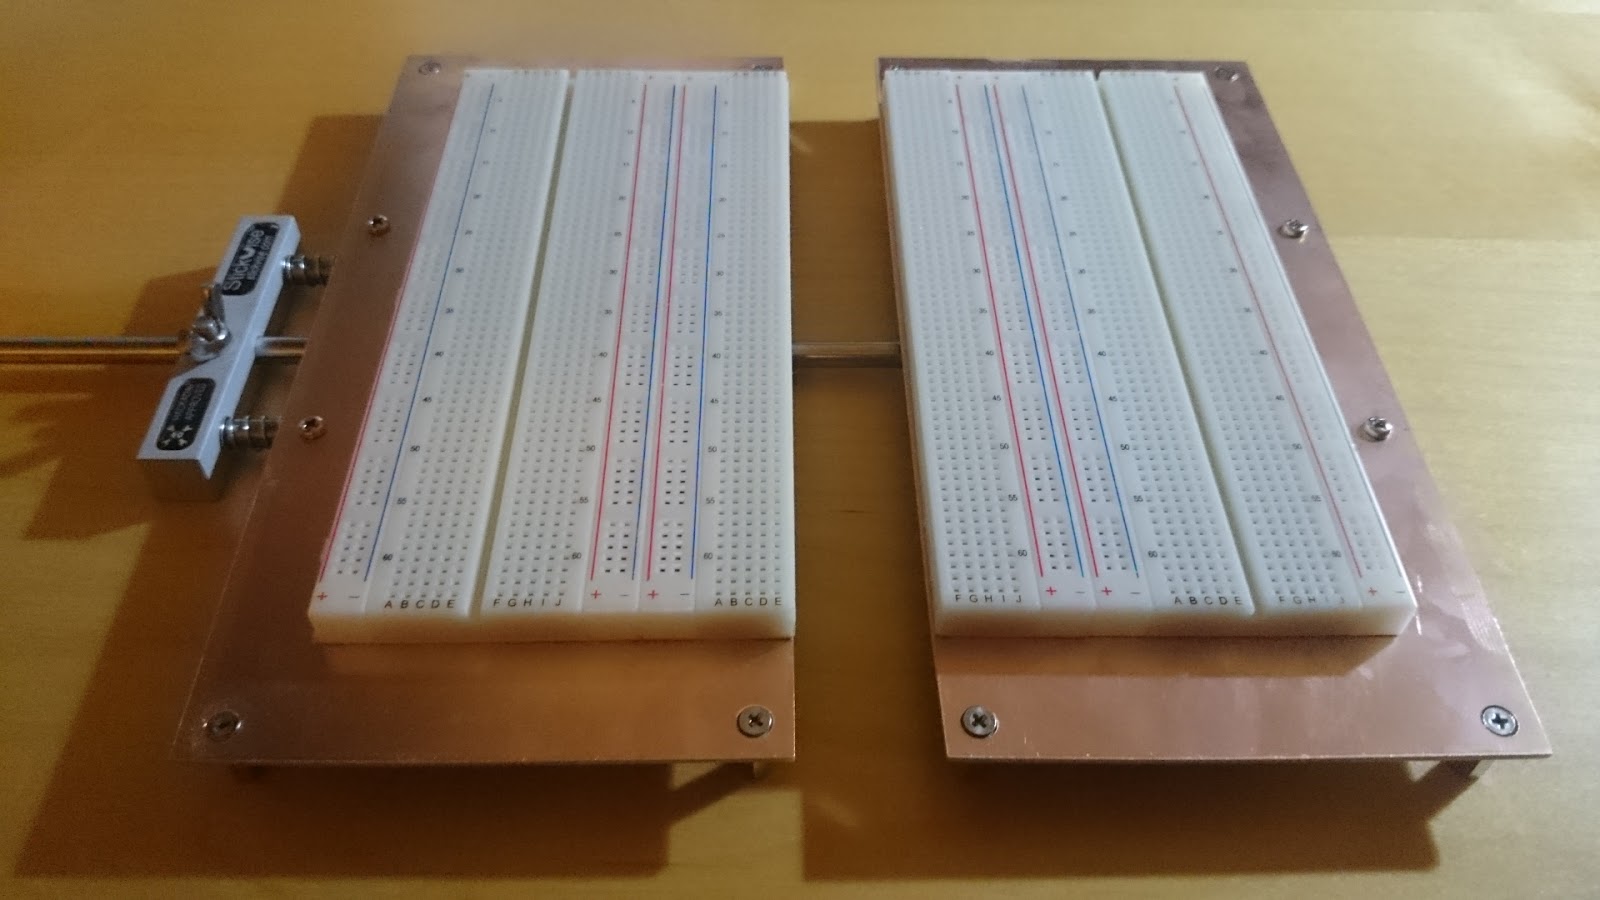
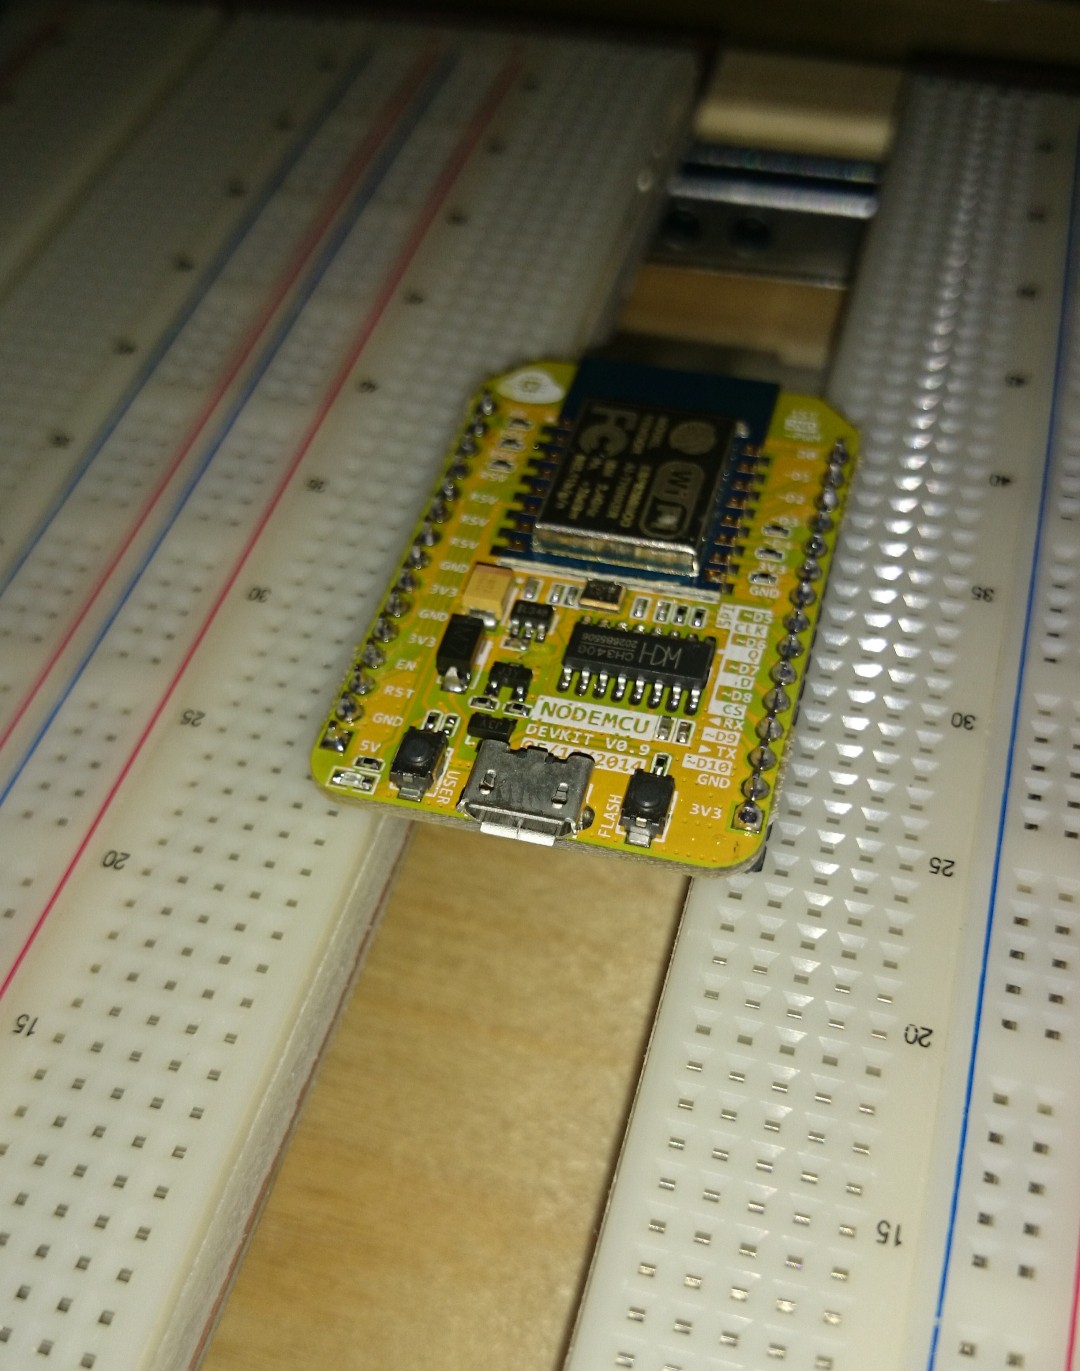
Expandable breadboard
Solution for put wide boards/ICs into a breadboard, keeping the four connection holes for each pin
 SUF
SUFBecome a Hackaday.io member
Already have an account? Log in.
Just one more thing
To make the experience fit your profile, pick a username and tell us what interests you.
Pick an awesome username
hackaday.io/
Your profile's URL: hackaday.io/username. Max 25 alphanumeric characters.
Pick a few interests
Projects that share your interests
People that share your interests


 matthewkleinmann
 techav
 Mike Szczys
 Jose Ignacio Romero
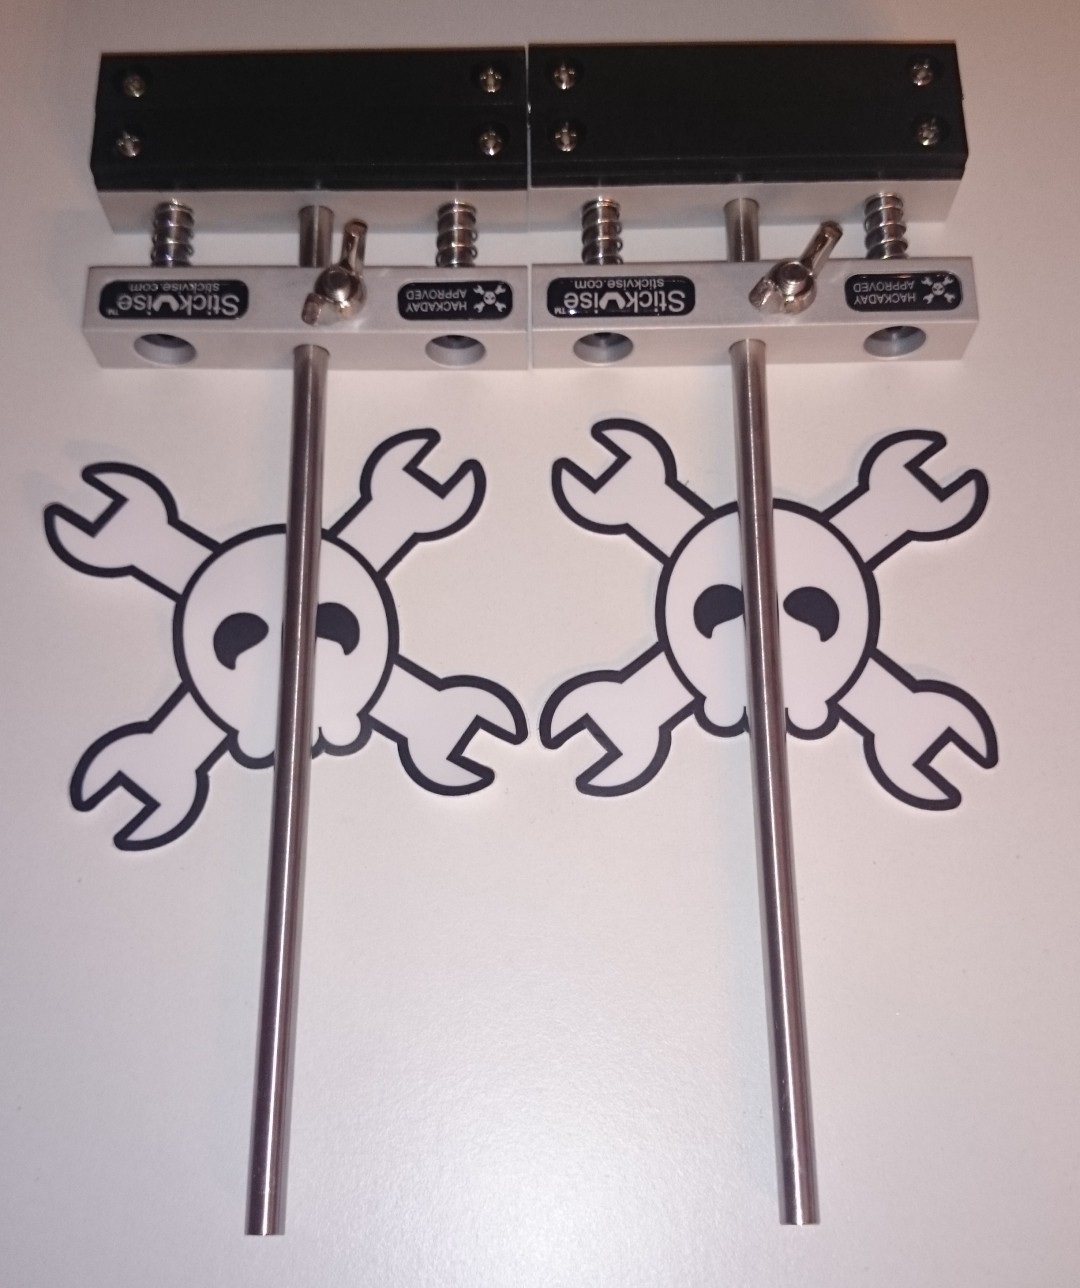
BTW check this little design out, a guy on twitter mentioned he was inspired by stickvise. Pretty neat idea as well: