 ohthedave
Step 1 - Install Raspbian
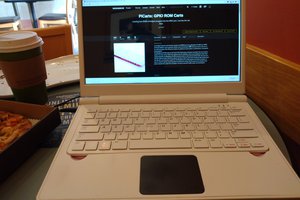
Start with the Raspbian distro from the raspberrypi.org downloads page:http://downloads.raspberrypi.org/raspbian_latest
Raspbian setup instructions:
To use an image file, you will need to unzip it and write it to a suitable (2GB or larger, 4GB or larger for Raspbian) SD card using the UNIX tool dd. Windows users should use Win32DiskImager. Do not try to drag and drop or otherwise copy over the image without using dd or Win32DiskImager – it won’t work. If you’re still not clear on what to do, the community on the Raspberry Pi Wiki has written a guide for beginners on how to set up your SD card.
Go ahead and boot up your fresh Raspbian install. Make sure to connect a network cable to your DHCP enabled network, along with a monitor, mouse, and keyboard prior to booting. You’ll get a configuration screen the first time which will let you change the password and make some other changes.

Do the Change User Password thing too. Remember, you’re changing the password for the “pi” user here.
Hit Finish, and when it asks if you want to reboot, hit Yes.
Once you’re booted up, go ahead and run ifconfig and record the ip address (which you’ll have only if you’ve connected your raspberry pi to a network with a DHCP server). You will want to know this later to SSH in to your pi to make changes, if necessary.
Step 2 - Rebuild hello_pi code examples
Navigate to the /opt/vc/src/hello_pi directory and run the rebuild.sh script as follows:
cd /opt/vc/src/hello_pi/<br><br><span>sudo ./rebuild.sh</span>
Step 3 - Update hello_video.bin
Update the hello_video source code to loop any video played with hello_video.bin:
cd /opt/vc/src/hello_pi/hello_video/<br><br><span>sudo pico video.c</span>
Scroll down to around line 120, and look for the following lines of code:
if(!data_len)<br><span>break;</span>
Replace the above with this:
if(!data_len)<br><span>fseek(in, 0, SEEK_SET);</span>
Note that correct capitalization is important. Use Ctrl+O to save, and Ctrl+X to exit.
Now, while still in the /opt/vc/src/hello_pi/hello_video/ directory, use the make command to compile the code:
sudo make
Step 4 - Mount USB drive
Go ahead and load a video on a USB drive, using another computer. The drive should be formatted in fat32, and
Insert your USB thumb drive, and check your /dev folder to see where it shows up. Mine was at /dev/sda1. Oh, make sure you have only one USB drive inserted.
cd /dev<br><br><span>ls</span>
You'll probably see entries for sda and sda1. You may instead see sba and sba1 (I observed that on one raspbian build I was testing).
Create a folder to which your USB drive will be mounted, and then proceed with the mount.
cd /mnt

<span>sudo mkdir usb<br><br></span><span>mount /dev/sda1 /mnt/usb</span>
Go ahead and make sure this worked.
cd /mnt/usb

<span>ls</span>
You should see the files on your USB drive listed. If so, you're good!
Now let's make this drive mount to /mnt/usb every time we boot:
sudo pico /etc/fstab
Add the following at the end:
/dev/sda1 /media/usb vfat defaults 0 0
Ctrl + O to save, Ctrl + X to exit.
If you ran into trouble here, refer to these instructions: http://kwilson.me.uk/blog/force-your-raspberry-pi-to-mount-an-external-usb-drive-every-time-it-starts-up/
Step 6 - Play a test video
Now try playing your video with your updated hello_video code:
cd /opt/vc/src/hello_pi/hello_video/
<span>
./hello_video.bin /mnt/usb/testvideo.h264</span>
You should see your video, and it should loop seamlessly. A shorter video is going to be easier to test with, unless you want to sit through a movie to test it.
You can kill the process with Ctrl+C.
Step...
Read more »


 elkentaro
 Smalls
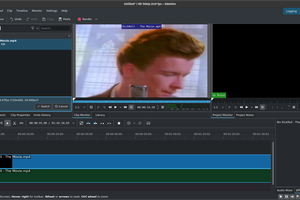
What a great project!
I'm currently working on a video playing project involving a raspberry Pi and have been struggling to work out the playing side of things.
I may have to rethink my use of Python!