 Muth
MuthHere some tests with the Raspberry pi Camera module v2. At first I though it was less sensible than the v1. But the reason I got darker images is mainly because the automatic exposure algorithm do not let increase the shutter time and ISO as much as with the v1.
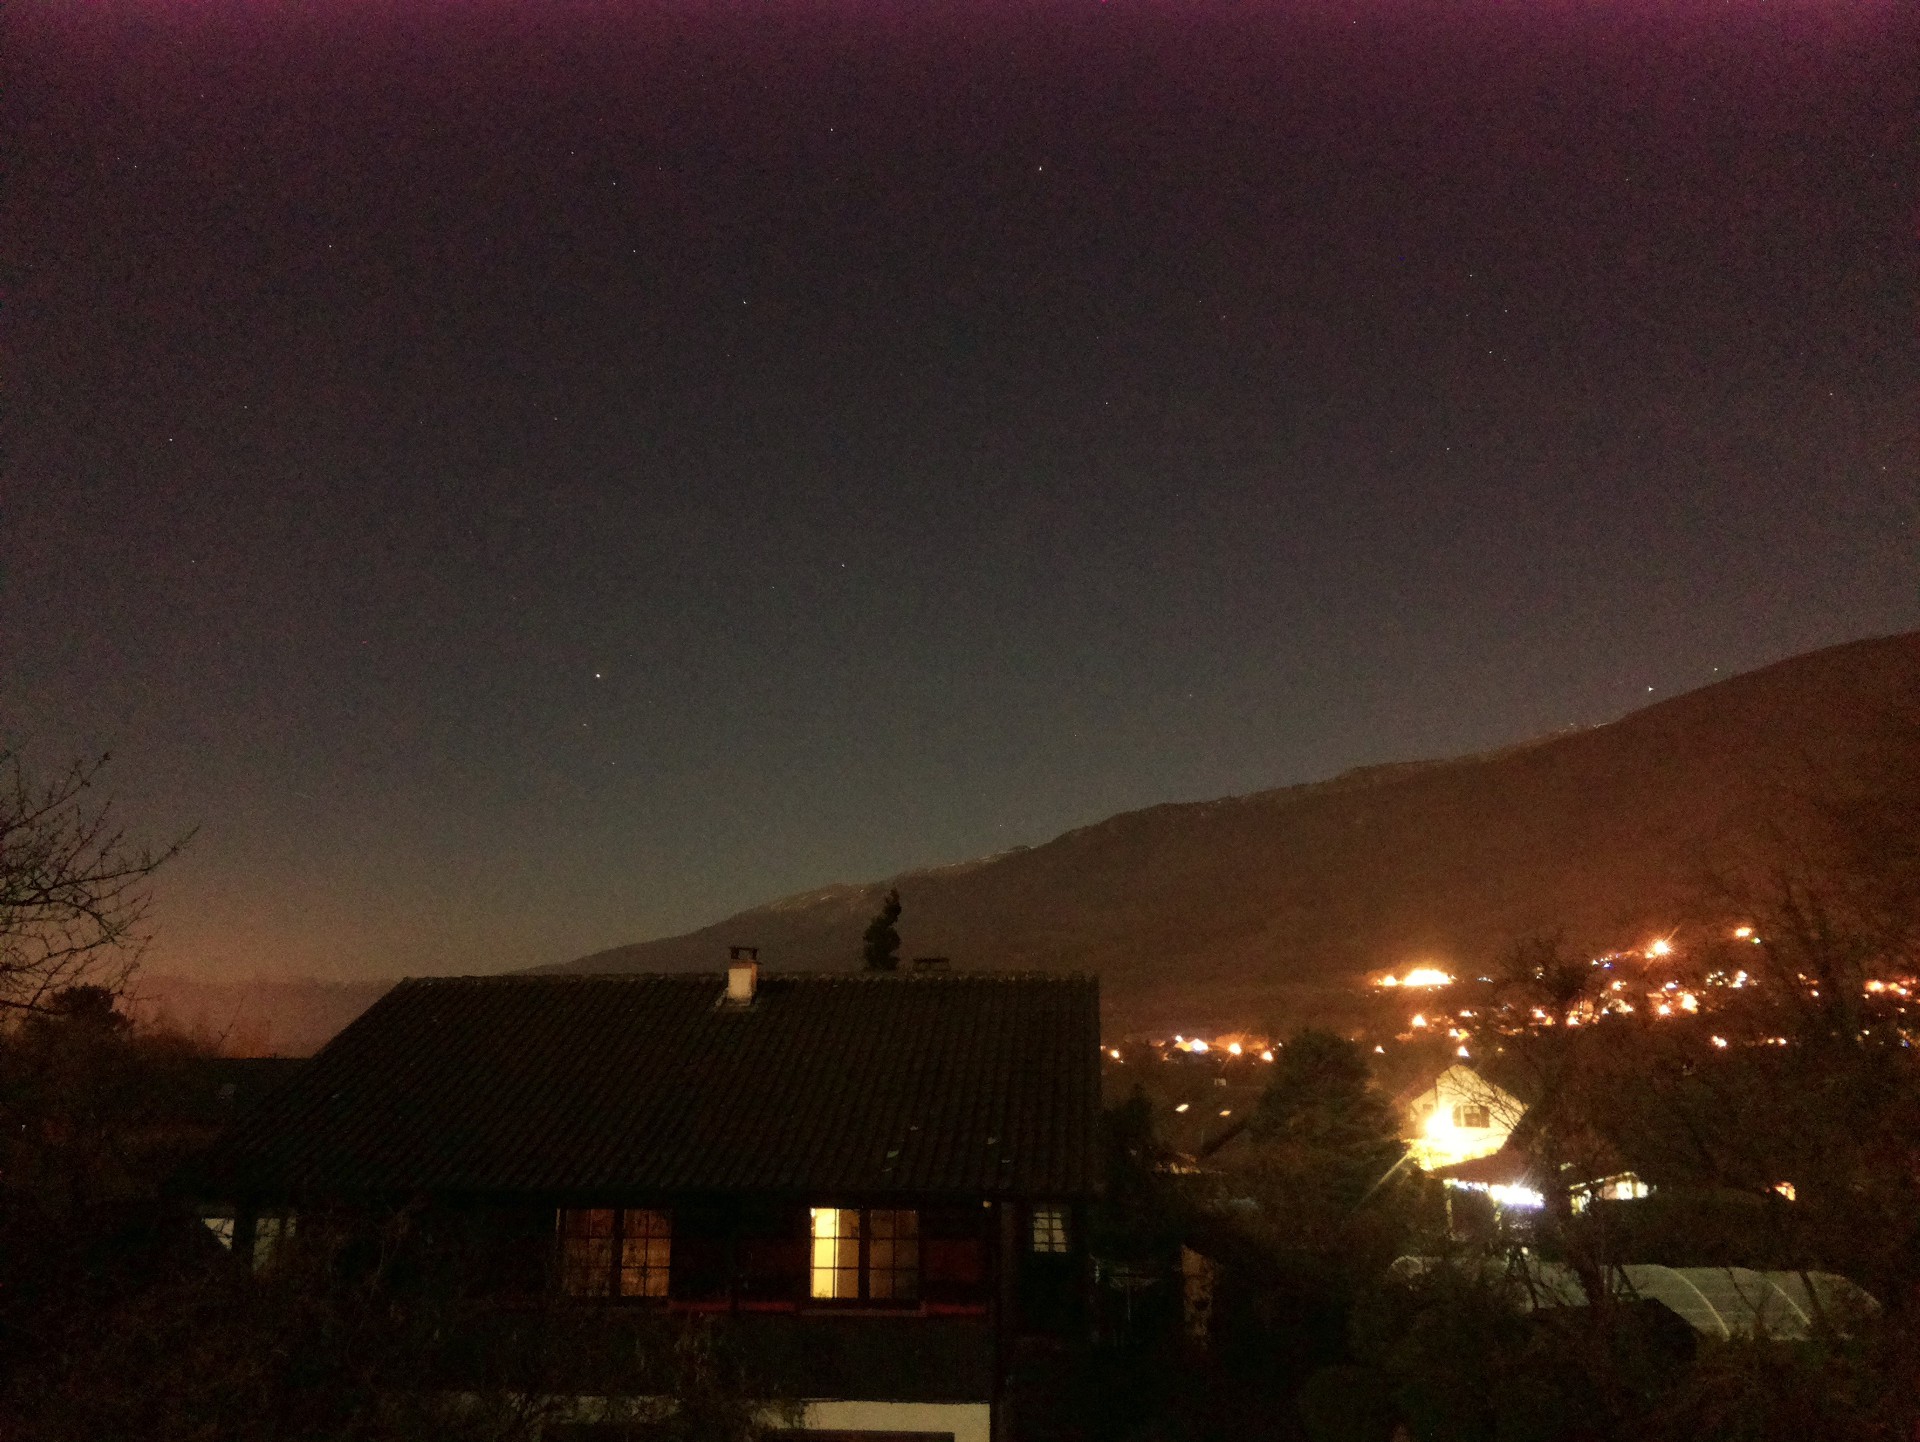
However I test different settings, especially during night. I set manually the ISO to 800 and exposure time to 6 seconds. The result is very nice, even with the stock tiny lens, the stars are visible:
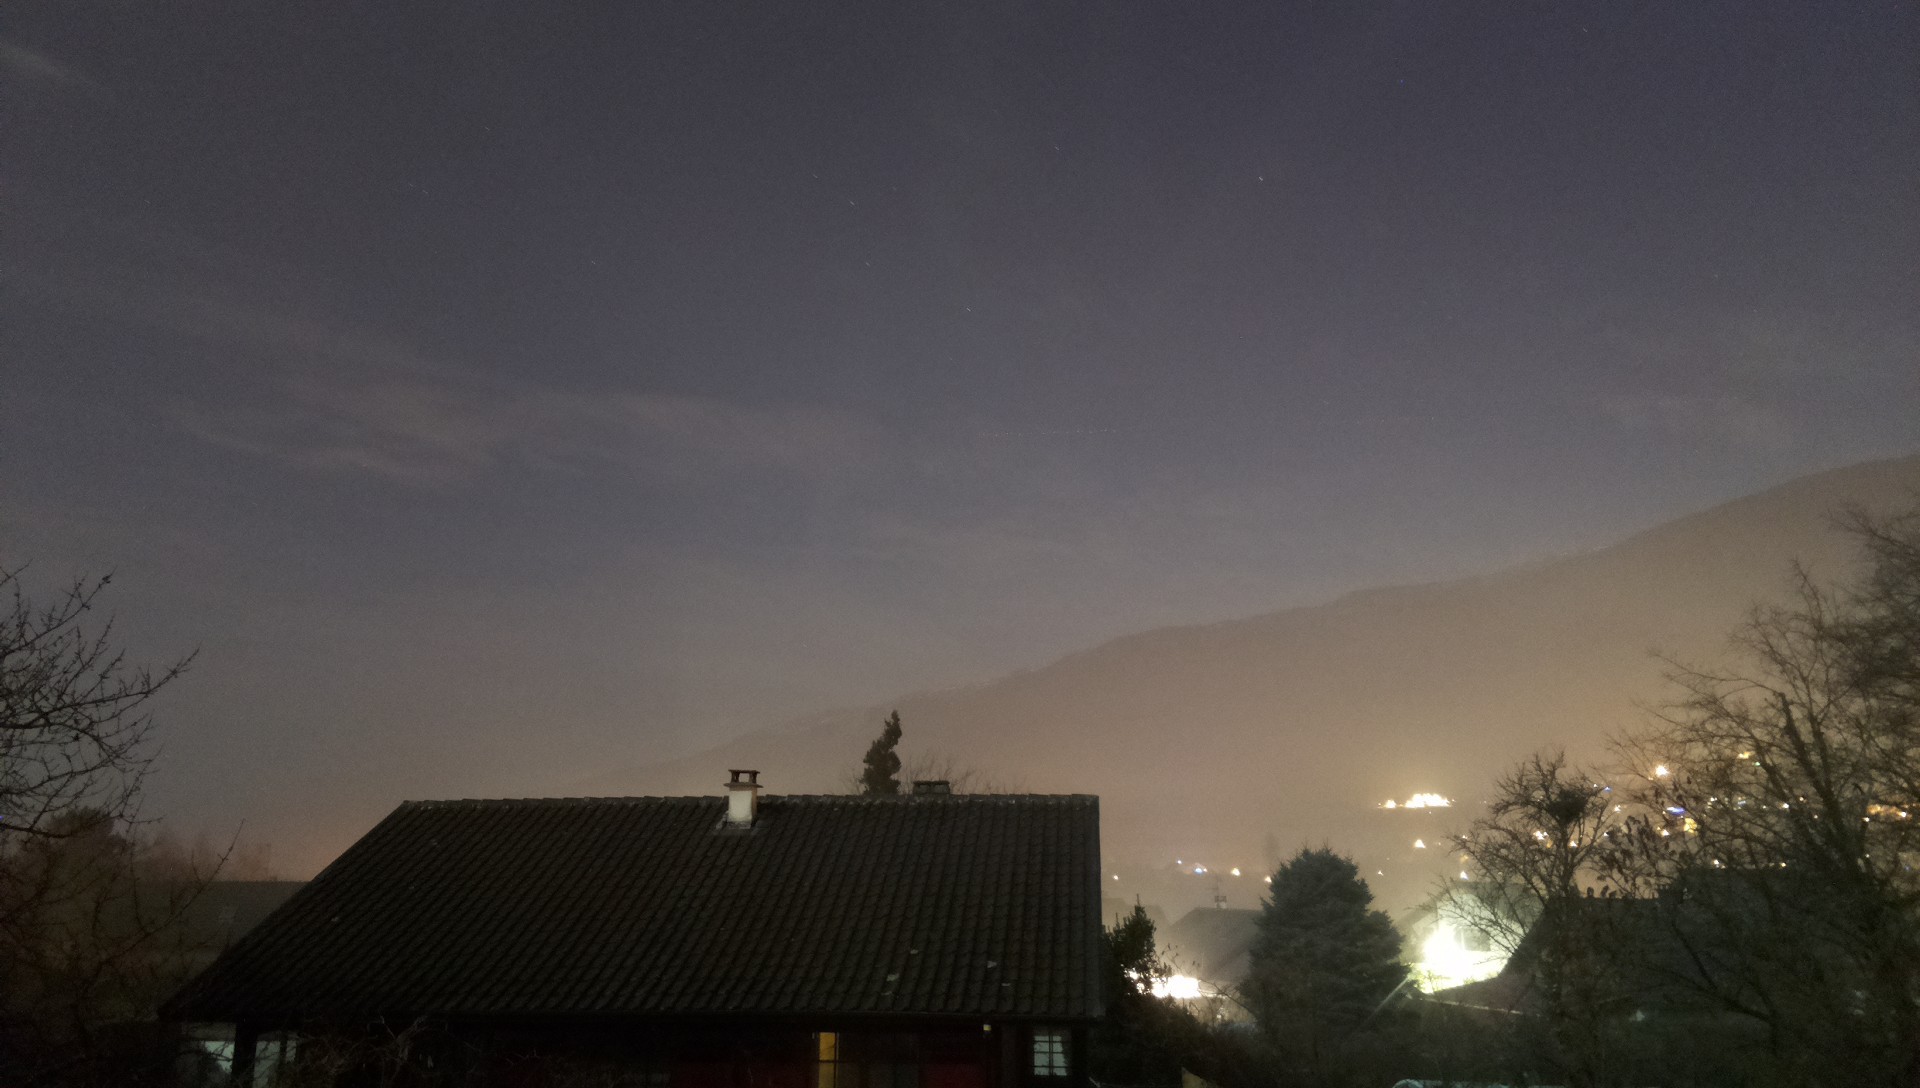
Then I made some stacking/averaging as before, with even nicer results:
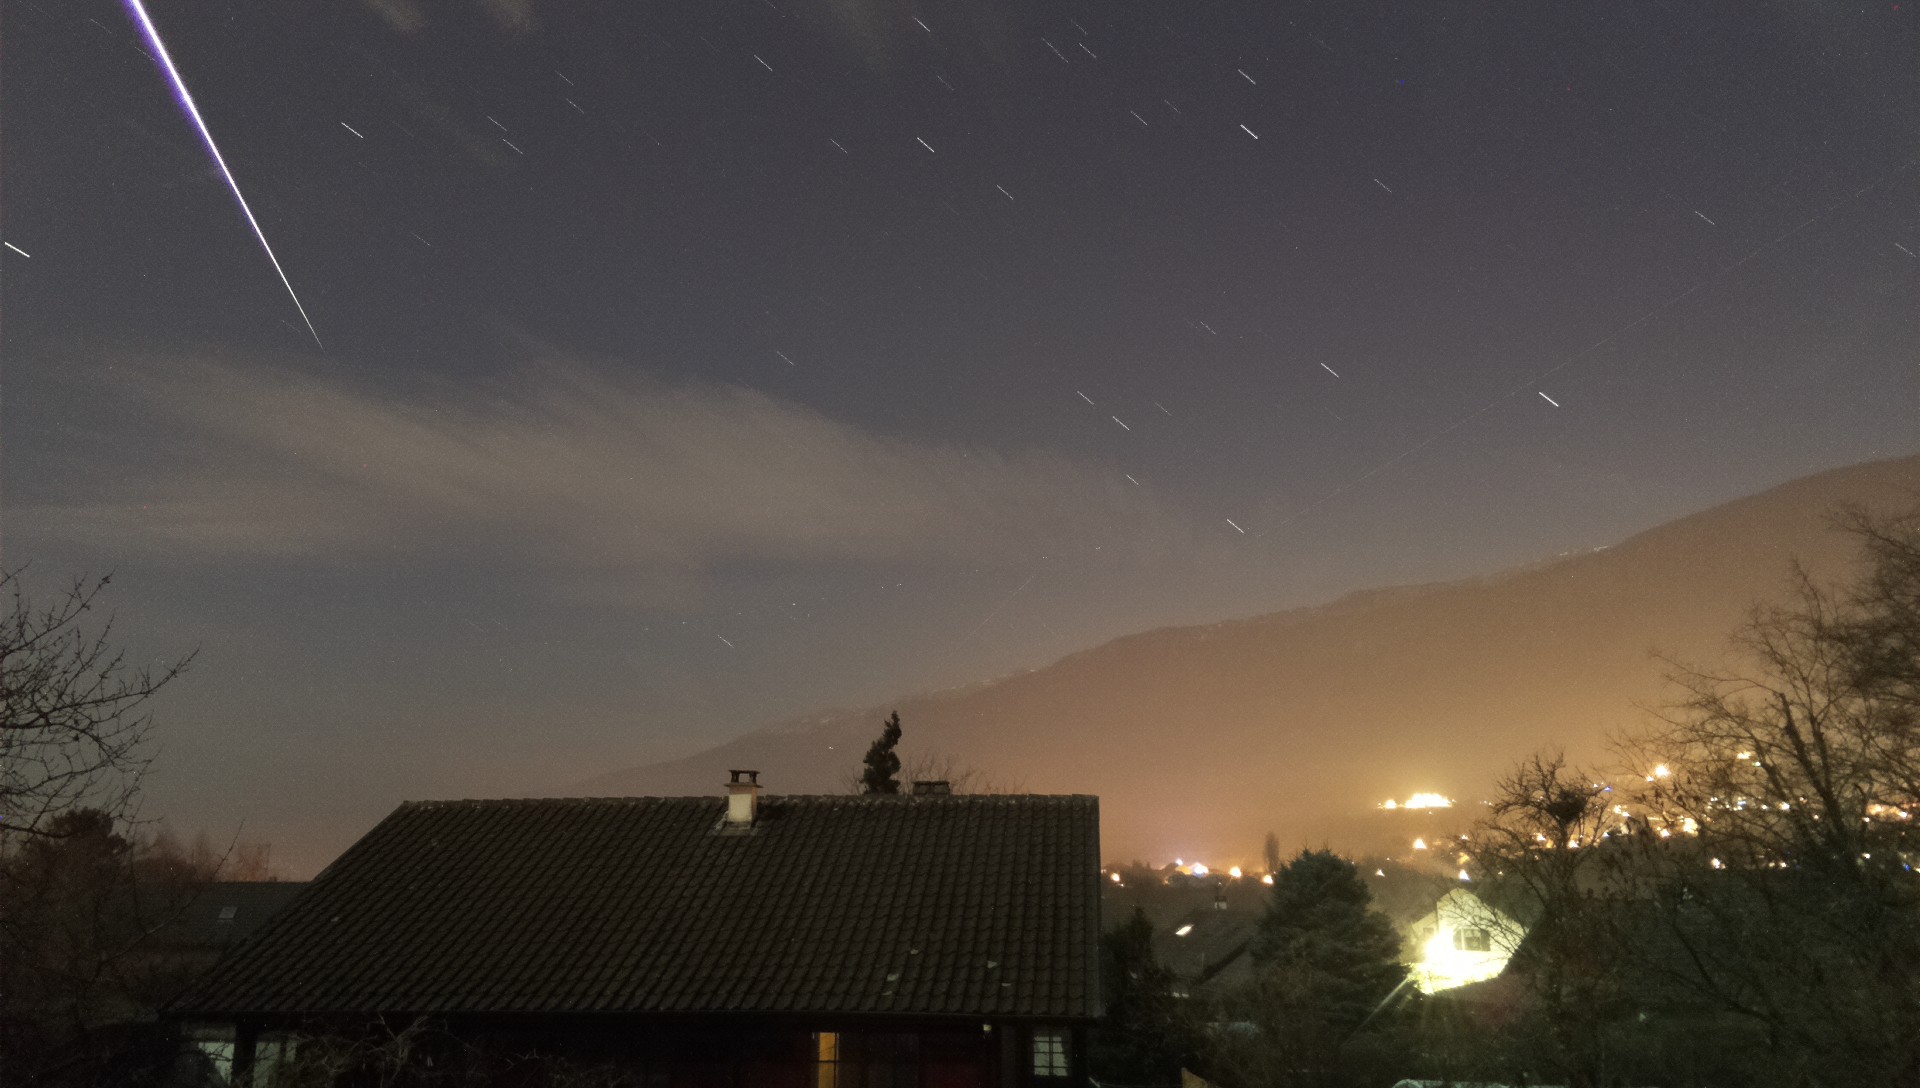
For the Geminids night, I tried an other way of 'stacking', which consists of taking the maximum value of each pixels instead of the average. This enhance the star tails effect, but could lead to less natural motion blur effect:

As now a python lib using directly the camera abstraction layer is available, I should move to python programming.
Next step is to manually set the ISO and shutter speed according a little external piece of hardware measuring the luminosity, for example a ADC and light intensity sensor.
Discussions
Become a Hackaday.io Member
Create an account to leave a comment. Already have an account? Log In.