 charliex
I forgot to detail the photos as much on the Z

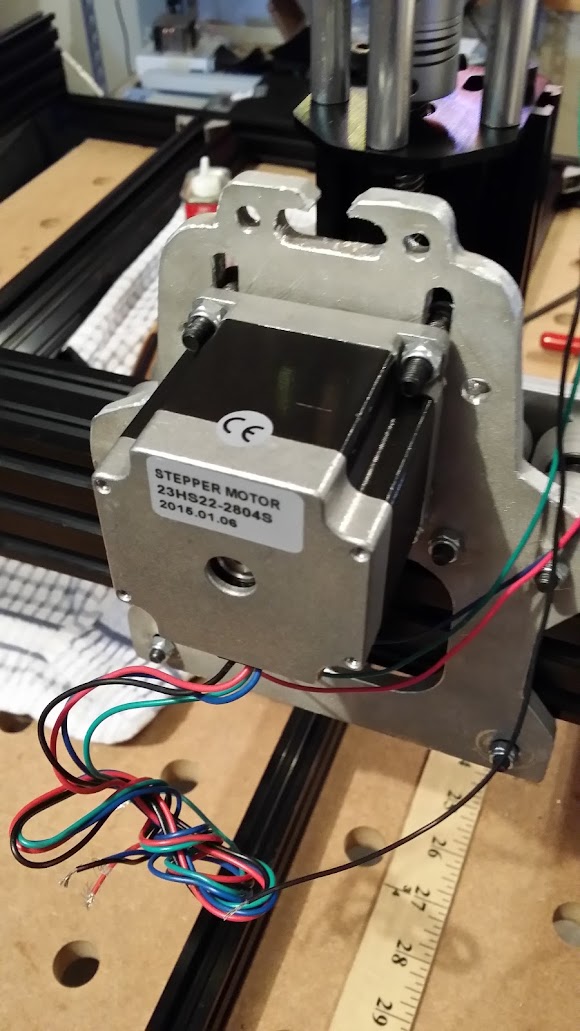
motors are a pain to mount and bolt down.
used these to bolt down the tracks


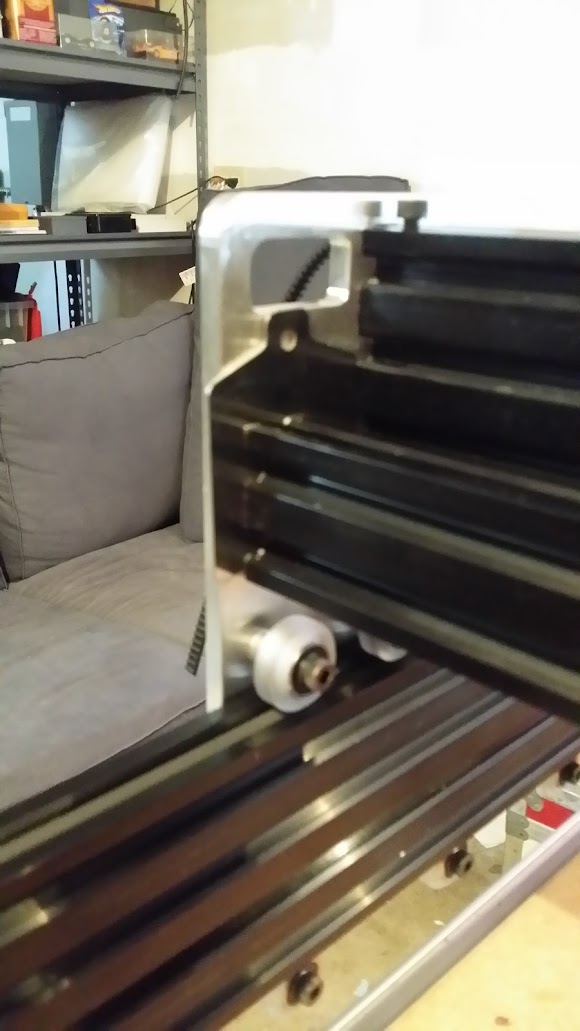
replaced one of the frame mounts.
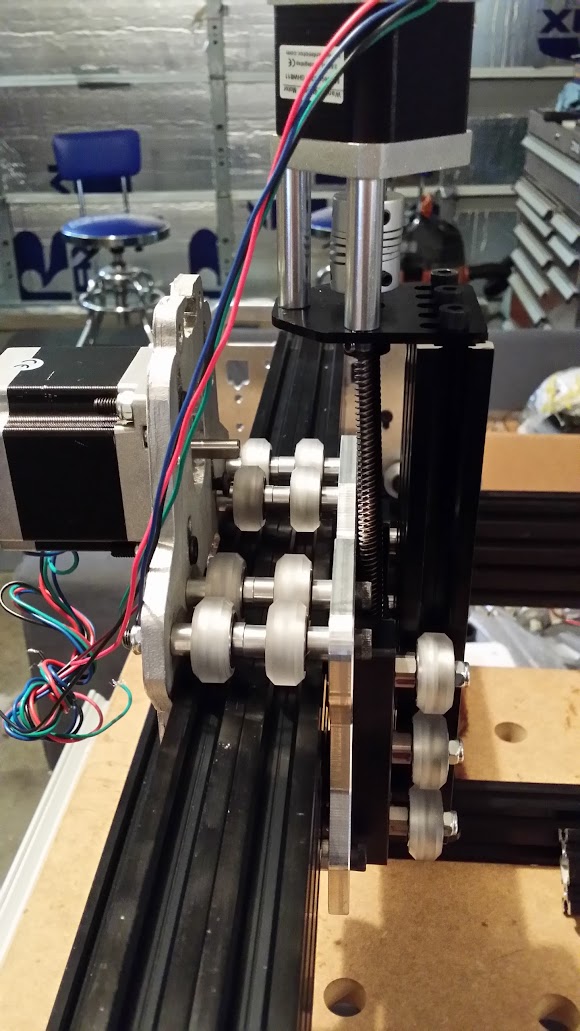
Z's mostly together

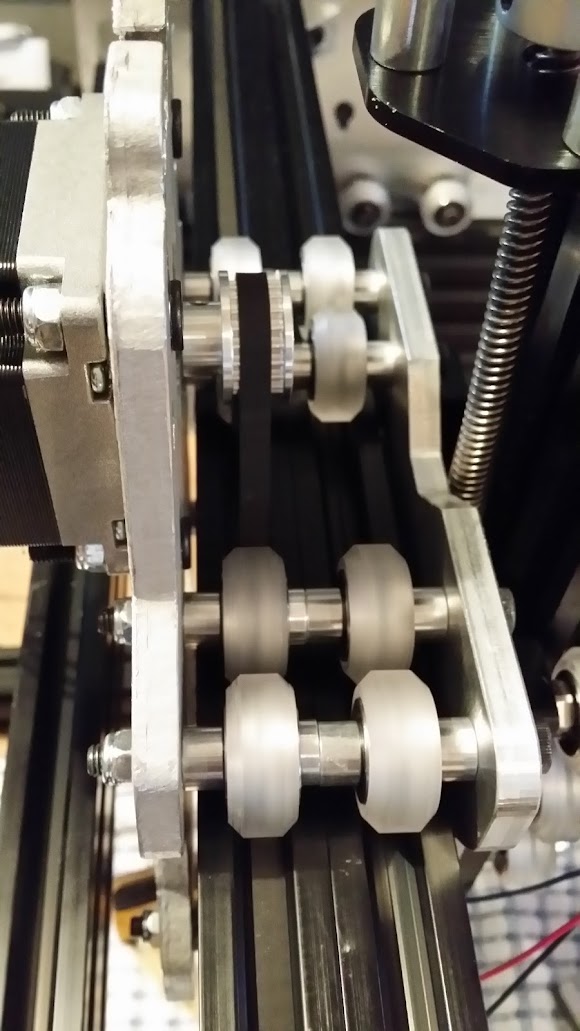
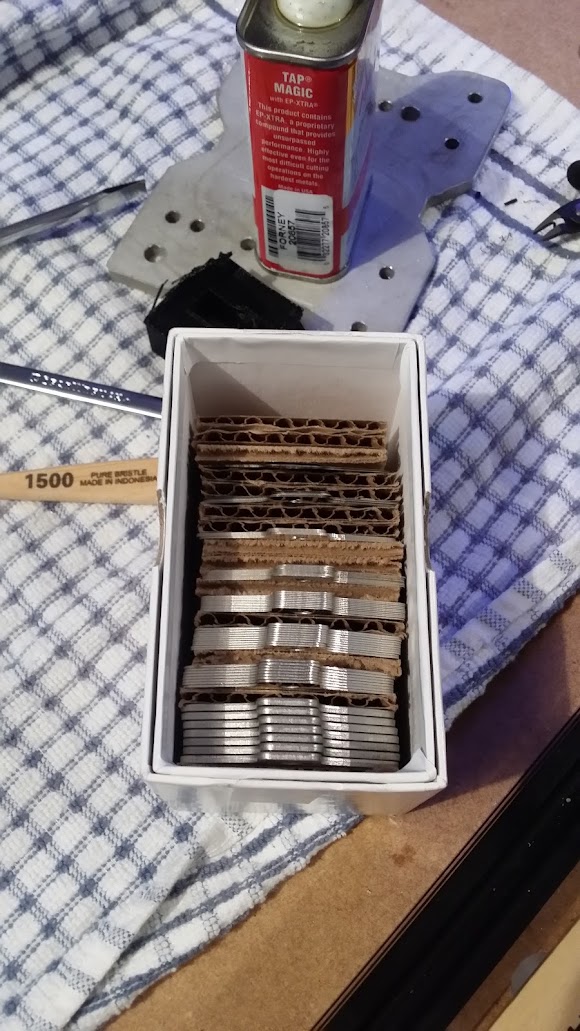
shim's for that cross bracket on the gantry, it's way off and i have a box of these crazy expensive stainless steel shims that i thought, i'll never need ones these big.. guess again..
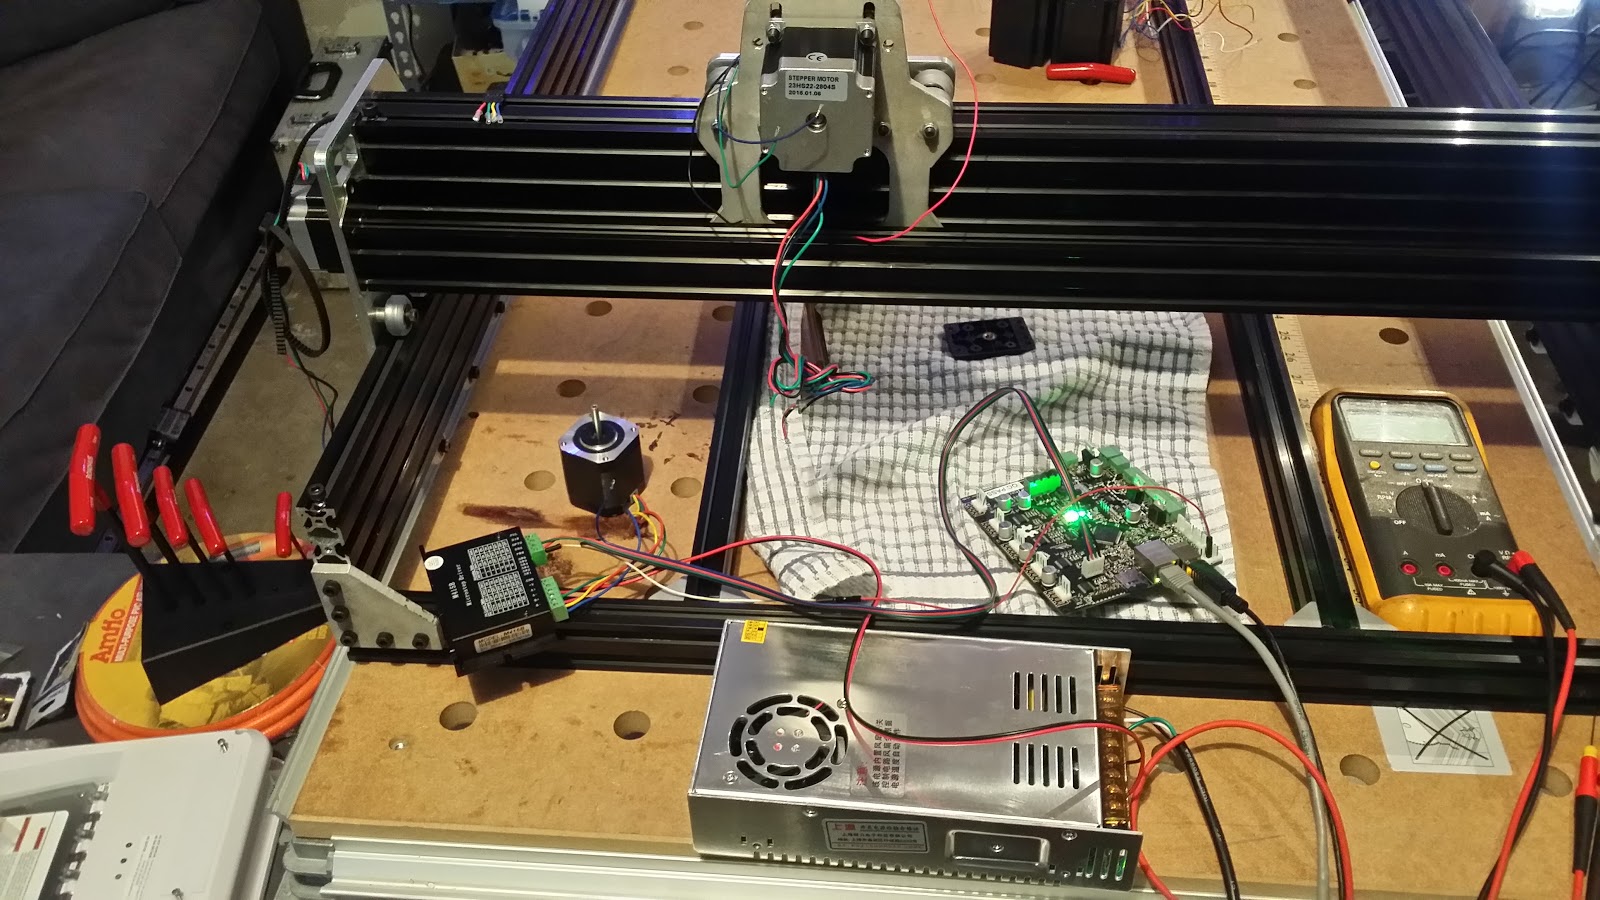
wiring up for testing
wiring up motors is mostly straightforward, especially for 4 wires, measure the pairs til you get an ohm reading, that's a pair, connect them up if it moves, check if reversed, if reversed swap the order of each pair, if it doesn't move swap one pair around. so if red/black make it black/red.
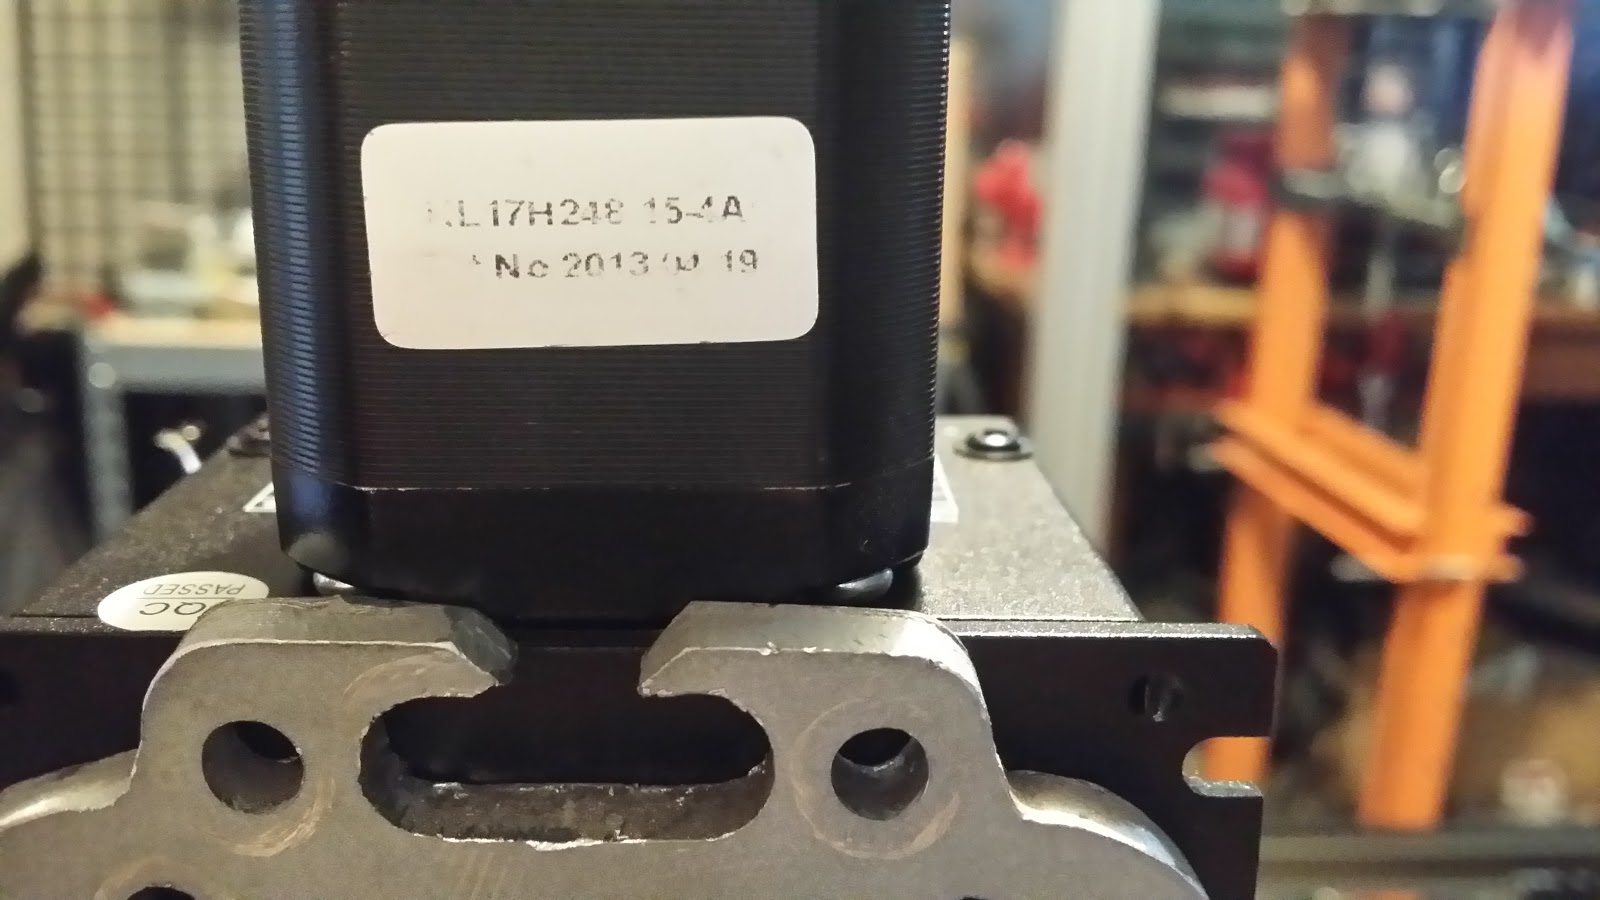
motor model number datasheet
setup for testing. added power 48V to power of stepper driver, added enable to smoothieboard and inverted it in the config, use ! after the number of the pin in the alpha enable. added dir and pulse, and used enable to drive the optocoupler, i did initially run it off the 5V from the smoothieboard, but less wires this way.
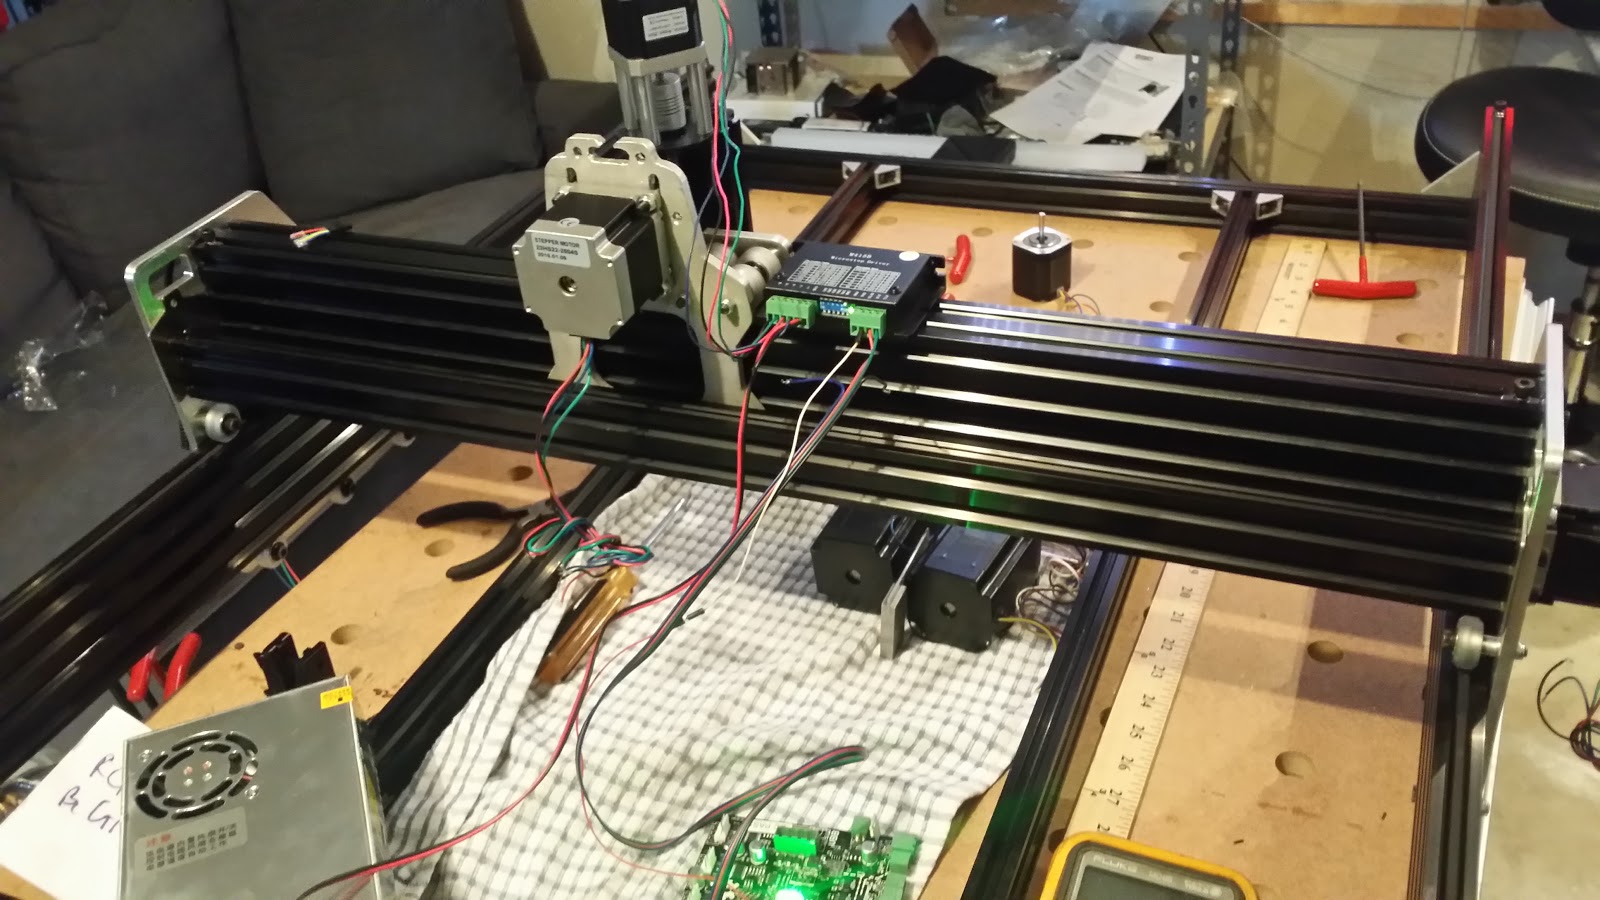
X moves fine.
Z is moving as well, haven't wired up the double Y motors yet. need more stepper drivers, so picked those up from lightobject, i have a stack of three wire hybrid drivers, but no normal ones. The smoothie should be ok to drive it during testing though. it has a slave function where instead of chaining the Y motors, I can use two drivers, since they're only 2A...
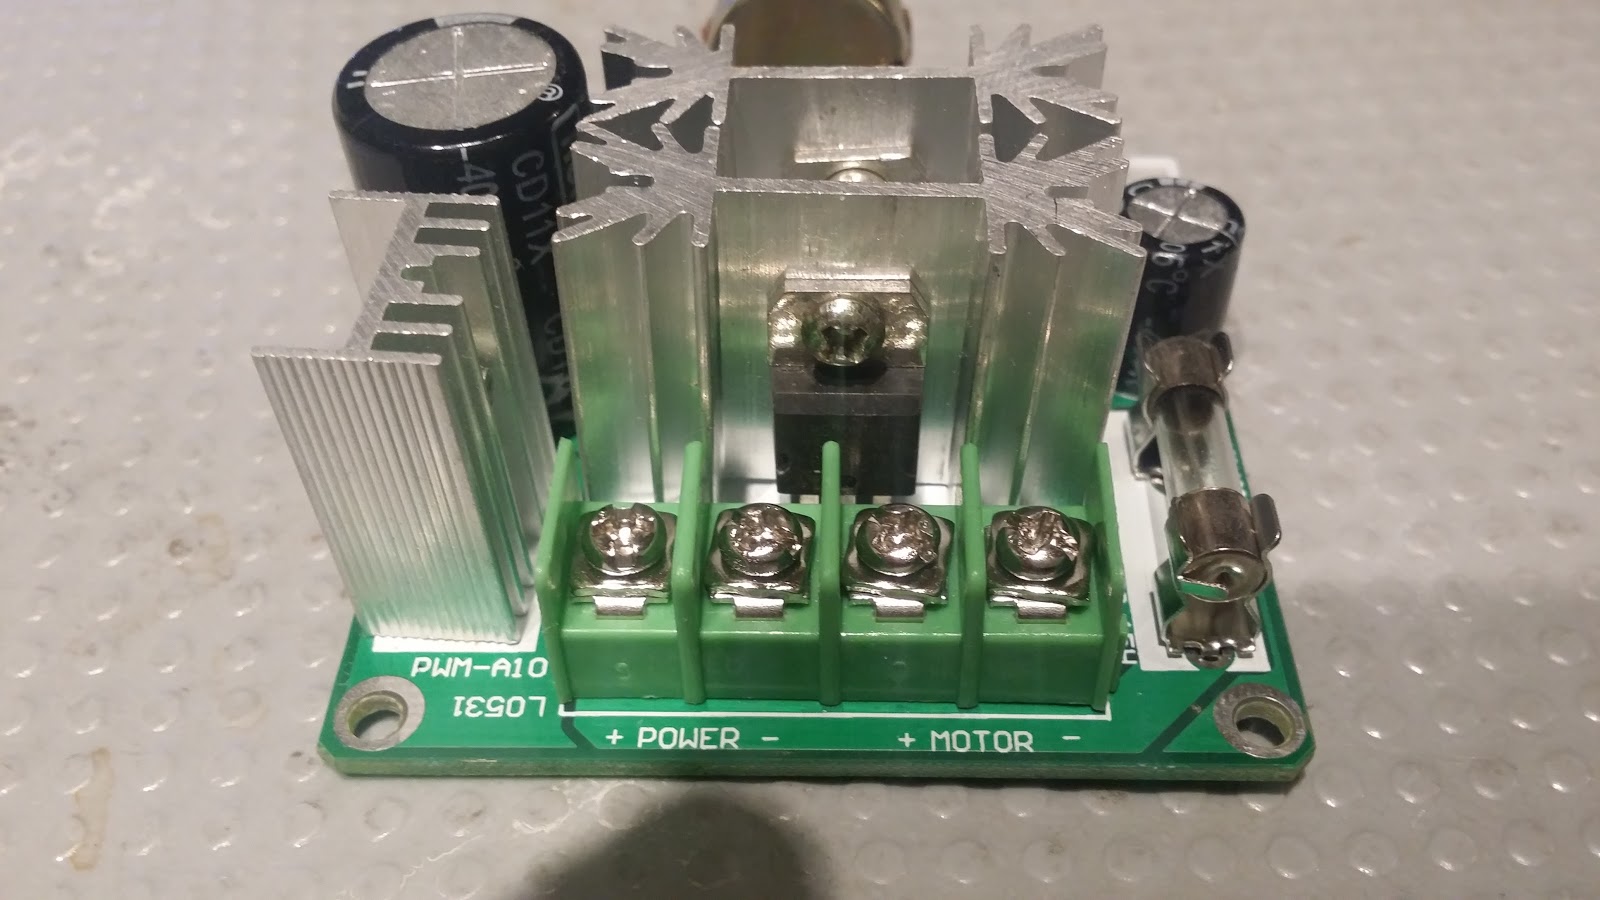
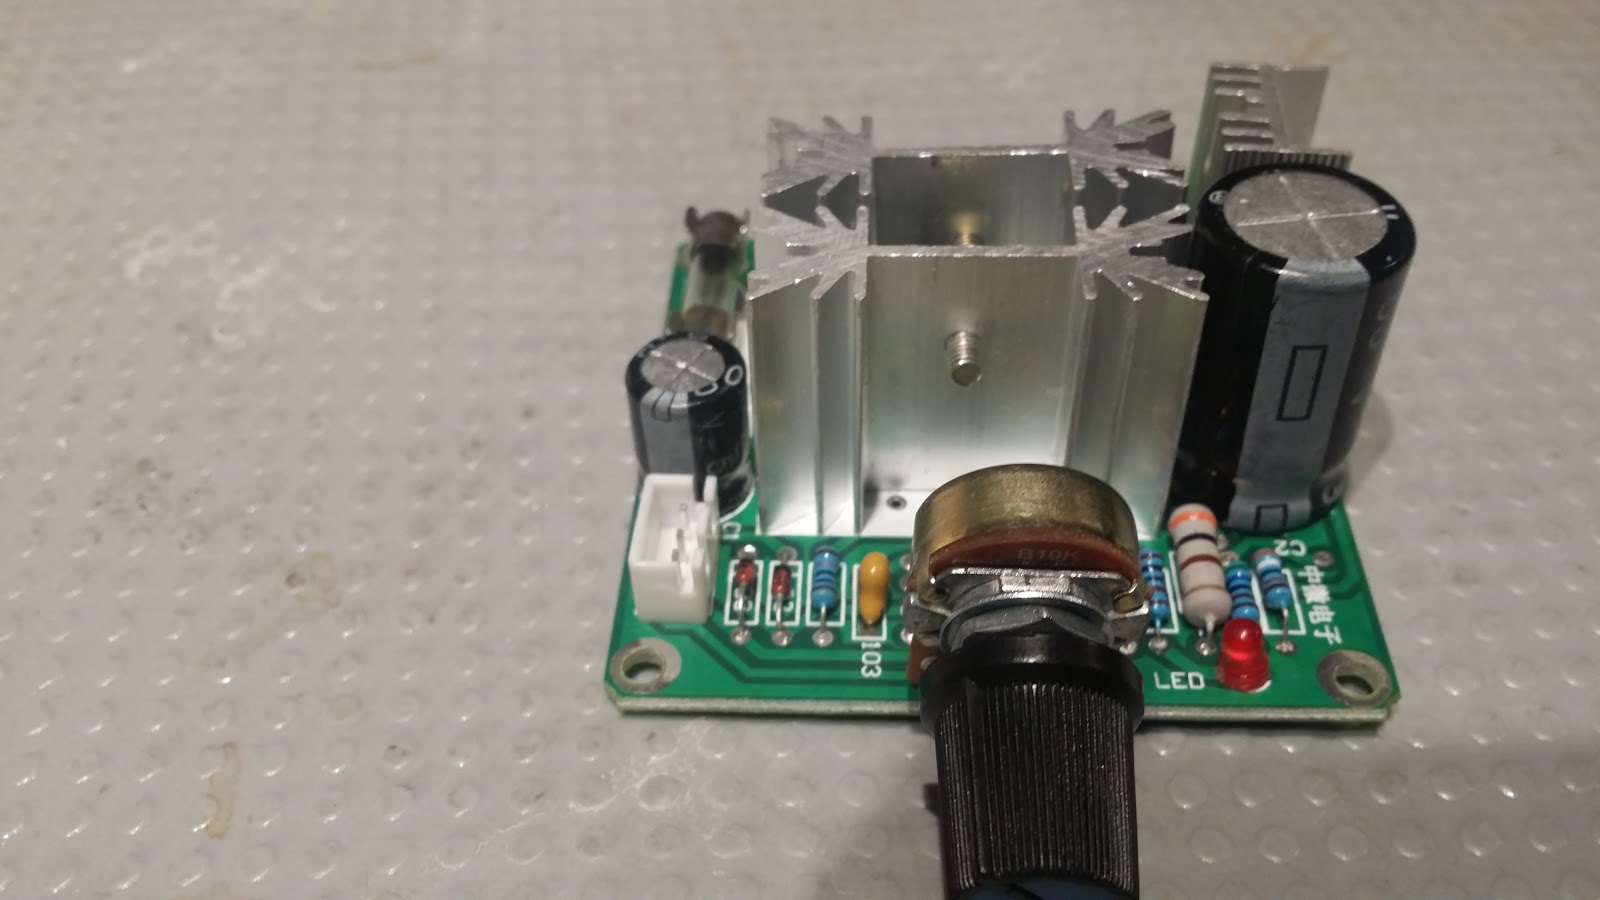
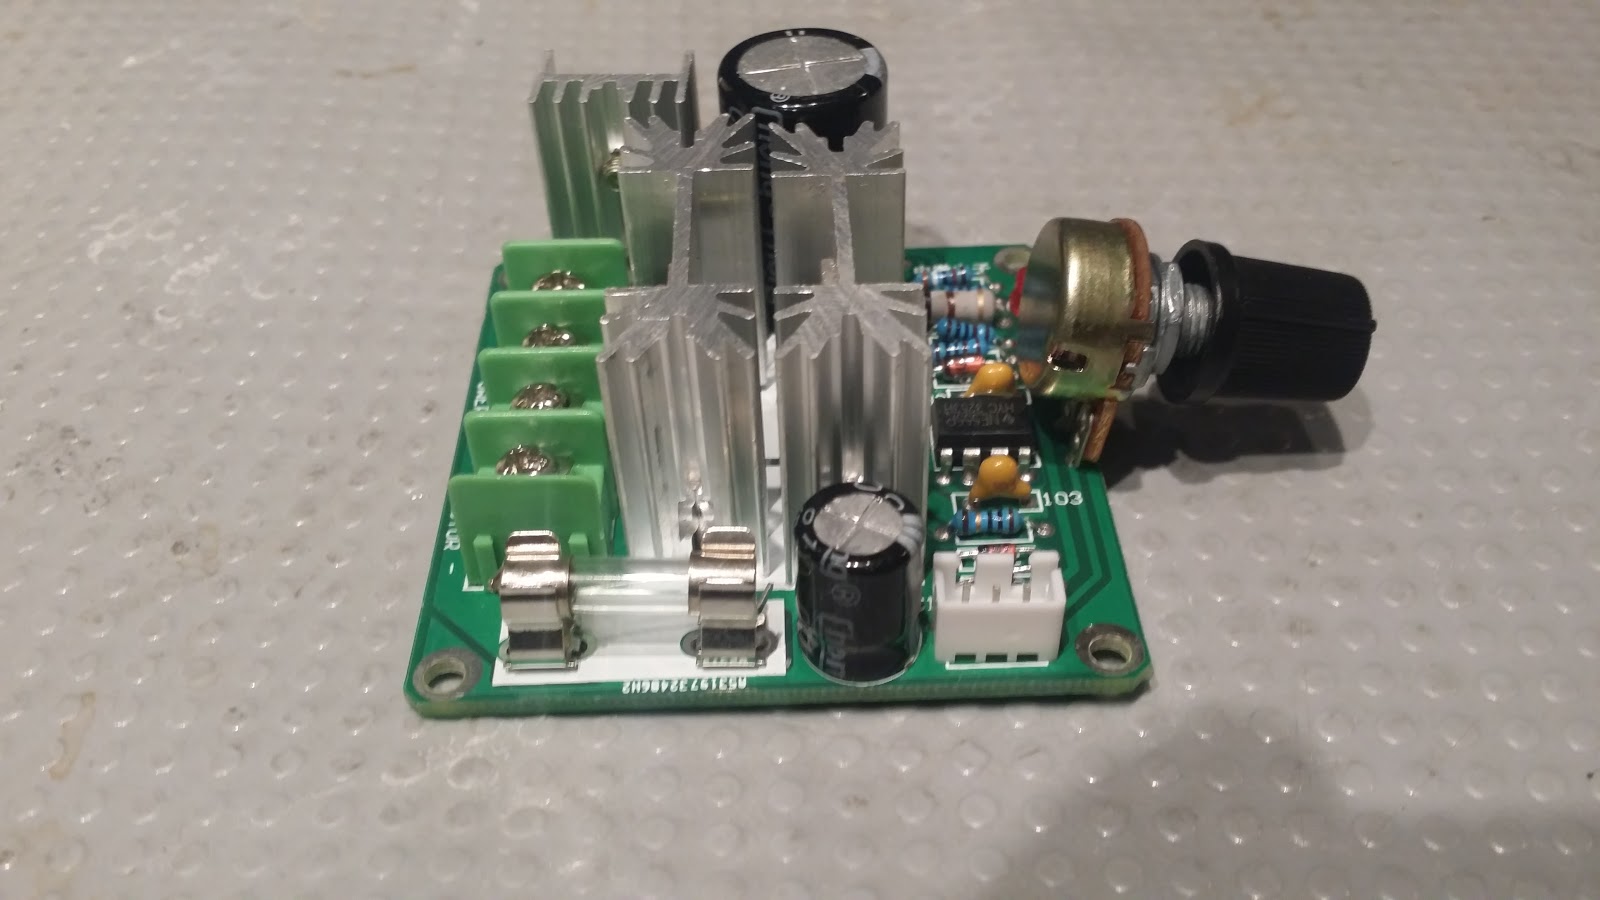
i like the section of the manual where it talks about mounting the spindle, it says it'll be short, its about 3 lines of text... the spindle mount seems to be a jubilee clip so i think we'll change that. Next part test the motor driver and "400W" spindle, see if we can get the smoothieboard to PWM it.

Discussions
Become a Hackaday.io Member
Create an account to leave a comment. Already have an account? Log In.