 robheffo
Having lost my original SD card image when the card failed, I needed to rebuild my Raspbian configuration. This is the outline of the process I used to rebuild the image and configure Raspbian and OpenVPN to act as the wireless bridge between the two houses. I started the process with a fresh NOOBS based install of Raspbian.
Step 1: Update Base Install
Firstly, I need to update the packages to the latest versions. I open a connection to my Pi 2 with Putty from my Windows box.
I execute the commands:
sudo apt-get update
sudo apt-get upgrade
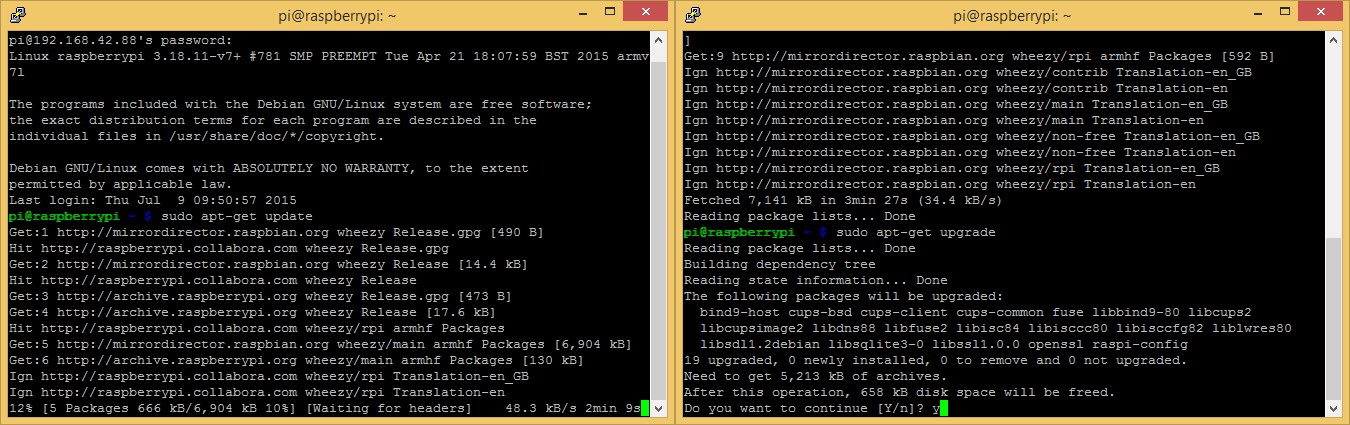
The first command updates the package metadata so that apt knows what is available. The second command scans the system, prompts for permission then downloads and installs the updated packages.
Step 2: Configure eth0 and wlan0 network interfaces
Next I need to configure the IP addresses used by the Pi 2. DHCP assigned addresses aren't suitable for a device intending to act as a network gateway, so I need to configure static IP addresses for both eth0 (Wired LAN) and wlan0 (WiFI).
I execute the command:
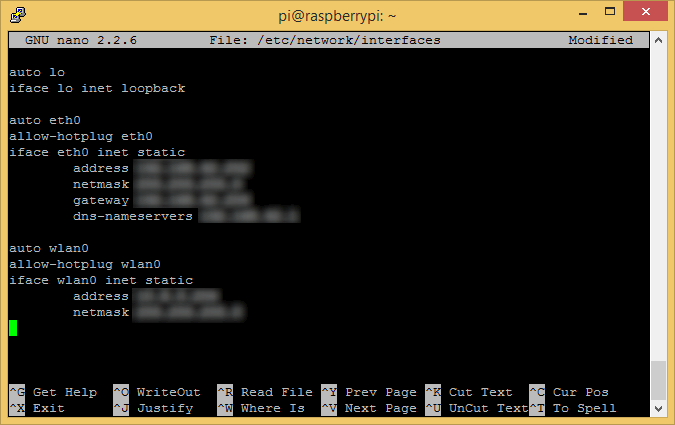
sudo nano /etc/network/interfaces
Then I delete the existing contents and use the following config (My actual IP's have been masked)
auto lo
iface lo inet loopback

auto eth0
allow-hotplug eth0
iface eth0 inet static
        address xxx.xxx.xxx.xxx
        netmask xxx.xxx.xxx.xxx
        gateway xxx.xxx.xxx.xxx
        dns-nameservers xxx.xxx.xxx.xxx

auto wlan0
allow-hotplug wlan0
iface wlan0 inet static
        address xxx.xxx.xxx.xxx
        netmask xxx.xxx.xxx.xxx
Next, I need to disable the DHCP Client Daemon (dhcpcd) which I found assigns the network interfaces a DHCP address even though I have set a static IP above.
To do this I use the command:
sudo update-rc.d dhcpcd disable
Step 3: Set Hostname & GPU Memory Split
Now I just need to configure the Hostname and the amount of RAM assigned to the GPU in the Broadcom SoC before rebooting. Since the GPU will not be needed I will be assigning it 16MB of RAM which is the smallest amount possible. To perform this configuration I will use the 'raspi-config' utility.
I use the command:
sudo raspi-config
First I set the Hostname. I access the 'Advanced Options' menu, choose 'Hostname' and enter 'Eienstein'.
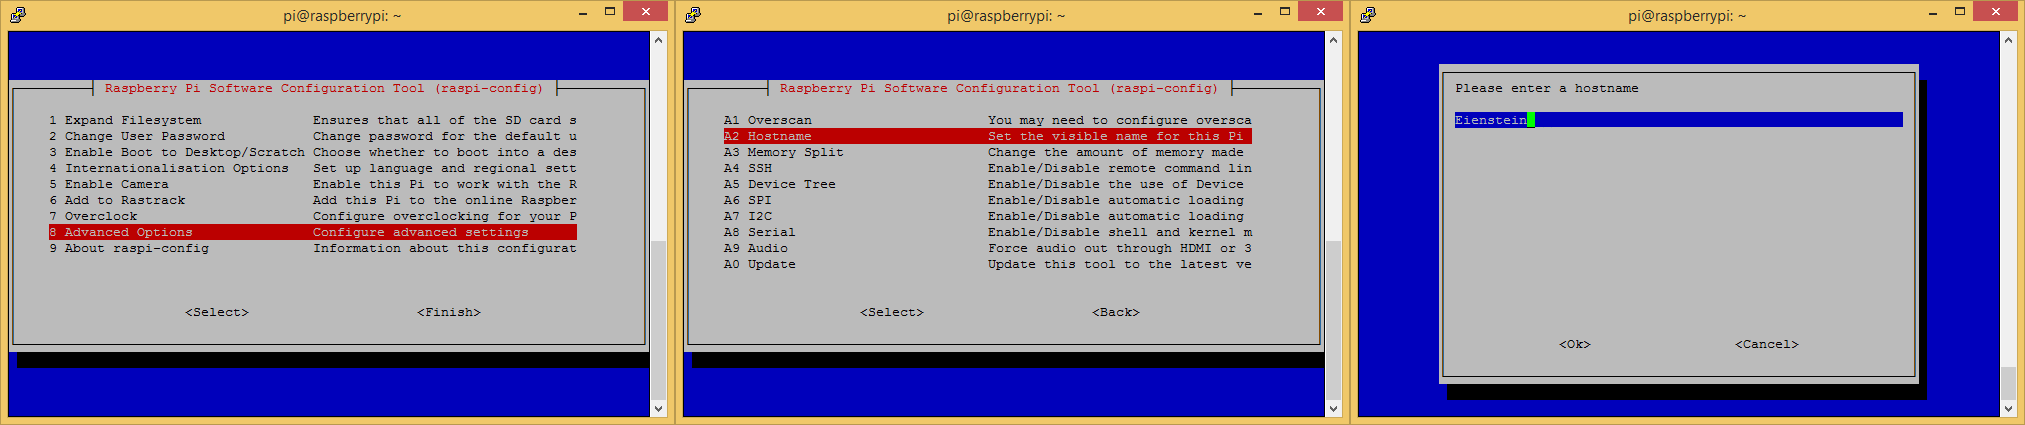
Then I set the GPU Memory. Again I access the 'Advanced Options' menu, then I choose 'Memory Split' and enter '16'

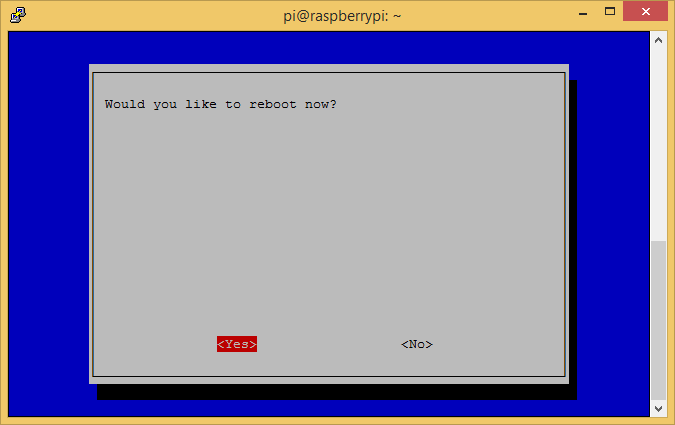
I then choose the 'Finish' option to complete the process. I am prompted to reboot and choose 'Yes' which reboots the Pi 2.
Step 4: Enable IP Forwarding
After waiting a couple of minutes and reconnecting to the Pi on it's new IP address, I am ready to enable IP Forwarding which allows the linux kernel to route packets between interfaces by using the routing table.
I execute the command:
sudo nano /etc/sysctl.conf
I locate the line containing '#net.ipv4.ip_forward=1' and remove the hash to uncomment the line. This script is used by linux during the boot process to configure certain system parameters, in this case forwarding of IPv4 packets.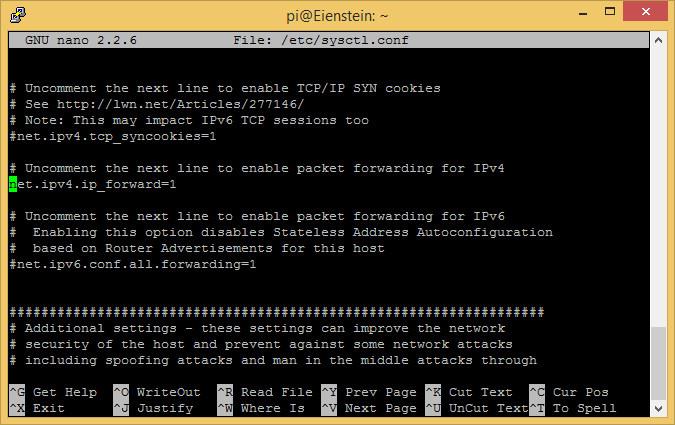 Next I execute the command:
sudo sysctl -p /etc/sysctl.conf
This causes the system to reload the configuration file and apply the changed settings.
Step 5: Configure Wireless Access Point for wlan0 interface
Now I need to configure the wlan0 (WiFi) interface to act as a Wireless Access Point so the other box can connect to the wireless network without requiring a dedicated access point. I need to install the 'hostapd' daemon in order to act as the access point.
I run the commands:
sudo apt-get install hostapd
sudo nano /etc/hostapd/hostapd.conf
The first line uses apt to download and install the daemon, the second line created a new configuration file for the daemon. I use the following config (again masking identifying details)
interface=wlan0
driver=nl80211
ssid=xxxxxxxx
hw_mode=g
#wme_enabled=1
#ieee80211n=1
#ht_capab=[HT40+][SHORT-GI-40][DSSS_CCK-40]
channel=11
macaddr_acl=0
auth_algs=1
ignore_broadcast_ssid=0
wpa=2
wpa_passphrase=xxxxxxxx
wpa_key_mgmt=WPA-PSK
wpa_pairwise=TKIP
rsn_pairwise=CCMP
This config sets up an 802.11g Wireless LAN on channel 11 which in my area is clear of any other wlans so I don't have collisions with other networks, I use WPA2 with a pre-shared key.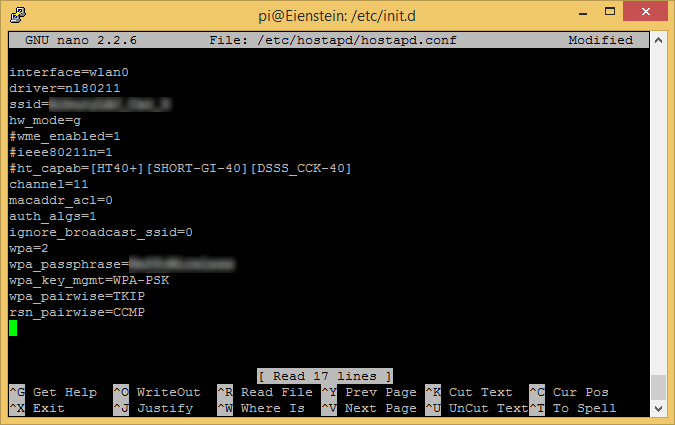 Now that I have the configuration I need to tell the daemon where the config file is, in order to do this I need to edit the default script and modify the 'DAEMON_CONF' value.
I use the command:
sudo nano /etc/default/hostapd
then locate the line 'DAEMON_CONF=""' and change it to 'DAEMON_CONF="/etc/hostapd/hostapd.conf"'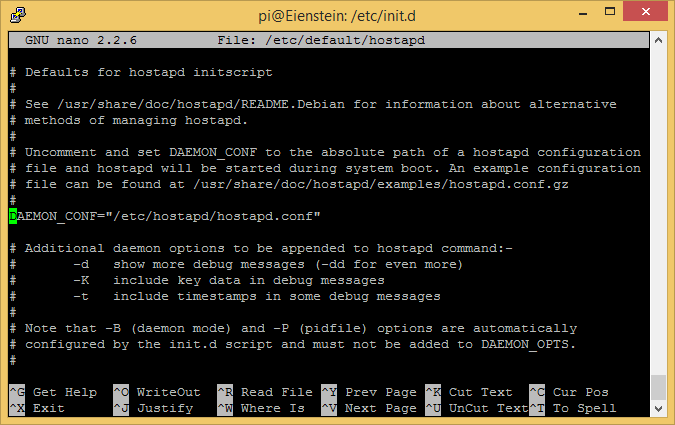 All I have left now is to enable the hostapd daemon on boot and to start it, so I use the commands:
sudo update-rc.d hostapd enable
sudo service hostapd start
At this point, I have a working base system with a static LAN IP address and a USB WiFi adapter acting as a Wireless Access Point. In the next update I will configure the OpenVPN server and the associated tun0 virtual network adapter, configure the iptables firewall on the wlan0 interface so that only ICMP pings and the OpenVPN UDP packets are accepted. I will also configure the routing table so that traffic to and from the remote network at my mother-in-laws is passed between my LAN and the VPN tunnel across the Wireless link.
Discussions
Become a Hackaday.io Member
Create an account to leave a comment. Already have an account? Log In.