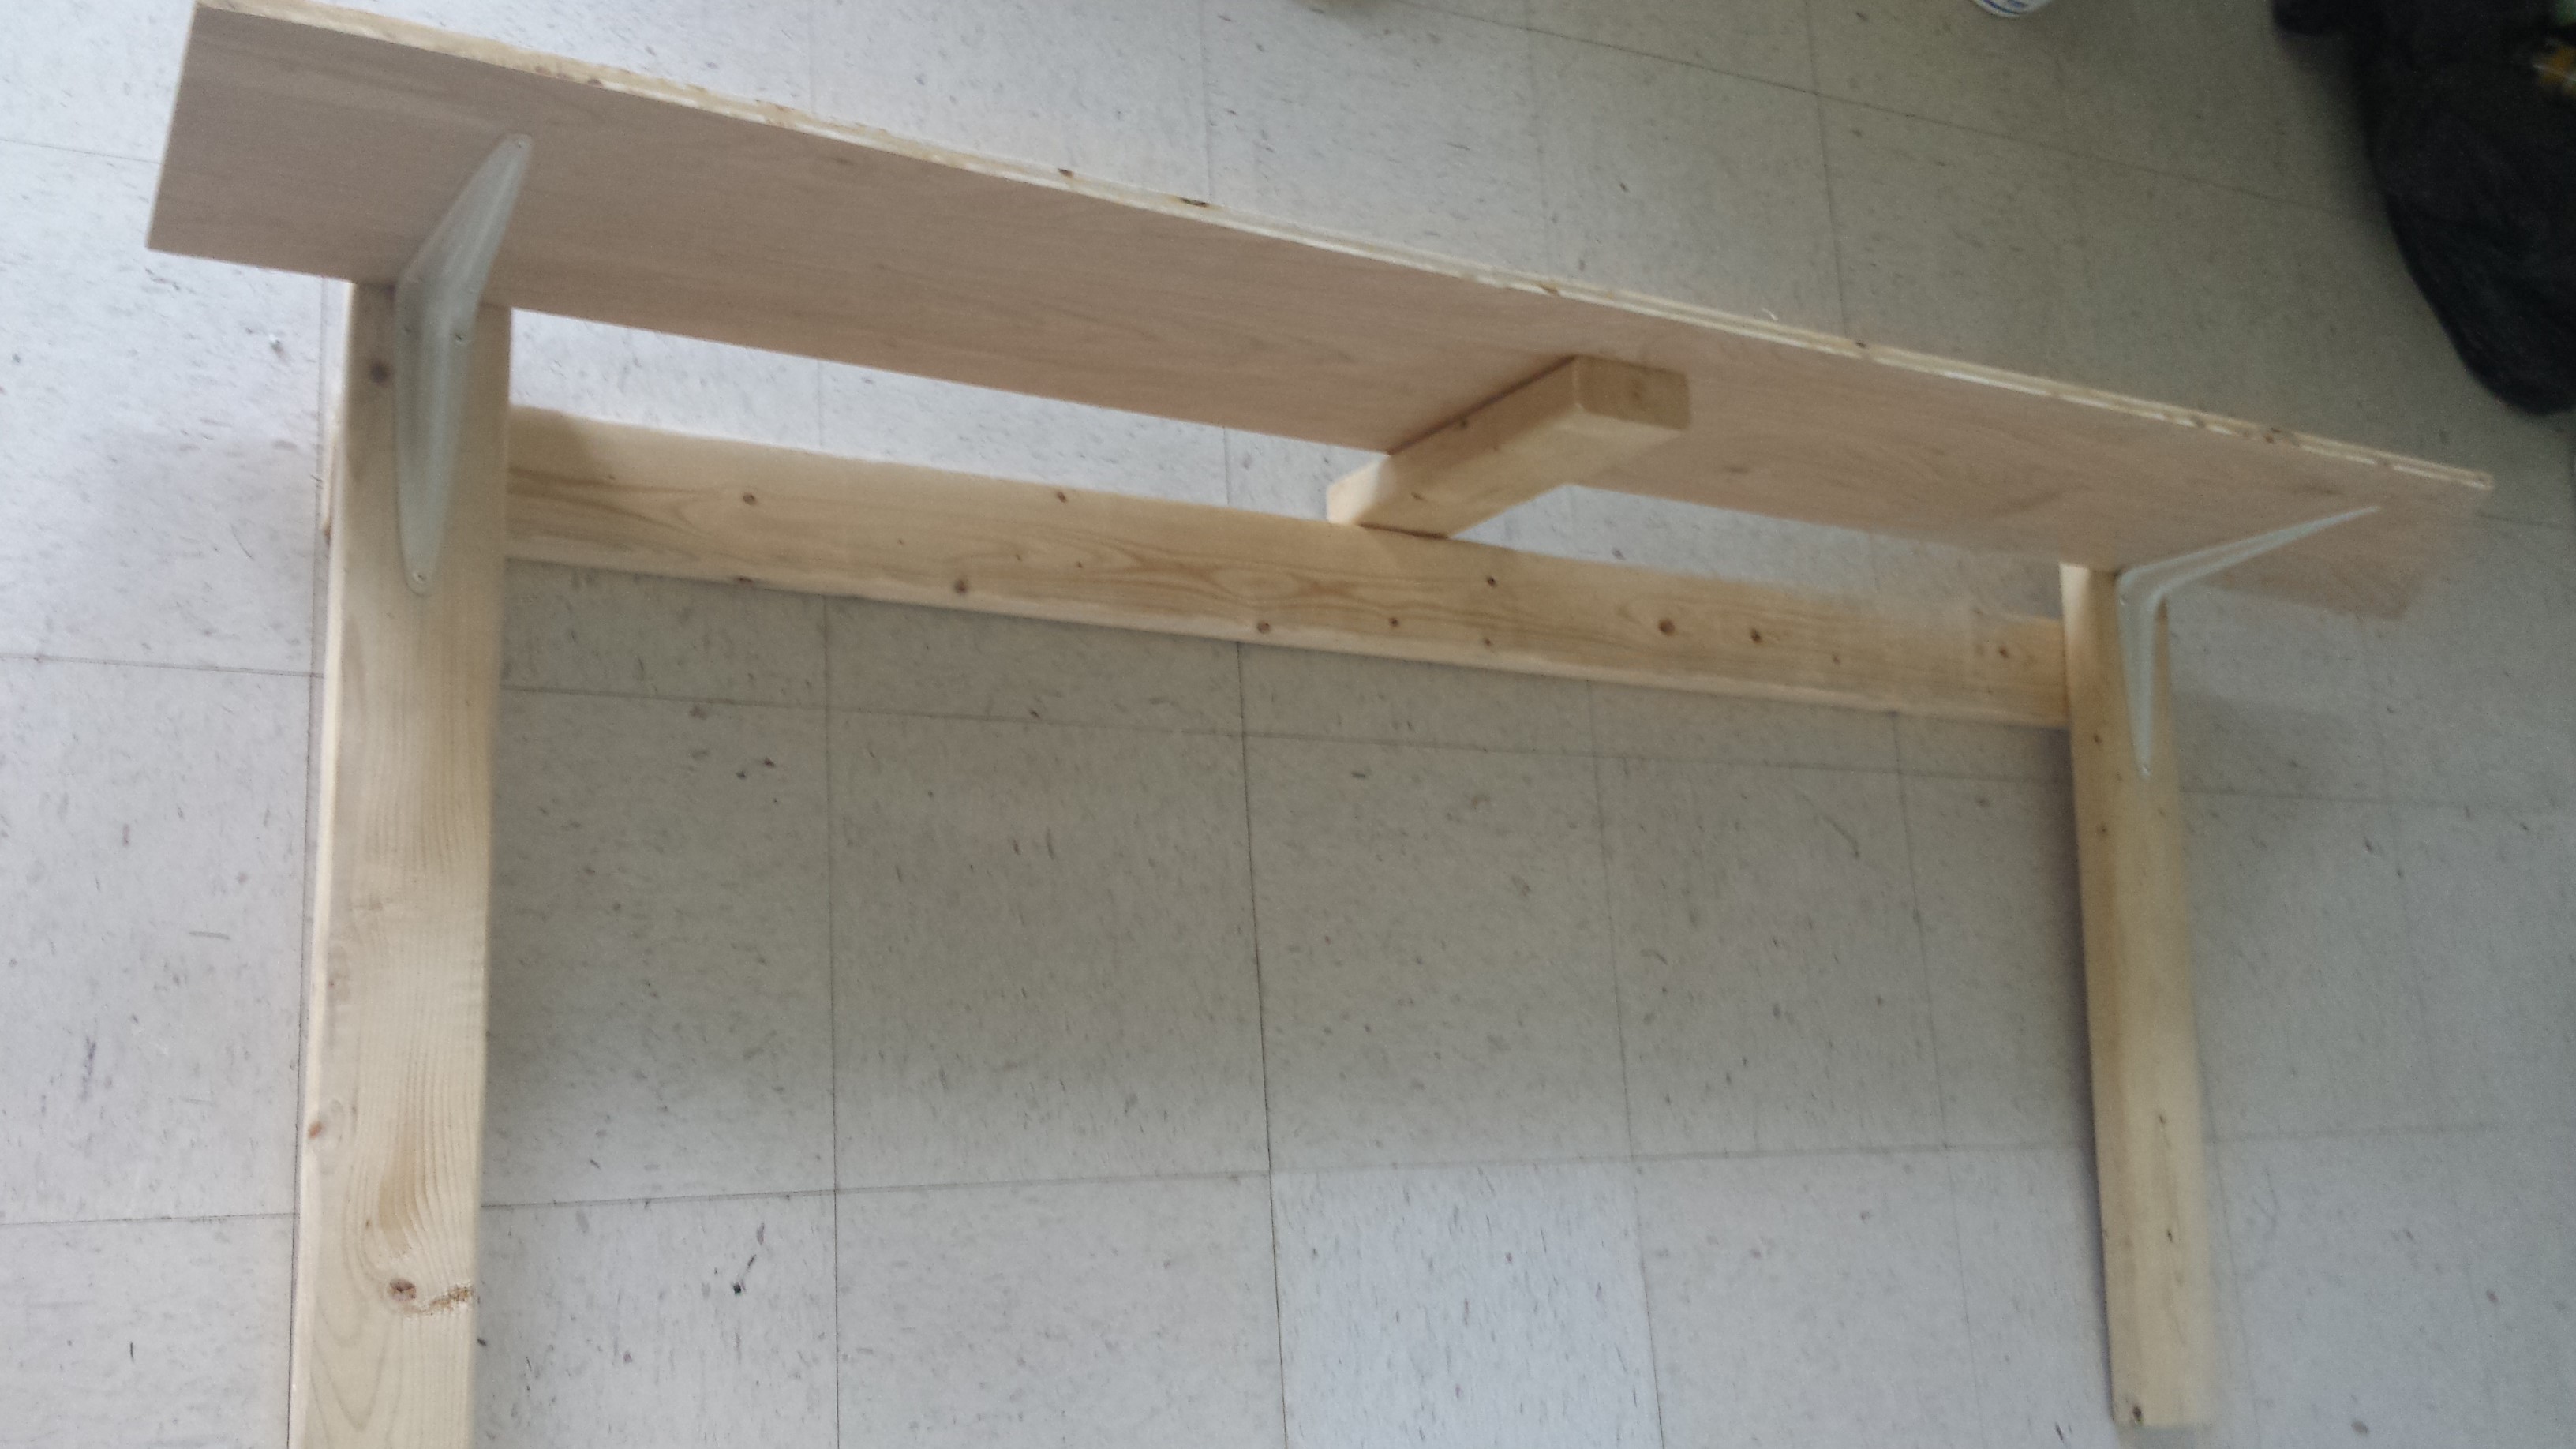
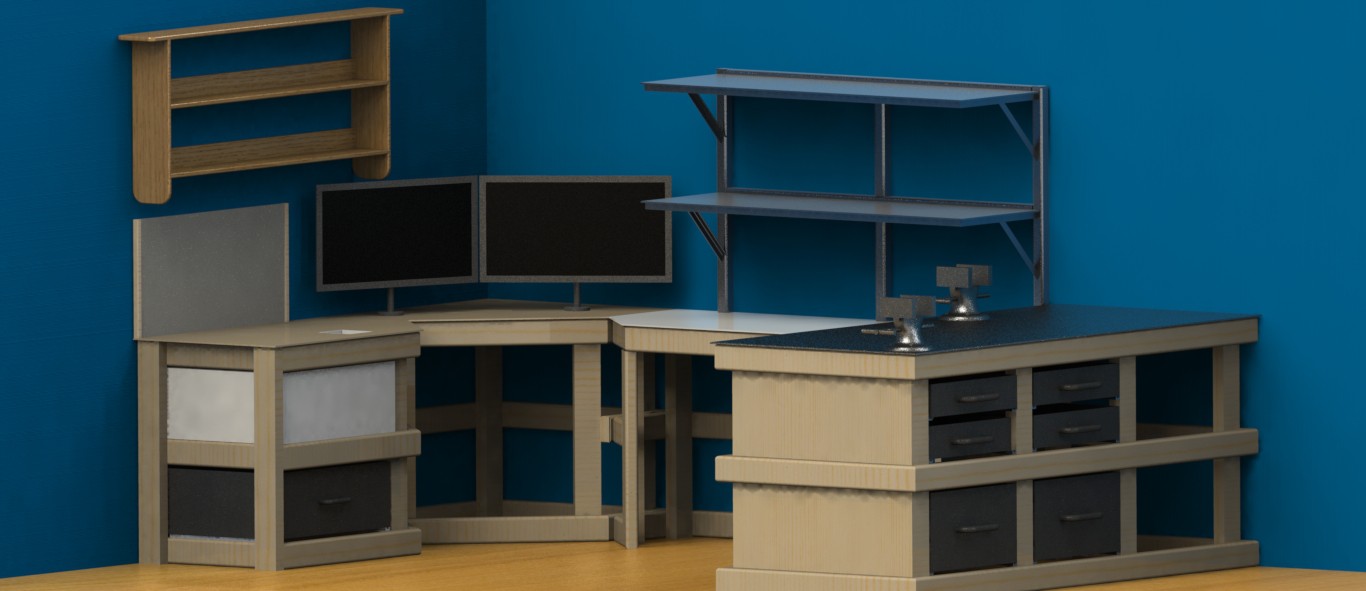
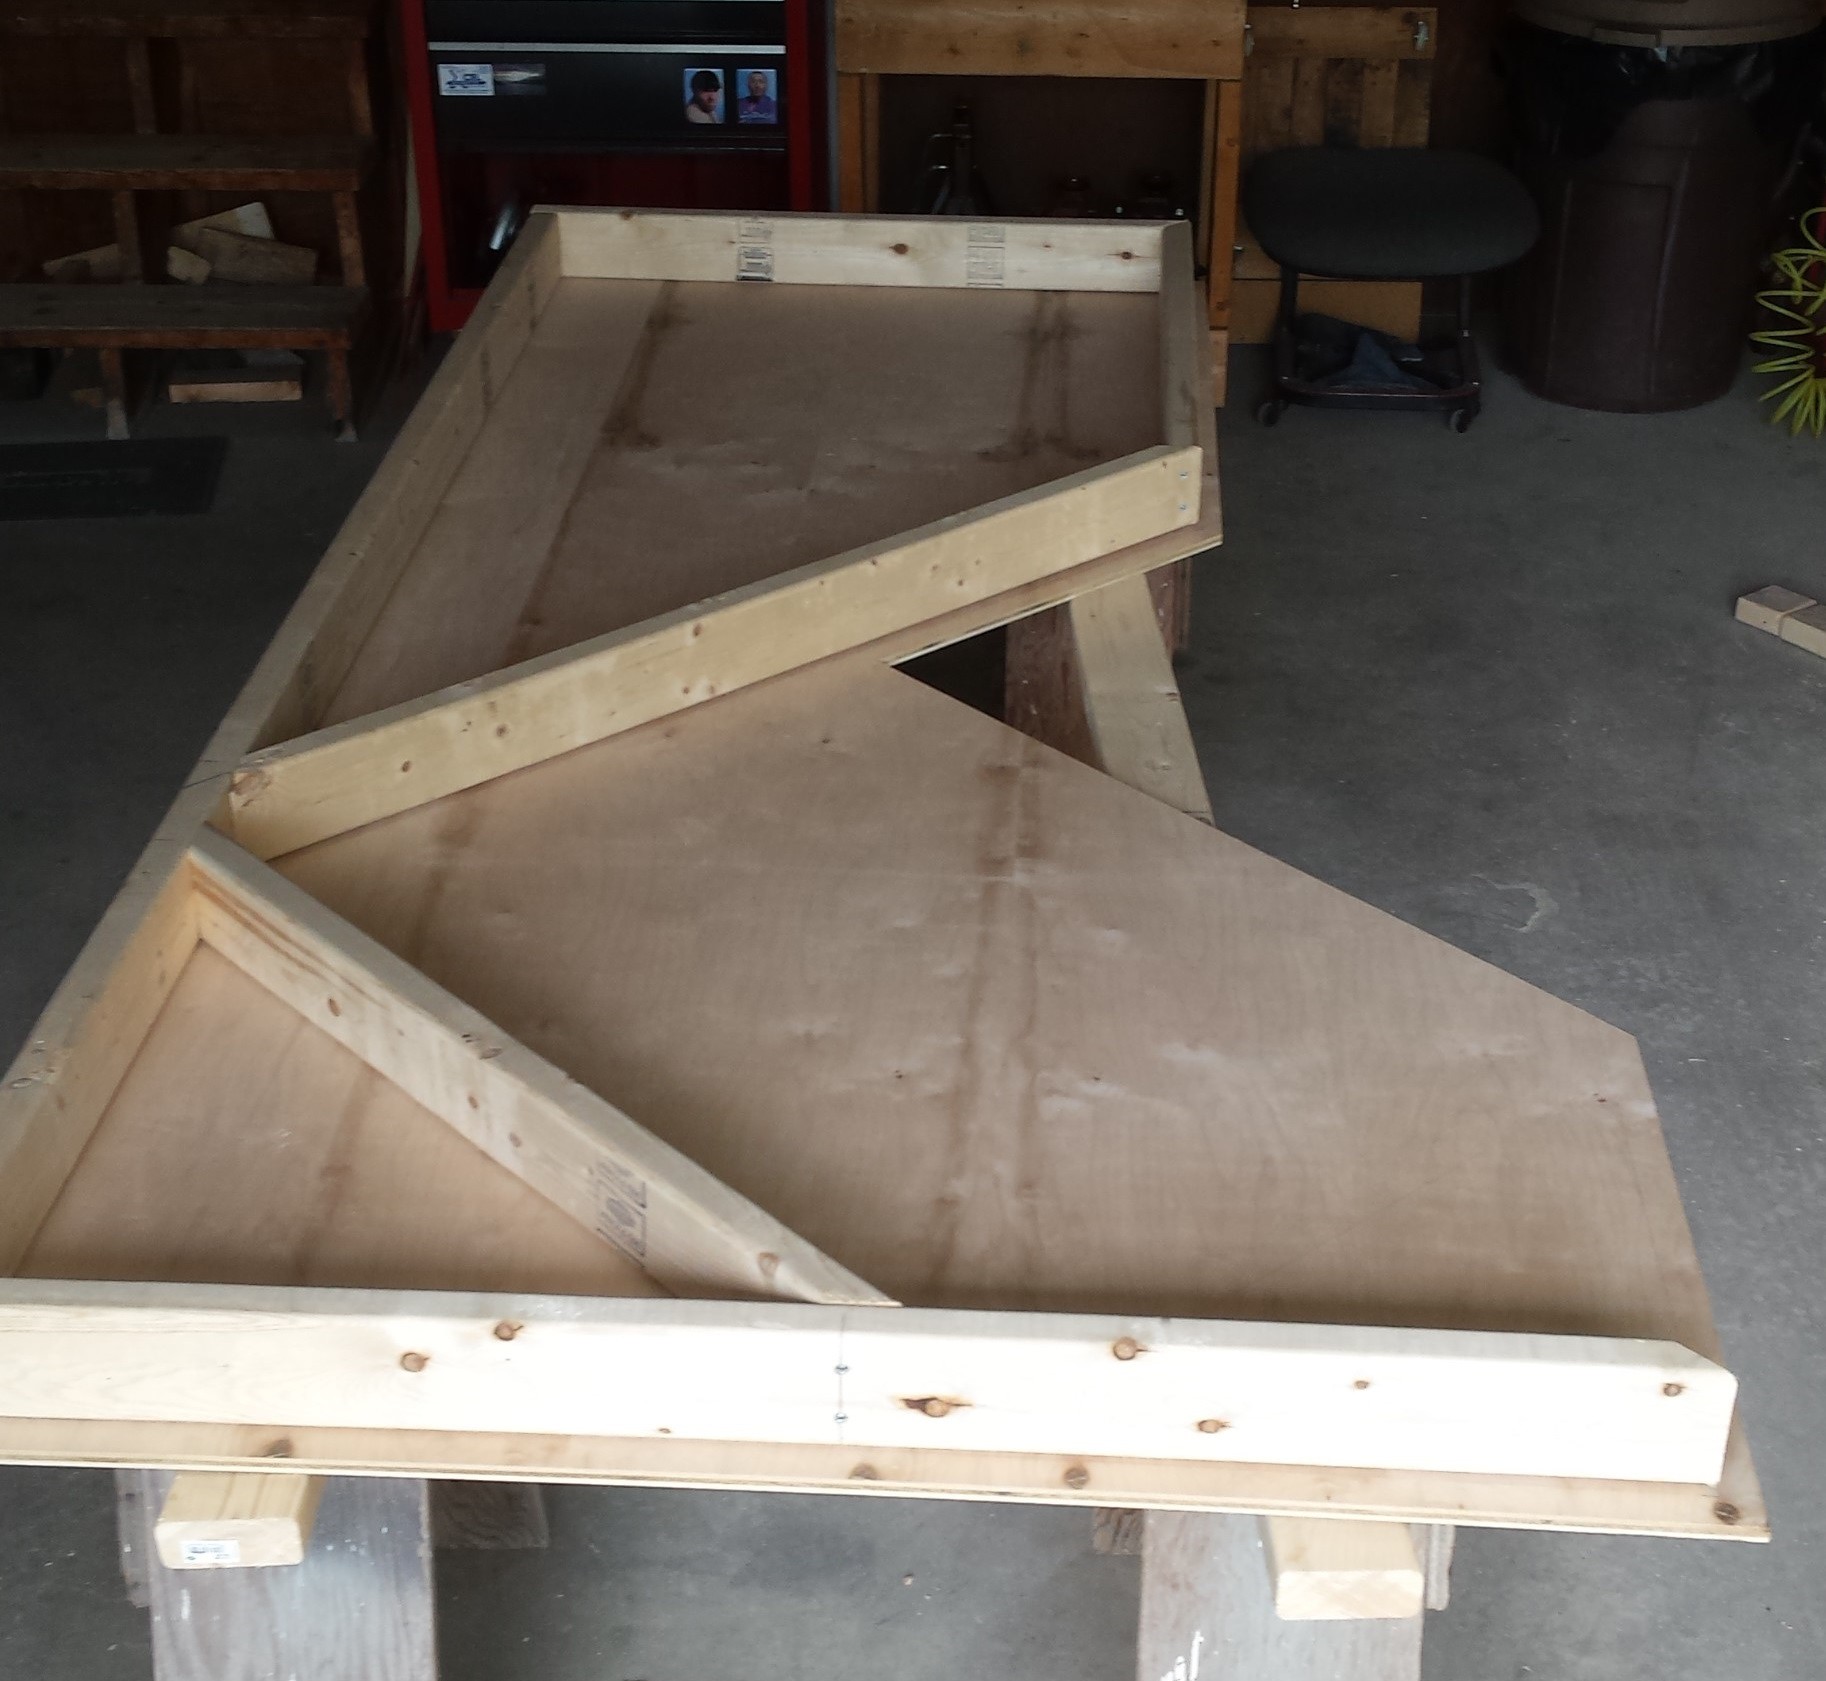
The original design I put together in CAD was a 3 part desk. While I may still do that in the future, it's probably the far future. I decided to focus first on the desk that will include the computer and electronics. In order to accommodate as many of the features as I can, I made it as big as I felt comfortable doing out of an 8x4 piece of 1/2" plywood (which meant I used the whole thing and only cut out a small portion of it). It's a little bit unwieldy, but the legs and shelf are bolted through so they come apart fairly easily.
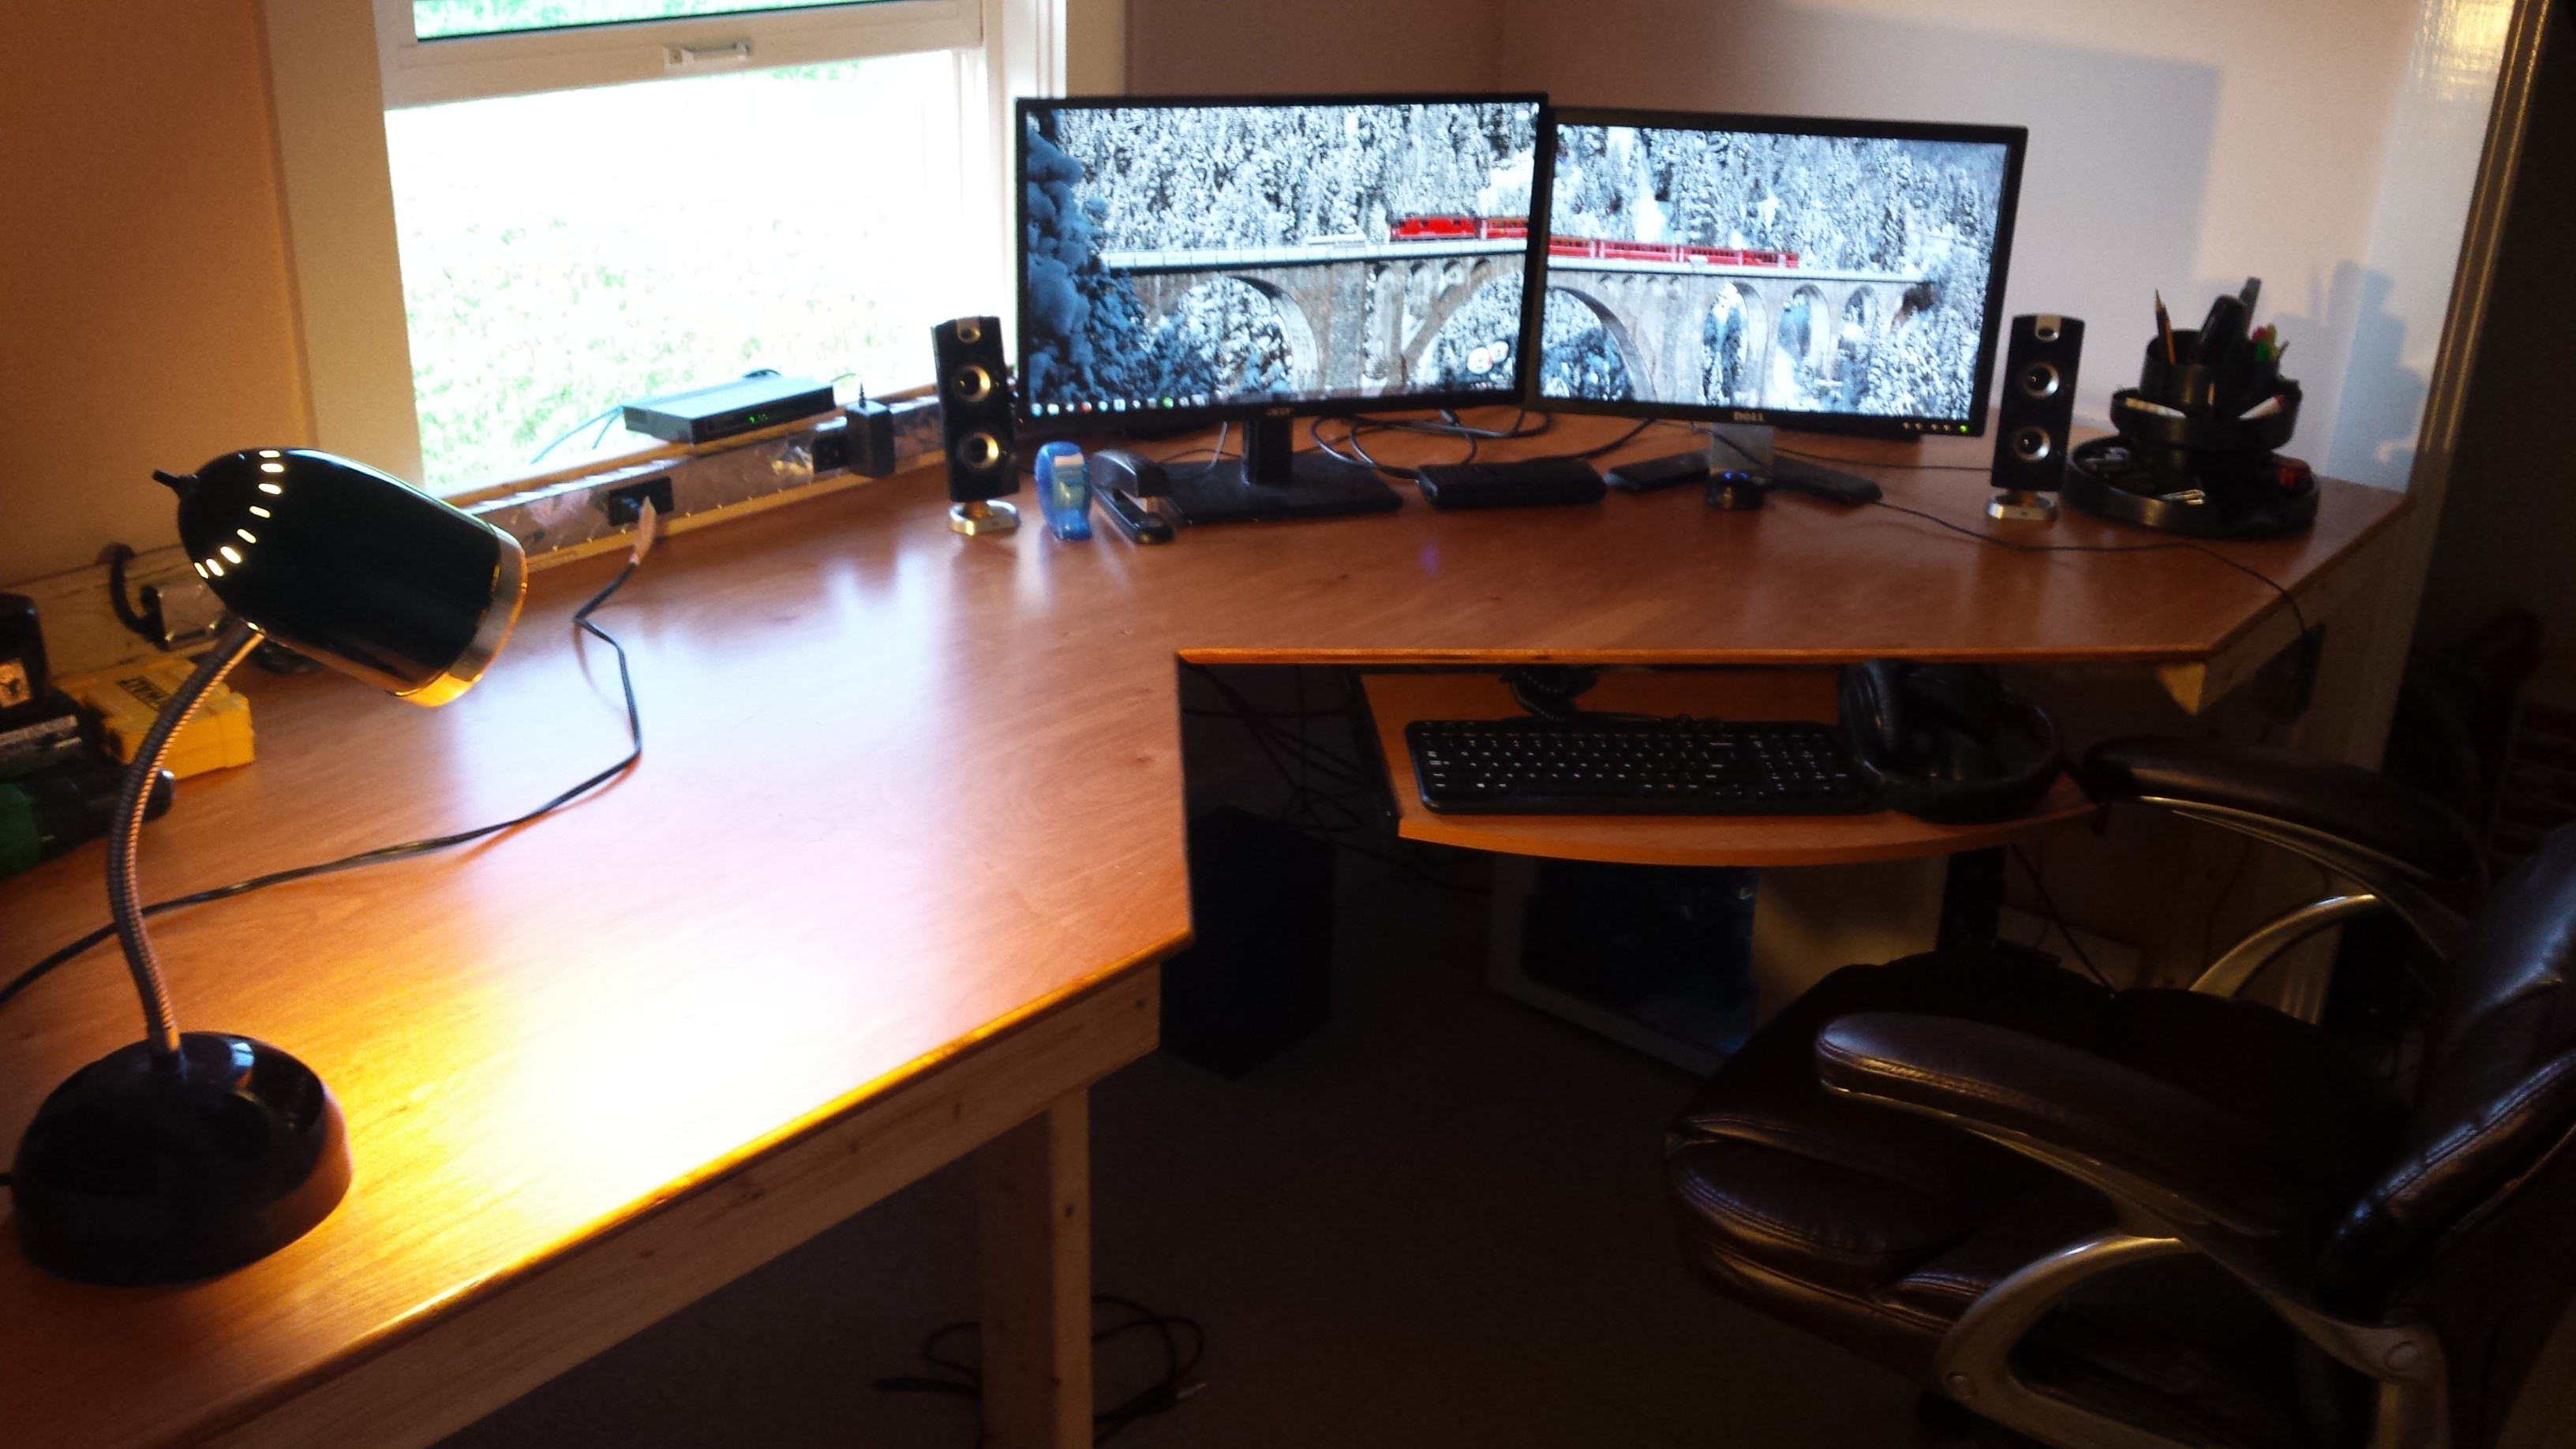
Many of the features I want to add will probably just be places to house a device in order to make it most accessible. For instance, I'm certainly not going to integrate an O-scope into the desk, but I might have a particular location where I can mount a portable one such that it doesn't take up a crapload of room on the desktop and is still very convenient to use.
I'd love to hear suggestions for other features to consider, or for models of items I have listed below that are a great value, perform well, or just recommended by someone who's used them for a long time.
TENTATIVE FEATURES:
- Collapsible and/or Modular (probably have to cross off collapsible for now)
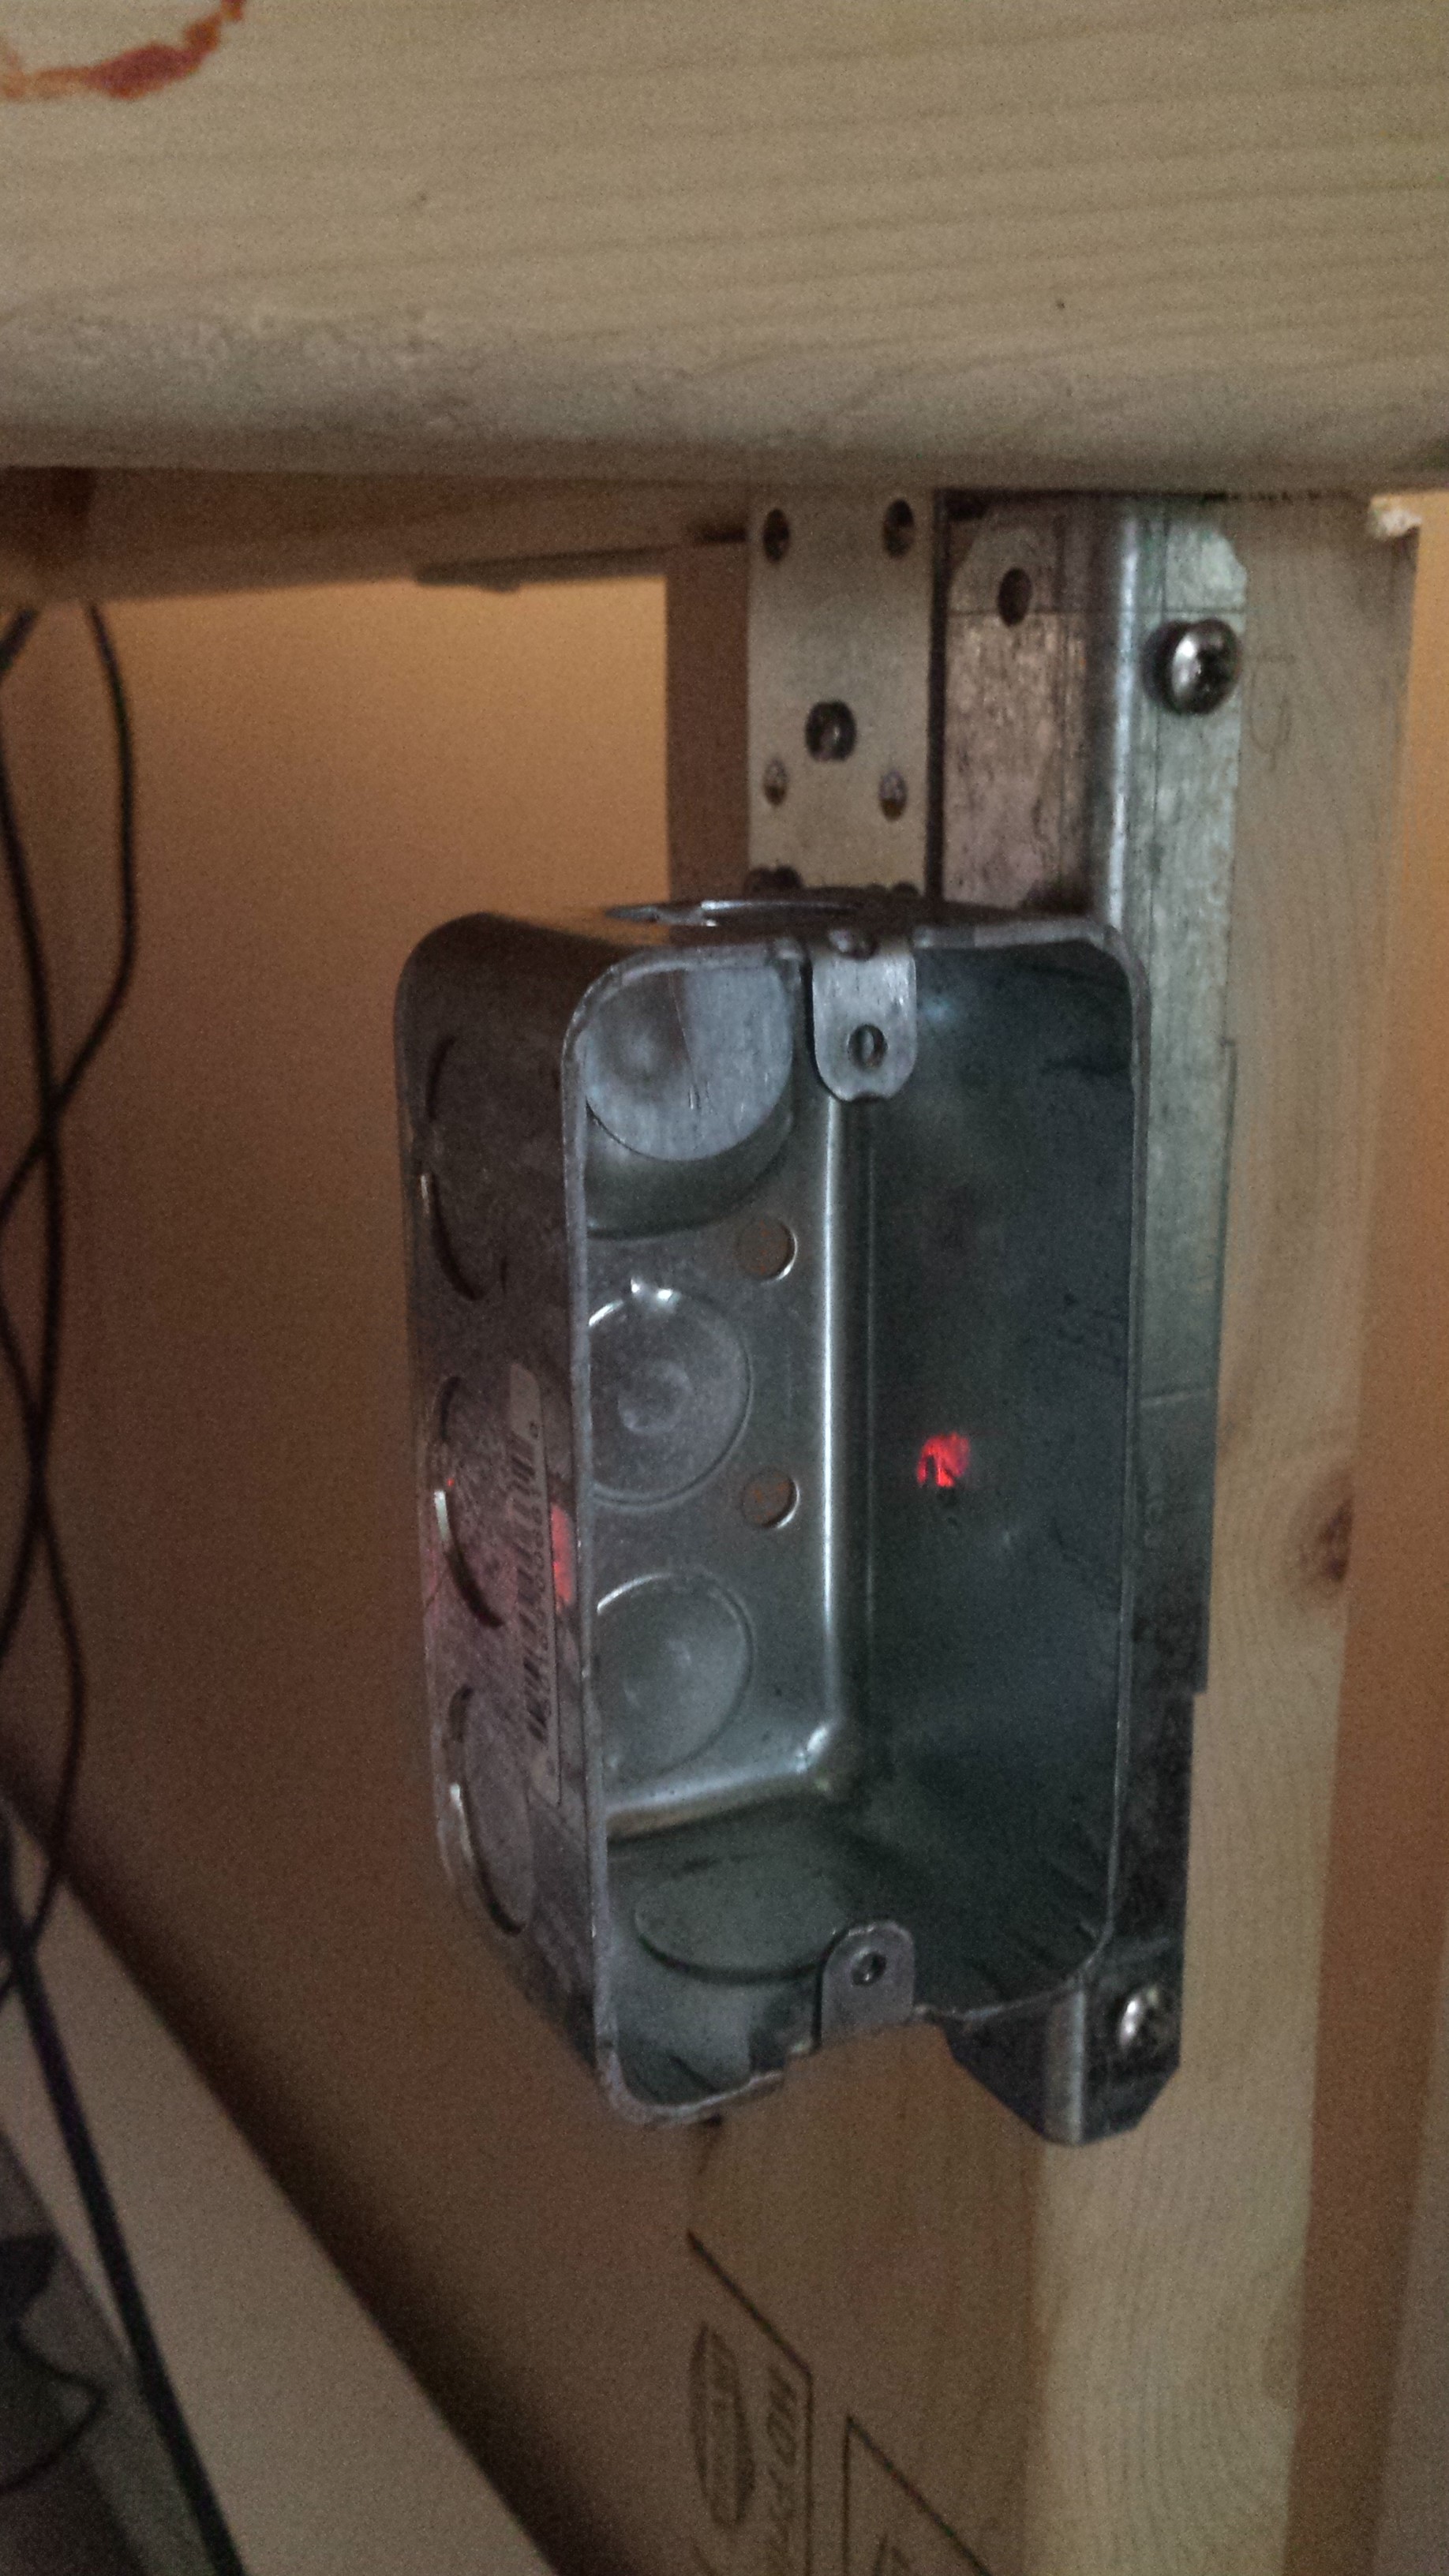
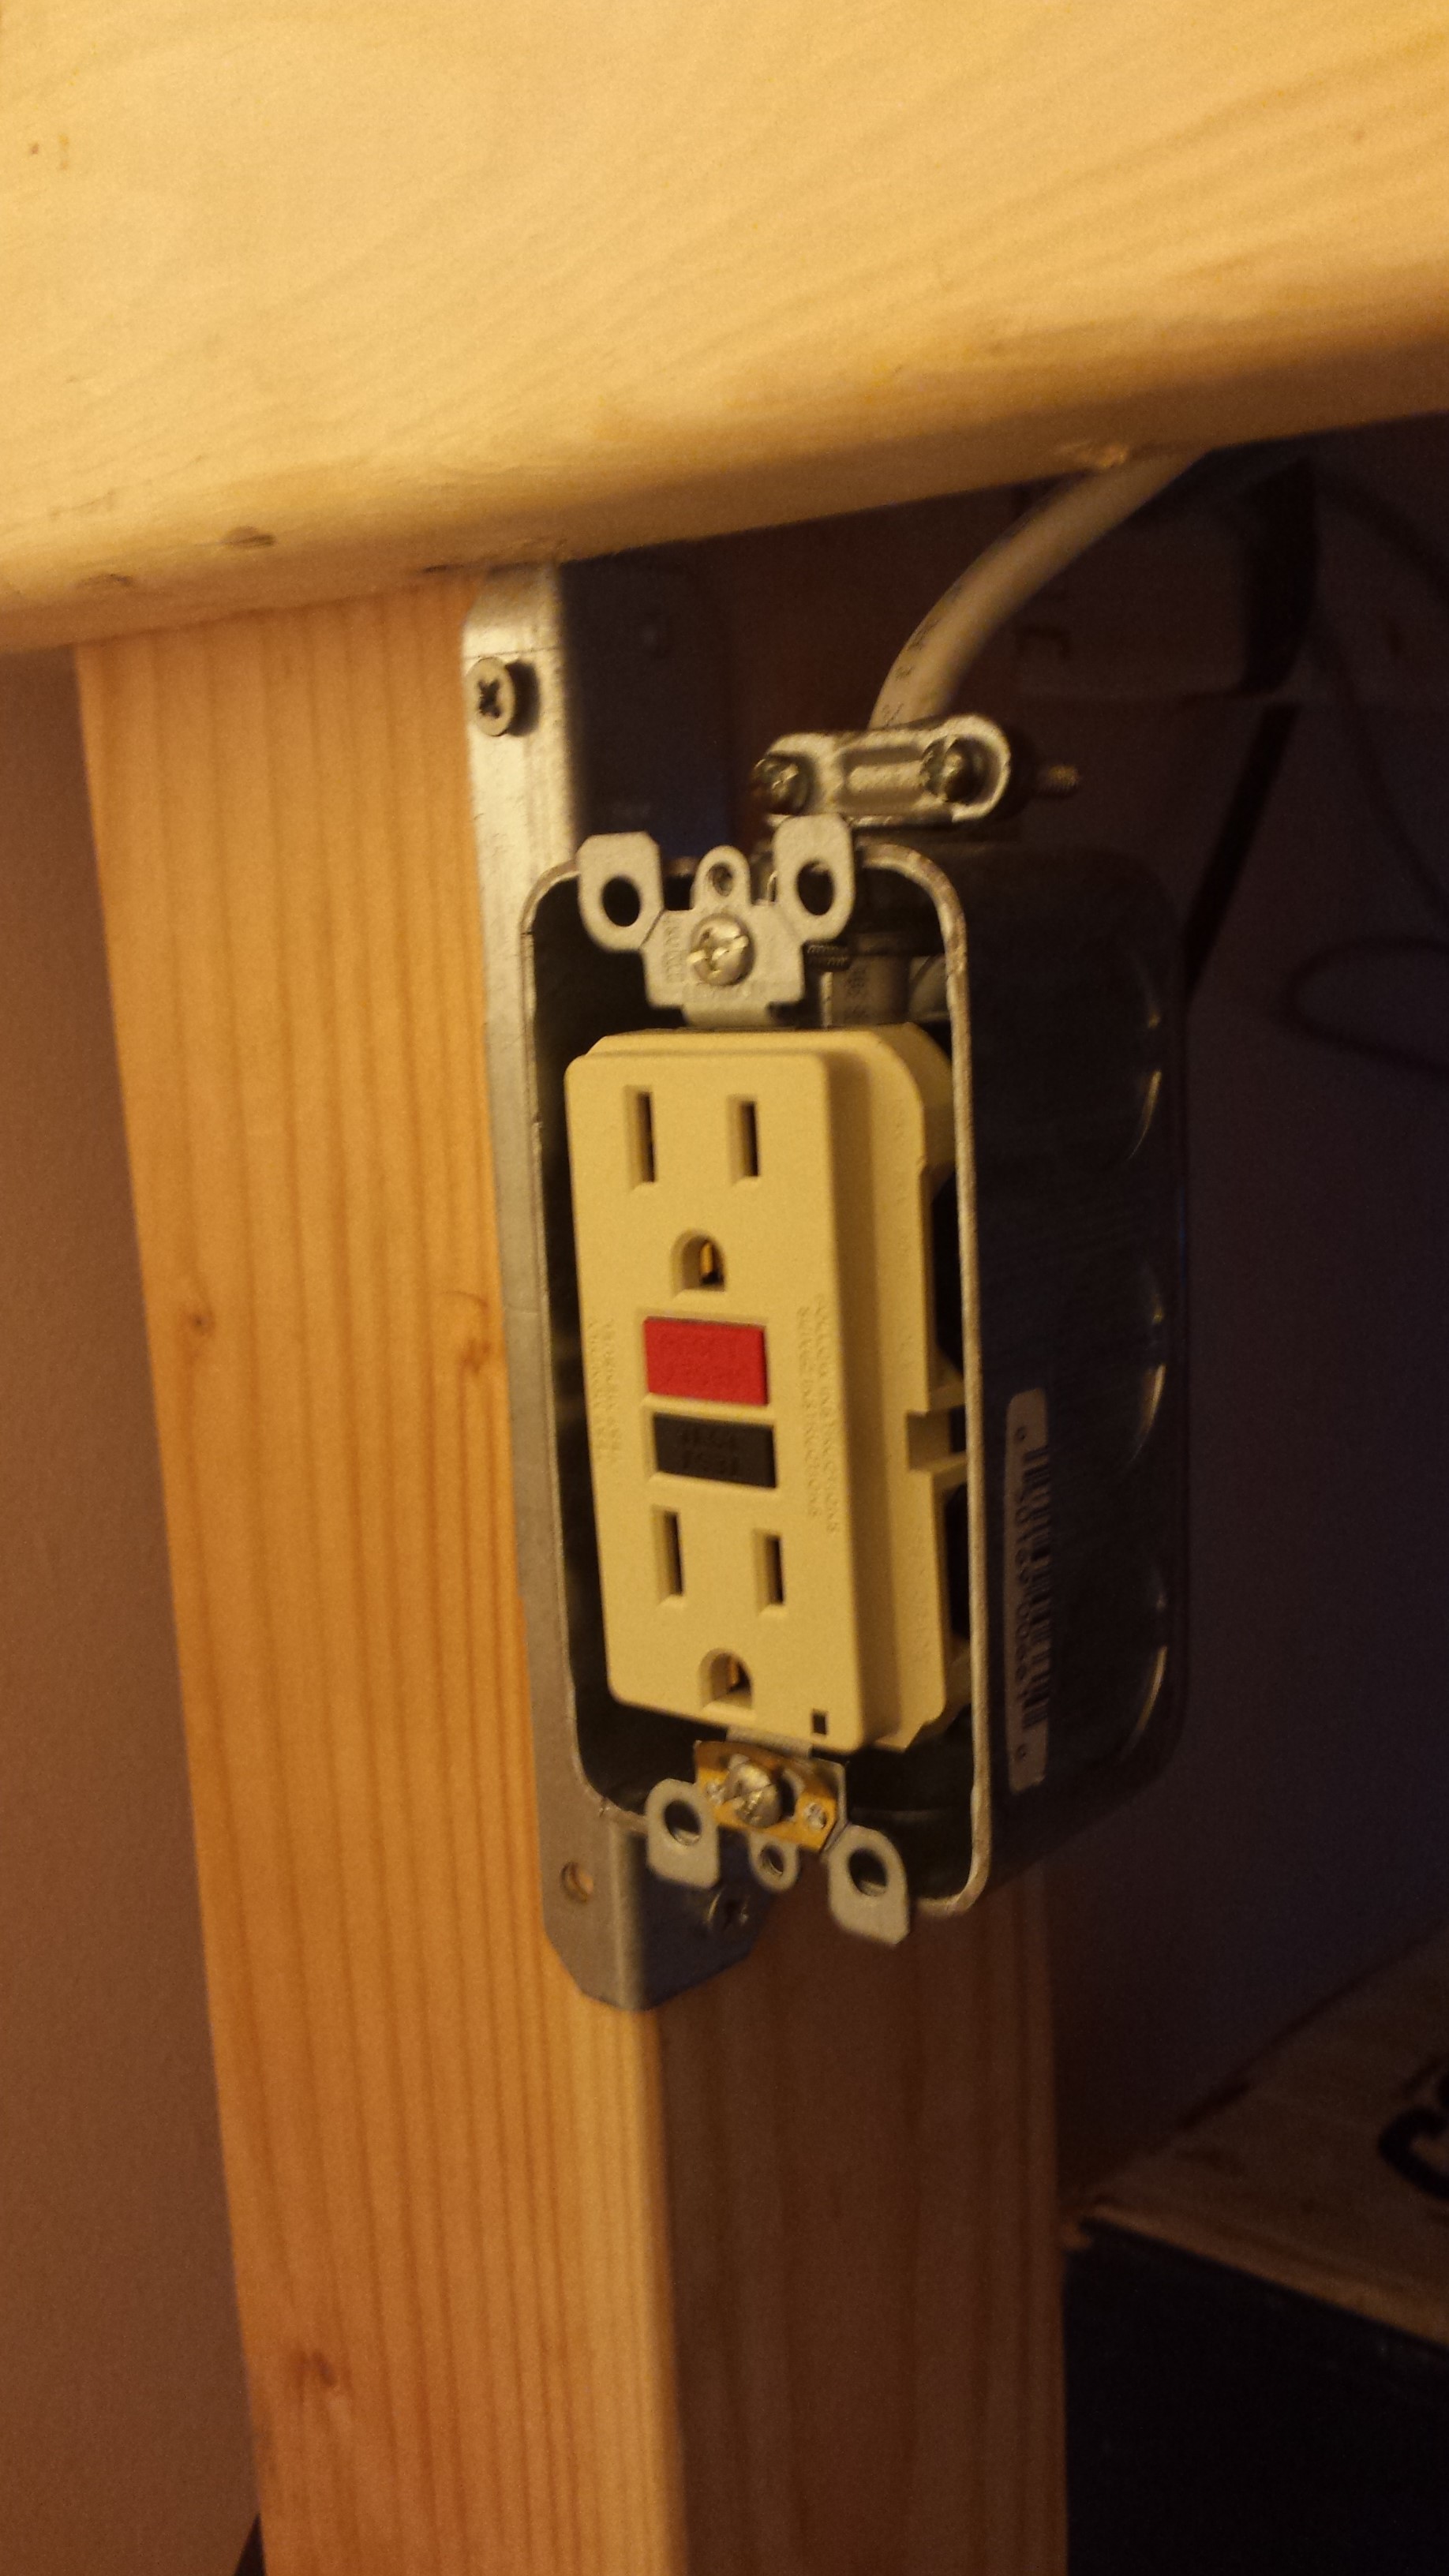
- Electrical (Uninterruptible Power Supply?)
- Lighting
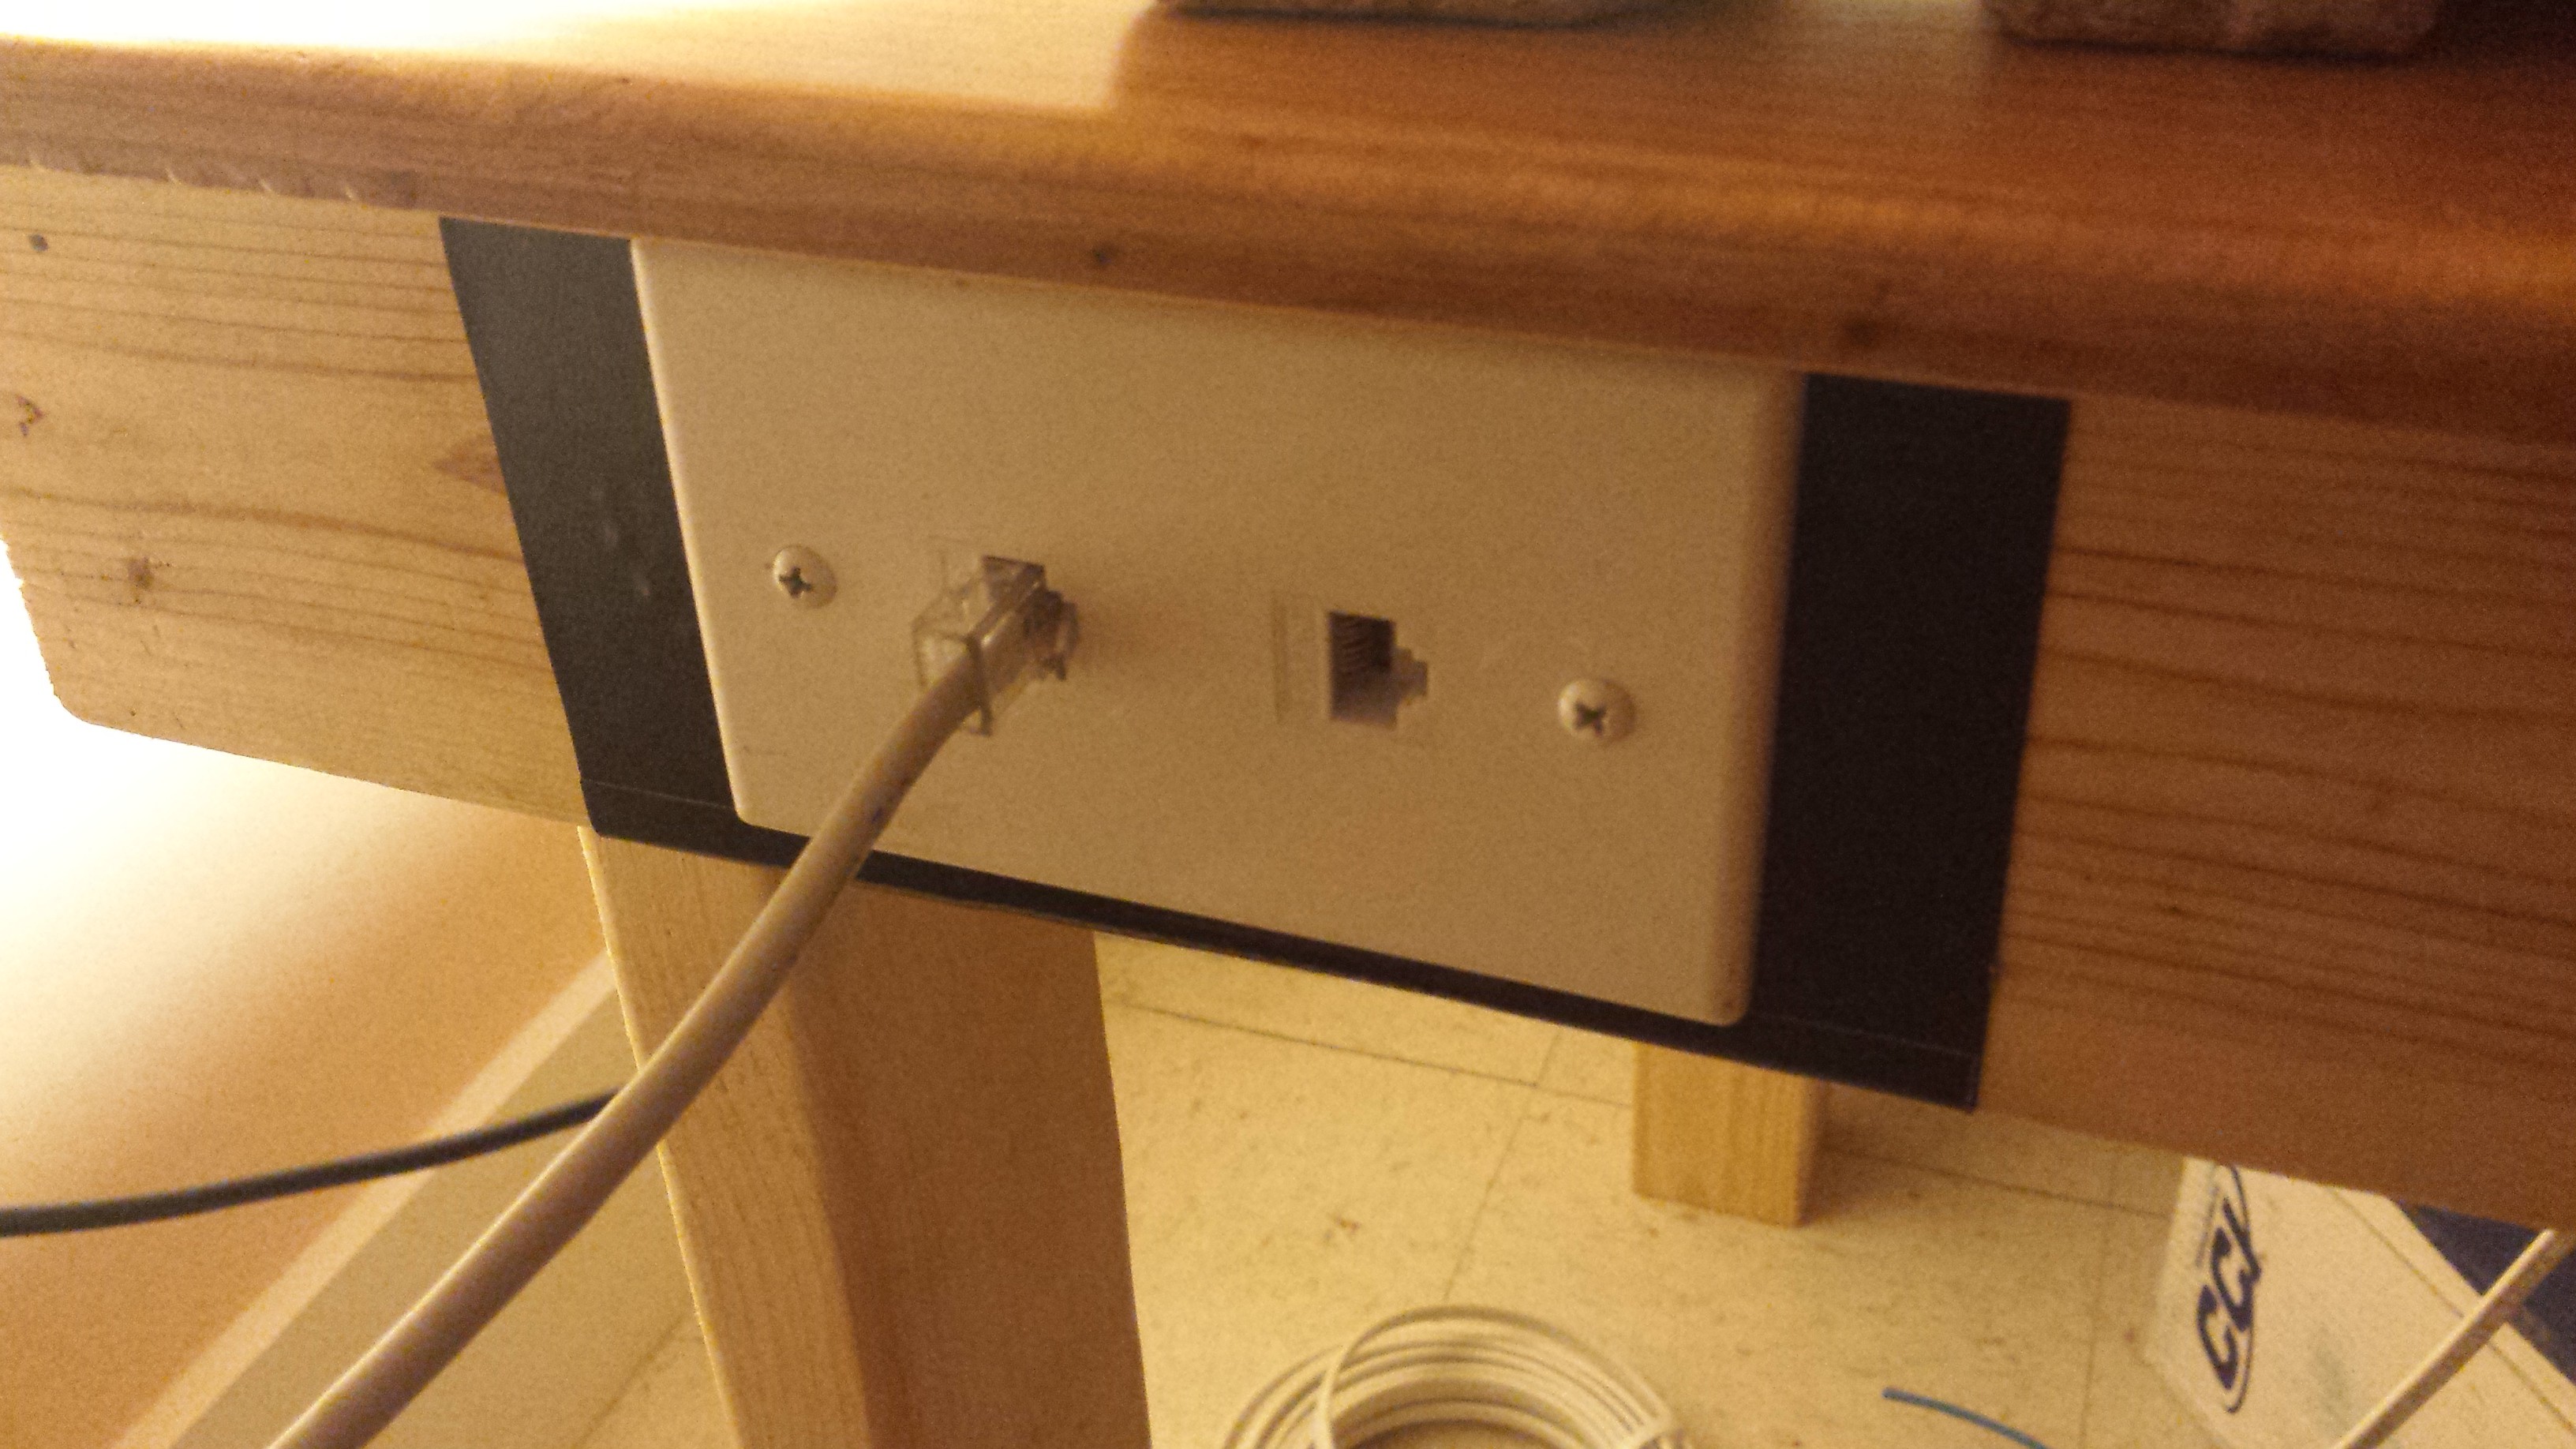
- Networking
- Whiteboard and/or pegboard
- Sound System
- Drawers/Shelving
- DC/AC Power Supply
- Oscilloscope/Signal Generator
- Soldering Station
- Wire Spools
- USB Hub(s)
- Monitor Mounting/Suspension
- Integrated Computer
- Spot welder
- Bracket/metal bender
- 3D Printer
- An automatic oven so I don't have to cook my own dinner (hey, we can dream, right?)


 T. B. Trzepacz
 Mike Szczys
 Starhawk
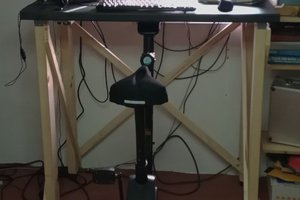
 Joseph Eoff