Starting simple, I cut an 8x4 piece of 1/2" plywood and screwed it on top of a 2x4 frame for support. The open piece at the bottom right I eventually added two more pieces to make a triangle. I didn't want a 2x4 going across the large gap because that's where I would be sitting.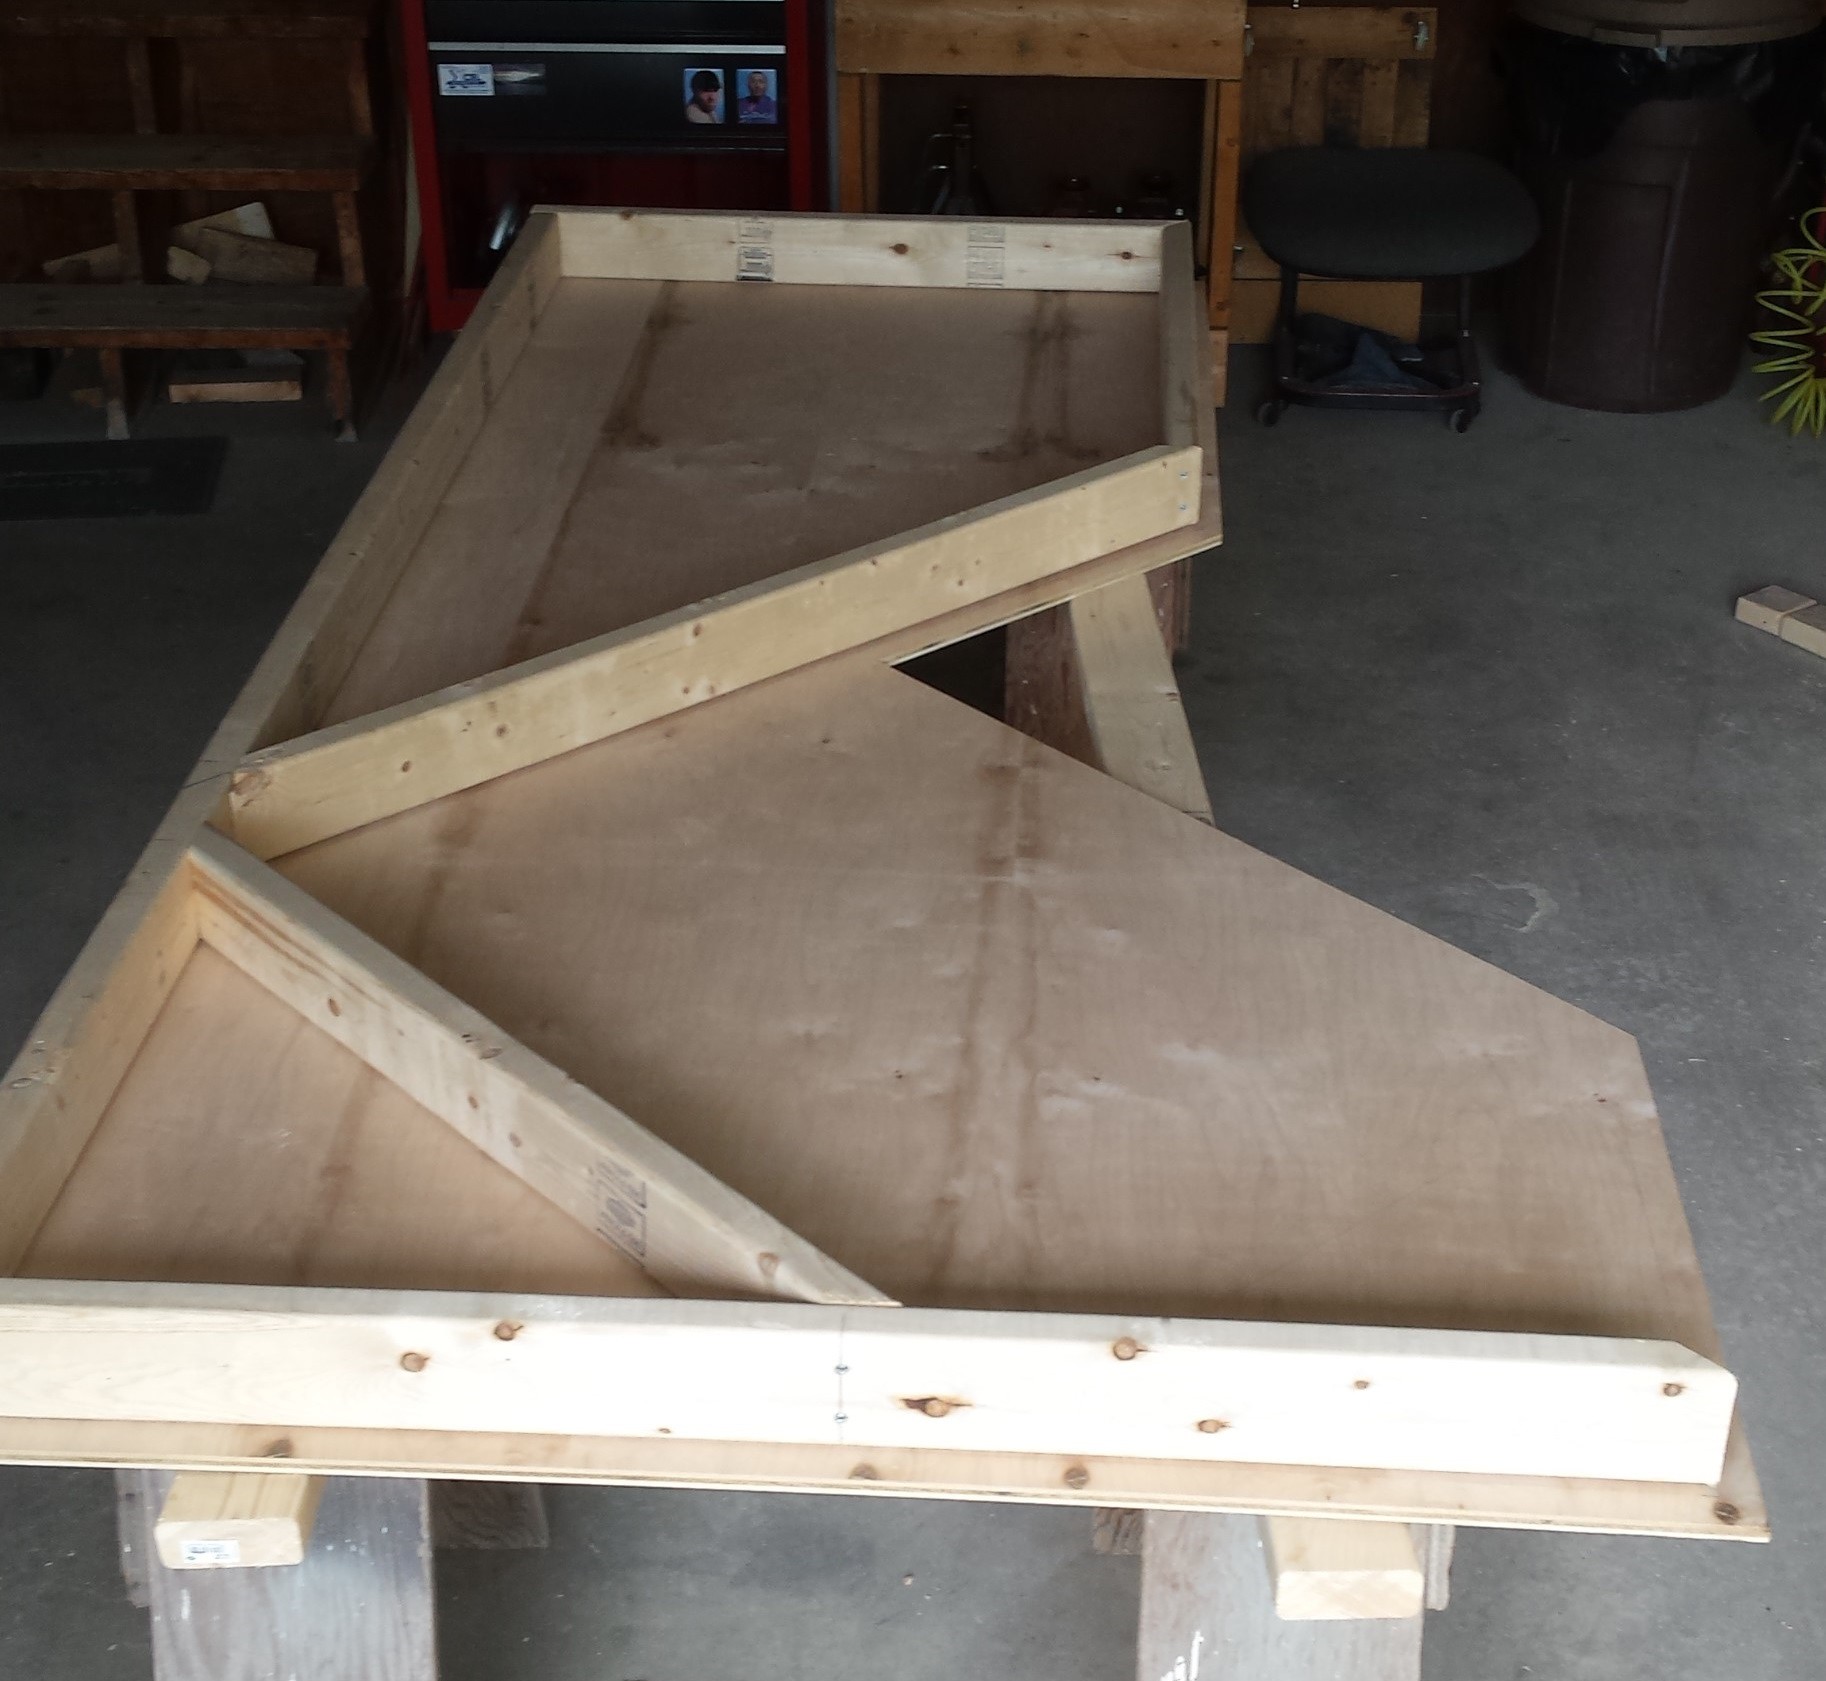
Originally I used four 2x4's bracketed to the frame for legs, but replaced the back two with 4x4s bolted through for increased stability. I am going to re-purpose the two back-legs for supports in the middle to help reduce sagging. I ended with a coat of stain, and 3 coats of polyurethane. Coming next, electrical and cable routing...

Edit: Since this post I've also replaced the two front legs because the brackets just weren't holding up very well to moving the desk around. I'm currently considering adding casters to all 4 legs because even though they're bolted through, they still are not are not solid enough for my likes. I also have two extra supports in the middle to keep it from sagging, and I'm not sure what to do with these (whether I should also get casters for them or if there's better solution.)
Discussions
Become a Hackaday.io Member
Create an account to leave a comment. Already have an account? Log In.