 zittware
After visiting with Modders-inc.com at Quakecon 2013, I picked up a donor head from DonW in Garland, TX. Don graciously donated this head to the Mirror Universe project.
It started life as a Supersonic head... and was a rough from a paint flaking/ding perspective. All of this mattered nothing to me... as it was going to be dye/stained black just like the cabinet. Here are some before shots of the head: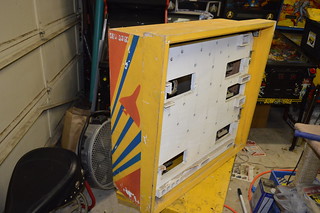
The back vent hole were coming apart; good because I wanted to improve the ventilation anyway...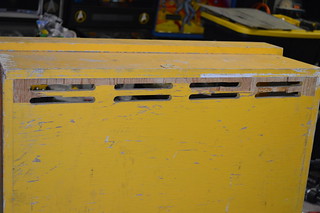
I went about destructing the head... to create new vent holes. Since eventually I plan to put more than just the original boards in the head... I decided I wanted some active cooling (IE DC FANs)... What better way to integrate vents... but using something from the Enterprise.
Using the great work by colosseumbuilders.com, I recreated the Enterprise's impulse engines in CAD. The resultant CAD file yielded the following rendering of the DXF file. In order to practice for the upcoming Playfield CNC work; I wanted to practice with by CNCing out these vent holes in the Russian Plywood. Ken and I went to Techshop.ws this past Saturday and CNCed the back vents: Once I got home; Saturday night I began re-assembling the head:
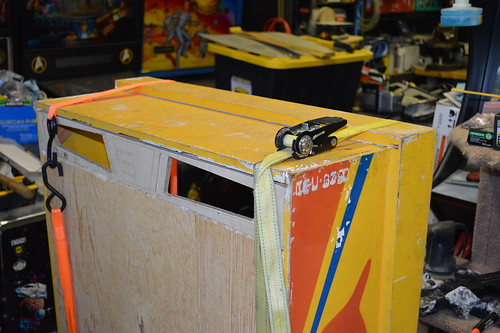
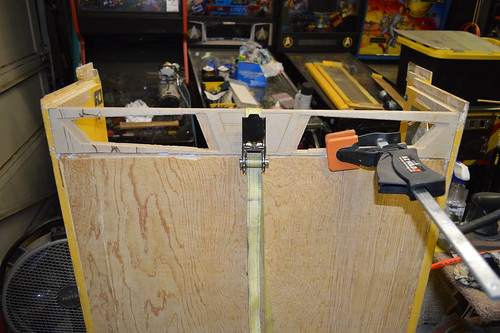

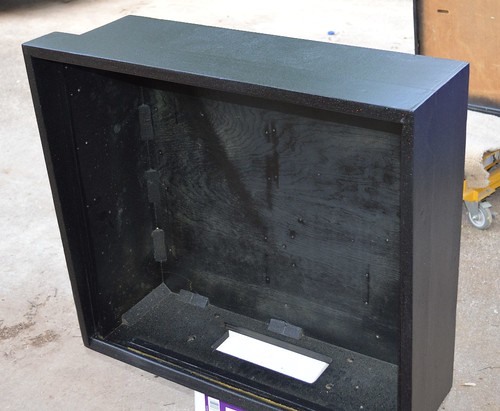
Then I lightly sanded and vacuumed the inside of the head to prep it for interior paint:
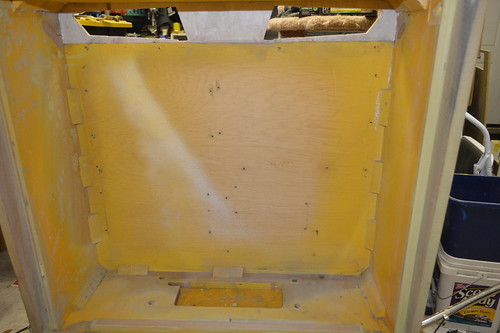
This time I decided to paint the inside prior to staining the outside; so:
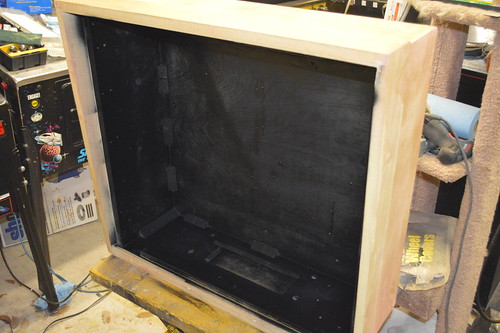
After the interior dried; I needed to replace the Veneer which I removed during the deconstruction phase.  I thought about going to woodcraft to get it; but really; I didn't want to drive 30minutes in traffic... so I opted to get the iron-on type from Lowes. It comes in a roll; and you melt the glue with an iron.
 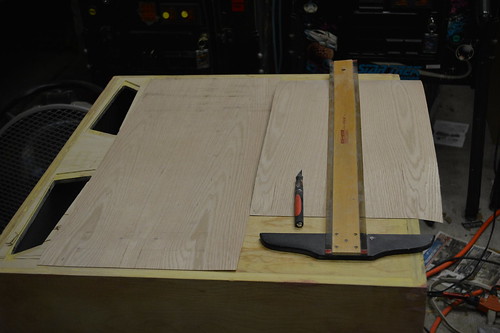 The smaller roll of veneer was on clearance; so I opted for it... but turned out to be a hair short. I filled the seams with Plastic Wood filler so the seams wouldn't be visible on the back without a close inspection.
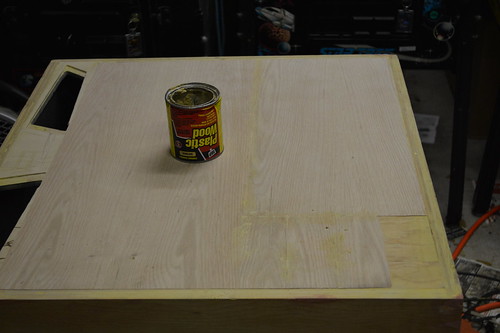
Not sure what I'm going to do about the small section... worst case I'll apply a patch after-the-fact.
After some lite sanding with the orbital sander the back and the head was ready for the Black Dye:
followed by the Black Stain: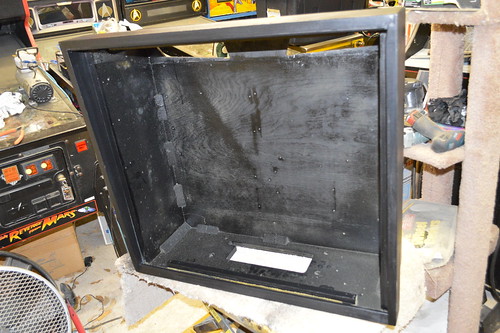
Even the bottom didn't escape the black of space...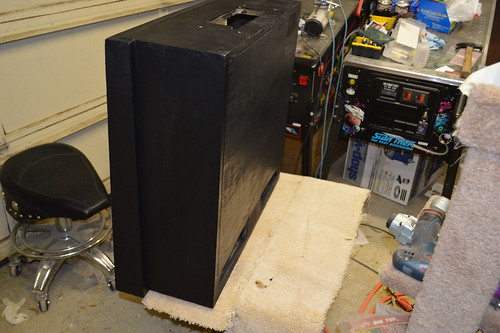
The plan is to let the Stain/Dye cure overnight. Then I'll begin to spray the Polycrlic Satin clear coat over the stain to seal the wood and prep is for future Stenciling.
8/20/2013: This past weekend; I intended to wrap up the Impulse Engine modification to the Mirror Universe pinball head. Unfortunately it spilled over to Monday; mainly because I couldn't get my Laser cutter into a completely operational state.
Anywho; The intent was to make the vent holes to look like the Enterprise's Impulse Engine. To do this I created a stencil using the same scale and rendering as before. Since My laser cutter only has a 12x24 table; I had to only do 1/2 the stencil opting to flip it for the opposite side. Here's the stencil I created: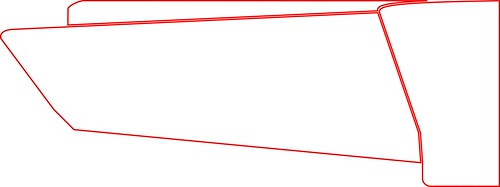
I laser cut this out of dry erase poster board and sprayed it lightly with some stencil spray adhesive. Here it is positioned for the left Impulse Engine vent: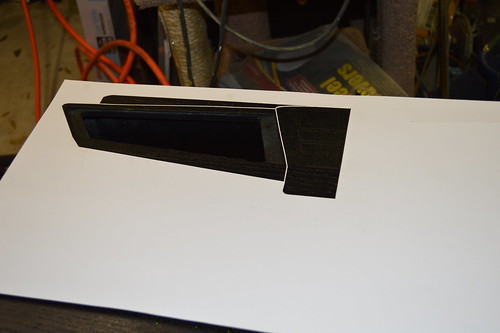
Since I didn't have any grey spray paint on hand... and it was near or after midnight; I opted to spray with primer grey: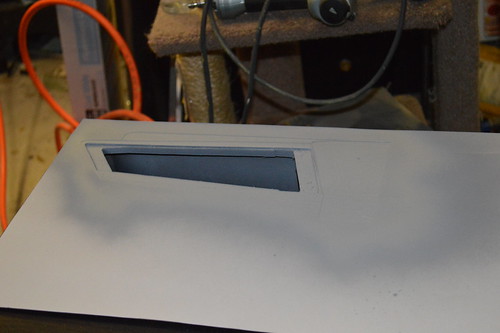 I then flipped the stencil (after the primer had dried for a couple of hours) and sprayed the other side with light stencil adhesive and then grey primer:
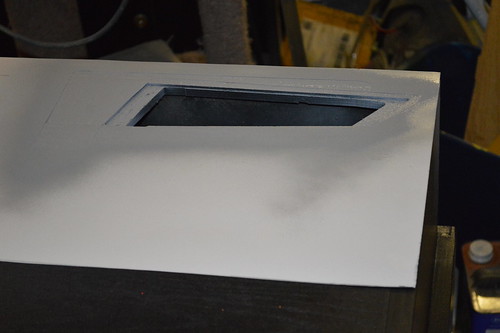 Now I needed to do some shading of the upper piece; So I used the drop pieces cut from the stencil as a stencil. Adhesive and some transparent black airbrush paint:
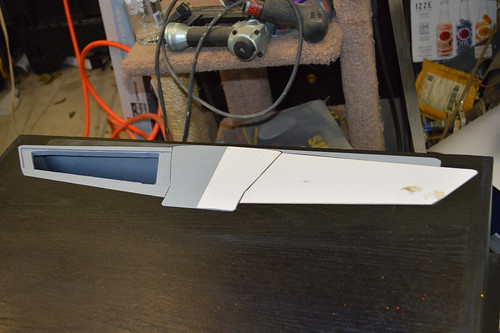 Next I needed to stencil the center panel lines. I had already laser etched the panel lines into the wood; but I decided attempting to hand paint the etch lines would be problematic. Cue Stencil number 2:
 Adhesive, positioned:
Sprayed with Black Opaque Airbrush paint: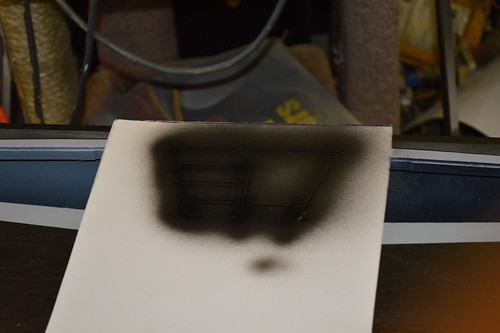
With the Stenciling complete; my attention returned to the Vents themselves. When I CNCed the wood; I also Laser cut a grill based upon the original render of the engines. The CorelDraw file looked like so: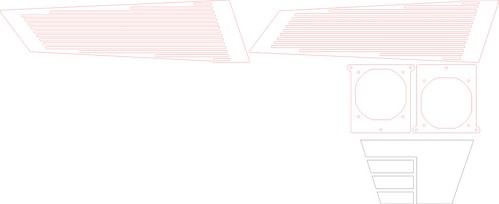
As you can see; there are two grills (finger guards if you like) and two 60mm Fan brackets. The grills were a particular bitch to cut... The heat would cause the grills to warp. I went ahead and cut them; only to find that one of the long lines broke on one of the grills. The result of these grills it pictured here: Upon reflection; I determined that the cause of the warpage was proably the amount of heat "transferred" during the long cut lines. The "spaces" between the grill lines were about 0.1"... while the solid part of the grill was ~0.8". This ratio was critical to the look I wanted (and to match reference photo). I also knew that the long runs were just too flimsy; so I had to modify the grill design to keep more "solid" acrylic in place. This would strengthen the grill and should help reduce the heat-induced warping. Design Rev#3:
I also changed the order of cut on the file. I opted to do the periphery outline AFTER the center grill portions were cut. Again in an effort to minimize heat transfer and aid in preventing cutting mishaps if I had to restart the cut.
Here's the Laser At Techshop.ws cutting the Rev3 grills:
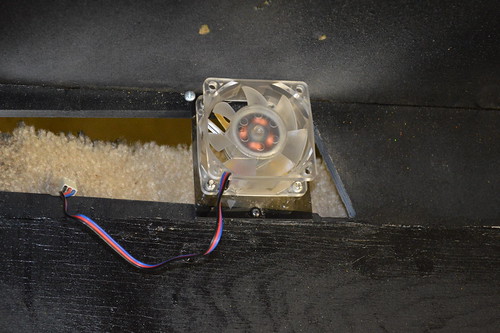
With the new grills complete; it's time to begin the assembly of the fan brackets:
Installed:
And the Test fit along with overall shot: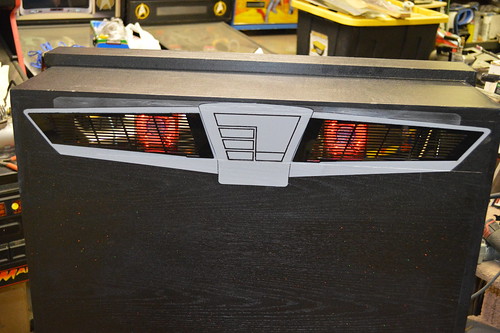 And a Closeup of the grills:
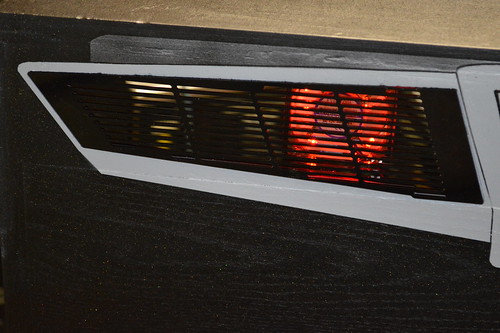 With that the back of the Star Trek: Mirror Universe head is complete. The grills were wrapped up and stored safely until the final stenciling is done on the sides and the whole piece is clear coated.
9/19/2013: A couple of days ago; my custom stencils came in from TwistedPins. I started with the head because it was still on the hydraulic table from the fan installation. I decided I wanted to use the same head stencils as the original bally; just change up the colors a bit.
I started by laying down the yellow stencil:

At this point; an improvement I'd suggest to these stencils is that for the first layer... the "red" covers should be removed. IE the planetoids shouldn't have any masks "inside" the oval shapes. That way you lay down a solid color and the second color (red) goes over the yellow so there are no registration offsets. This is what I did; I went ahead and removed all the squiggly shapes from the planetoids.
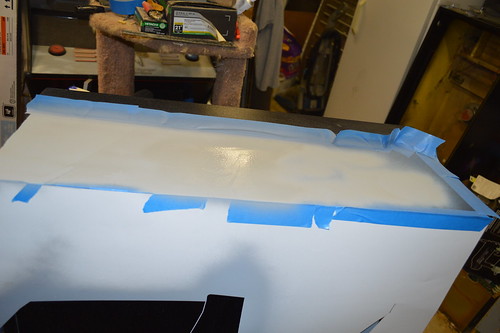
With the stencil ready; I taped off the surround areas with newspaper and put down some grey primer. This was done mainly to get the "grey" which I had chosen for the enterprise. Yellow generally goes over light grey than black so I sprayed everything.
I waited overnight for the grey primer to cure then masked off the enterprise grey and sprayed down some "Gold yellow" spray paint. I decided to use spray paint as it is easier to clean up than trying to spray the sign lettering enamel I used for the Bally Star Trek repair many years ago. 
I let the yellow dry about an hour before carefully removing the masking. Here's how the first stencil turned out: Another night time cure to let the paint harden before I put down the red-orange stencil. I decided I wanted the planetoid to be the same colors as original. The difference was in the Enterprise as you'll see in a moment. I sprayed the planets and then the Enterprise-shadows as "Driver blue".
I let the orange/blue combo cure in the TX sun for a few hours; then removed the masking. The Result: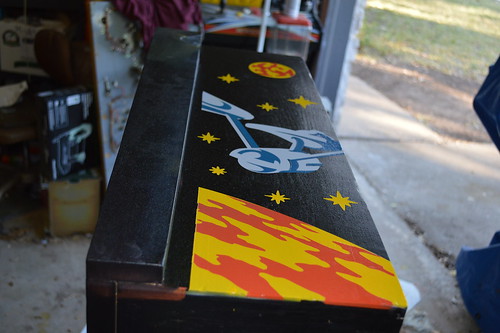 There were some slight registration issues with the blue and grey; but really not that bad. Again; If it were me; I'd have created the stencils with the entire Enterprise in "yellow" and then have the "red" overlay cover the yellow to avoid the registration issues. I'm guessing TwistedPin did the stencils that way so someone could just do a single color... but really; the Red fades long before the yellow; so in my mind the yellow stencil should cover all the areas Red+yellow.
Anyway; I'm digging the custom Enterprise colors.
Discussions
Become a Hackaday.io Member
Create an account to leave a comment. Already have an account? Log In.