 zittware
12/09/2013: With the Laser Cut Inserts finshed it was time to work over thanksgiving weekend; I worked extensively on the PF. I started by spraying backside of the PF with grey primer ... unsure why the older Bally PF had the grey paint on the backside... but I figured when in Rome; do as the romans do.
Once the grey primer was dry; Sprayed the inside of the insert holes white; partly due to the Romans... partly due to the desire to have a clean looking insert. Here's the back of the PF trimmed up and sprayed.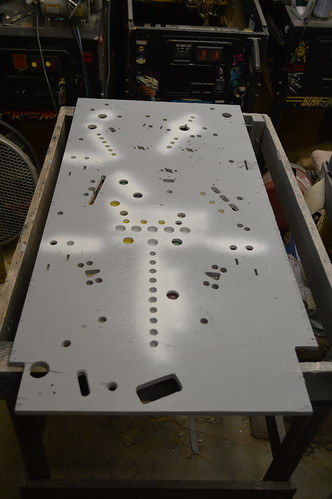 With the white dry; I began gluing in the inserts. Once I had the inserts glued inplace and dry; I took a 80 grit orbital sander to the whole PF to level the inserts and remove the white primer. Here's the PF at 80 grit:
 And again at 220grit:
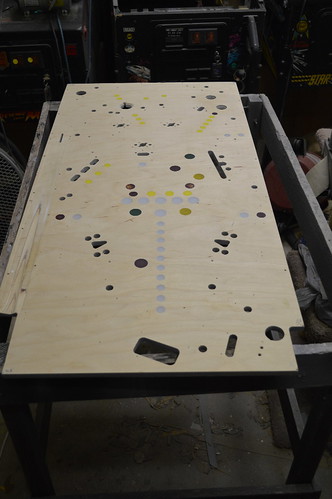
Then I proceeded to sand the inserts to 500 and 800 grit. At this point I considered the PF ready for ClearCoat. For this I used ChromaClear 2part 4:1 automotive clear. I put down one light coat and 3 medium coats. Heres the PF after clearcoat: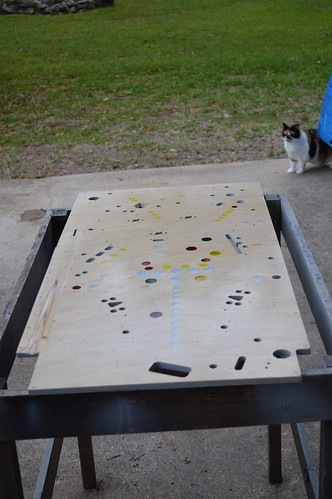
I let the clearcoat cure for a little over 24 hours; then sanded it flat with 220grit orbital sander to remove the orange peel and give the inserts another flat process. The PF/inserts needs to be flat so the sign shop can print the insert circles and artwork without any gaps in the art.
Here's the PF being back lit by shop lights:
On Friday afternoon; I took the PF and artwork files to Austin Color Labs so they can put the artwork directly on the PF. I hope to hear from them by end of week with a printed PF. When the PF gets back from the printers; my plan it to put 4-6 coats of clear coat over the art then sand flat and polish to a shine.
While I wait for the PF; I'll try to clear coat the decaled apron inserts... if we get a warm day in the near future. In the meantime I have PCBs to assemble; including the ATX PSU board.
12/19/2013: Got the Playfield back from the great people at Austin Color Labs...
Remember; this was direct printed onto the Playfield: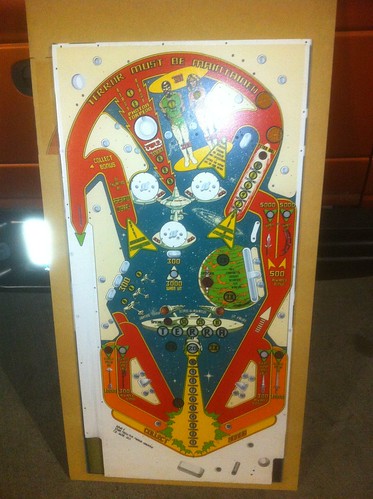
Honestly; The PF looks awesome except they made an error and sprayed most of the PF white before laying down the color. I supplied the "white" file... but not sure what happened. The inserts are fine; just the shooter was suppose to be bare wood. They said if I wanted; I could sand it back down and they'd redo it. I think I'll just leave it as-is; I could nickpick the bare wood issue; but Its bright and growing one me.
Also something's up with the red special insert (over planet)... somehow the paint didn't seem to work right over that insert. May try to use a water slide decal to "fix" it.
12/28/2013: Been working on the Playfield over the holiday break. Not making as much progress as I'd like... but here's some.
First; I needed to tackle the Special insert.... basically; something went wrong at the printer and it didn't come out right: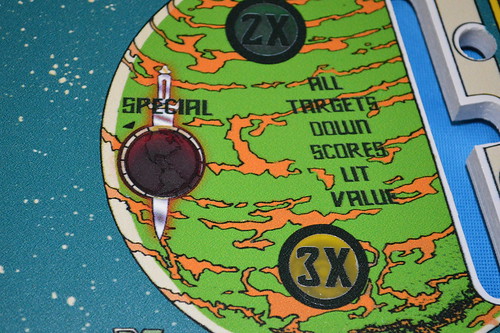
I took the graphic file back into Photoshop and trimmed a new copy up for printing on some white water slide decal paper. Some patience and water yields this corrected implementation: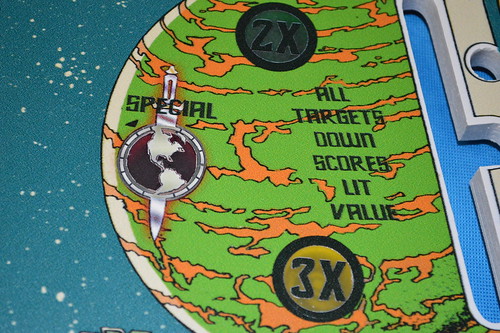 Much better.
Some black sharpie on the trimmed edges and a couple coats of acylic clear and that area is ready for the 2part automotive clear coat.
1/5/2014: Lots happening behind the curtains... but thought I'd take a break to update the worklog.
ClearCoat is on the Playfield I put about 6 coats of clearcoat on the surface to ensure I didn't blow thru the clearcoat and destroy the art underneath. I waited about 24 hours before beginning the process of re-leveling the surface. You'll note that I still had some "orange peel" problems with the clear coat.
I needed to remove the orange peel so I started by sanding with 220 grit orbital sander: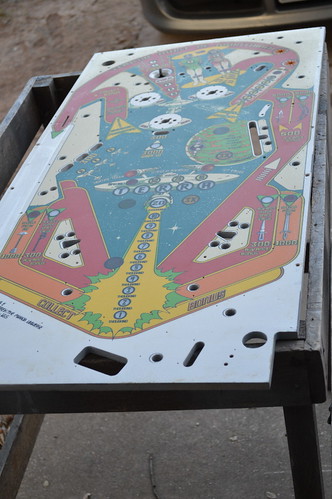
Then the hand sanding began with 320:
wet sand 500: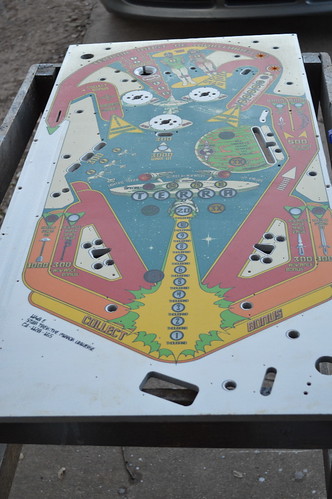 NOTE: I wouldn't recommend wet sanding a traditional PF. I've had issues with the plywood swelling under the clearcoat. In this case; I used a spray bottle to wet the surface and then used the wet/dry sandpaper. I did this because the clearcoat under the art and the white under the art did an excellent job of sealing the wood around the cnced holes. The sprayed water just beaded on the surface.
wet sand 800: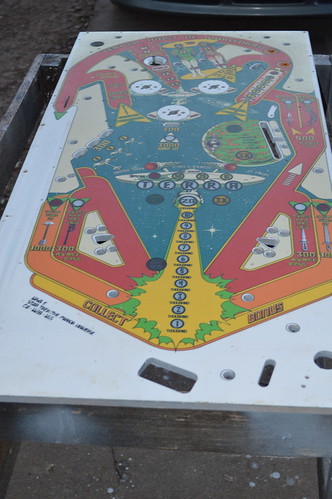
At this point; with this era of machine... I might have stopped here for a "matte" finish; but this is "The Mirror Universe"... so maybe I should put a mirror shine on it.
wet sand 1000 followed by 1500:
Closer... but that still won't do.
I'd done quite a bit of sanding... all within 24hrs of laying the final coats of clear; so I decided to wait another 24hrs for the "time to decal" interval on the paint can.
1/5/2014: So I waited at least a day; but in reality... I think other aspects of the project got in the way; so yesterday I got back to addressing the playfield shine - or lack there of. I chucked a buffing cloth into the cordless drill and proceeded to use rubbing compound on the clear coat: Then polishing compound:
 And two sessions of Carnauba Wax:
 Yeap; I think we'll call that a near mirror shine.
Discussions
Become a Hackaday.io Member
Create an account to leave a comment. Already have an account? Log In.