 Mark Langford
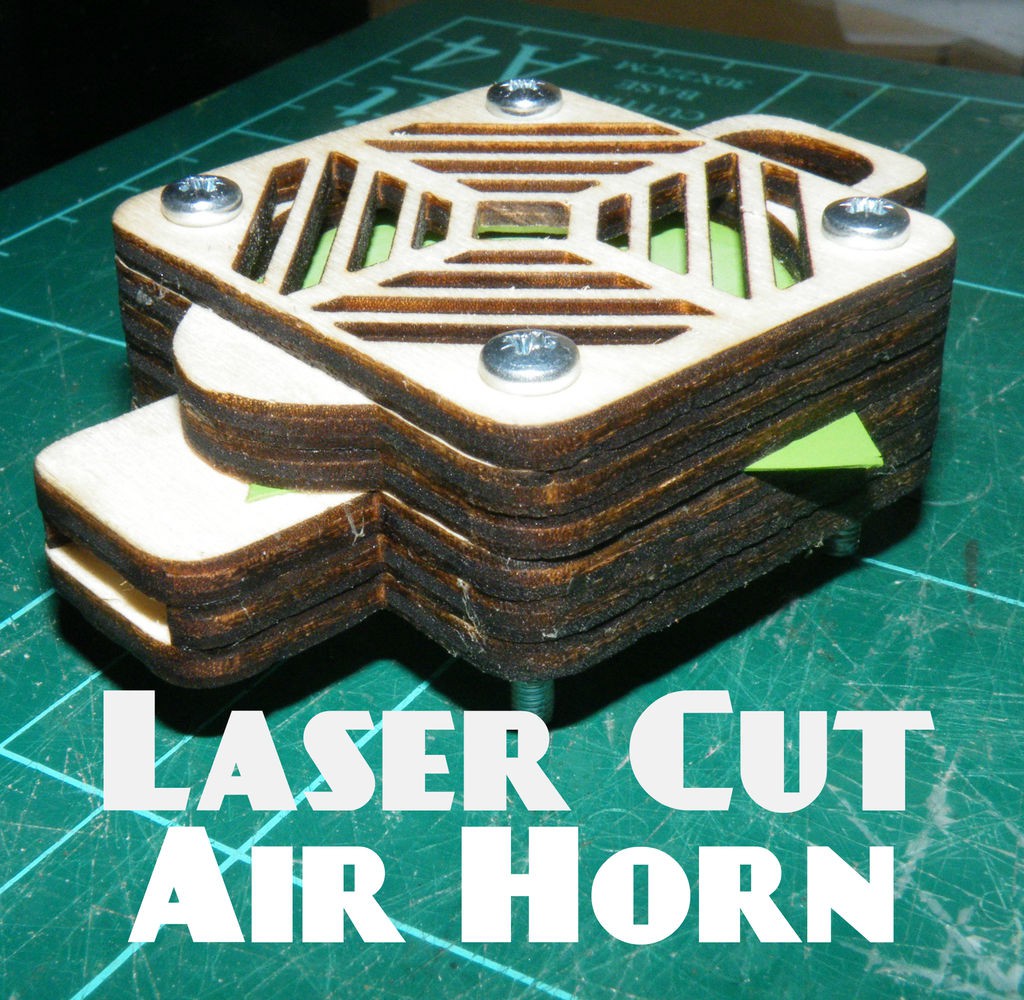
Way back in 2006, I published this air-horn project.
It was a nice, simple project that I recreated many times for myself, or with students, until film cannisters became a rarity.
I recently discovered that Martin Raynsford had produced a laser-cut version of the air-horn, so I decided that I really ought to make my own.
Step 1: Needful Things
As well as a laser cutter and the files attached, you will need...
- Sheet material - I used 3mm plywood for this instructable, but almost any sold sheet material will work. The design is not dependent on sheet thickness, just remember that you will be putting 3 thickness of the material between your lips.
- Nuts and bolts - the holes in my design are sized for "M3" bolts - if you are using 3mm material, and adding all 5 layers, your bolts will been to be at least 18mm long.
- Glue to suit your sheet material.
- An elastic membrane - I used a rubber party balloon, but any stretchy sheet material (such as a disposable glove) will work.
- Tools to tighten your nuts and bolts.
- Scissors cut the membrane.
- A needle file, or a flat-sided disposable file.
- A marker might be useful.
- If your membrane material is very thick (such as a dead whoopie cushion), a curved file might be useful.
If you can’t laser cut parts for yourself, you can always get them done online. If you use the first file attached to this step, you can get the parts cut from a P1 sheet of 3mm plywood or acrylic for about $15.
Download AirHorn P1 3mm.svg
Download AirHorn.dxf
Download AirHorn.ecp
Download AirHorn.pdf
Download AirHorn.svg
Download AirHornFinal.dxf
Download AirHornFinal.ecp
Download AirHornFinal.pdf
Download AirHornFinal.svg
Step 2: Cutting
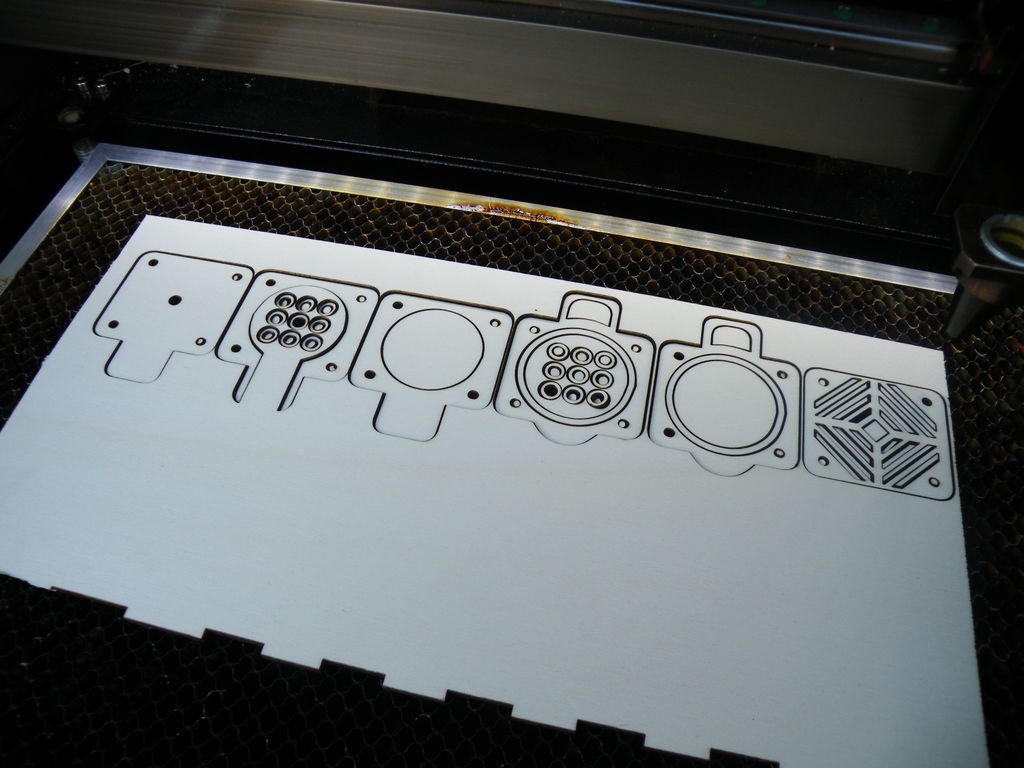
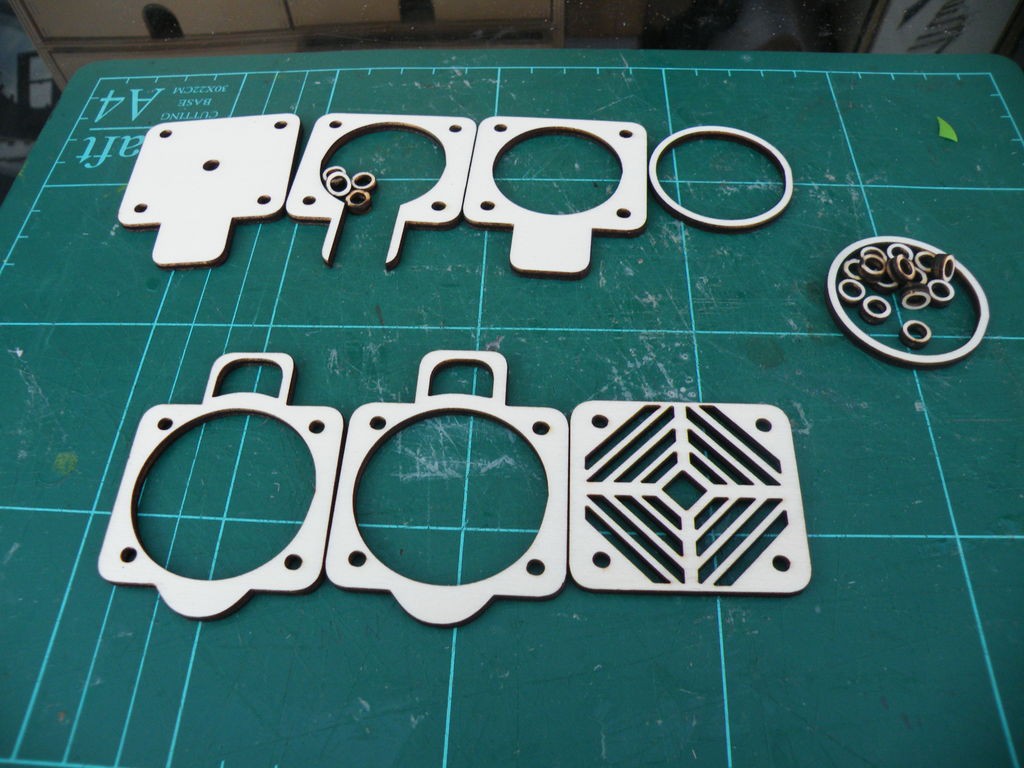
The whole thing cuts in one go - there are even spares of the smallest parts that could get lost or broken.
Step 3: Gluing the Layers
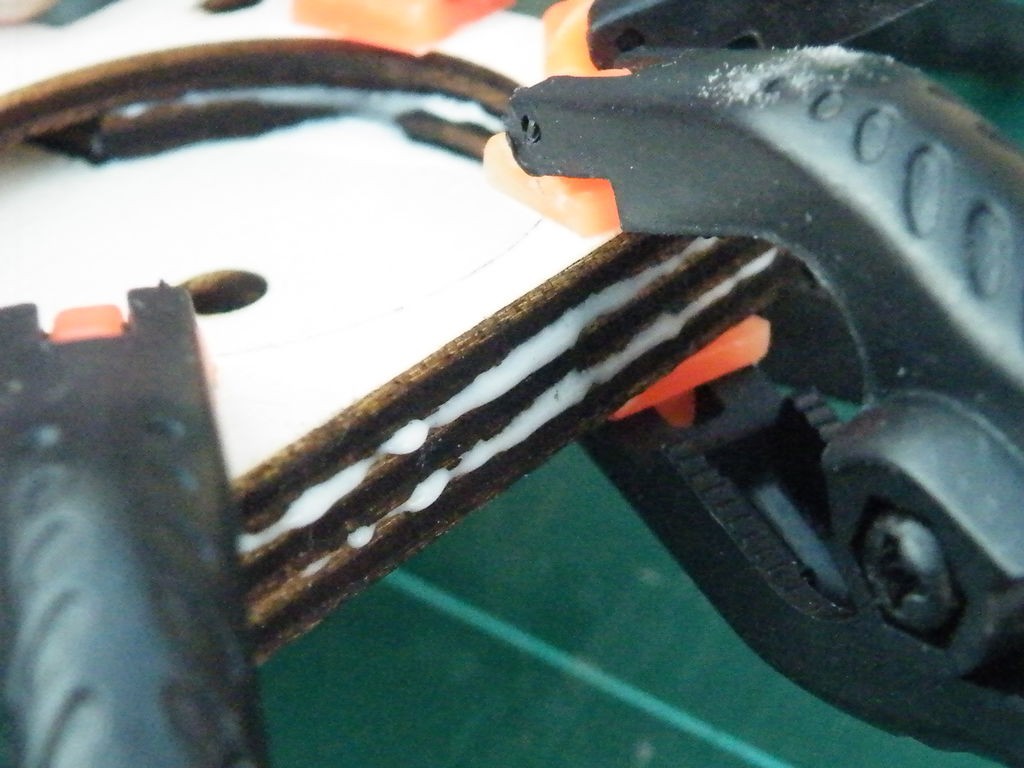
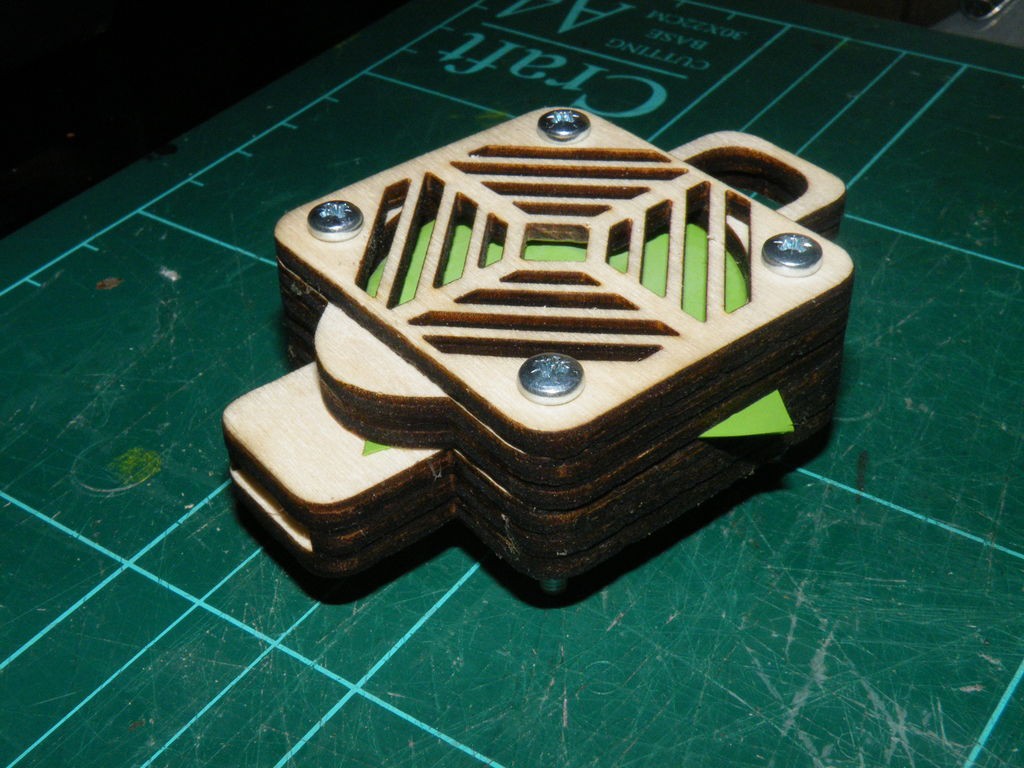
The finished air-horn has two main parts - the bottom and the top.
The layers need to be carefully lined up so that the bolt-holes all line up.
Glue and clamp the bottom three layers together, and the top three layers. Use plenty of glue, and clamp tightly, to reduce the chance of air leakage.
Leave the parts to dry.
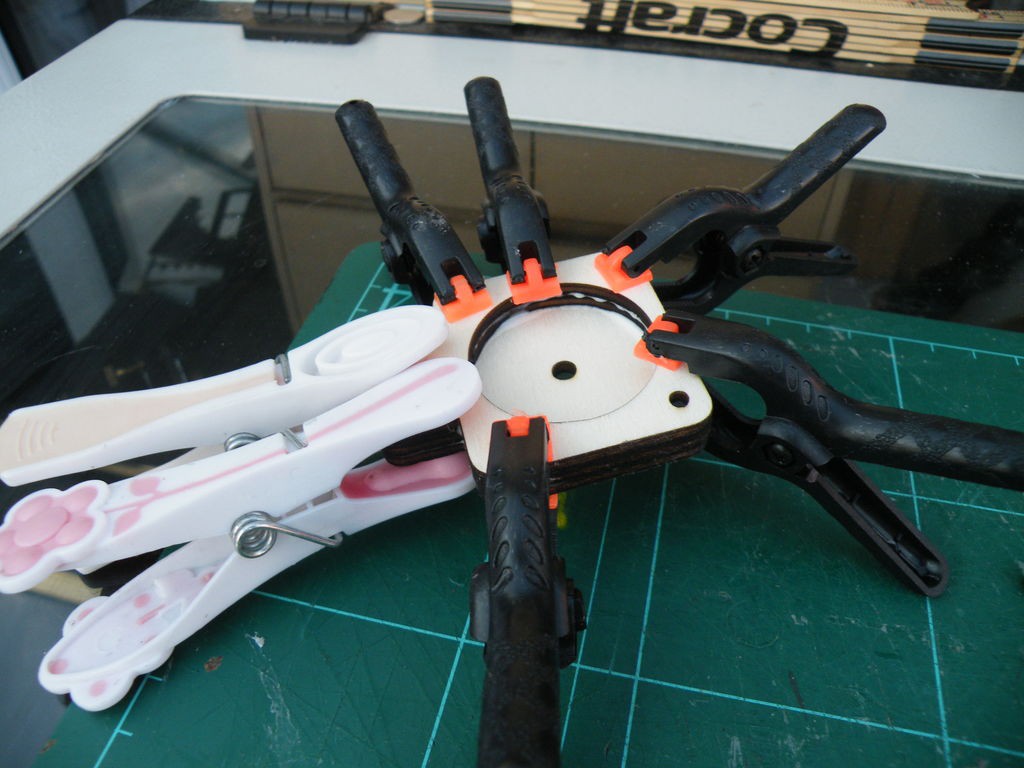
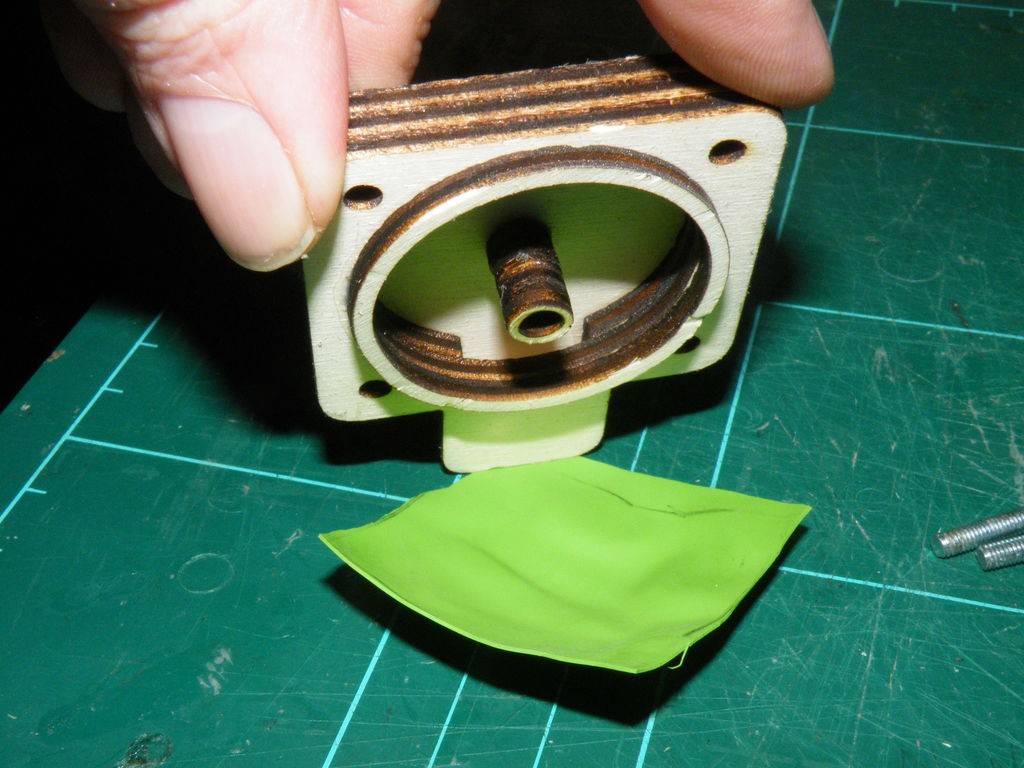
Step 4: Gluing the Inner Parts.
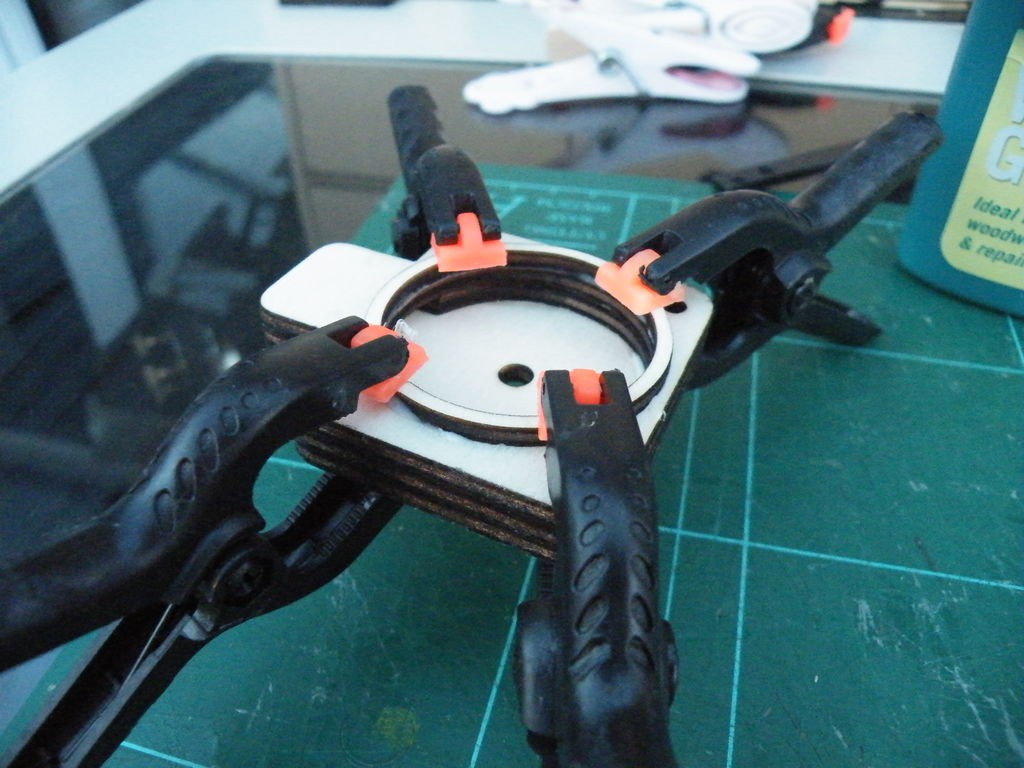
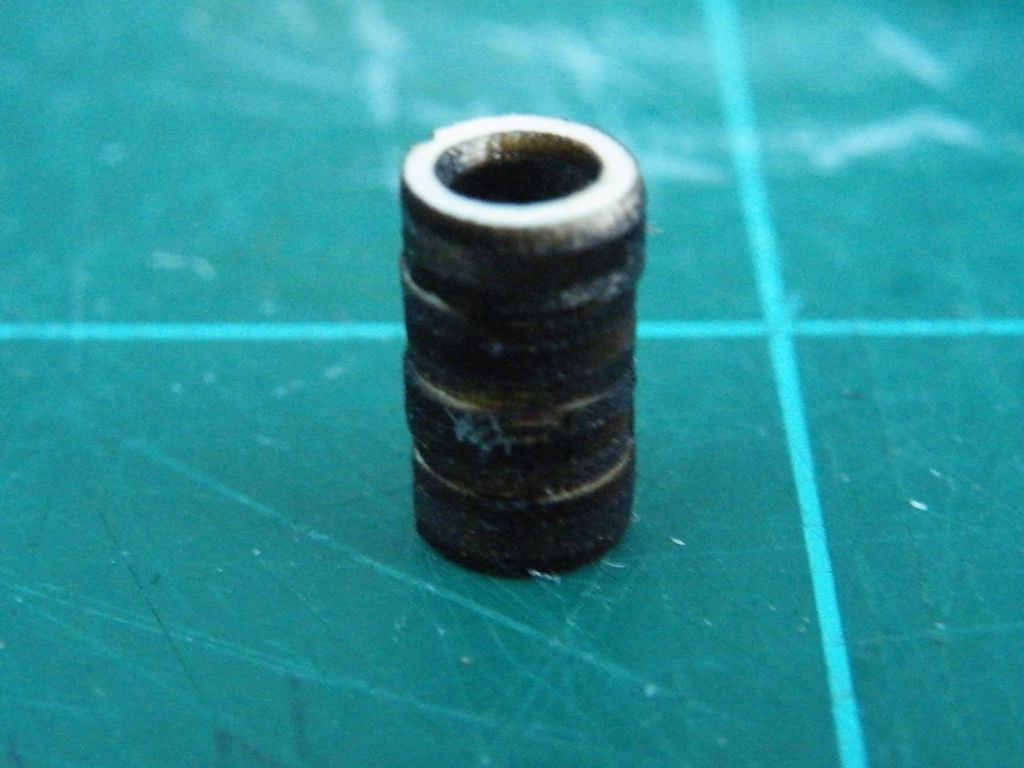
The file cuts two larger rings. One is a spare, the other needs to be glued & clamped to the bottom layer.
There are also a whole pile of smaller rings - you only need four, but cutting the spares doesn't create any extra waste.
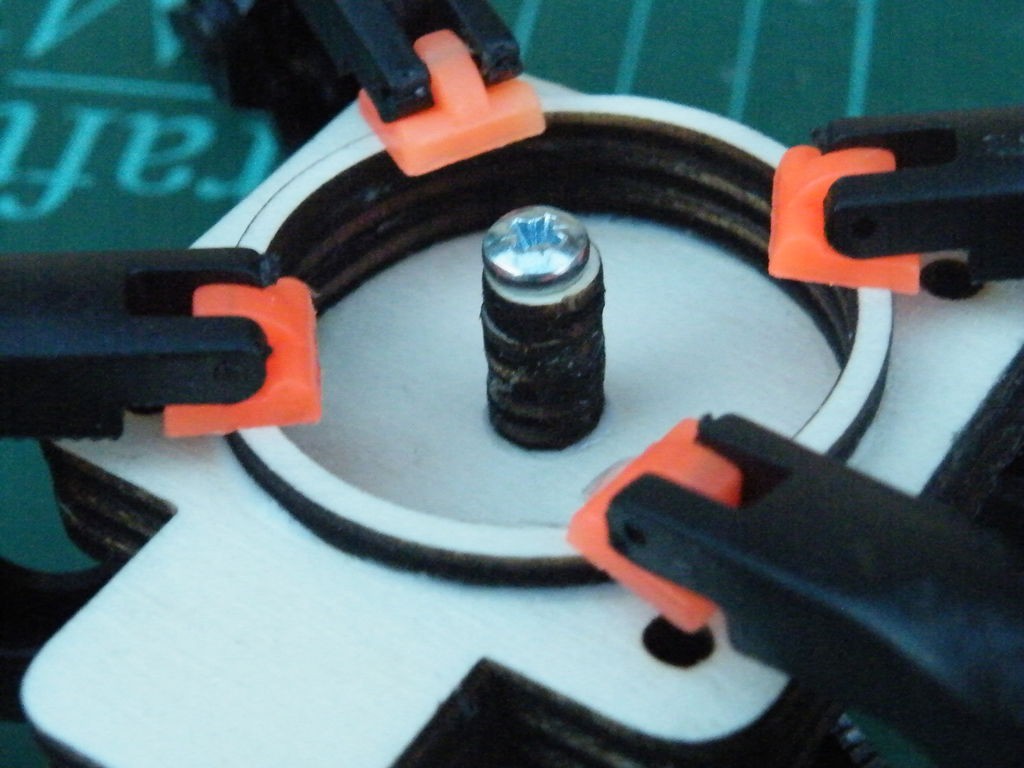
Glue a stack of four together, then glue the stack over the hole in the bottom of the air-horn. The stack can be tricky to clamp, but you can put one of your bolts through the stack, and tighten the nut on the outside.
Give everything time to dry properly.
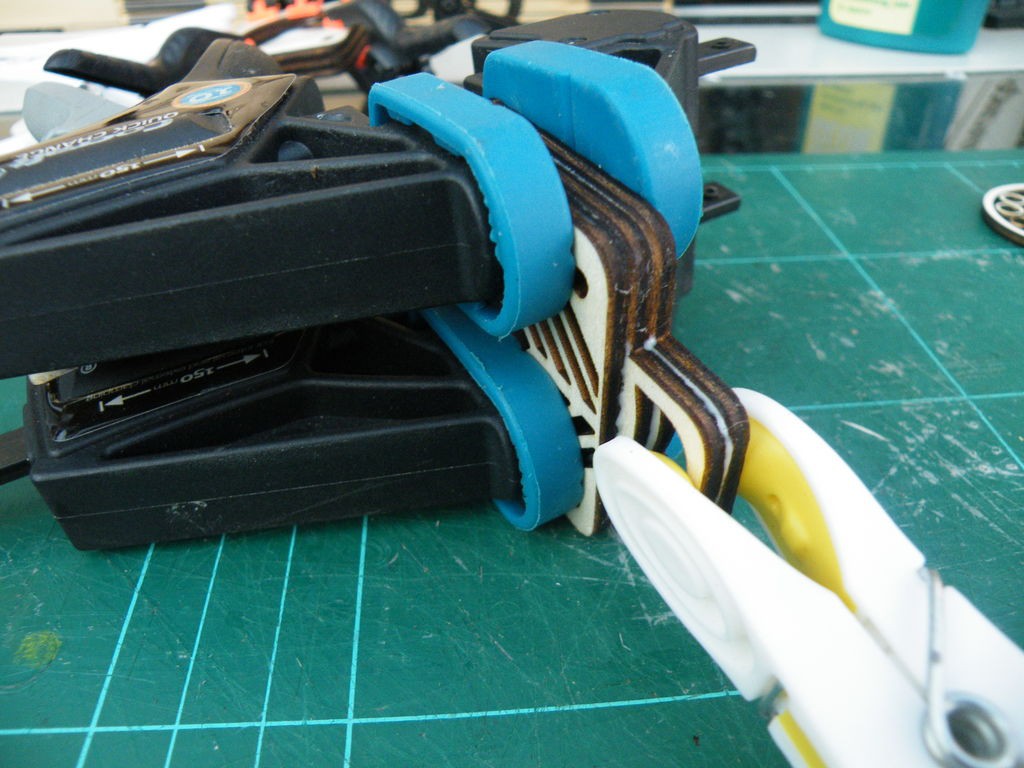
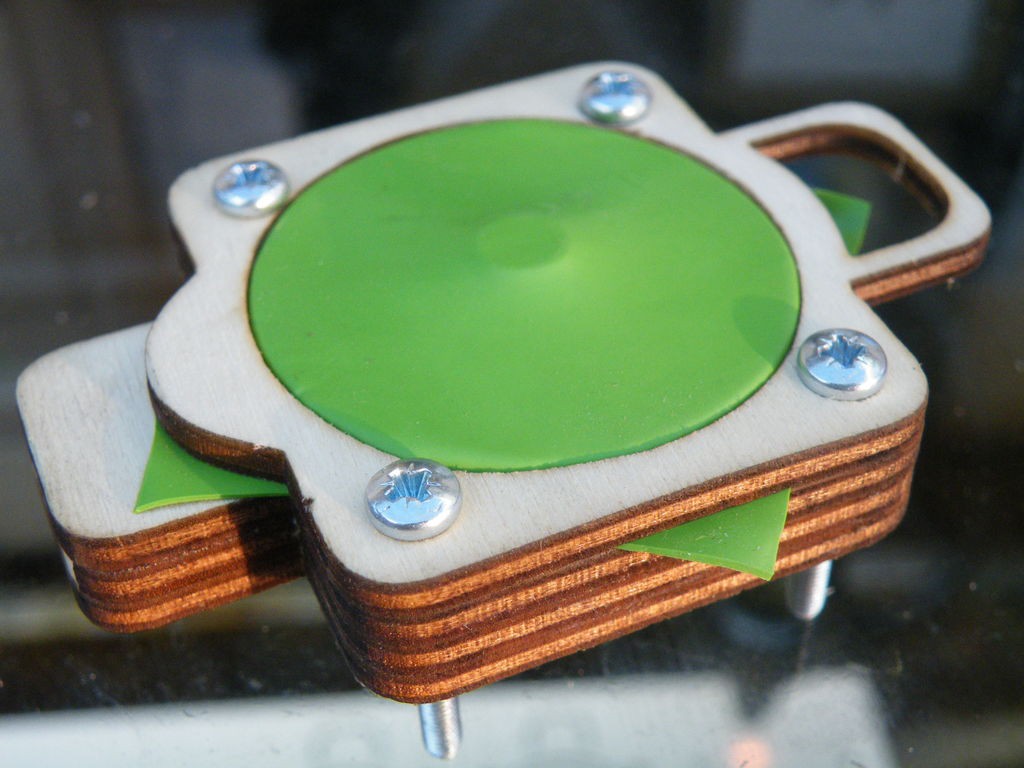
Step 5: Tweaking
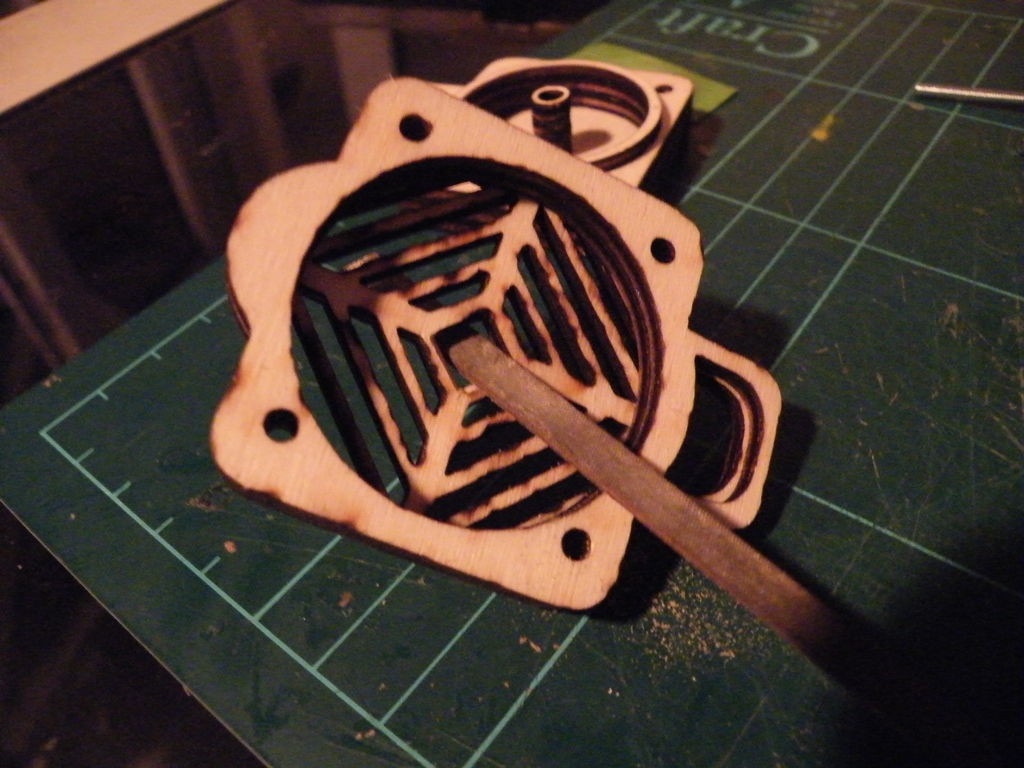
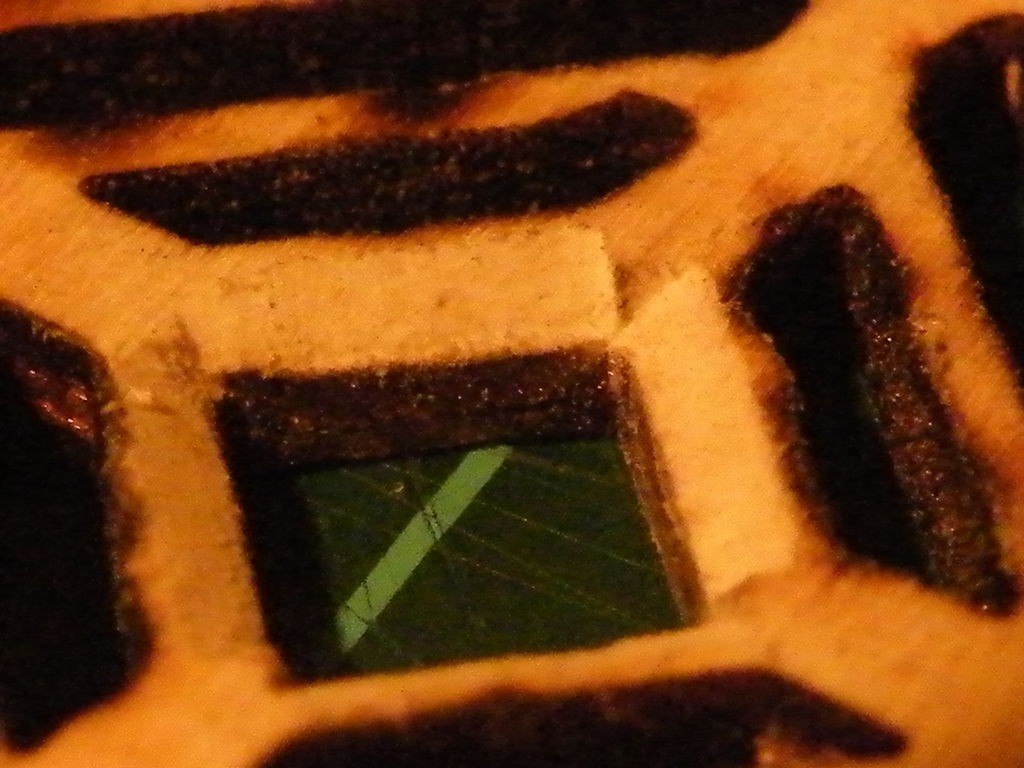
The prototype of the air horn had an exposed membrane, so I decided to add a protective grating.
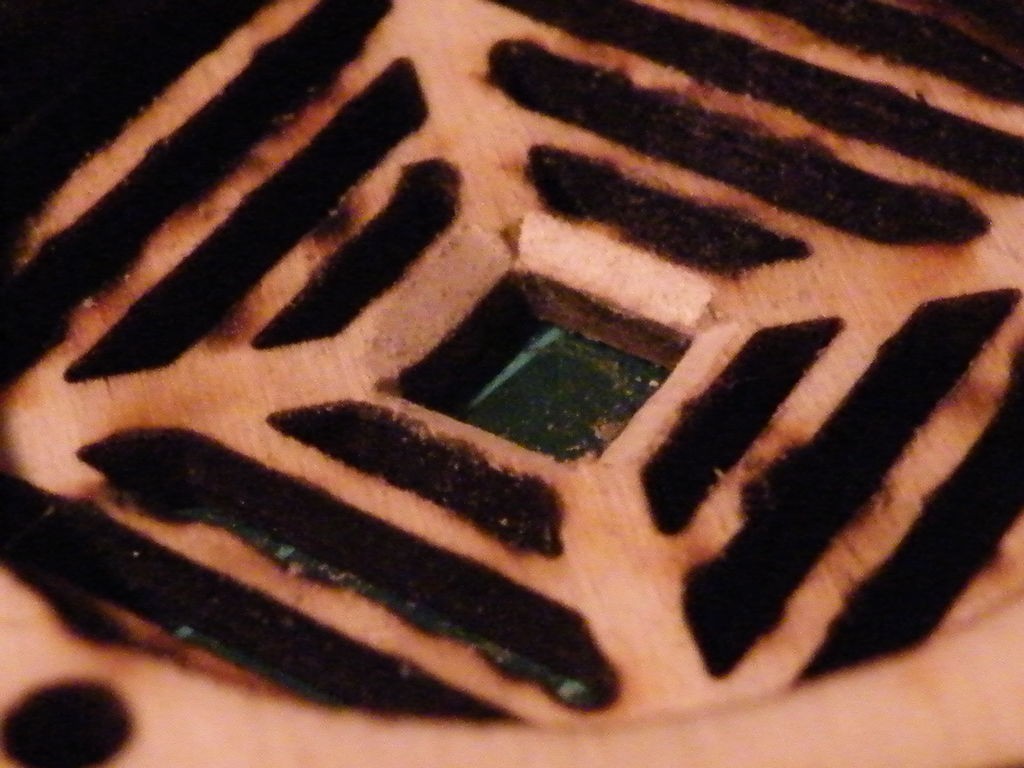
I go the impression that there was a little interference between the membrane and the grating, so I used a flat "needle" file to chamfer off the inside of the central square of the grating, giving a little more freedom for the membrane to vibrate.
Depending on how much your membrane moves, or how thick it is, you may need to completely remove the middle square, or maybe even simply not bother with the grating.
Step 6: Adding the Membrane
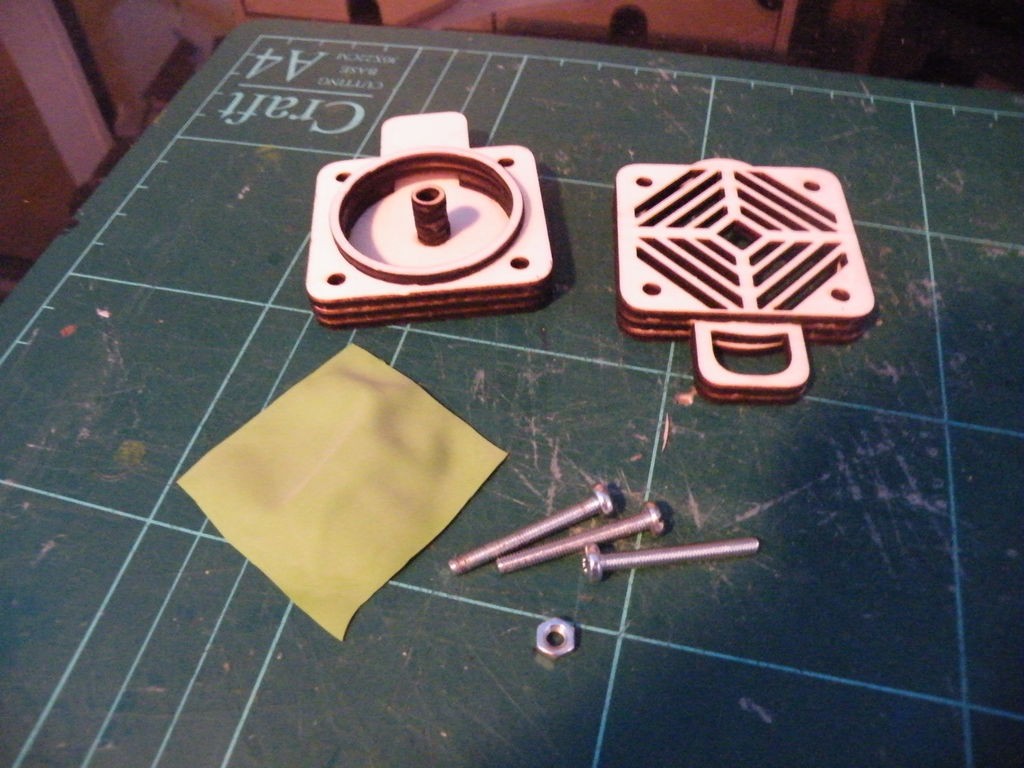
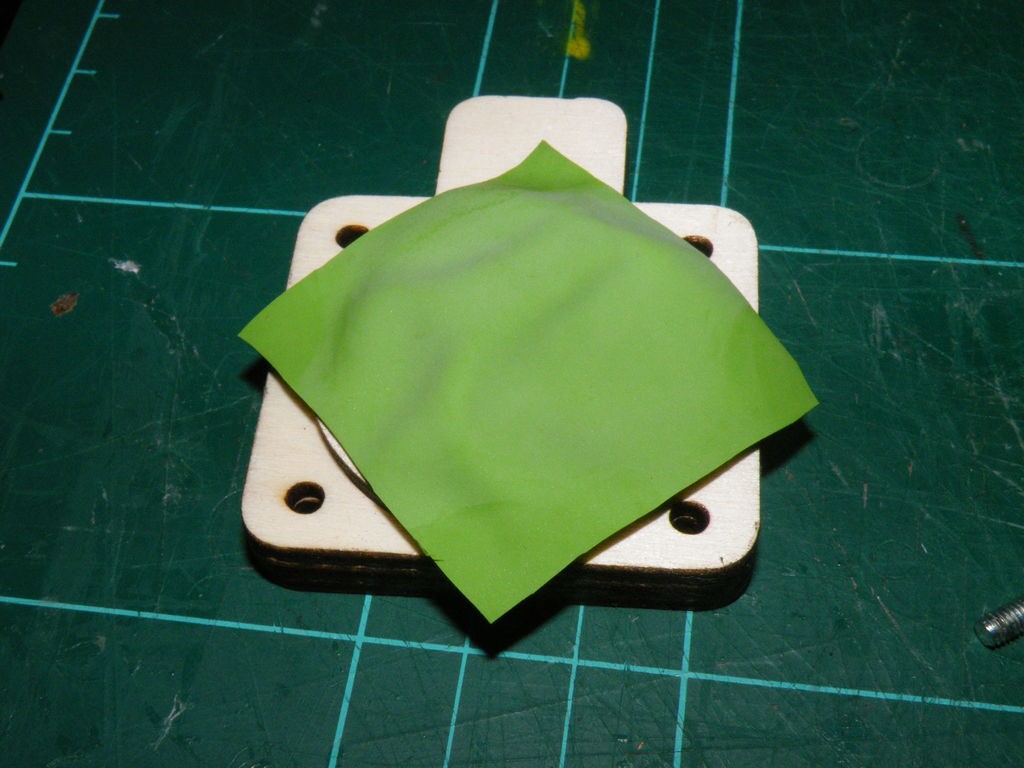
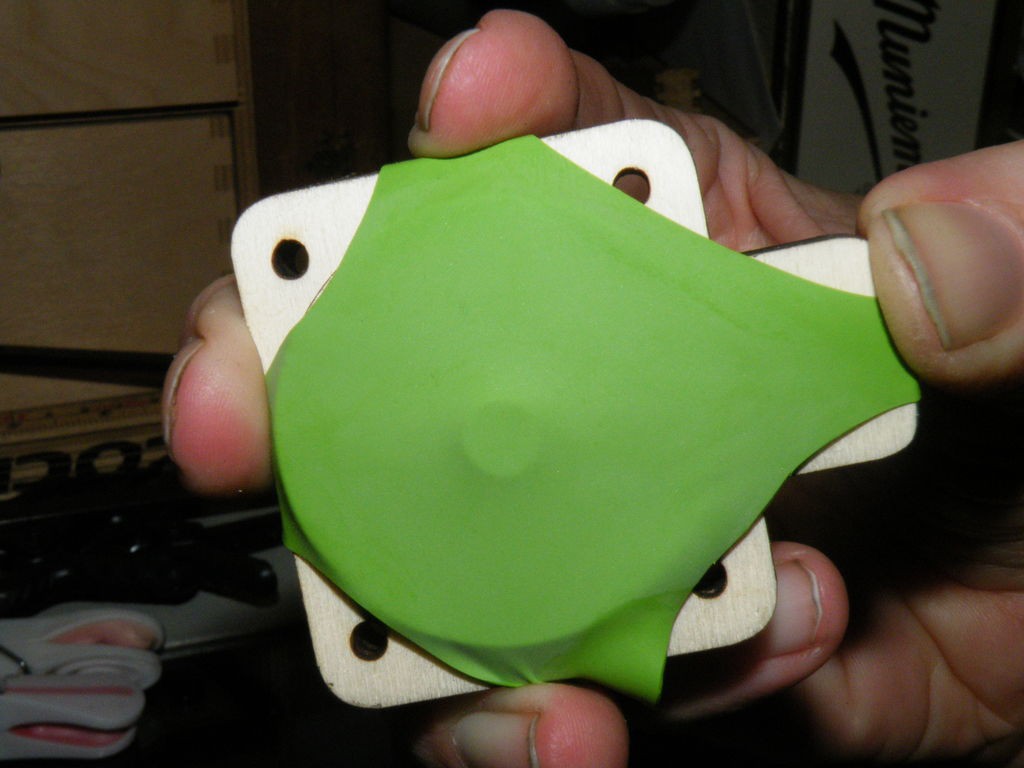

From your membrane material, cut a rough square.
The exact size depends on how stretchy the membrane is.
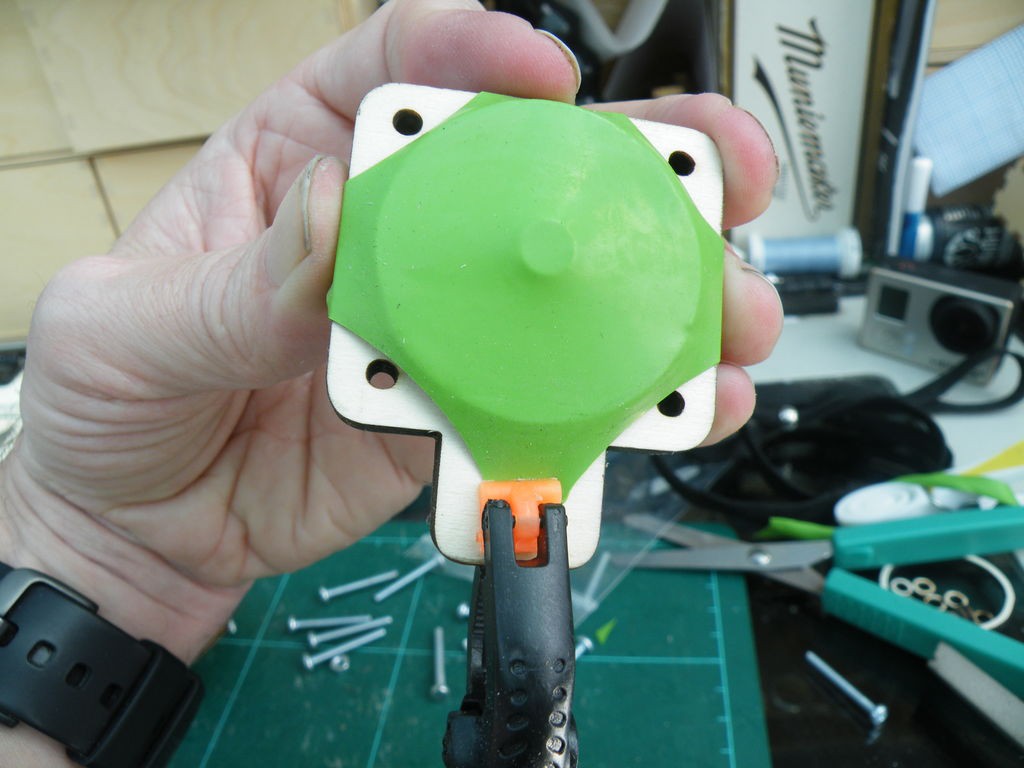
Turn the piece 45 degree to the horn, and stretch it to cover the raised ring of the bottom half of the horn, without covering the bolt-holes.
This is very fiddly until you get the hang of it, and will require patience, and possibly the help of a passing octopus.
One trick that I found helped was to use a small clamp to hold one corner of the membrane, or you could trap a corner of the membrane under the mouthpiece of the air horn.
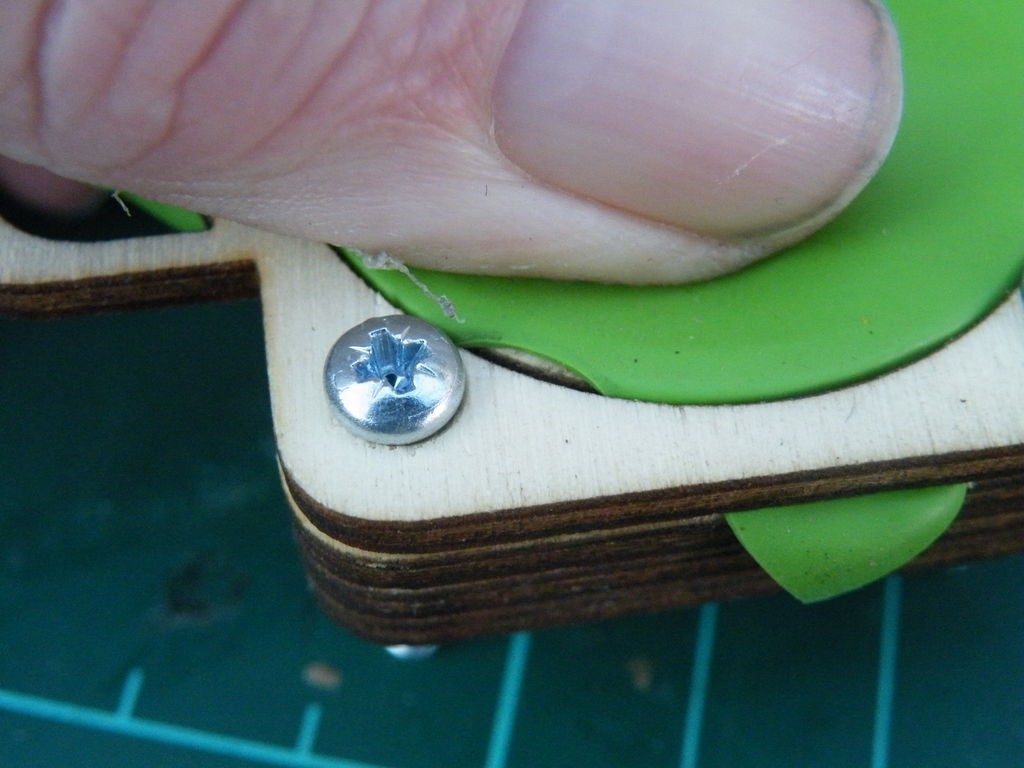
When you have got it stretched, quickly press the top half of the air horn into place.
This will trap the membrane, and allow you to test the horn for the first time.
Step 7: Trouble-shooting
If you blow the horn, and all you get for your trouble...
Read more »

