Close
0%
0%

ESPecter | IoT Weather Station

A Personal Weather Station that displays current climate conditions on your desk using a bright, colorful OLED screen.

Similar projects worth following
An easy-to-build, mini-sized, inexpensive weather station for keeping track of current and future climate conditions. It combines an ESP8266 and an OLED display, using the fantastic WeMos development platform for the ESP8266 SoC. Configure it using its built-in web interface, and start visualizing your weather!

Why?

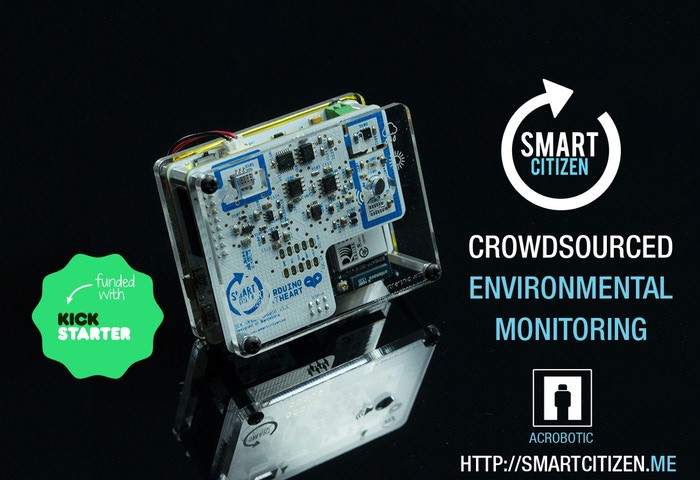
An IoT weather station was our first product (http://kck.st/10DS44h), and what allowed us to start our company ACROBOTIC. As you can imagine, talking about DIY weather stations is a recurring topic of conversation in our day-to-day. And so, after our recent development efforts using the WeMos family of development boards for the ESP8266 (cf. ESPop and ESPicker), building a simple internet-connected device for displaying weather data was a must!

What?

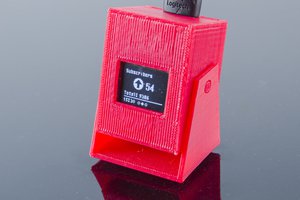
The main goal is to have a dedicated, inexpensive, device that would help us avoid repeatedly checking websites, apps, email, writing scripts, etc., in order to monitor the current weather conditions for a location of our choice.

In terms of what's required, we challenged ourselves to use the minimum number of parts, and require no special tools/skills such as soldering.

Where?

As we're not the only tinkerers out there interested in a little desktop companion that displays weather data, we're documenting the parts list and build instructions on this project page for anyone to use.  To make it even easier for those wanting to give the project a try, we'll have a kit available on our site (ACROBOTIC Industries) when we're done with the design.

As with all our projects, the software is free and Open Source!

How?

The hardware

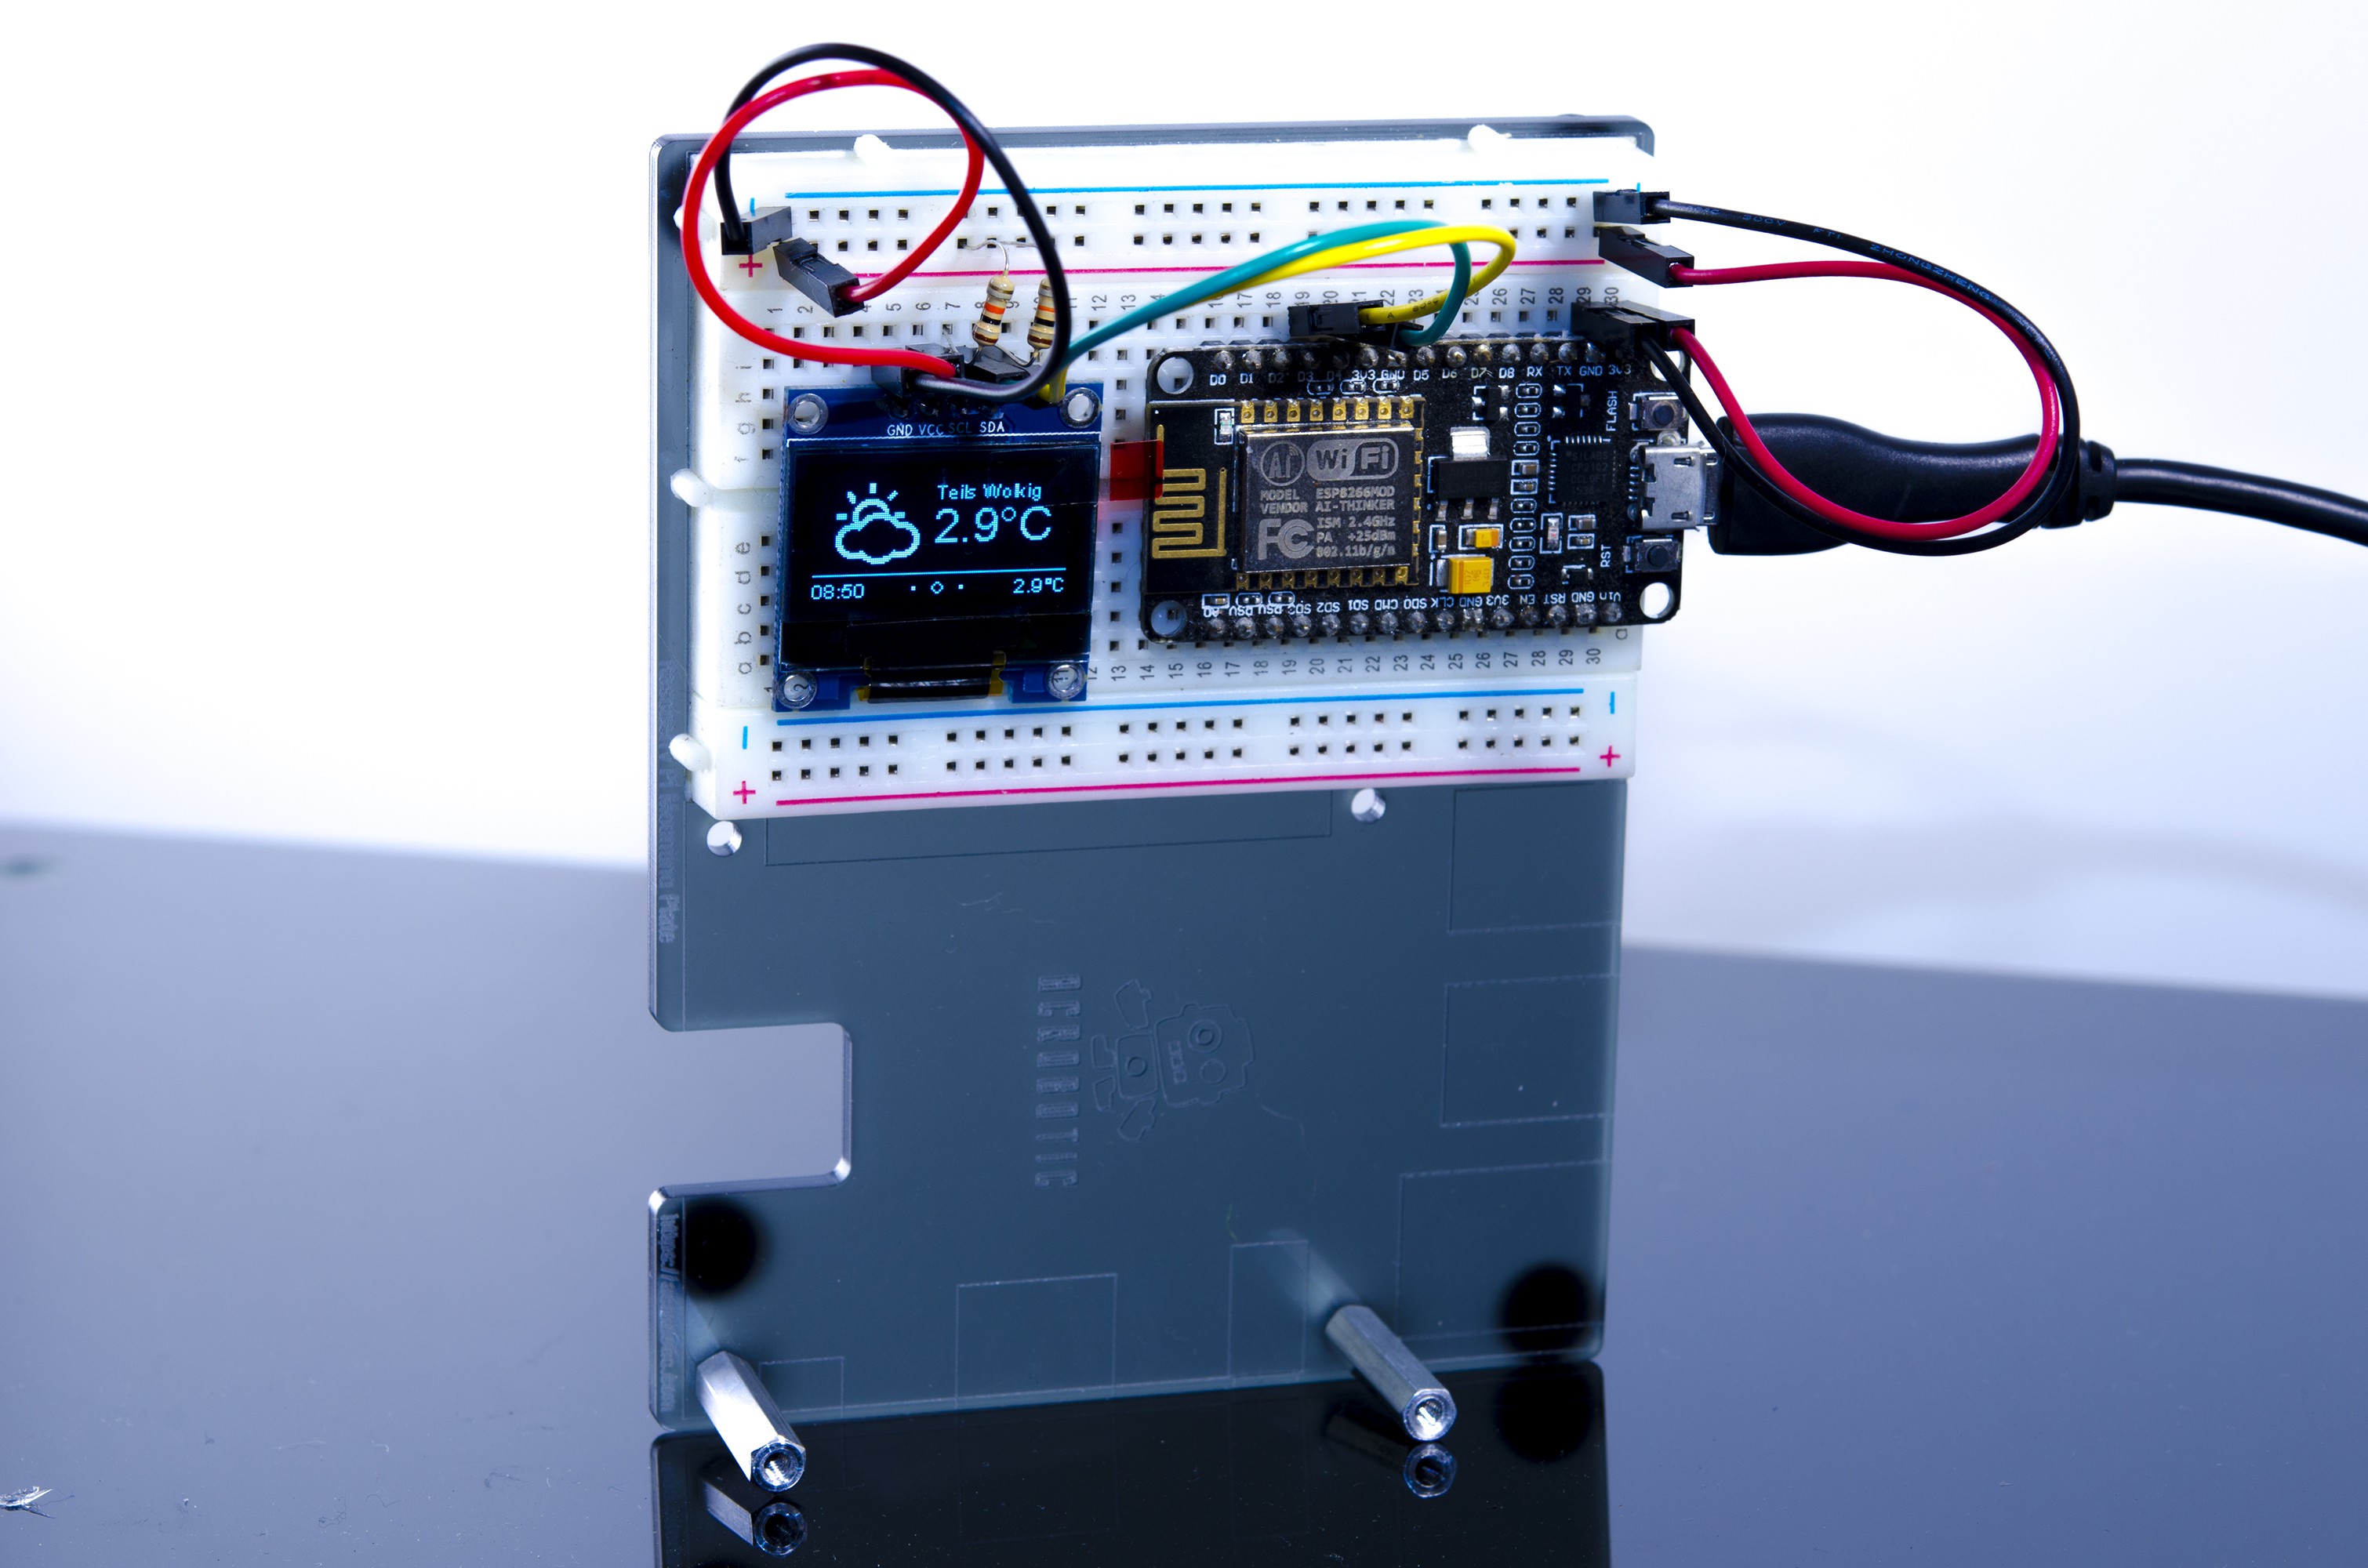
To build a personal weather station we simply needed two pieces of hardware: an internet-capable microcontroller to gather the data, and a screen to display it, we tried to find the best solution considering ease of use and cost.

OLED display

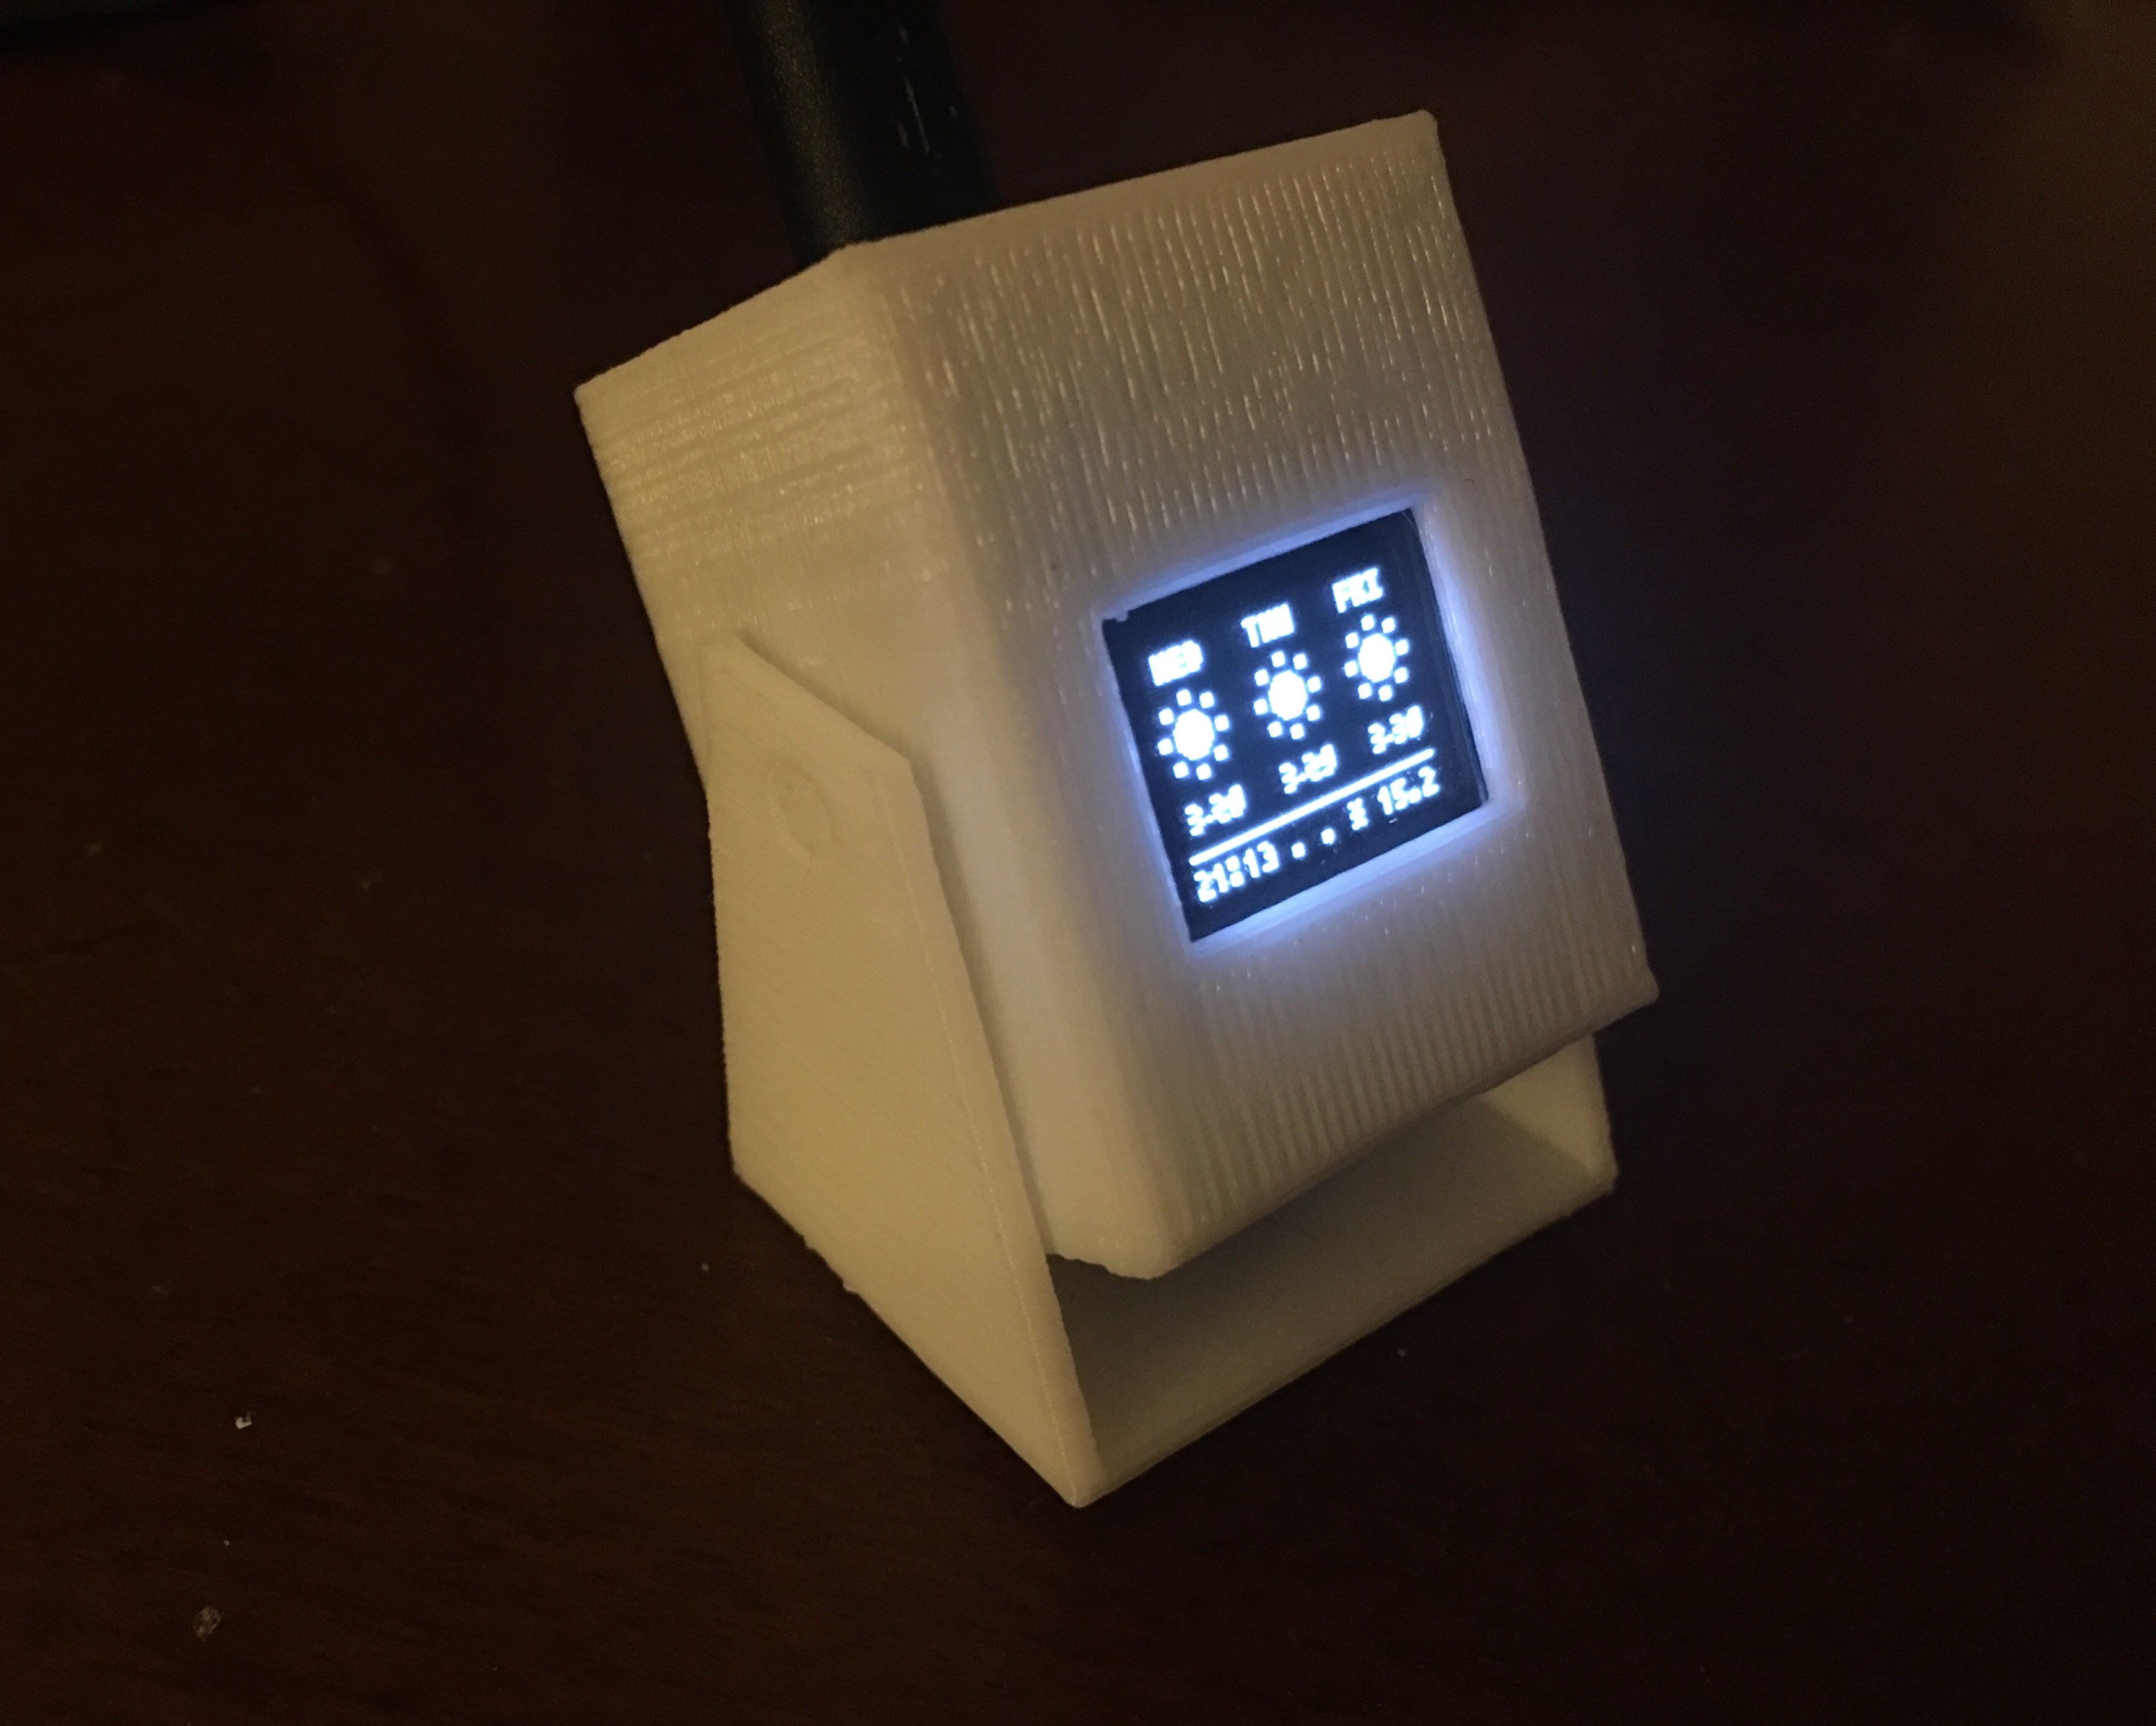
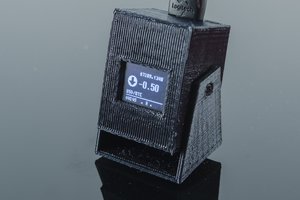
Given our main goal of having a device with a small form factor that could sit on our desks, the first choice was to use a 0.96" OLED screen to display the weather data.

ACROBOTIC 0.96in OLED Graphic Display I2C (SSD1306, 128x64 pixels, Blue/Yellow)

Not only are these displays small (and bright!), but they're very easy to control over i2c merely having to connect 4 wires to our microcontroller or single-board computer: 2 for power and ground, and 2 for the data and clock lines.

ESP8266 microcontroller (SoC)

What can we say about the ESP8266 that hasn't been said about the wheel, sliced bread, or the iPhone... we love it! It's the most convenient, inexpensive way to have a microcontroller running code while connected to a Wi-Fi network.

ESP8266 onboard the WeMos D1 Mini
... Read more »

especter_case_v1.stl

enclosure prototype (fitting test)

Standard Tesselated Geometry - 2.43 kB - 03/29/2018 at 06:13

Download

  • Progress on the GUI

    ACROBOTIC Industries03/29/2018 at 04:35 0 comments

    As it turns out, I found the original Weather Station library a little too convoluted to work with.  It works great with the intended screen size (128×64), but although it's possible to support additional geometries, my initial steps into the rabbit hole made me rethink my strategy.

    You see, Daniel's Weather Station library includes custom versions of more established libraries for performing tasks such as displaying text and images on the screen (all hail U8g2!), parsing JSON, etc. And so, I decided to start from scratch, building a GUI on top of the widely adopted U8g2 and a web client for the Weather Underground service suing the built-in ESP8266 http client functionality on top of the ArduinoJSON libraries.

    So far so good, more details coming soon!

  • Proof-of-concept prototype!

    ACROBOTIC Industries03/25/2018 at 21:03 0 comments

    We're finishing up the write up on the first prototype we used for the ESPecter.  For the hardware we used the two components with which we were most familiar: a DevKit board and a 0.96" OLED.

    We even had a simple demo code from our tutorial video on querying APIs:

    We also used the wonderful library by ThingPulse to test the code that we'll port to the WeMos D1 Mini platform:

    We already have a version running on the WeMos D1 Mini, however we need to scale down all the graphic elements to the smaller 64×48 pixels resolution.

View all 2 project logs

  • 1
    This is a *rough* draft of the build instructions!

    TO-DO: tidy things up

  • 2
    Gather the materials
    • ESP8266 Kit
    • OLED

    OR

    • D1 Mini 2-Piece Kit
  • 3
    Set up the hardware

    Wire up

    OR

    Solder

View all 5 instructions

Enjoy this project?

Share

Discussions

Similar Projects

Does this project spark your interest?

Become a member to follow this project and never miss any updates