 Mark Langford
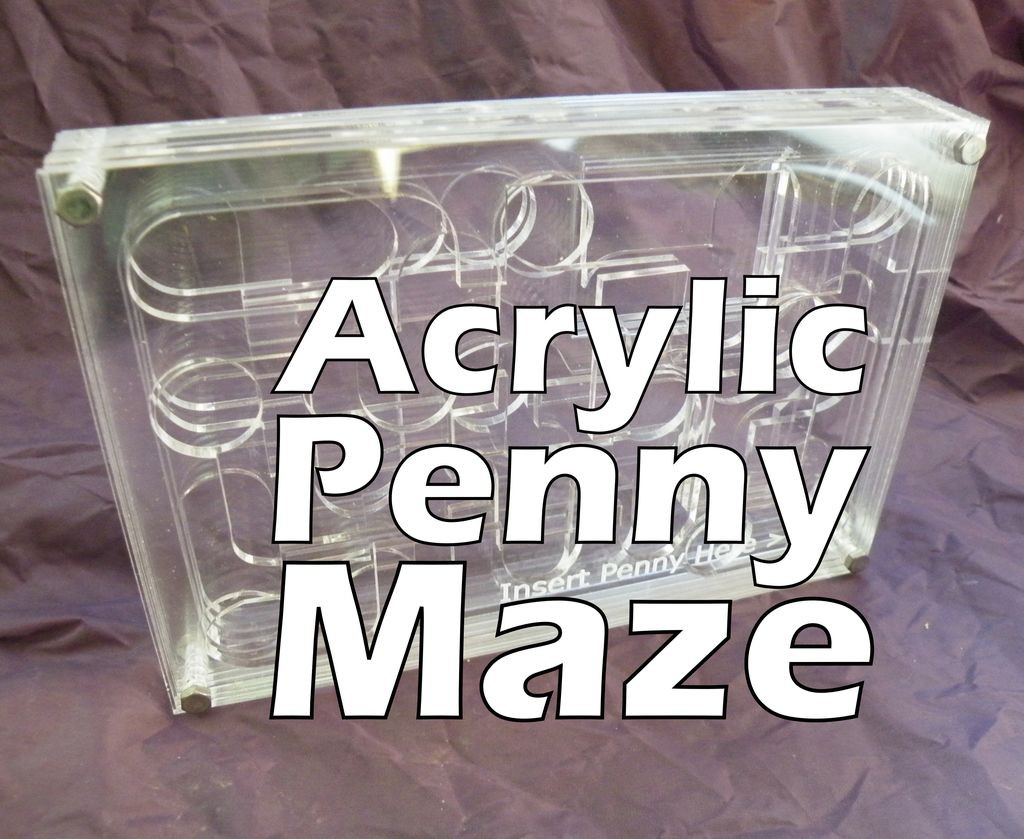

So, I made the simple Cardboard Penny Maze.
But, it wasn't quite enough.
Enter the laser cutter...
Step 1: Planning
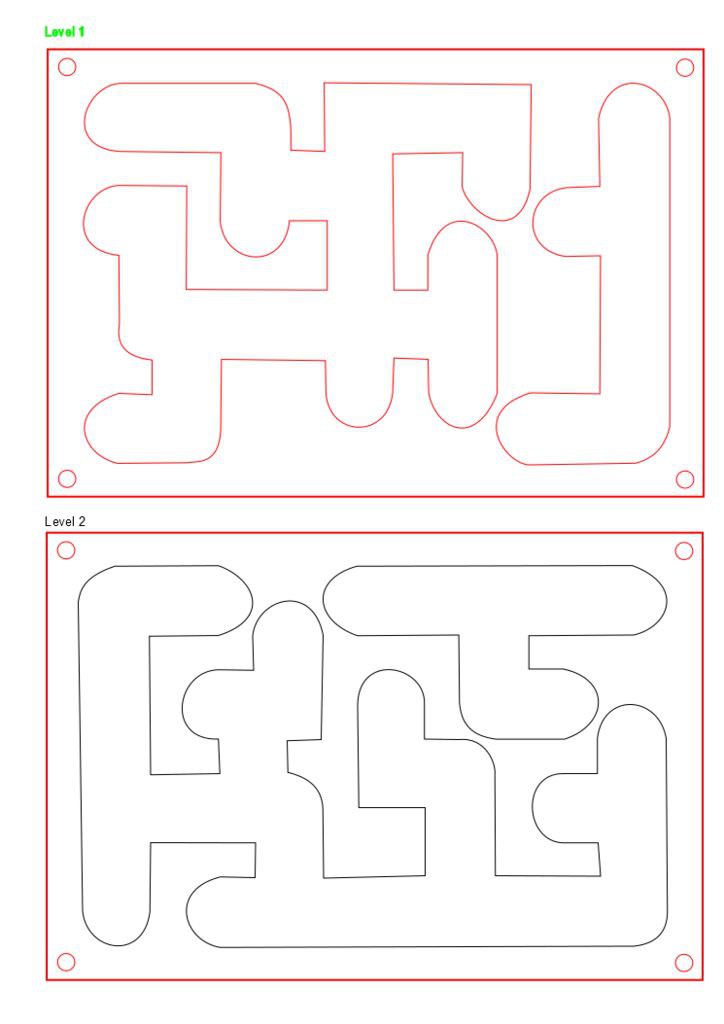


Planning started the old-fashioned way, with pencil and paper.
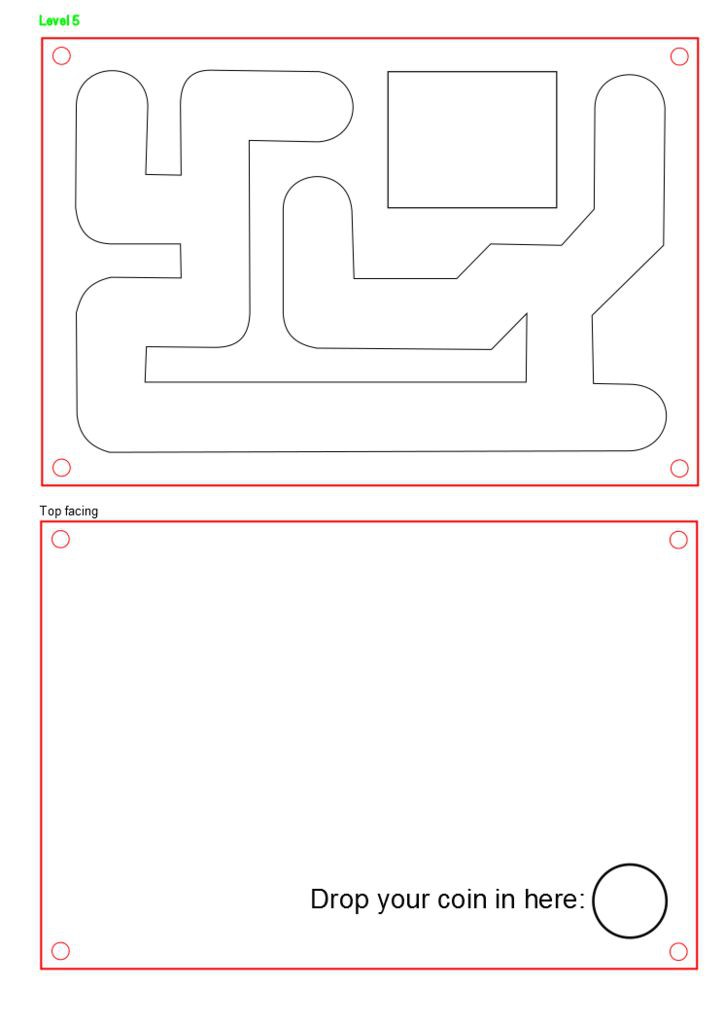
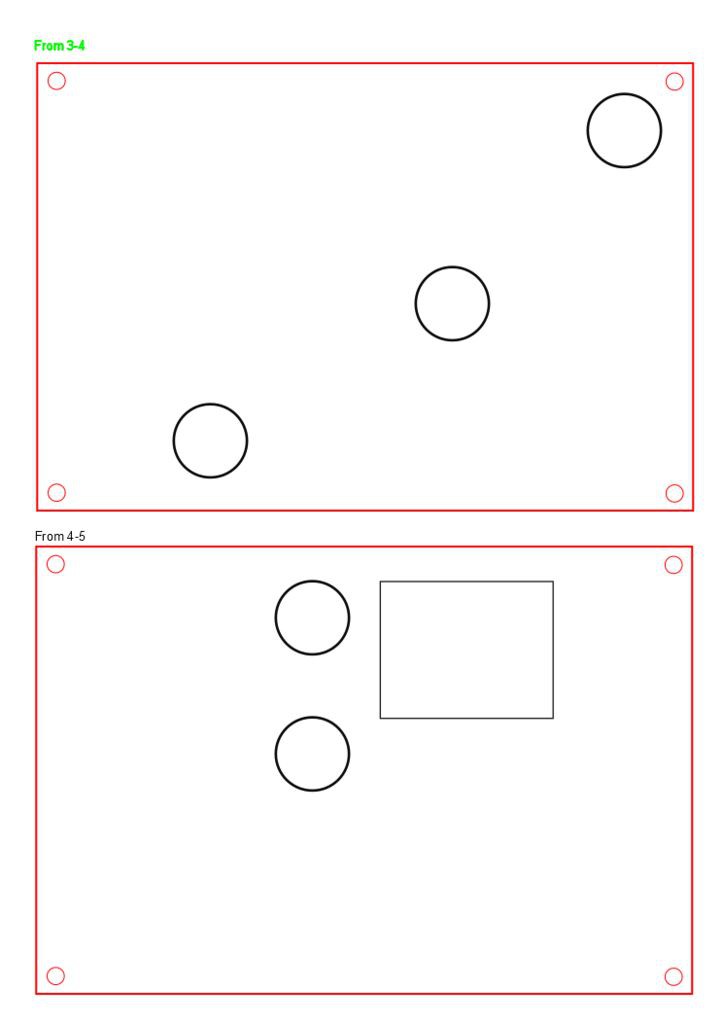
I worked on squared paper, planning routes up and down through five layers. I exploited the squares' size to plan 20mm channels, allowing both one cent and one penny coins to be used in the maze.
I then scanned the sketches into PDF files, and used InkScape to "draw over" the PDFs, and save the digital versions as DXF files.
Don’t have a laser cutter?
Download the Ponoko ready SVG design file ("Acrylic Maze All Layers") and upload to the Ponoko site. Select 3mm thick x "P3" sized sheet of clear acrylic. Wait a couple of days and you’ll receive your custom cut acrylic pieces for the project in the post. From here, you’ll want to skip to step 3 and start assembling, as step 2 is all about cutting if you have a laser.
Download Acrylic Maze all layers 3mm Ponoko Ready.svg
Step 2: Cutting


The path sections of the maze were made from 3/16 inch clear acrylic, and the separating layers were cut from 1/8 inch clear acrylic.
The former was the closest available thickness that would allow the coins to move freely, the latter was the thinnest acrylic available, to keep the bulk of the maze down a little, and to stop coins falling at an odd angle and getting stuck.
I used an Epilog laser cutter, at the setting recommended by the operating manual for the materials.
If you want to cut your own, just choose the files from this step in the format that is suitable for your laser cutter.
Leave the protective film on the acrylic during cutting, to protect your exposed surfaces..
Download Penny maze sketches
Download Kiteman Penny Maze 06 bottom skin.dxf
Download Kiteman Penny Maze 01 levels 1 and 2.dxf
Download Kiteman Penny Maze 02 levels 3 and 4.dxf
Download Kiteman Penny Maze 03 level 5 and top skin.dxf
Download Kiteman Penny Maze 04 separaters 1-2 and 2-3.dxf
Download Kiteman Penny Maze 05 separaters 3-4 and 4-5.dxf
Download Penny maze sketches
Download Kiteman Penny Maze 01 levels 1 and 2.pdf
Download Kiteman Penny Maze 02 levels 3 and 4.pdf
Download Kiteman Penny Maze 03 level 5 and top skin.pdf
Download Kiteman Penny Maze 04 separaters 1-2 and 2-3.pdf
Download Kiteman Penny Maze 05 separaters 3-4 and 4-5.pdf
Download Kiteman Penny Maze 06 bottom skin.pdf
Download Penny maze sketches.pdf
Step 3: Assembly

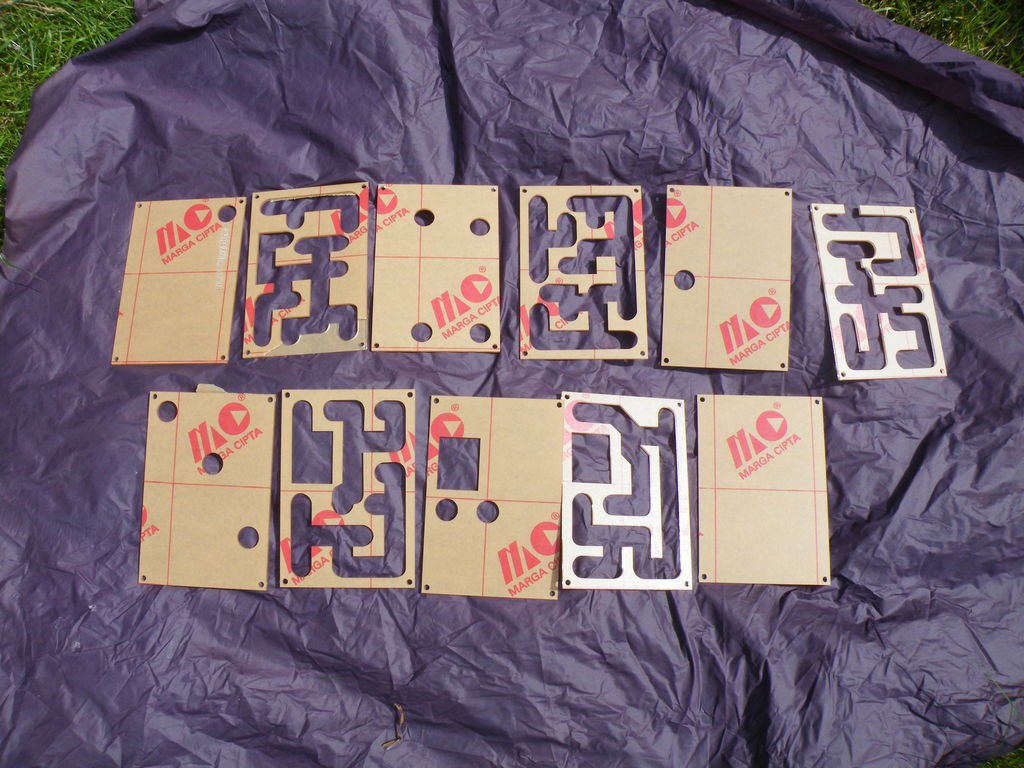
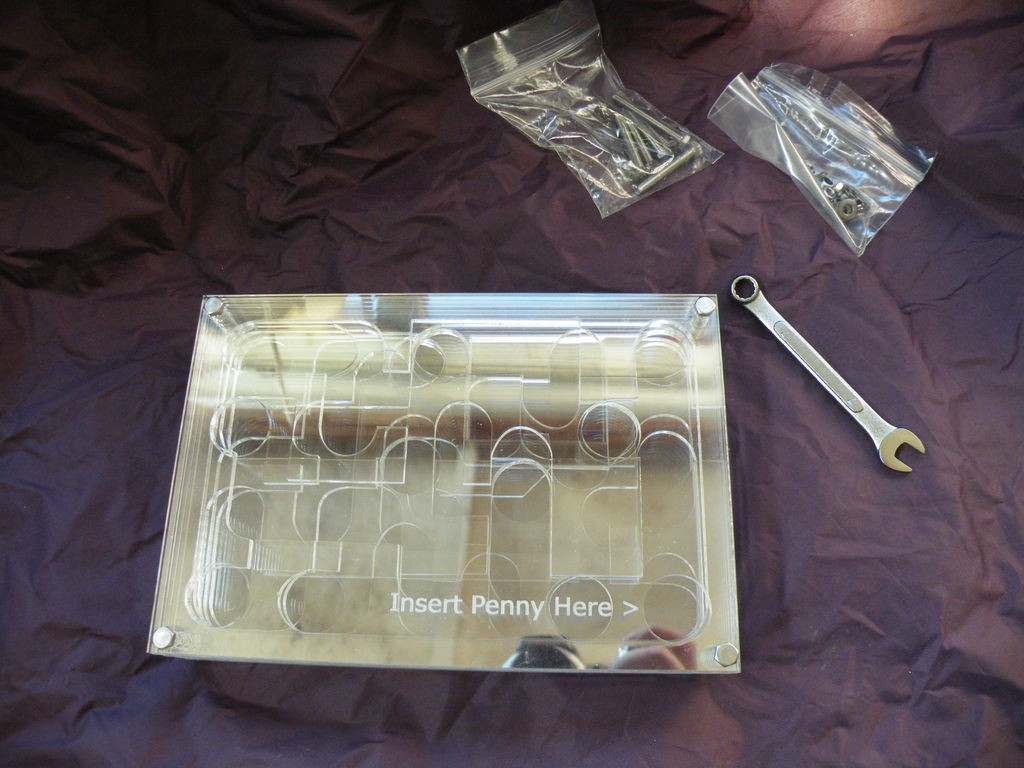


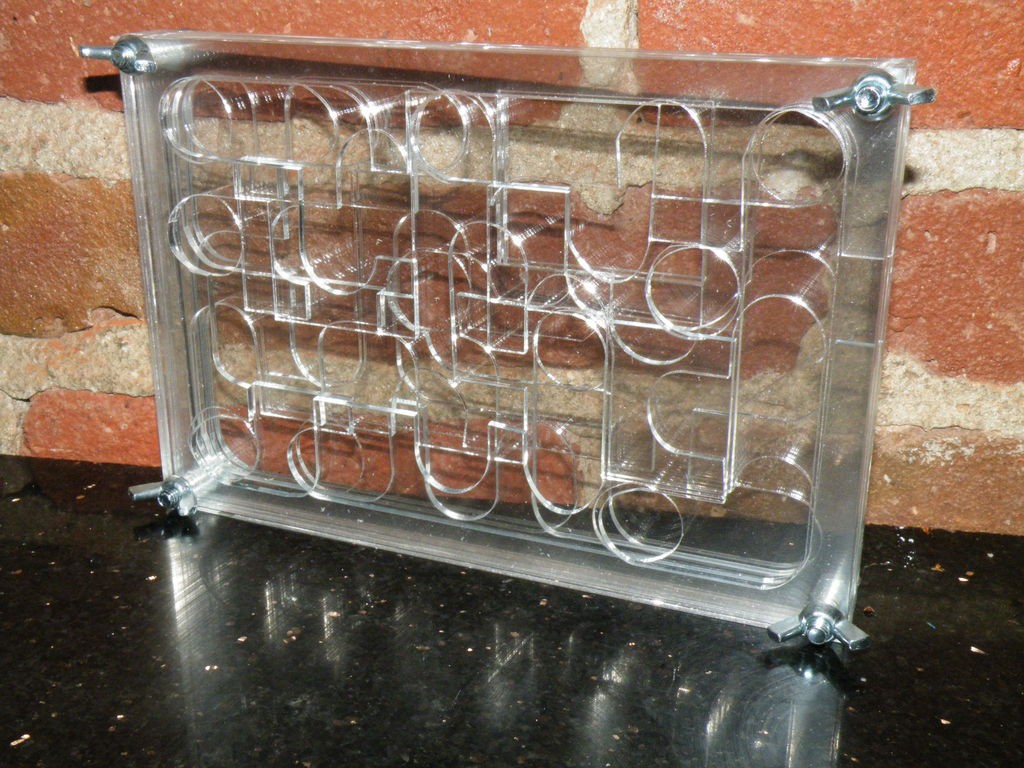
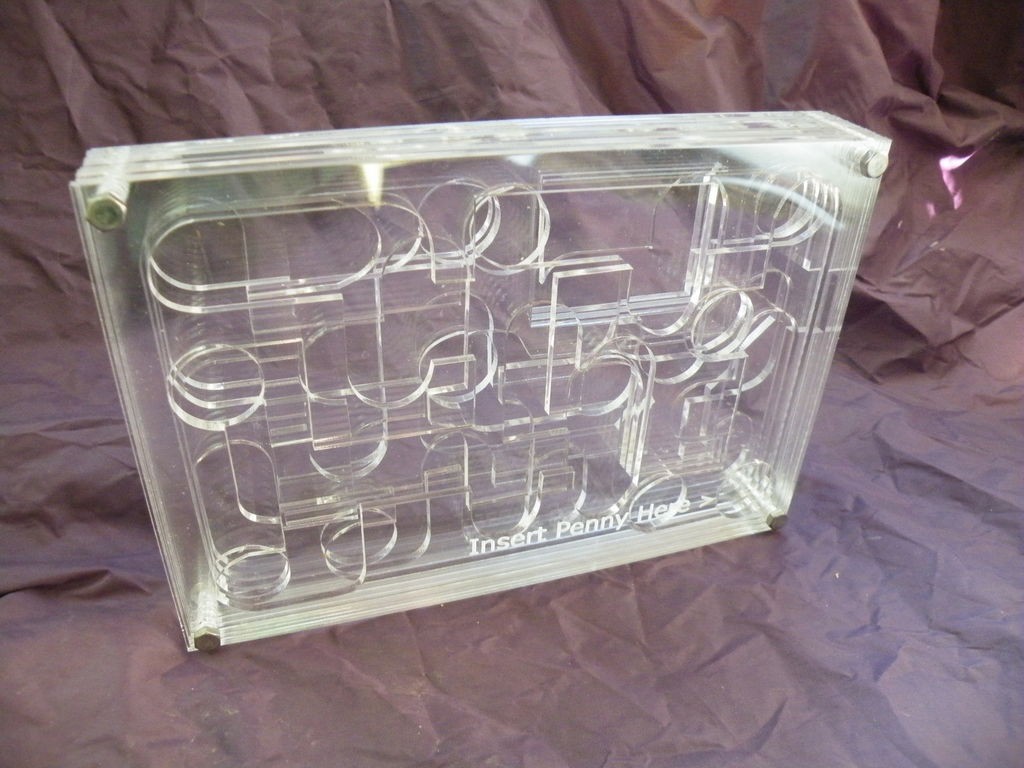
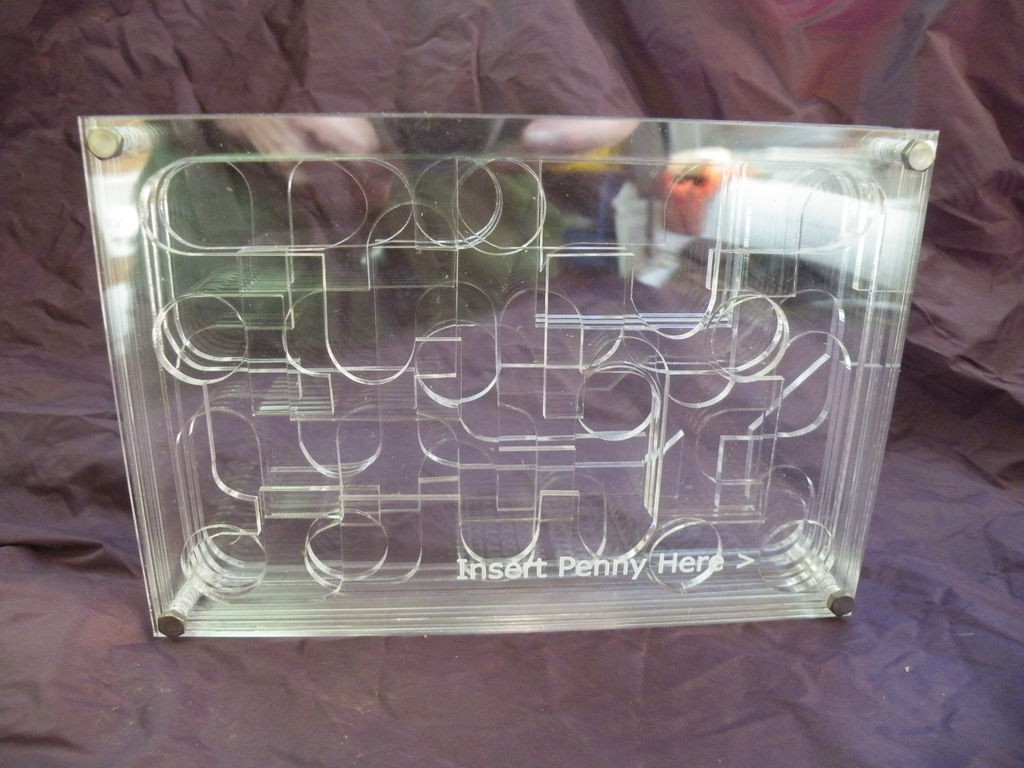
I popped out the off-cuts, and peeled off the protective film before arranging the layers in order and bolting them together.
When I used Ponoko to make a maze, I decided not to use wing-nuts so that it was smoother thing to handle and less, well, wing-nutty.
A word of warning: if you are using my original files, check the bolt-hole alignment - as a result of them being basically hand-drawn, some of the holes needed a quick go with a dremel to round them off and line them up.
It is important that I held the layers together with bolts, rather than adhesive, because the square section in the lower layers is a trap - if your penny ends up in there, you have failed, and can only get your money back by dismantling the maze.
Cheat.
Step 4: Does It Work?
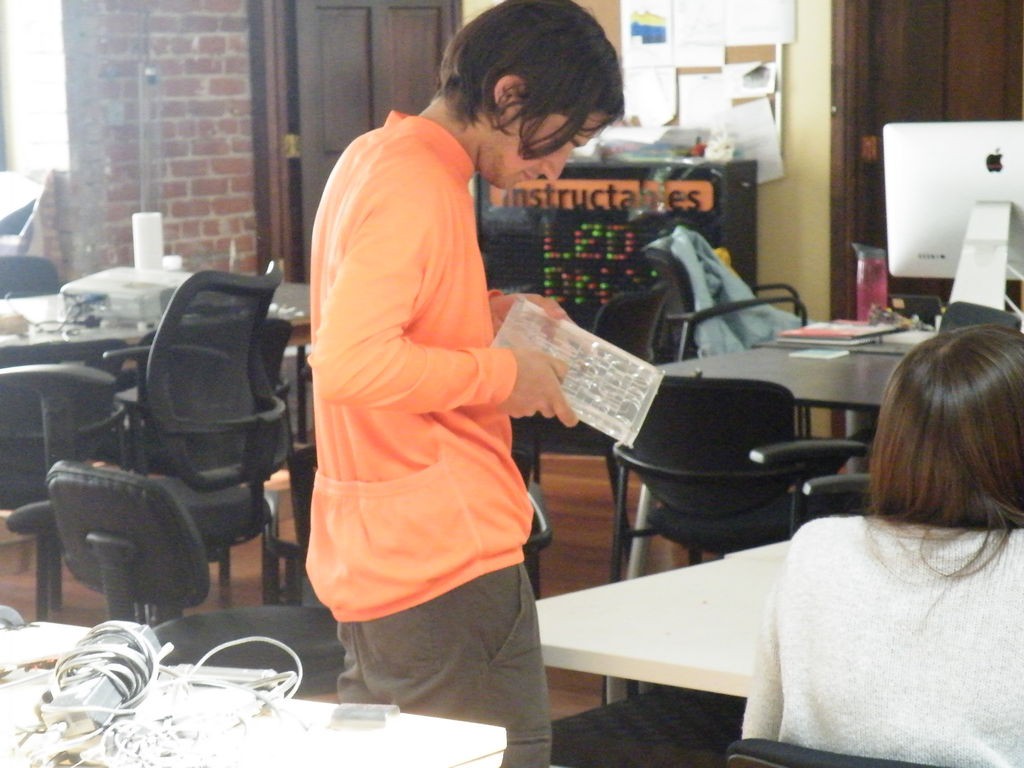
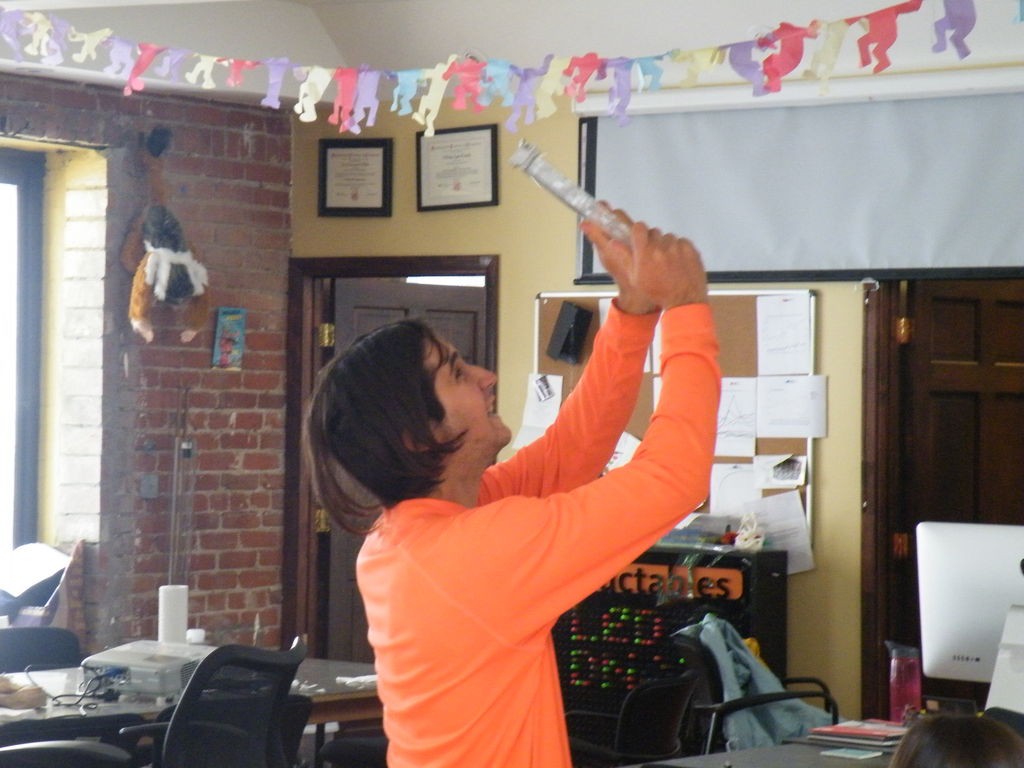
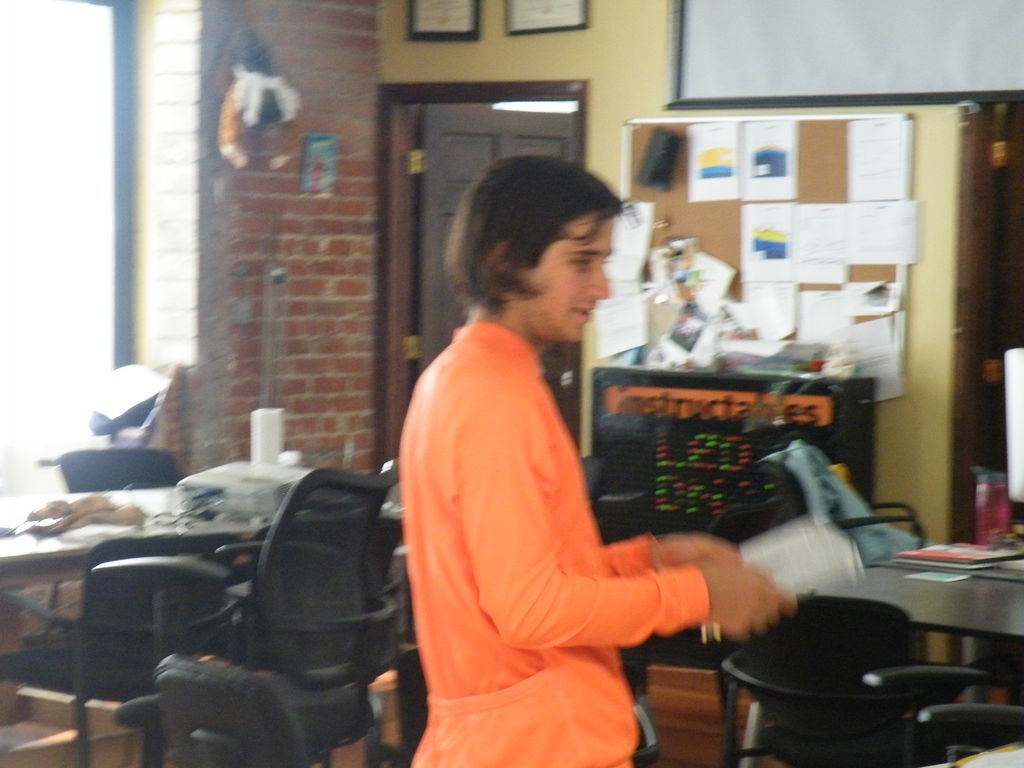

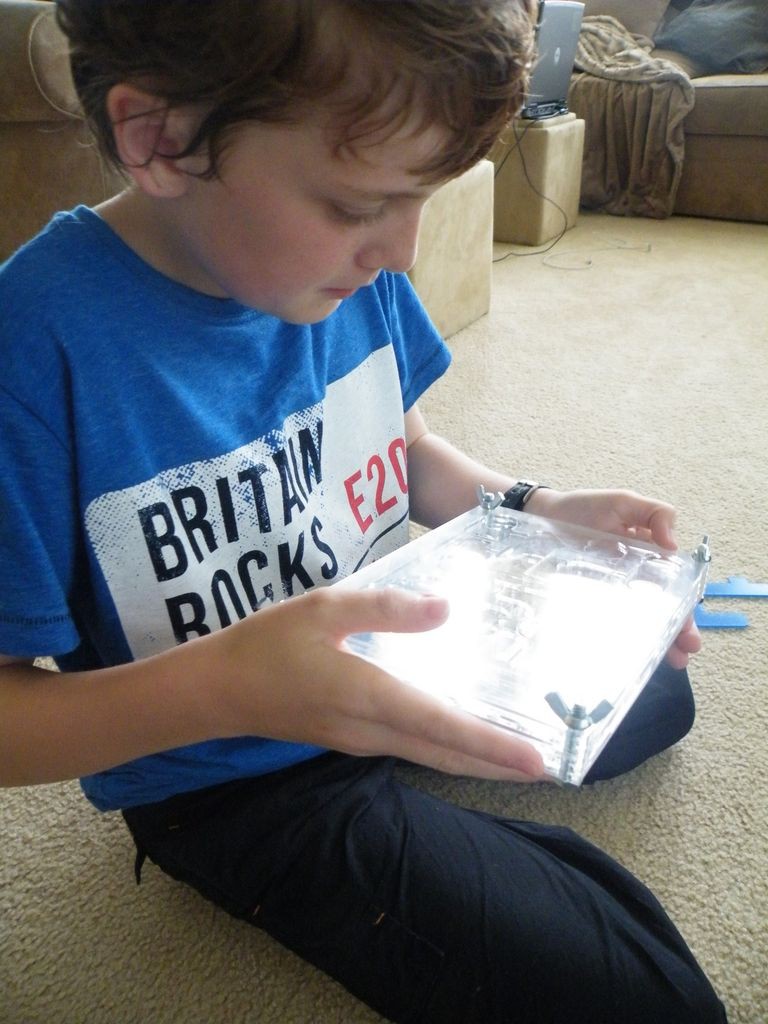
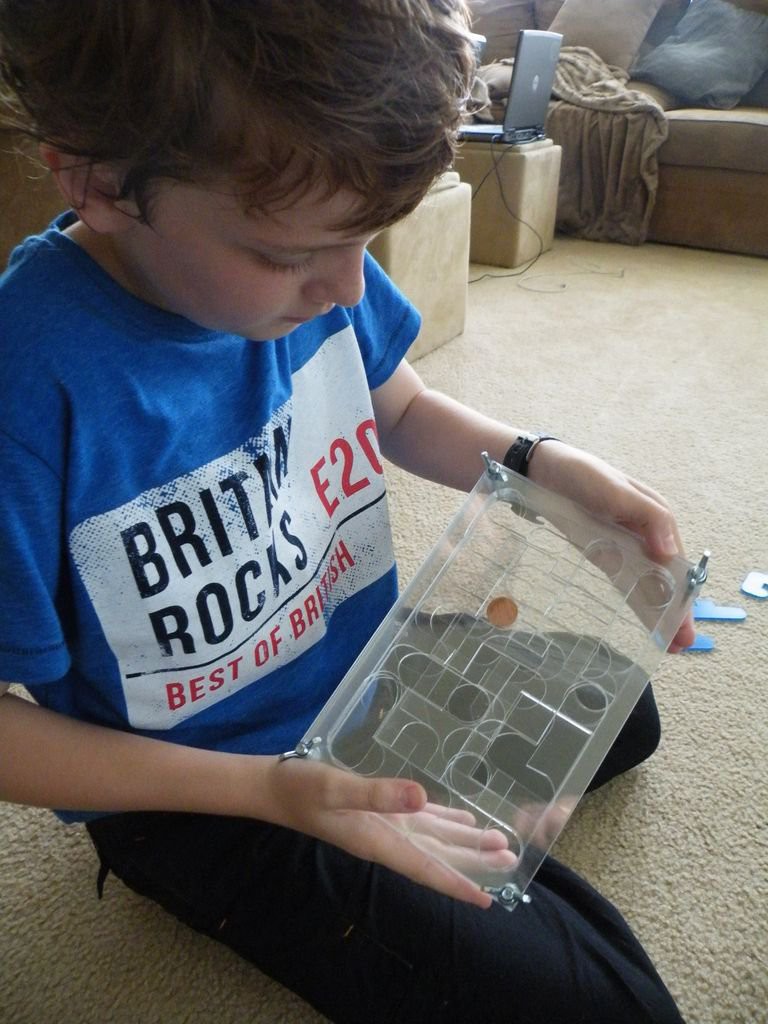
Did it work?
Did it distract people around the office from their proper work?
Did it cause fascination and frustration in equal measure?
Did it distract Conker-X from his computer?
Yes!


A-mazing! ;-) I really like this idea and will definitely make one the next time I get access to a laser cutter. But I've never head of a penny maze before - are those a real thing sold in stores?