 The Big One
I have made a lot of progress over the past few weeks, but have been horrible about updating the logs here. This is my attempt to rectify that error. ;-)
The electronic / hardware side is pretty much completed. I have tested everything as much as possible on a breadboard, and have fixed the things that didn't work out properly (i.e. wrong resistor values, windowing of the digital pot, etc.) I have also refined my previous drum pad design, which appears to be working much better in conjunction with my new electronics.
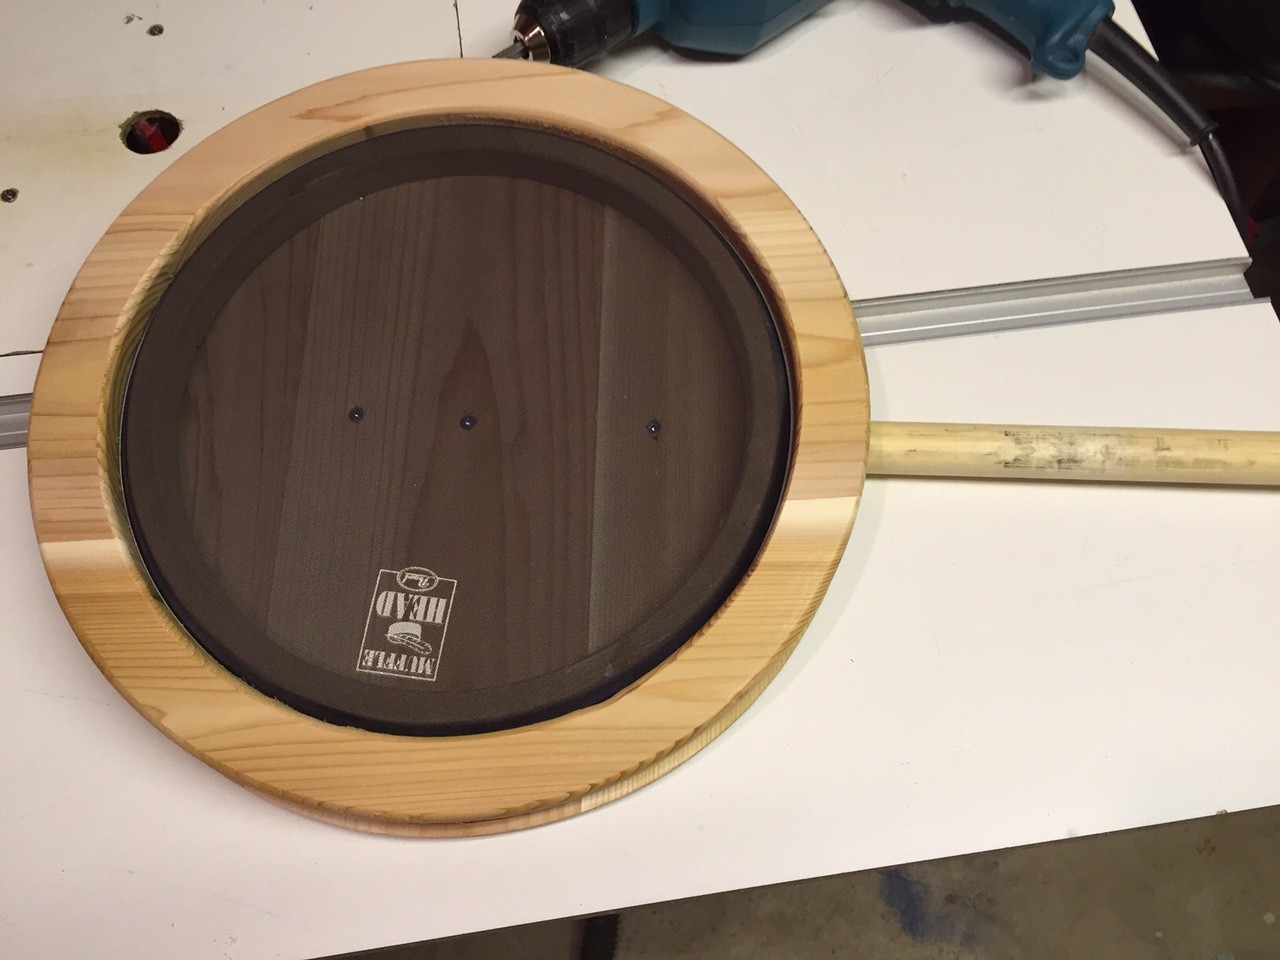
The pad design is quite simple but I feel it deserves its own paragraph, as I have not seen anyone else doing this same approach (I'm sure I am not the first to have done it, but from what I can tell it is not a widely used design). This design uses two drum head sizes: 8" and 10". 8" would be preferable for everything, but I already had some 10" mesh heads so I figured I would save myself a bit of money and re-use them.
It consists of 4 separate layers for the physical drum plus the electronics.
The bottom layer is a solid 1/2" thick circle of wood (I used cedar but most anything should work) with 9.75" diameter.
The inner layer is a 3/4" thick ring with inner diameter of 7" and outer diameter of 7.75" (the OD is critical, the inner diameter not so much). I used MDF for this as my cedar was not thick enough (you need at least 3/4"). This ring is not (very) visible in the finished design, so it doesn't matter if it looks ugly.
The top layer is a 1/2" thick ring with ID of 8.25" and OD of 9.75".
The mesh drum head (I used Pearl Muffle Heads as they are cheap and readily available locally) sits on top of the inner layer ring, and both sit on top of the bottom layer. The top ring then is attached on top of the mesh head and pushes down (you need to drill 8+ holes through the top and bottom layers to fit screws through).
Some pictures of the design (before the screw holes were drilled) are below, showing the layers as they are laid on top of each other.
Bottom layer (with attachment for frame):

Inner ring:

Mesh head on top of inner ring:
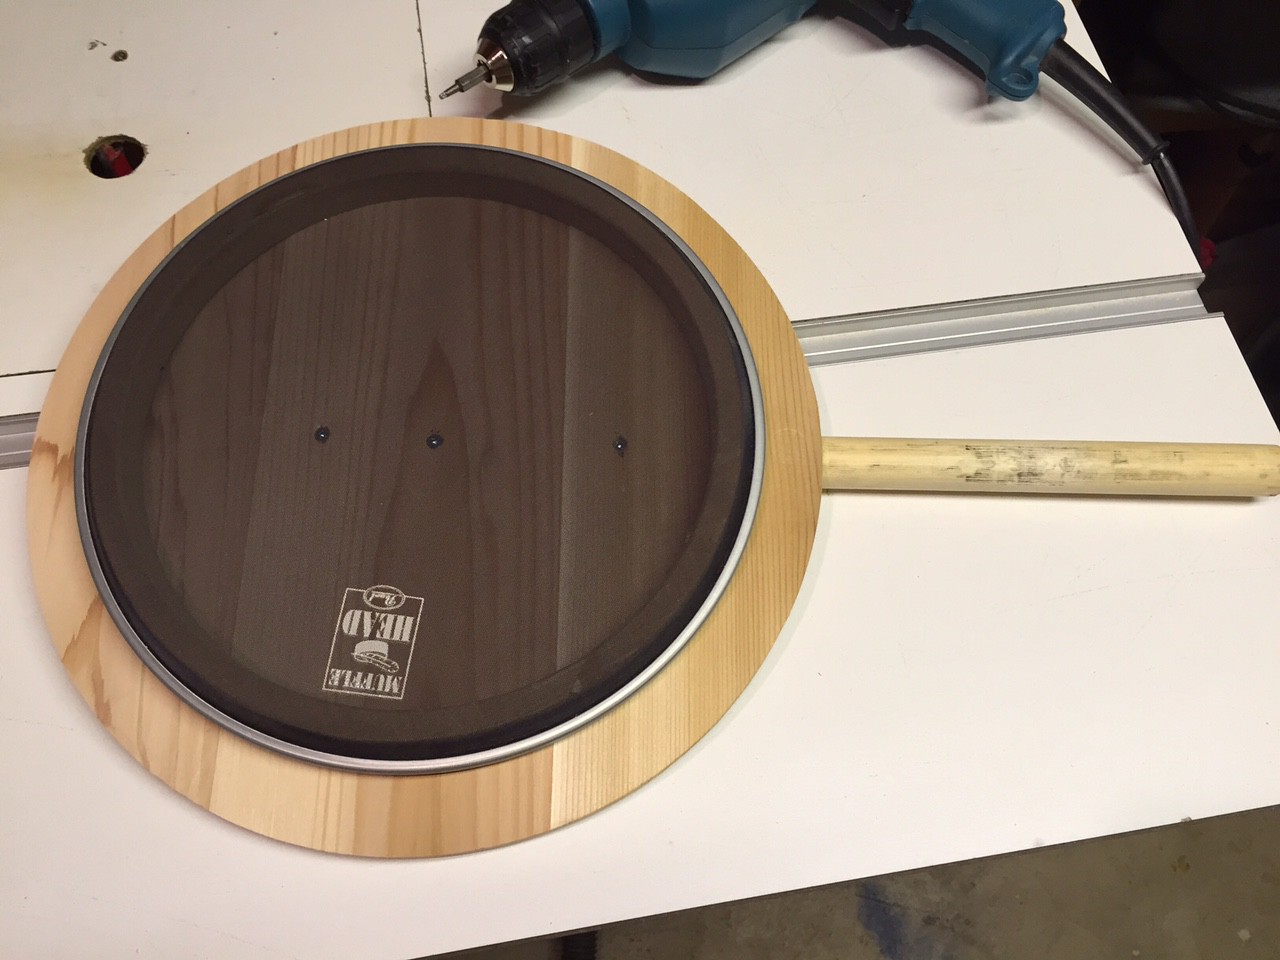
Top layer (rim) placed over mesh head. Once the screw holes are drilled, you can tighten the top layer down onto the bottom, tightening the head just as you would with a traditional acoustic drum.
Next step is to place an order with the PCBs. I hope to do that this week sometime.
Cheers
Discussions
Become a Hackaday.io Member
Create an account to leave a comment. Already have an account? Log In.