 davedarko
Pinout for the 2.5mm cable on the canon camera:
[http://www.instructables.com/id/Very-easy-and-simple-timelapse-controller-for-cano/]
Since I always forget that and it is kind of important:
+------+------+
| MISO | VCC |
+------+------+
| SCLK | MOSI |
+------+------+
| RST | GND |
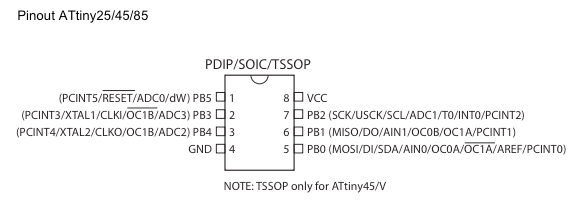
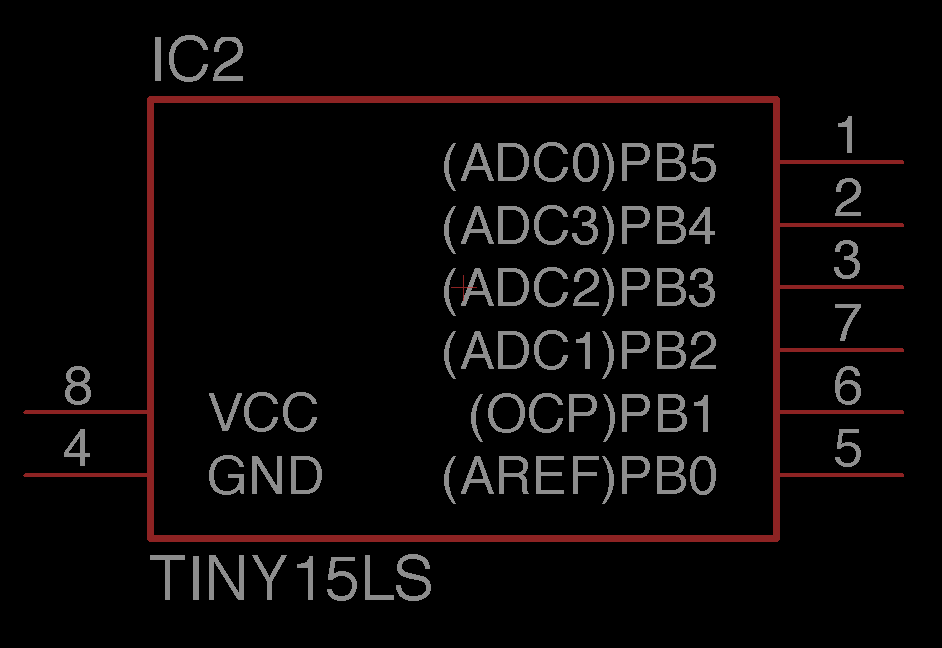
+------+------+MOSI is PIN 0 on the attiny45 and supposed to be connected to the RX pin of the receiving module.


 Pixelbo
 Jeroen van der Velden
 The Feature Creep
"One of those supposed quick hacks that turns into a complete nightmare..." I know the feeling. I knocked up an intervalometer for a Canon DSLR a while back it was a lot of fun. I might go back to it and wireless it up. Cool project!