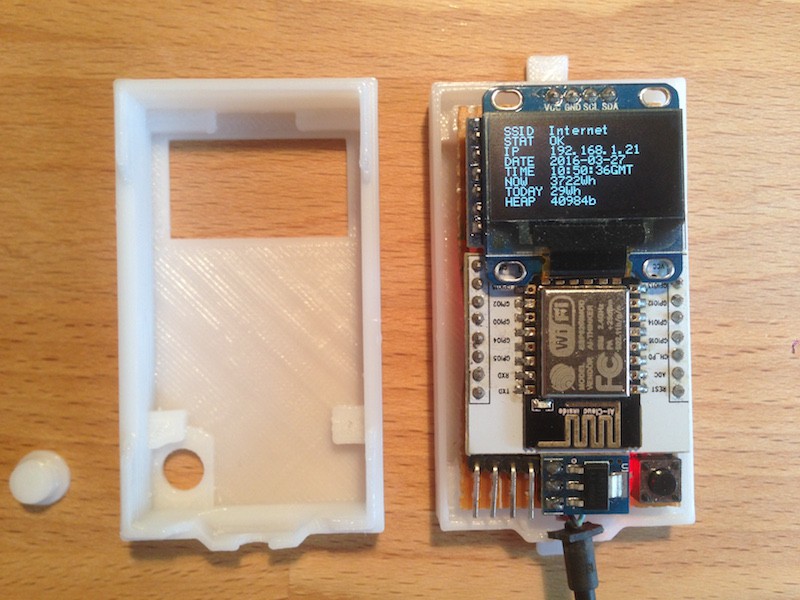
To hold the IPM against the power meter I made an enclosure using SketchUp (with STL exporter) and my 3D printer.
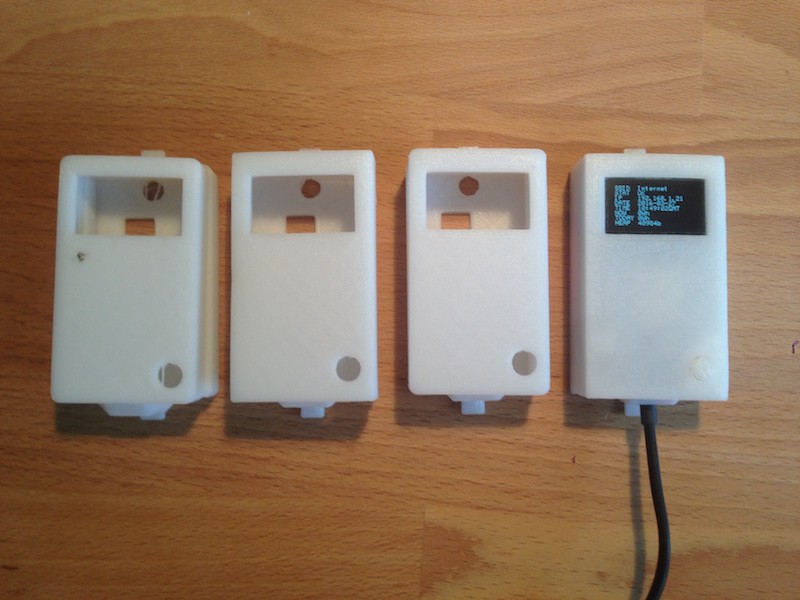
It only took me 4 iterations to make a box!
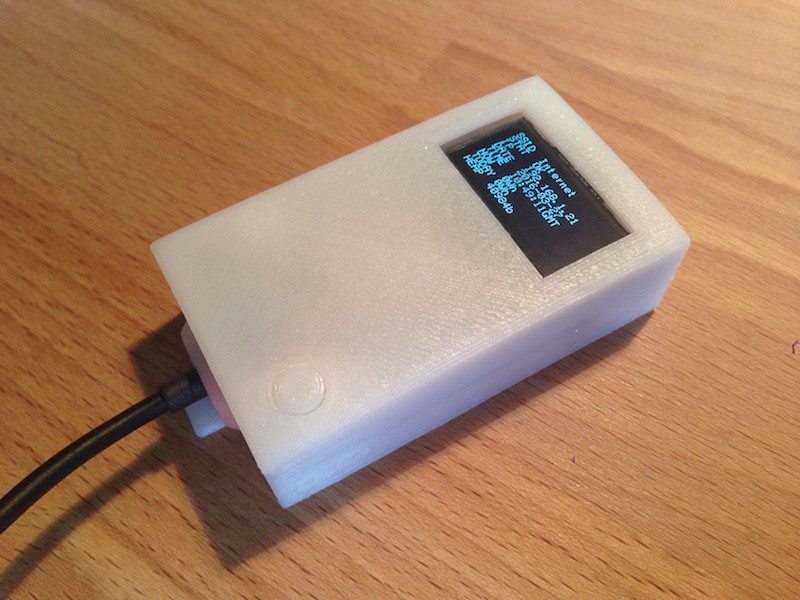
The button on the bottom right has 2 functions: hold it down before turning on the IPM and it will enable programming mode (allows to upload new sketch from Arduino), once the program is launched the button can be used as a normal input to do something interesting, currently it just forces a screen refresh.
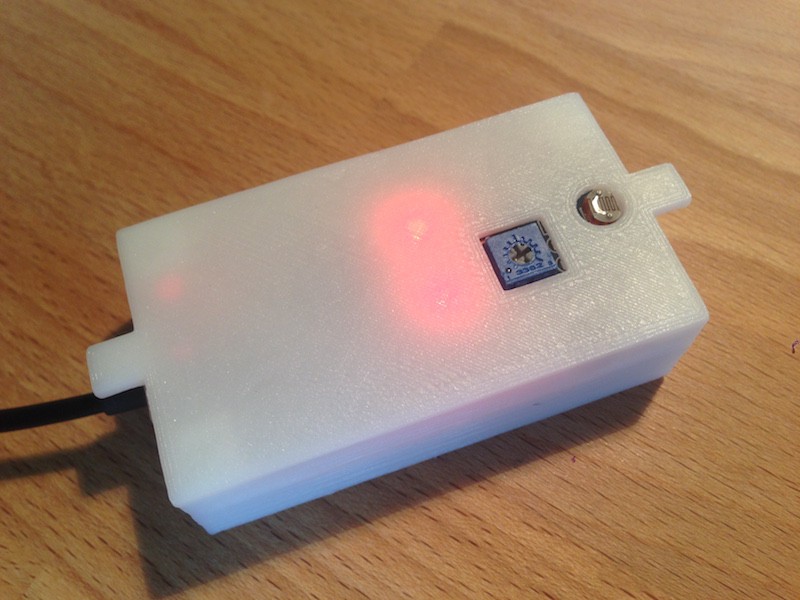
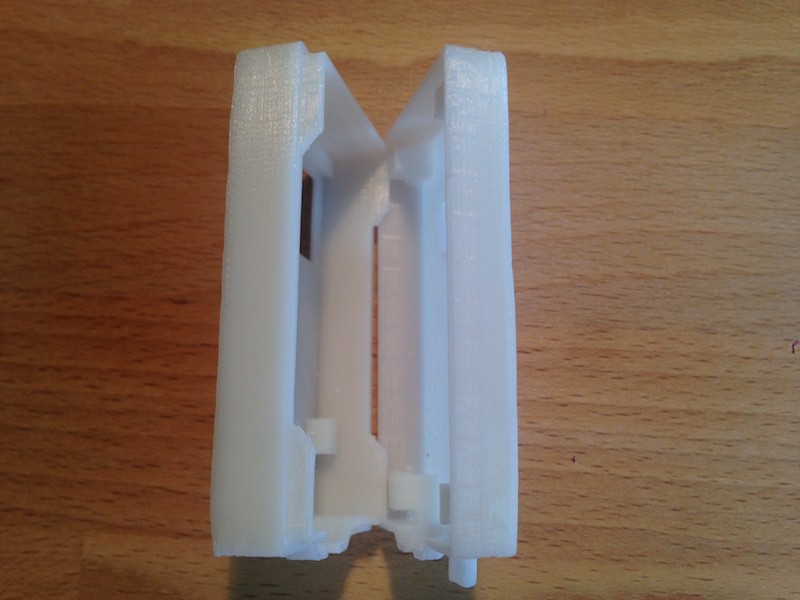
On the backside you can easily access the potentiometer to trim the light detection threshold. The red LEDs of the light sensor module shine through the relatively transparent white PLA plastic. I plan to attach the IPM to the power meter with cable ties like my previous version, thus the protruding flaps on top and bottom.
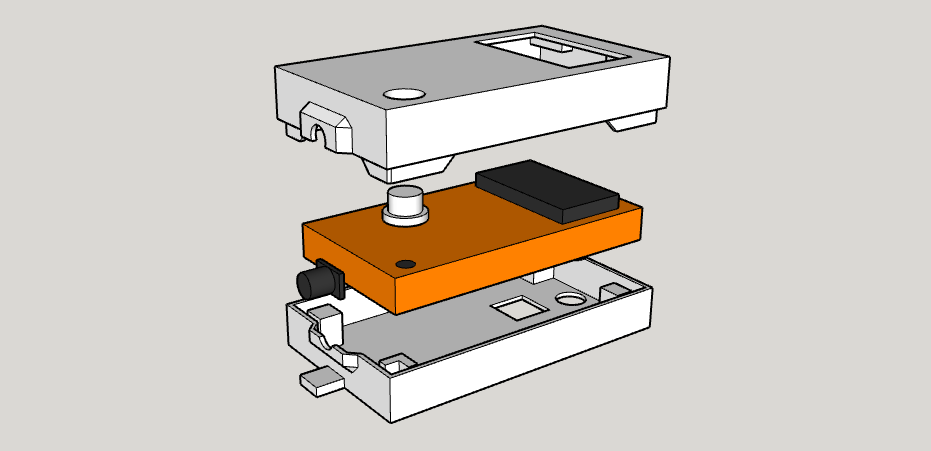
Inside the enclosure there are some elements that are in contact with electronics, in order to make a snug fit.

Discussions
Become a Hackaday.io Member
Create an account to leave a comment. Already have an account? Log In.