 RenierM
**Take care when screwing with a working and proven system!
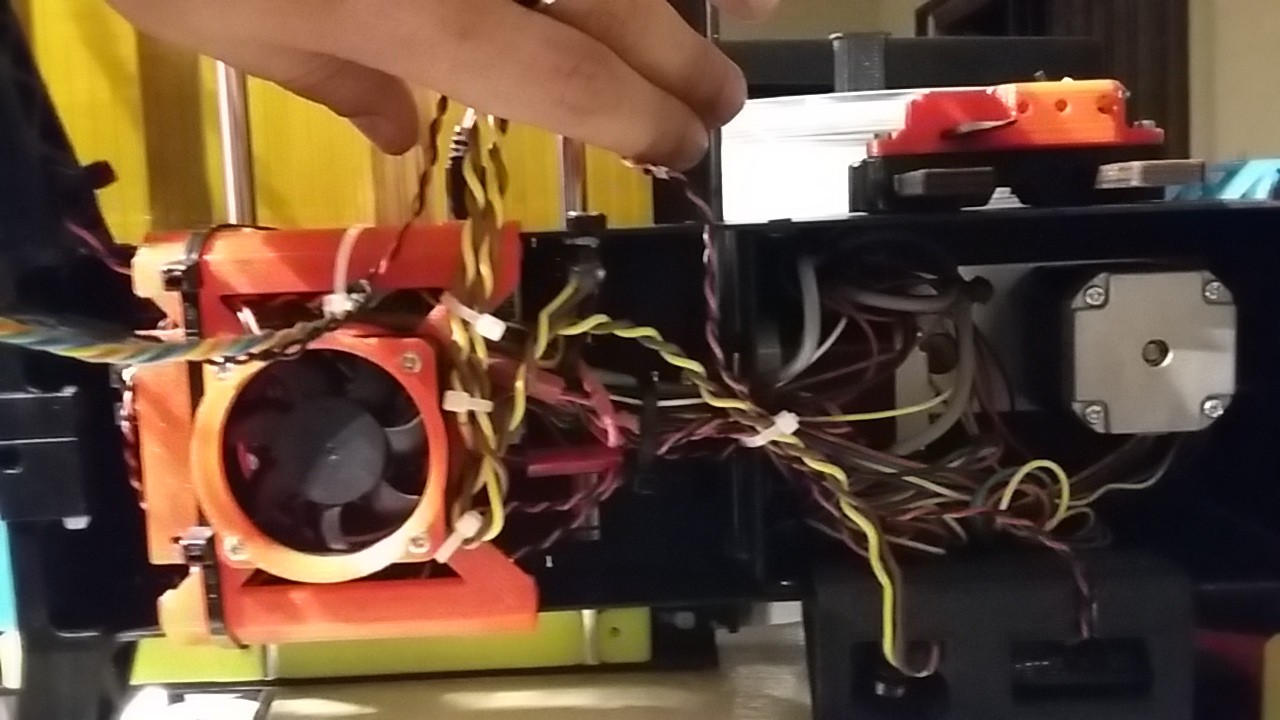
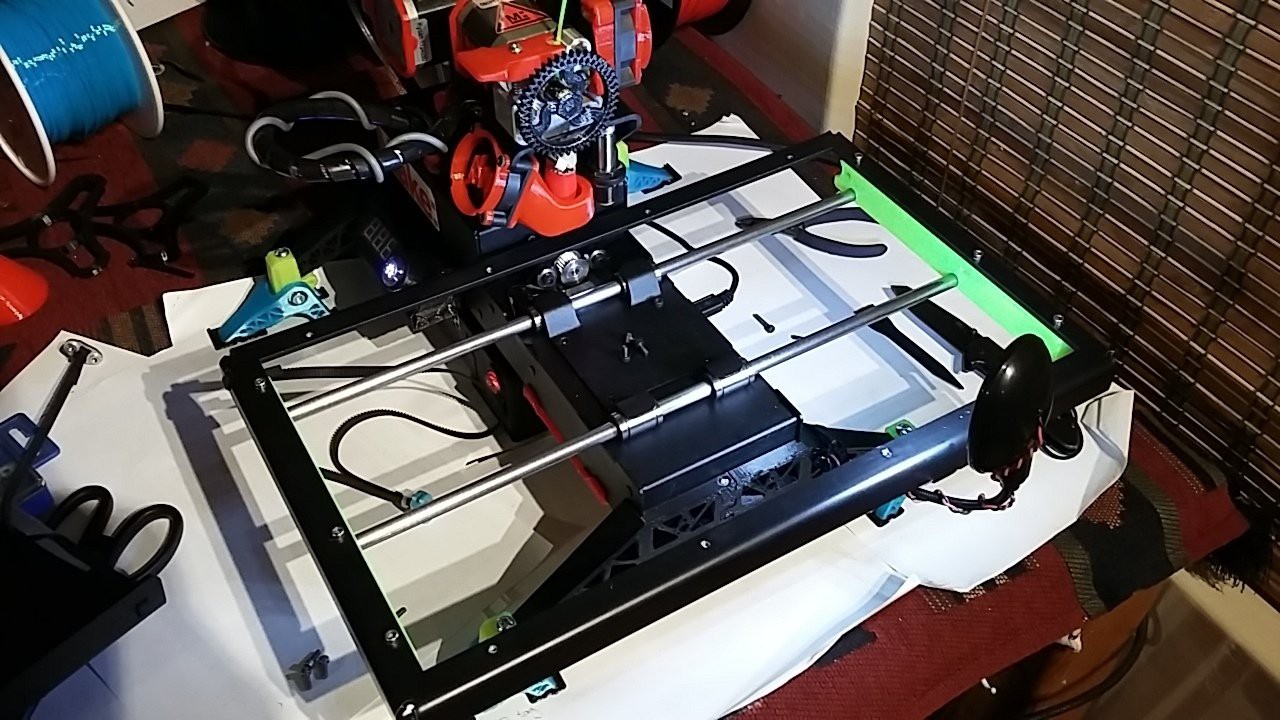
By modifying my printer I've sometimes unwittingly added small issues that weren't there before like: new Rattle on the X-axis, Over tightening screws holding down the Linear bearings. nothing too serious, just be on the lookout.
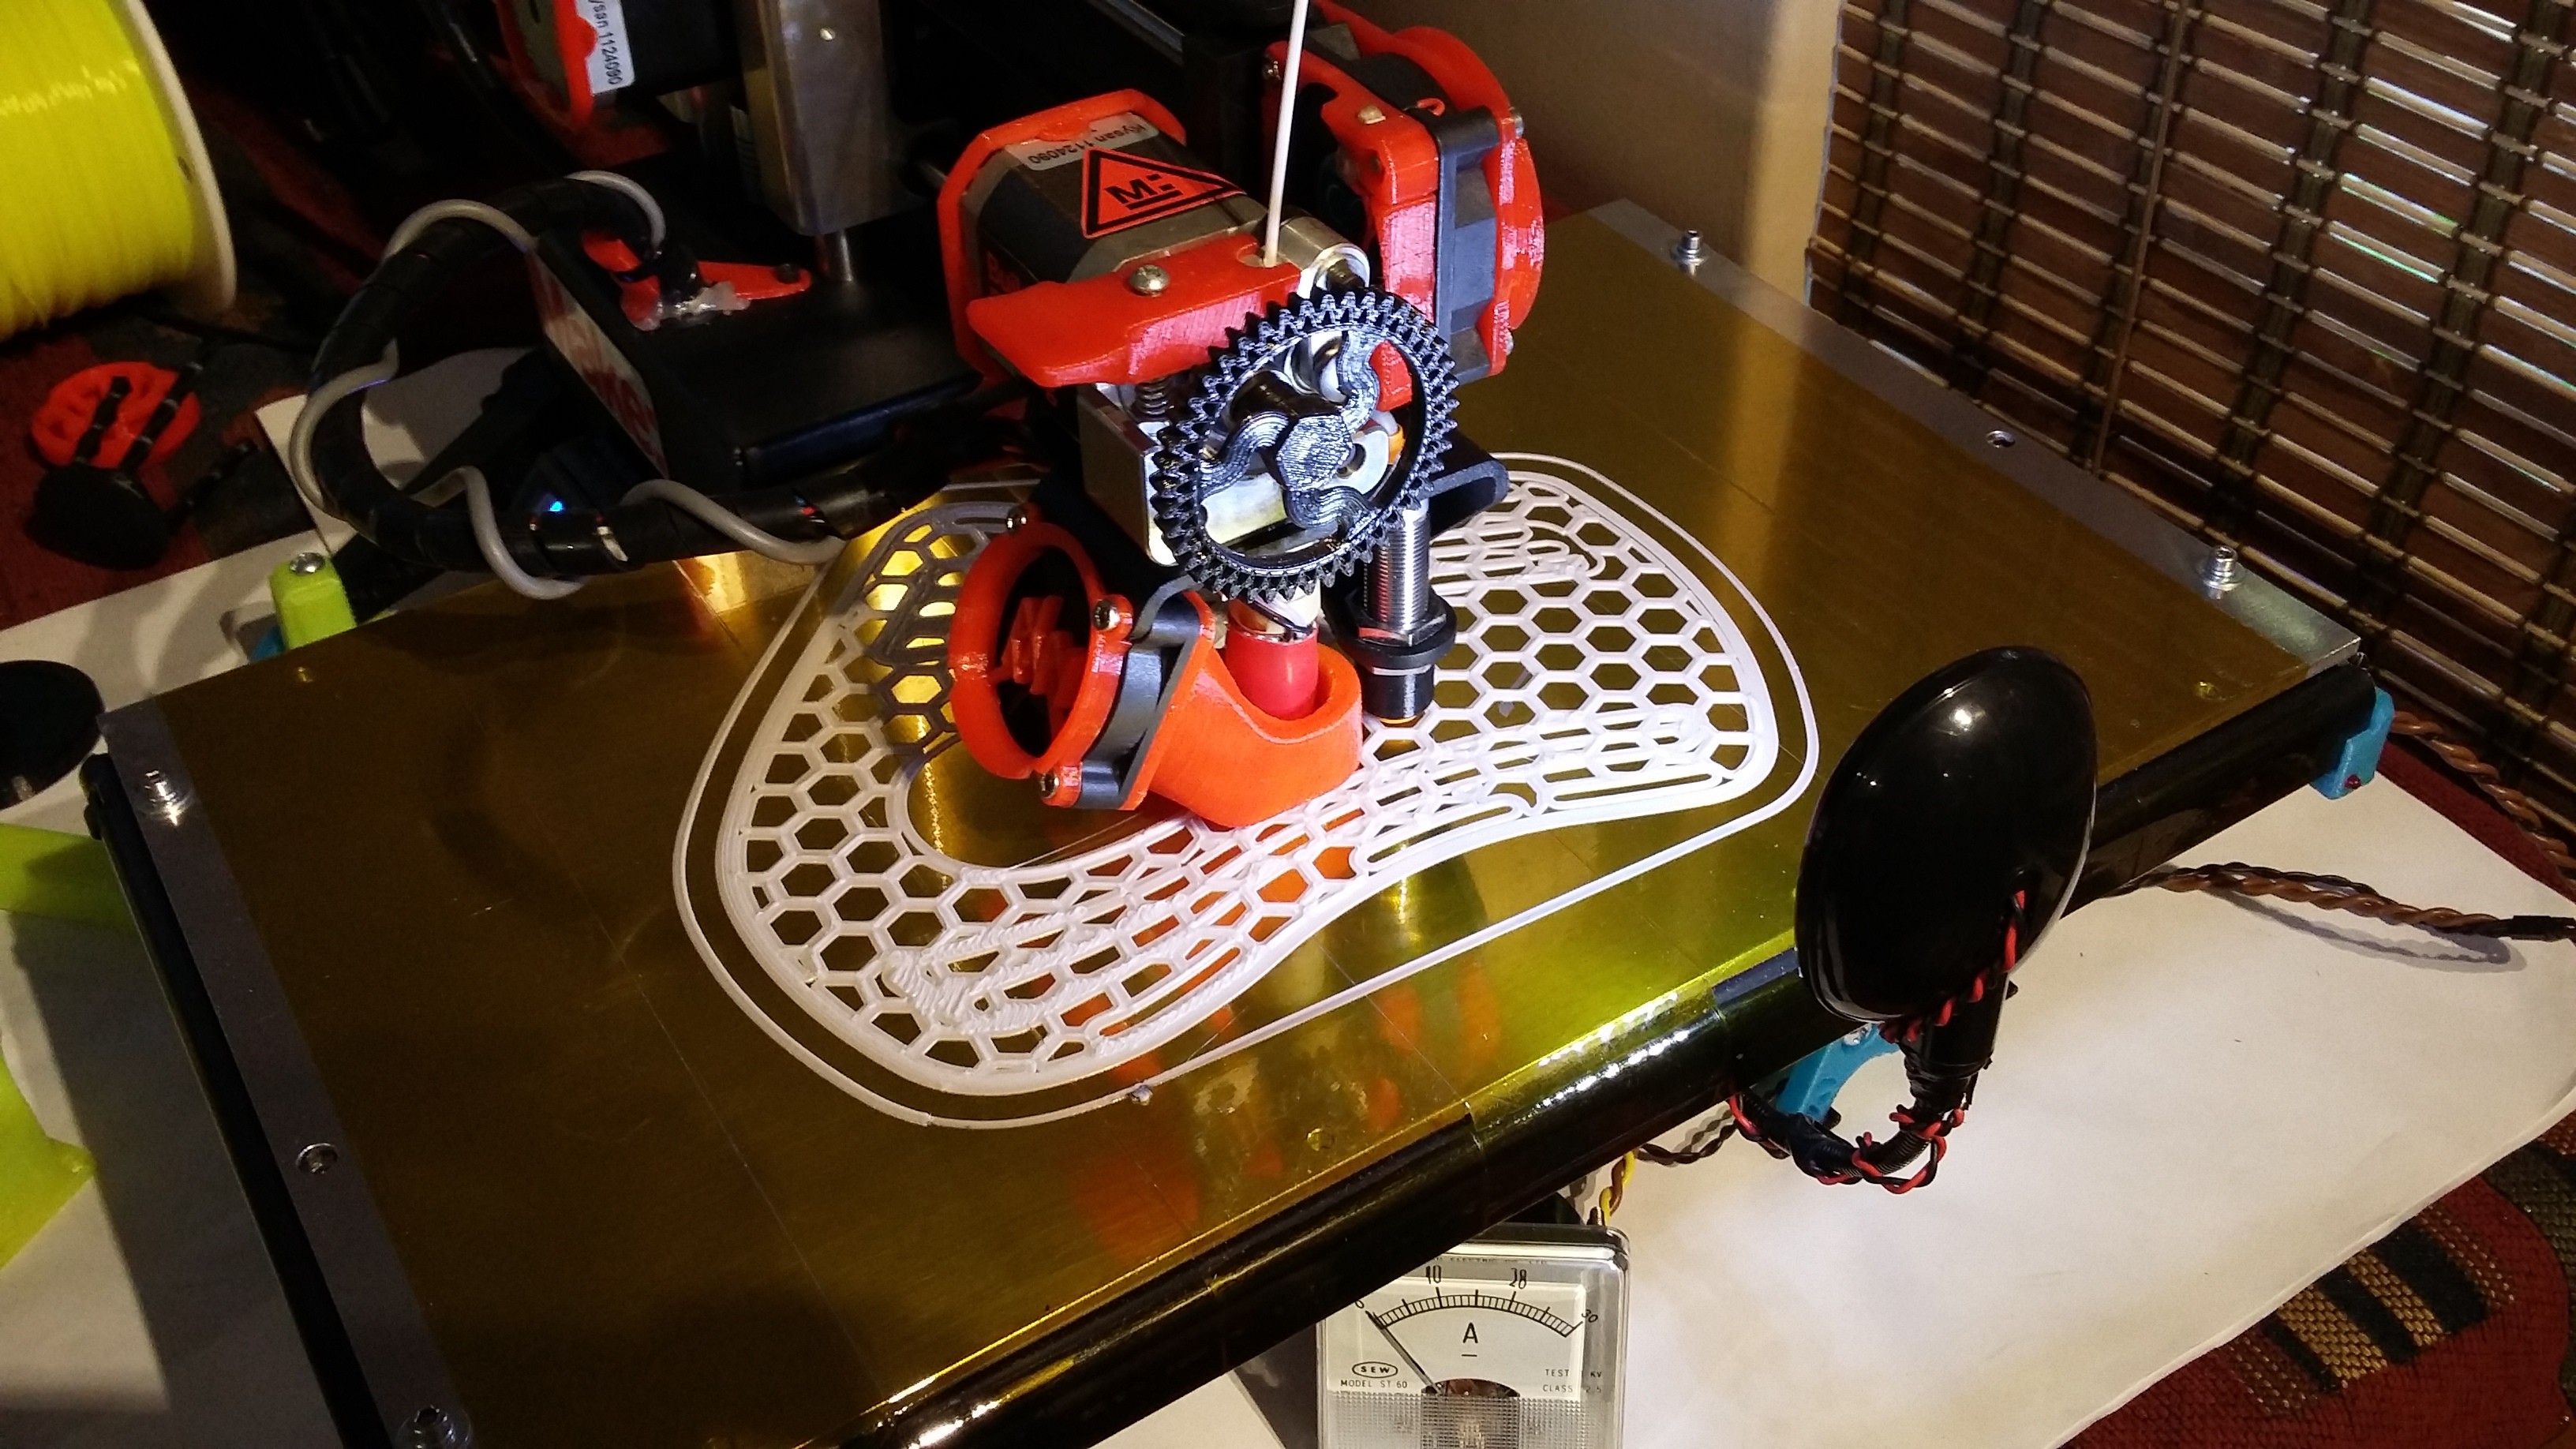
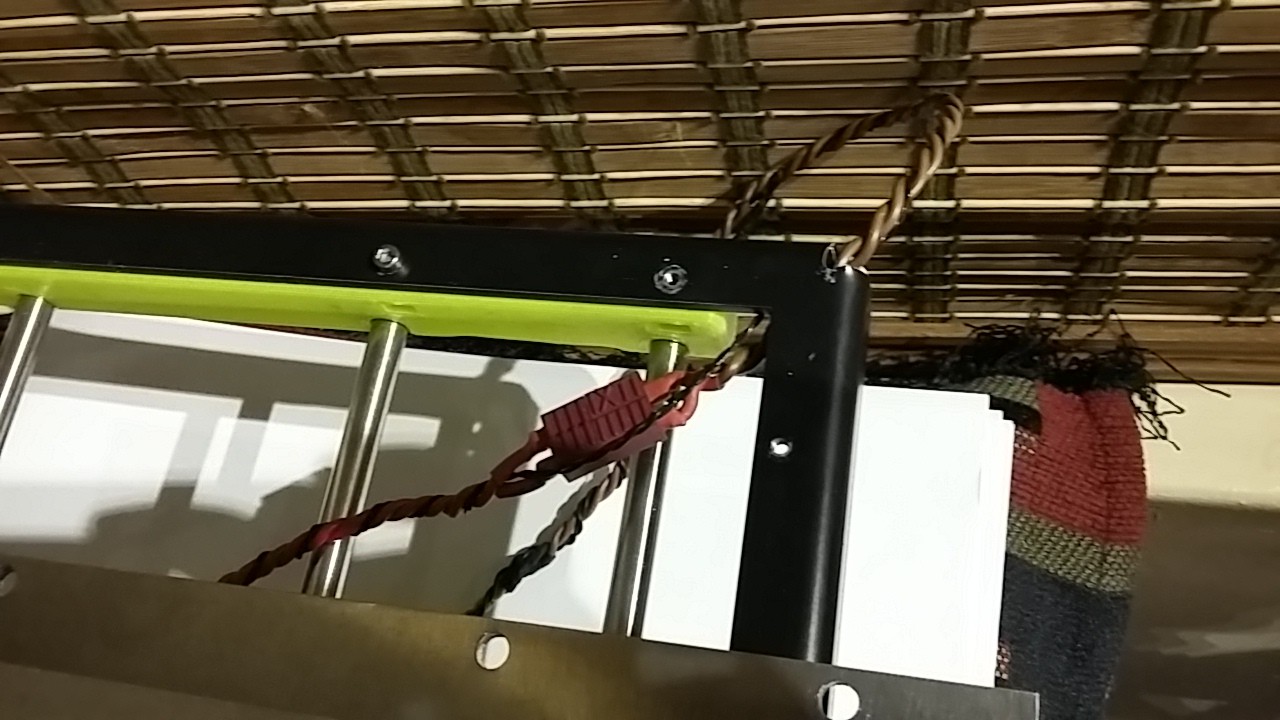
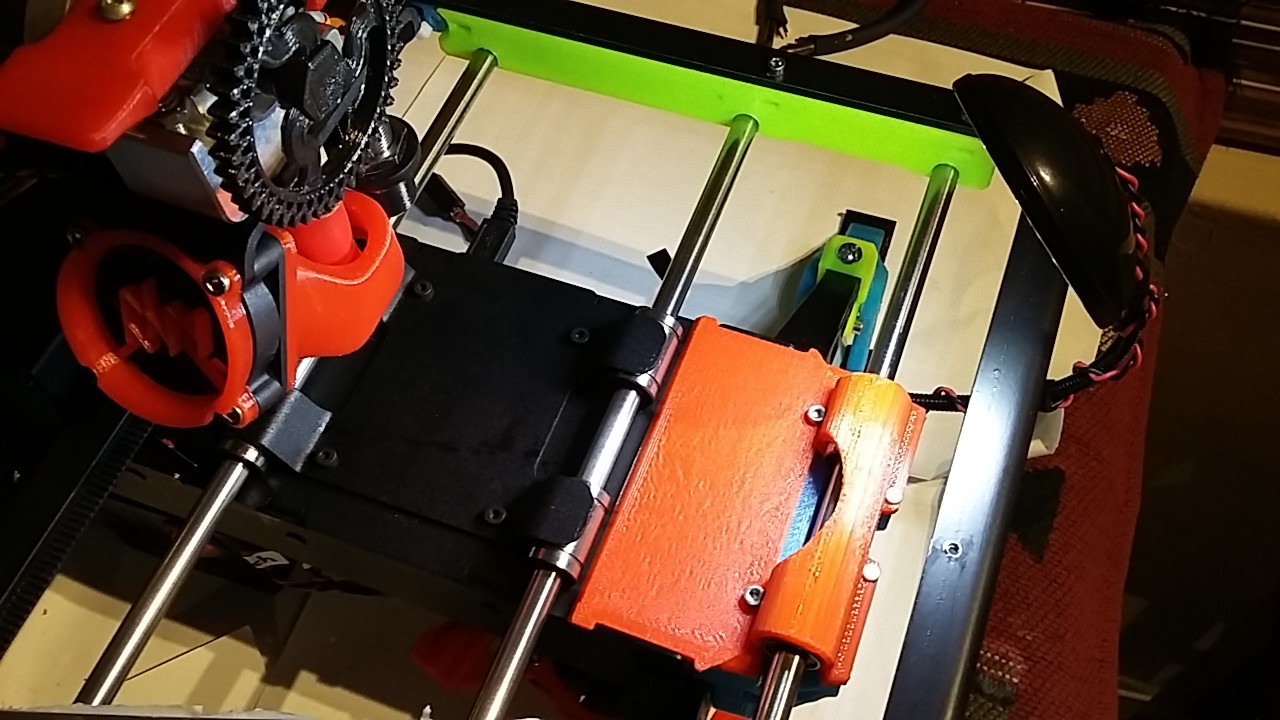
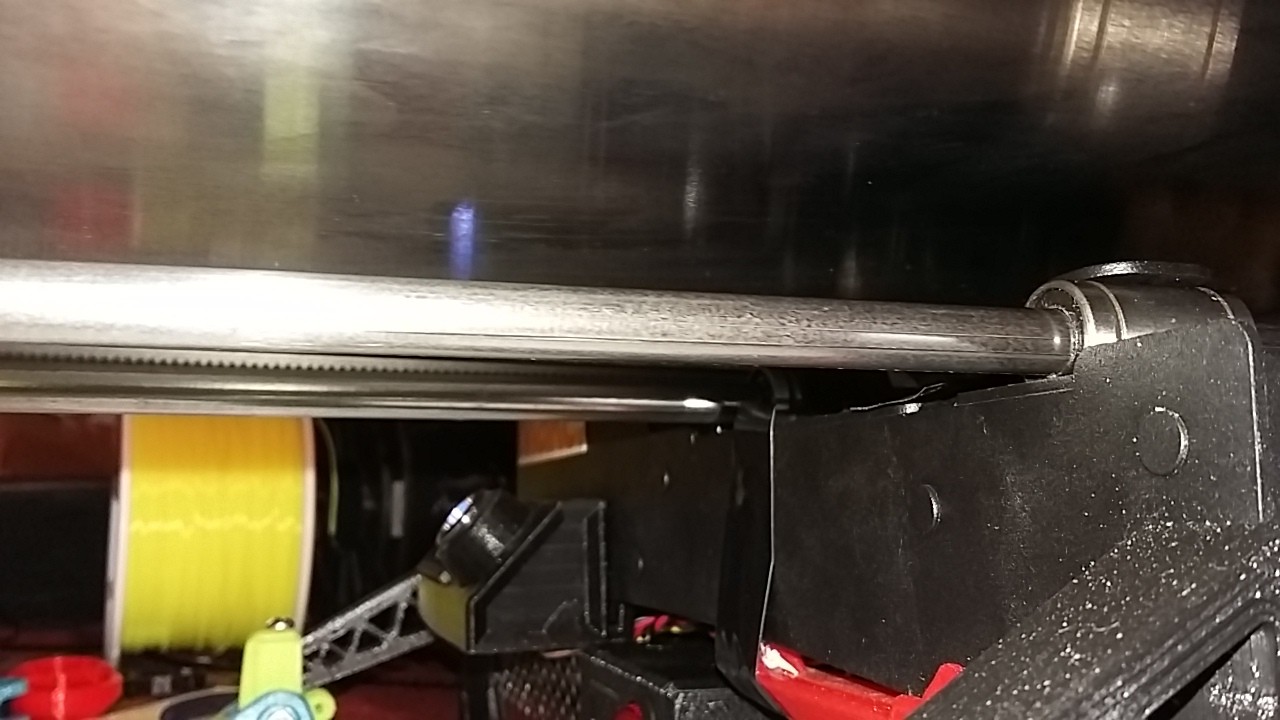
 You'll notice that right underneath the hotend, the new printbed seems to sit right up against the screw head that holds the X-axis motor to the frame. I didn't notice until after Itook the paint off of my printbed frame...

 Daren Schwenke
 ken.do
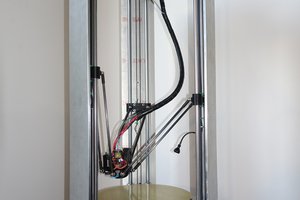
 Dominik Meffert
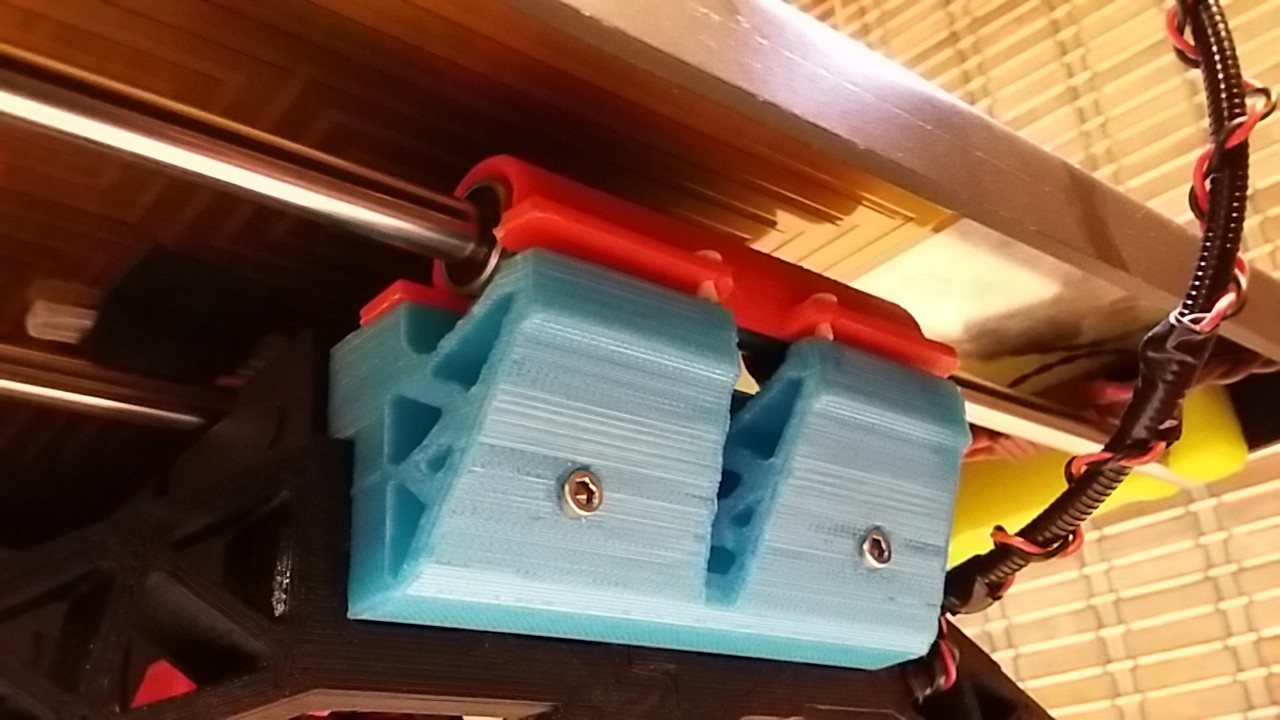
That's a good idea using nylon sleeve bearings, I hadn't thought about that. How is the corner detail after installing the nylon setup, especially on sharp corners?
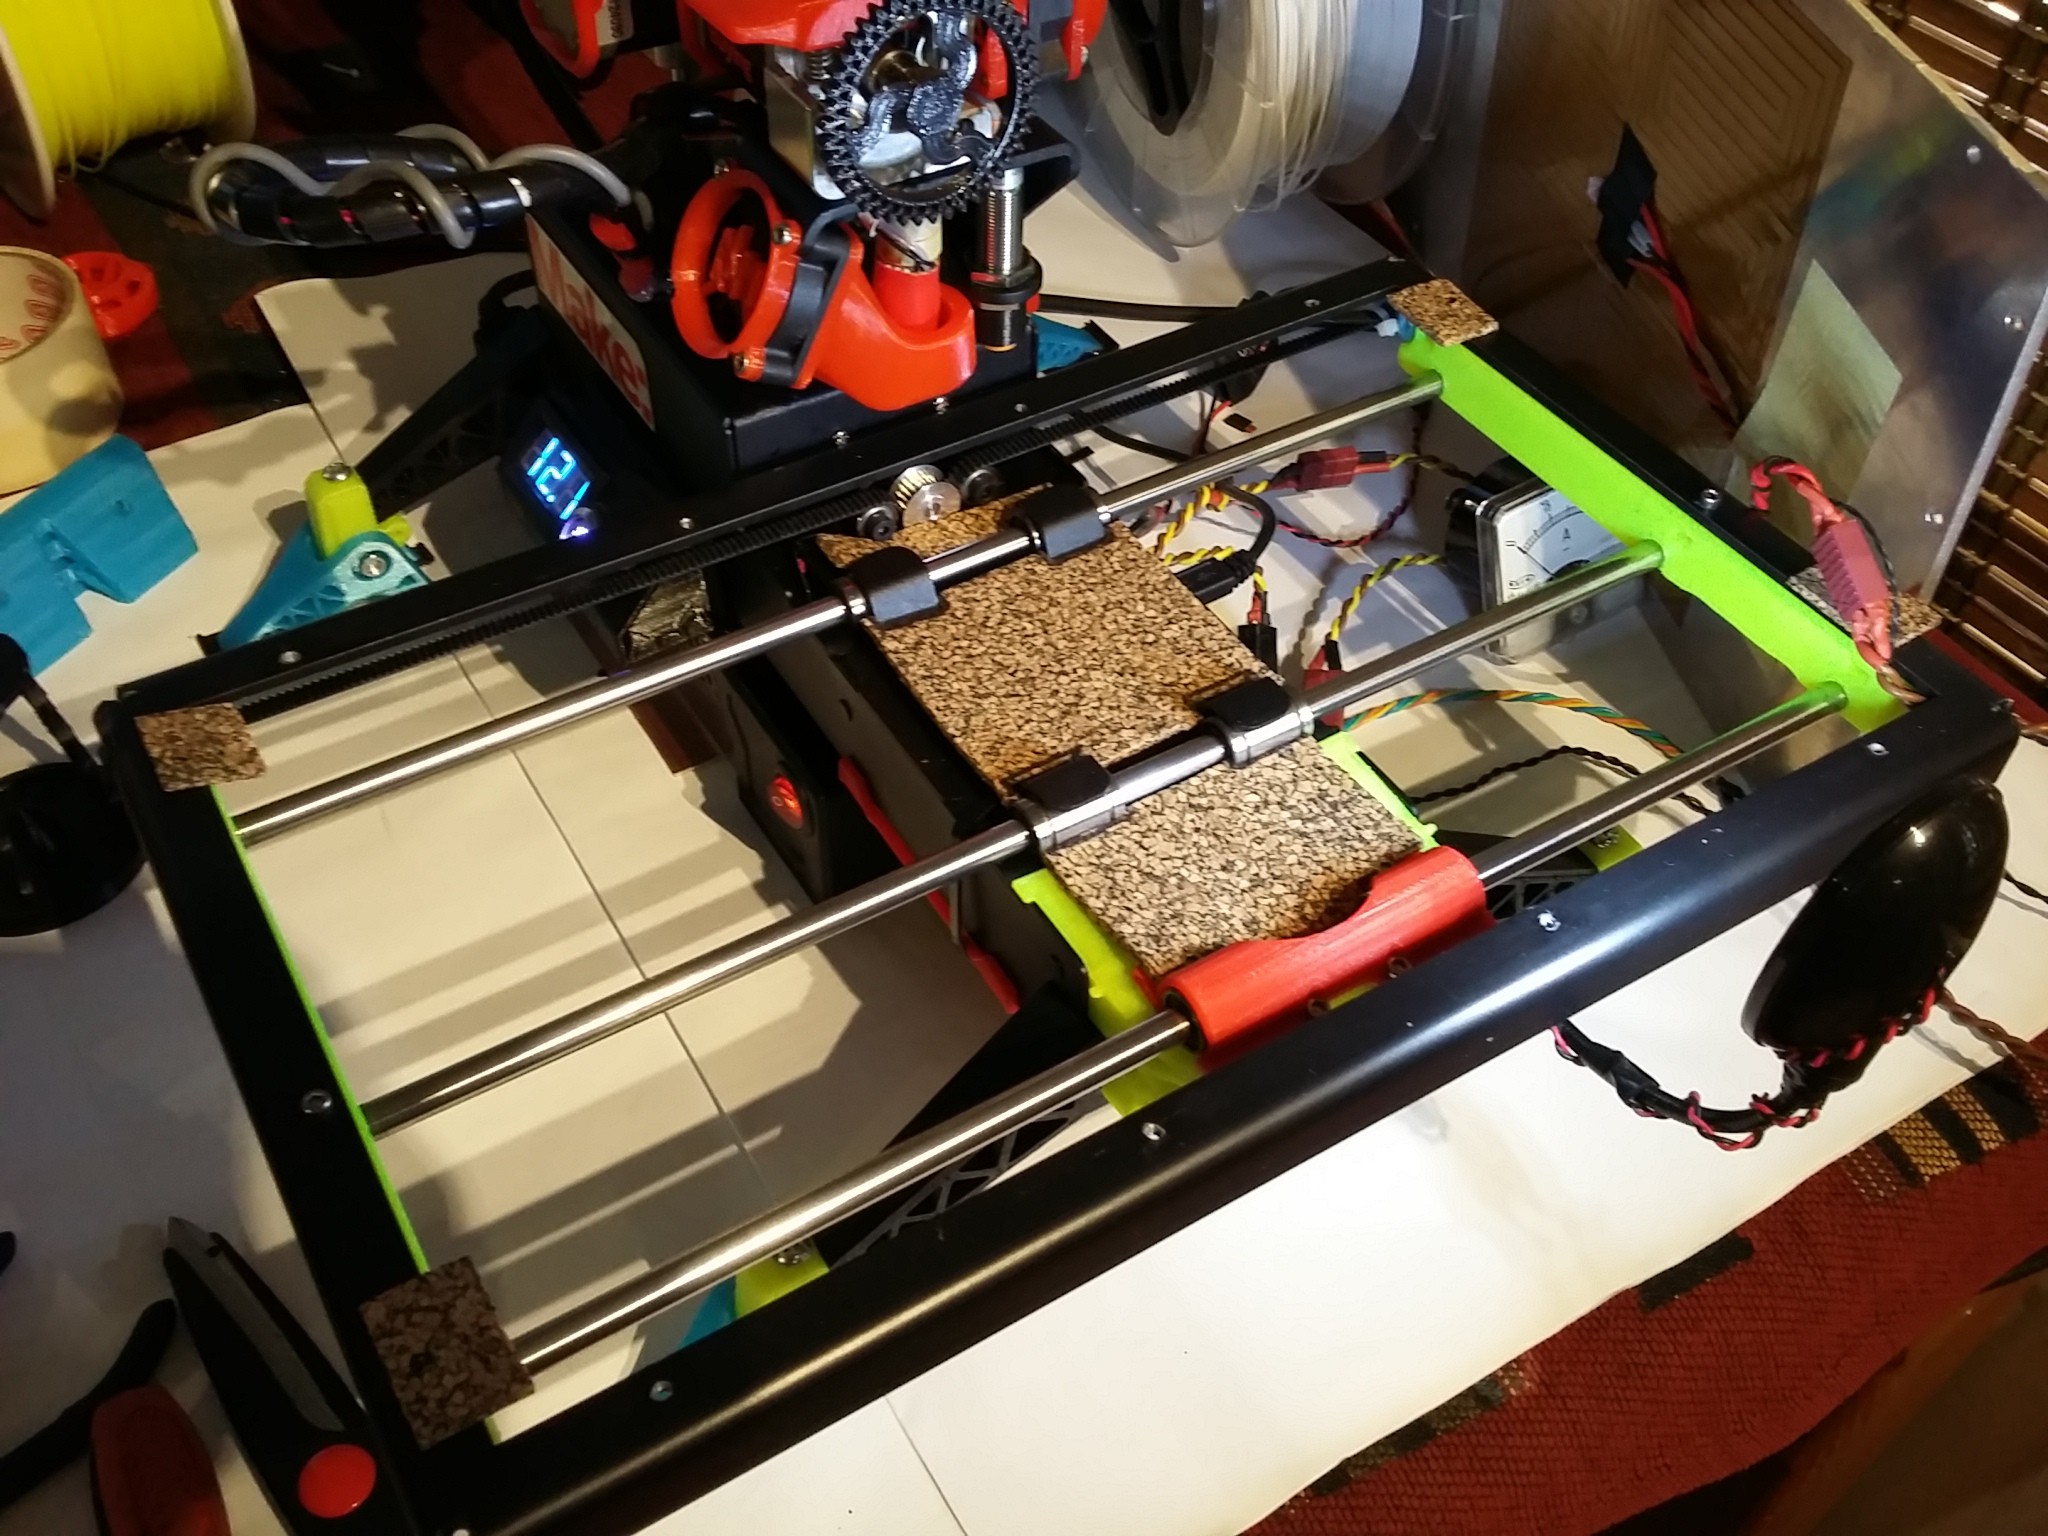
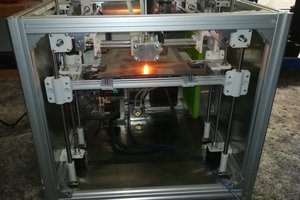
I ask because even after installing the third guide rod and now having 6 bearings on my ,slightly heavier 4mm Alu printbed, I still seem to have a slight rattle on the X-axis. Not enough to see with the naked eye, but enough to cause "ringing artifacts" on corners, it's barely noticeable so can't really get it to show up on a photo.
Room for improvement I guess.