Close
0%
0%

Team Kite Light System

A complete solution to add lights to Dual Line Sport kites to be used by Austin End of the Line Kite team

Similar projects worth following
There are three subsystems, LED lighting strips, Battery and the Controller. The solution includes 3D printed cases for the Controller and Battery along with some 3d printed parts to allow for easy attachment of the LED strips to the kites.

Design Goals;

I started out with the following design goals for the next generation of Kite Lights

for the controller:

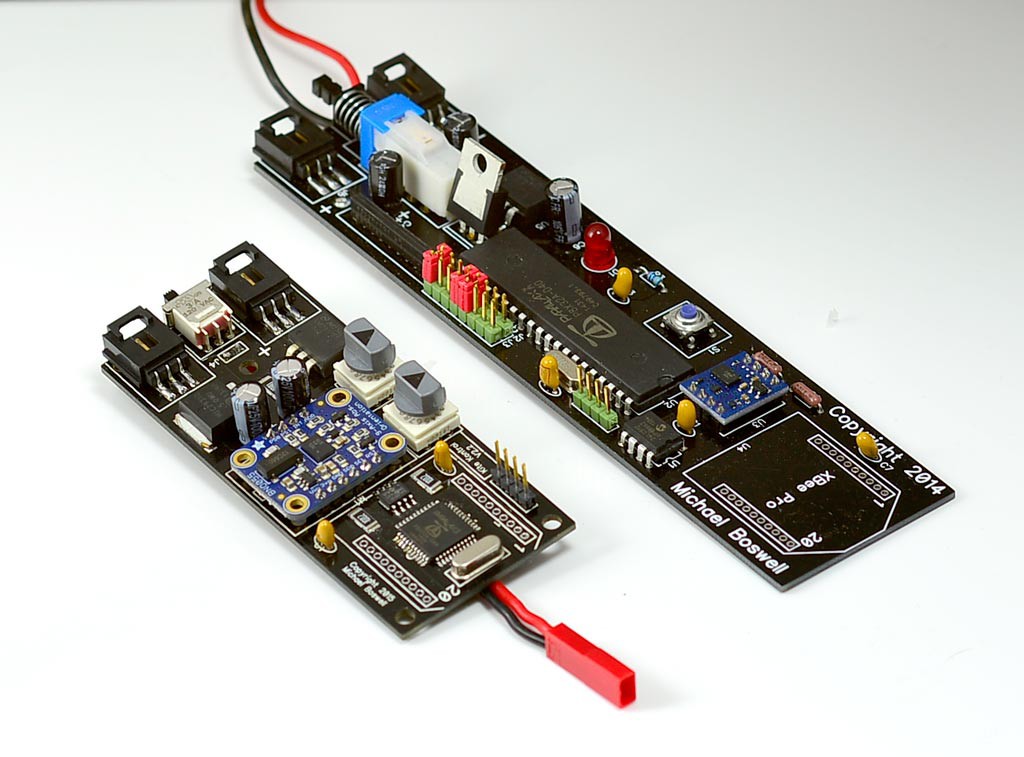
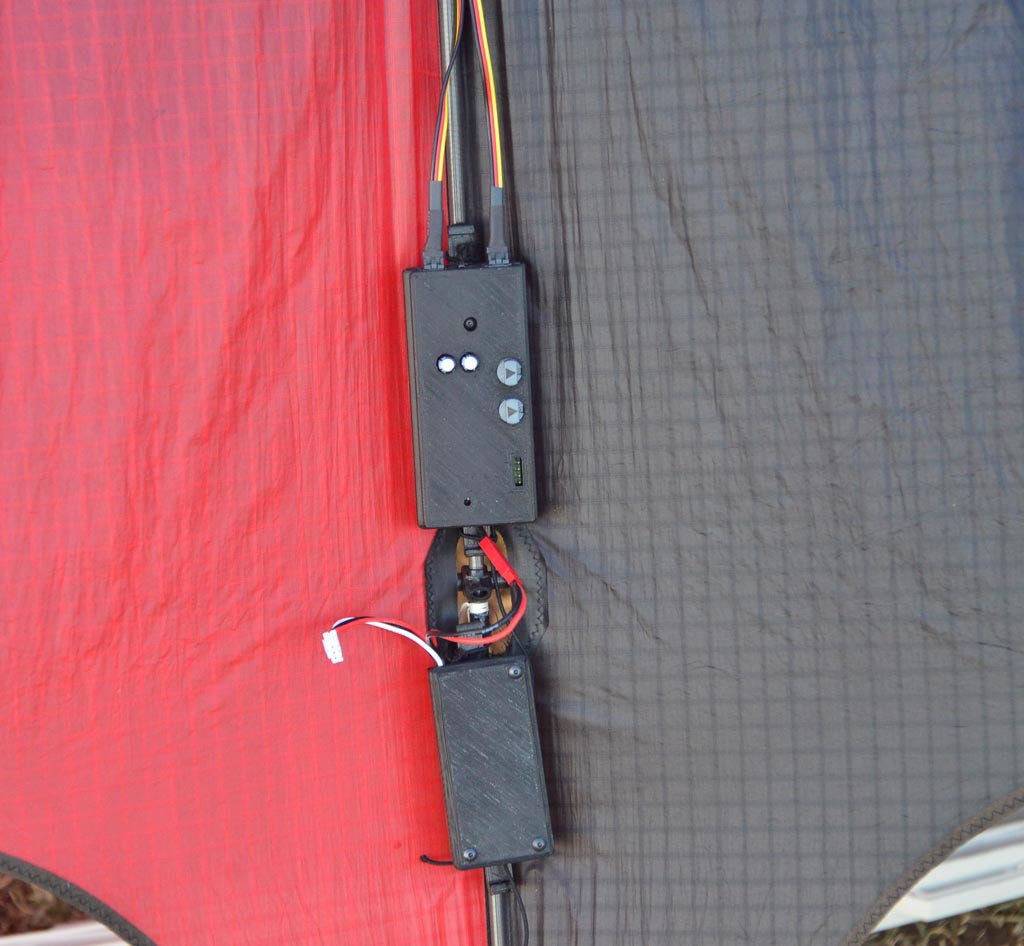
  1. Thru-hole for proof of concept and version 1. Later move to Surface mount to reduce size and weight
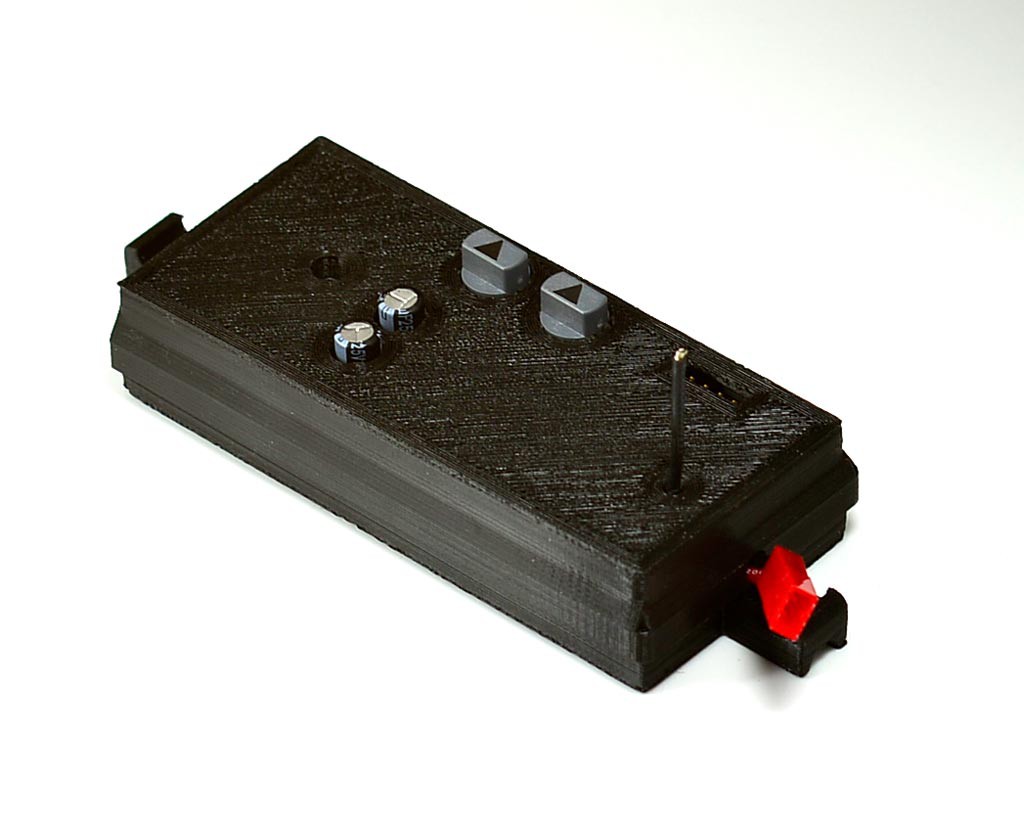
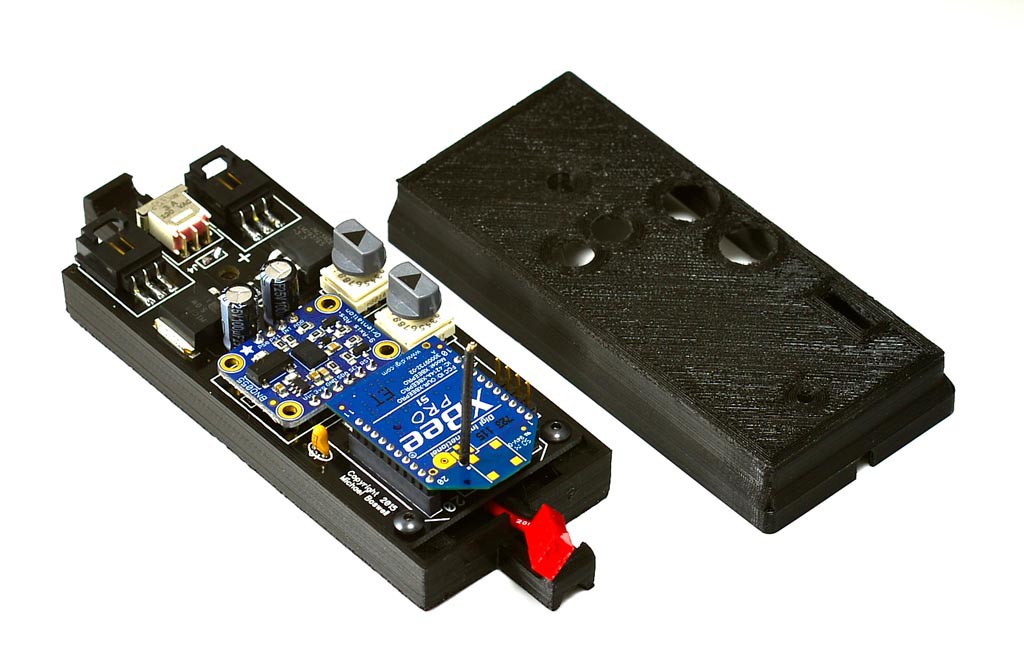
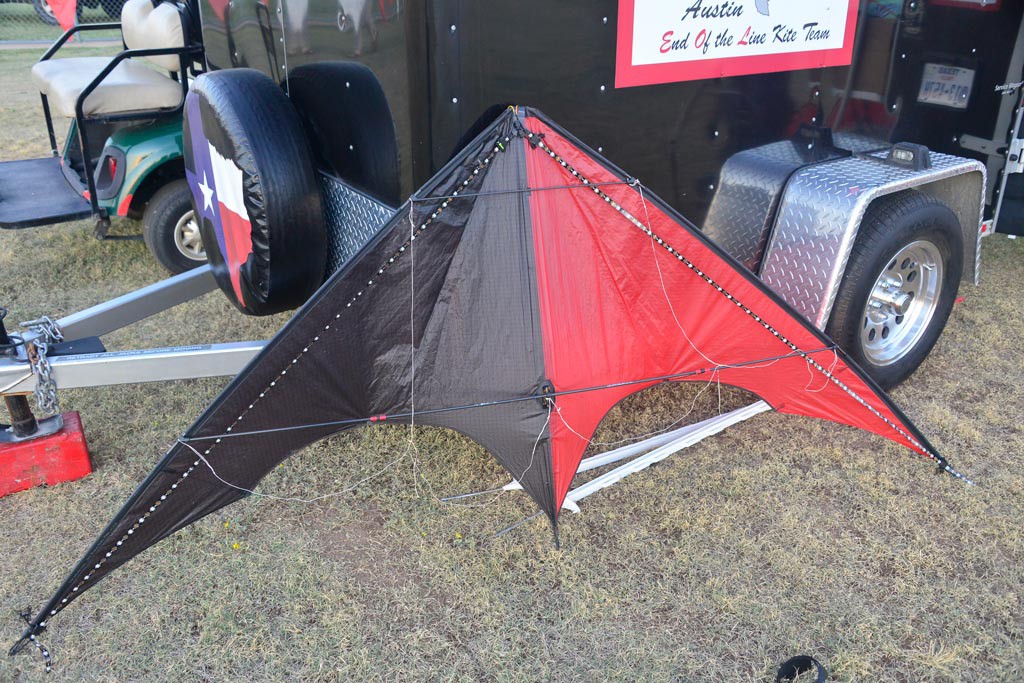
  2. Form factor needs to be long and narrow to mount on the spine of the kite and minimize drag
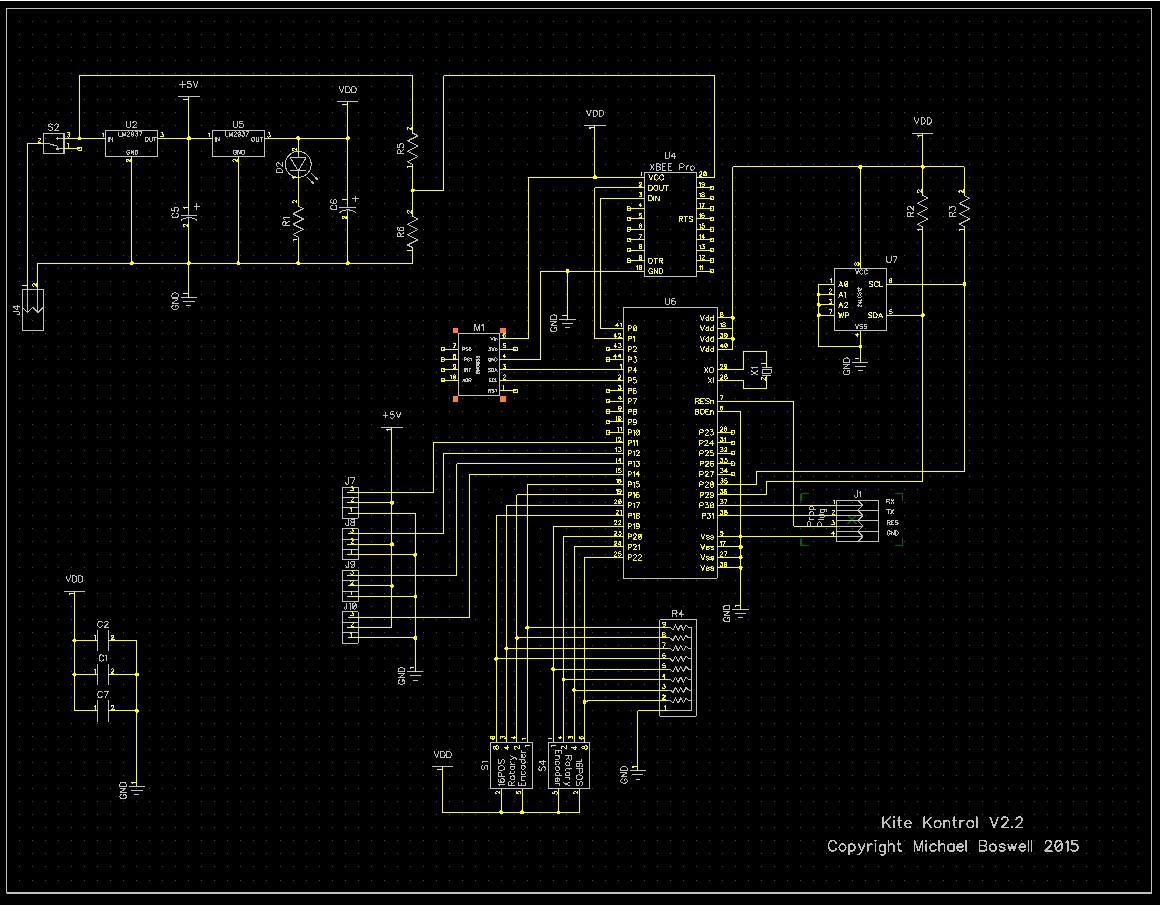
  3. Use a Parallax propeller because it is so easy to do complex things and it is fast.
  4. Minimum of 3 axis accelerometer to allow for contextual effects based on speed, orientation and direction
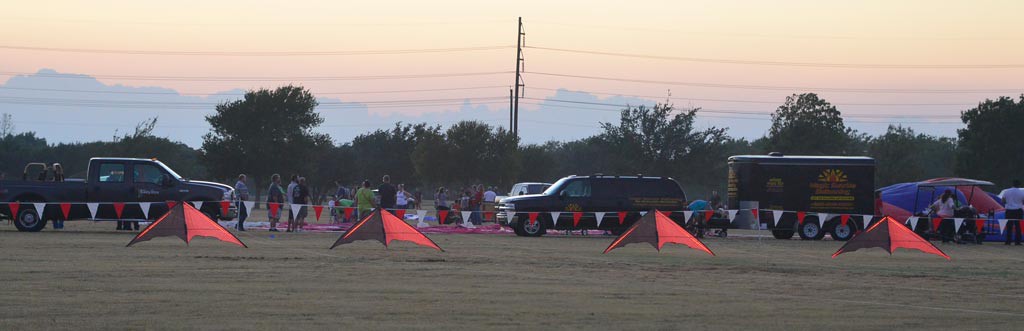
  5. Optional Zigbee radio to allow for synchronized lighting effects and possibly other ground controlled effects
  6. Needs to run on batteries (seems obvious)
  7. Battery life should be no less than 1 hour and more than 2 hours is probably a waste of battery weight and size.
  8. Use readily available LiPo batteries.
  9. Needs and On-Off switch
  10. Need to be able to select and "Address" for the radios network
  11. Need to be able to select from multiple pre-programmed effects

For the Lights

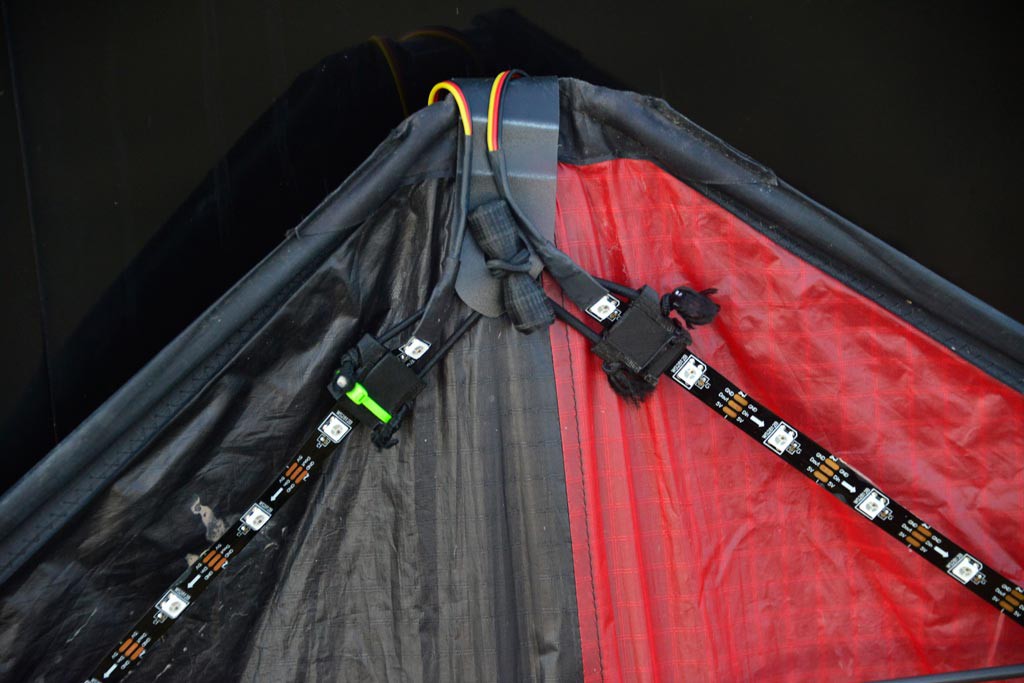
  1. Need a lightweight RGB LED array that can be individually addressed
  2. need a way to attach the LEDs quickly and easily so they can be moved from one kite to another and removed when not needed

  • 2 × .1 uf bypass capacitor
  • 2 × 100uf Electrolytic
  • 1 × LH N974-KN-1 RED SMD LED 1206 LEDs and Accessories / Light Emitting Diodes (LEDs)
  • 5 × 15-91-2035 Molex 3pin locking connector Connectors and Accessories / Board-to-Board and Card Edge Connectors
  • 1 × BNO055 9dof absolute sensor from Adafruit

View all 21 components

  • Video of Kite Lighting System

    Michael10/12/2015 at 02:42 0 comments

    Here is a video of the kite lighting system shot a two different occasions.

  • Detailed pictures of the Kite Controller

    Michael10/11/2015 at 20:20 0 comments

    Here is a closeup of the completed Kite Light controller. You can see the two rotary encoders used to set the device address/default color and the default program. Two caps for the power supply that stick thru the case , the antenna for the XBEE radio and a 4 pin header that allows me to update the firmware without opening the case.

    Here is another picture with the Case top removed. You can see the XBEE radio and the BNO055 absolute 9DOF position sensor from Adafruit.

    I tend to design and build things using a successive approximation method. The board on the Upper right is V1. V2 is on the bottom left and you can see the evolution in component choices such as the on/off switch, the programming headers and of course the move to using Surface Mount for some of the components. The Size reduction was almost 50%.

    What project would be complete without showing the schematic. Actually quite simple. This project is more about selecting the best components and also learning to use a toaster oven to reflow-solder surface mount components.

  • First Public Performance with new Kite Light System

    Michael10/10/2015 at 02:54 0 comments

    We had our first chance to fly the new light system at the Abilene Texas Balloon Festival a couple of weeks ago. While we had great wind all day, it died down as it often the case as it got dark. We were able to do a little bit of team flying with the lights but they mostly ended up as a ground display. These pictures show how I attached the lights , controller and Batteries to the kites.

    The picture above shows the two LED strips from AdaFruit (RBG Neopixel strips) There are 48 LEDS on each strip for 96 Total RGB LEDs

    This picture (above) shows how the LED strips are attached to the kite. The clamp was printed on my Ultimaker2 3d printer. it then uses shock cord to attach to the kite, this allows the strips to be under a little tension and also have some flexibility om case of a rough landing or crash. I also printed the "dongle" in the center.

    This picture shows the controller (top) and battery (bottom). the Battery is a 2C 500mAh LiPo battery. Both the cases were printed on my 3d Ultimaker 2 printer.

    Here is a picture that shows all four kites on the ground. You can see some of the LEDs lit (RED). I was displaying a chase pattern at the time.

  • Proof of Concept version

    Michael08/17/2015 at 03:50 0 comments

    About 18 months ago built a proof of concept design that used the NeoPixel strips from Adafruit and an existing board that i had designed for another project. The board was about 4in X 6in and so it was HUGE and HEAVY. I don't think we actually got it to fly but we did use it for a ground display at one of our Night performances. It also gave some early ideas of battery capacity needed. Most importantly I realized that the LED strips that I had chosen had an LED density that was much higher than needed. The kites are at the end of 120 feet of line and the spectators are usually another 50 feet behind us so 150-170 feet from the kites. The strips I originally picked had 60 LEDs per meter and at 120 feet it was clear that we could get a very cool effect with half as many. This was good news because less LEDs means much less weight for the overall system. I settled on the srips with 32 LEDs per meter. Each leading edge has 47 NeoPixels. Less LEDs saved weight in three areas. 1) the LED strips were lighter 2) the Battery could be smaller and lighter 3) the power regulator could be smaller and have less heat load.

    After I returned from the festival, I started work on a custom board using Thru-hole technology. I knew this was not going to be the final version but I had never make a surface mount board and wanted to be sure of the rest of the design before tackling that.

  • Kite Team and Night Flying

    Michael08/17/2015 at 02:53 0 comments

    One of my many hobbies is flying kites. While I do enjoy flying simple single like kites that you can get a the local Wal-Mart what really gets me excited is flying Dual-Line Sport Kites as a member of the Austin End of the Line Kite Team. We travel around and fly choreographed routines to music at various kite festivals Austin EOL. This year marks the 20th anniversary of the Austin EOL Kite team. Over the last several years we have been incorporating night flying into our performances by attaching a handful of LEDs on to the leading edge. This project in an attempt to take the simple always-on LEDs to the next level based on the axiom that anything worth doing, is worth over doing.

View all 5 project logs

Enjoy this project?

Share

Discussions

Similar Projects

Does this project spark your interest?

Become a member to follow this project and never miss any updates