 DeepSOIC
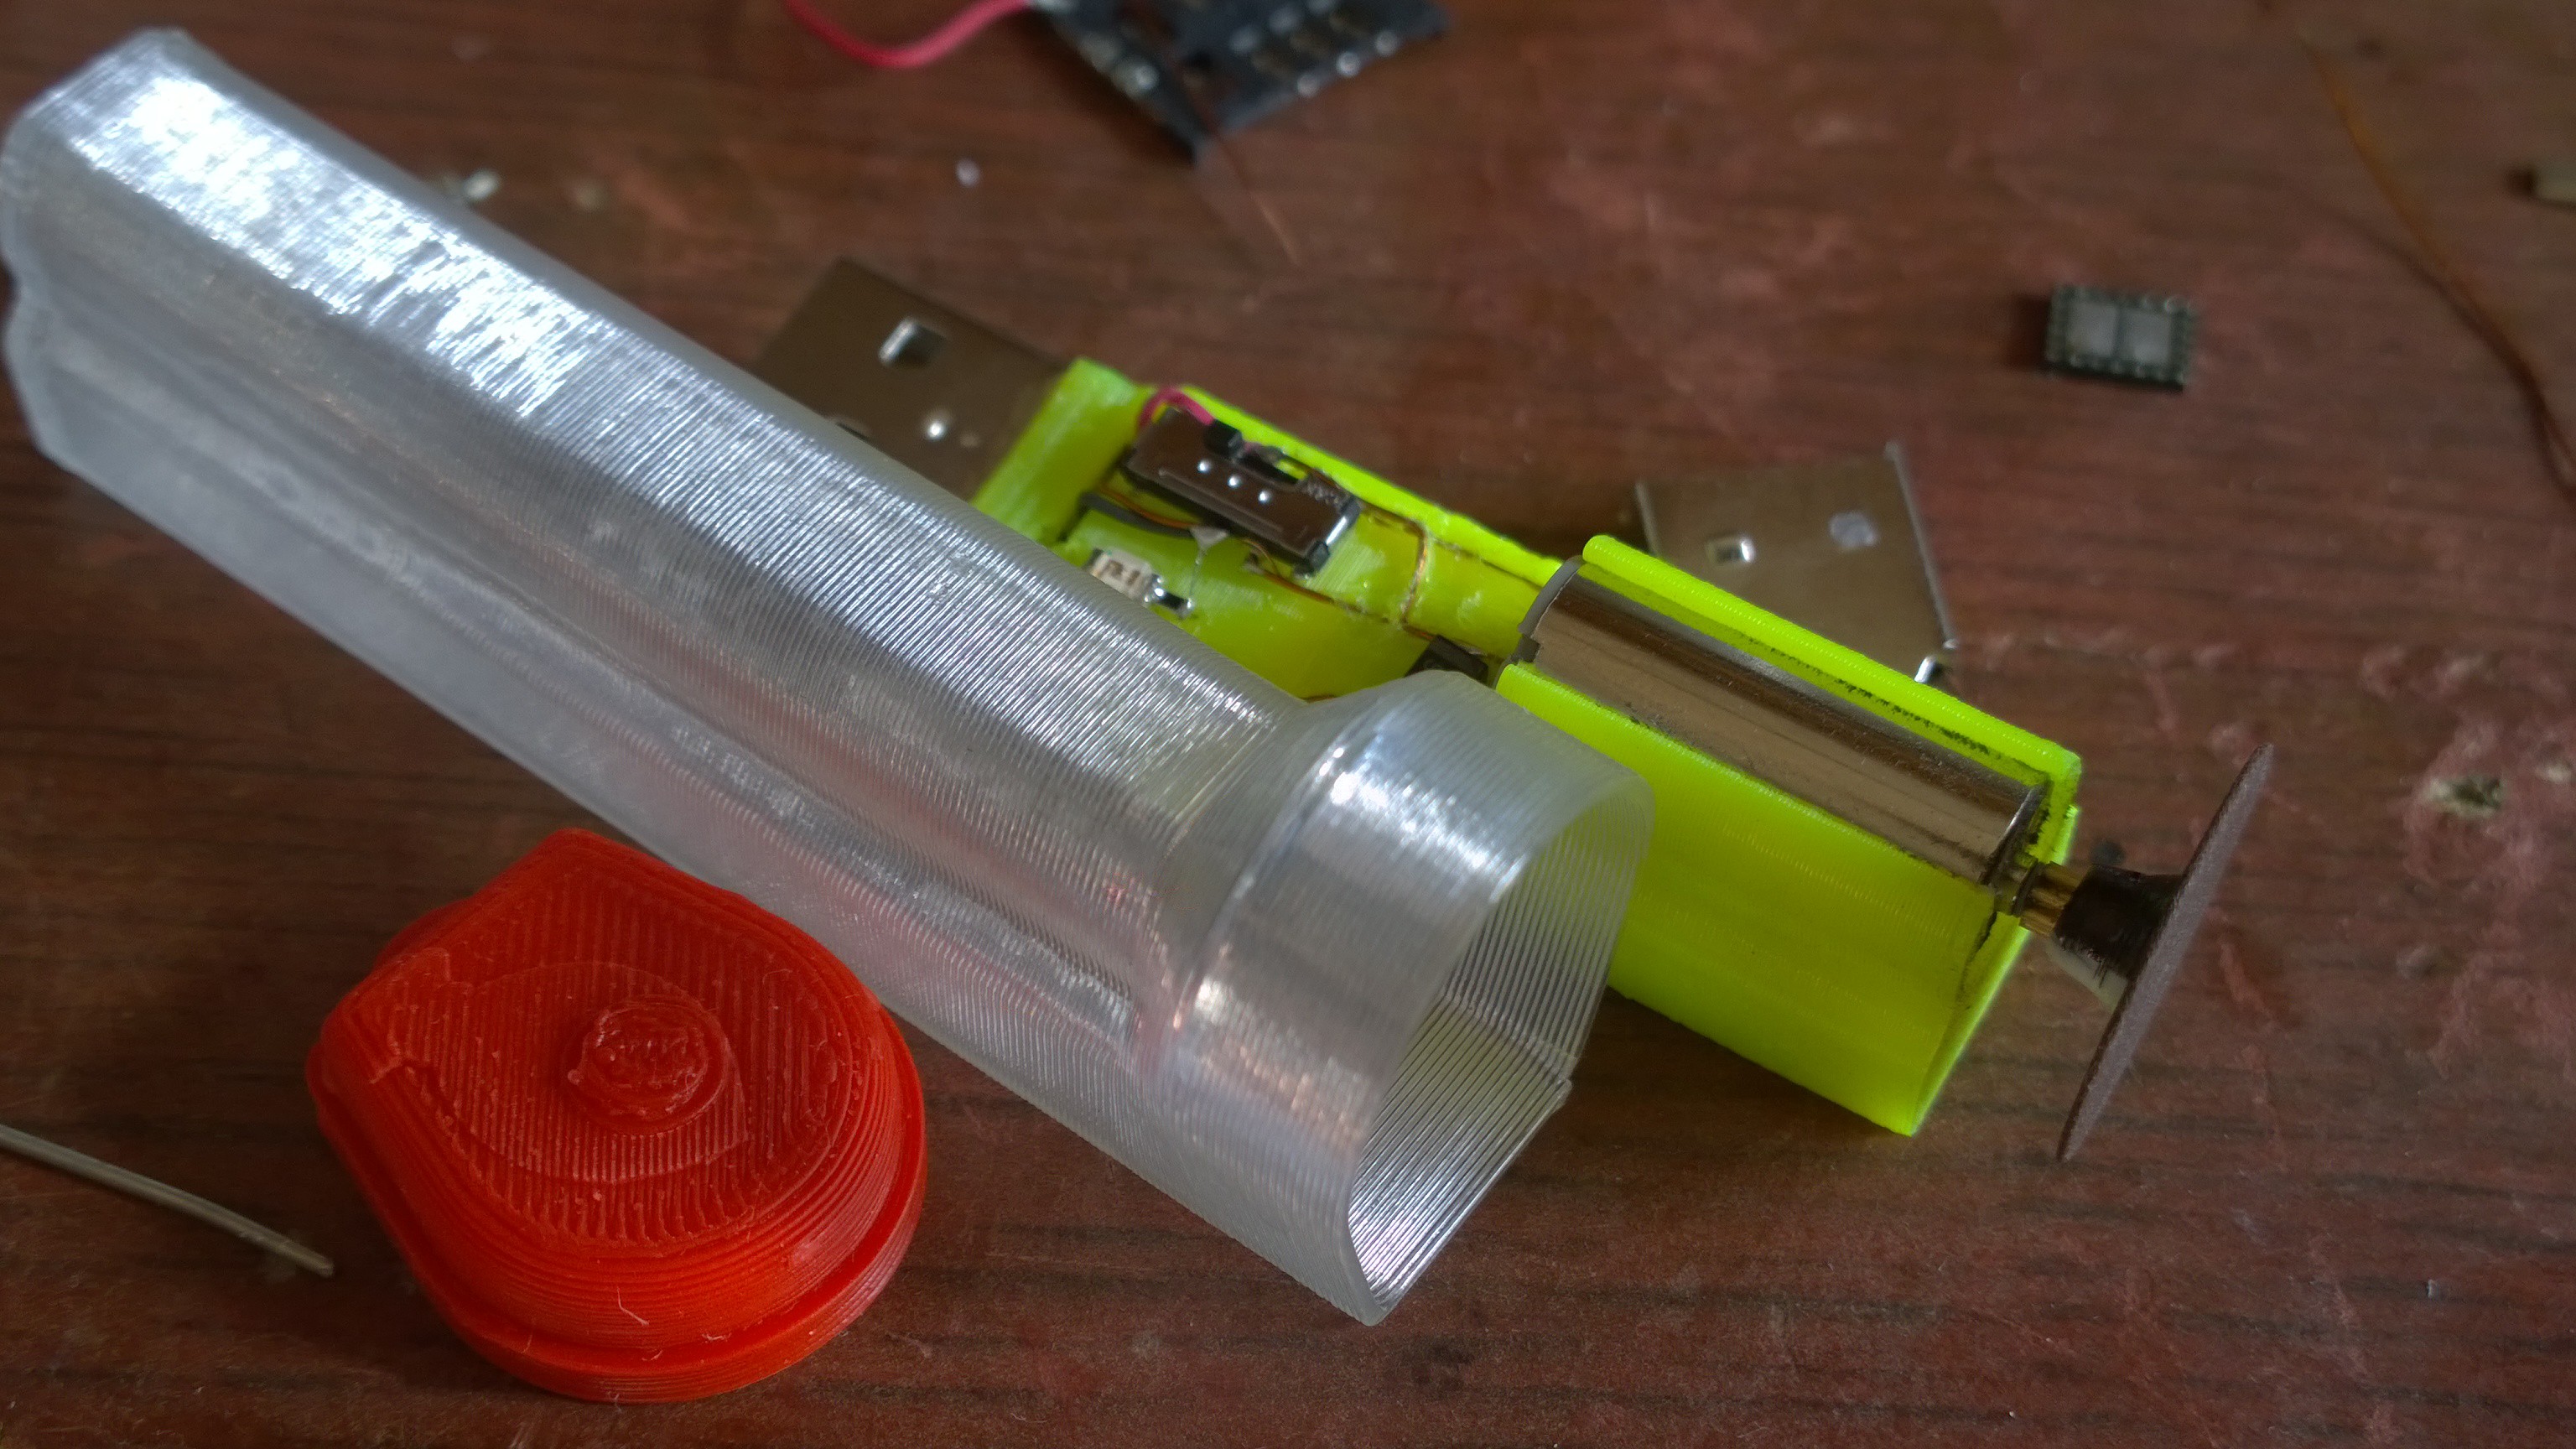
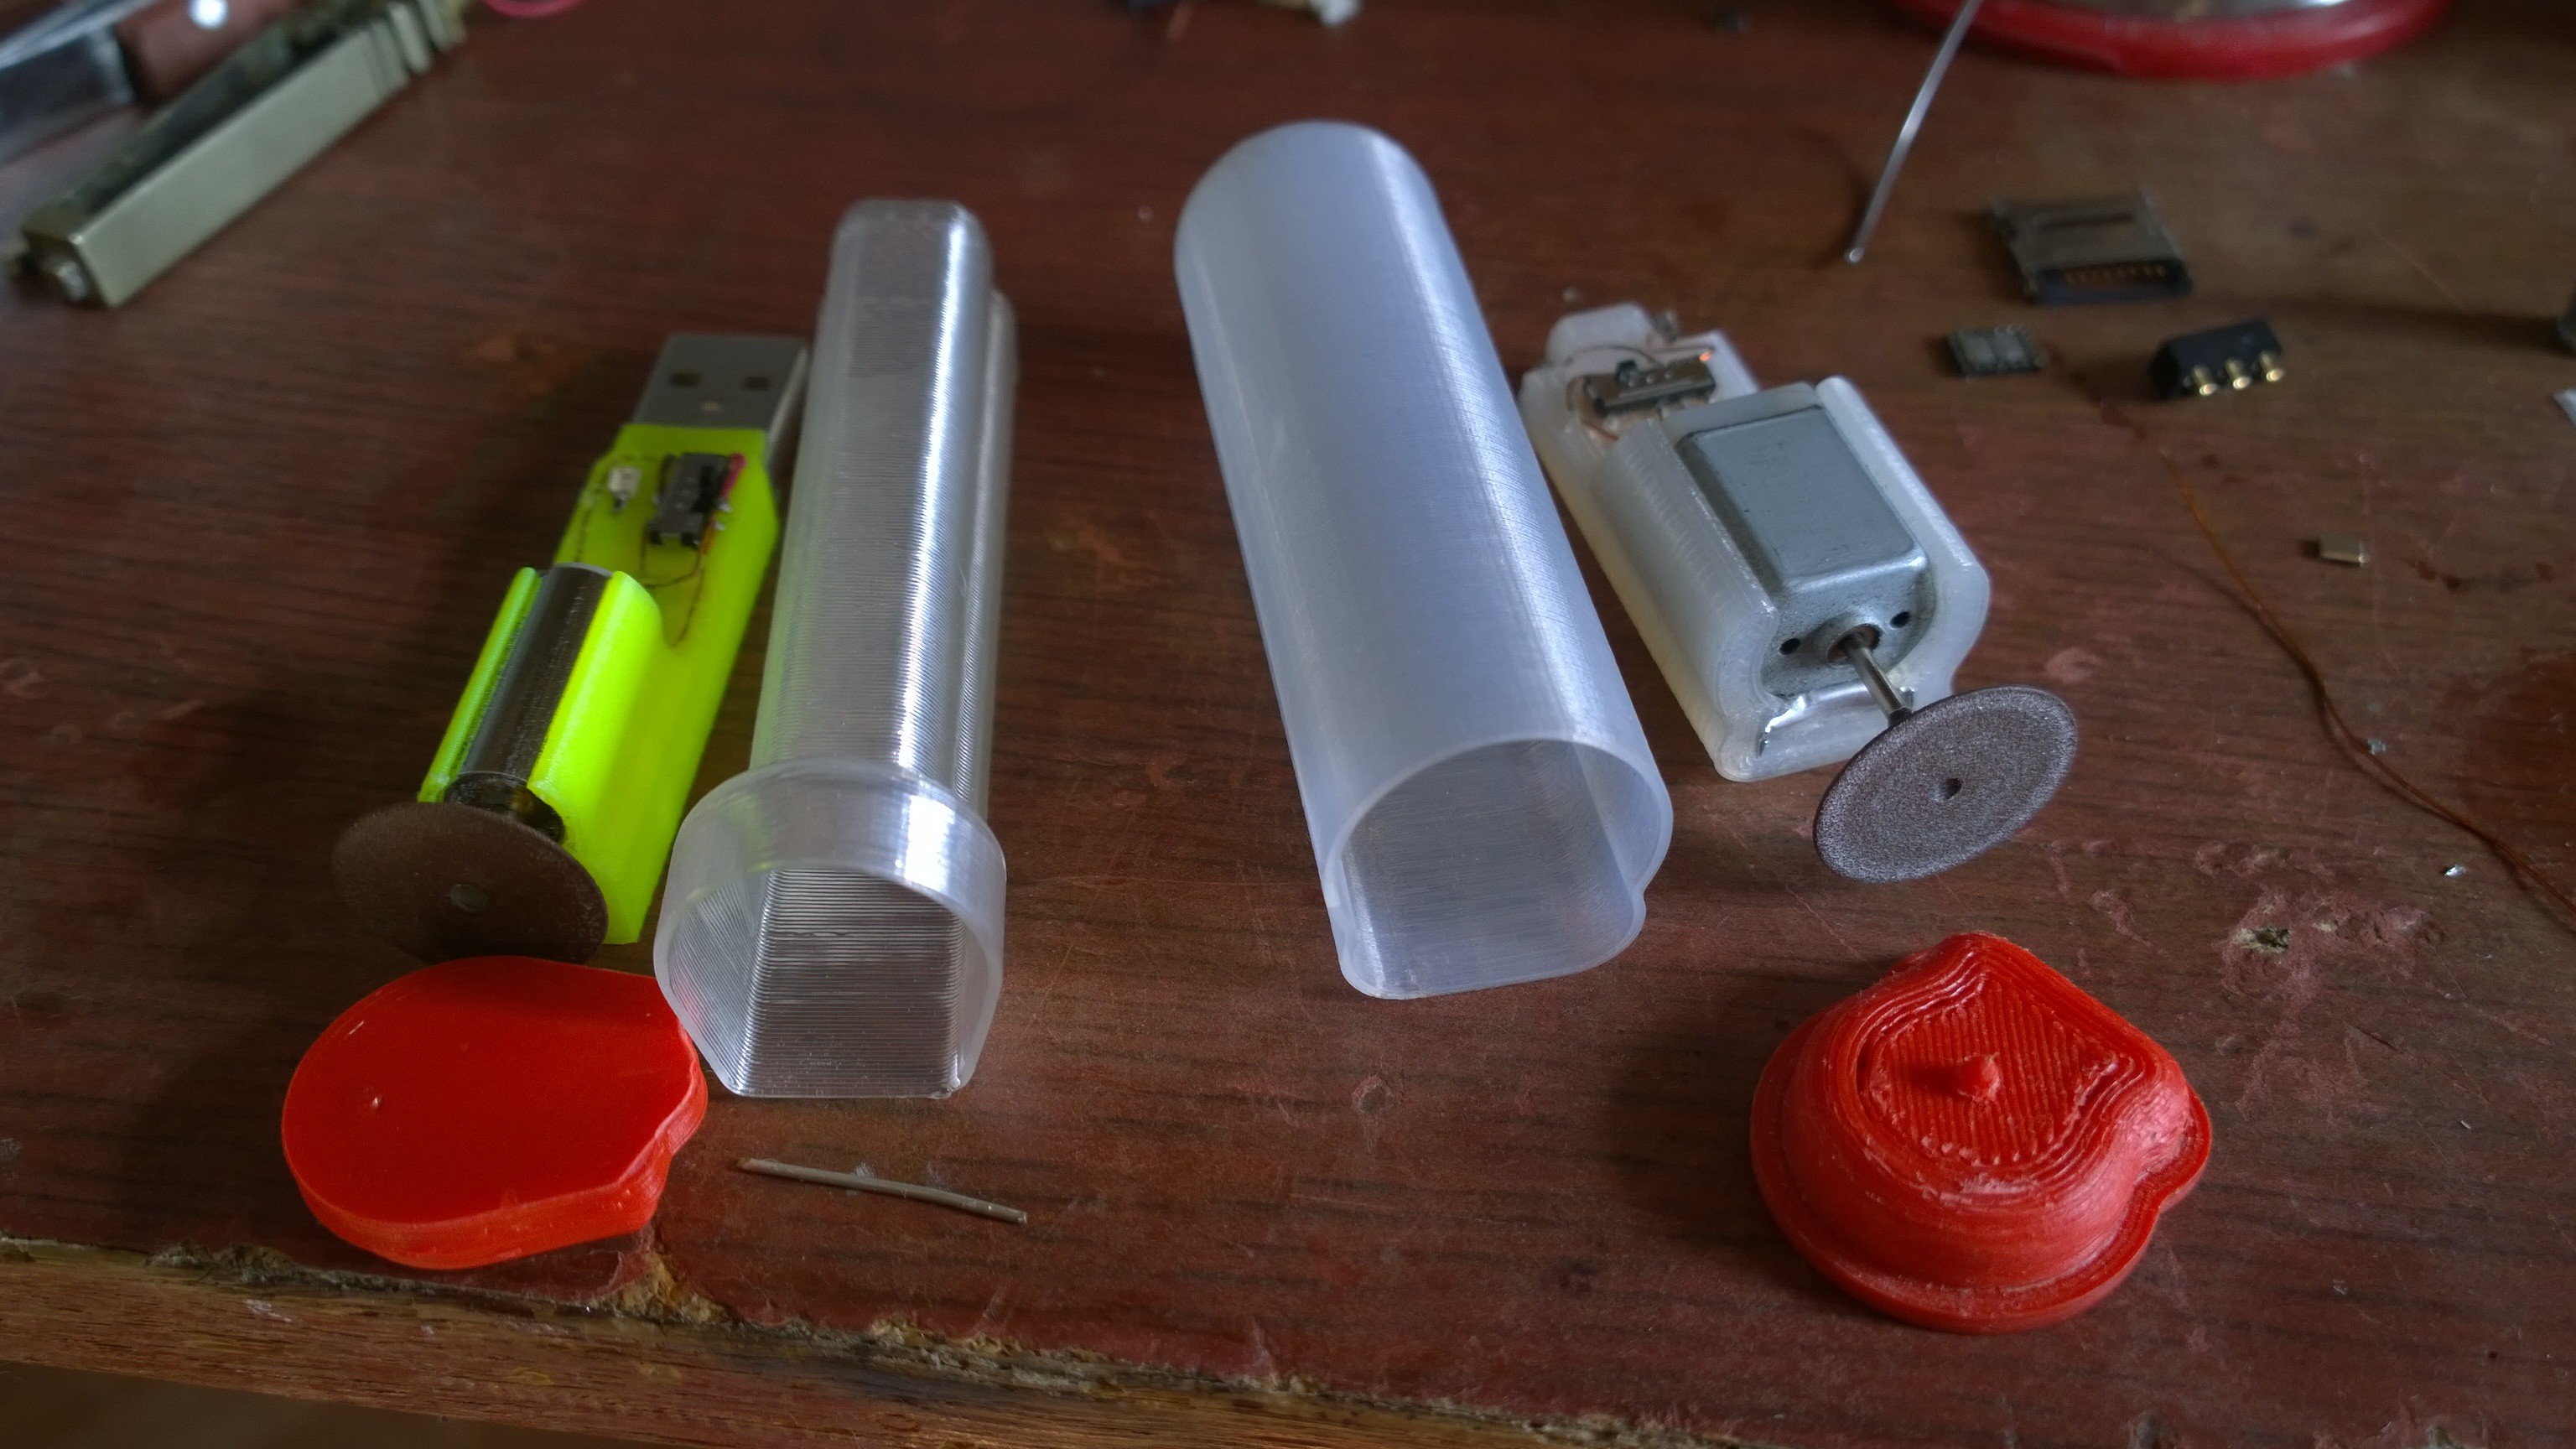
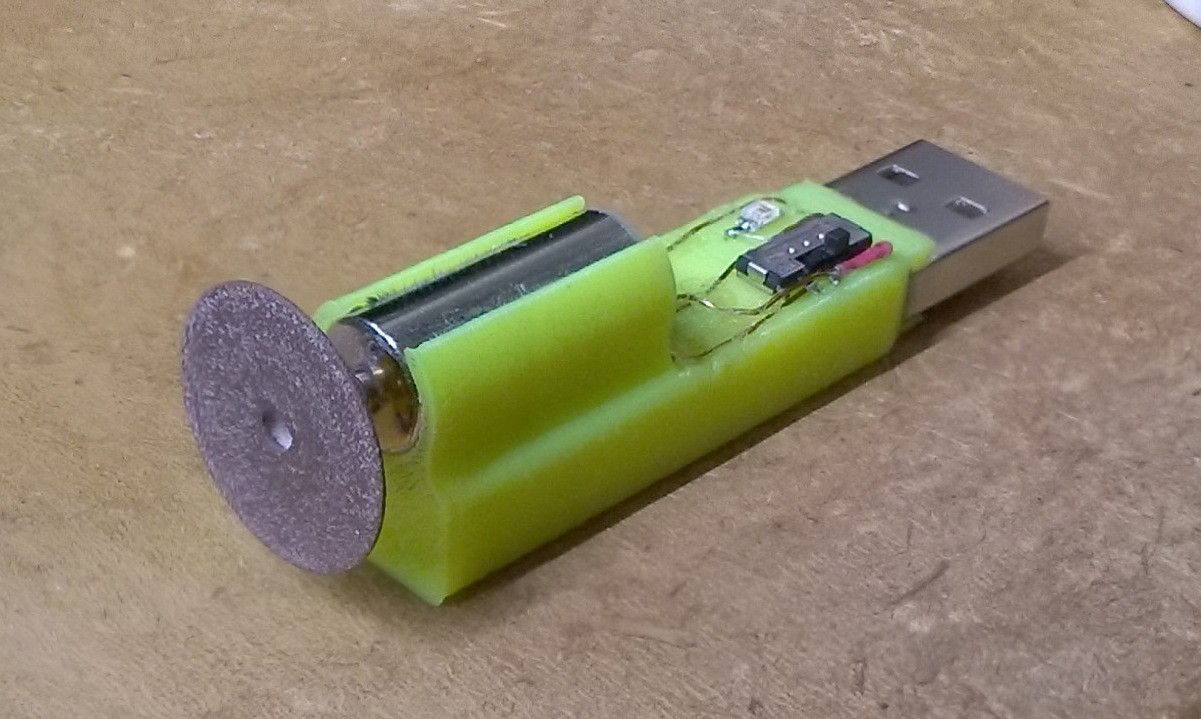
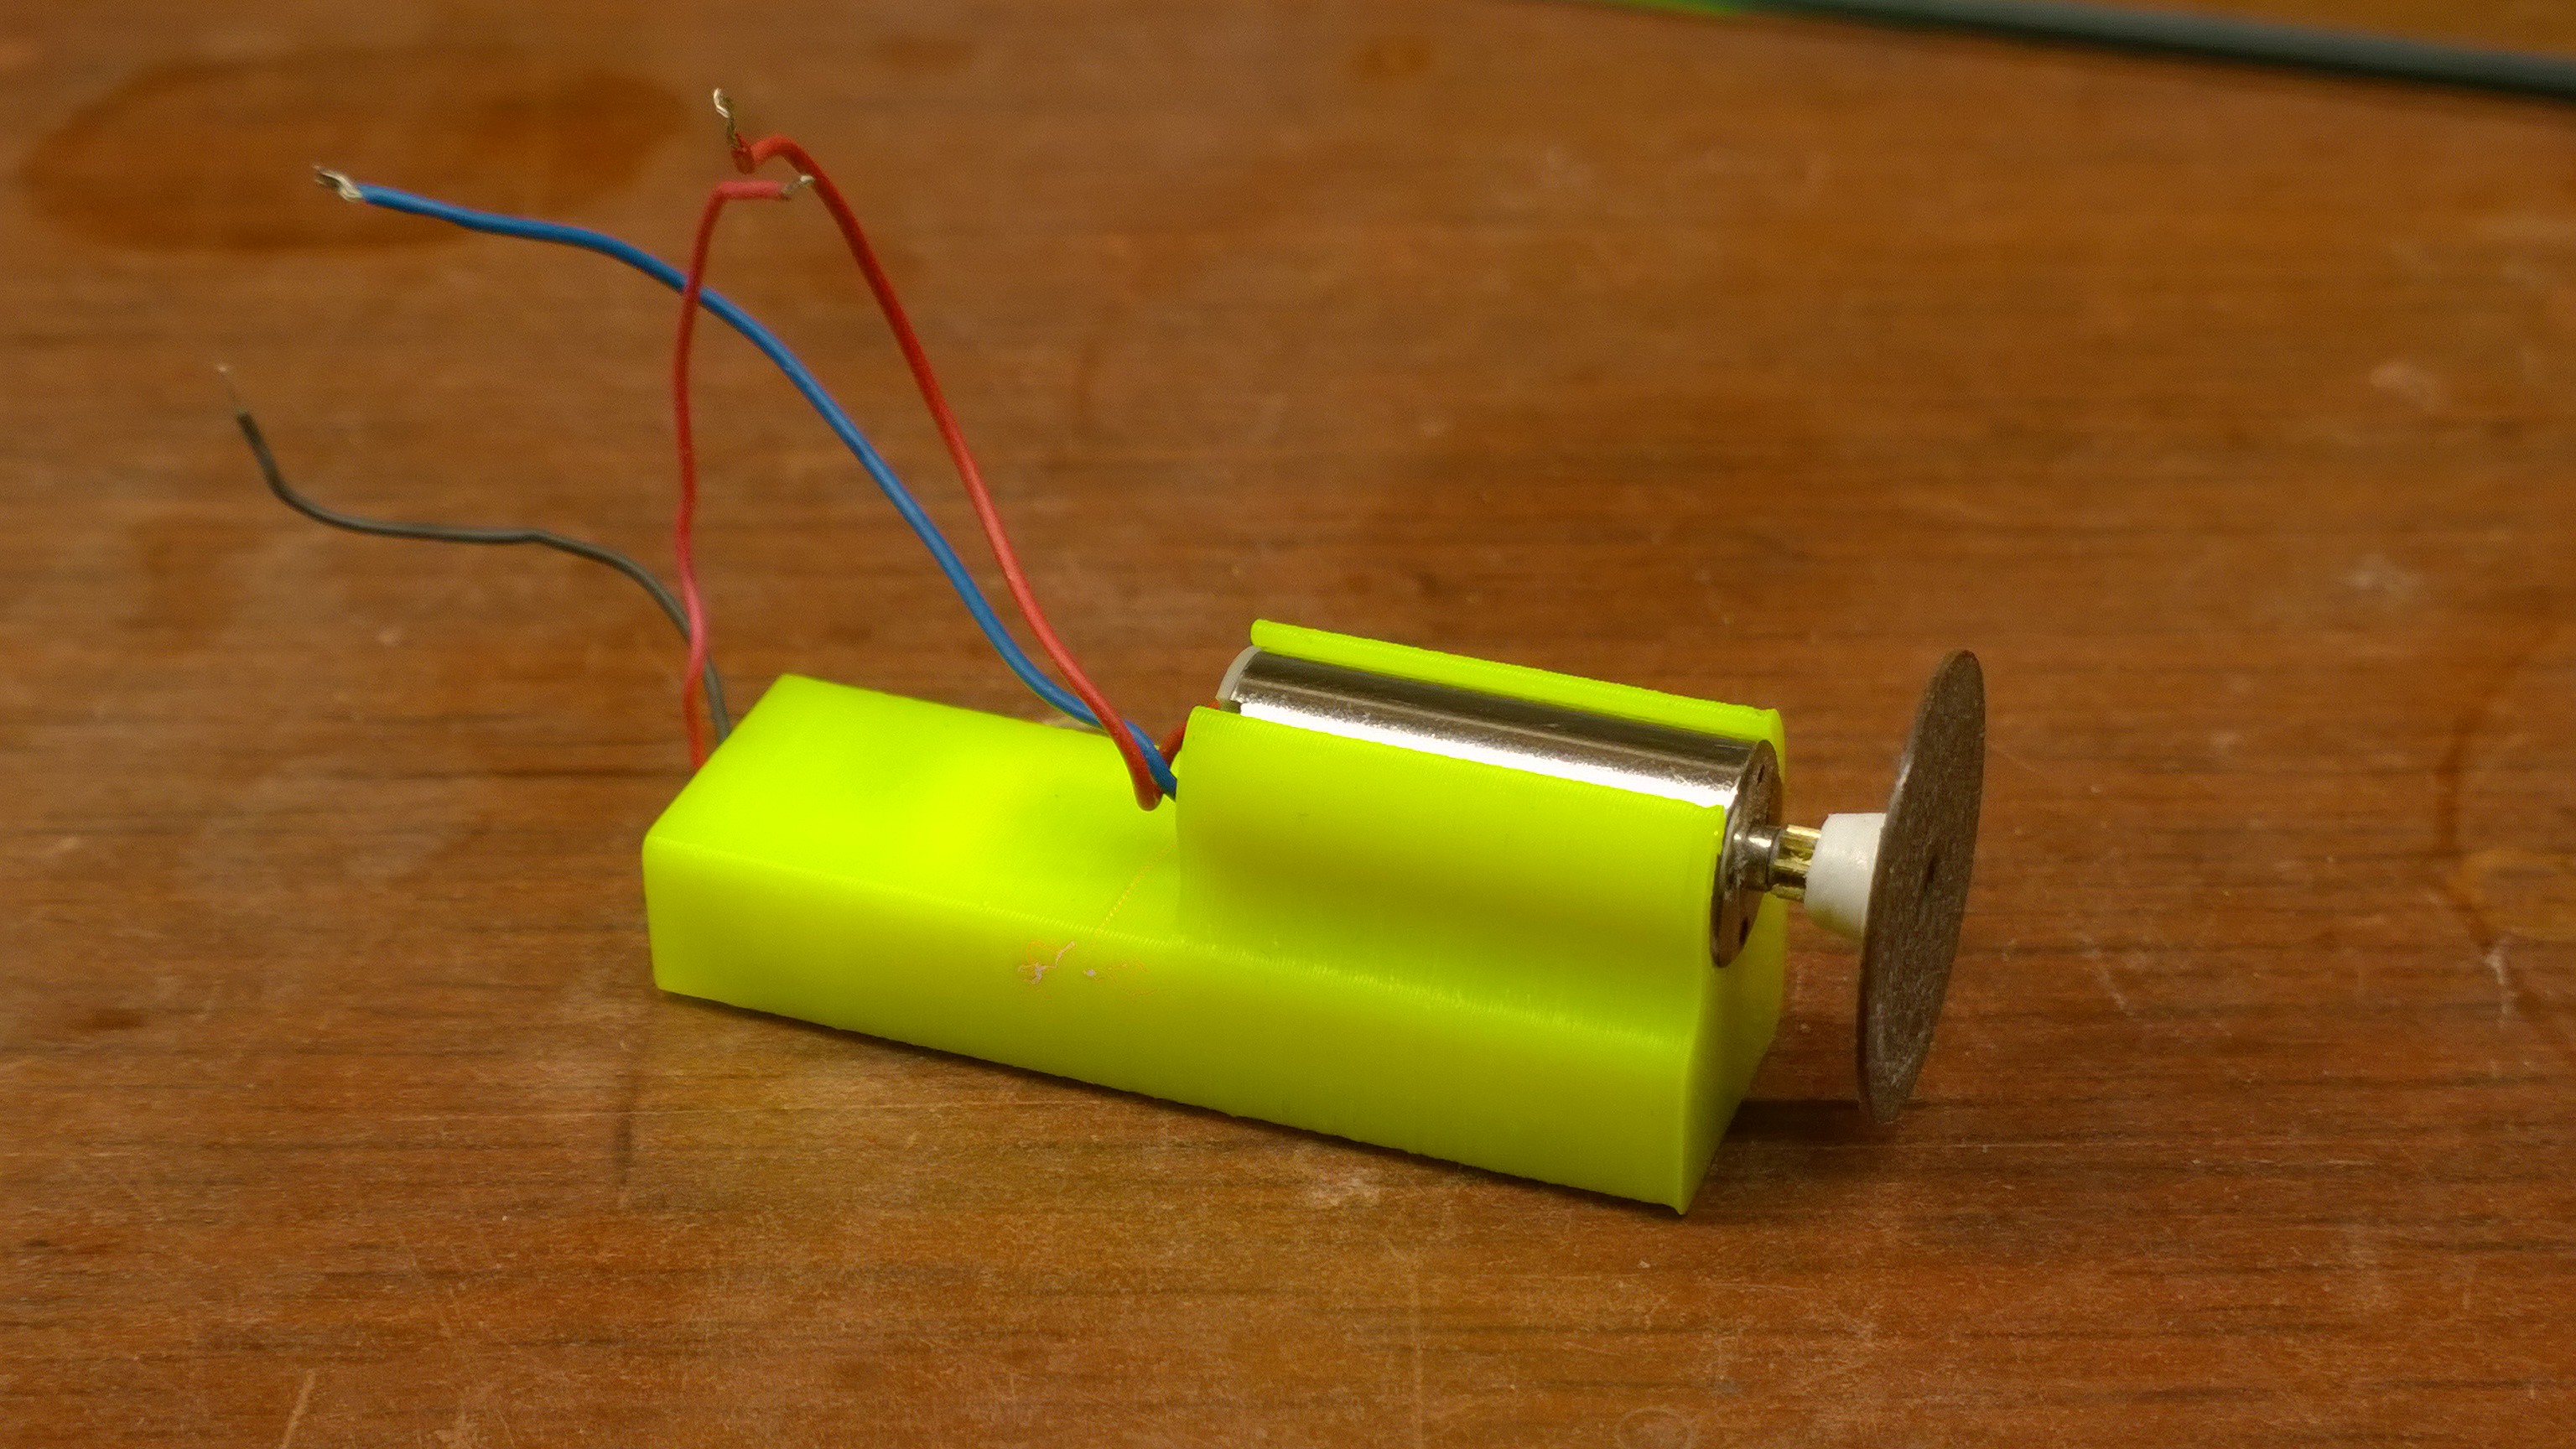
CAD files are on my Google Drive. These are some FreeCAD project files, and STL files for printing. I don't think these are very usable for everyone, because I don't know the part number of the motor and the battery, while the models are all build around them. The files might be useful to inspect shapes of the plastic parts.
0%
0%
Thiiiiiiiing
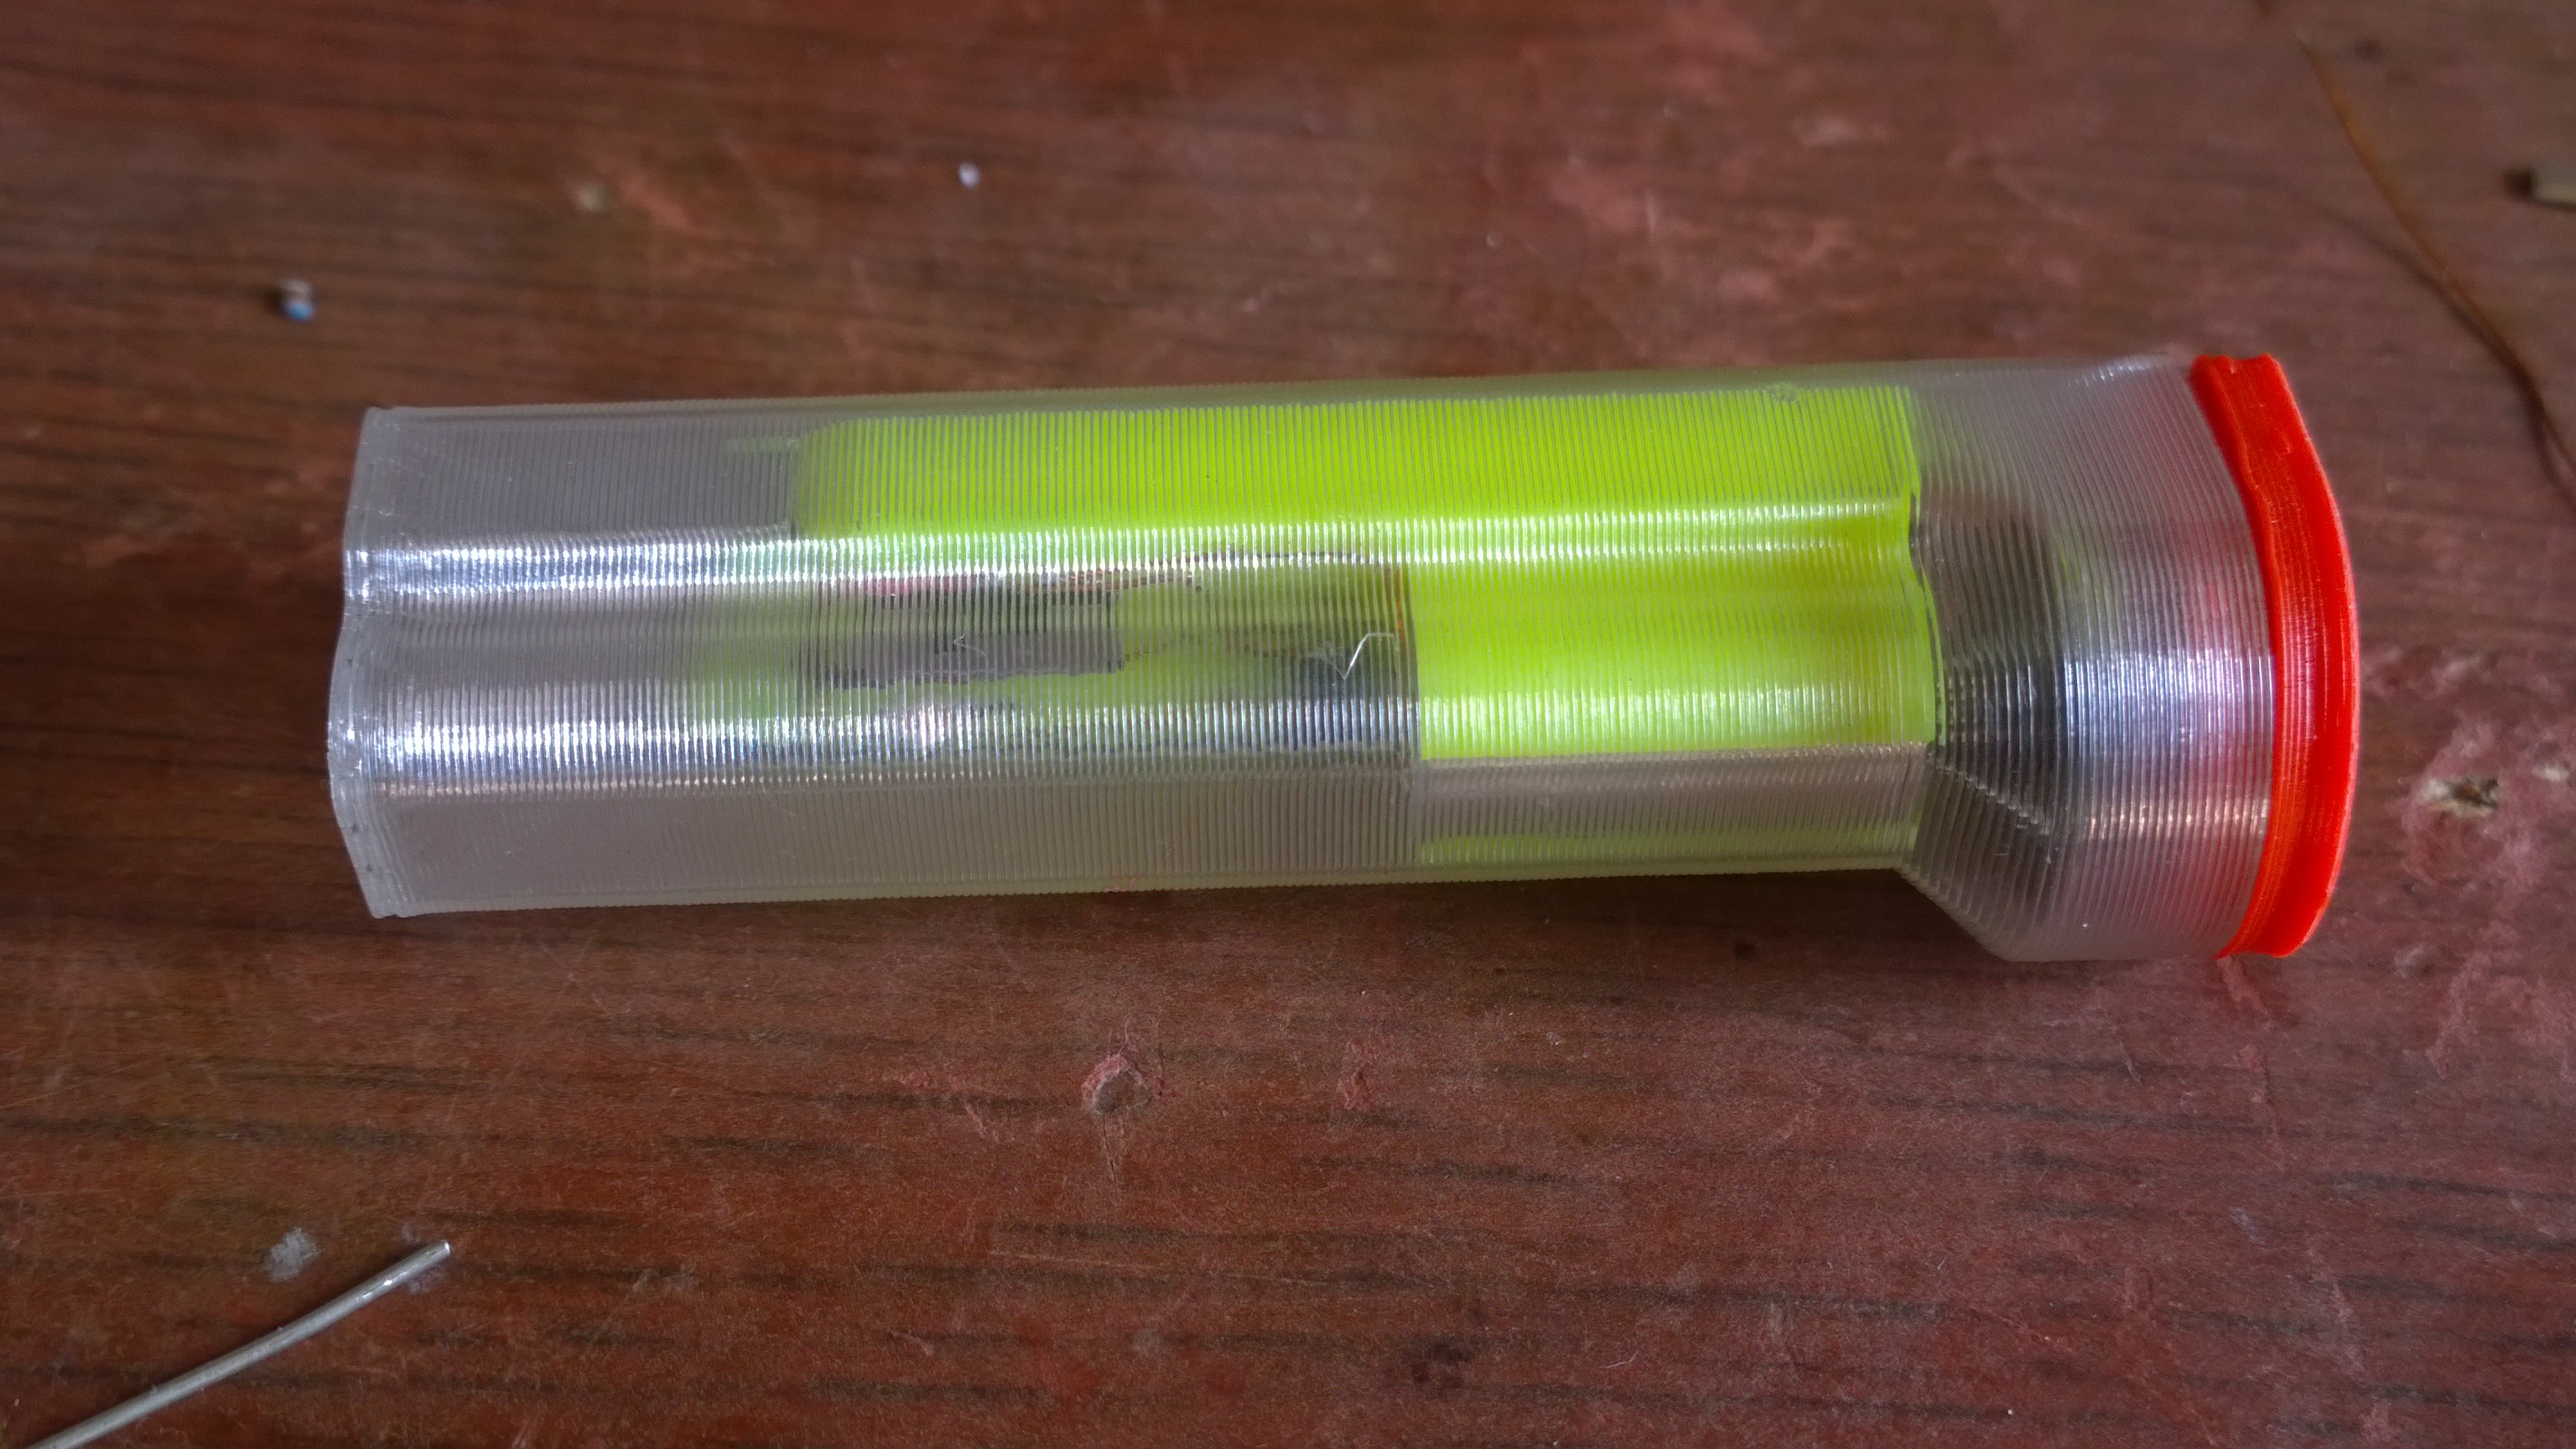
What if you could slip a dremel into your pocket?
Become a Hackaday.io member
Already have an account? Log in.
Just one more thing
To make the experience fit your profile, pick a username and tell us what interests you.
Pick an awesome username
hackaday.io/
Your profile's URL: hackaday.io/username. Max 25 alphanumeric characters.
Pick a few interests
Projects that share your interests
People that share your interests


 Bud Bennett

 mauswerkz
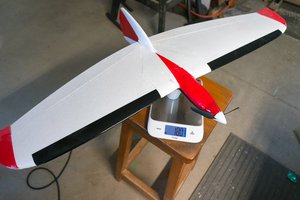
Looks pretty handy. How did you affix on the cut-off disk?