 AVR
AVRI got the light frame finally assembled, after a few hangups. There were some issues with the accuracy of the angled bevels on the different piece of the frame. THe original idea was to create cleets and assemble the frame by gluing and nailing it along the seams while the cleets screwed in place held it together while the glue set. Due the differences in the angles on all the pieces assembling the light frame/casing this way was problematic and very difficult. At the suggest of my dad we recut all the bevels this time being more consistent with the angle and using a fresh sharp table saw blade. Instead of using cleets we fashioned ends for the frame out of decking board and using the table saw and mitre saw. In the end the piece were glued and nailed together with a nail gun, instead attaching the ends first and using them as the support instead of cleets.
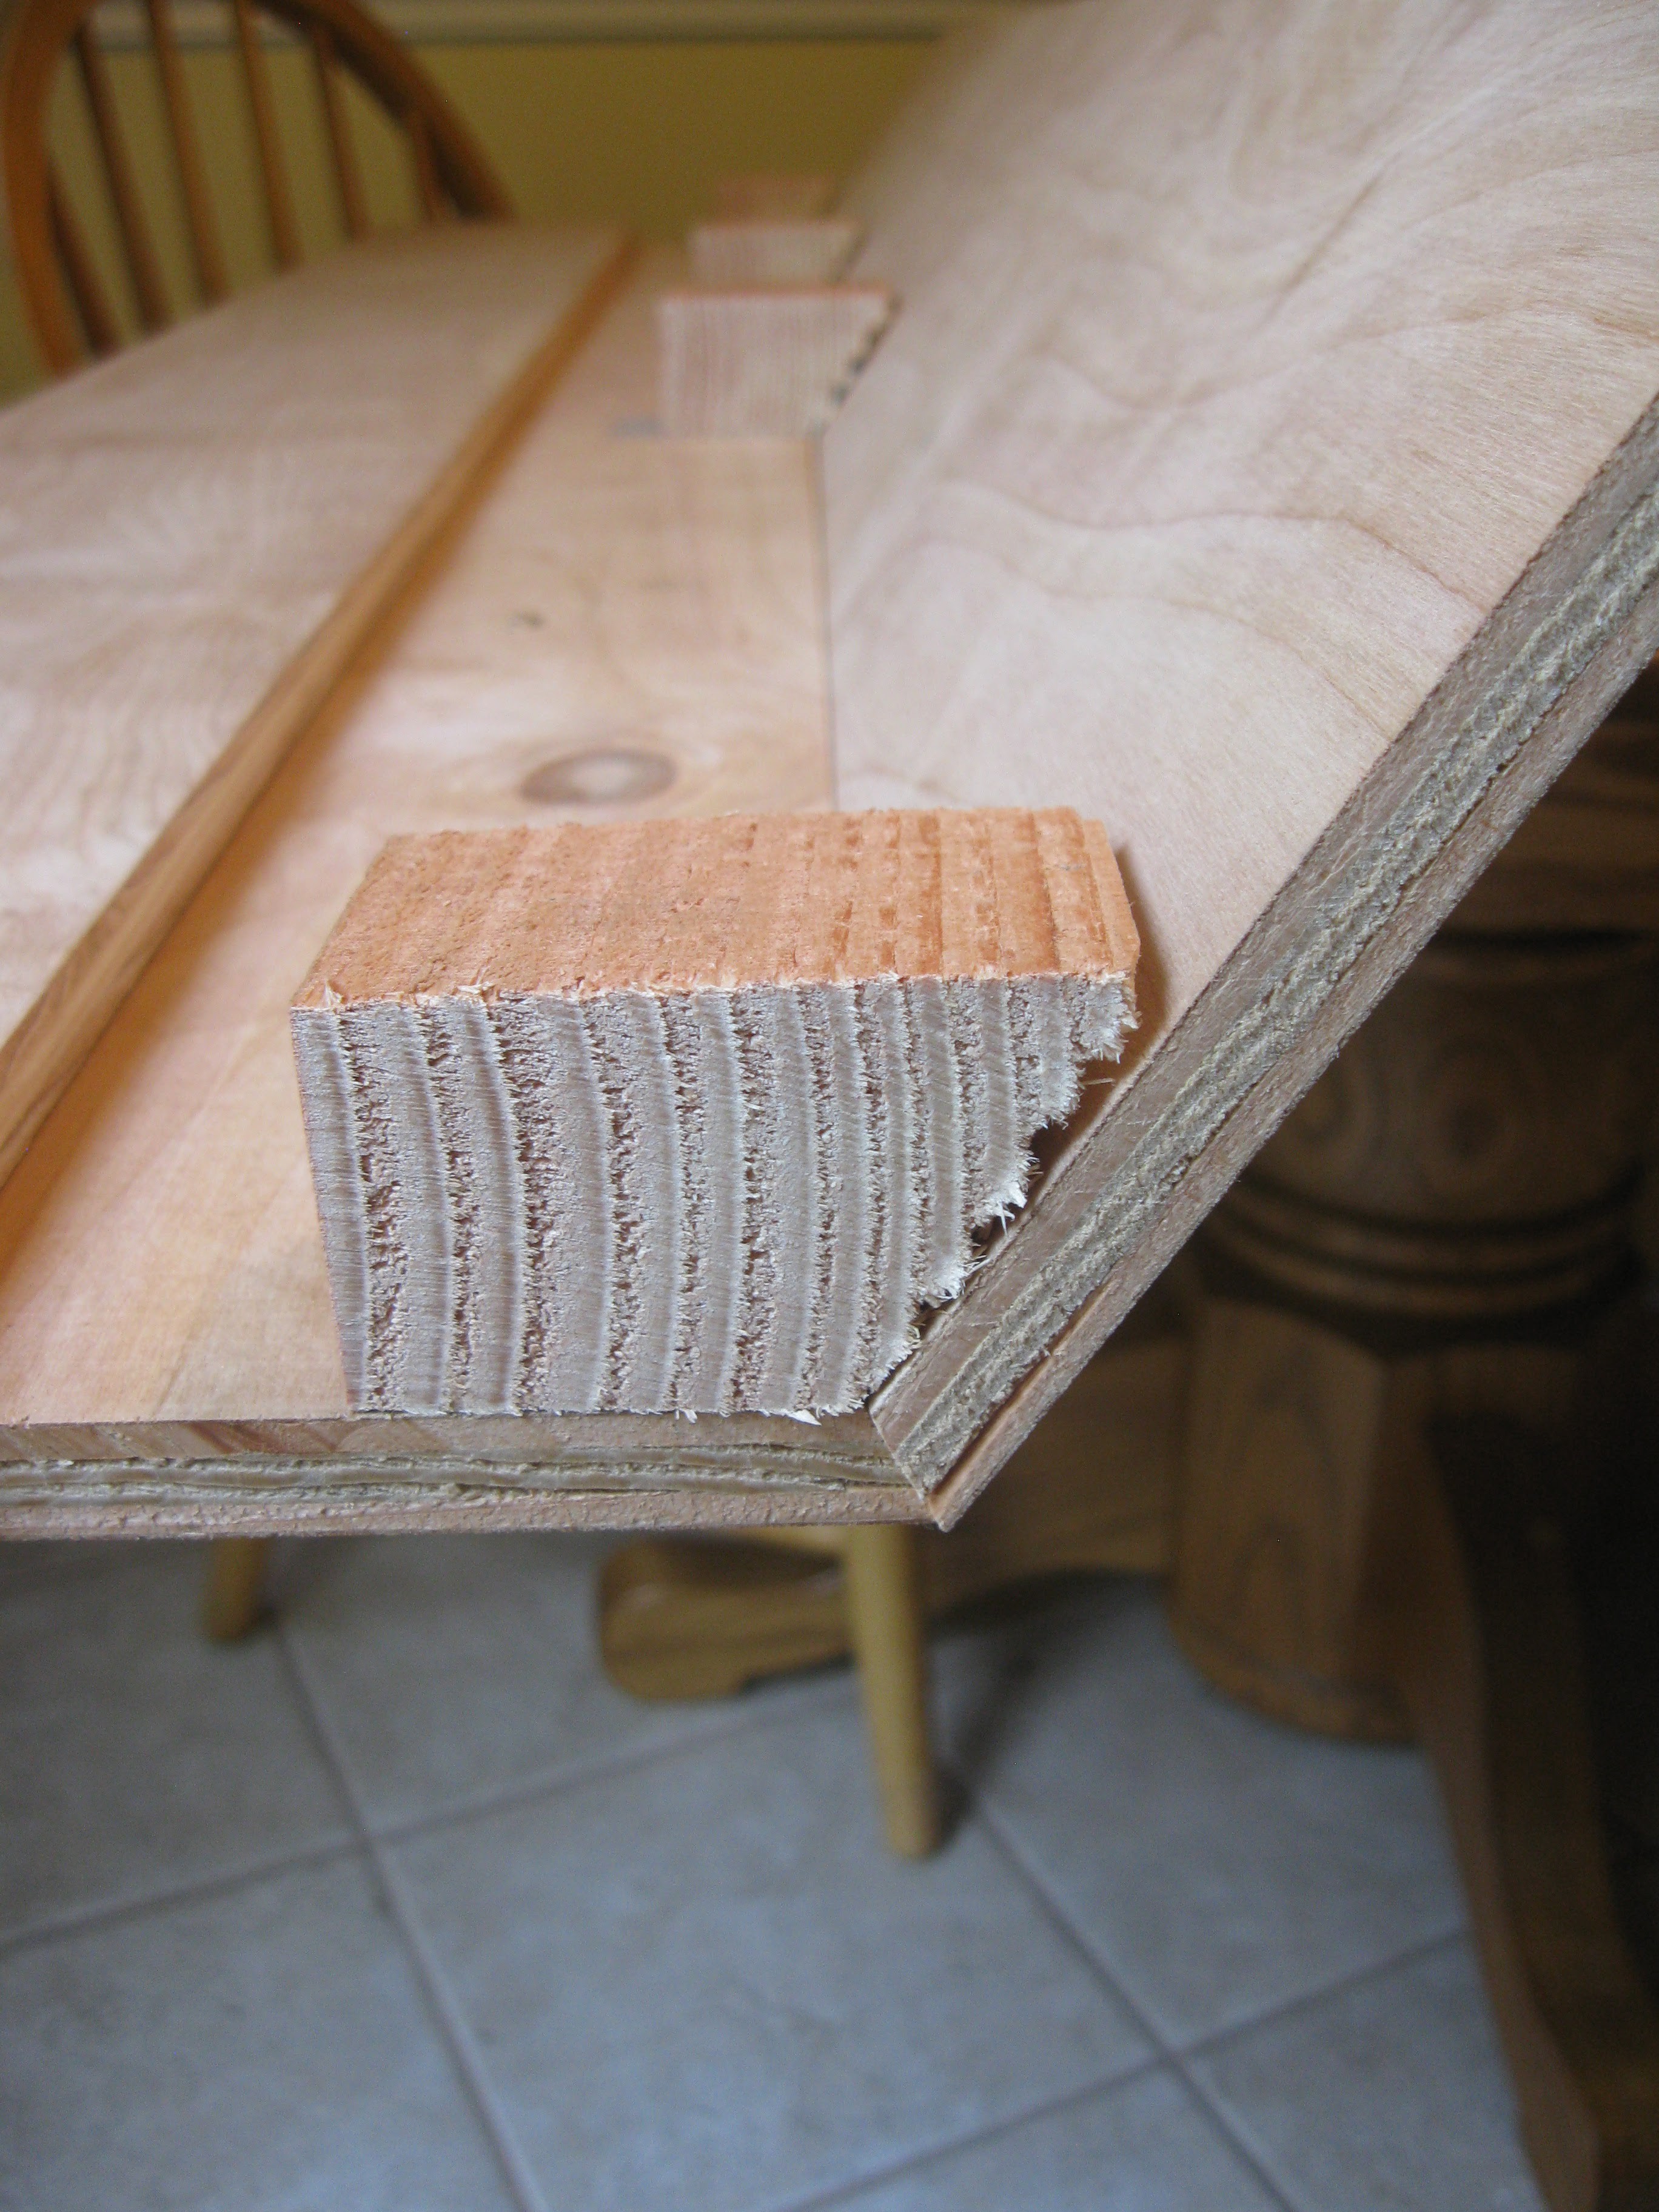
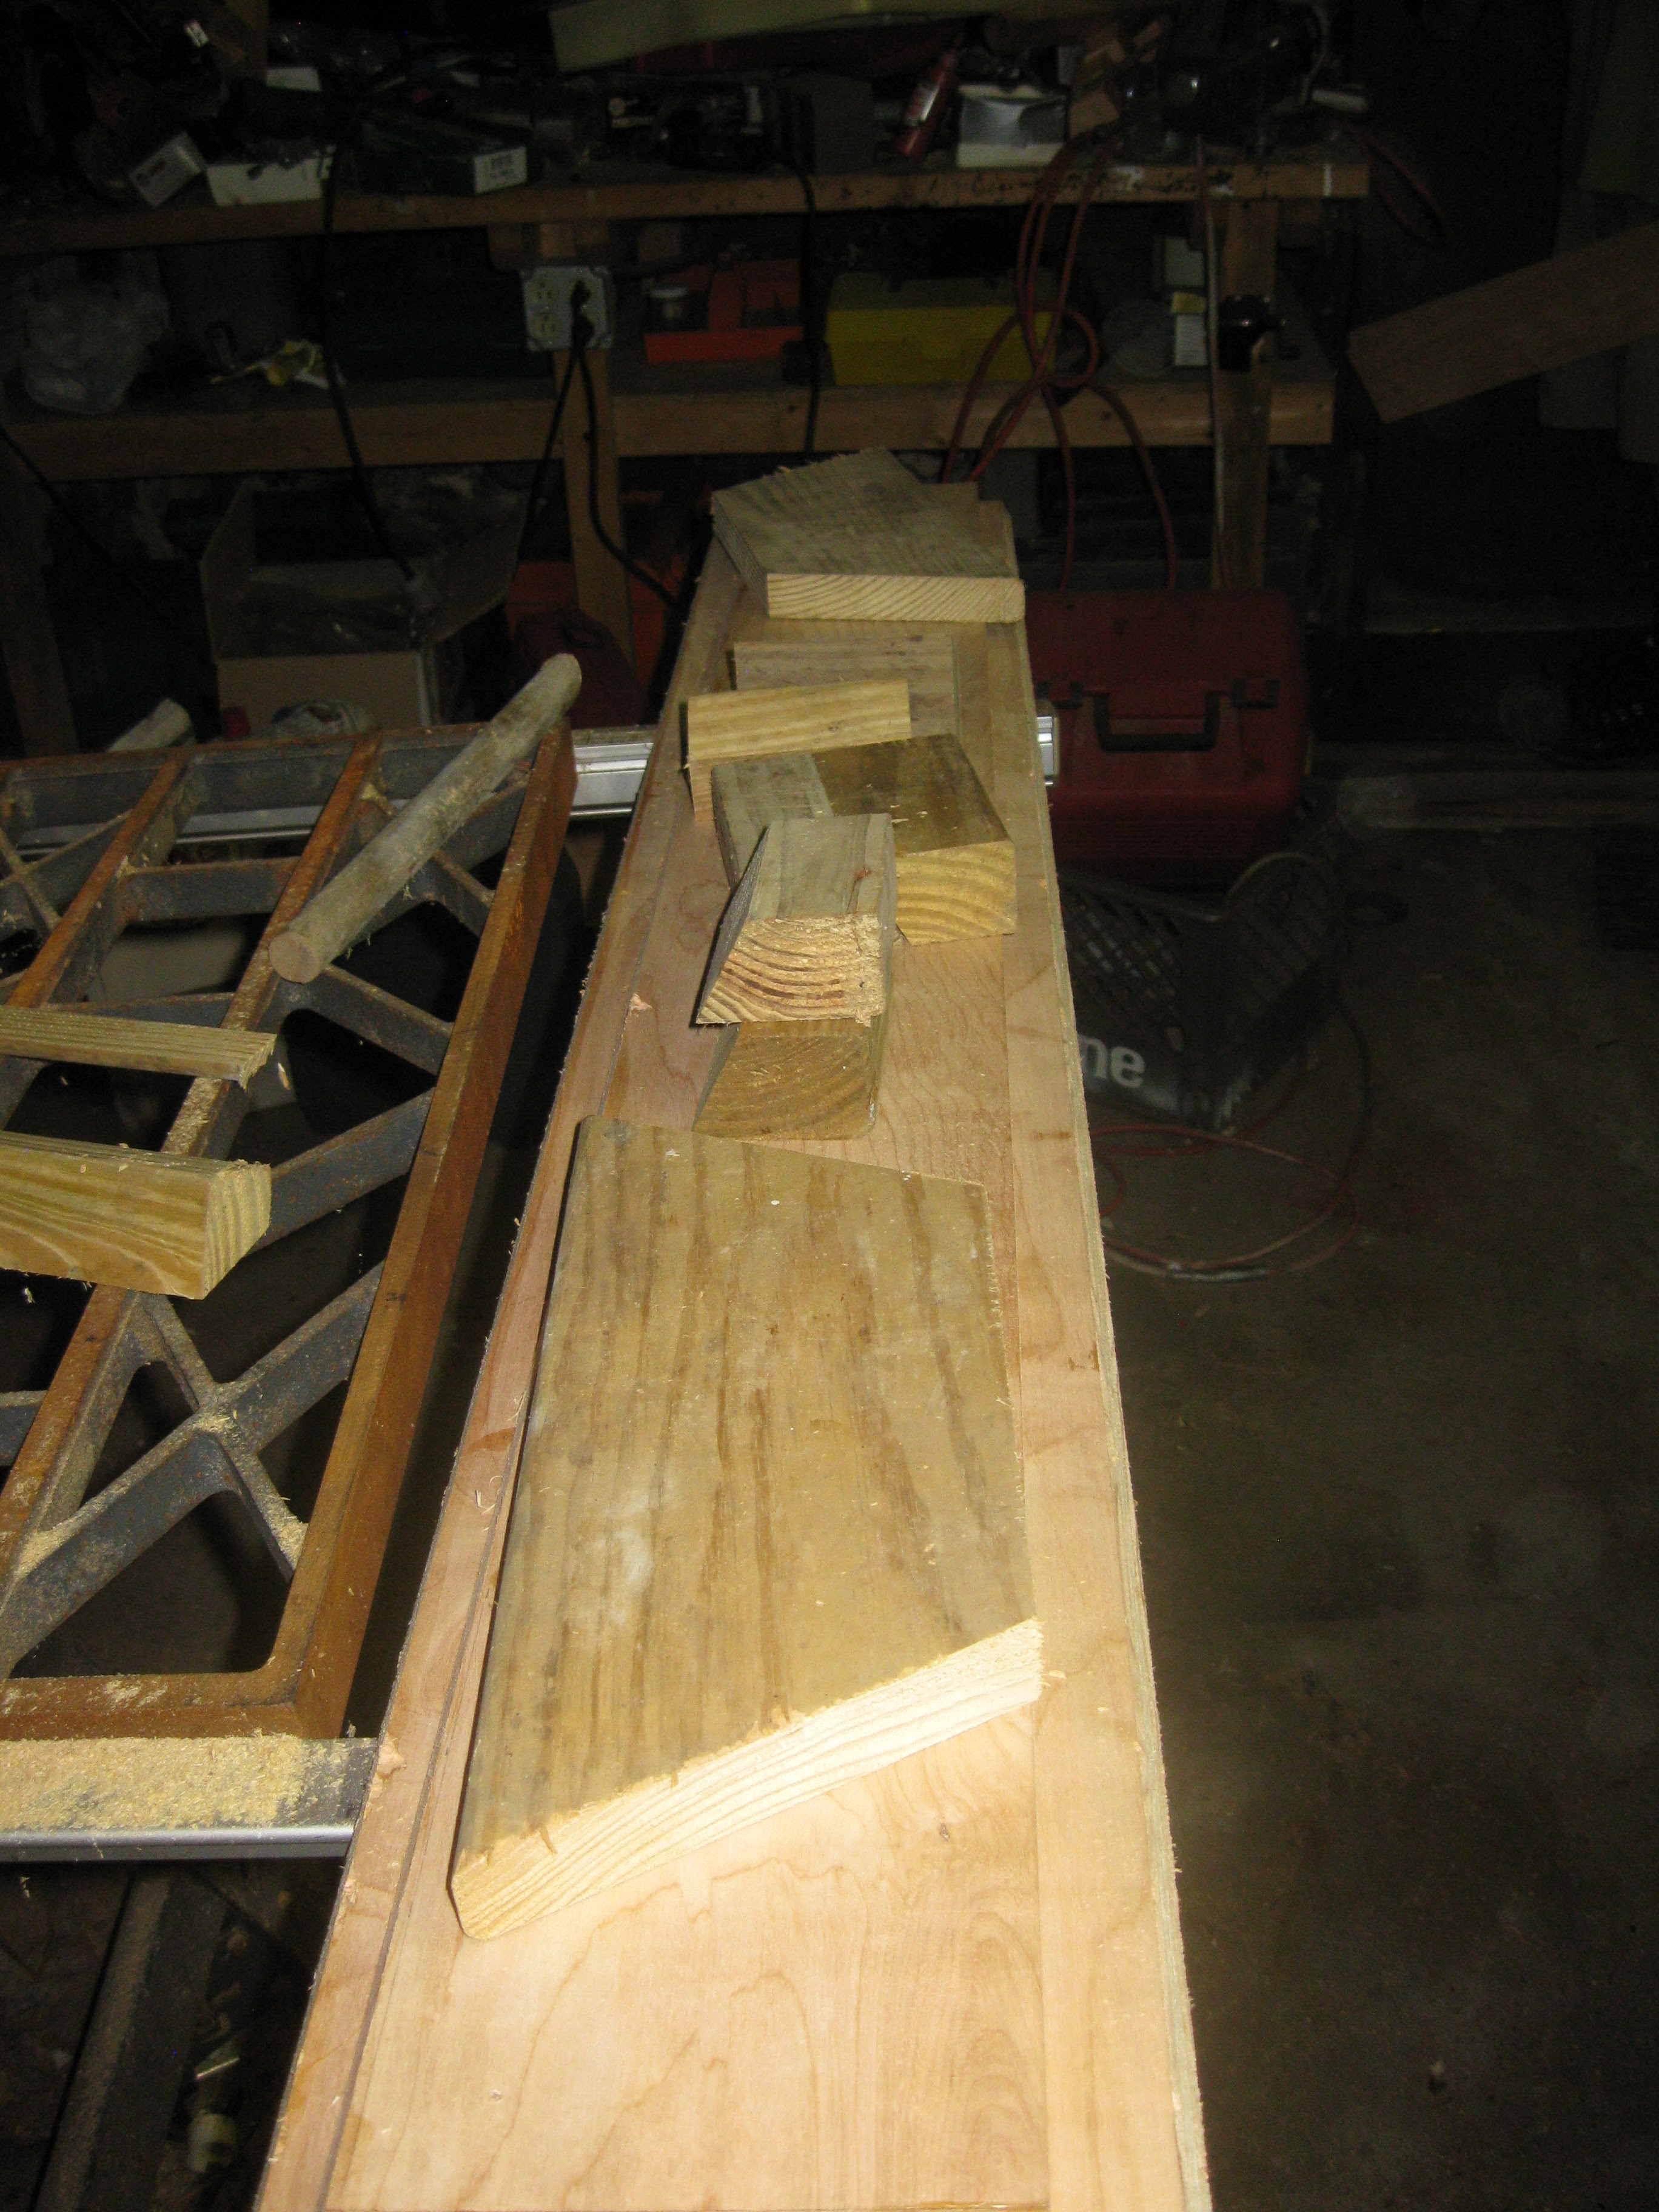
original cut and beveled pieces with the cleets
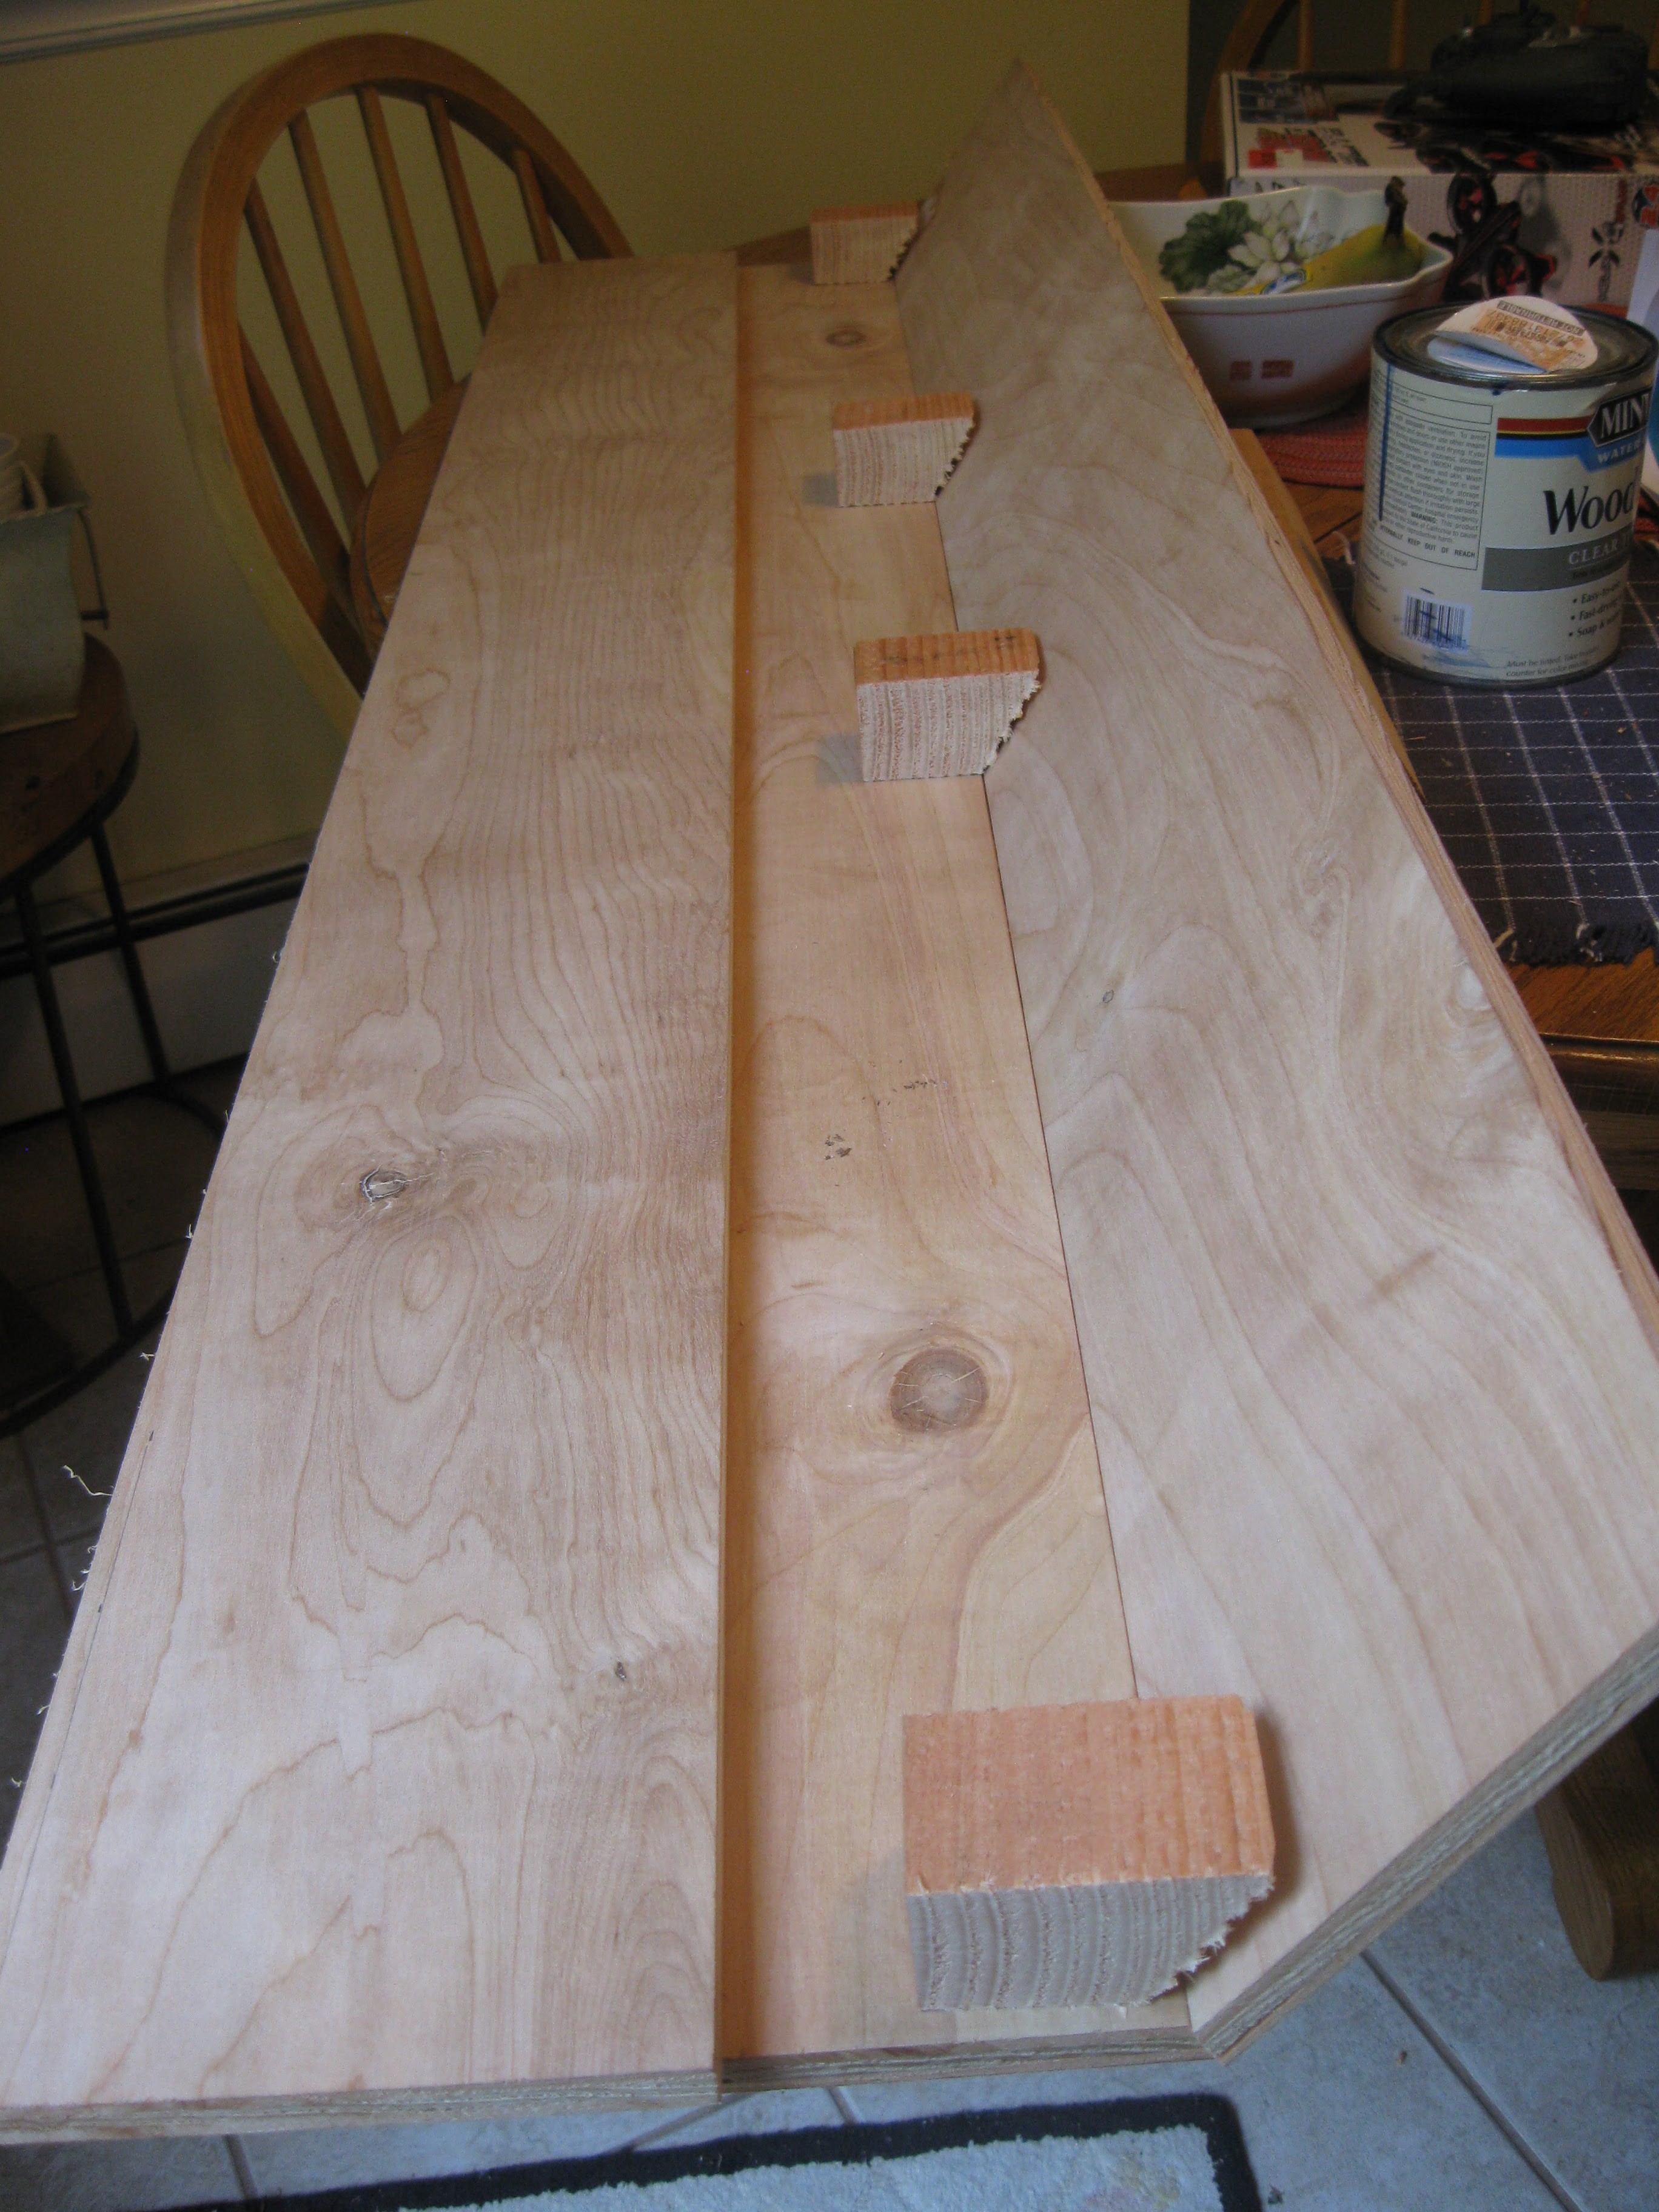
Another view
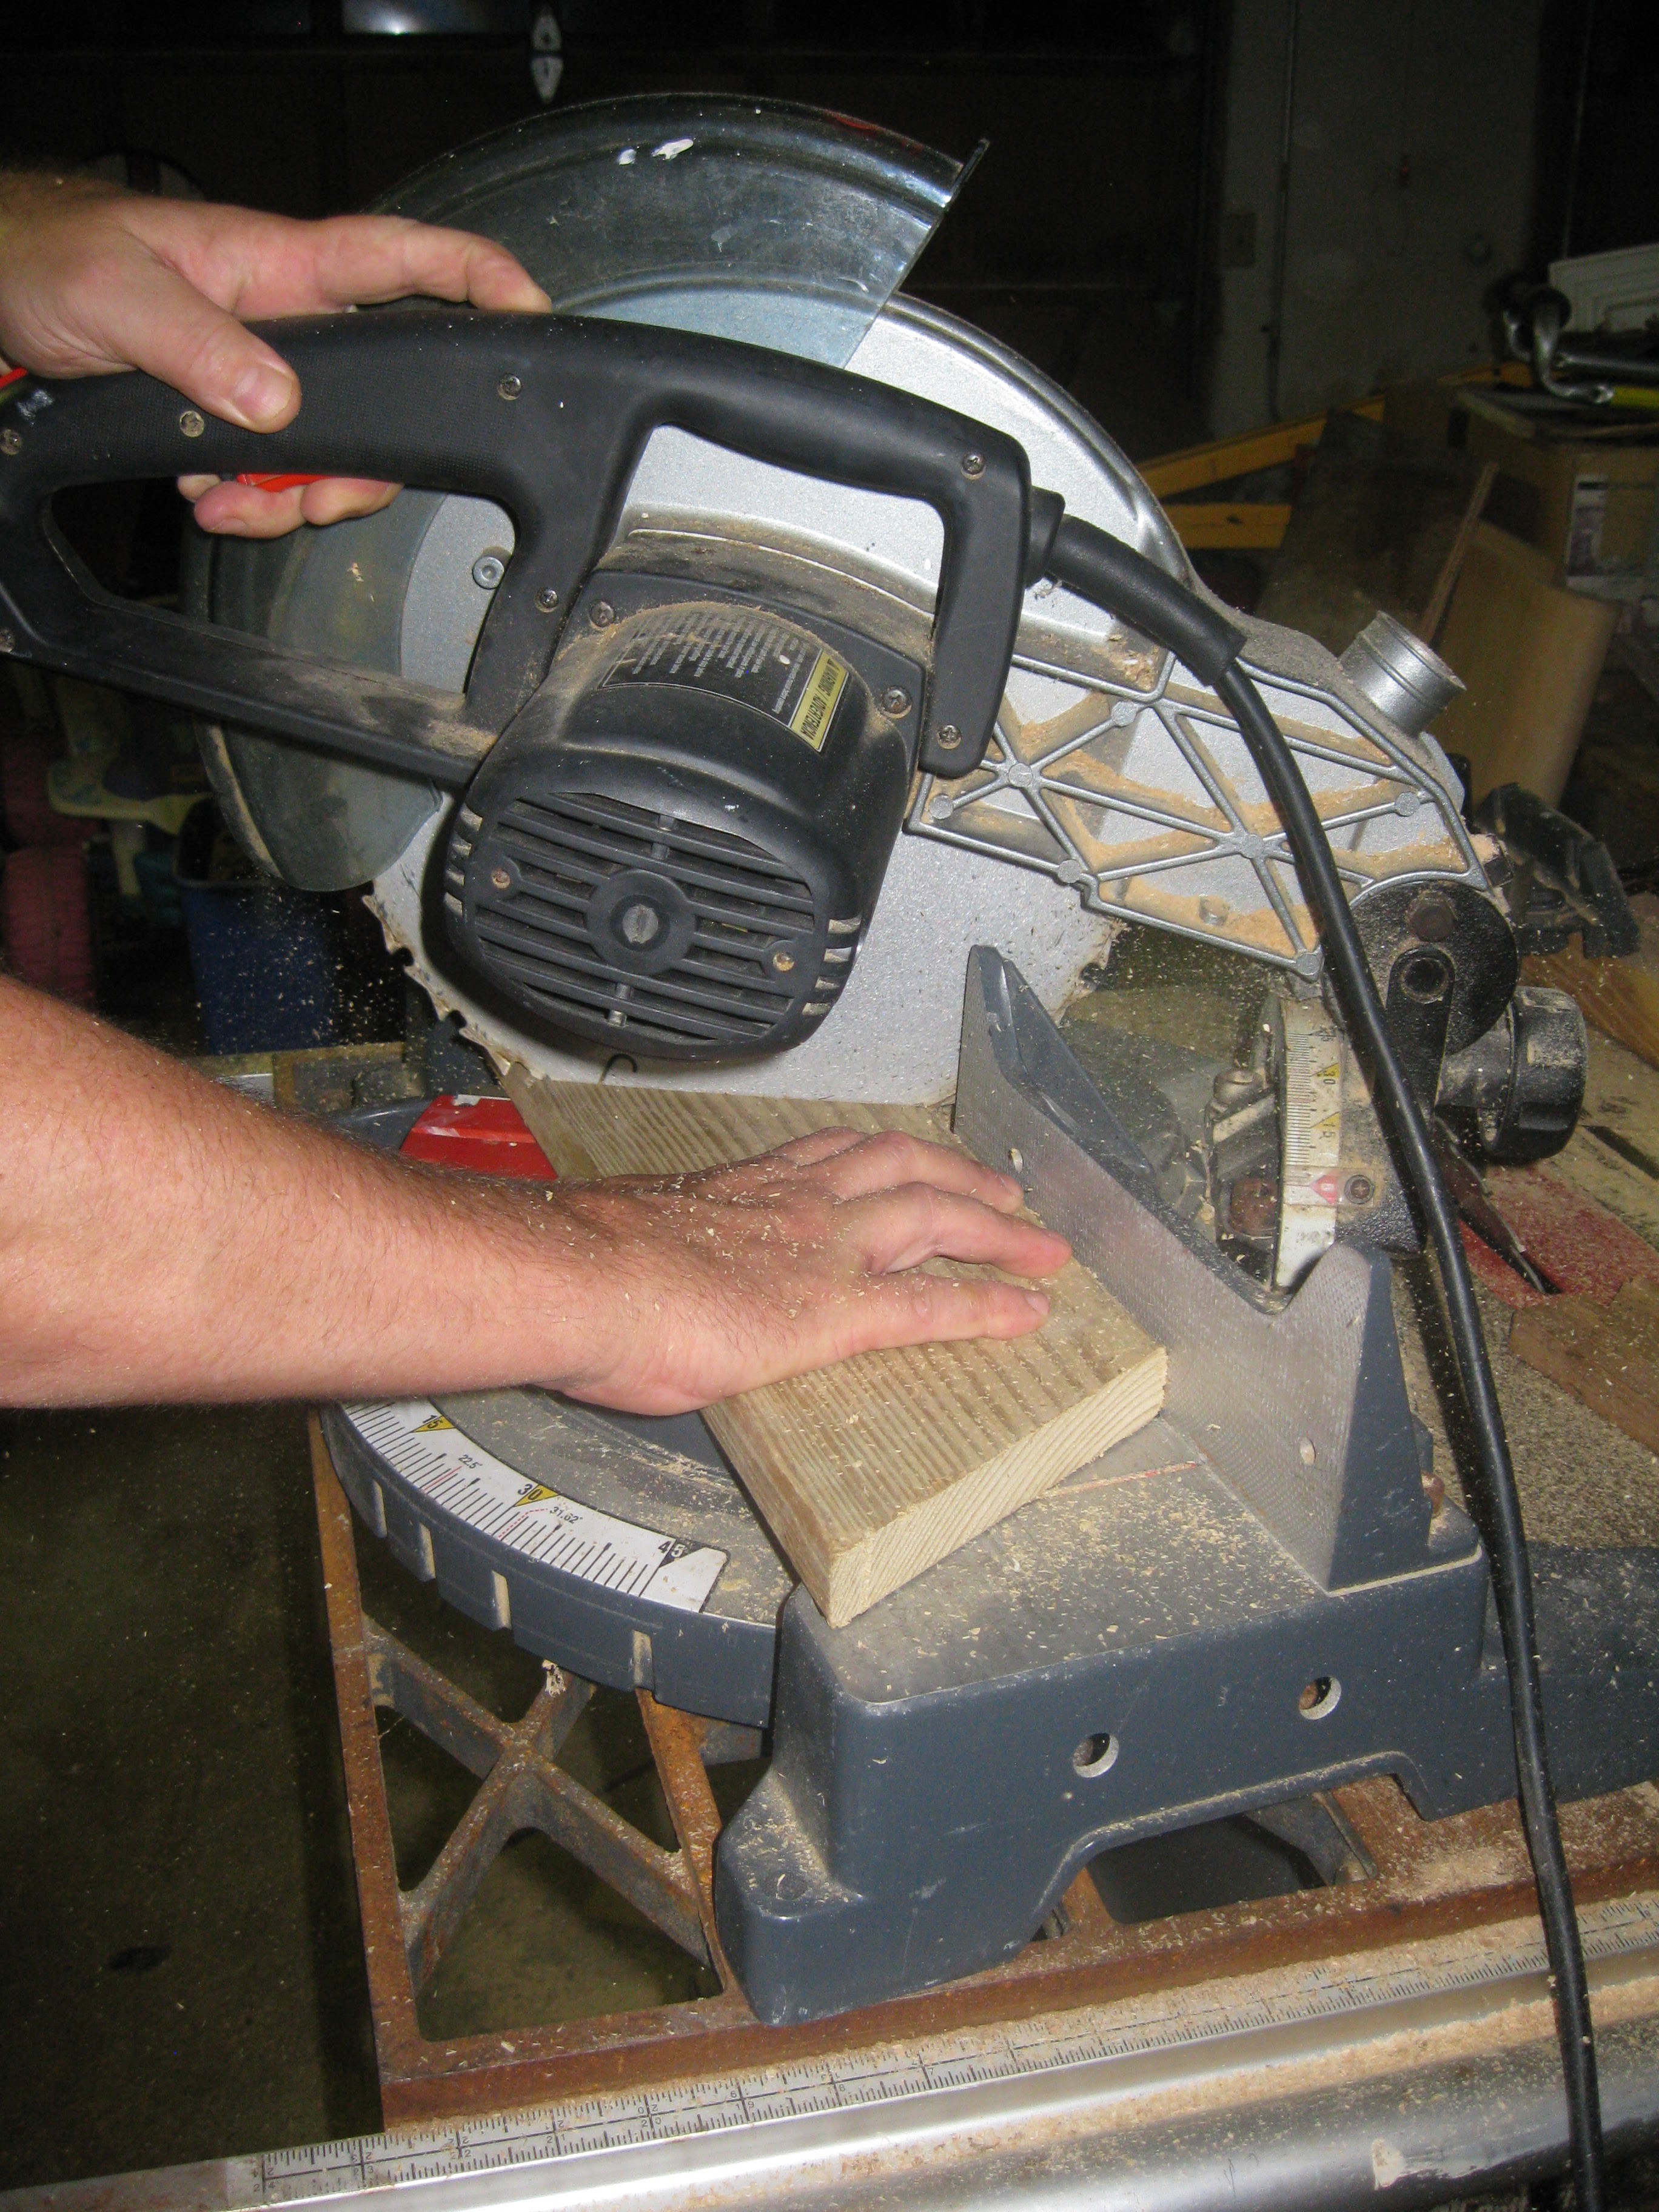
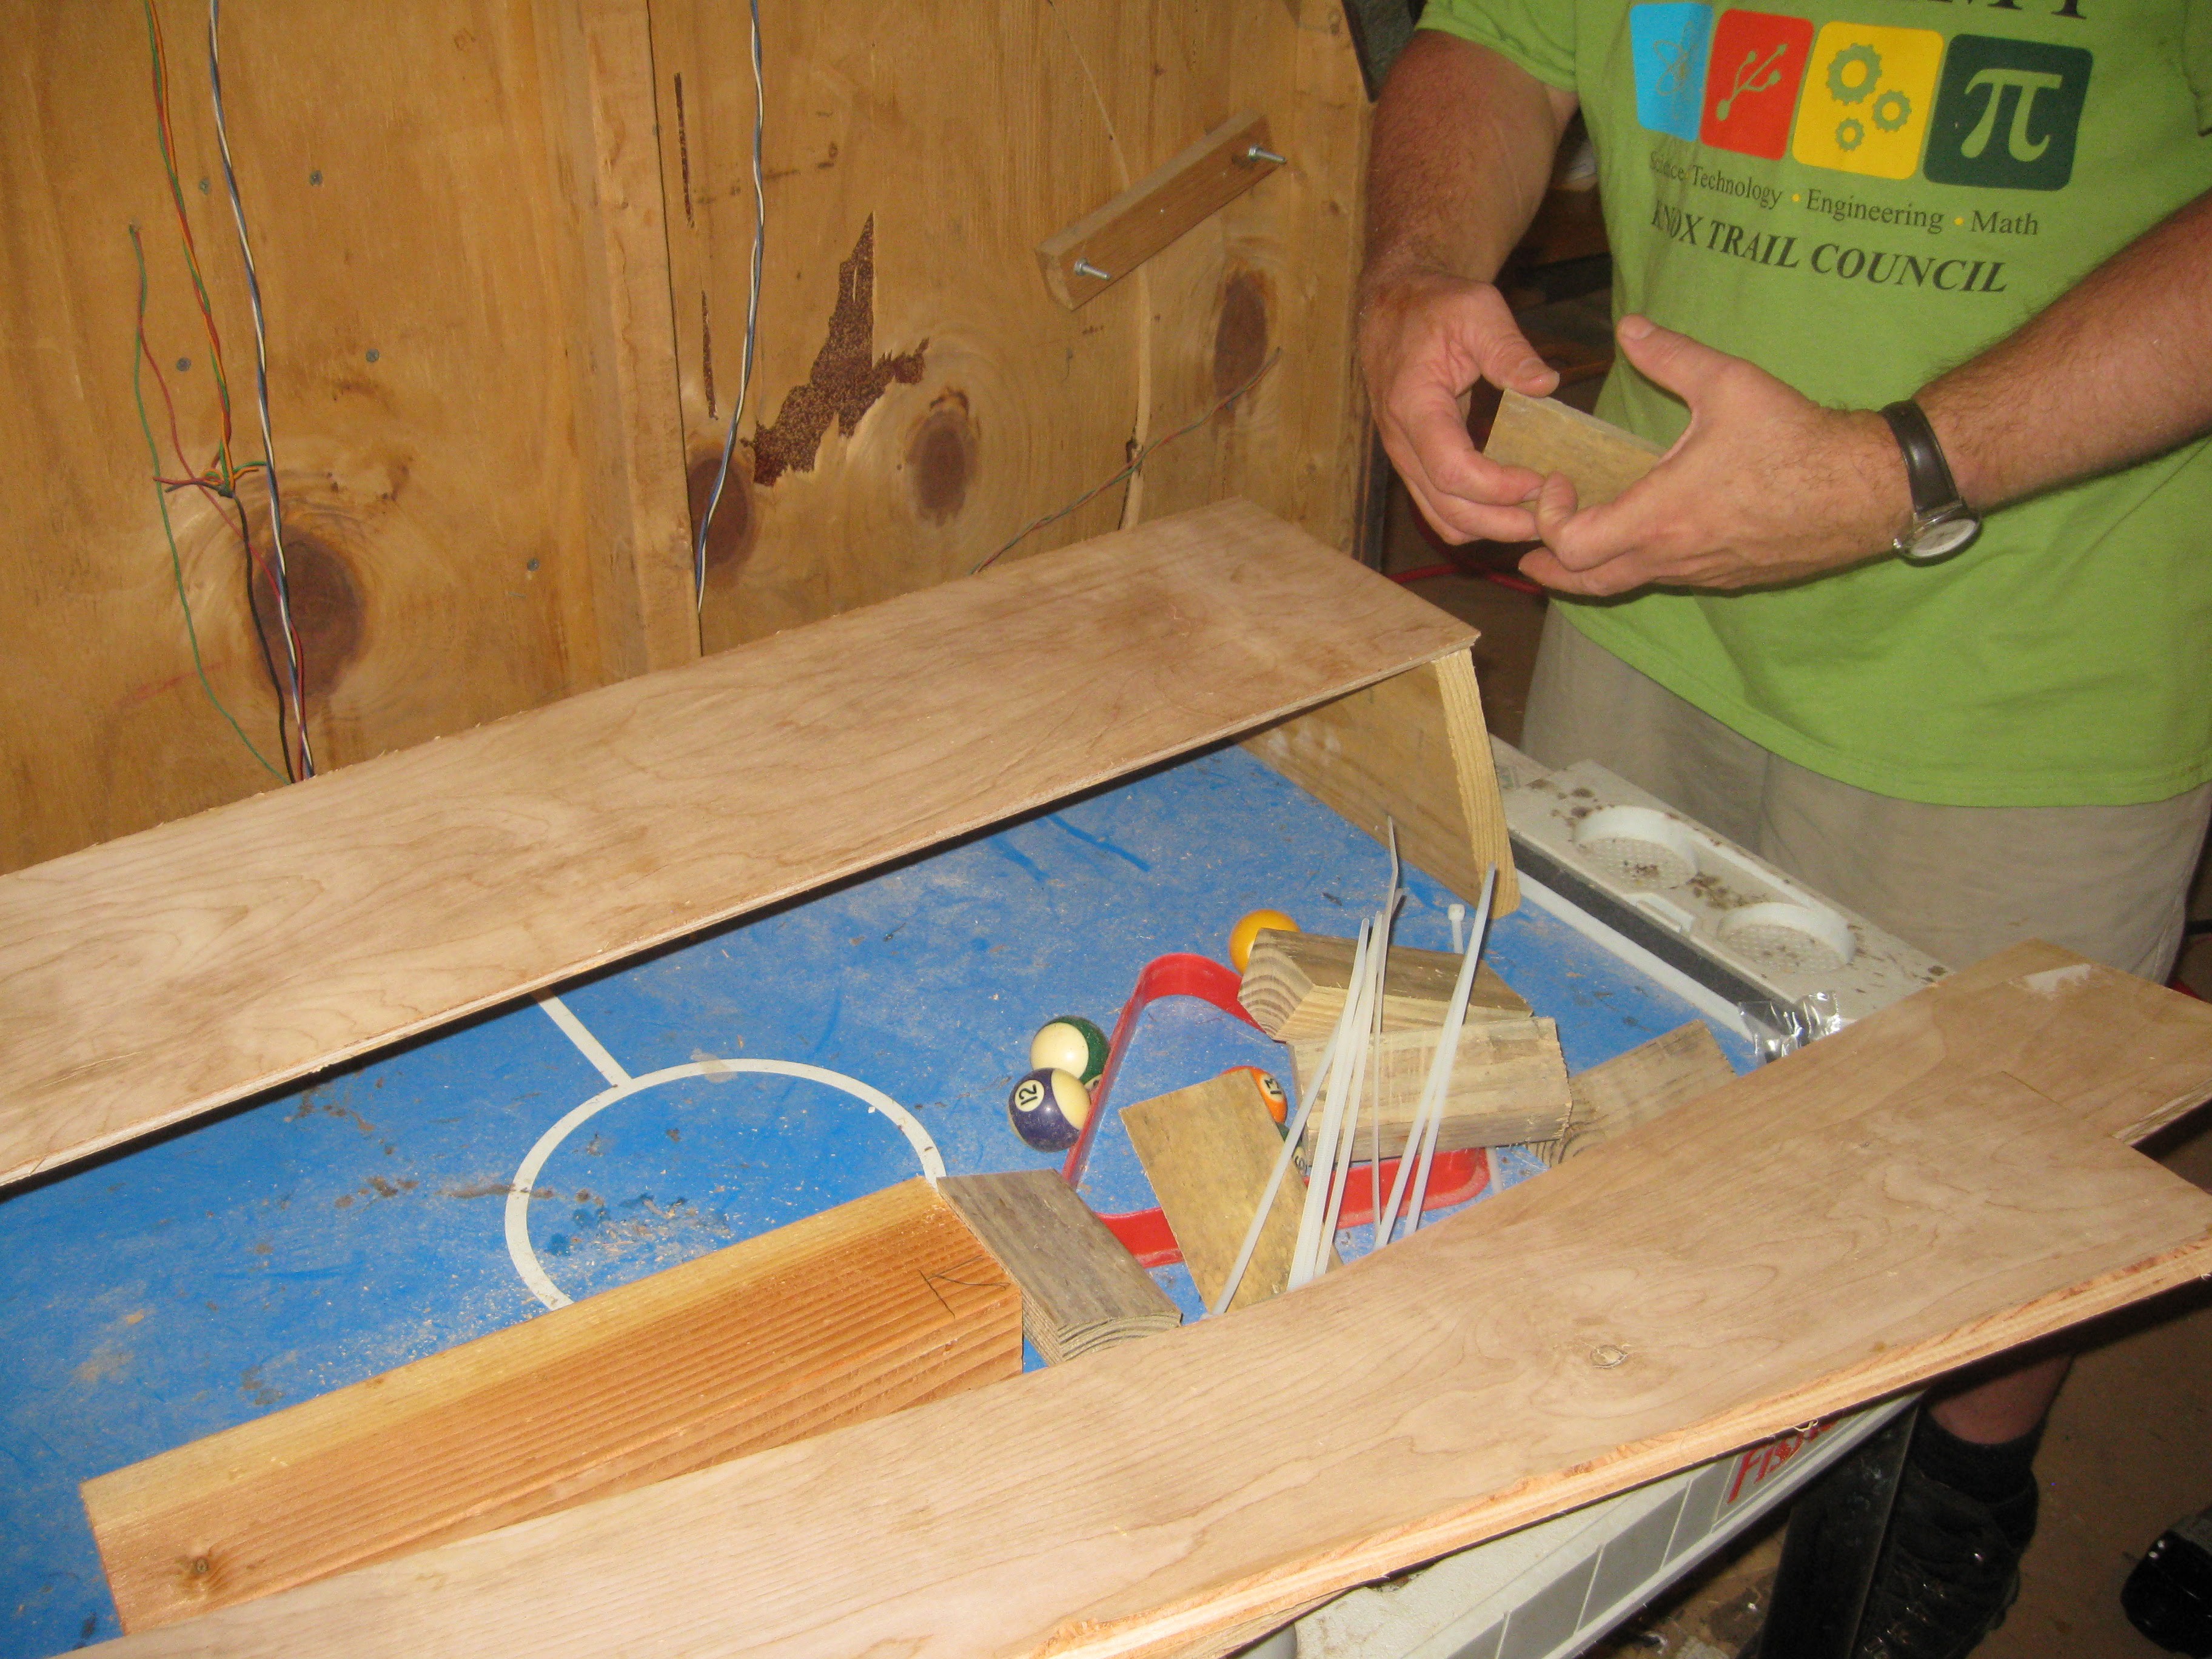
Beginnings of an end for the light made of deck board.
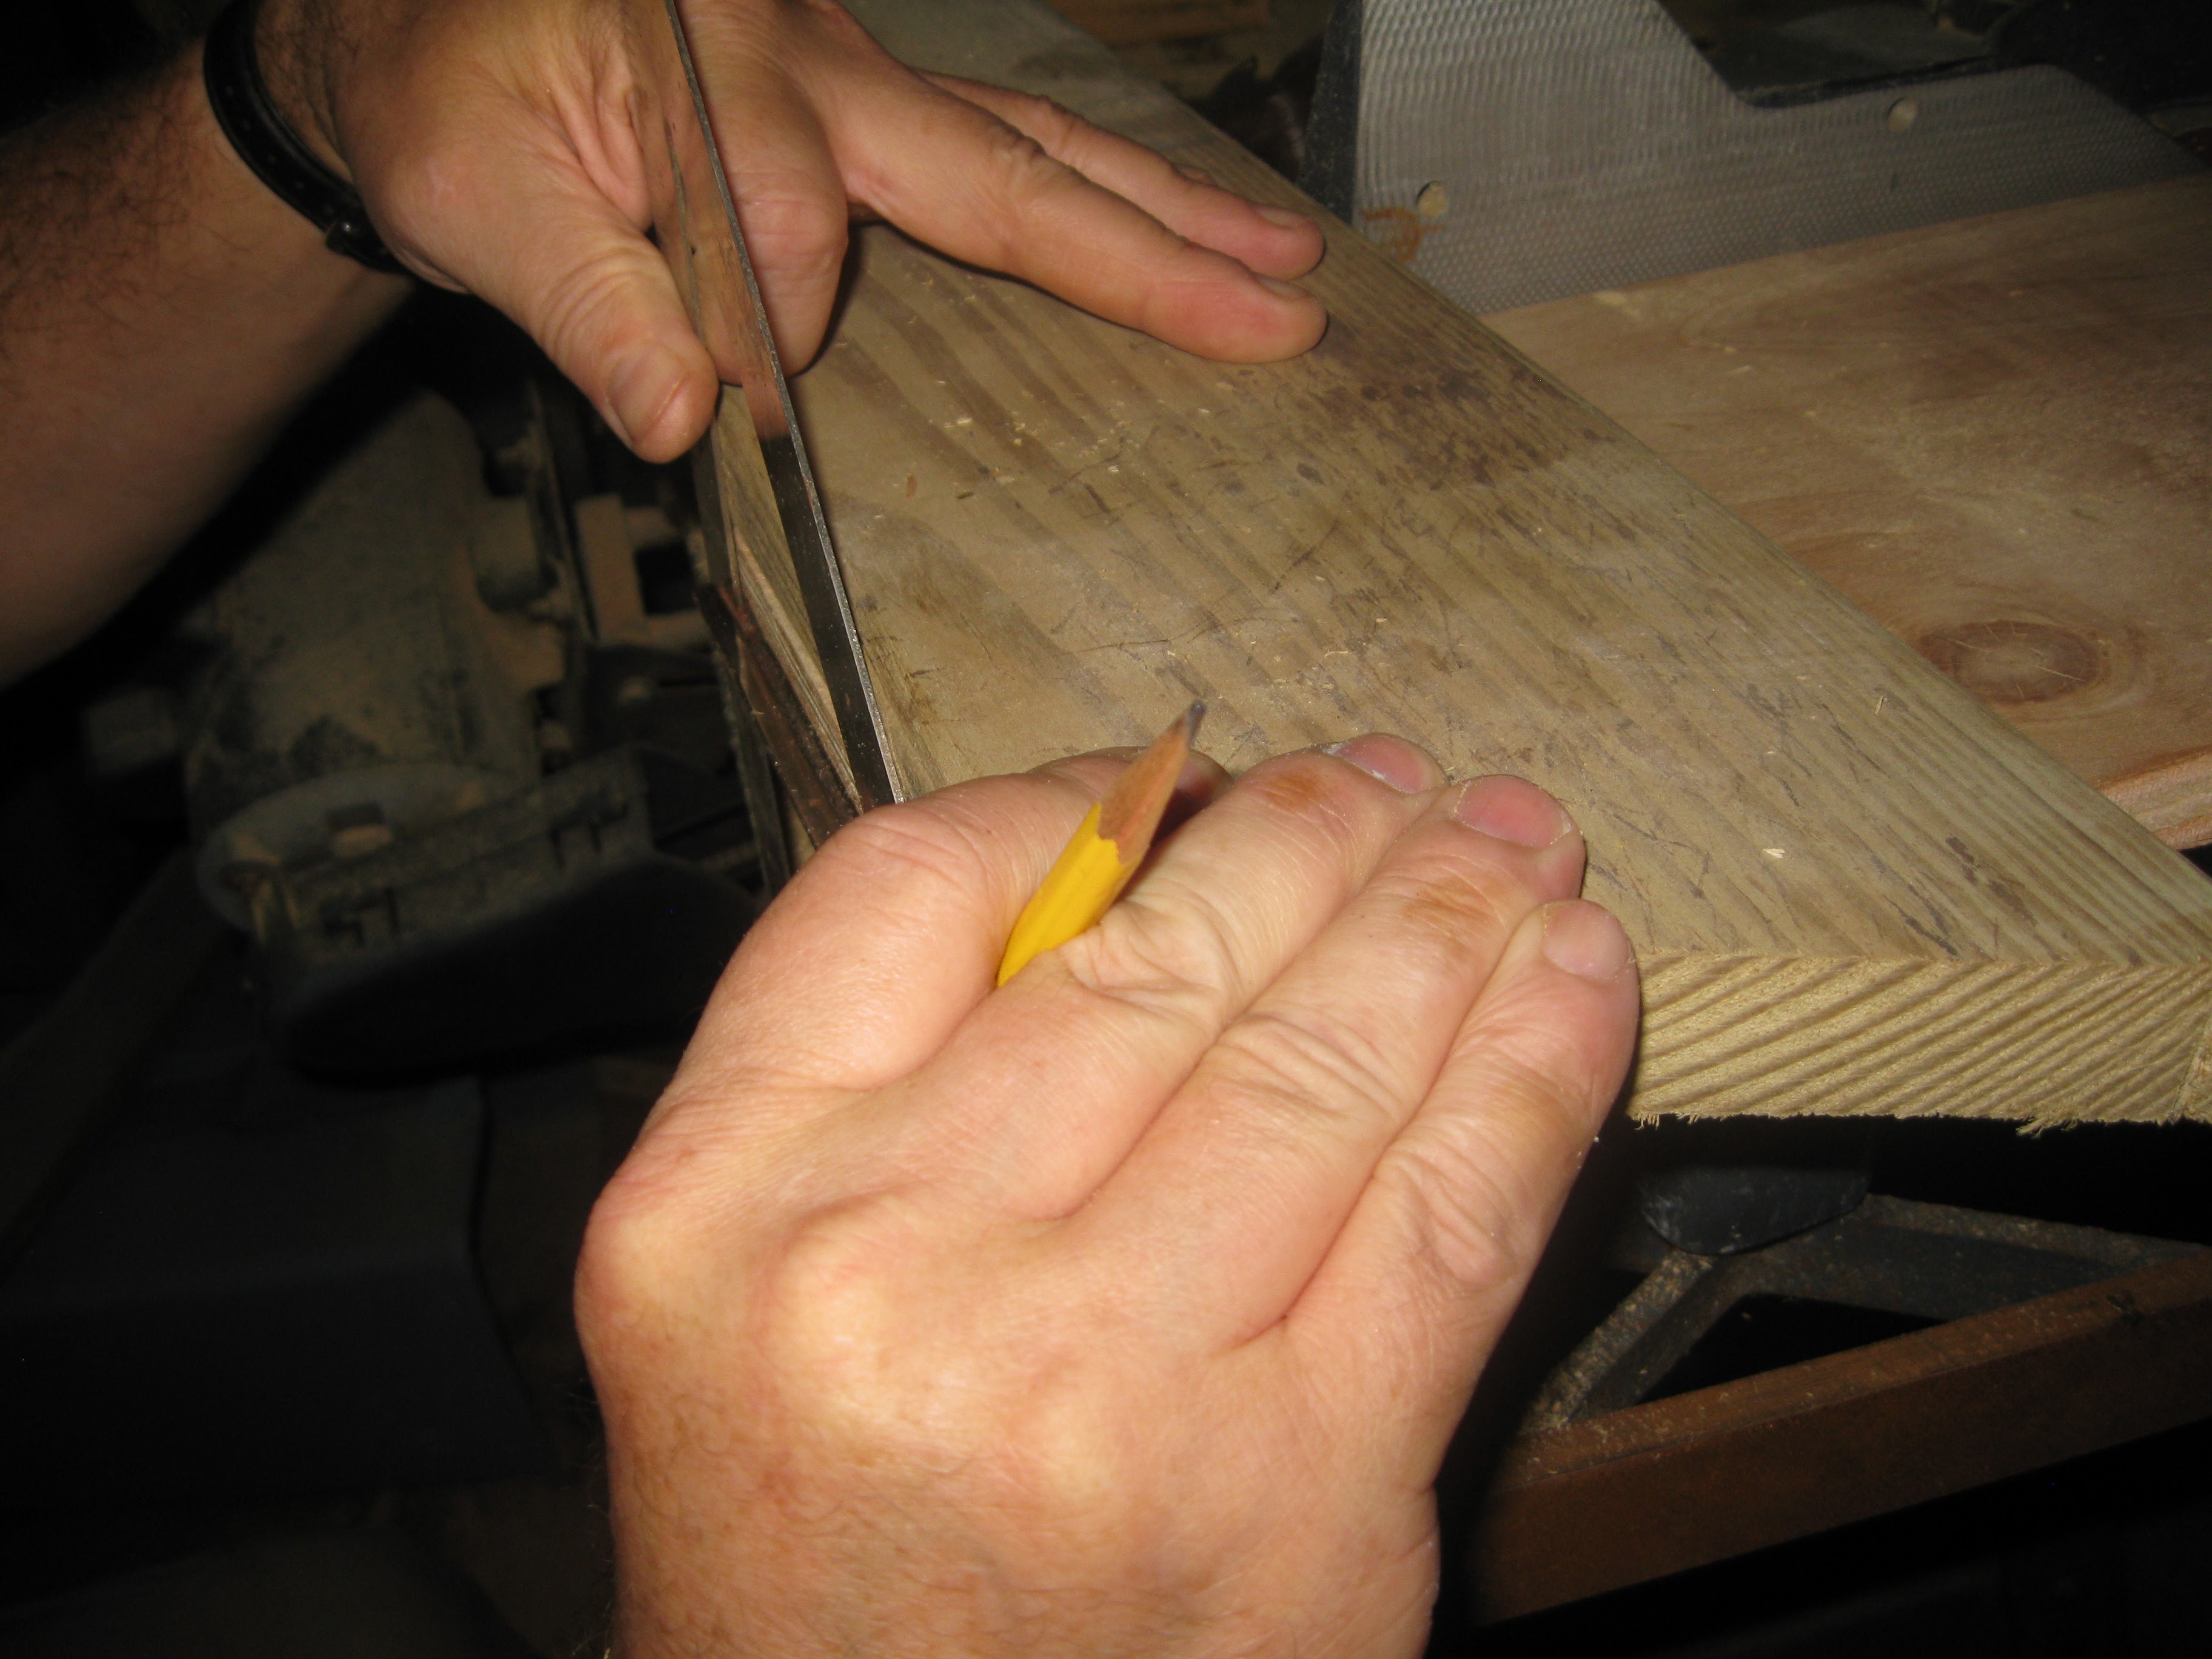
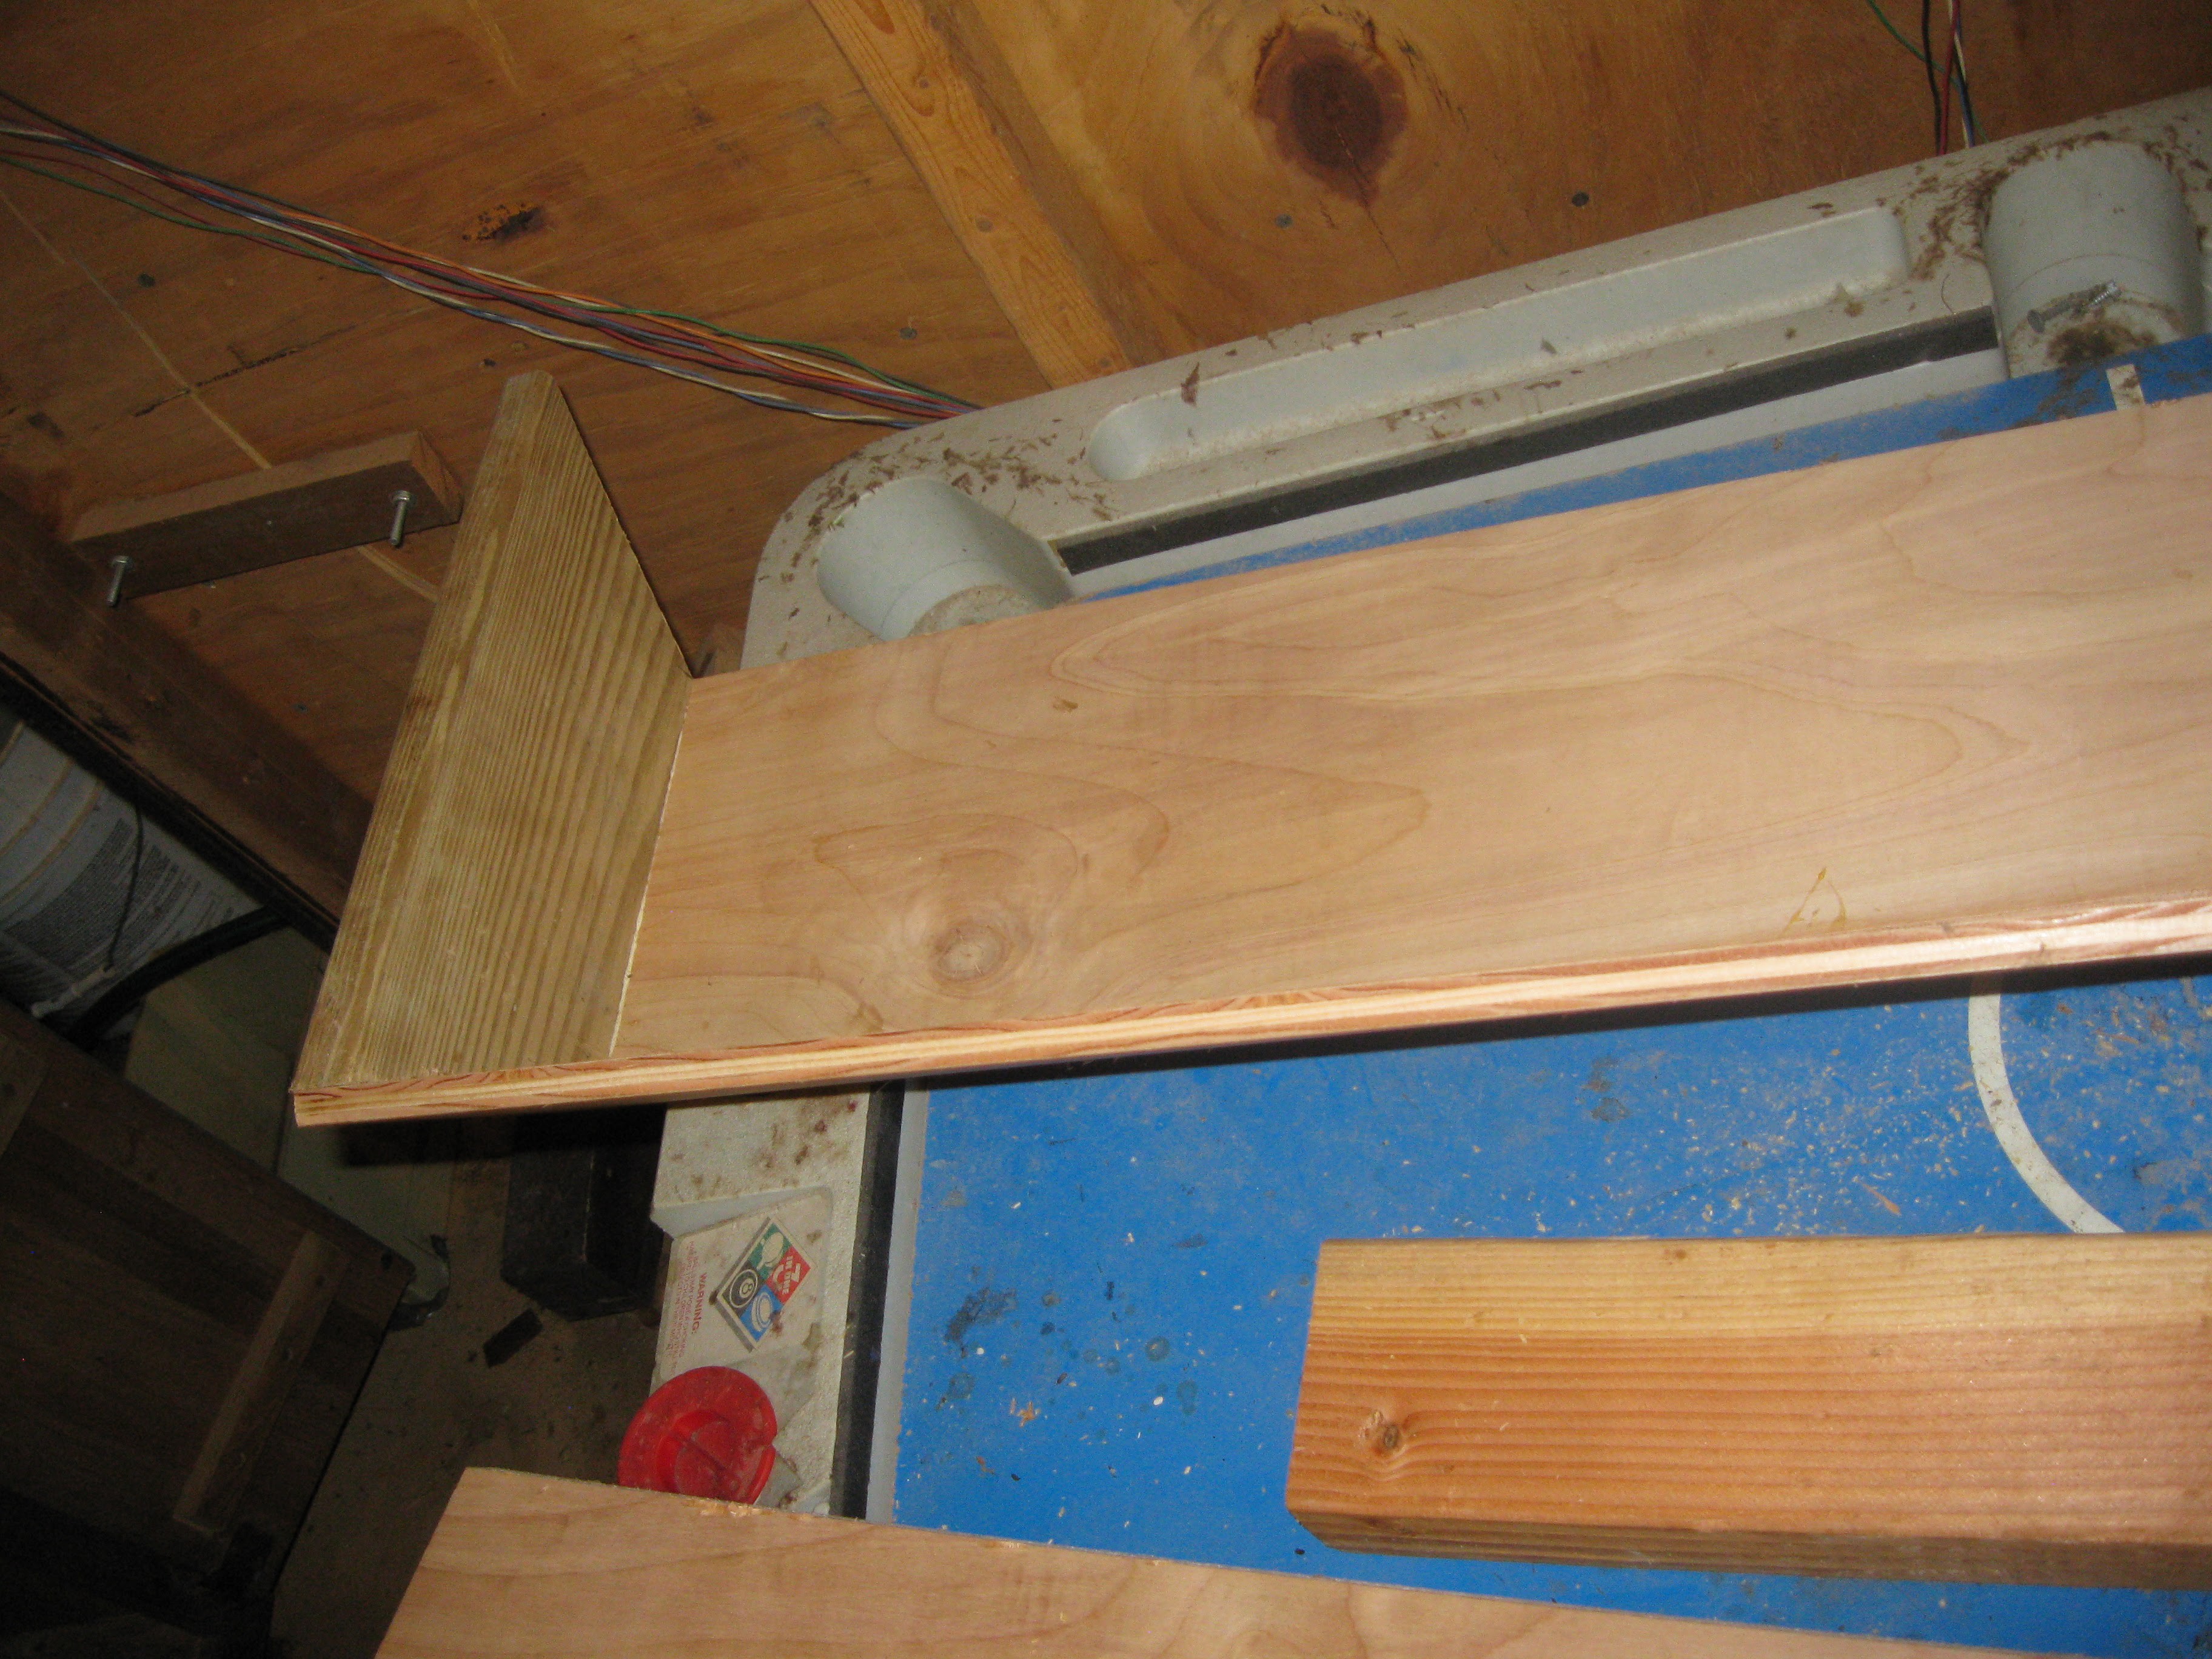
One end being finished with the last cut.
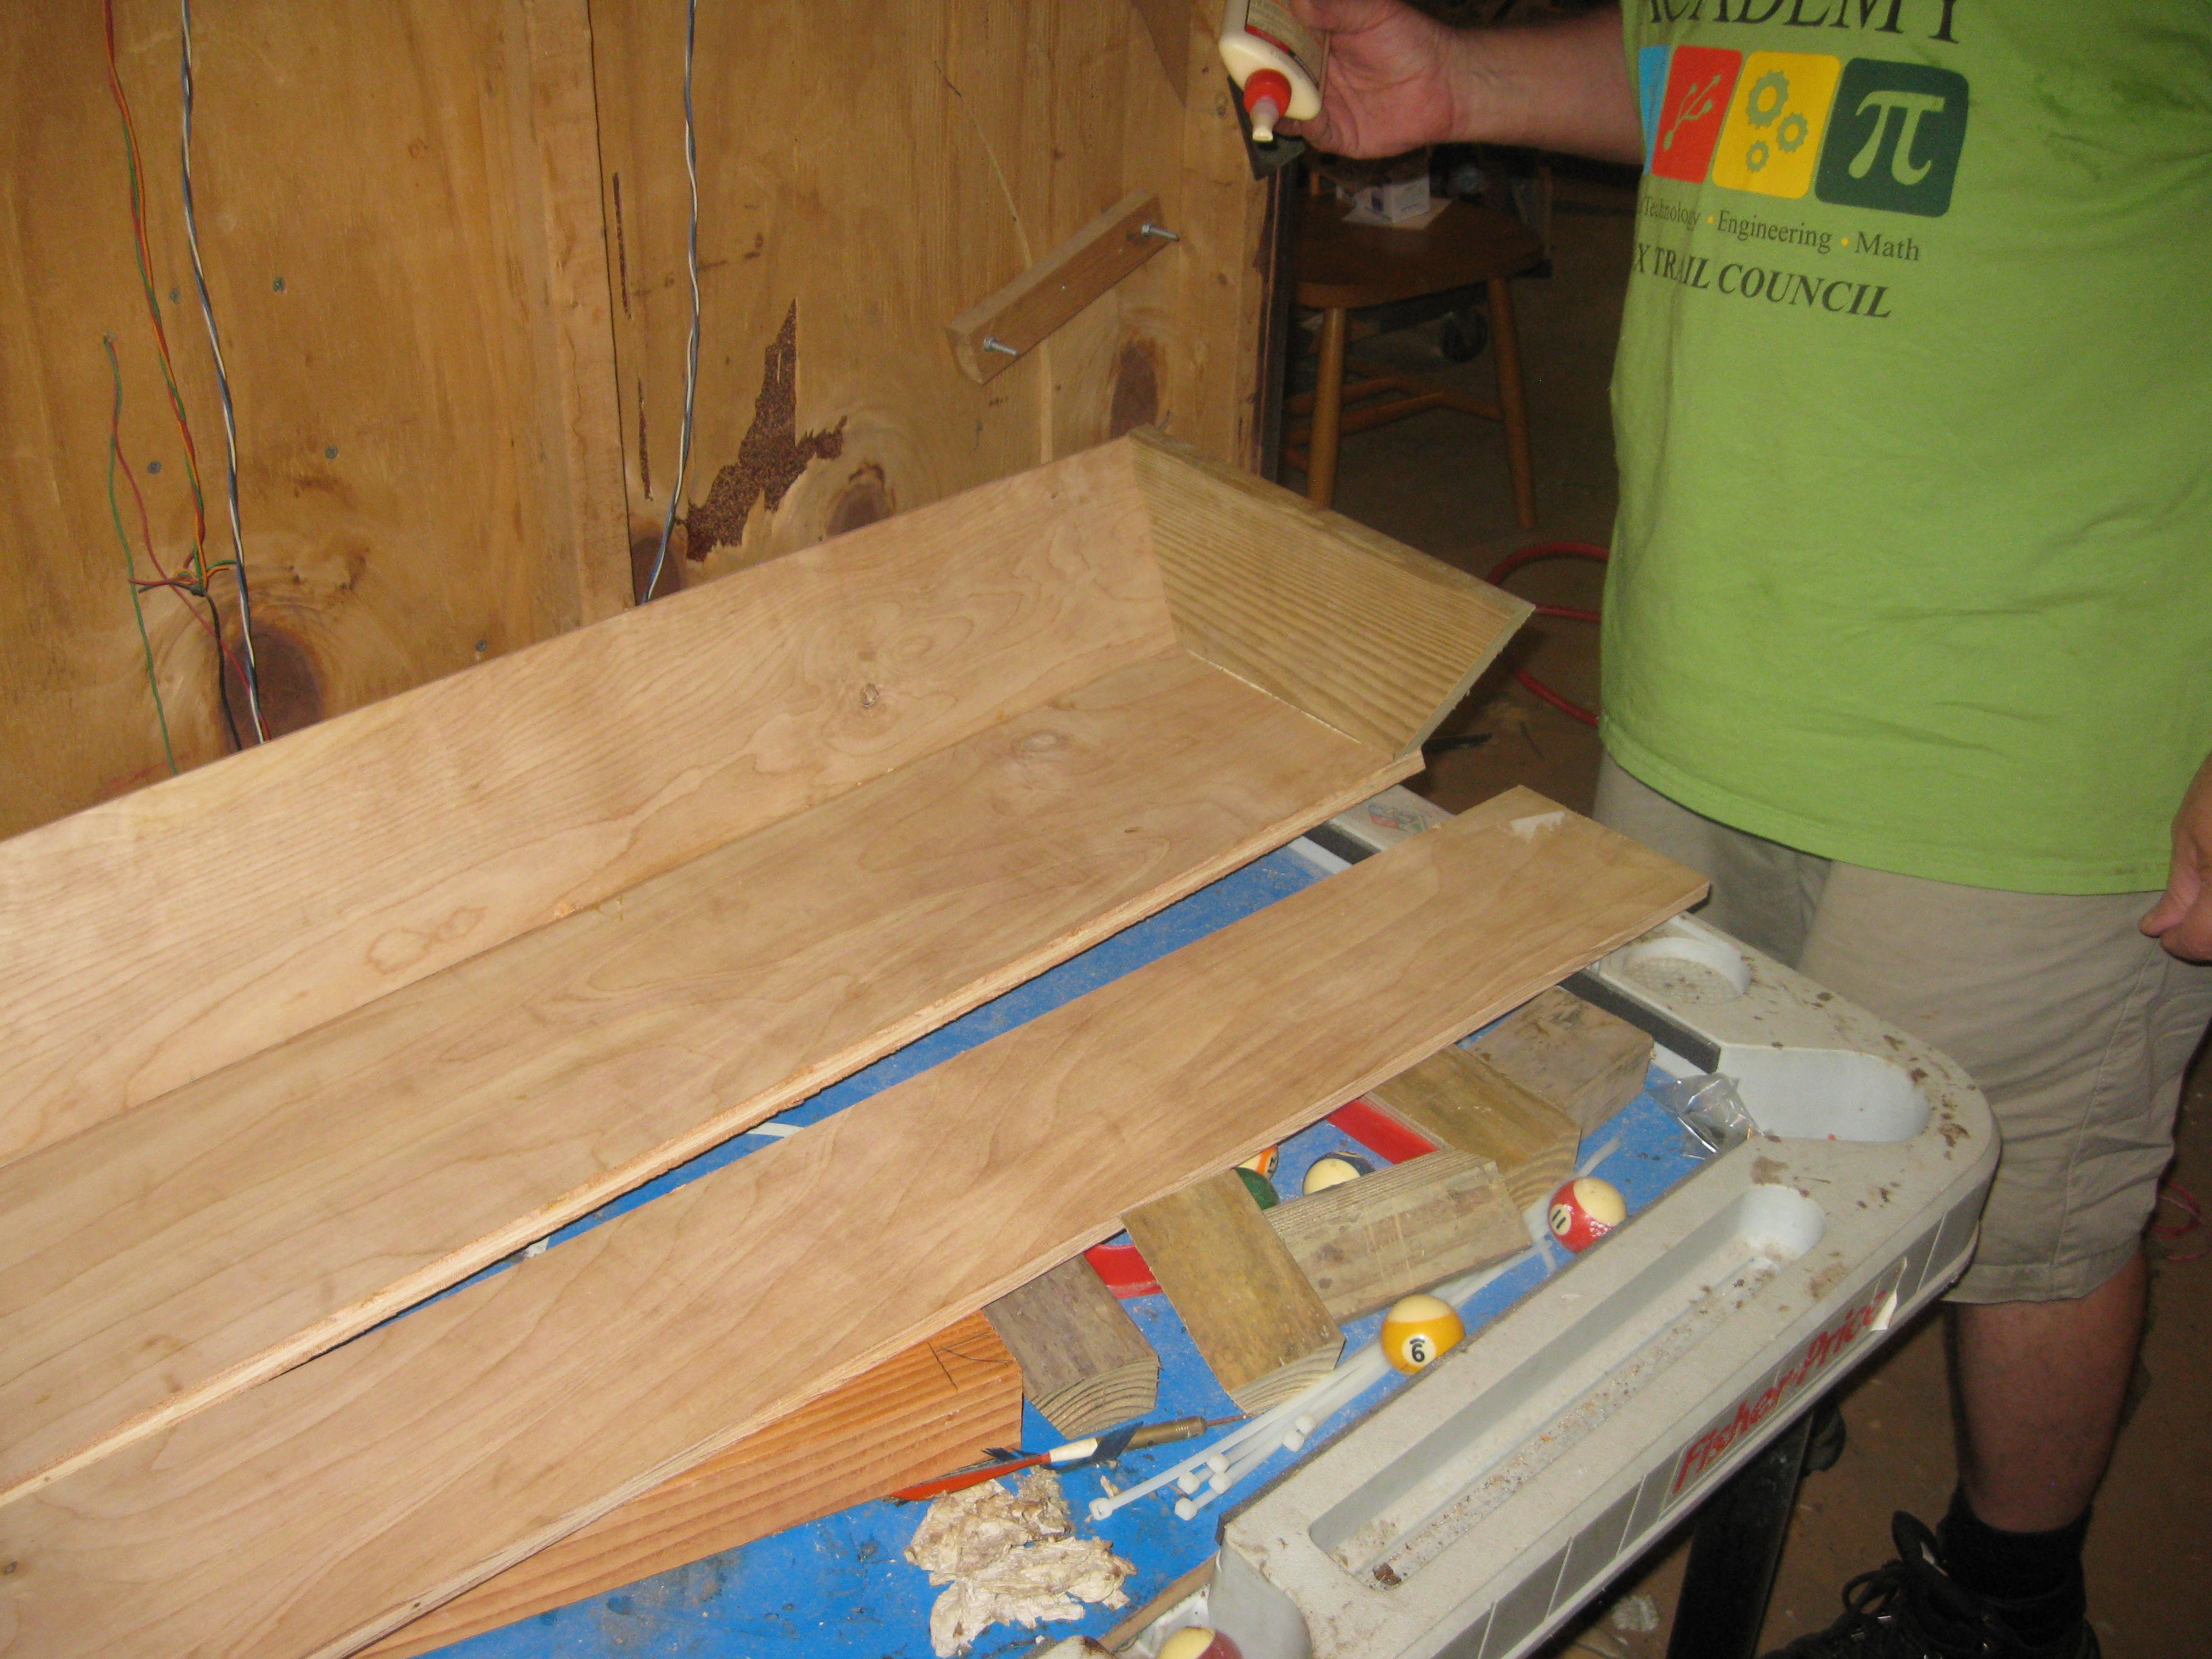
Finished newly cut pieces with more consistent bevel angles.
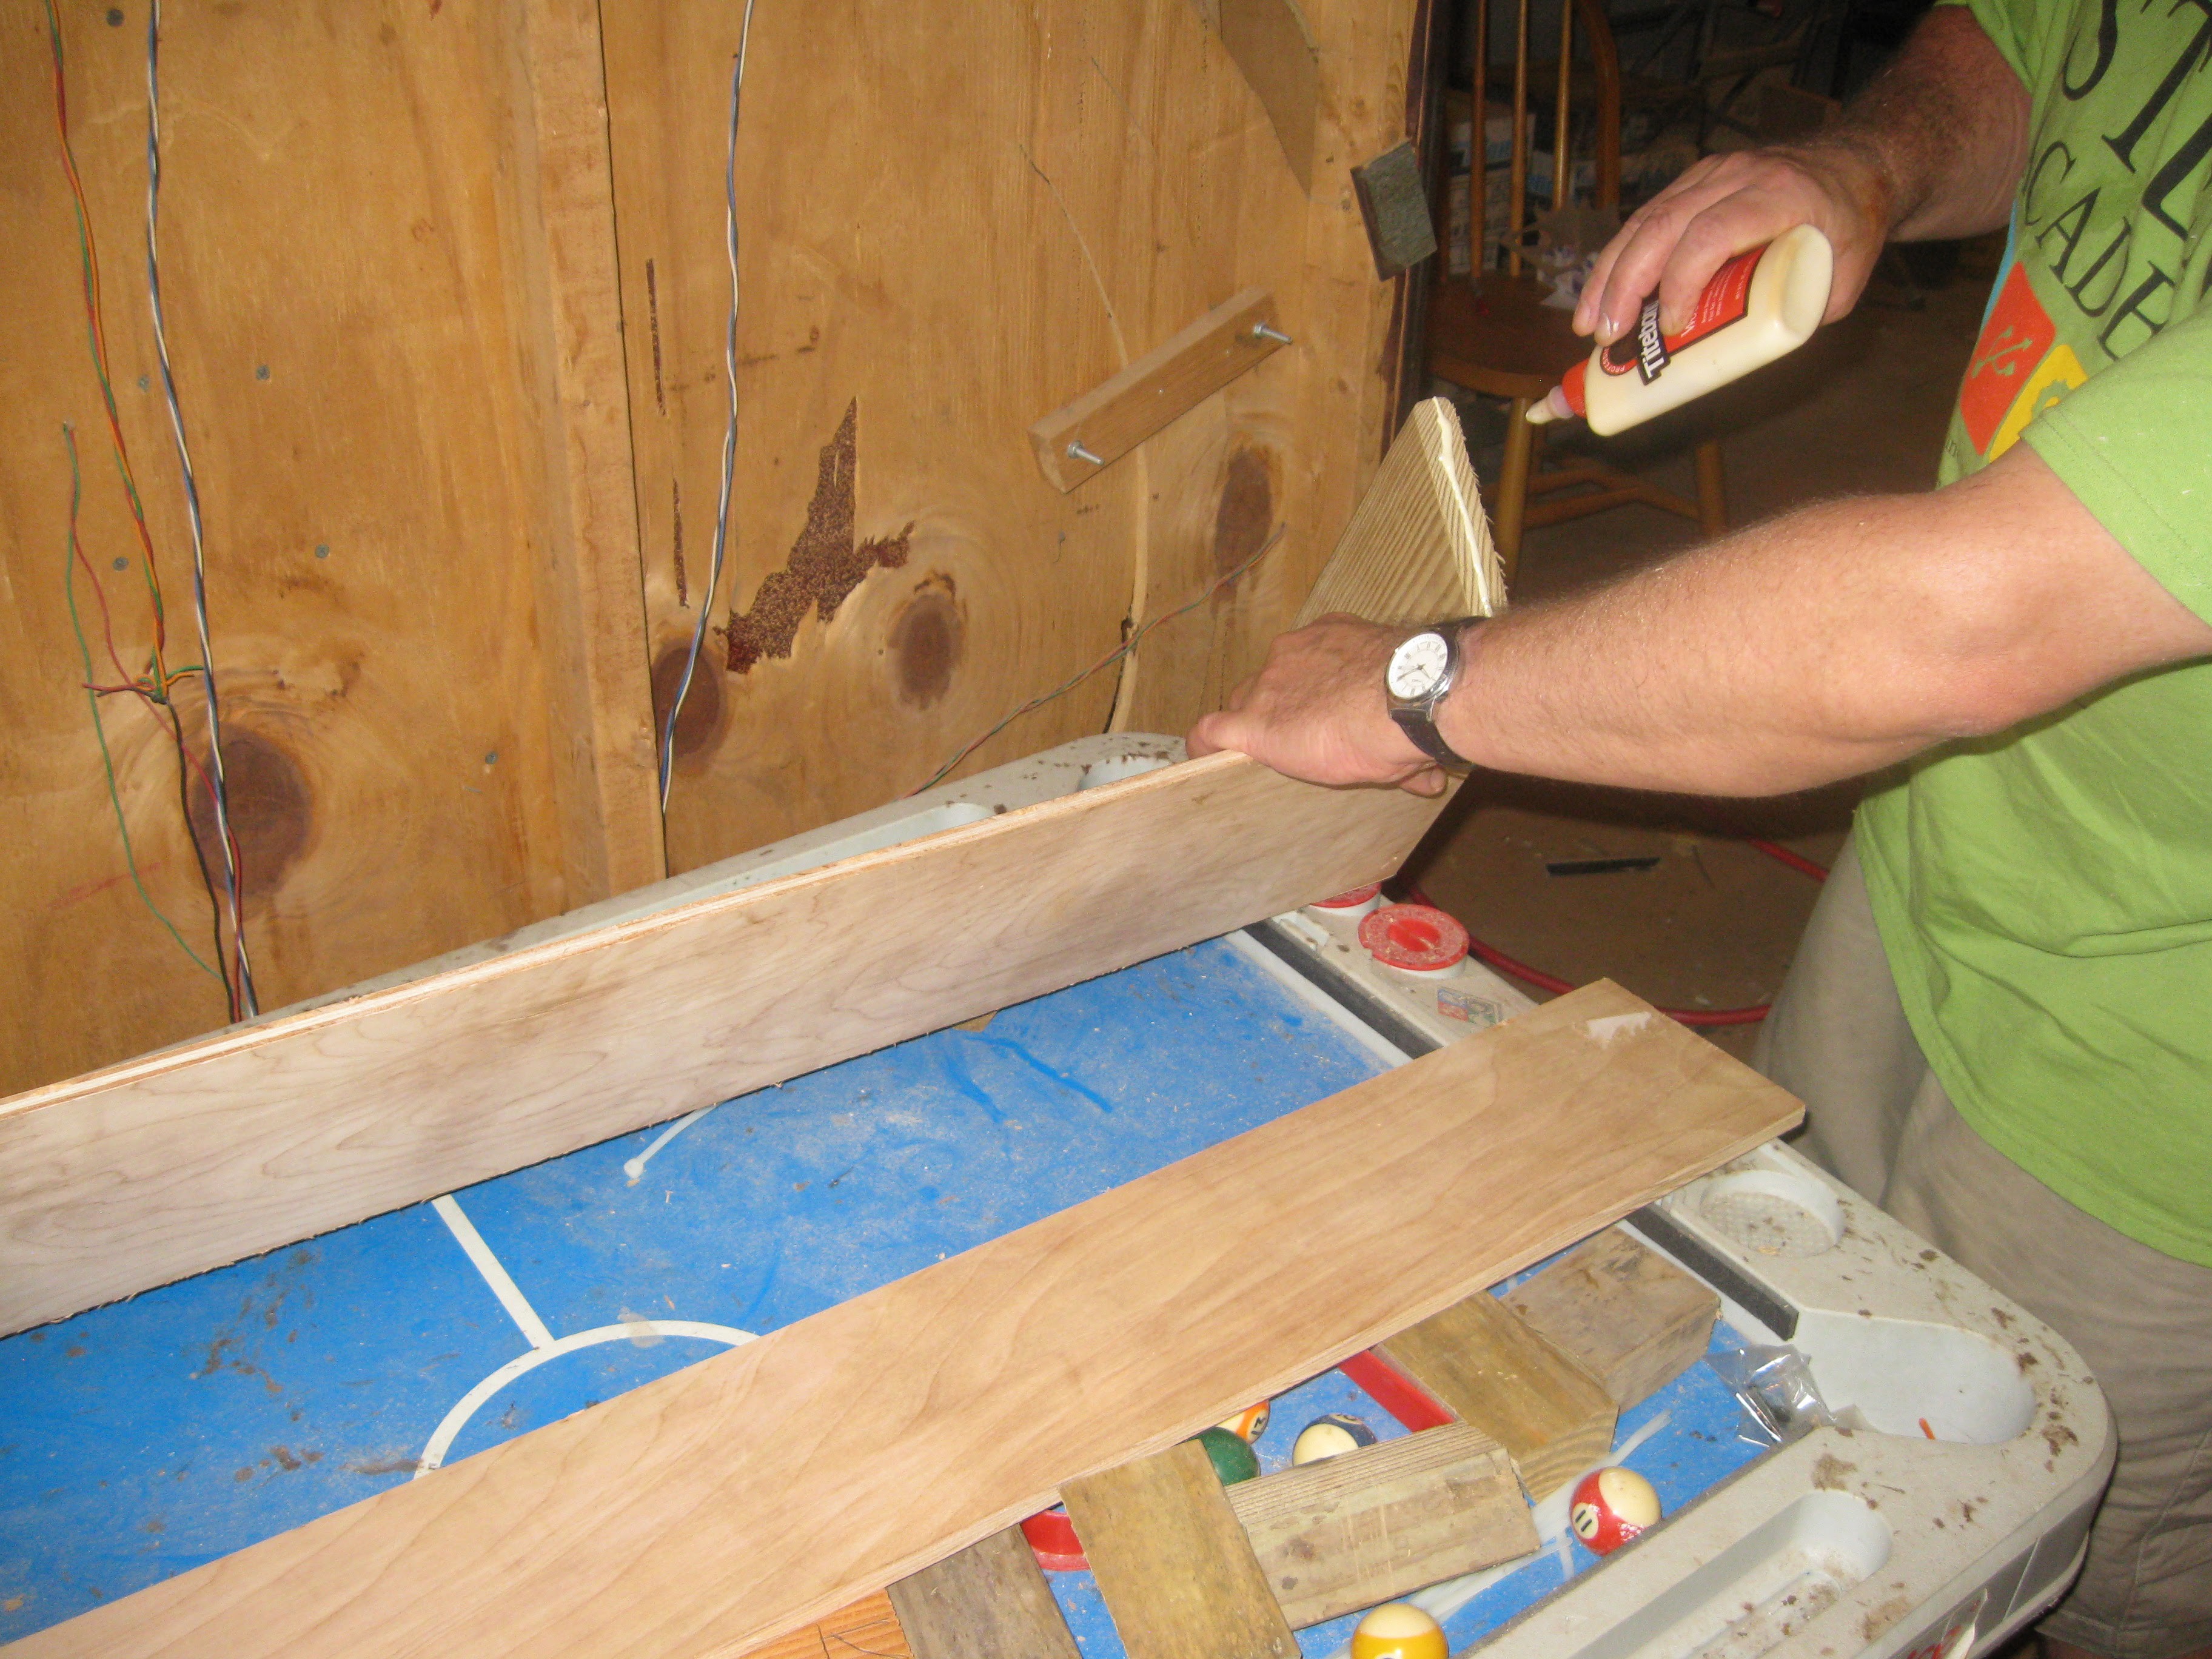
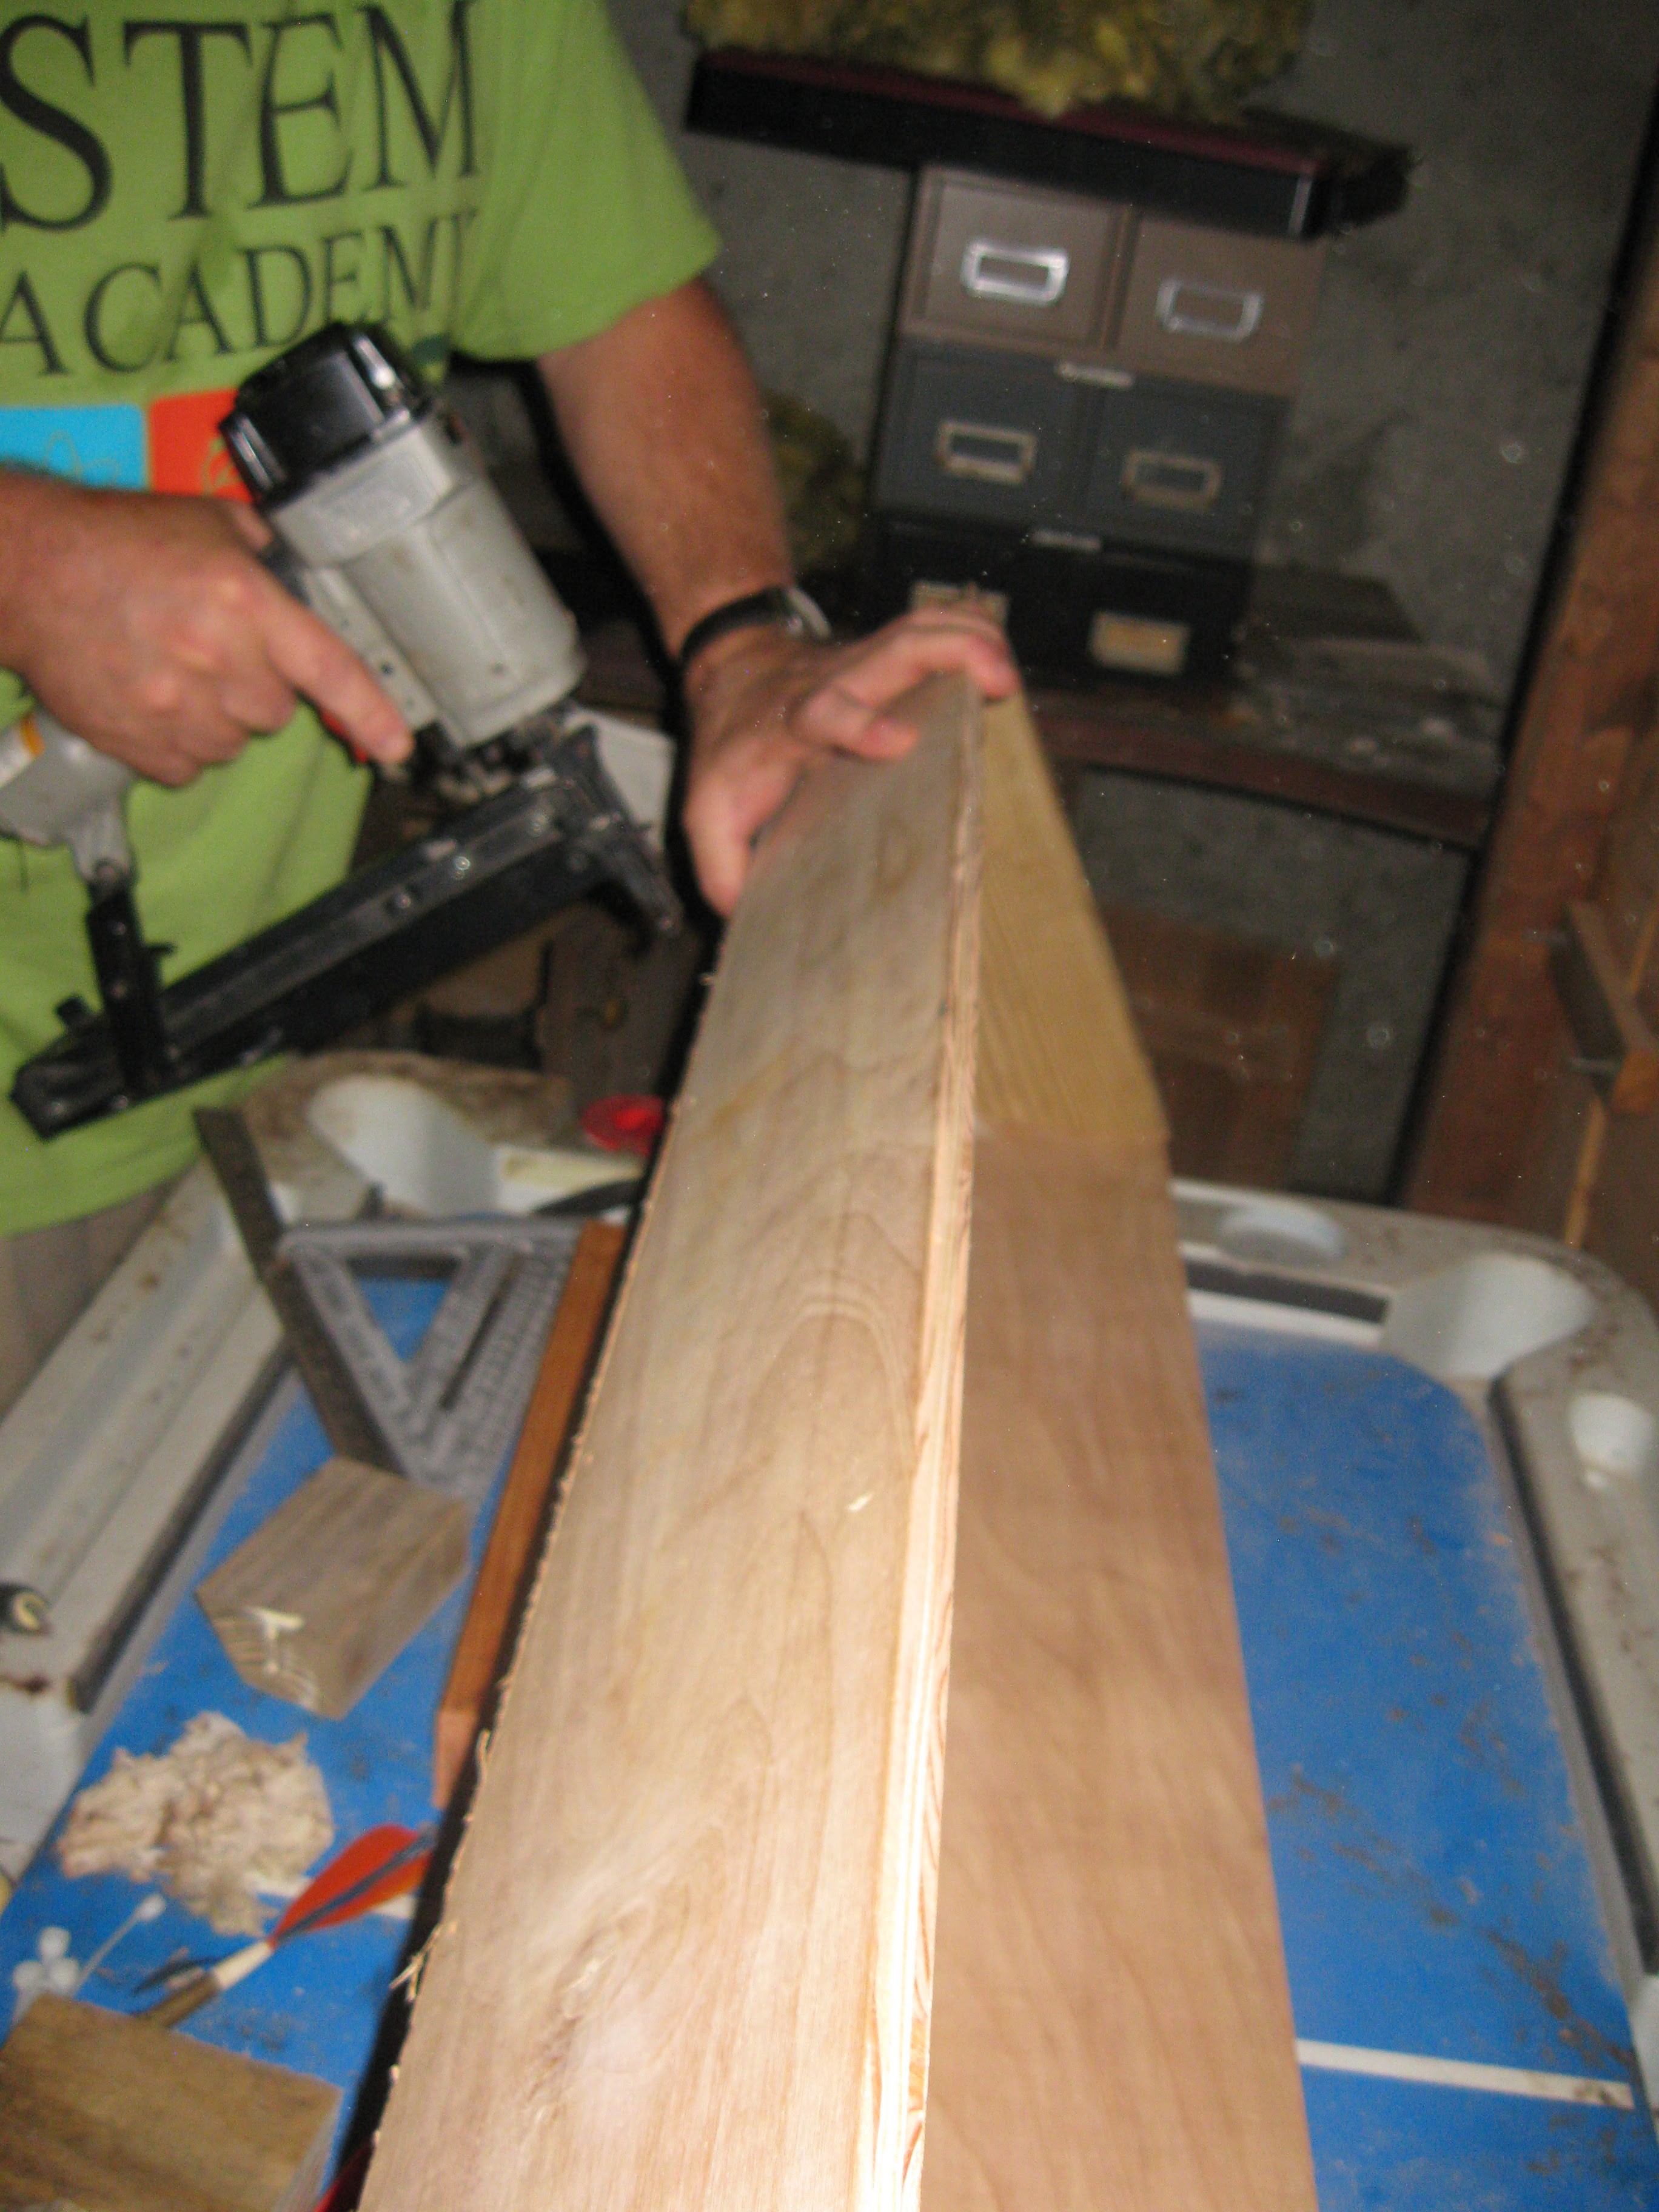
Gluing and nailing the light frame/casing together, here starting with one of the ends glued in place, new cleets were made but not for securing the parts together but rather for lining up the beveled joints.
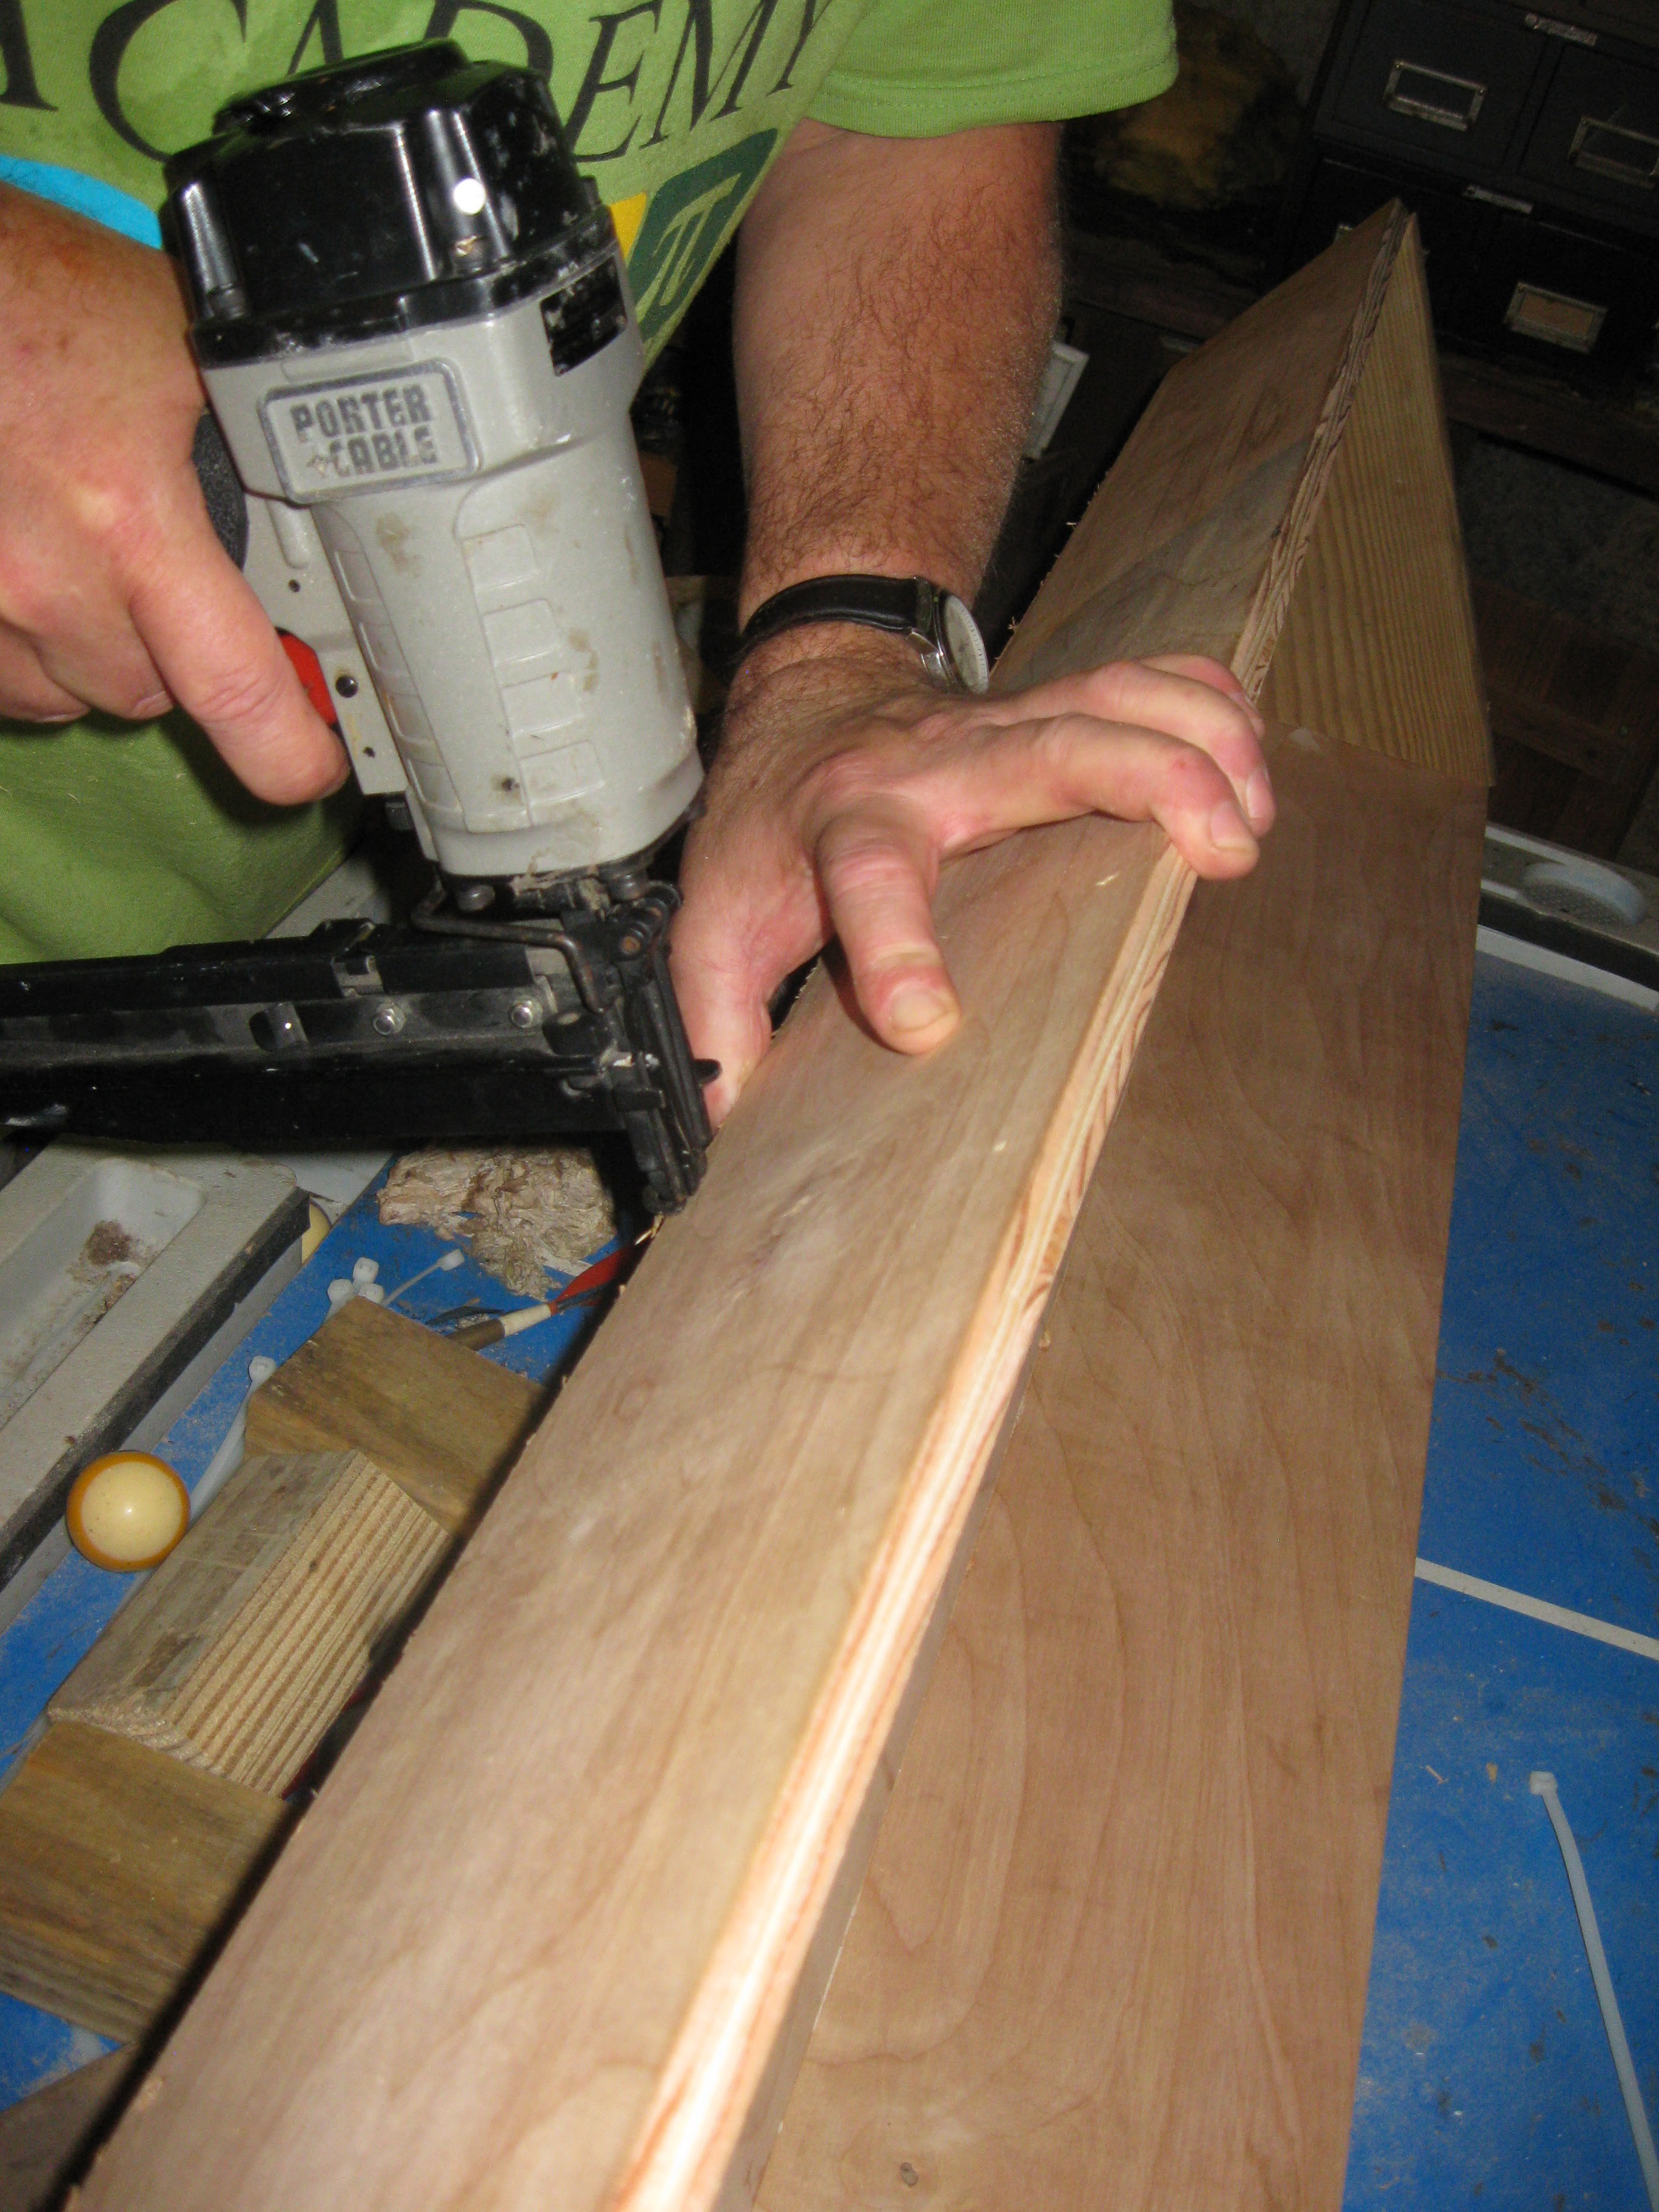
With both ends glued and nailed into place with 2" nails the first side was added. 2" nails going into the deck board ends and 1 inch nails allong the beveled seam with glue inside.
Adjusting the other end before final nailing

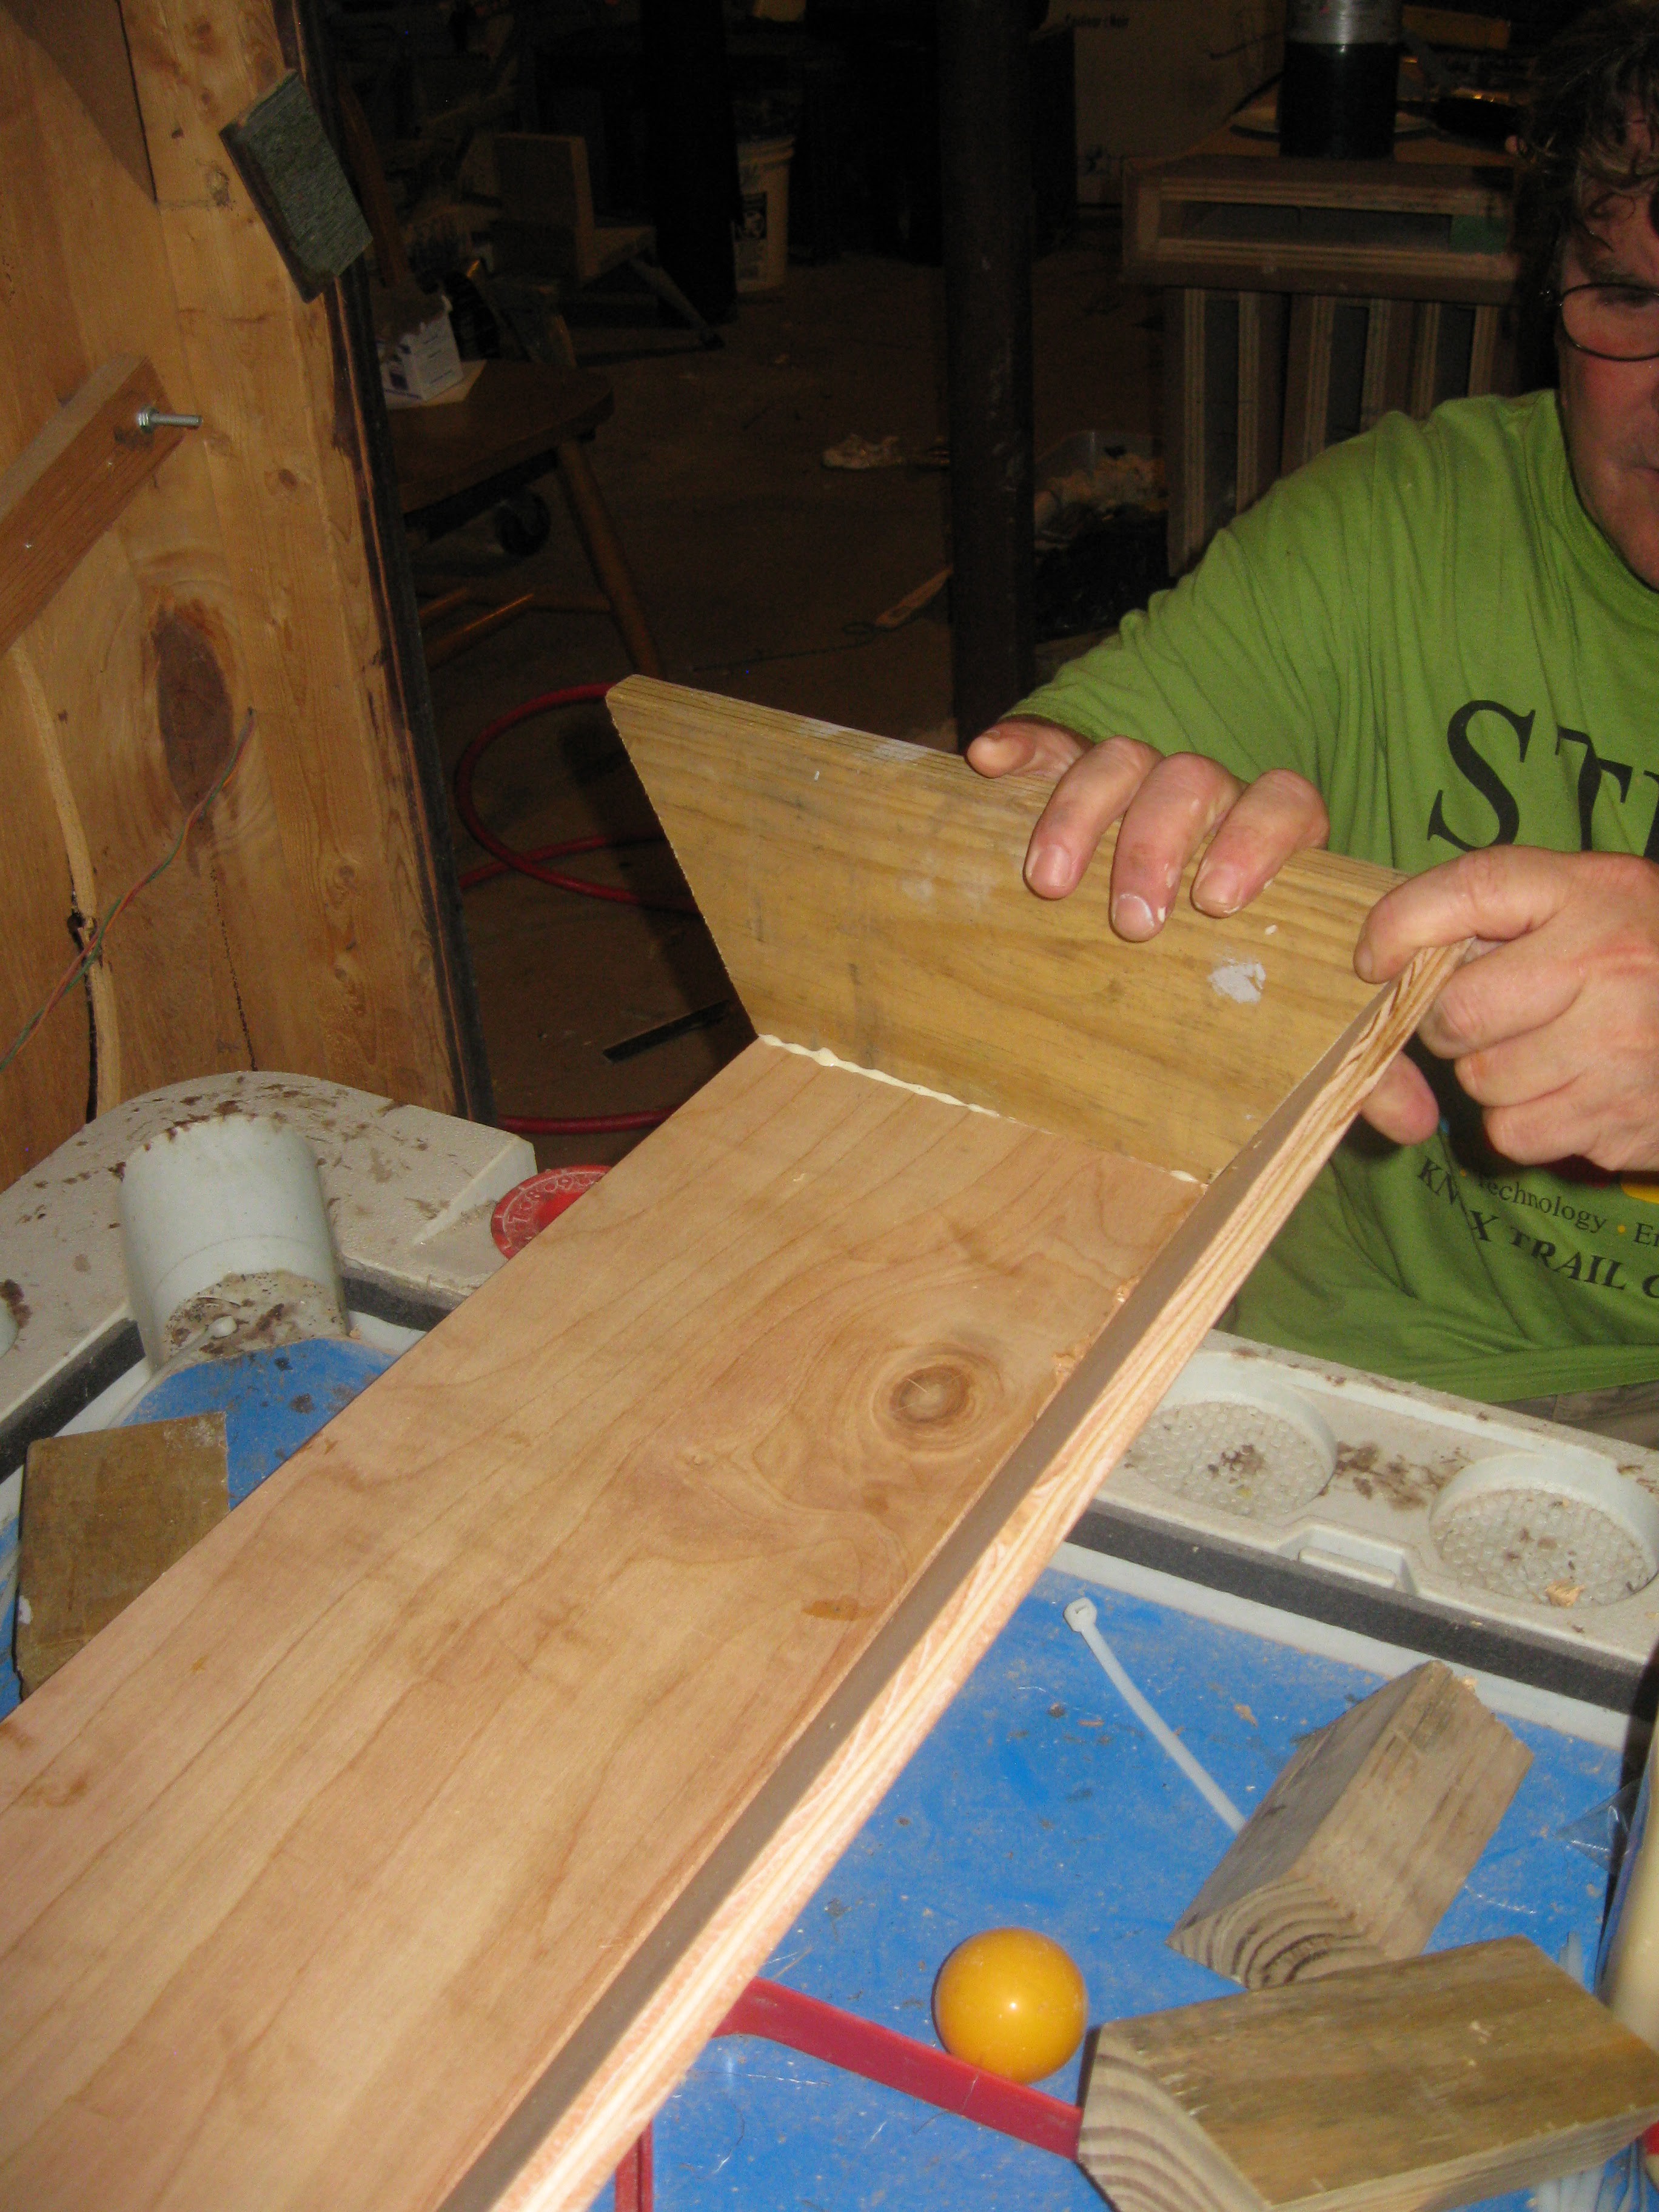
Doing the other side
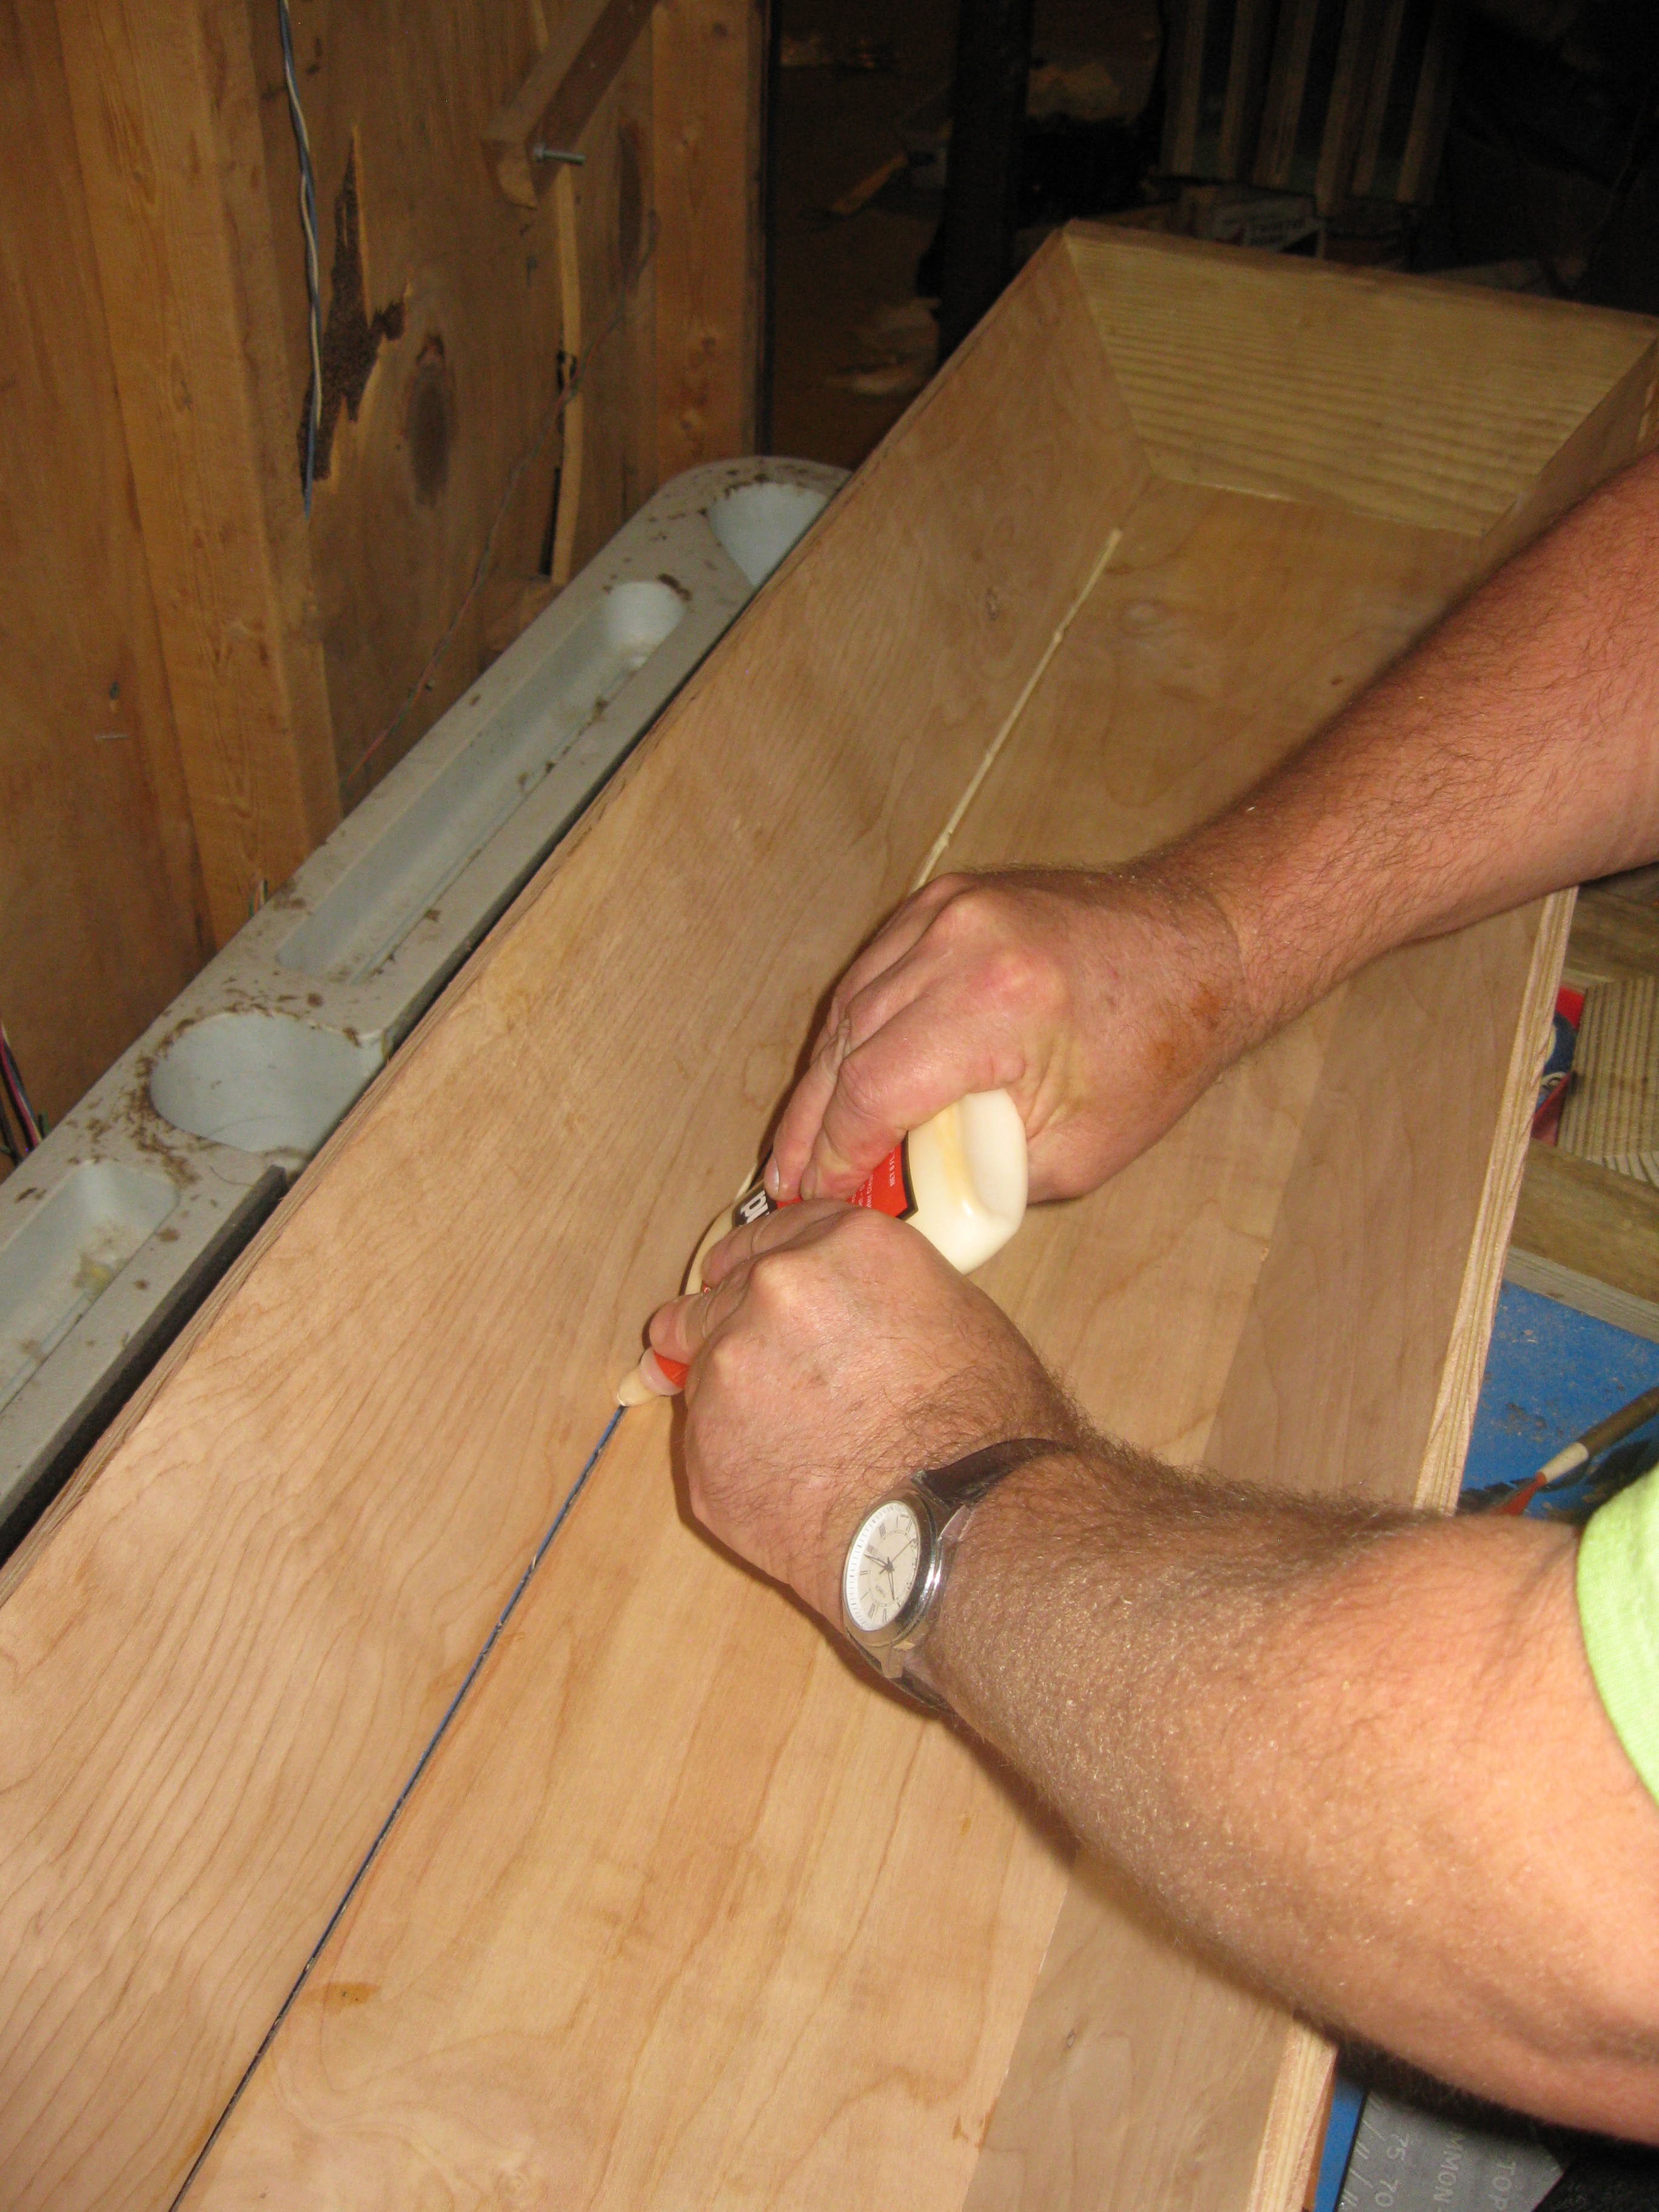
Adding glue to the other side's seam before nailing it all together along the way.
Nailing of the seams:
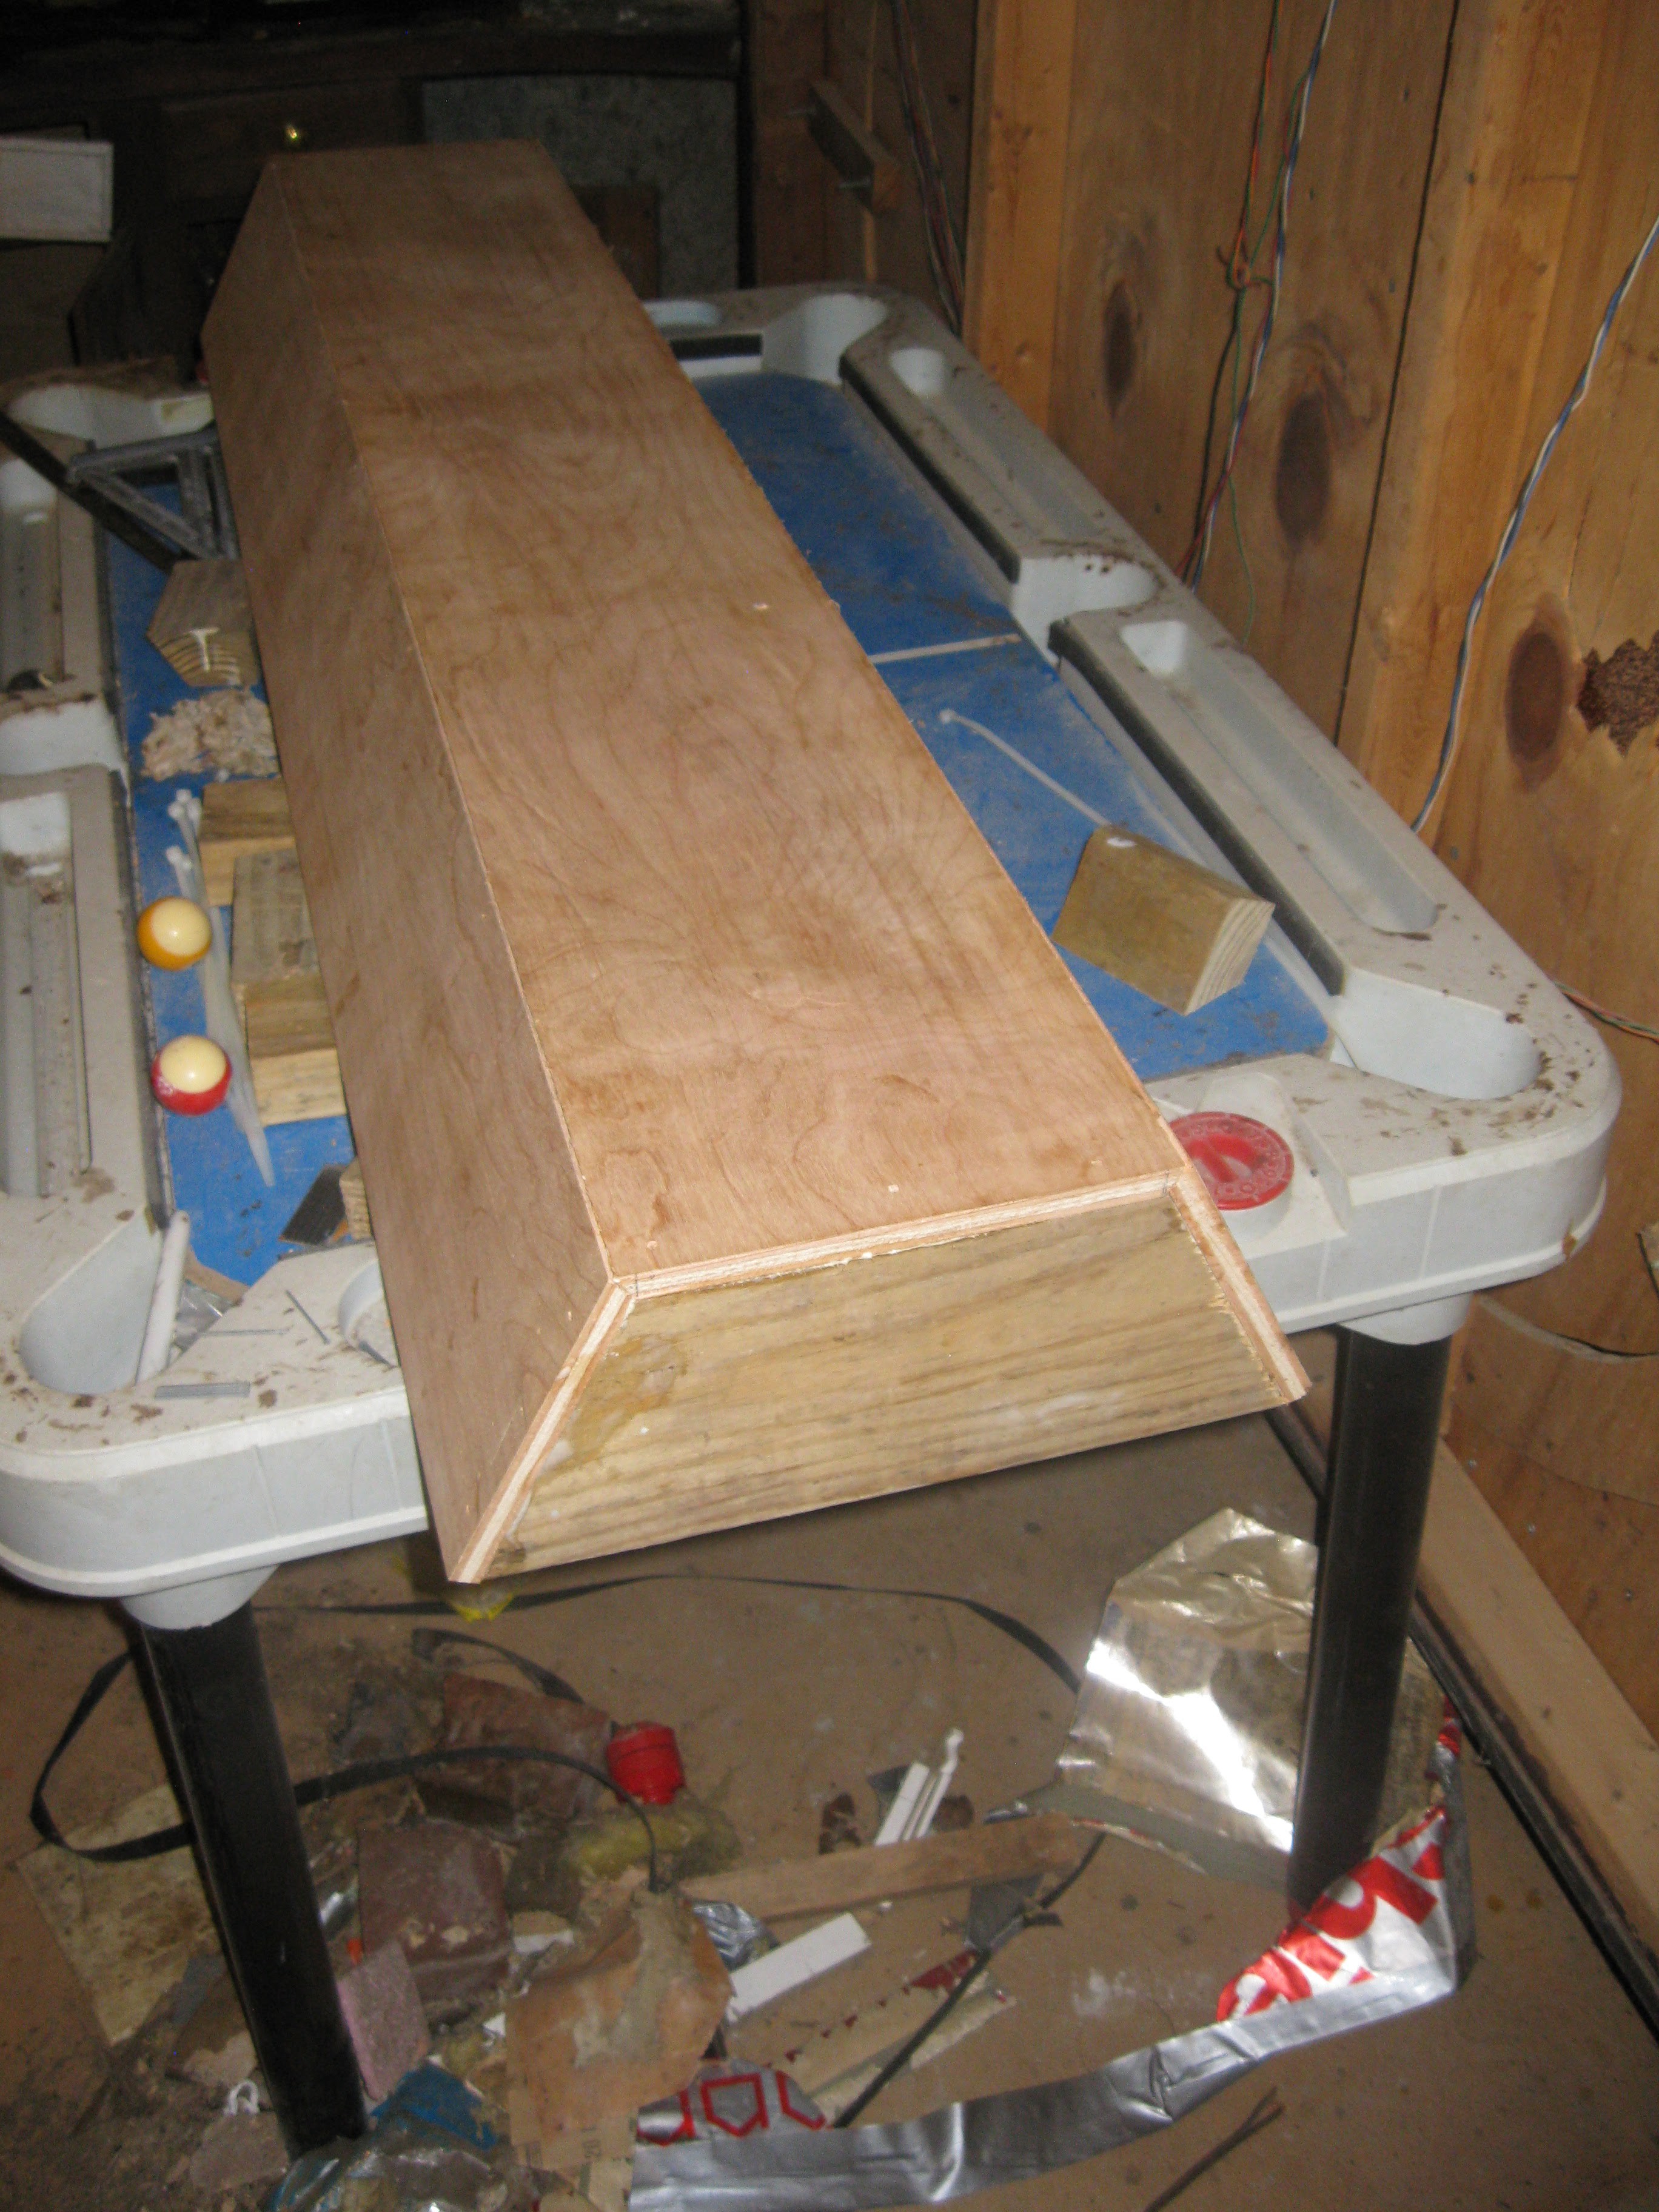
Finished assembly
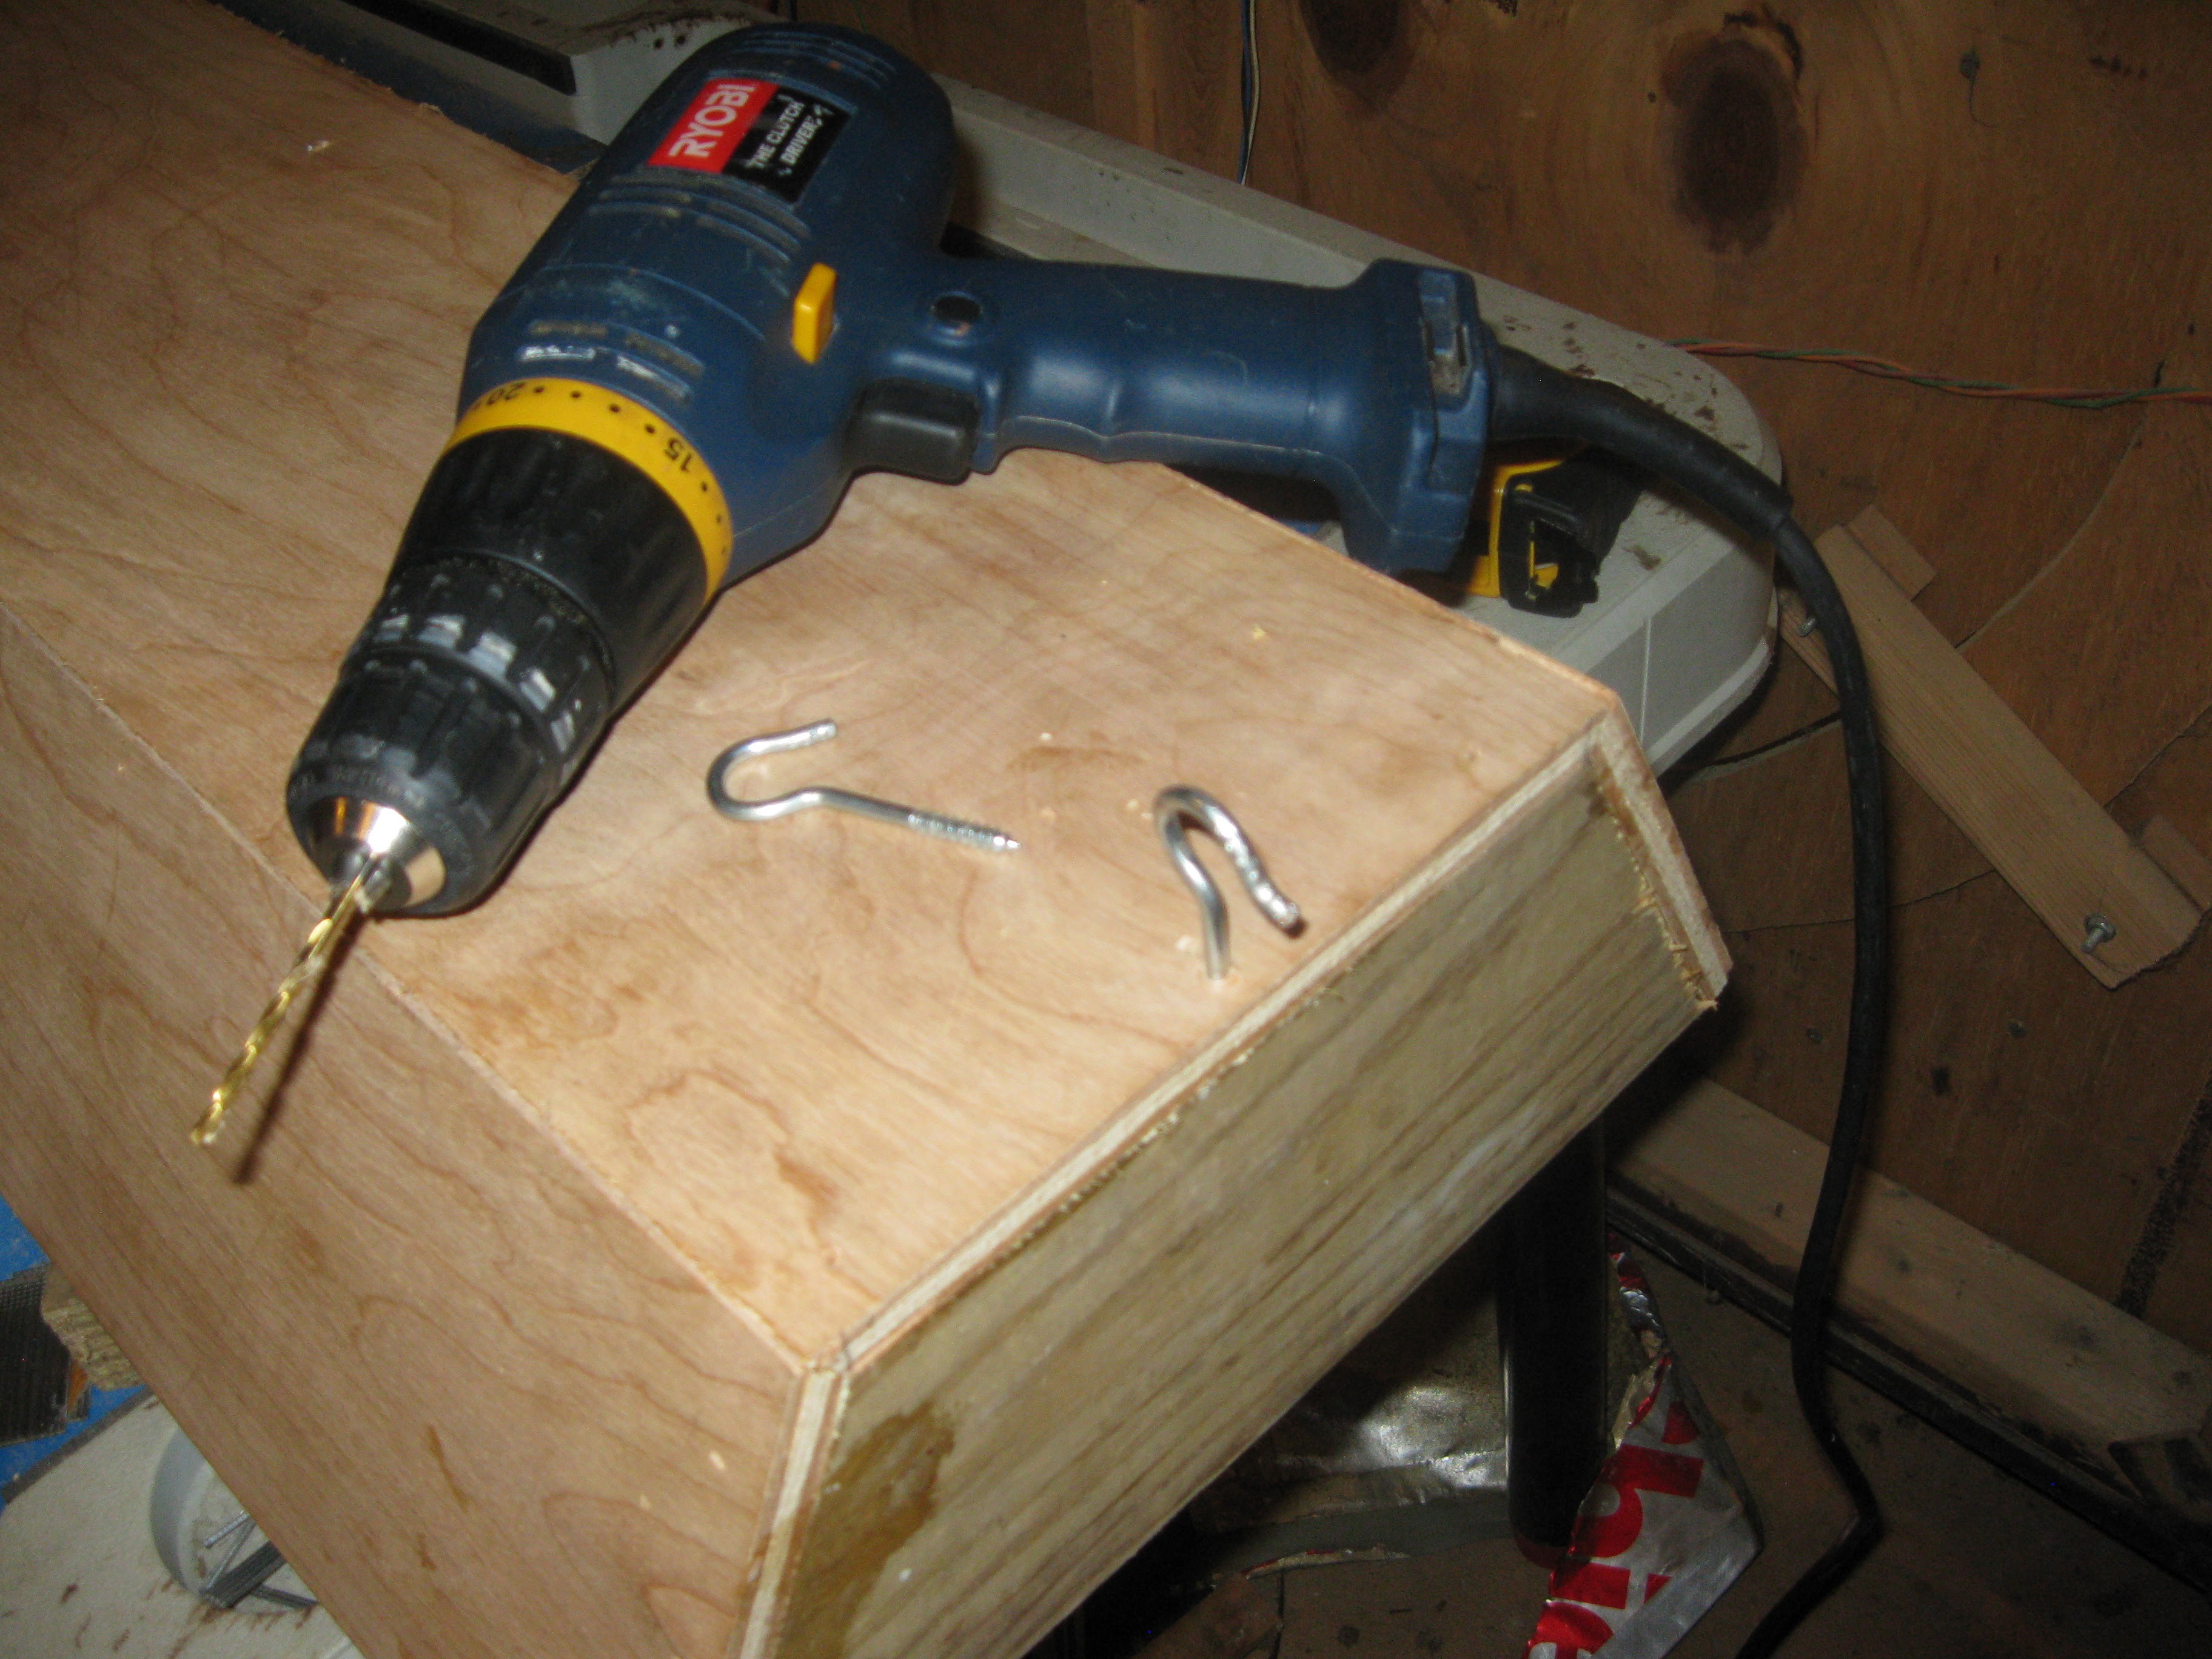
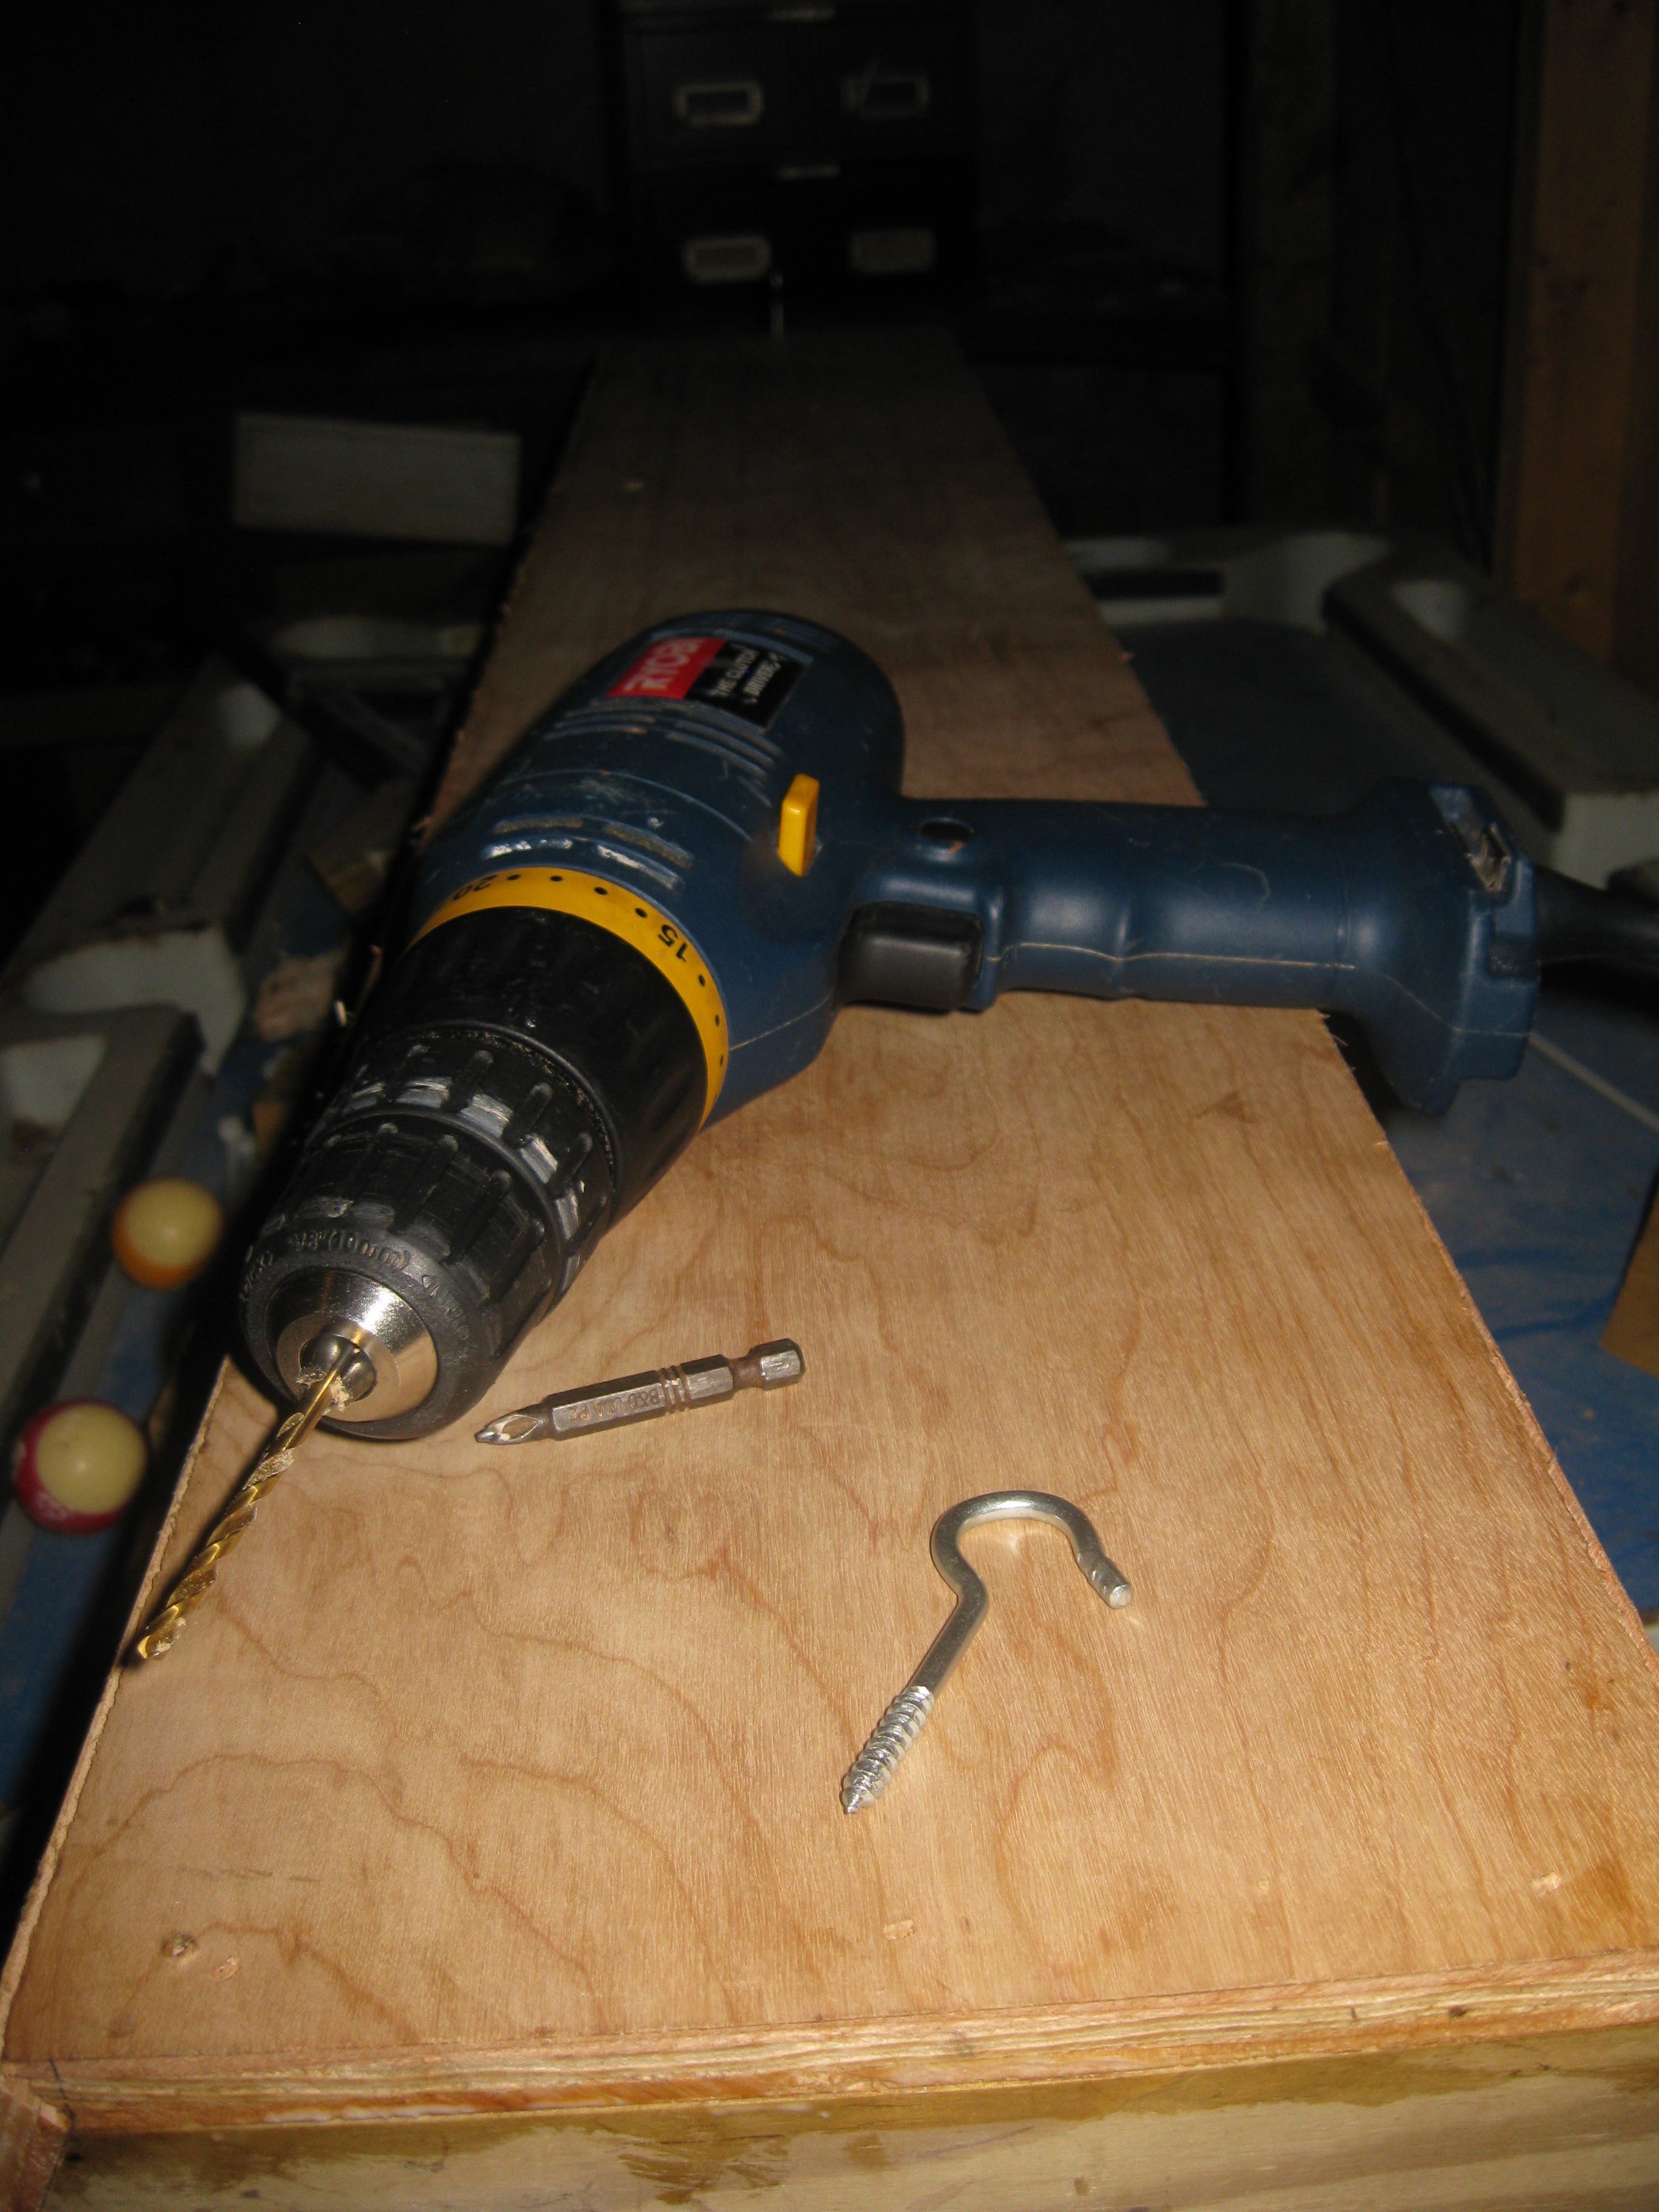
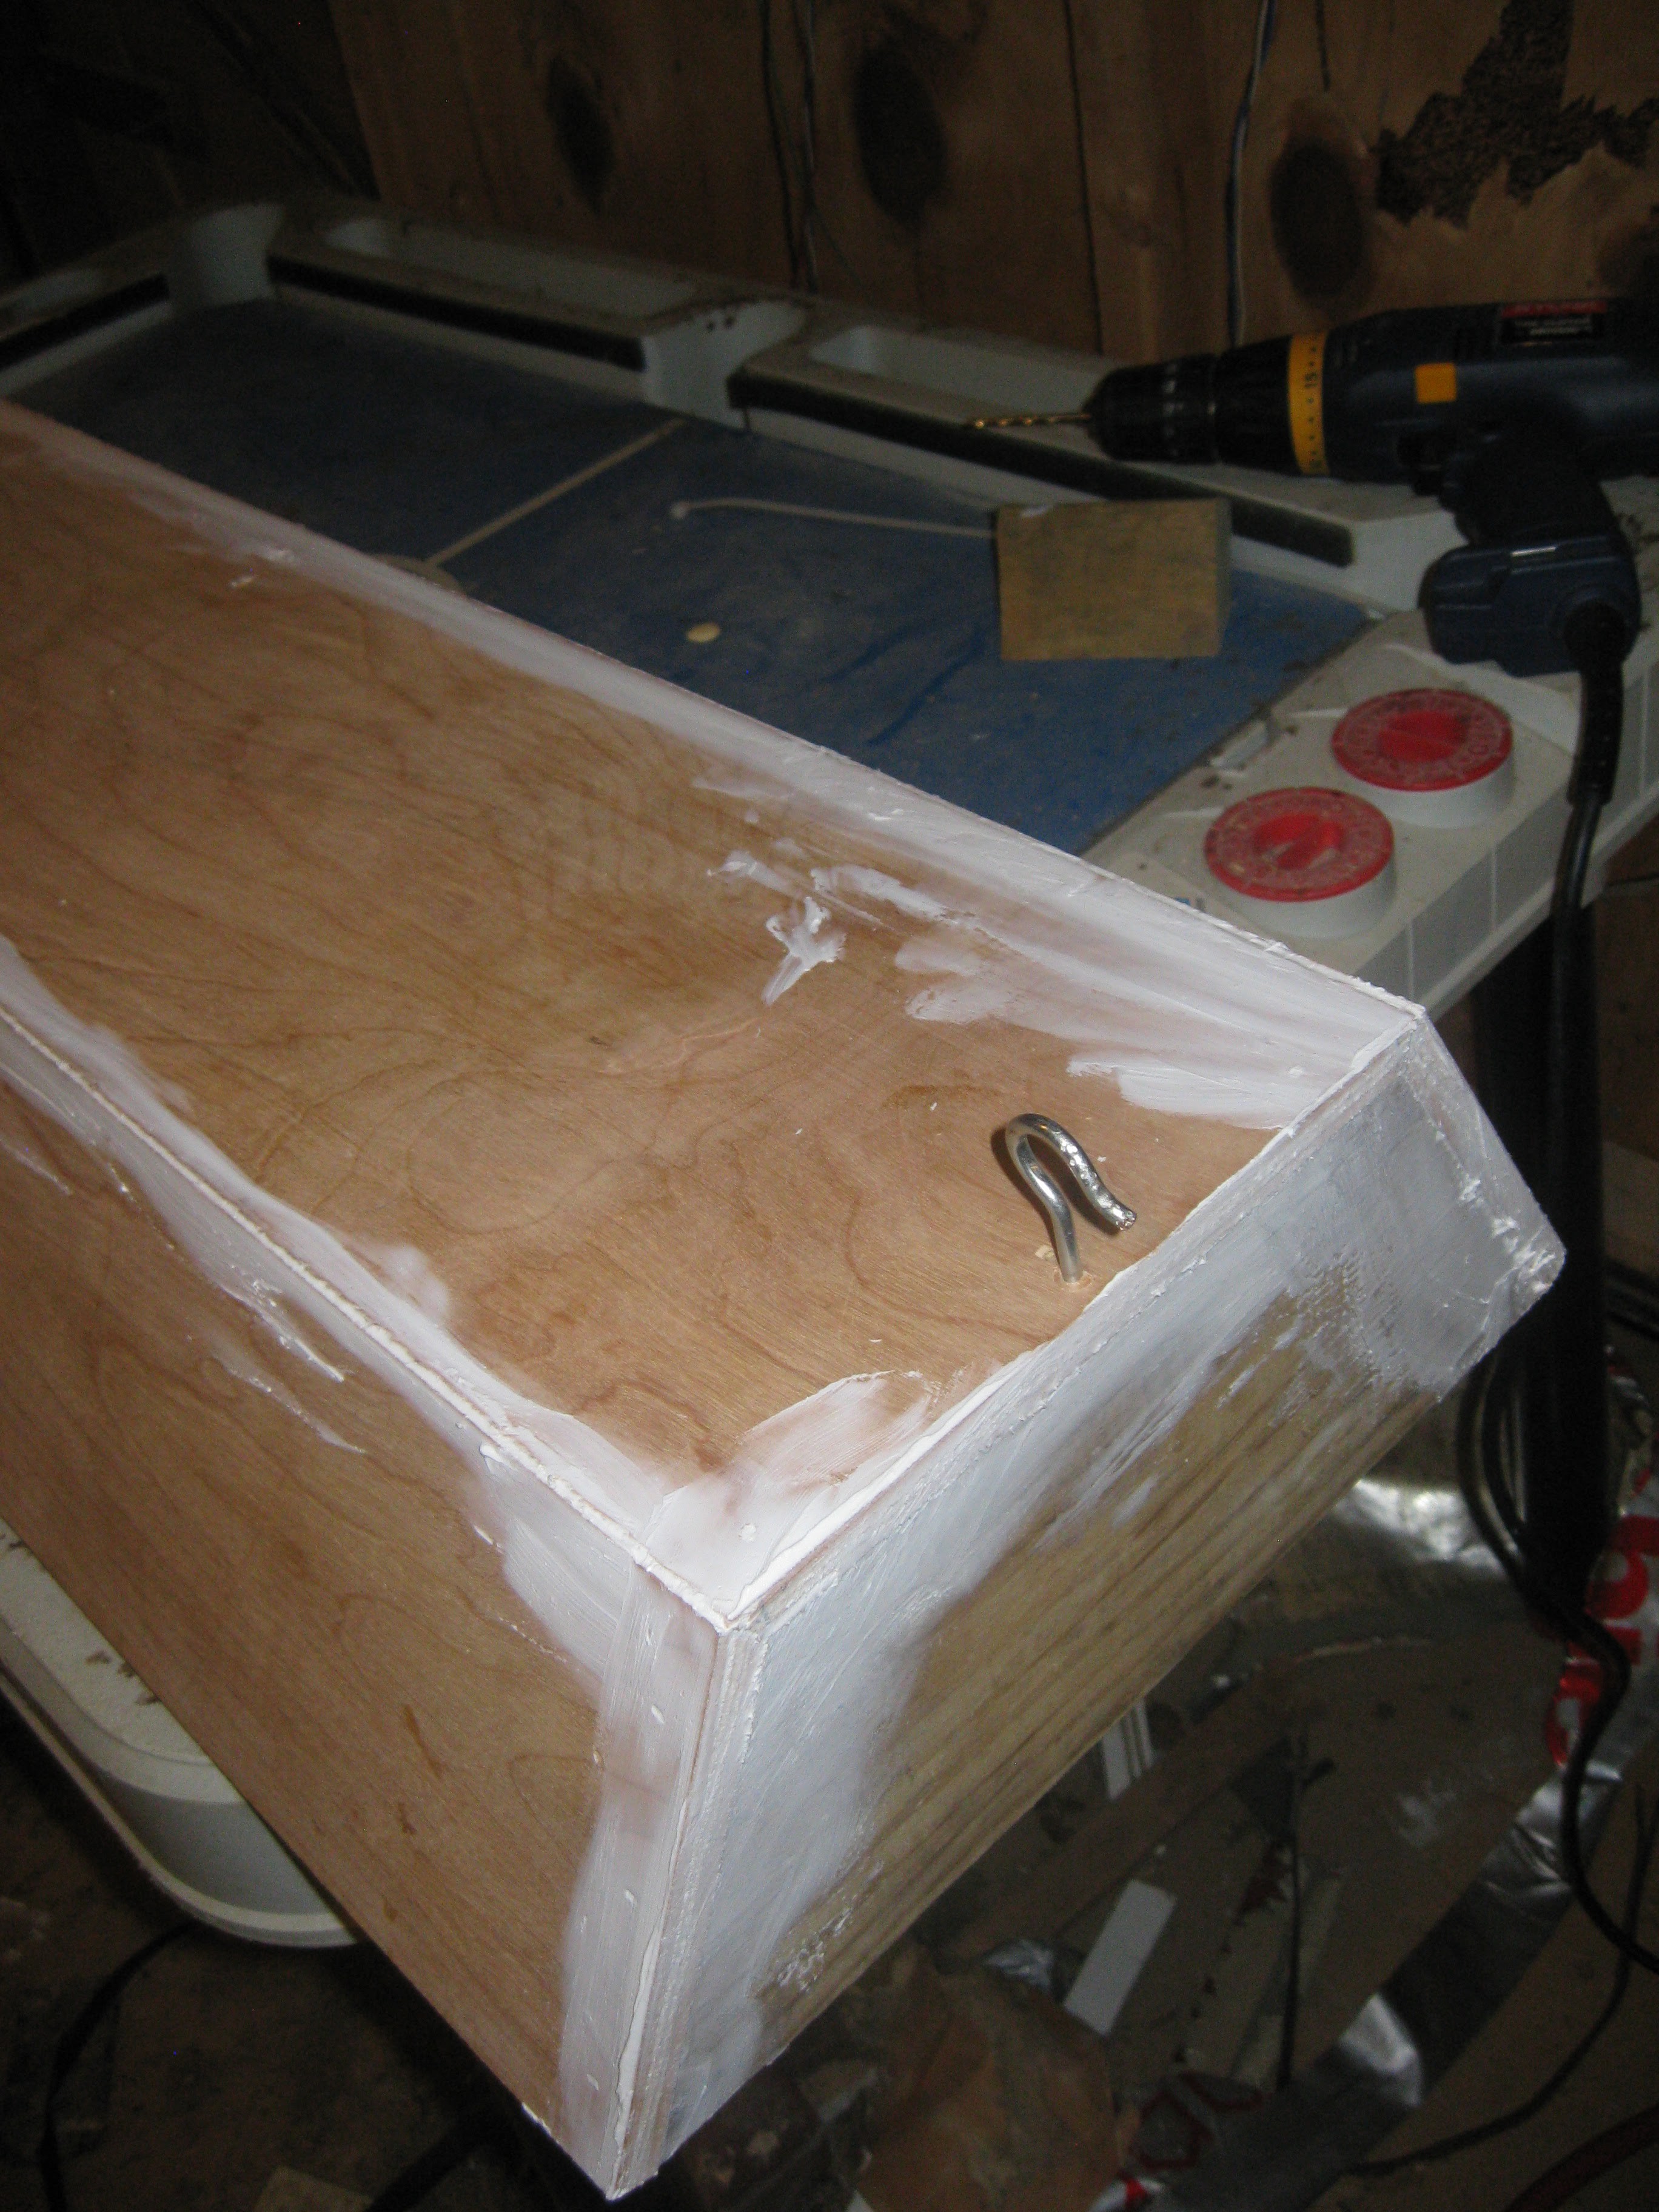
For hanging the light will hang from the ceiling via chains, the chain will be attached using hooks bolted into either end of the light.
After the assembly and addition of the hooks I decided to work on smoothing the surface before painting. Despite our best efforts at trying to cut everything with consistent angles there were still some gaps. I decided to fill the gaps with caulking and to sand it down before painting. I used caulking to fill in the gaps in the seams and I filled in the countsink holes the nailgun left over every nail.
Getting ready to add caulking to the other side's seam after the first one is finished
Caulking added to second seam before smoothing, its messy but i prefer to smooth it all into the cracks by hand with my fingers, helps to fill the gaps tightly.
I did the smaller seams on the ends too, the idea being that the whole thing will look like one piece after painting. Painting isn't necessary but I have this idea of making everything pastel colors to make it more fun to look at.
Discussions
Become a Hackaday.io Member
Create an account to leave a comment. Already have an account? Log In.