 Glenn
GlennPlans
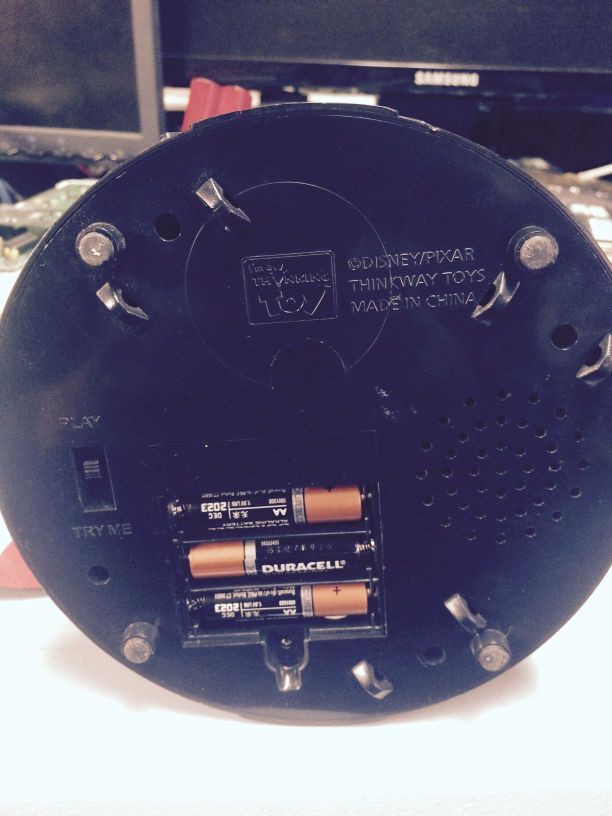
- Restore Zurg to his former glory and ensure all works as it originally did before embarking on further hacking attempts.
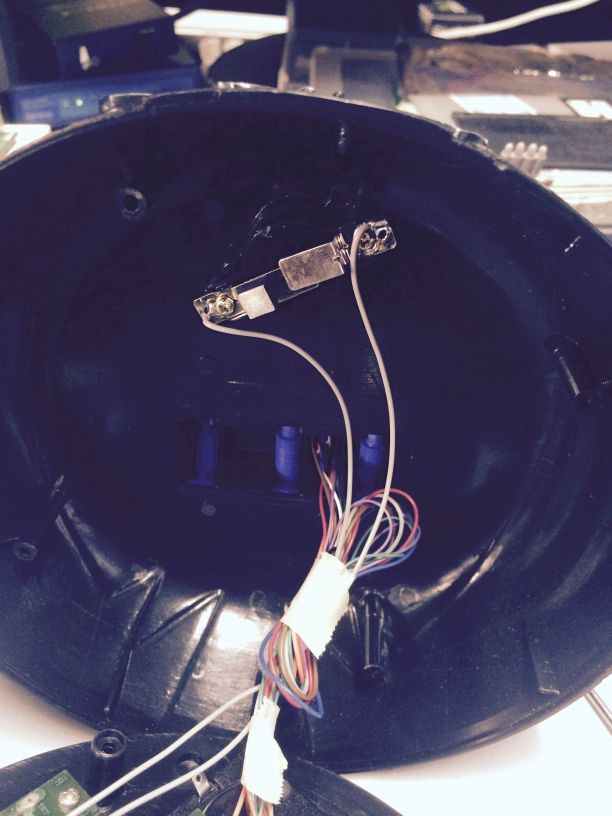
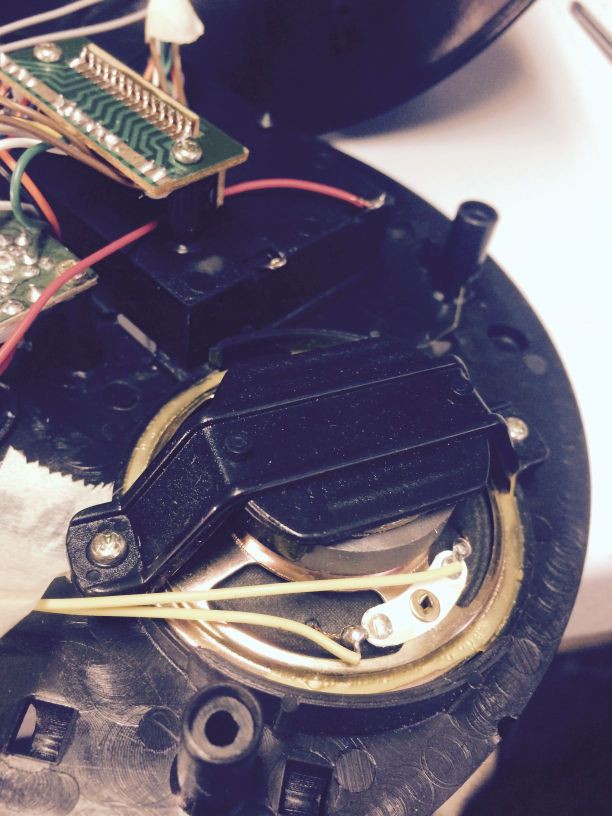
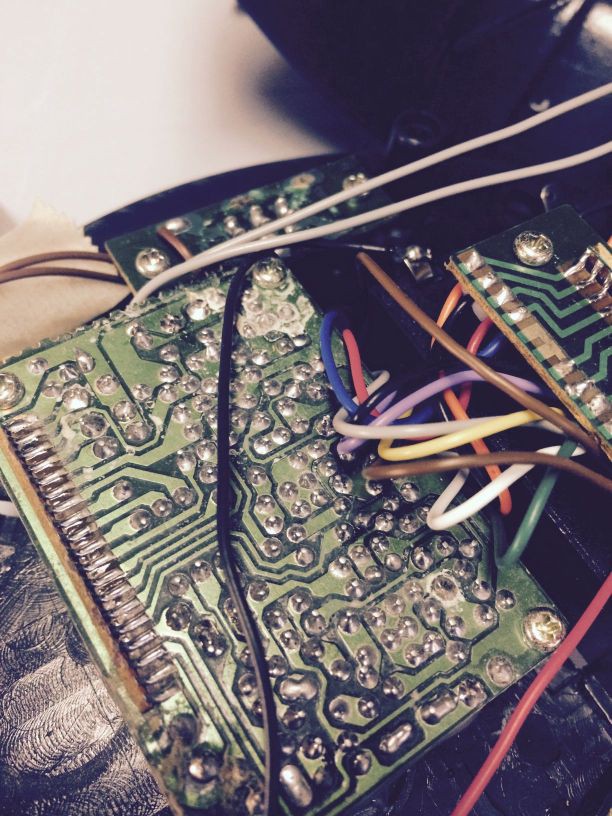
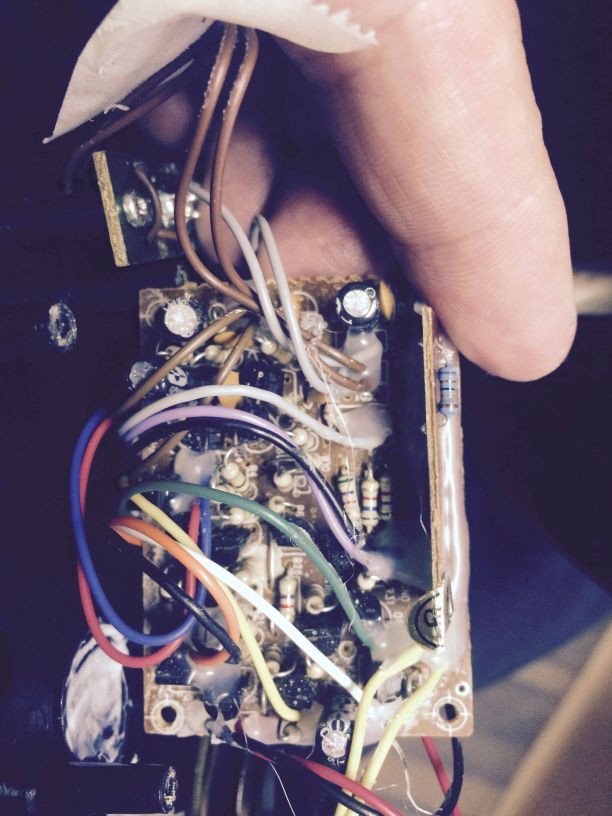
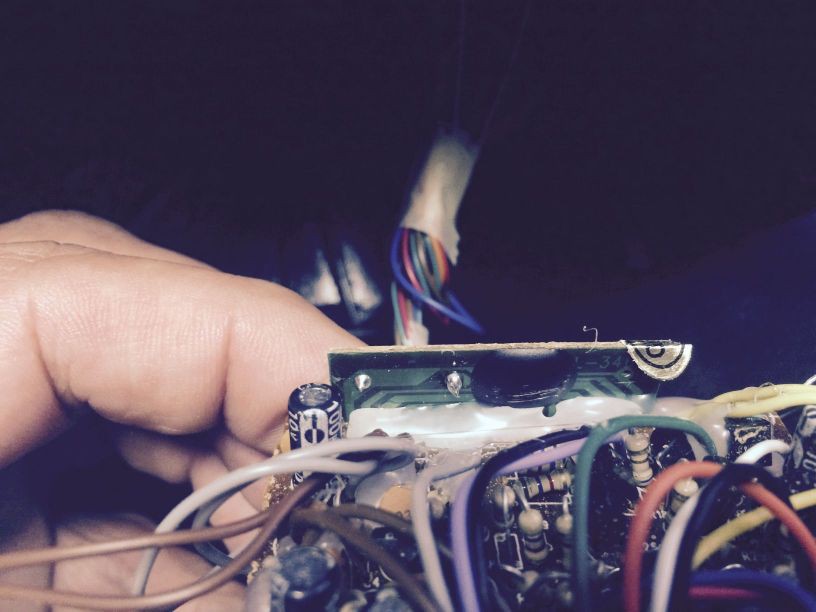
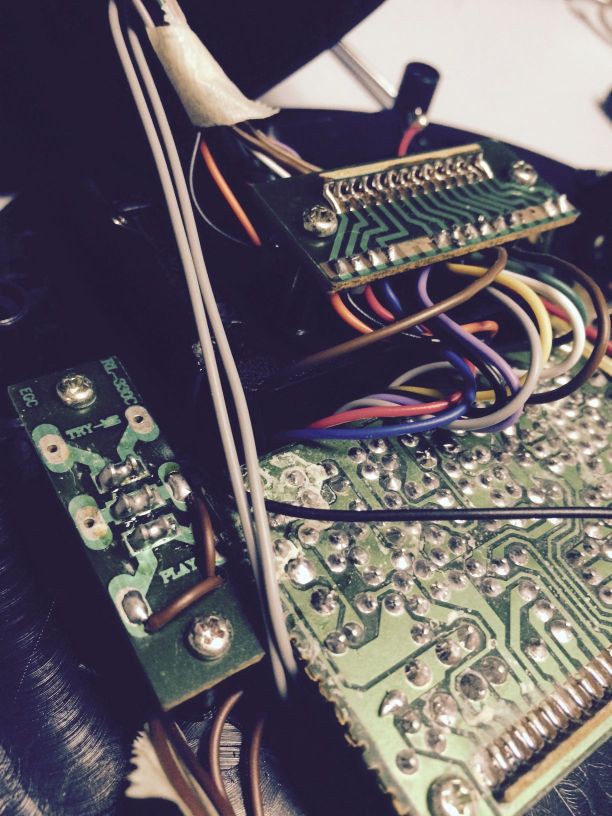
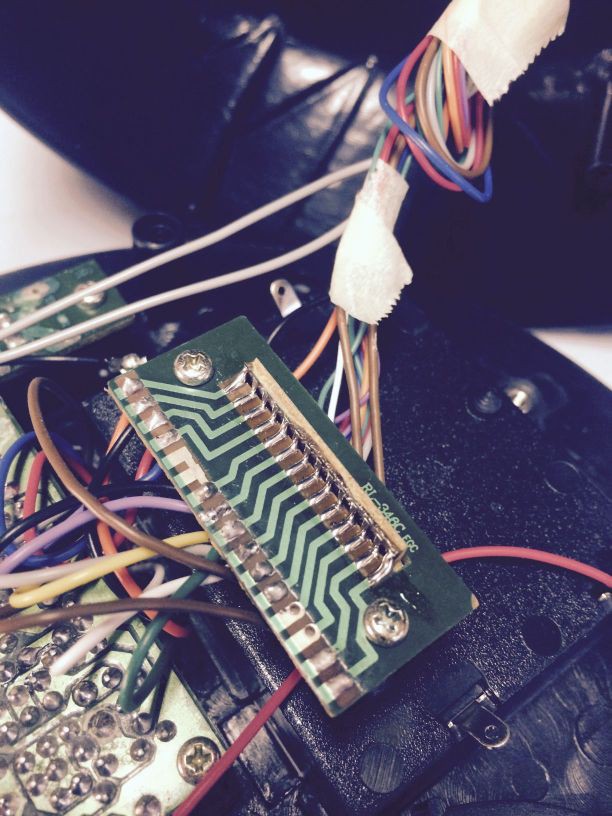
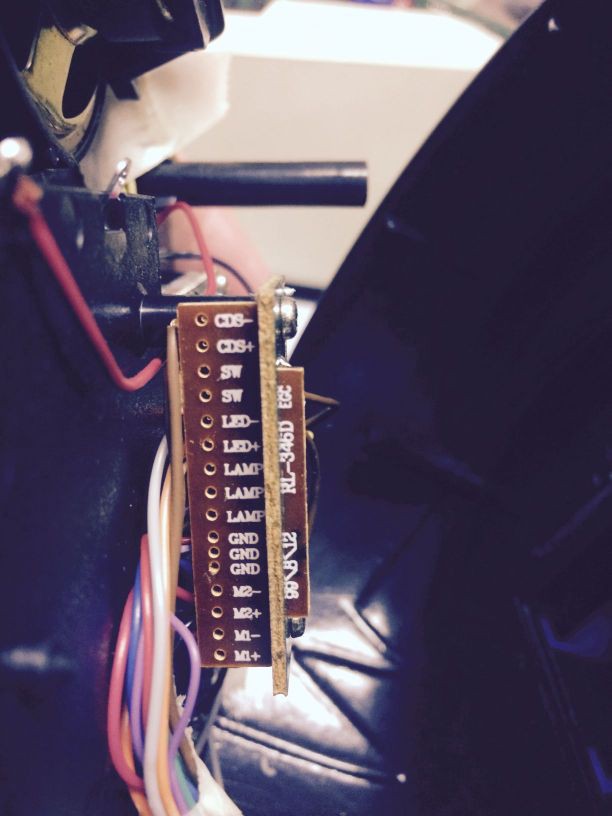
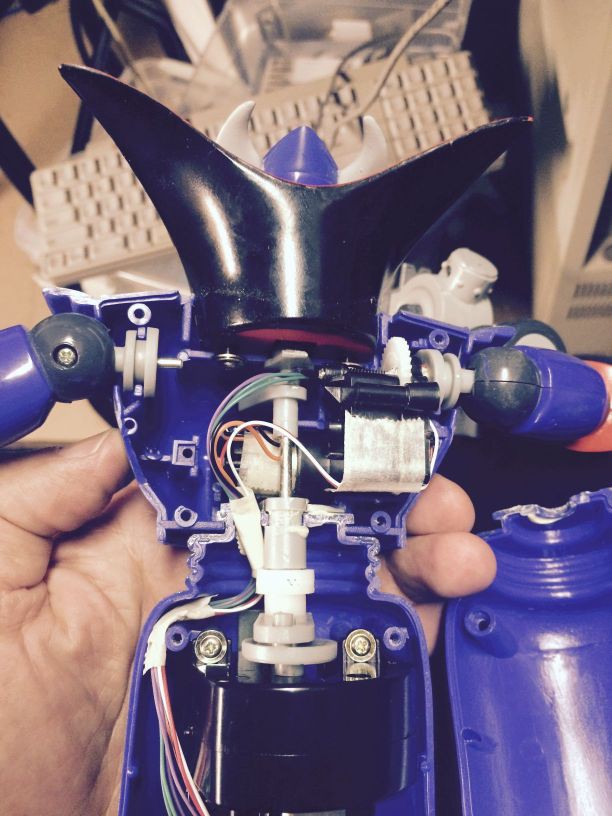
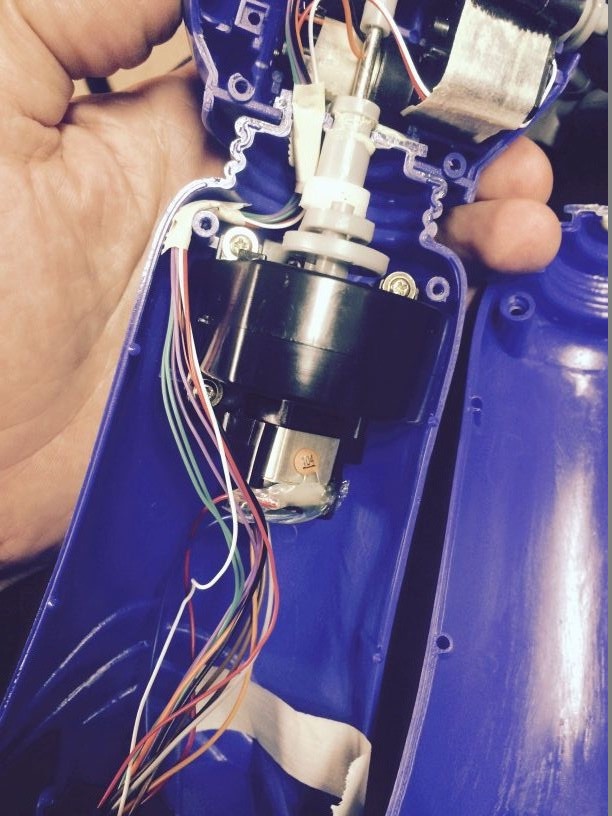
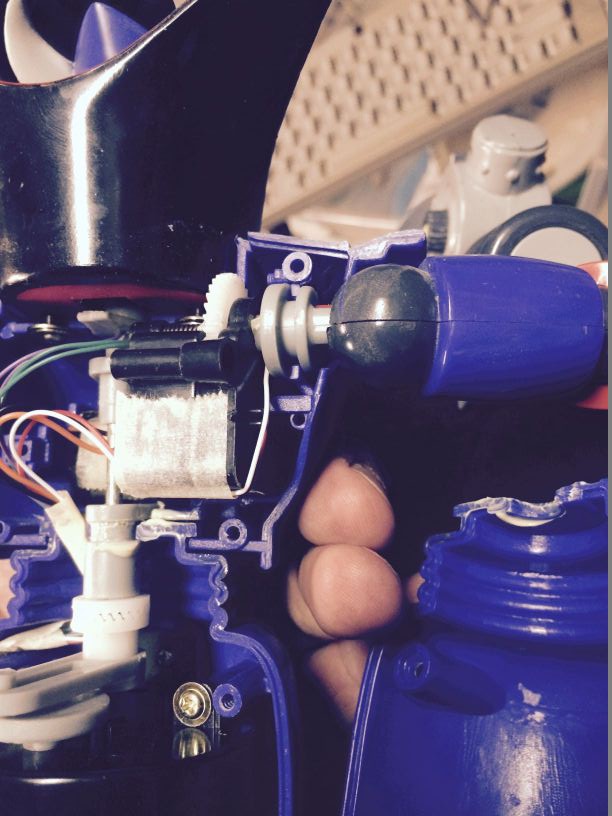
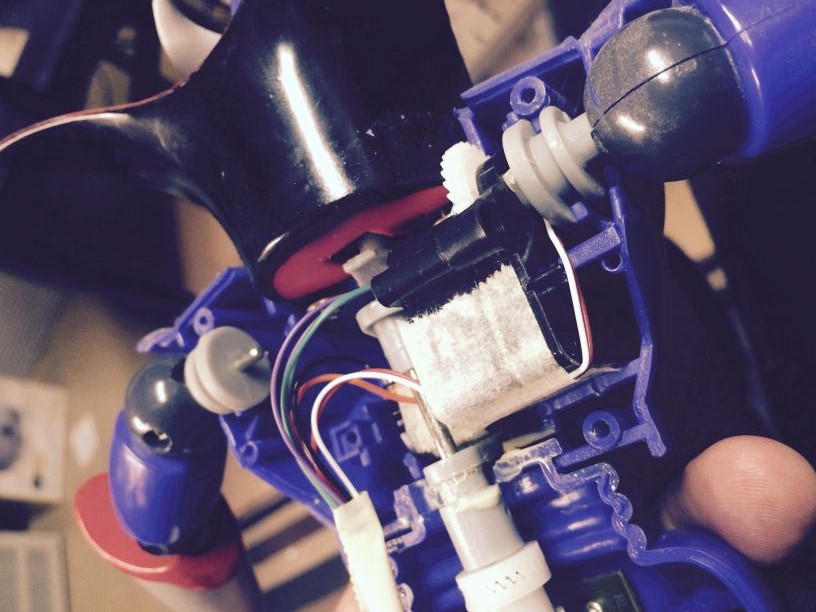
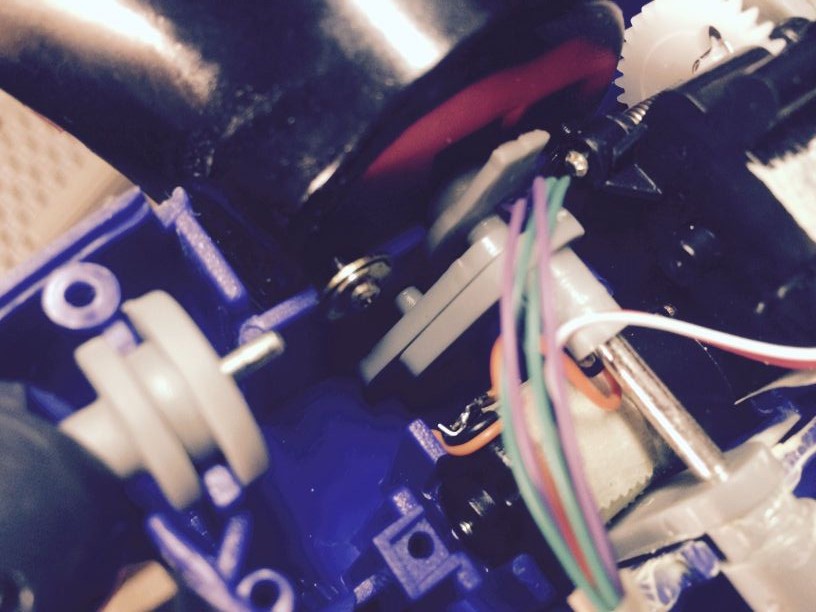
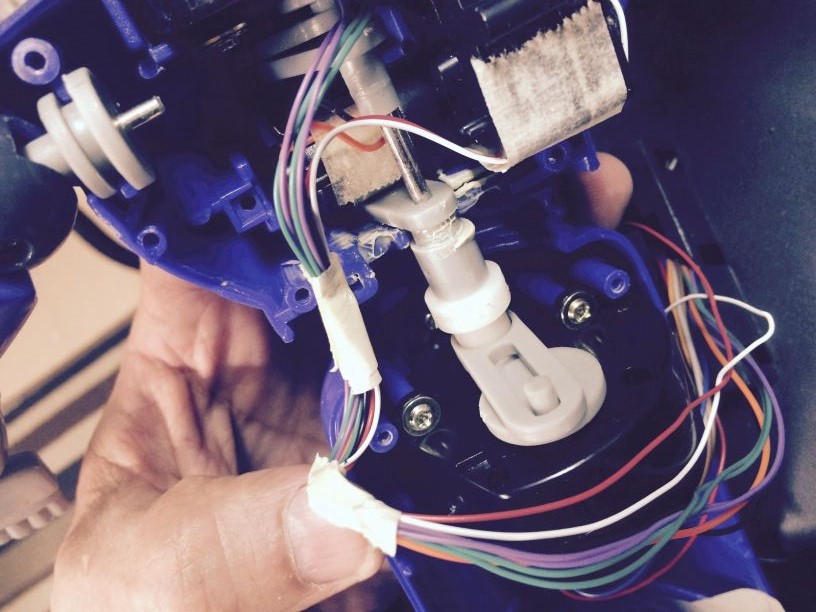
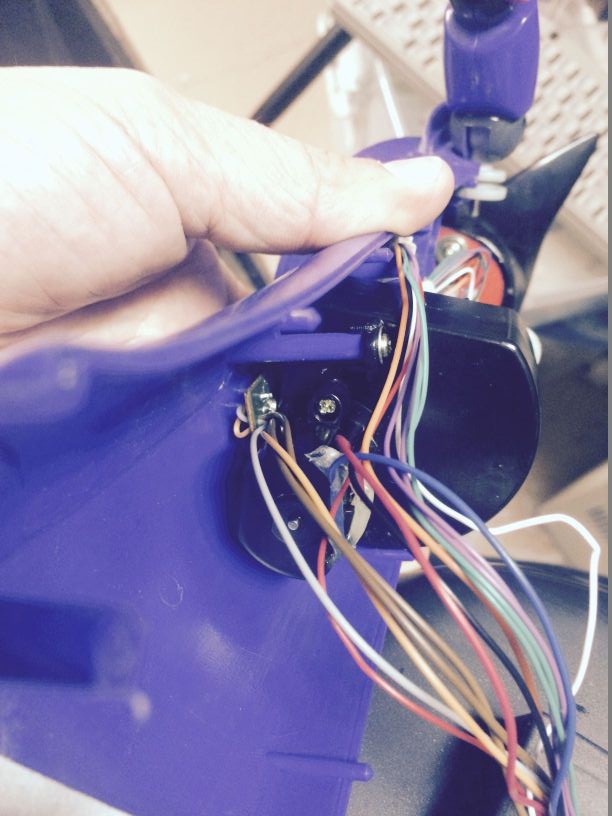
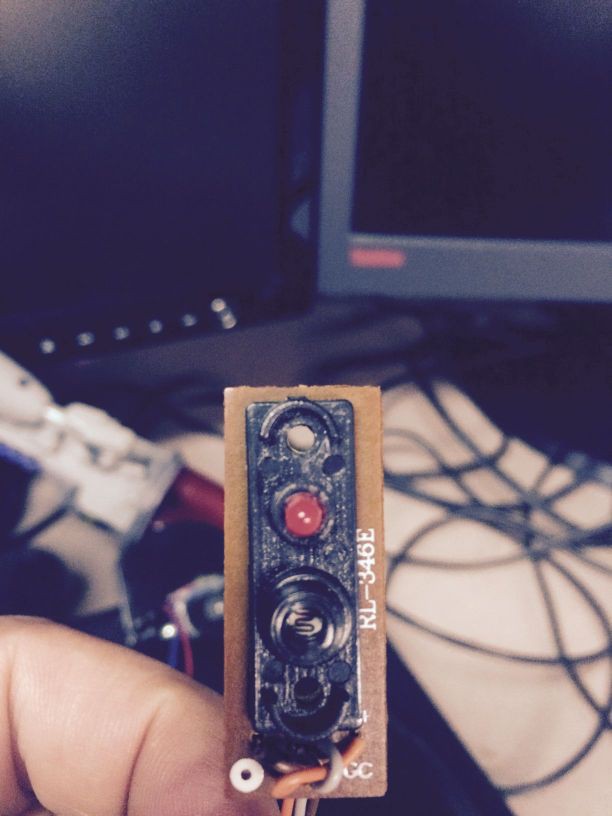
- Determine if Zurg is accessible/hackable by disassembling him and analyzing whatever is found inside.
- Integrate a esp32 to enhance Zurg capabilities
- Add a Camera using built-in motion detection
- Have Zurg send notification to my smartphone when an intruder is present and let me decide whether to warn them or put them under further surveillance.
- Use the camera to show who is setting off Zurg.
- Send photo's to Watson or smartphone app.
- Perform Watson Analysis for automatic pass list of people allowed in.
- Send custom warning from my smartphone to Zurg or tell Zurg to play one of his canned greetings.
Zurg's new mission, should he come out of this project unscathed, will be to guard my top secret electronics laboratory.

 DIY GUY Chris
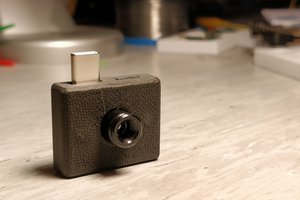
 TheMarpe
 Daniel Frausto
I really admire how your able to use your past interest with current events. I wish I could wrap my mind around how to create anything technical.