 Matt
MattSo effectively instead of buying some pre-configured head unit for the car, we are making one so that not only we can customize the applications, look and feel, and physical interface but also so we can truly tweak the system to a level that an audio engineer would be pleased to deal with.
We start off by getting a suitably fast android based or Linux based single board computer. For this we chose the Rock2Square; this is a Rockchip 3288 based, quad core system with 16GB of EMMC, a microSD cardslot, and a SATA jack. LOTS of storage, and plenty of horse power. Not to mention the built in BT, WiFi and other goodies (check the specs!). We also picked out a new Raspberry Pi 2, which to be fair, is pretty quick, but not as fast as the previously mentioned board, we were still considering Linux at this point, however there are applications that just work better on Android. There are some more details in the logs, not to mention, feel free to comment/ask questions.
Once the 2 contenders were chosen, we found a suitable screen, power supplies and other accessories needed (cables and such). The screen was chosen not only for the price point, and the reviews, but ultimately it fits perfectly and fits our needs nicely as well.
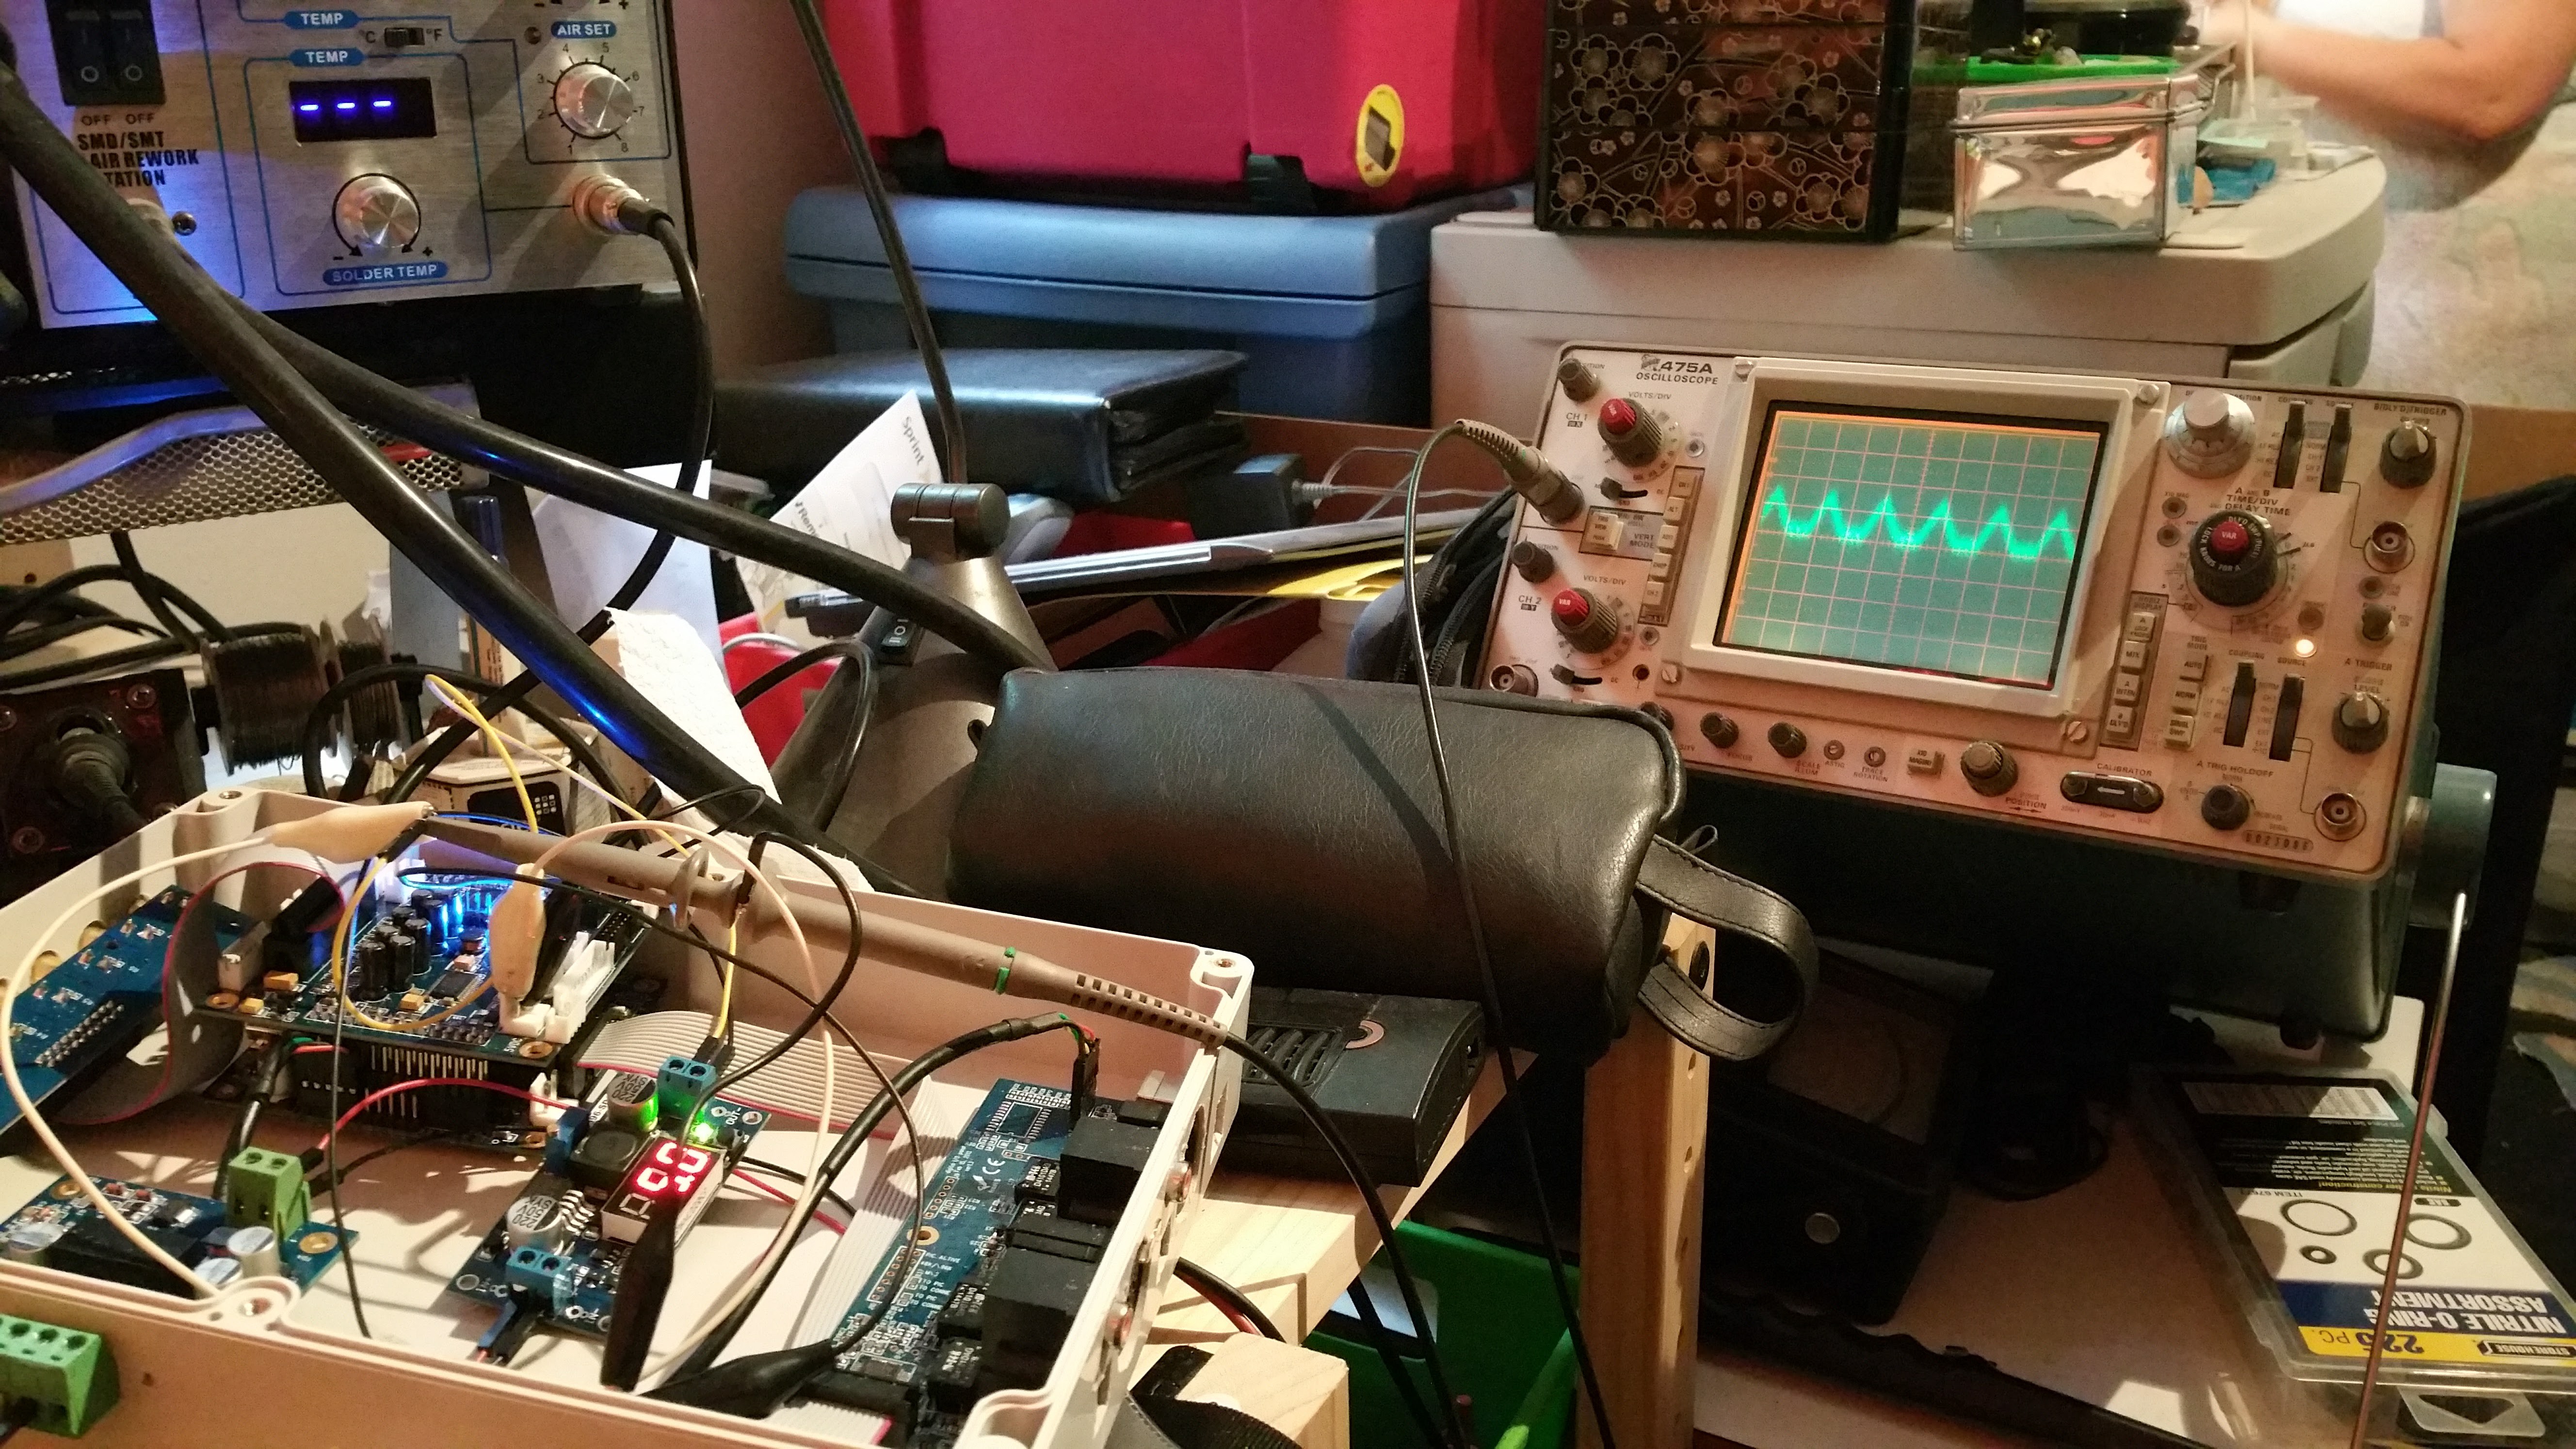
Now, onto the real heart and soul of the build: The DSP and DAC.
There were several choices and things to consider here, first, we want QUALITY sound, second, we want as little lag (audio and interface) as possible. So for these reasons we decided to offload as much digital signal processing and digital to analog conversion as possible to these dedicated units. That way we can have the system as free as possible for controls and applications without interfering with the audio system.
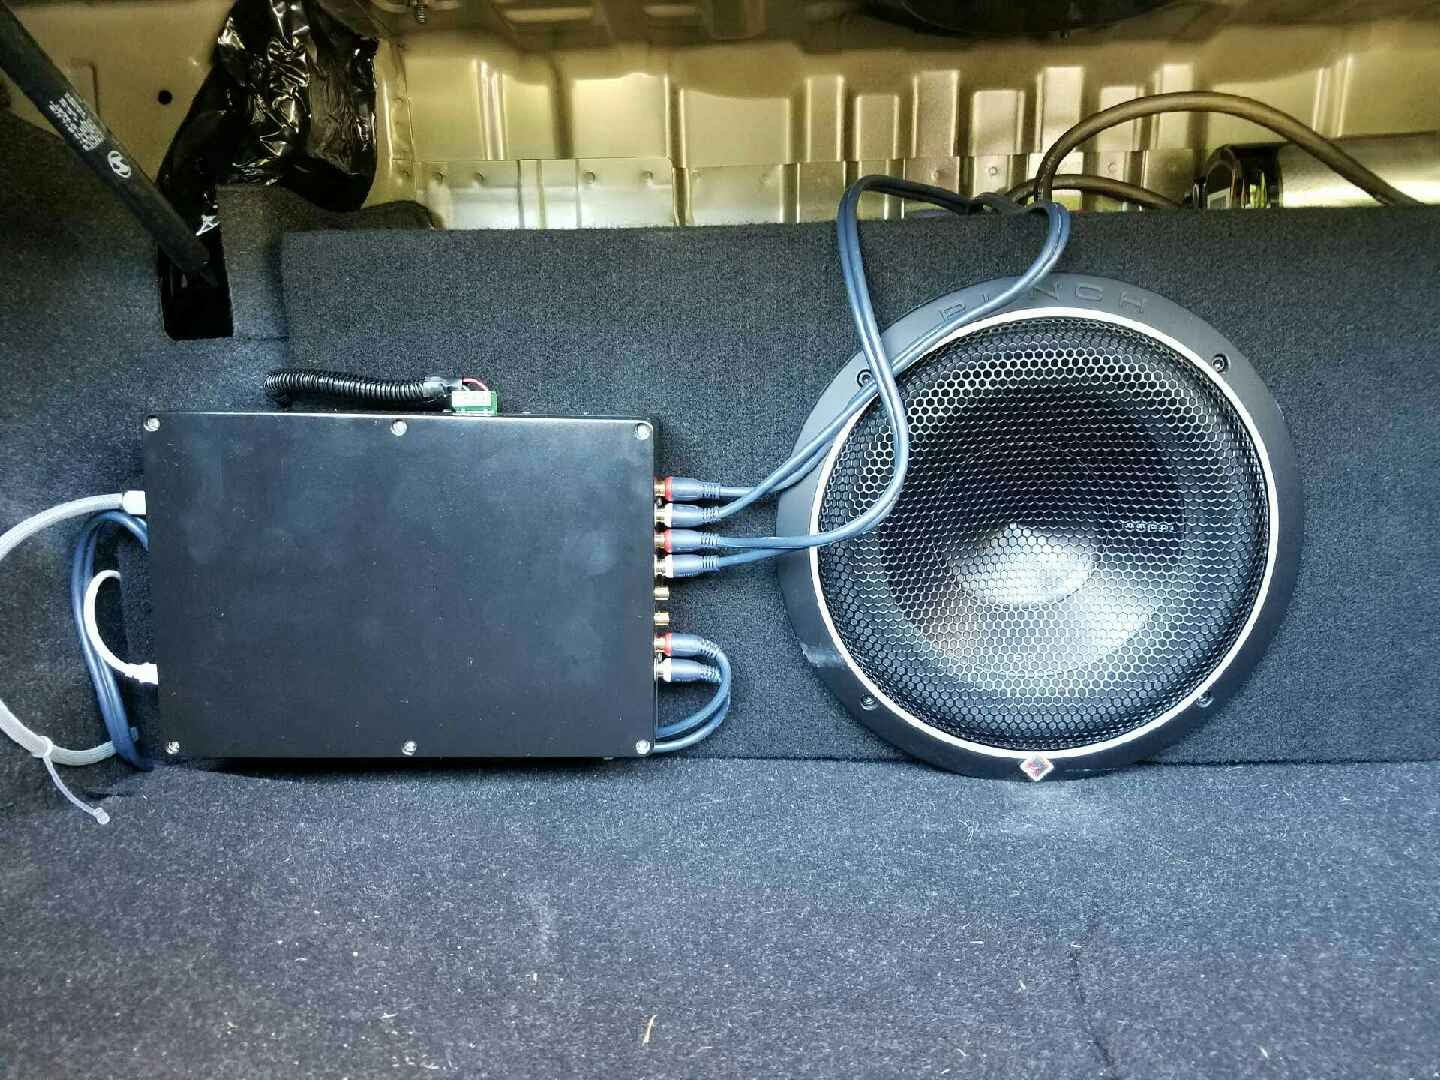
At this point, the DAC outputs all of the nicely processed audio to the amplifiers... can't forget about those, up until this point, everything is LINE level. Both myself and my partner in this project have amps in our cars. Though he bought a new couple, and I'll be getting his older ones (which are better than what I have), so we both get nice little upgrades.
In my case: a 4 channel amp and a single channel amp (I only have one sub)
 Jonathan Brodsky
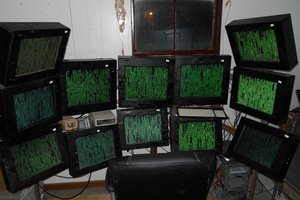
 novak
novak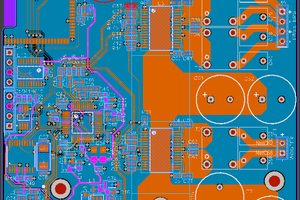
 Mangus Tiranus
I take great pleasure in eating this slaw. Because I needed to produce this holiday slaw, I omitted the union from the recipe.
To show our thanks for such a wonderful fruit, I came up with the idea of incorporating it into a slaw that has a tangy flavour and a crisp texture for the winter.<a href="https://disneyhublogin.vip/">disney hub login</a>