 tlankford01


I will try to be clear and concise in these instructions to help you have a successful print the first time. I have placed the pictures in the top bar in the order of the download on the Thingiverse page. I will also have the instructions and names in that order in this step. It is not required to print in this order. In fact, I printed the V1_AV_CAM_ Bottom.stl first and the V1_AV_CAM_Mount.stl second. This let me get my electronics in place first. Most of the parts are unsupported but they are all easy to remove the support from if you follow these instructions. Thank you for following along with my Instructable this far.
V1_AV_CAM_Lens_Mount.stl Print with 5 bottom and 5 Top layers, 3 layers, 20% infill. This should actually print the piece solid. It is only 2mm tall. NO support is required.
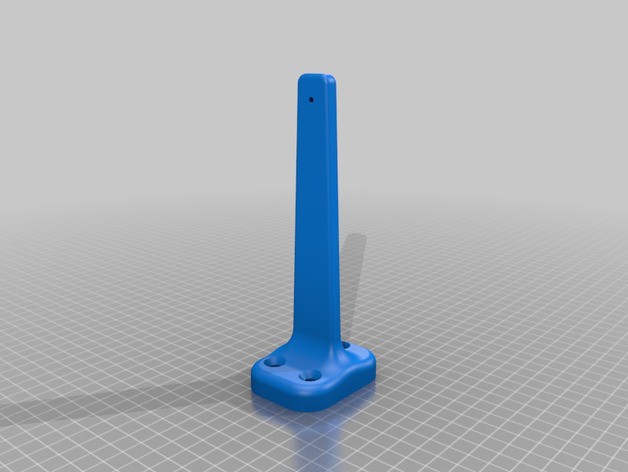
V1_AV_CAM_ Top.stl This is the tallest piece at 175mm. If your printer can not print this tall you may have to lay the piece down and print with supports. If you can print as it sits it does not require supports and only needs a 5mm Brim. 3 shells, 3 layers top and bottom and 20% infill.
V1_AV_CAM_Mount.stl This piece needs support with 5mm spacing. there will be a small amount of support under the actual camera board mount edges that is hard to get to. It is not necessary to remove this material. This mount is for the sainsmart noir camera. It does not fit the raspicam board. I will probably make a piece for it later.
V1_AV_CAM_Back.stl The back is printed as it sits. it does need support at 5mm. A 5mm brim is also helpful with this piece. 3 shells 3layers top and bottom 20% infill.
V1_AV_CAM_Bottom.stl This is the main piece that all the others are built around. I printed it first myself. It does not need supports or brim. just 3 shells 5 layers top and bottom 20% infill.
The final 3 pieces are for the wall mount. They are printed at 3 layers 3 shells and 20% infill
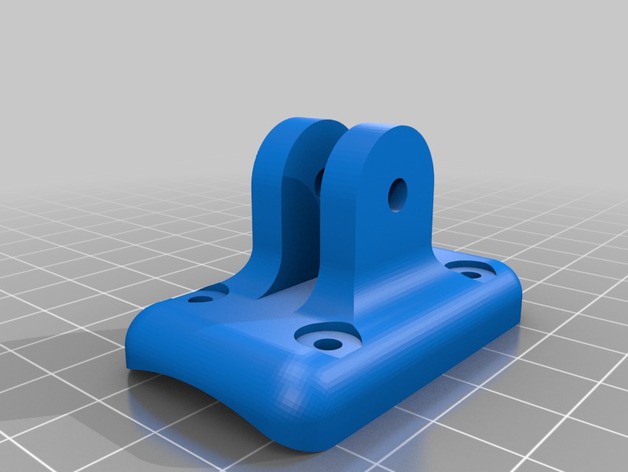
V1_AV_CAM_Base_Mount.stl requires a 5mm raft and 5mm spaces support. The other two pieces are unsupported but with a 5mm brim.
Discussions
Become a Hackaday.io Member
Create an account to leave a comment. Already have an account? Log In.