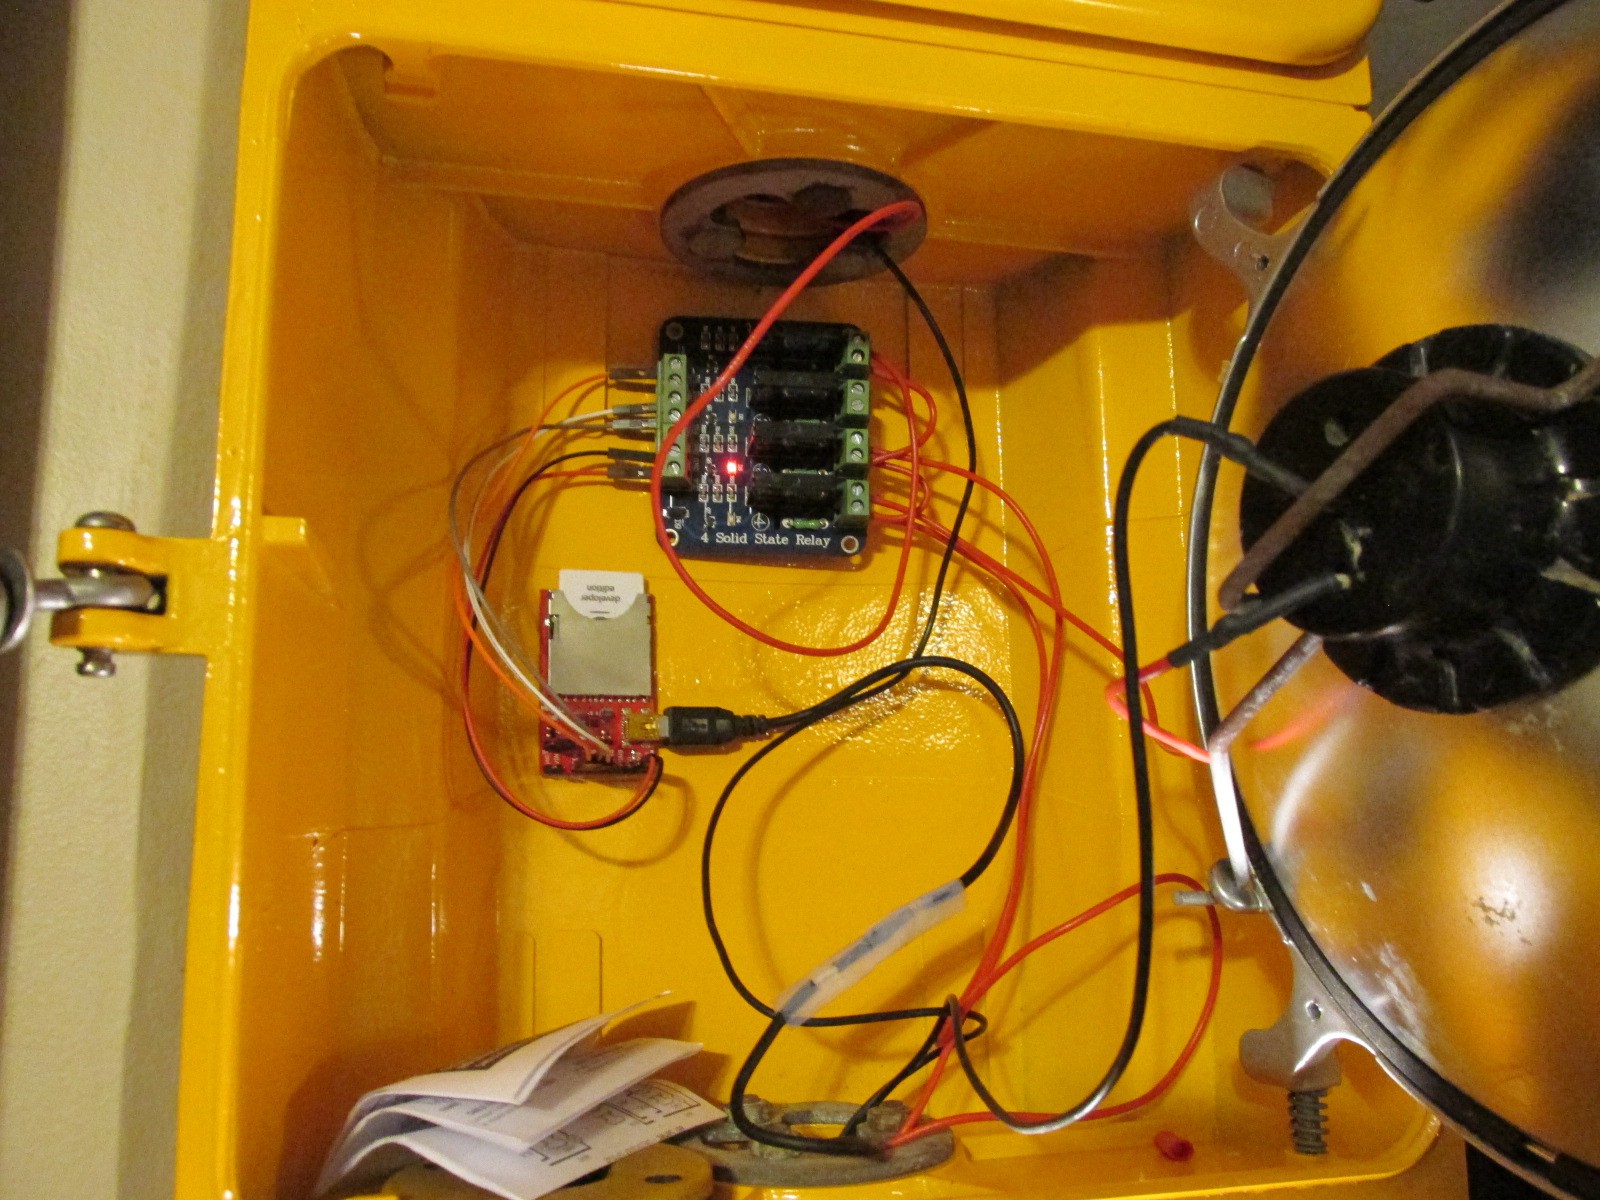
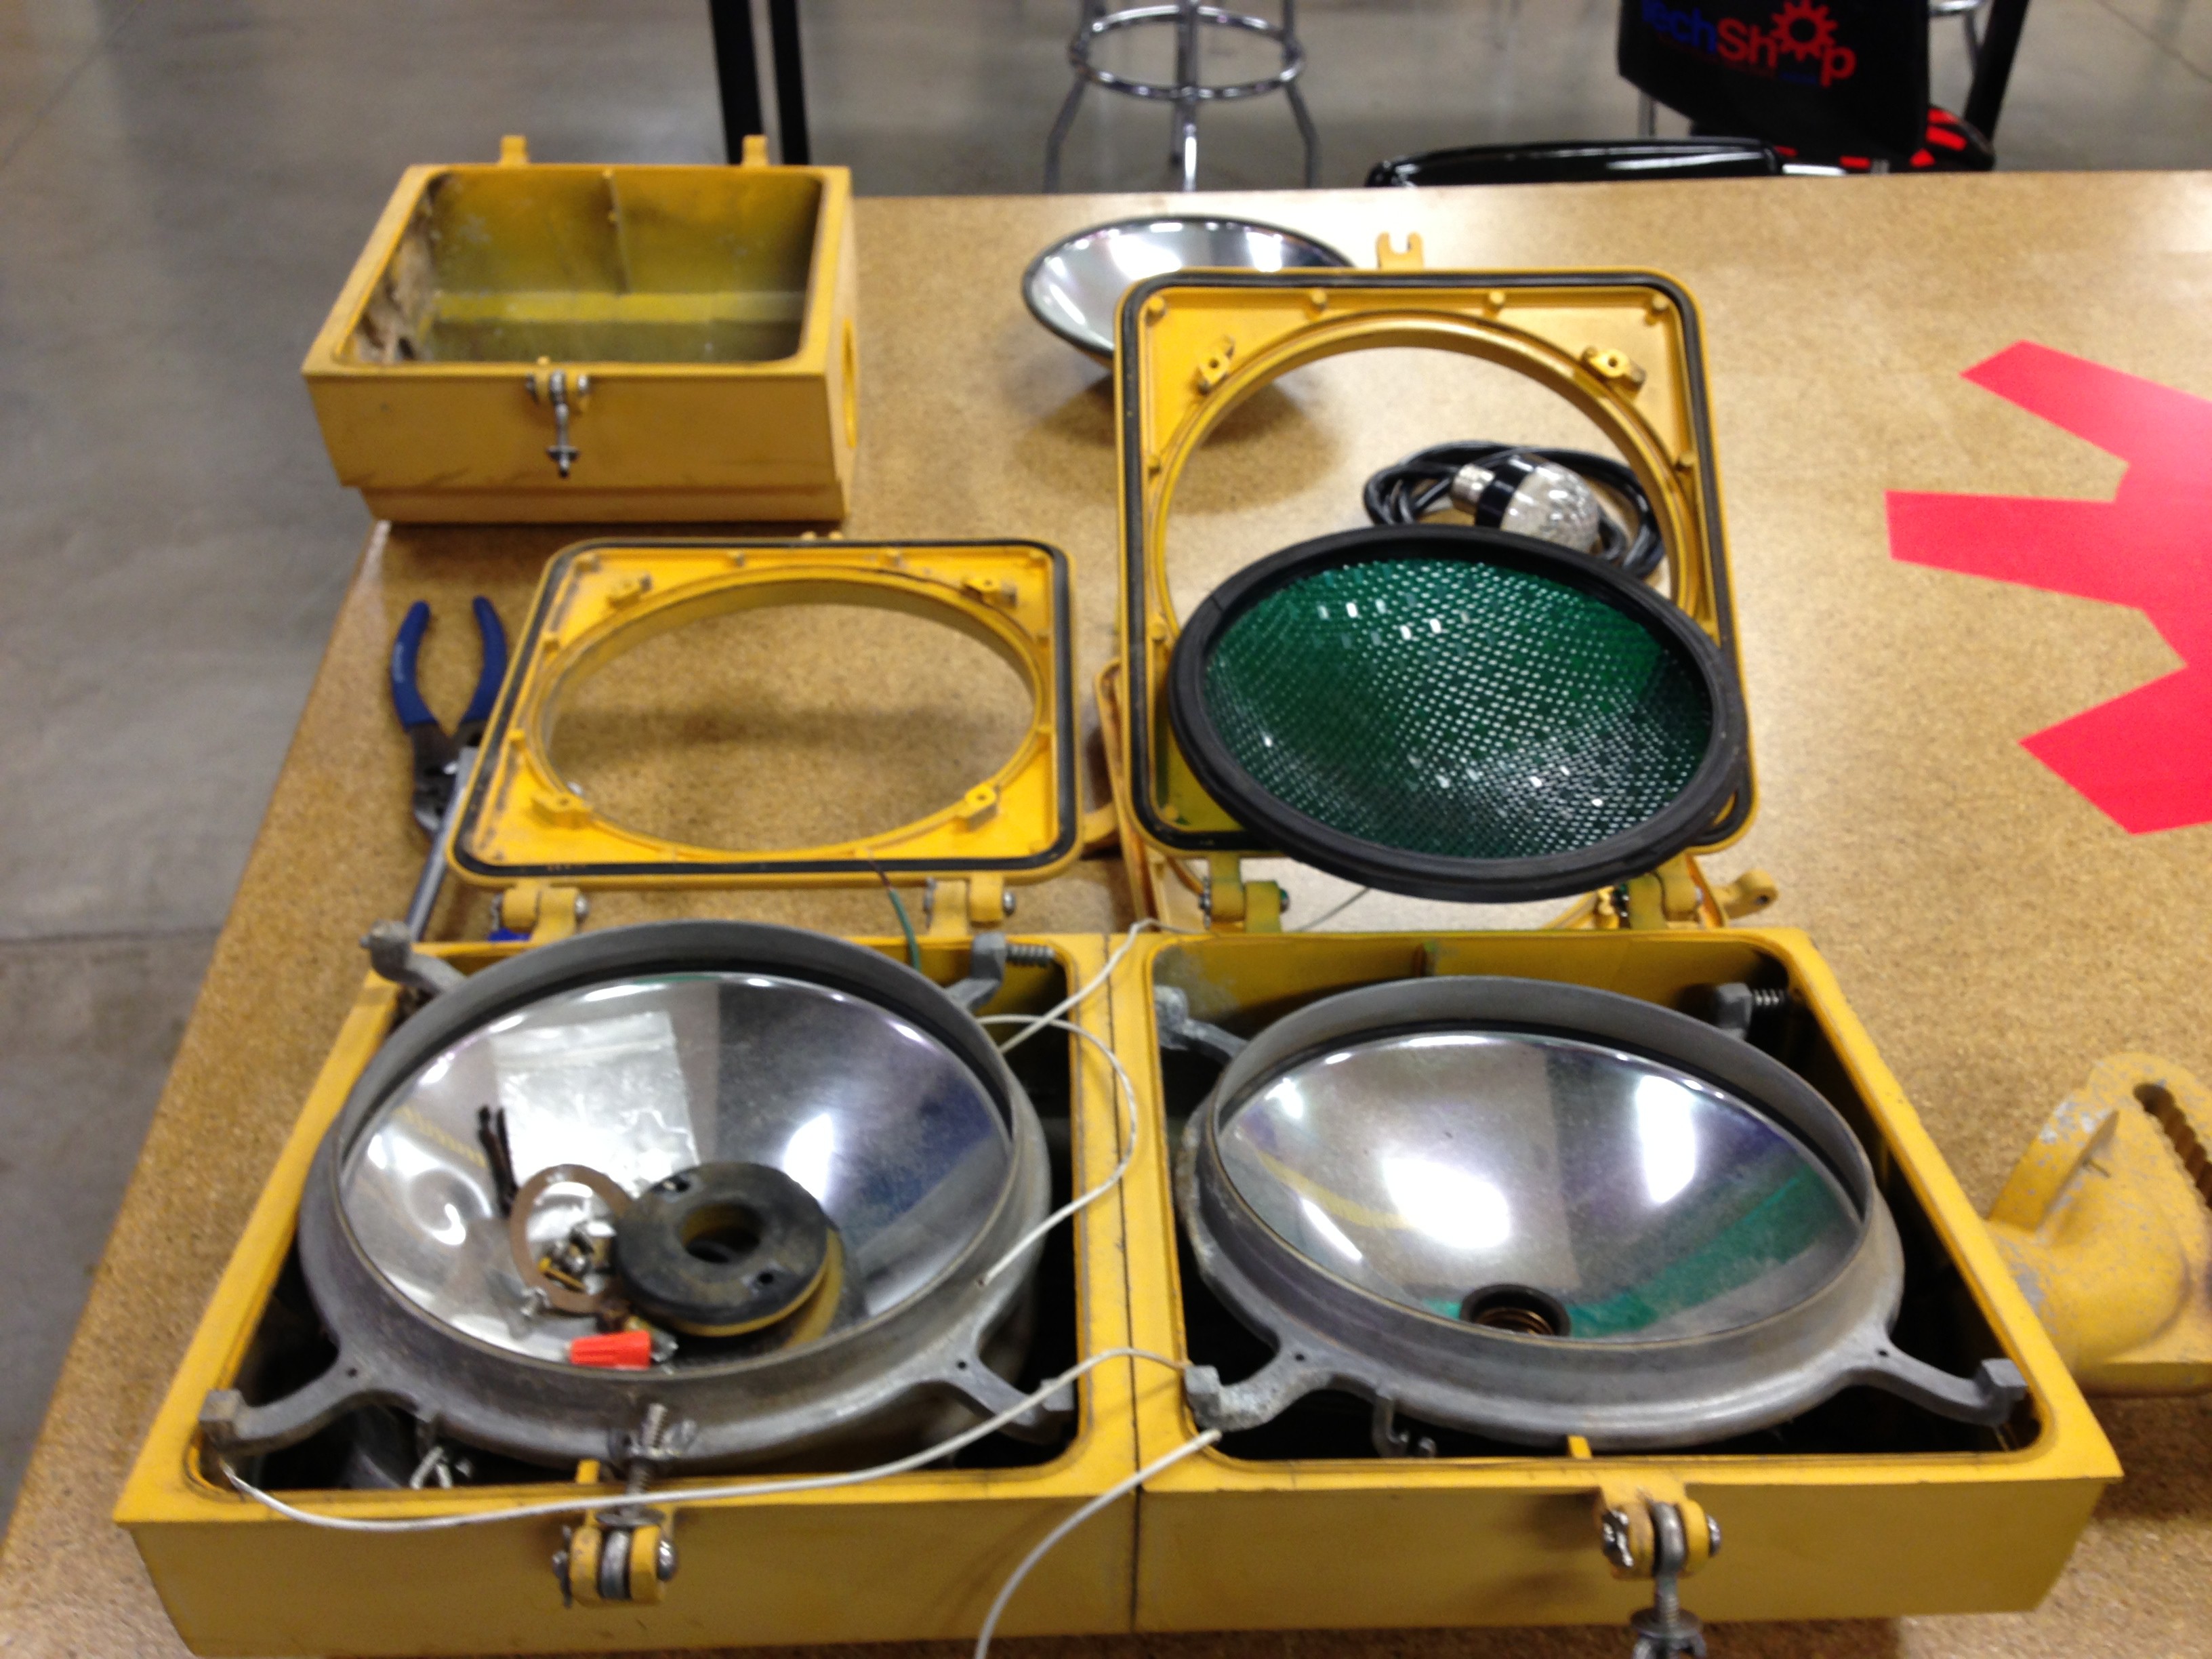
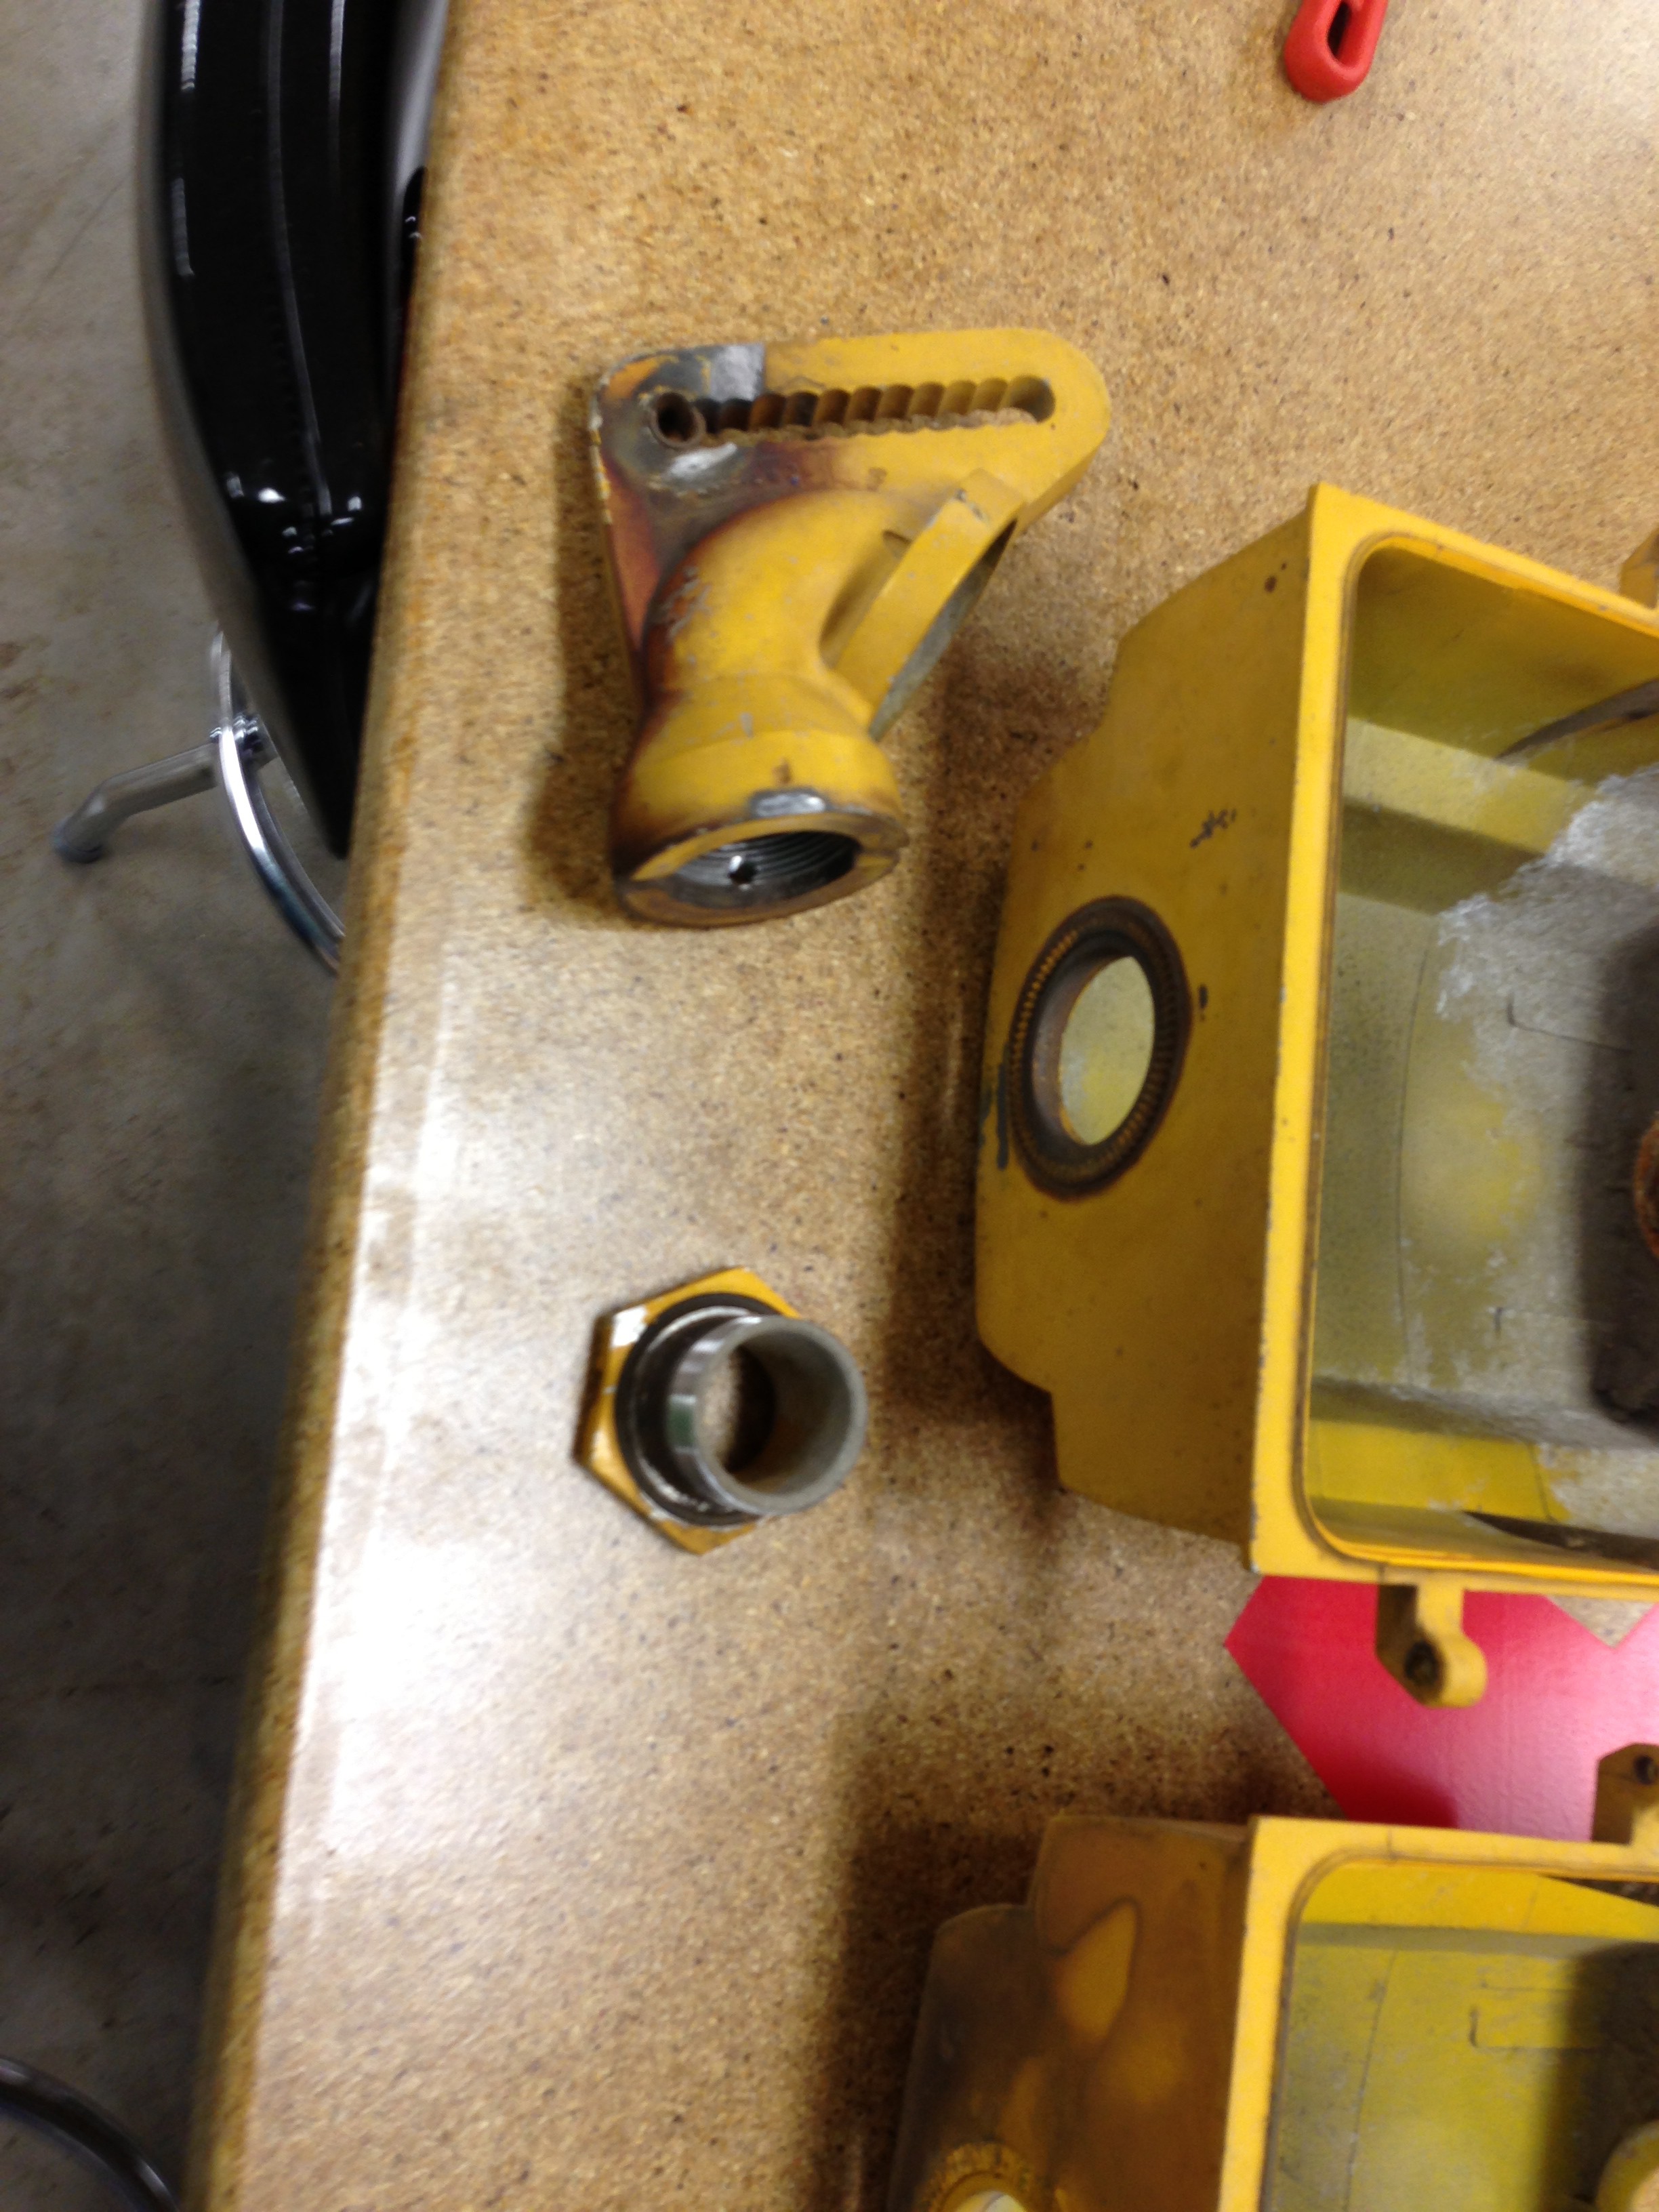
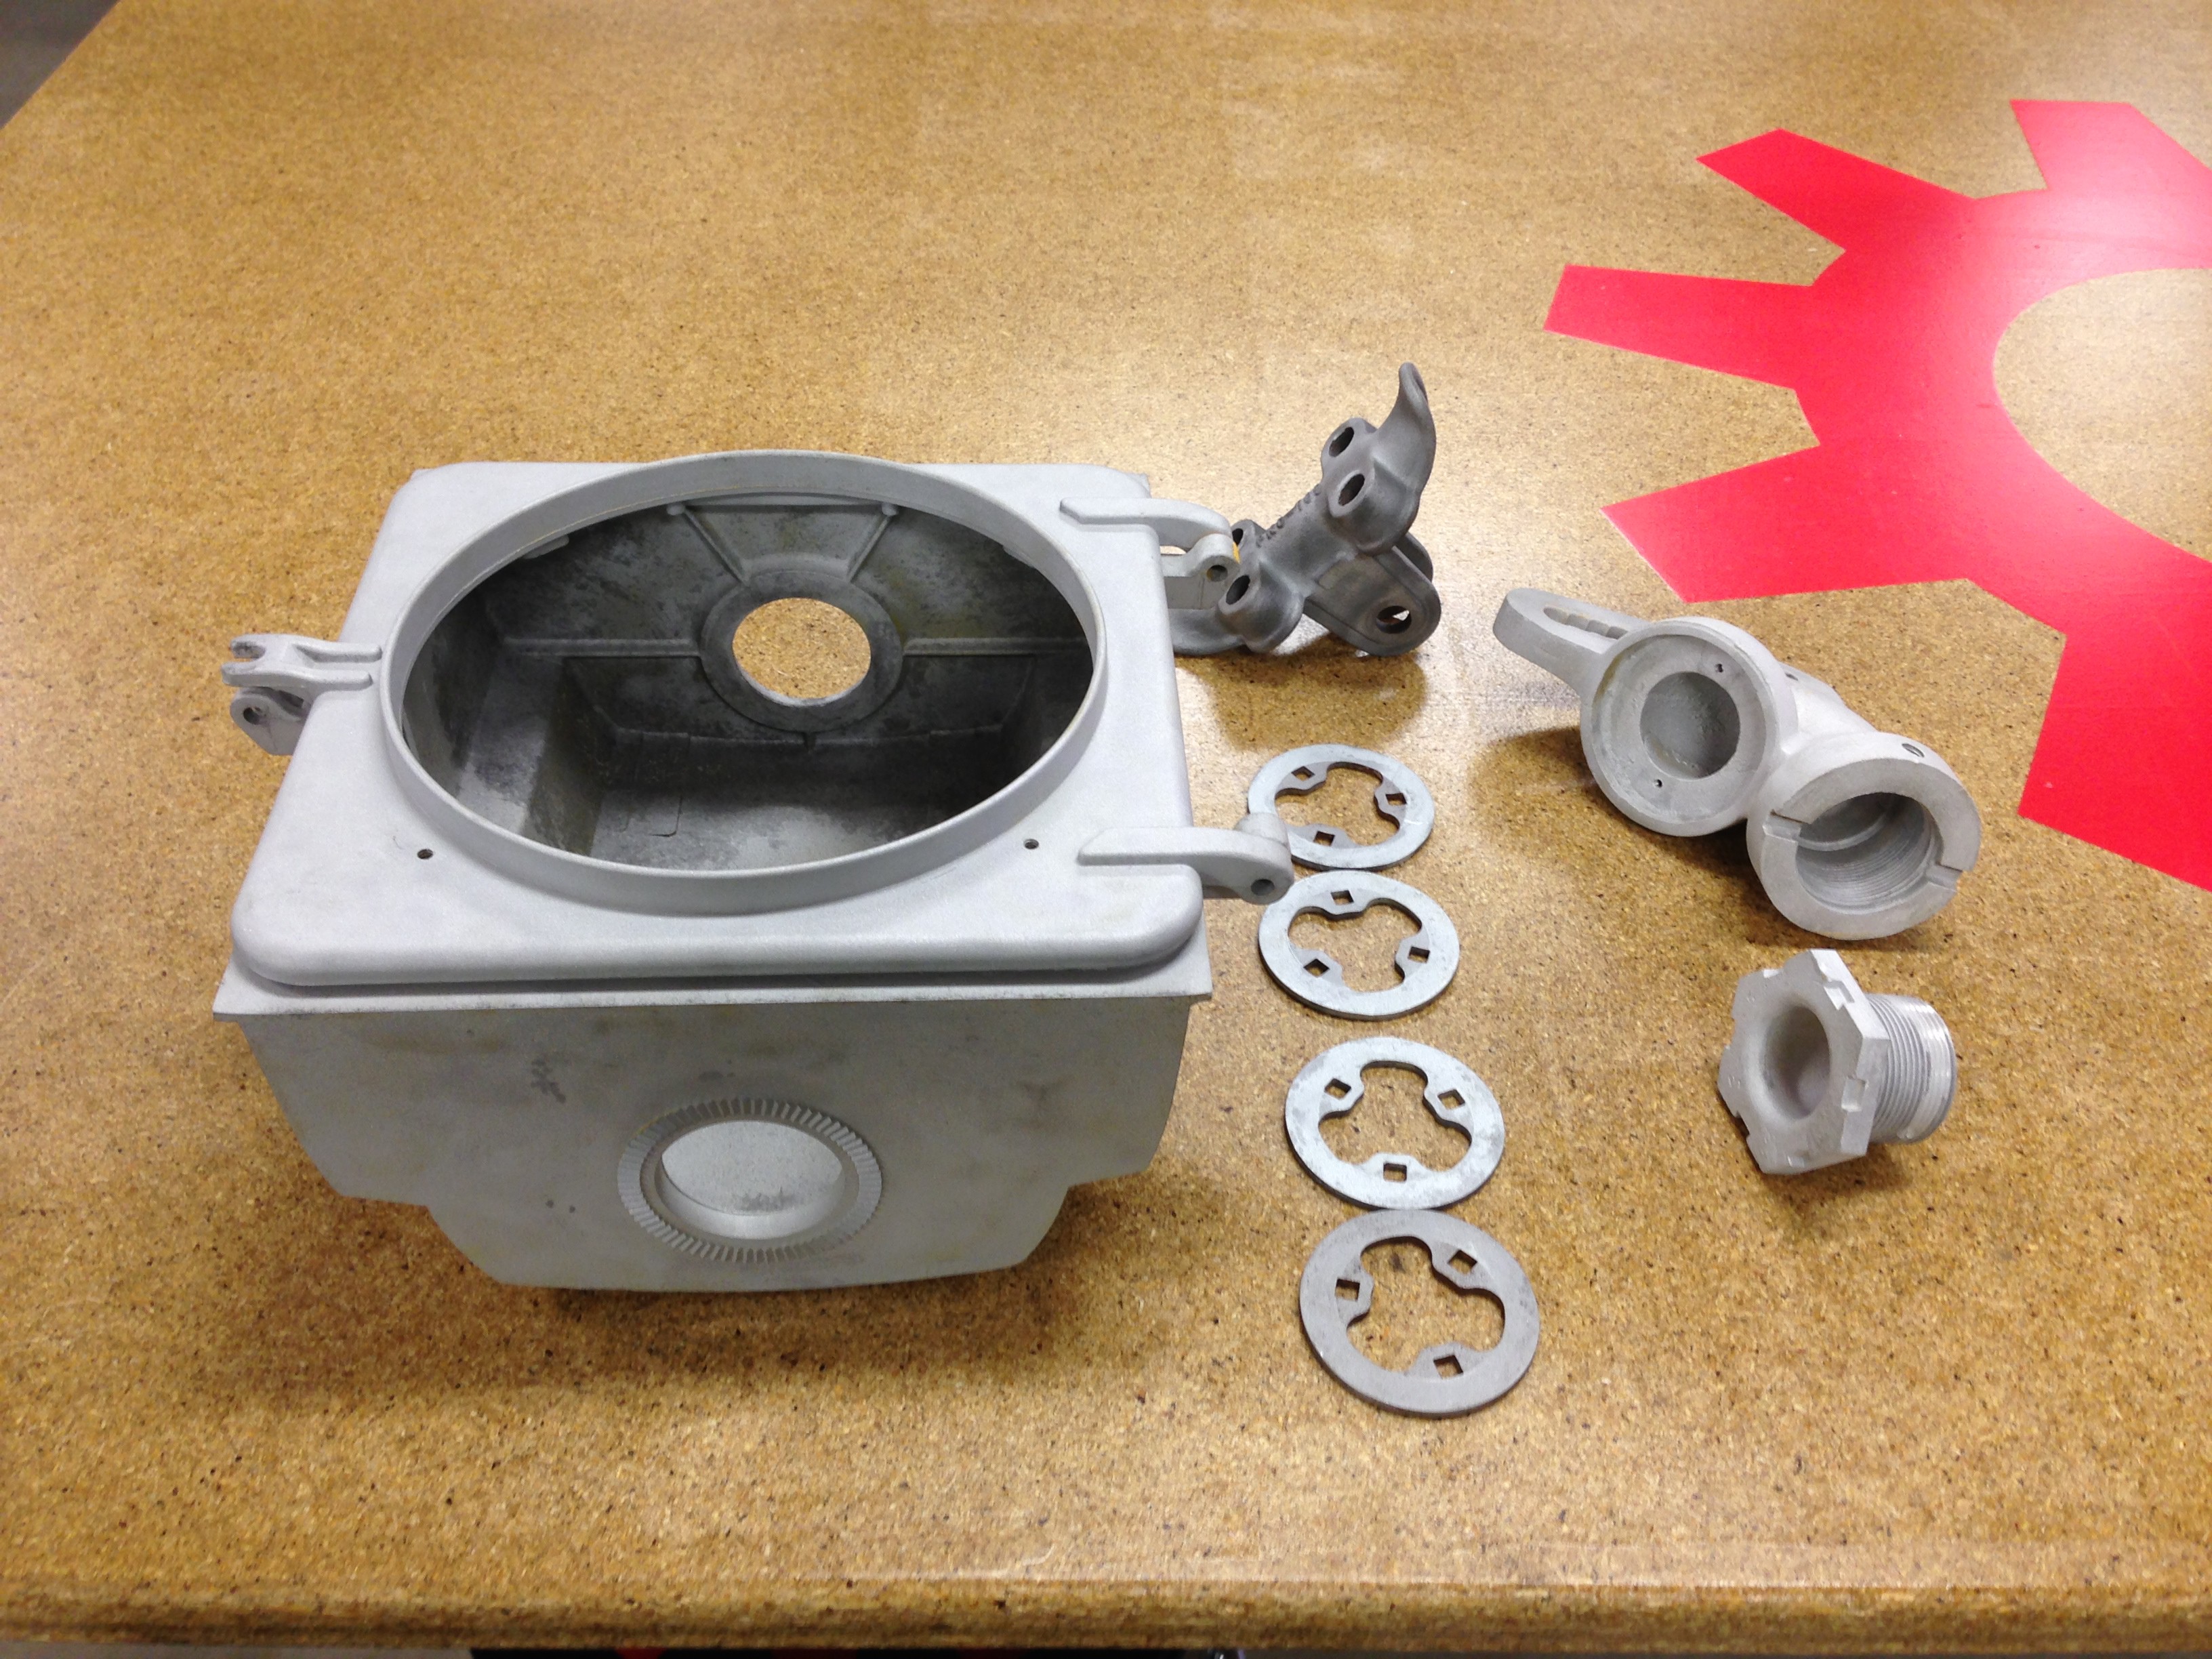
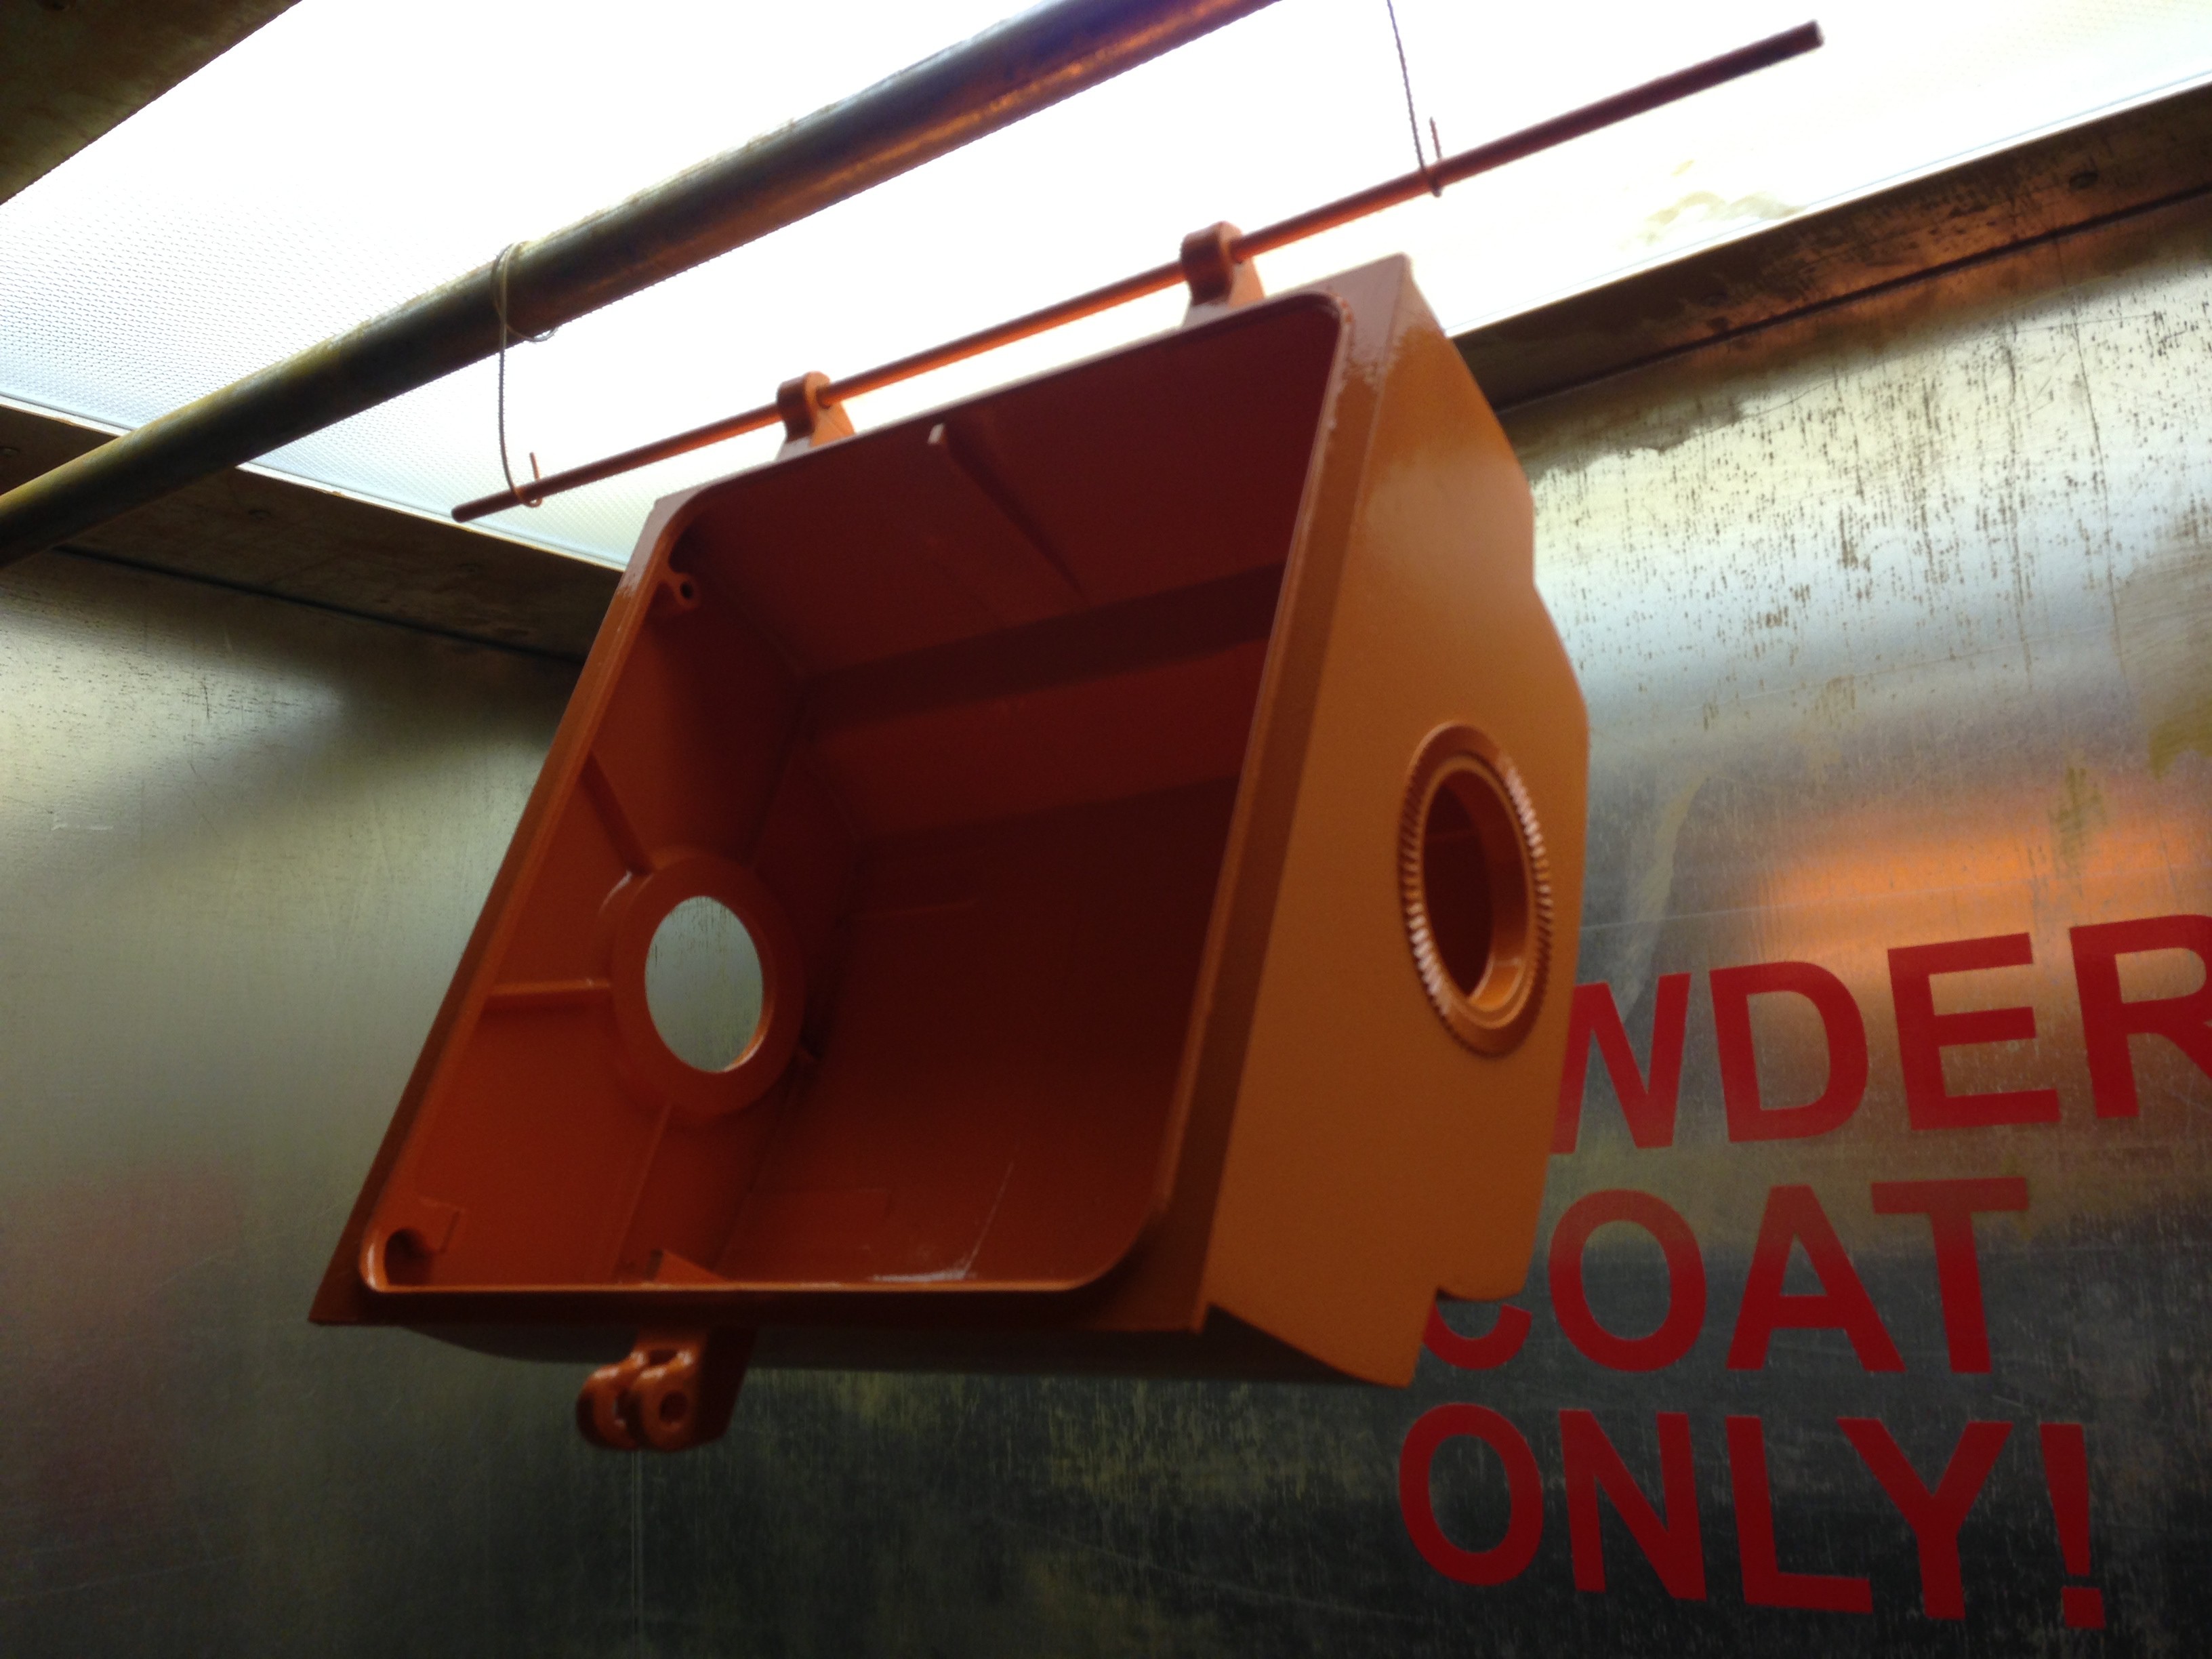
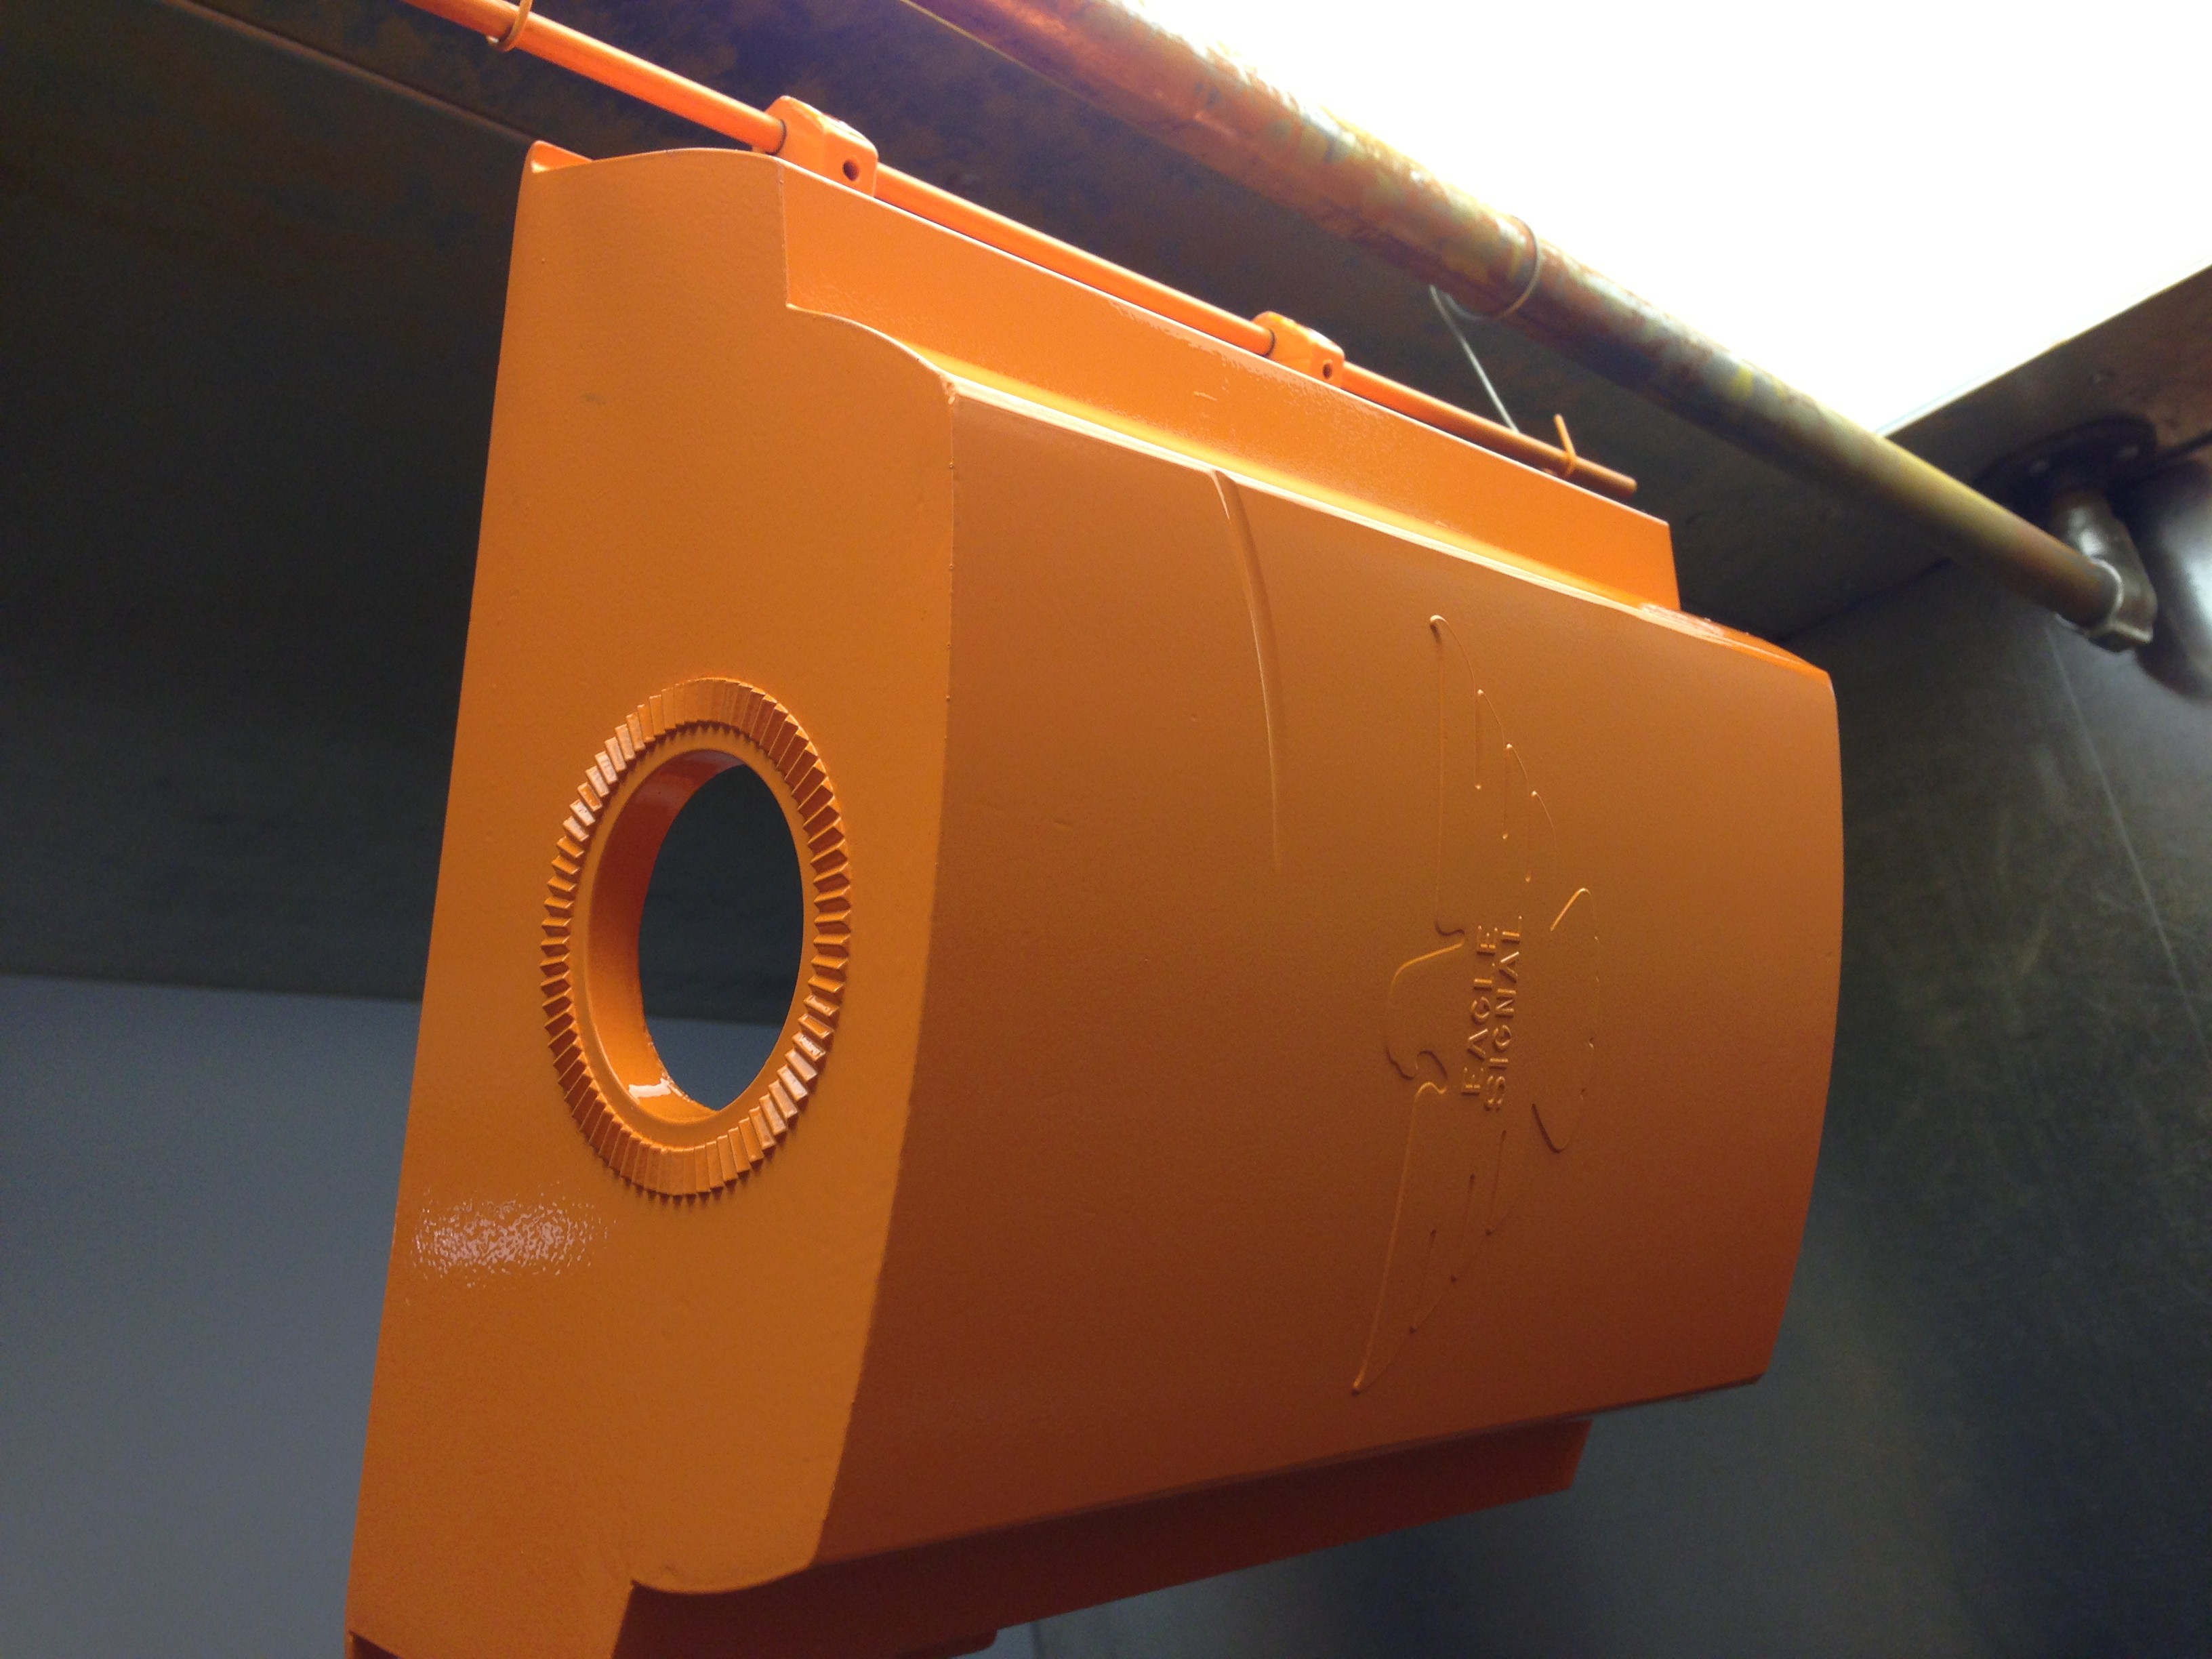
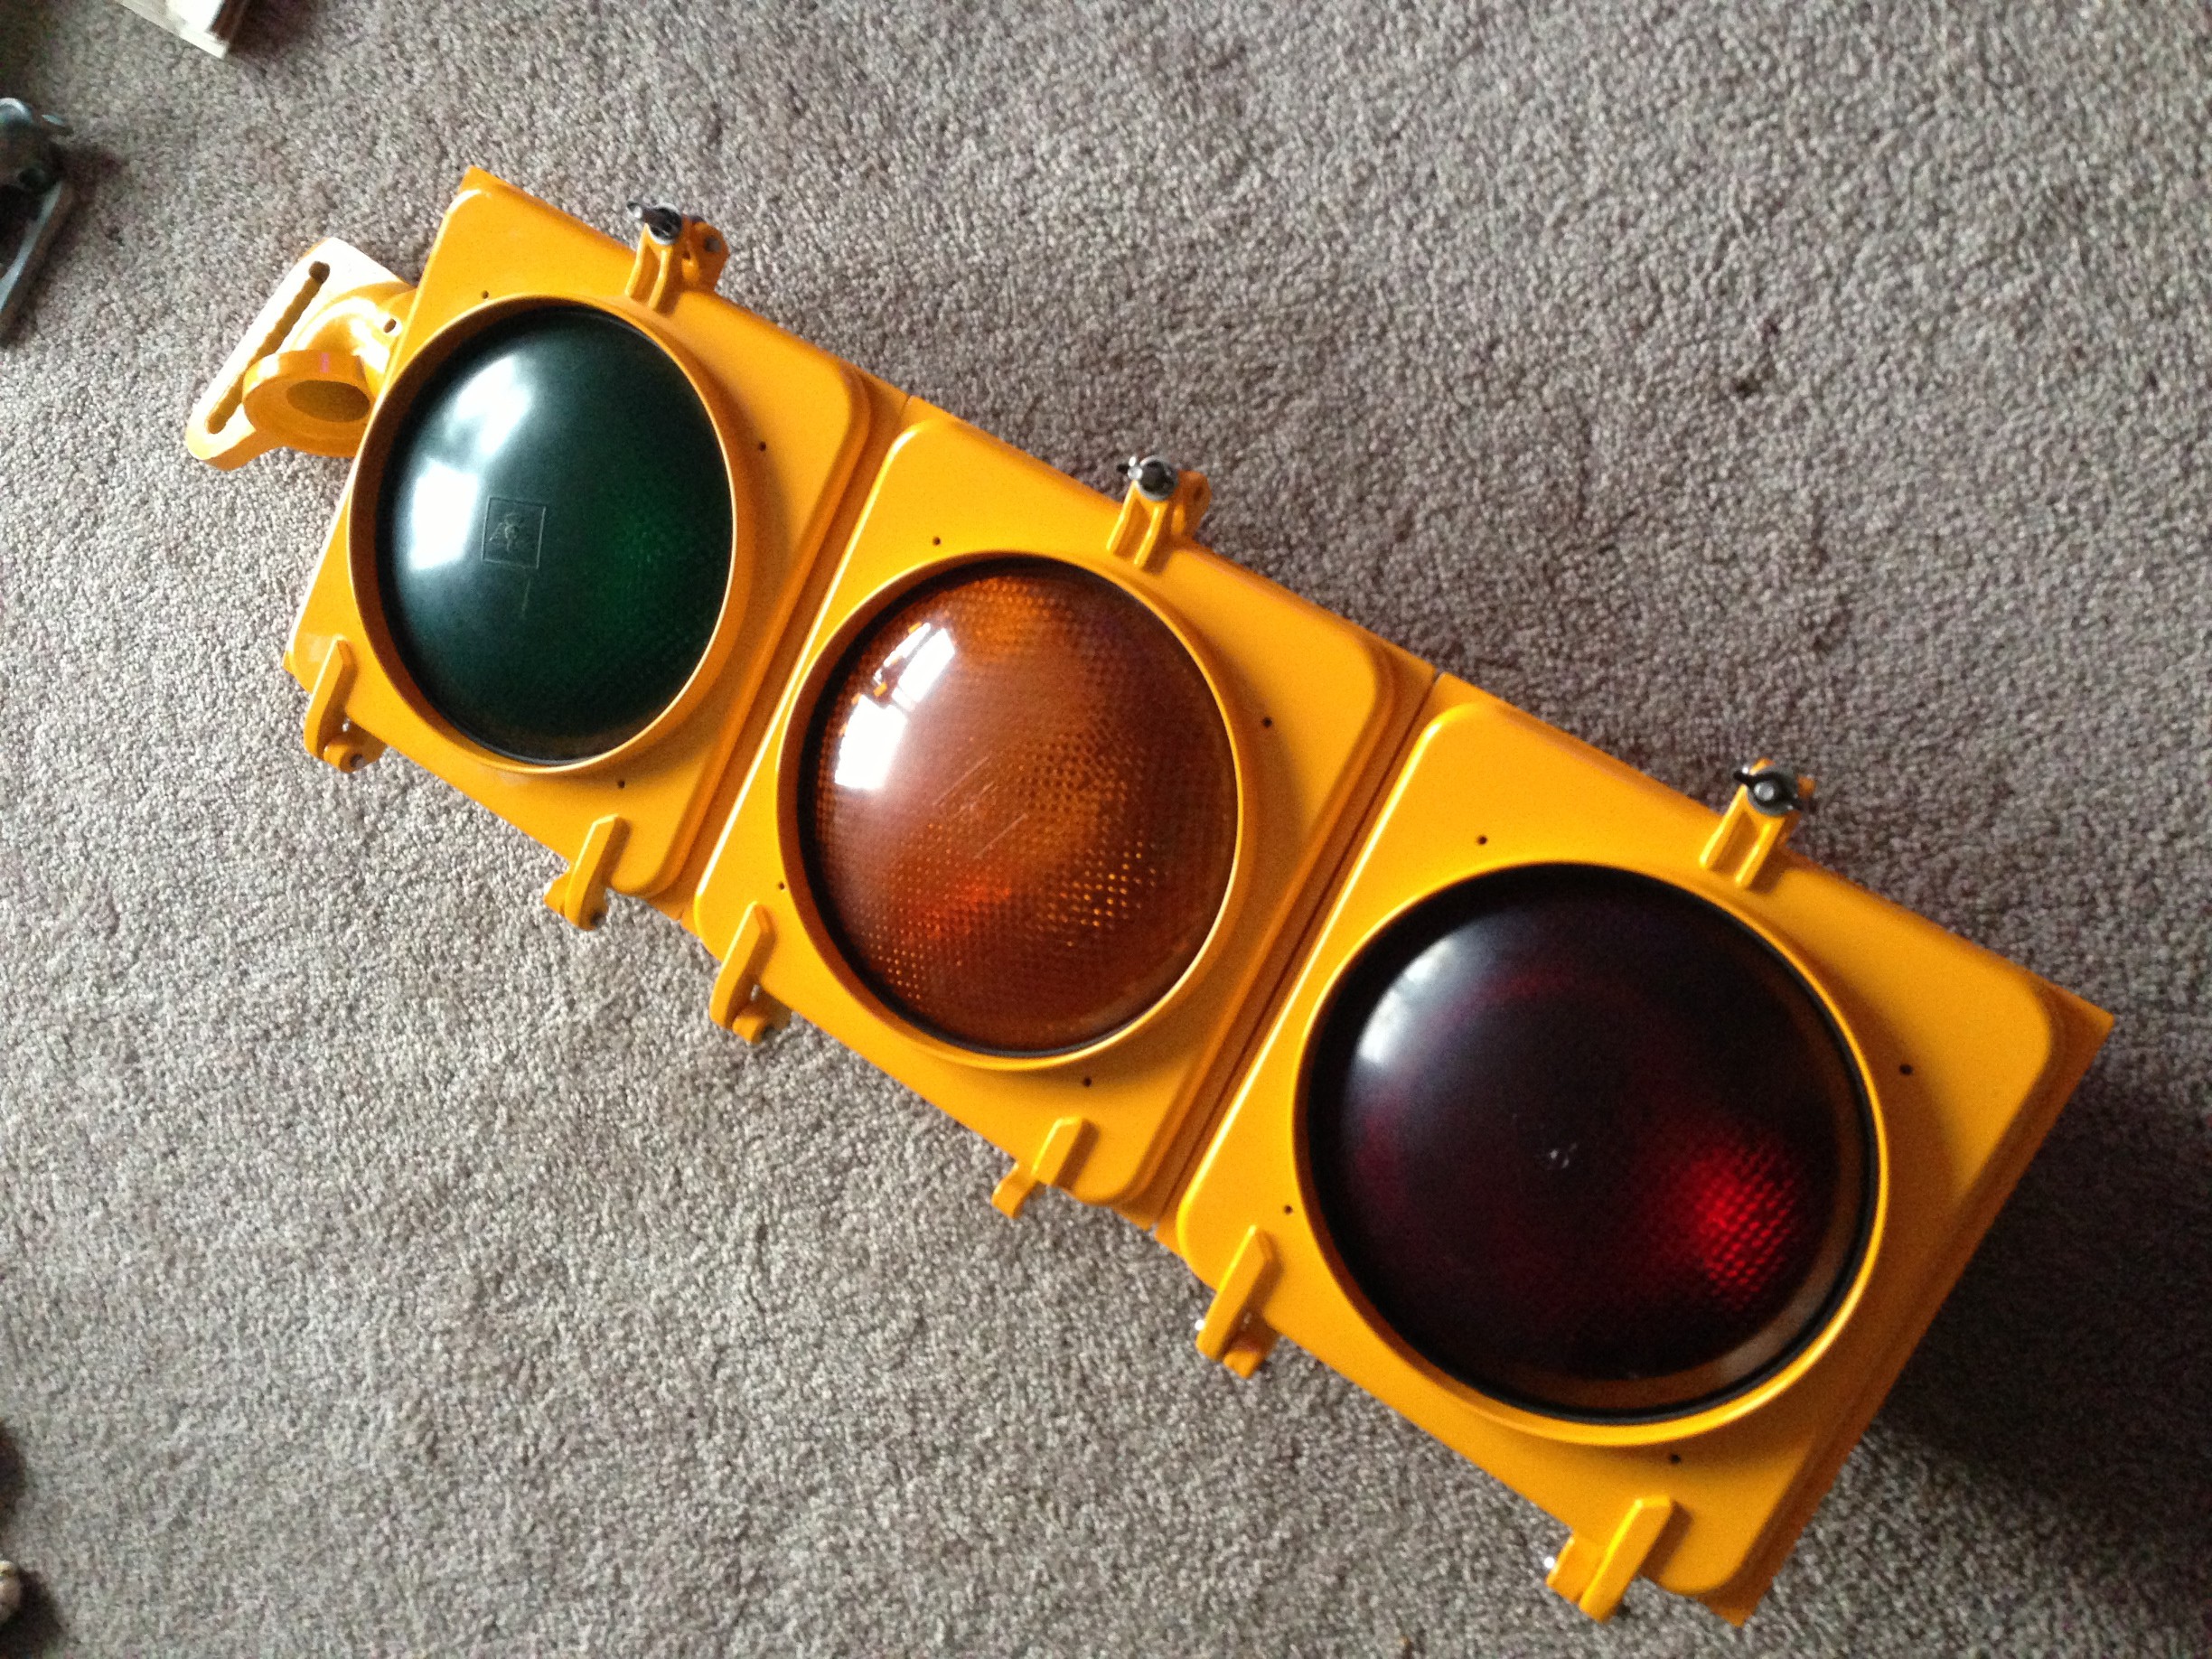
• Mounting it on the wall

    jupdyke09/15/2015 at 00:59 0 comments

    Now that the light was cleaned and repainted it was time to put it back together and mount it. I didn't do much with the light for about 6 months. I was working on buying a house, so I waited until I got moved in and settled. I got it mounted on the wall fairly quickly because I was tripping over the dang thing so often. I ordered some special brackets that are made to mount it on the wall like this.

    I also punched a whole in the wall and ran the power cable down through the bracket an into the wall, then down to the basement. I also ran an Cat 5 cable through it. Originally I was planning on running this off a rasberry pi, but later I started playing with the Electric Imp.

    Power comes in to the terminal block and then is split up. I put in an outlet with a light switch. So I have one outlet inside the bottom box. The light switch cuts all the power to the lights. This way I can turn it off while watching a movie or something like that. The outlet lets me plug in a usb charger. I used one of the thin ones to make sure that the box could close.

    The middle box has the Electric Imp and the SainSmart relay board.

    There really is not anything too complex about this project. I just took my time to keep it nice and clean. The electric imp runs a program to cycle through the lights. But you can force it any of the lights for a while. You can also send it a command to turn the lights all on, or all off. You can also flash the light a set amount of times. I shared this with my friends so they could send it commands from anywhere. Now they use it to try and get my attention to log in and play some video games with them.

    As soon as I added the command to send it a number of times to flash, I had to go back put an upper limit on the number of flashes. My friends were quick to realize that they could send it any number they wanted (which turned out to be a very large number) haha. Now any number over a 100 defaults back to 100.

  • It starts with a dirty light

    jupdyke09/15/2015 at 00:33 0 comments

    I was really lucky to get my hands on this old traffic light. I started by taking it all apart and washing off as much of the dirt and grim as I could. If you are lucky enough to get your hands on one, don't expect it to be clean.

    Next I sand blasted the whole thing. The traffic light is made of aluminum, so you gotta be careful when sand blasting it. Use low pressure and avoid really aggressive sand.

    Then I powder coated it. I did some research and the color is called "school bus yellow." This was my first powder coating project so I really took my time and did two coats. The light will always be inside, so I decided not to do a clear coat.

    It is funny that while the powder coat is hot it looks more orange. When I opened up the oven and took the part out, I was really worried it was gonna be orange. But after it cooled down it looked awesome. For being the very first thing I ever powder coated I think it came out great.