Close
0%
0%

The Clock Awakens

Using LEDs and an ESP8266 to make a smart, futuristic Star Wars clock

Similar projects worth following
I got a Star Wars clock as a gift when I moved to college, but unfortunately, it fell off the wall one too many times (thanks, command strips). The clock face is still in good condition, but the rather cheap original hands are broken beyond repair.

Rather than simply getting new hands, this clock has LEDs around the circumference, lighting up the wall behind it. It also has an ESP8266 to set the time over the internet and to change settings such as color.

Concept inspired by this project: http://hackaday.com/2014/05/16/led-clock-looks-cool-and-tells-time/

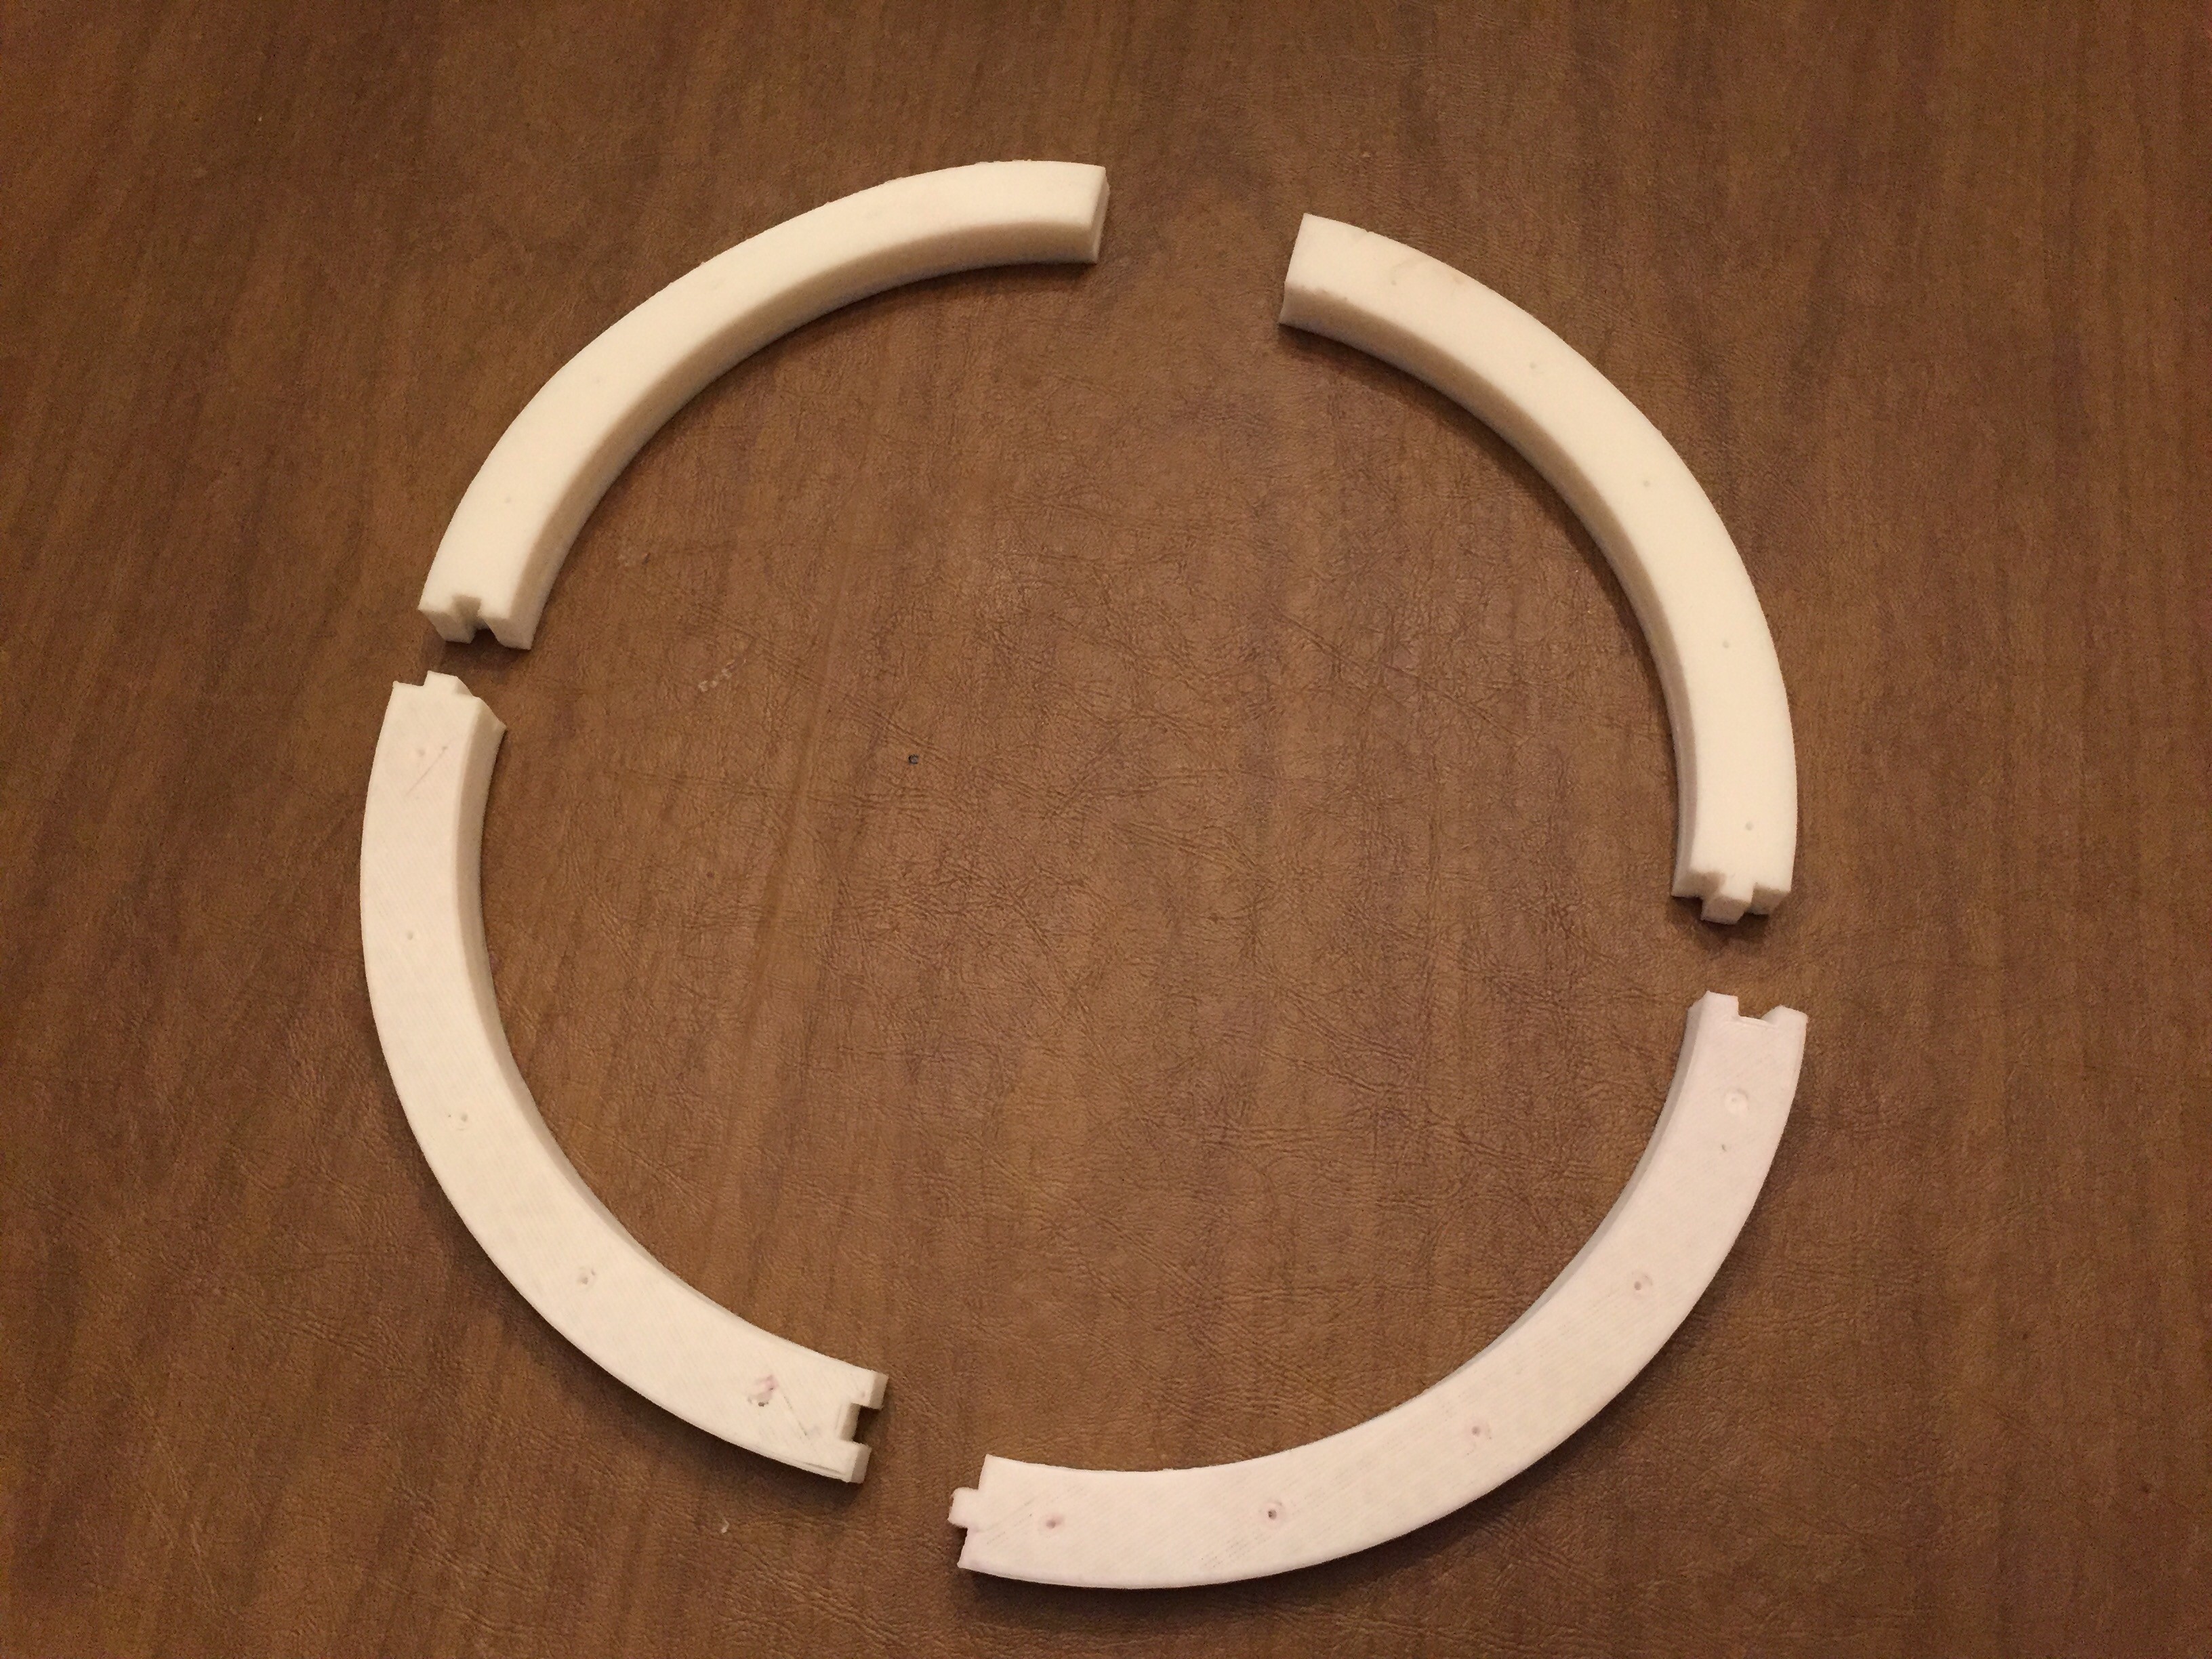
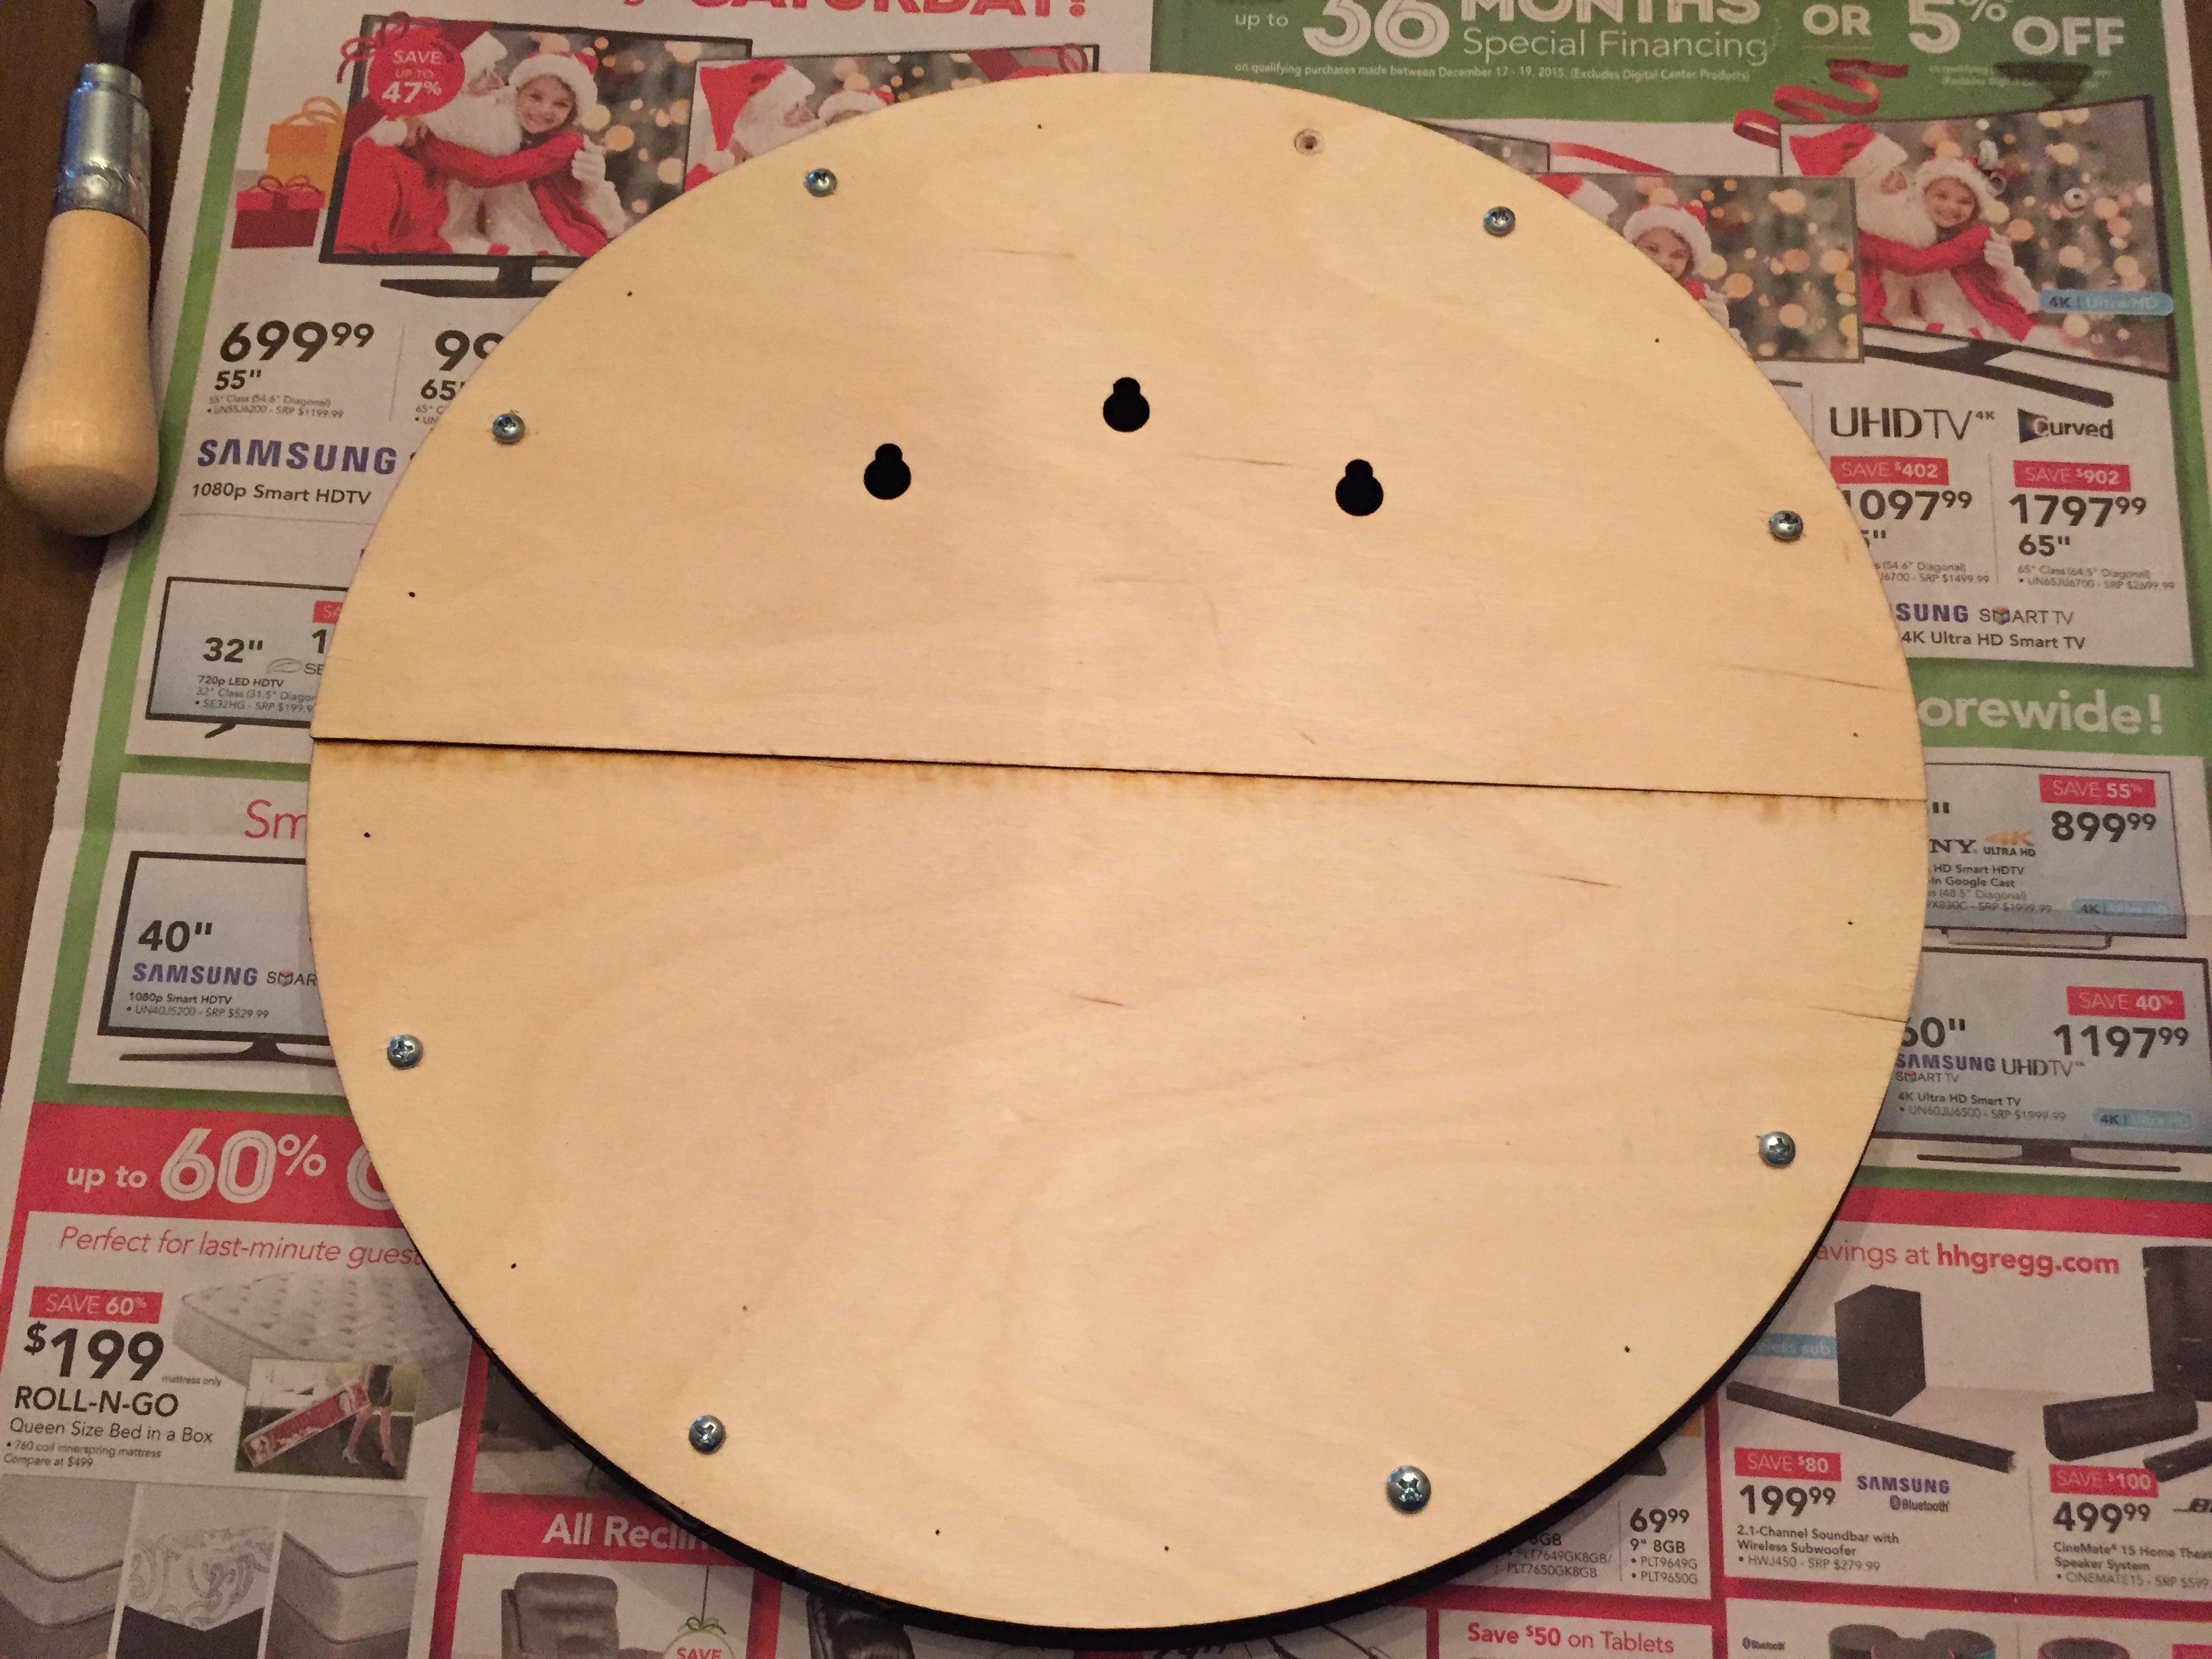
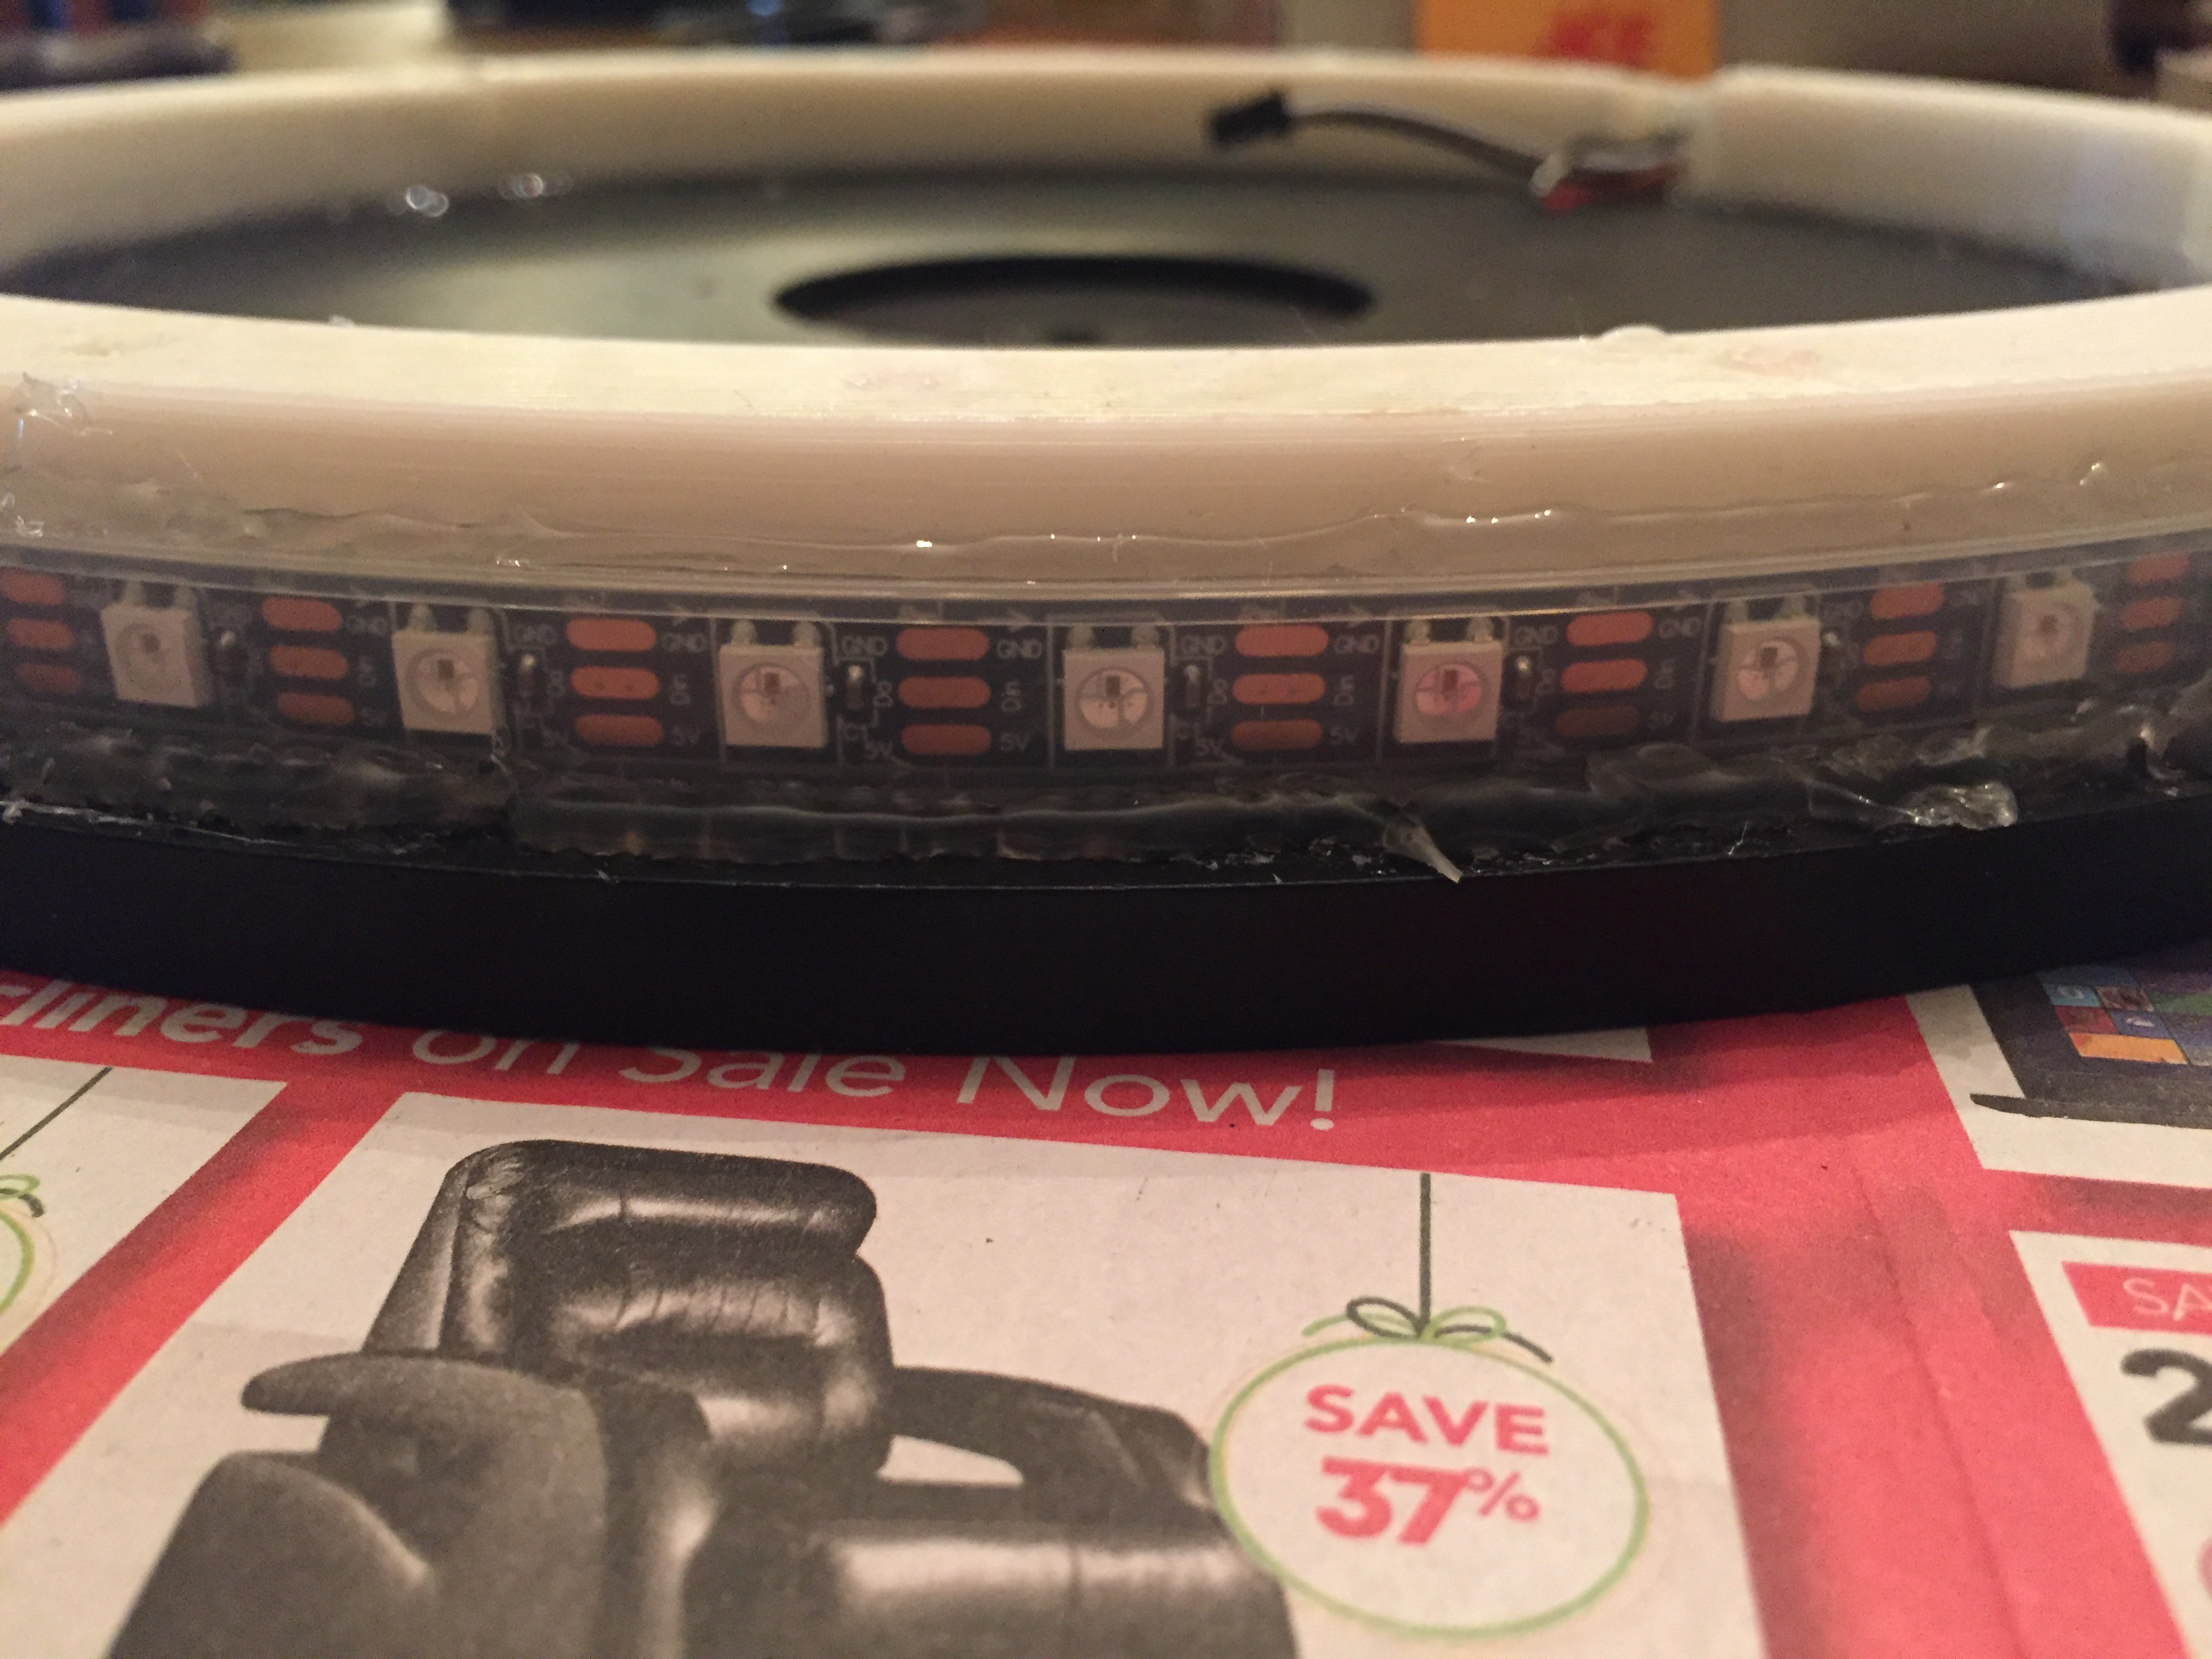
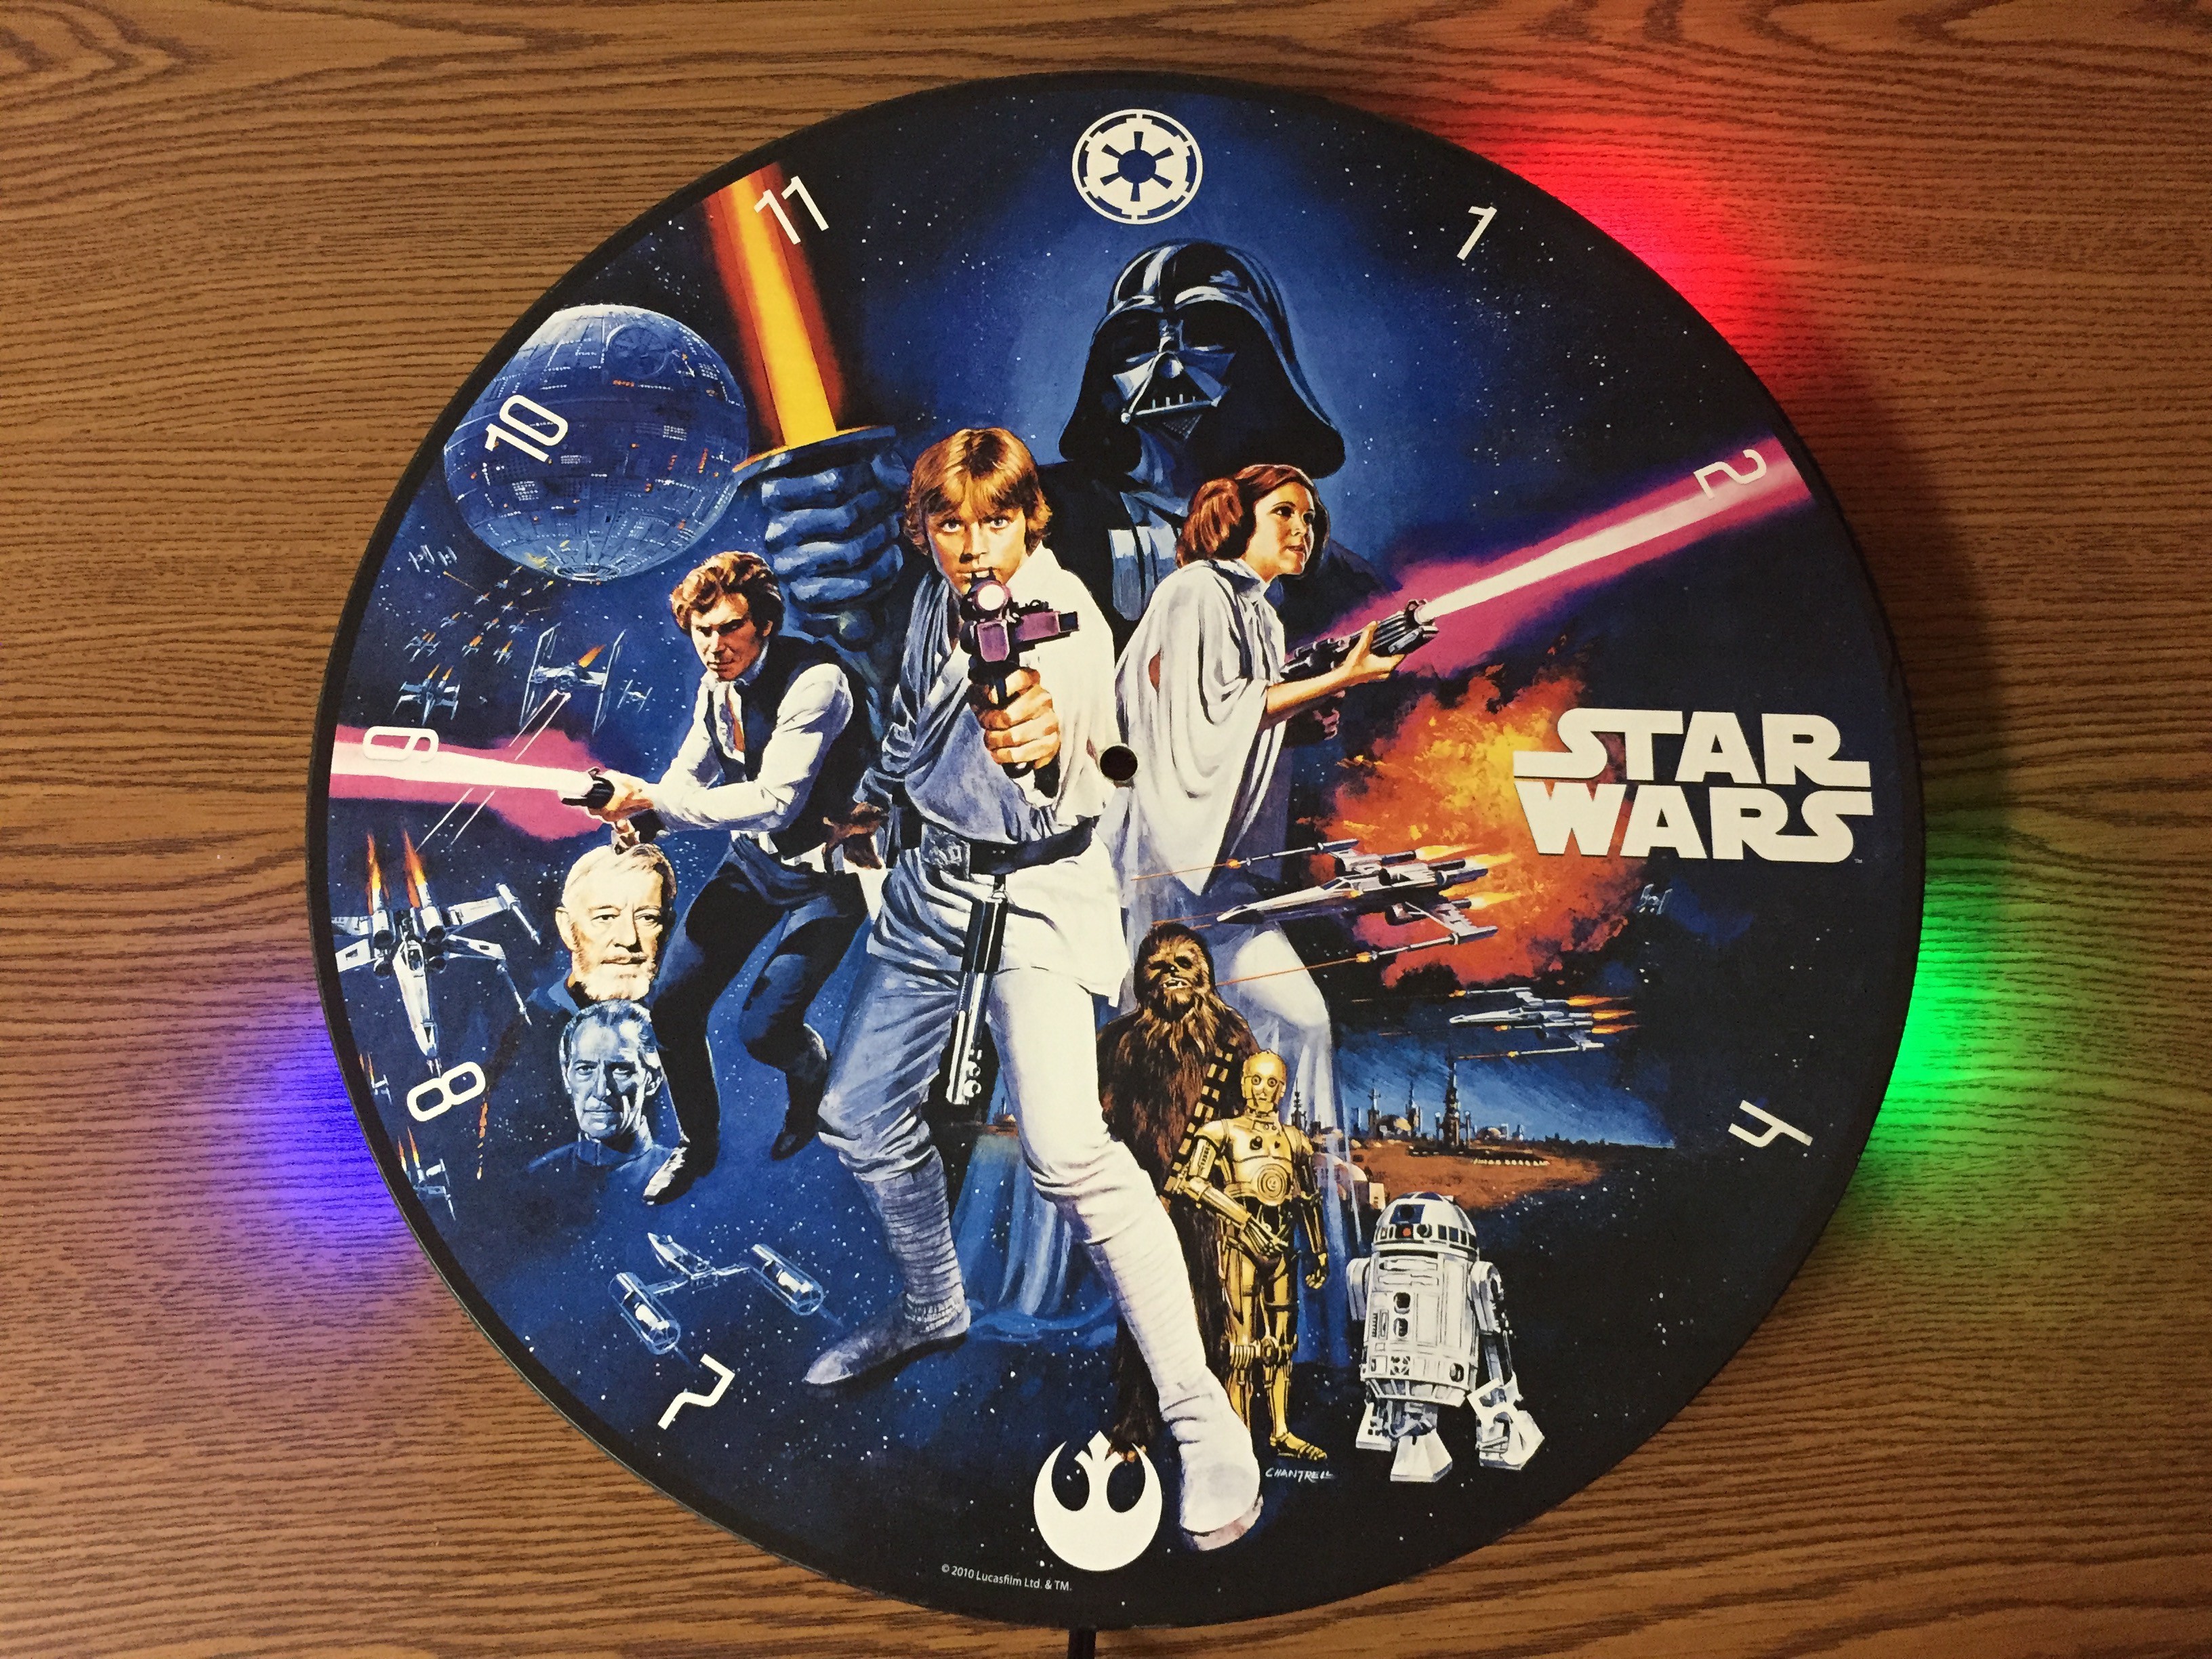
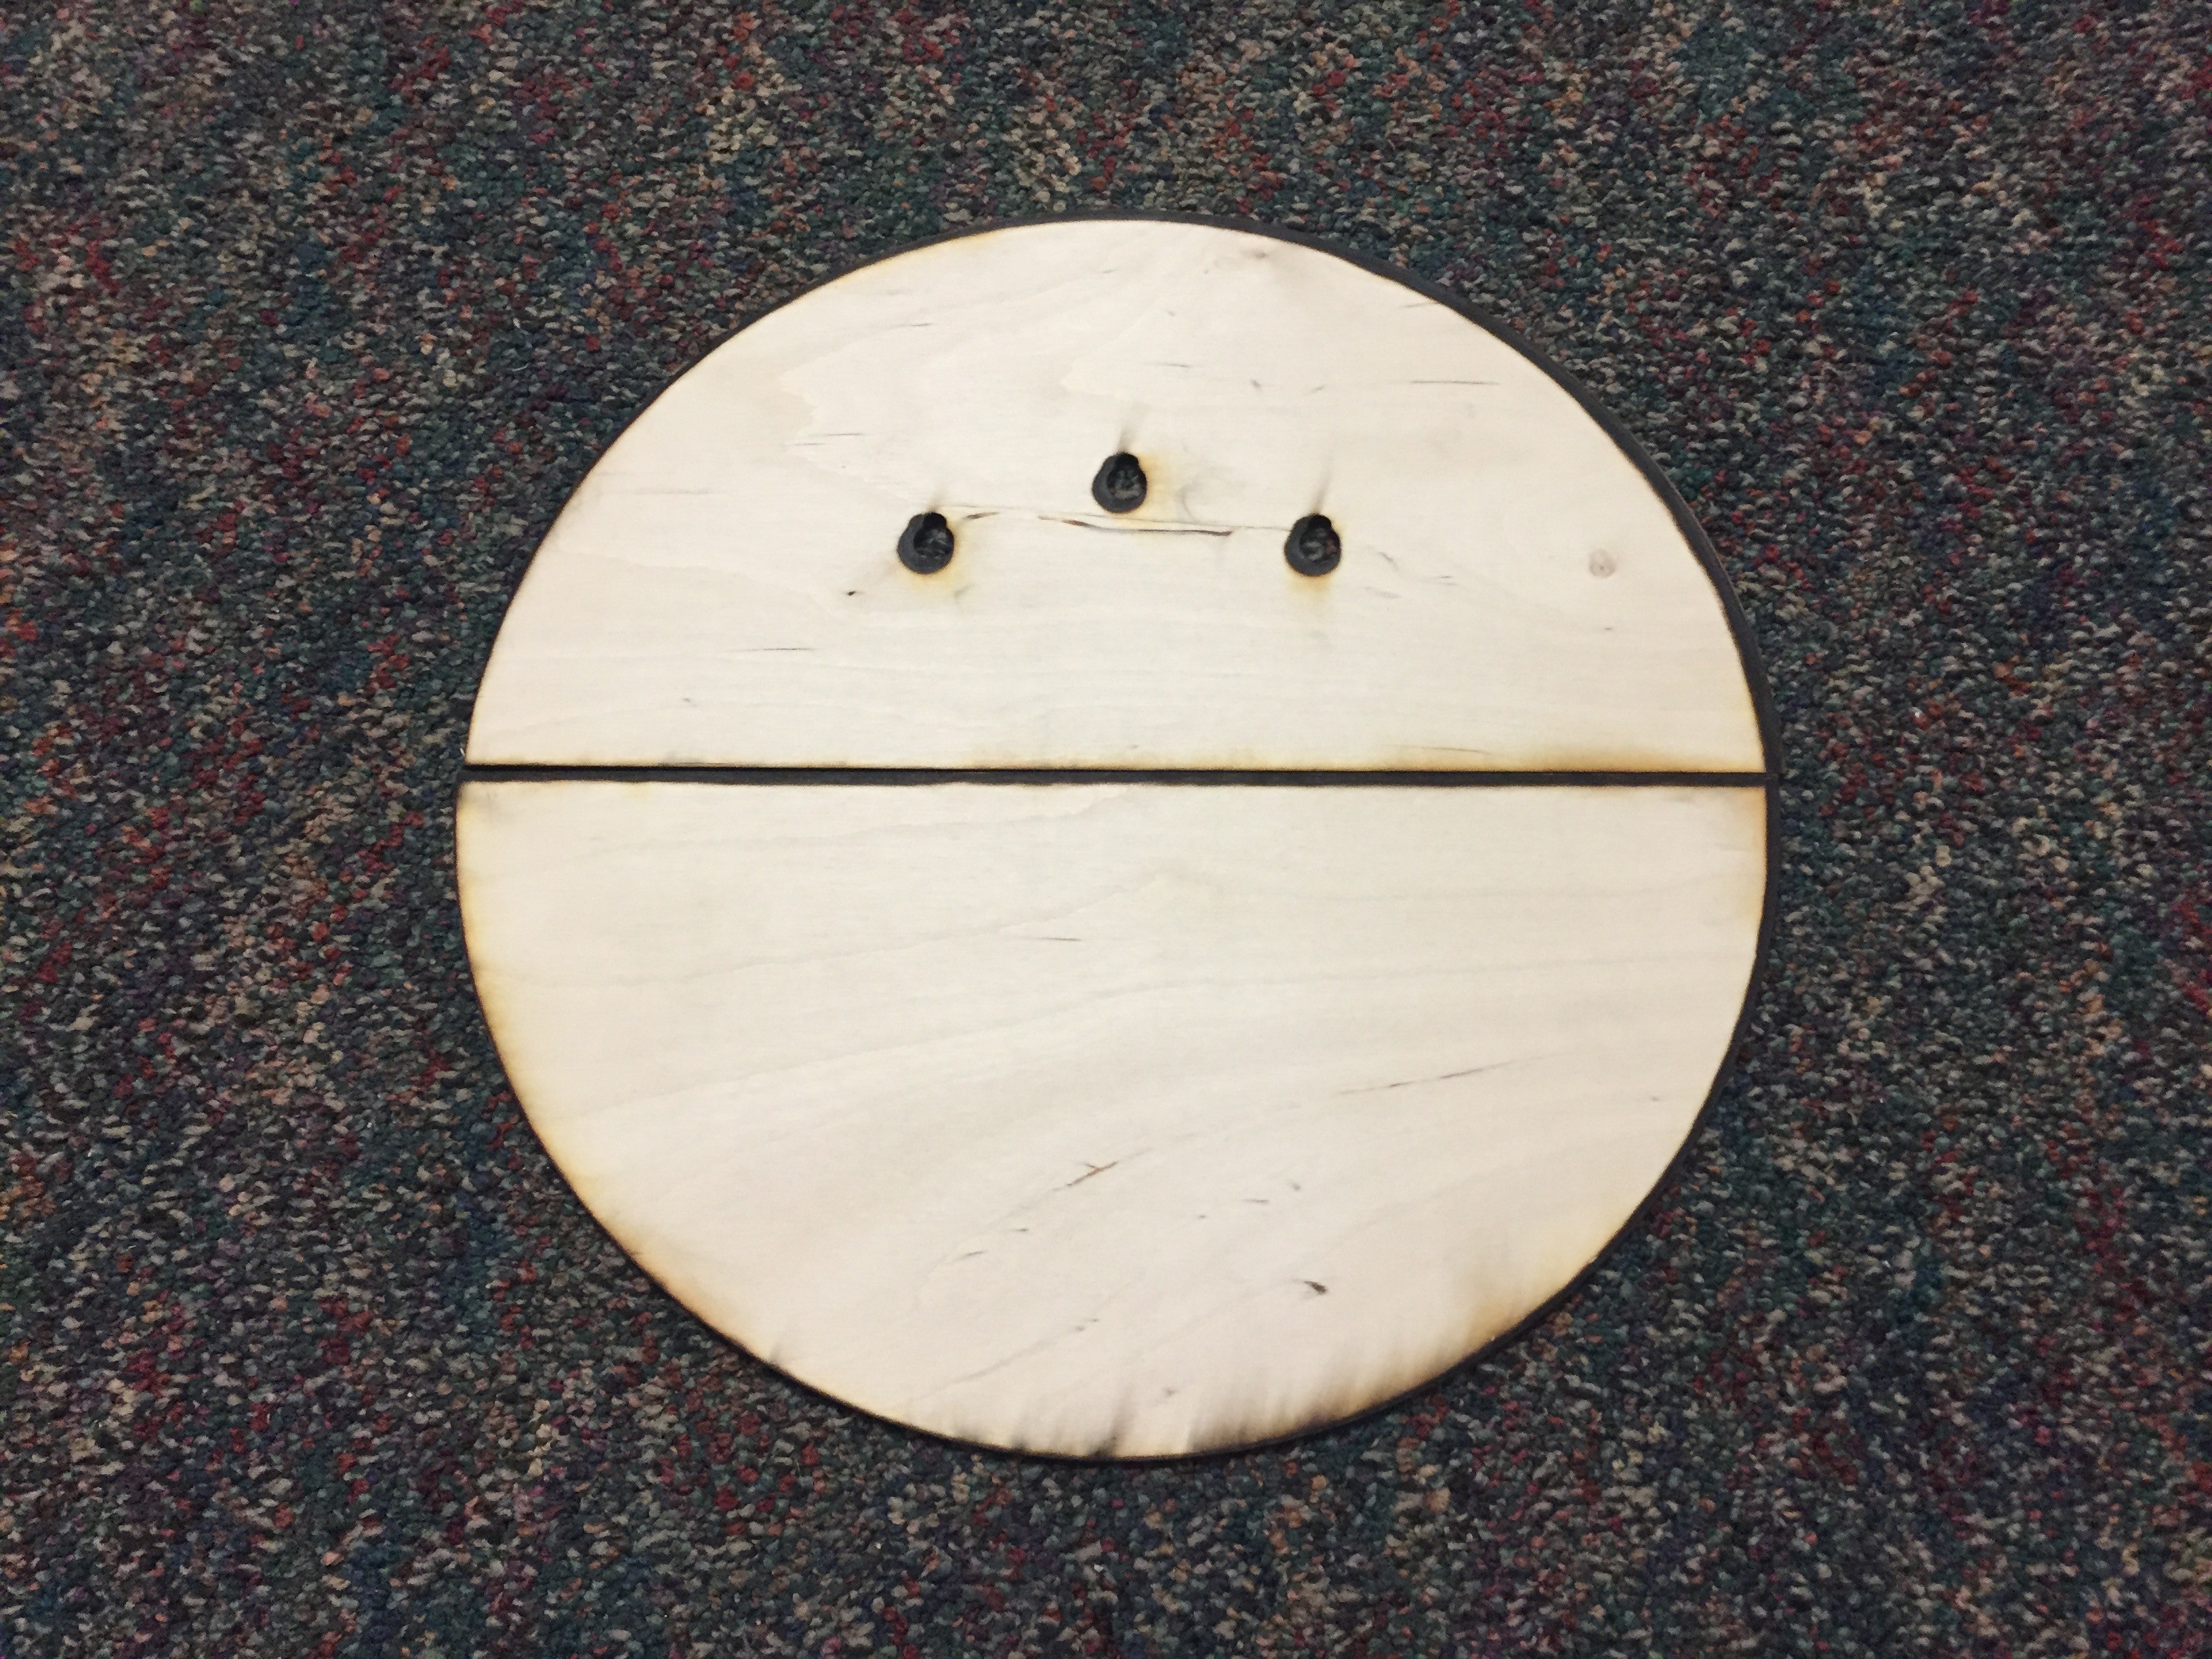
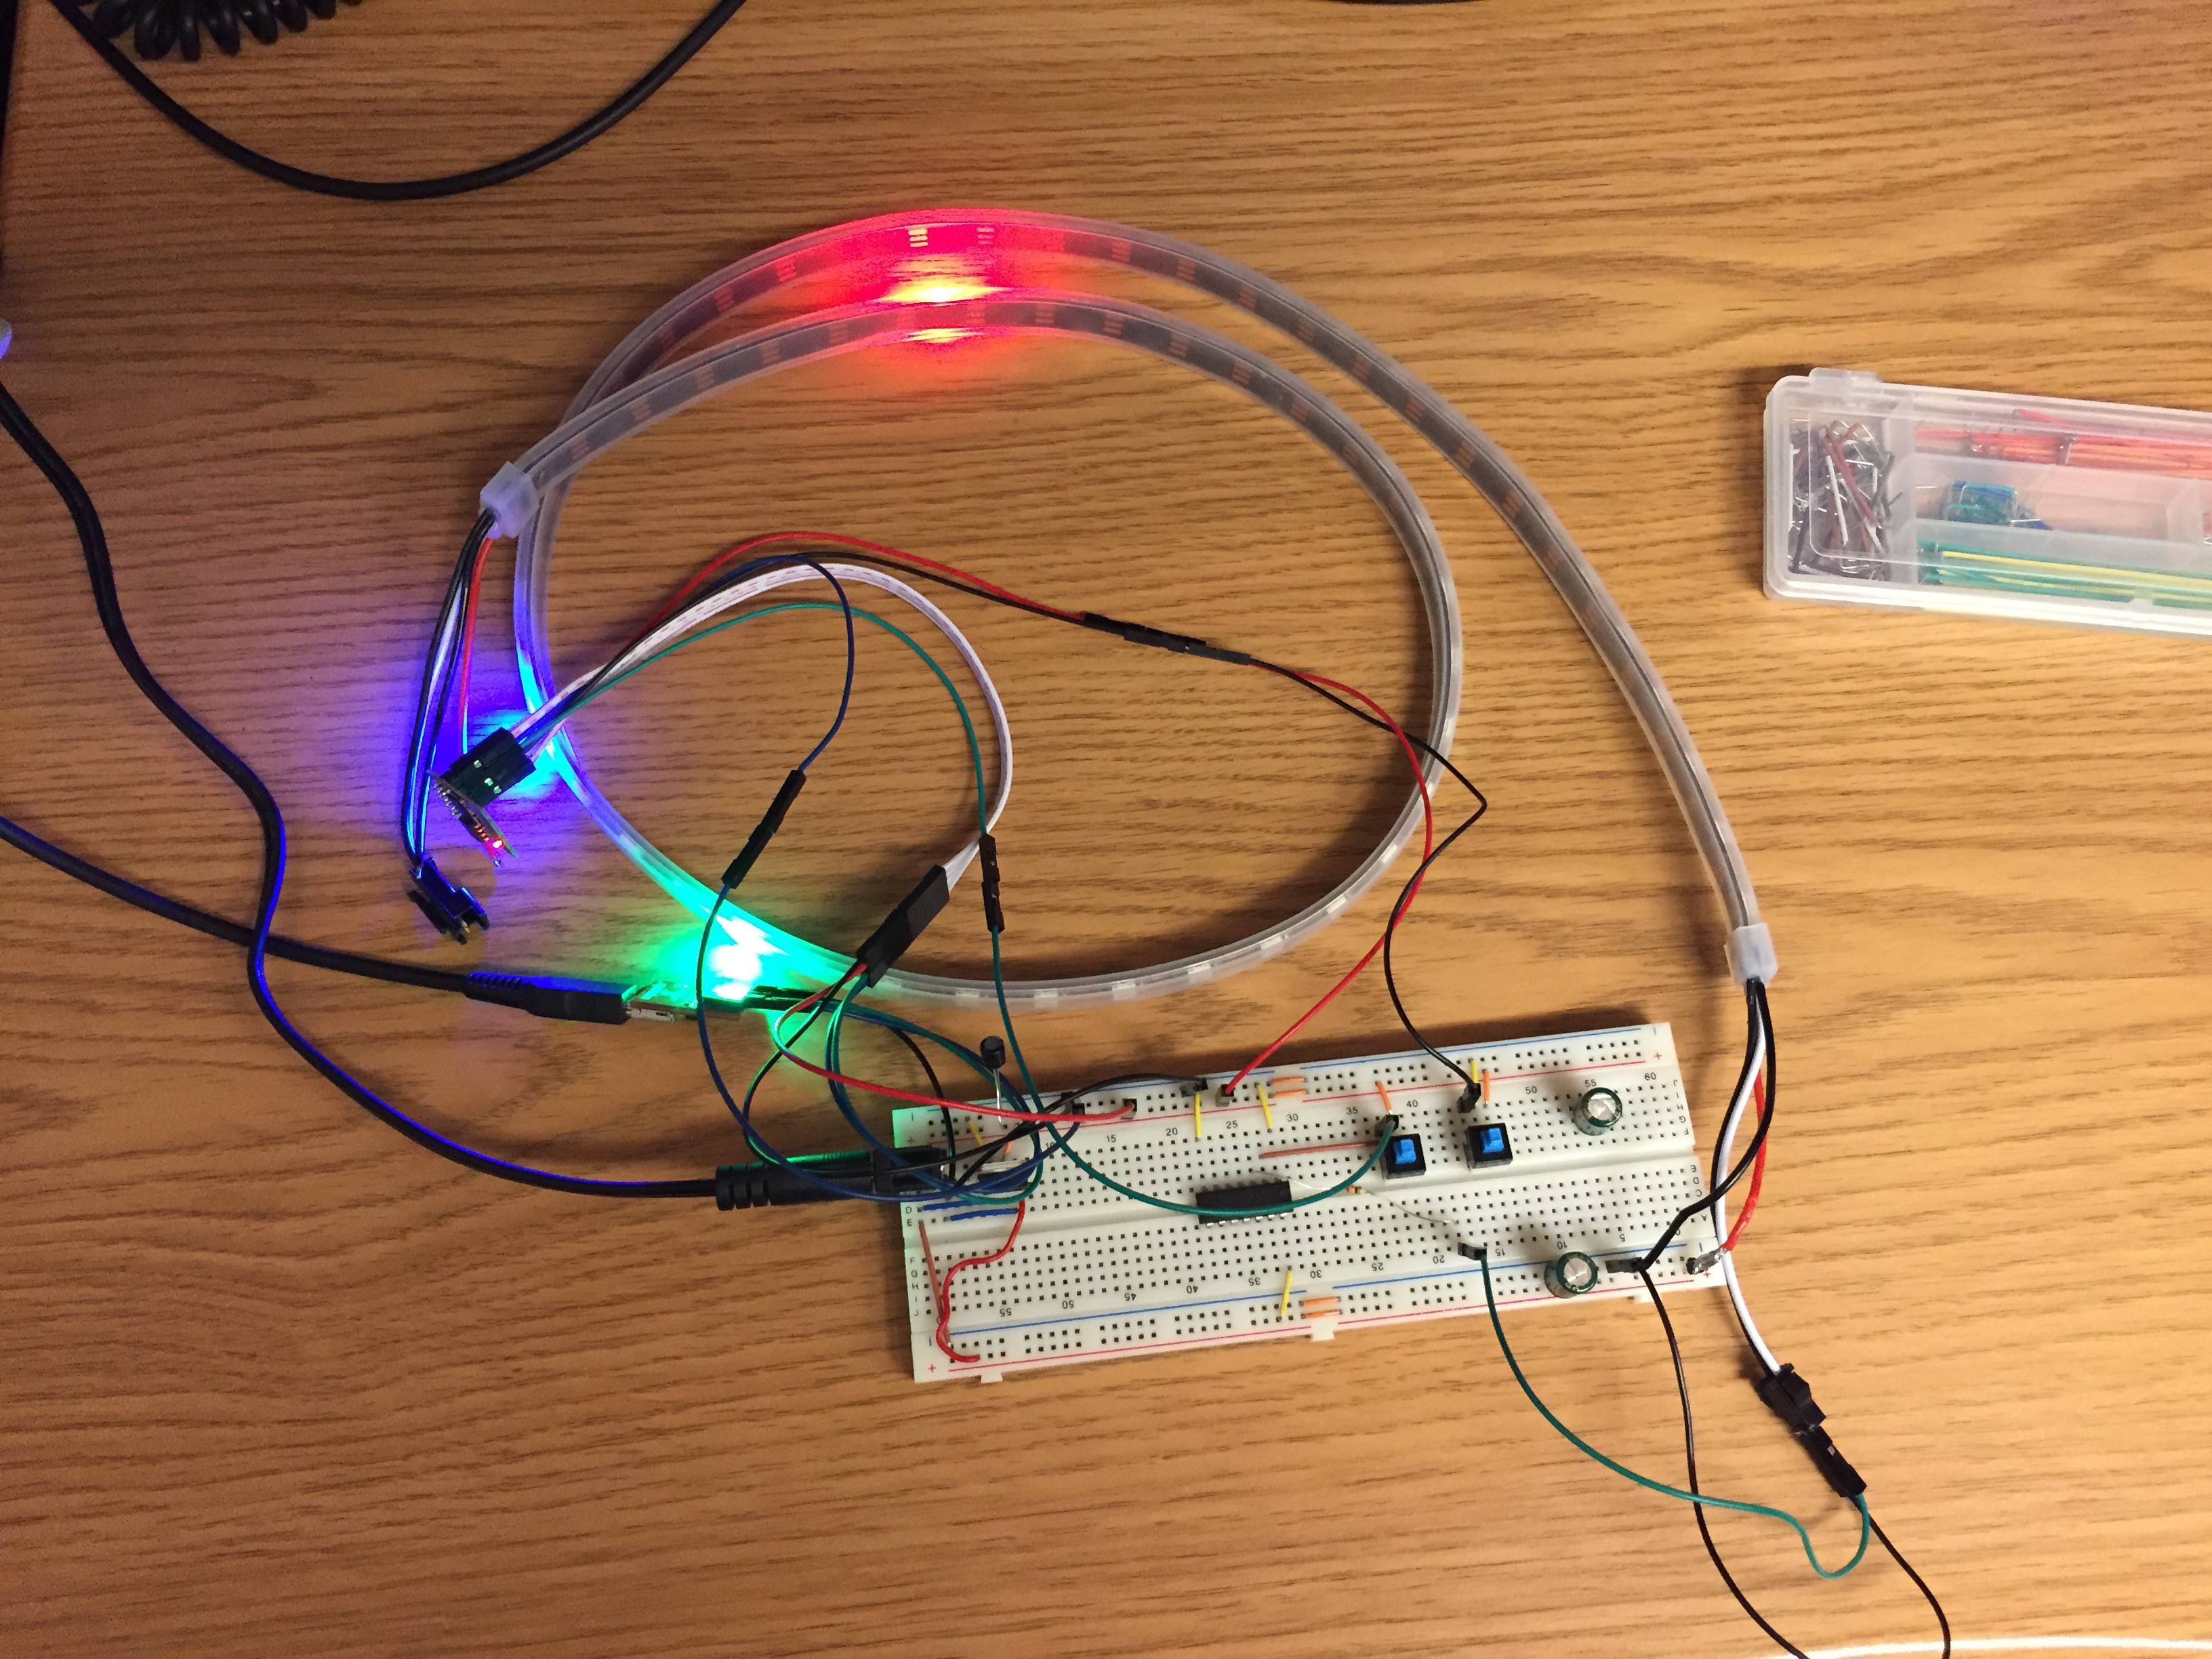
The clock face's circumference is 1.0675 meters, which is just a few centimeters too long for a 1-meter LED strip. Rather than cutting 60 LEDs apart and spacing them by hand, I 3D printed a plastic ring and attached it to the back of the clock face. The LEDs light up the wall behind the clock.

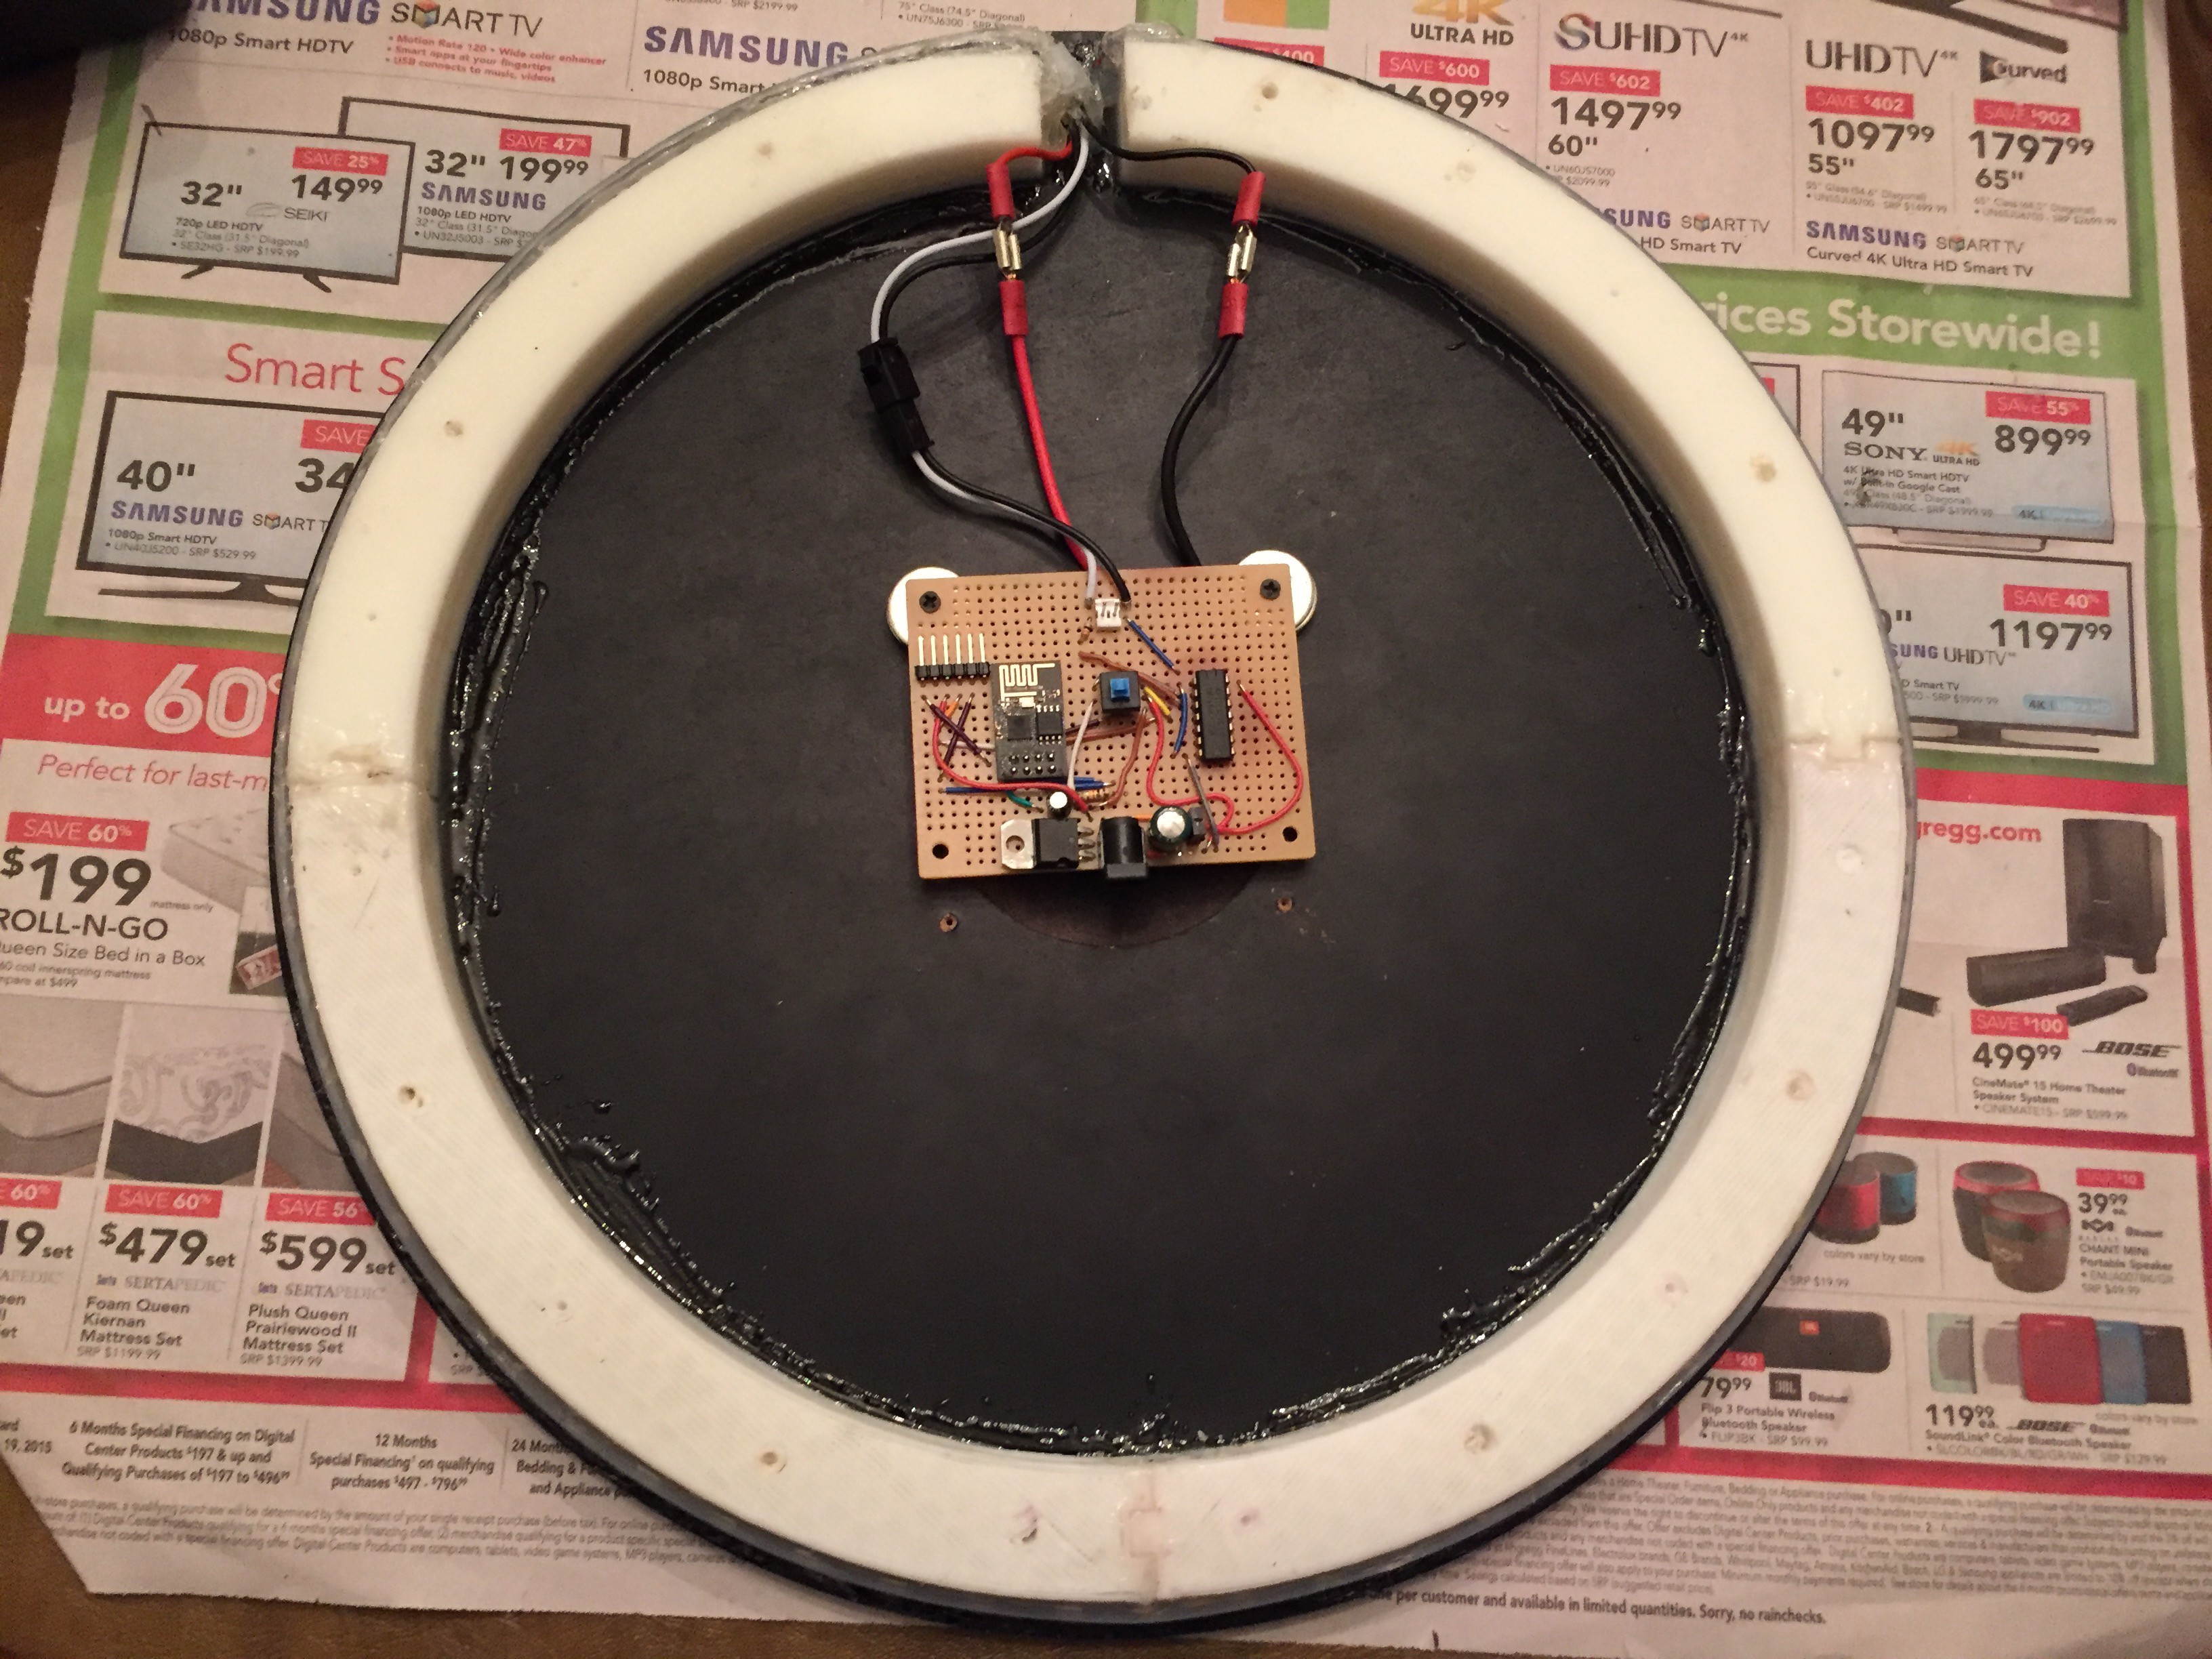
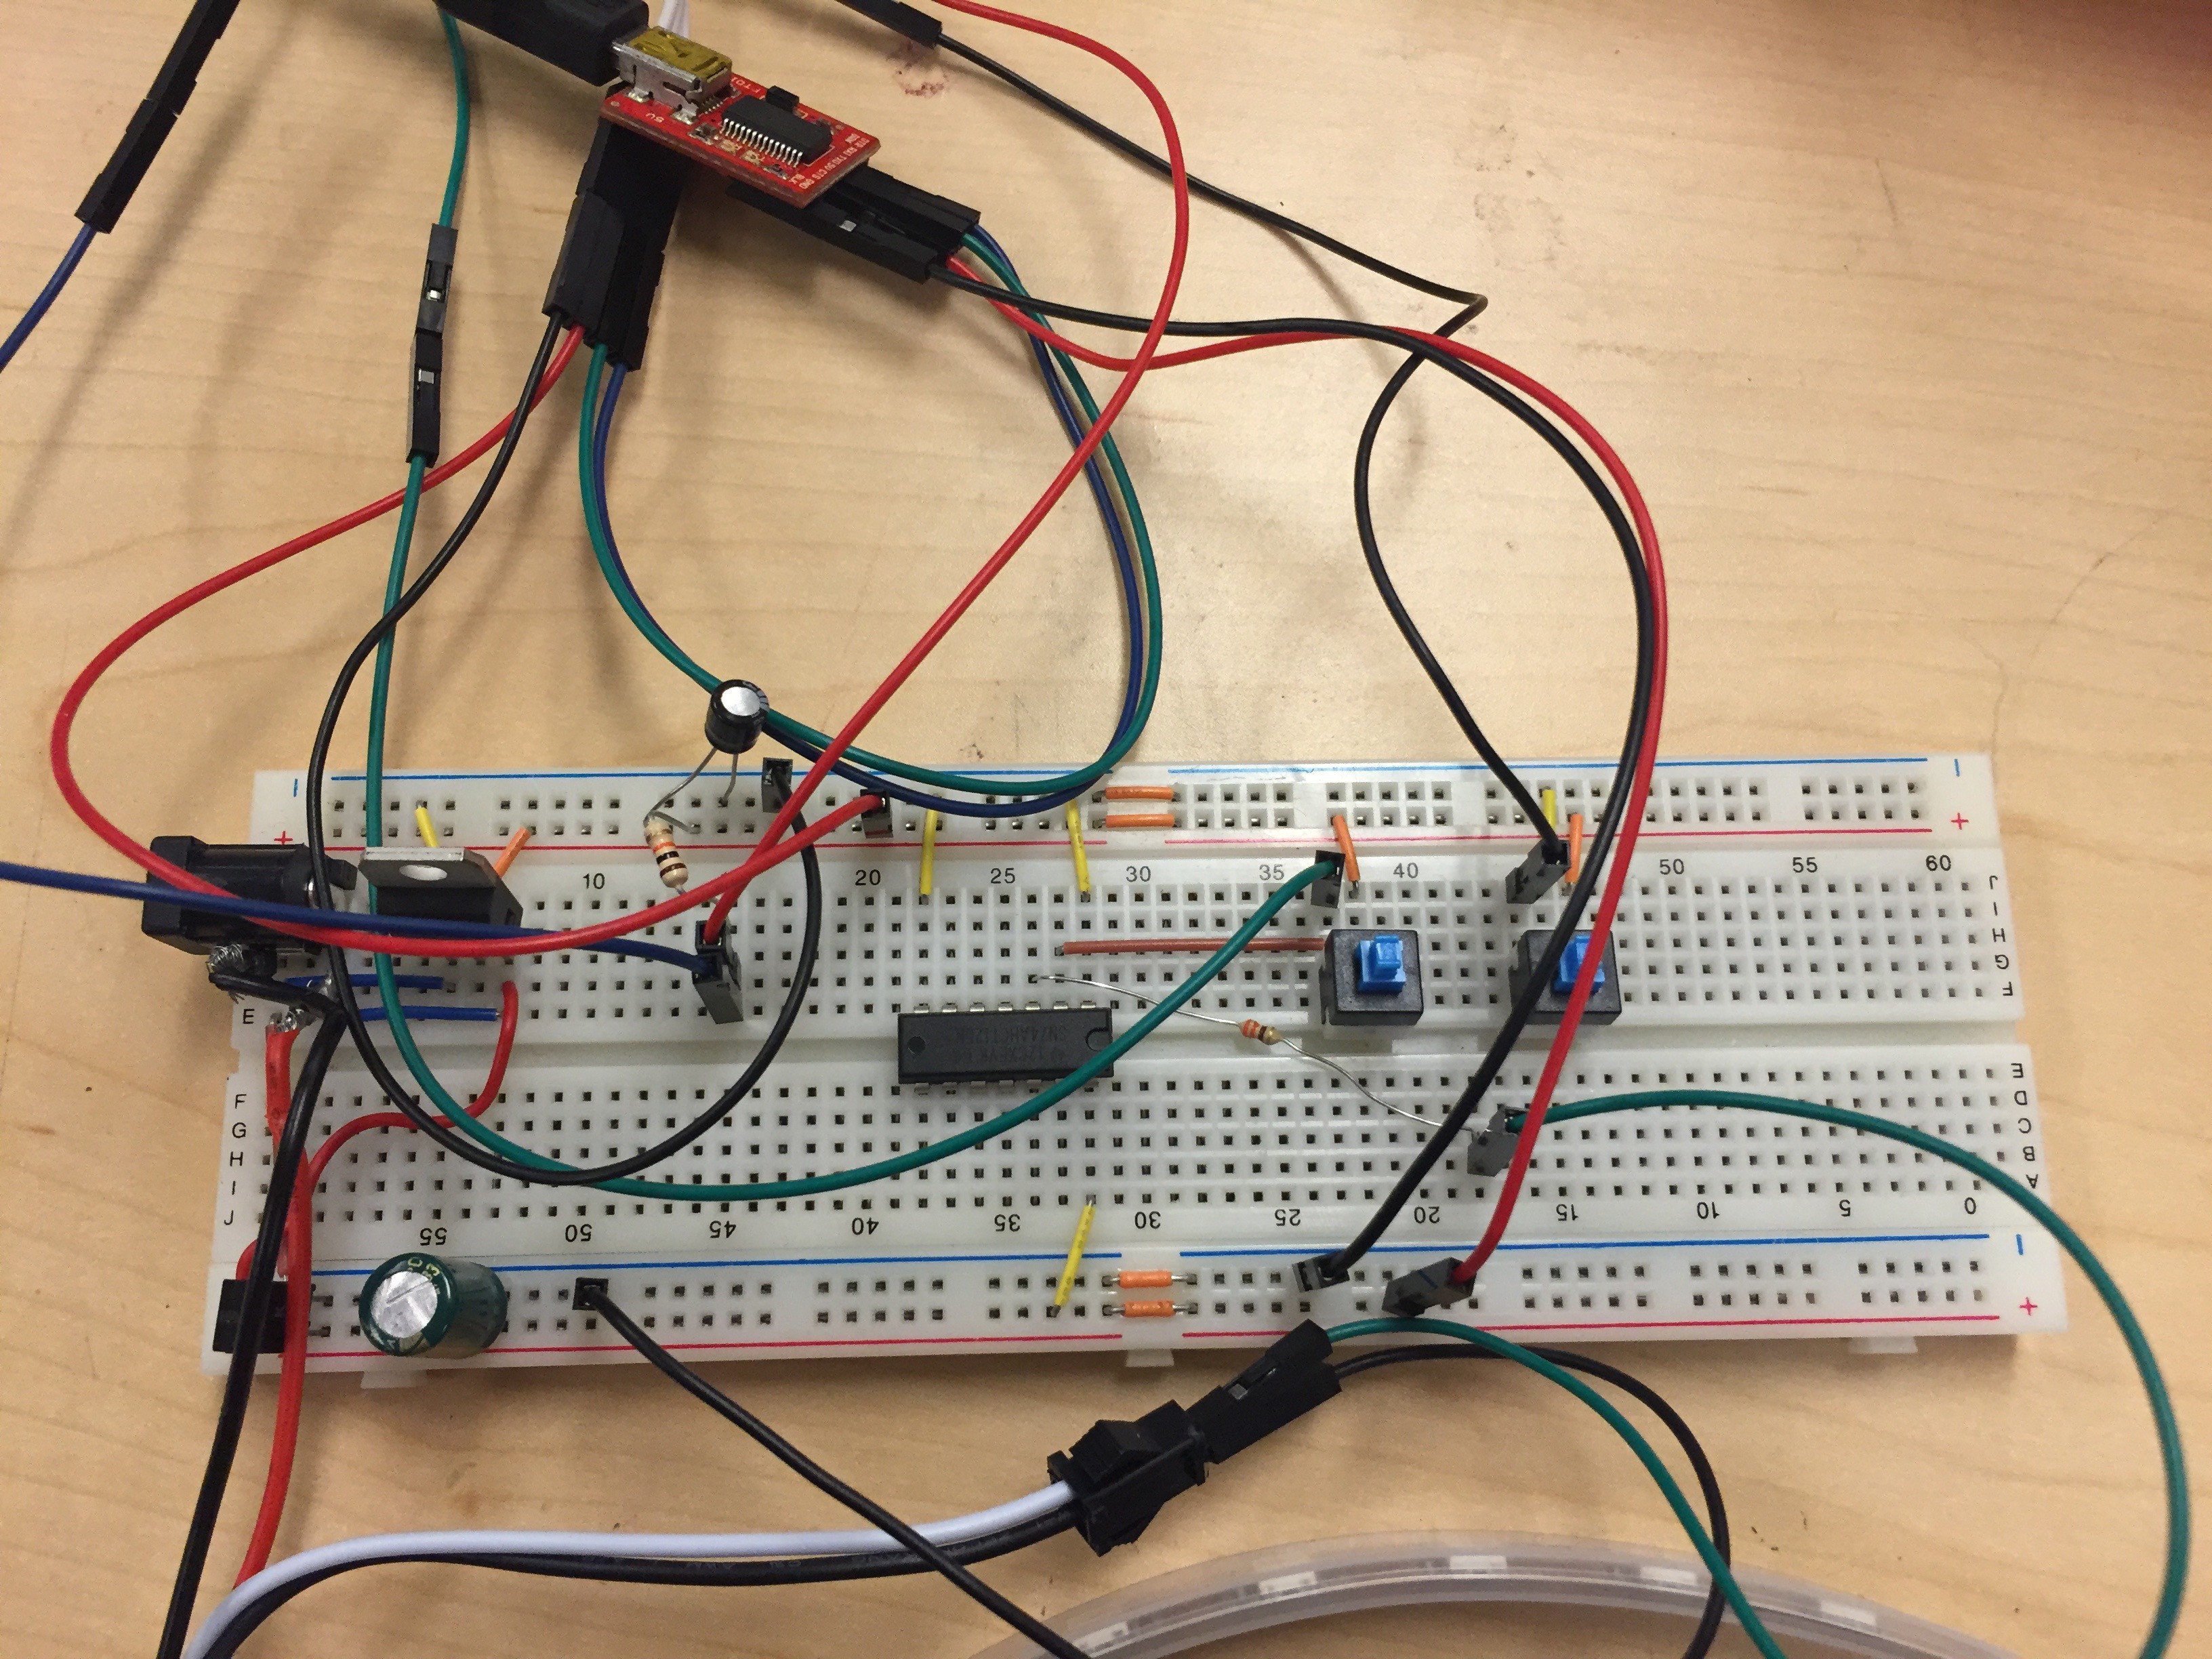
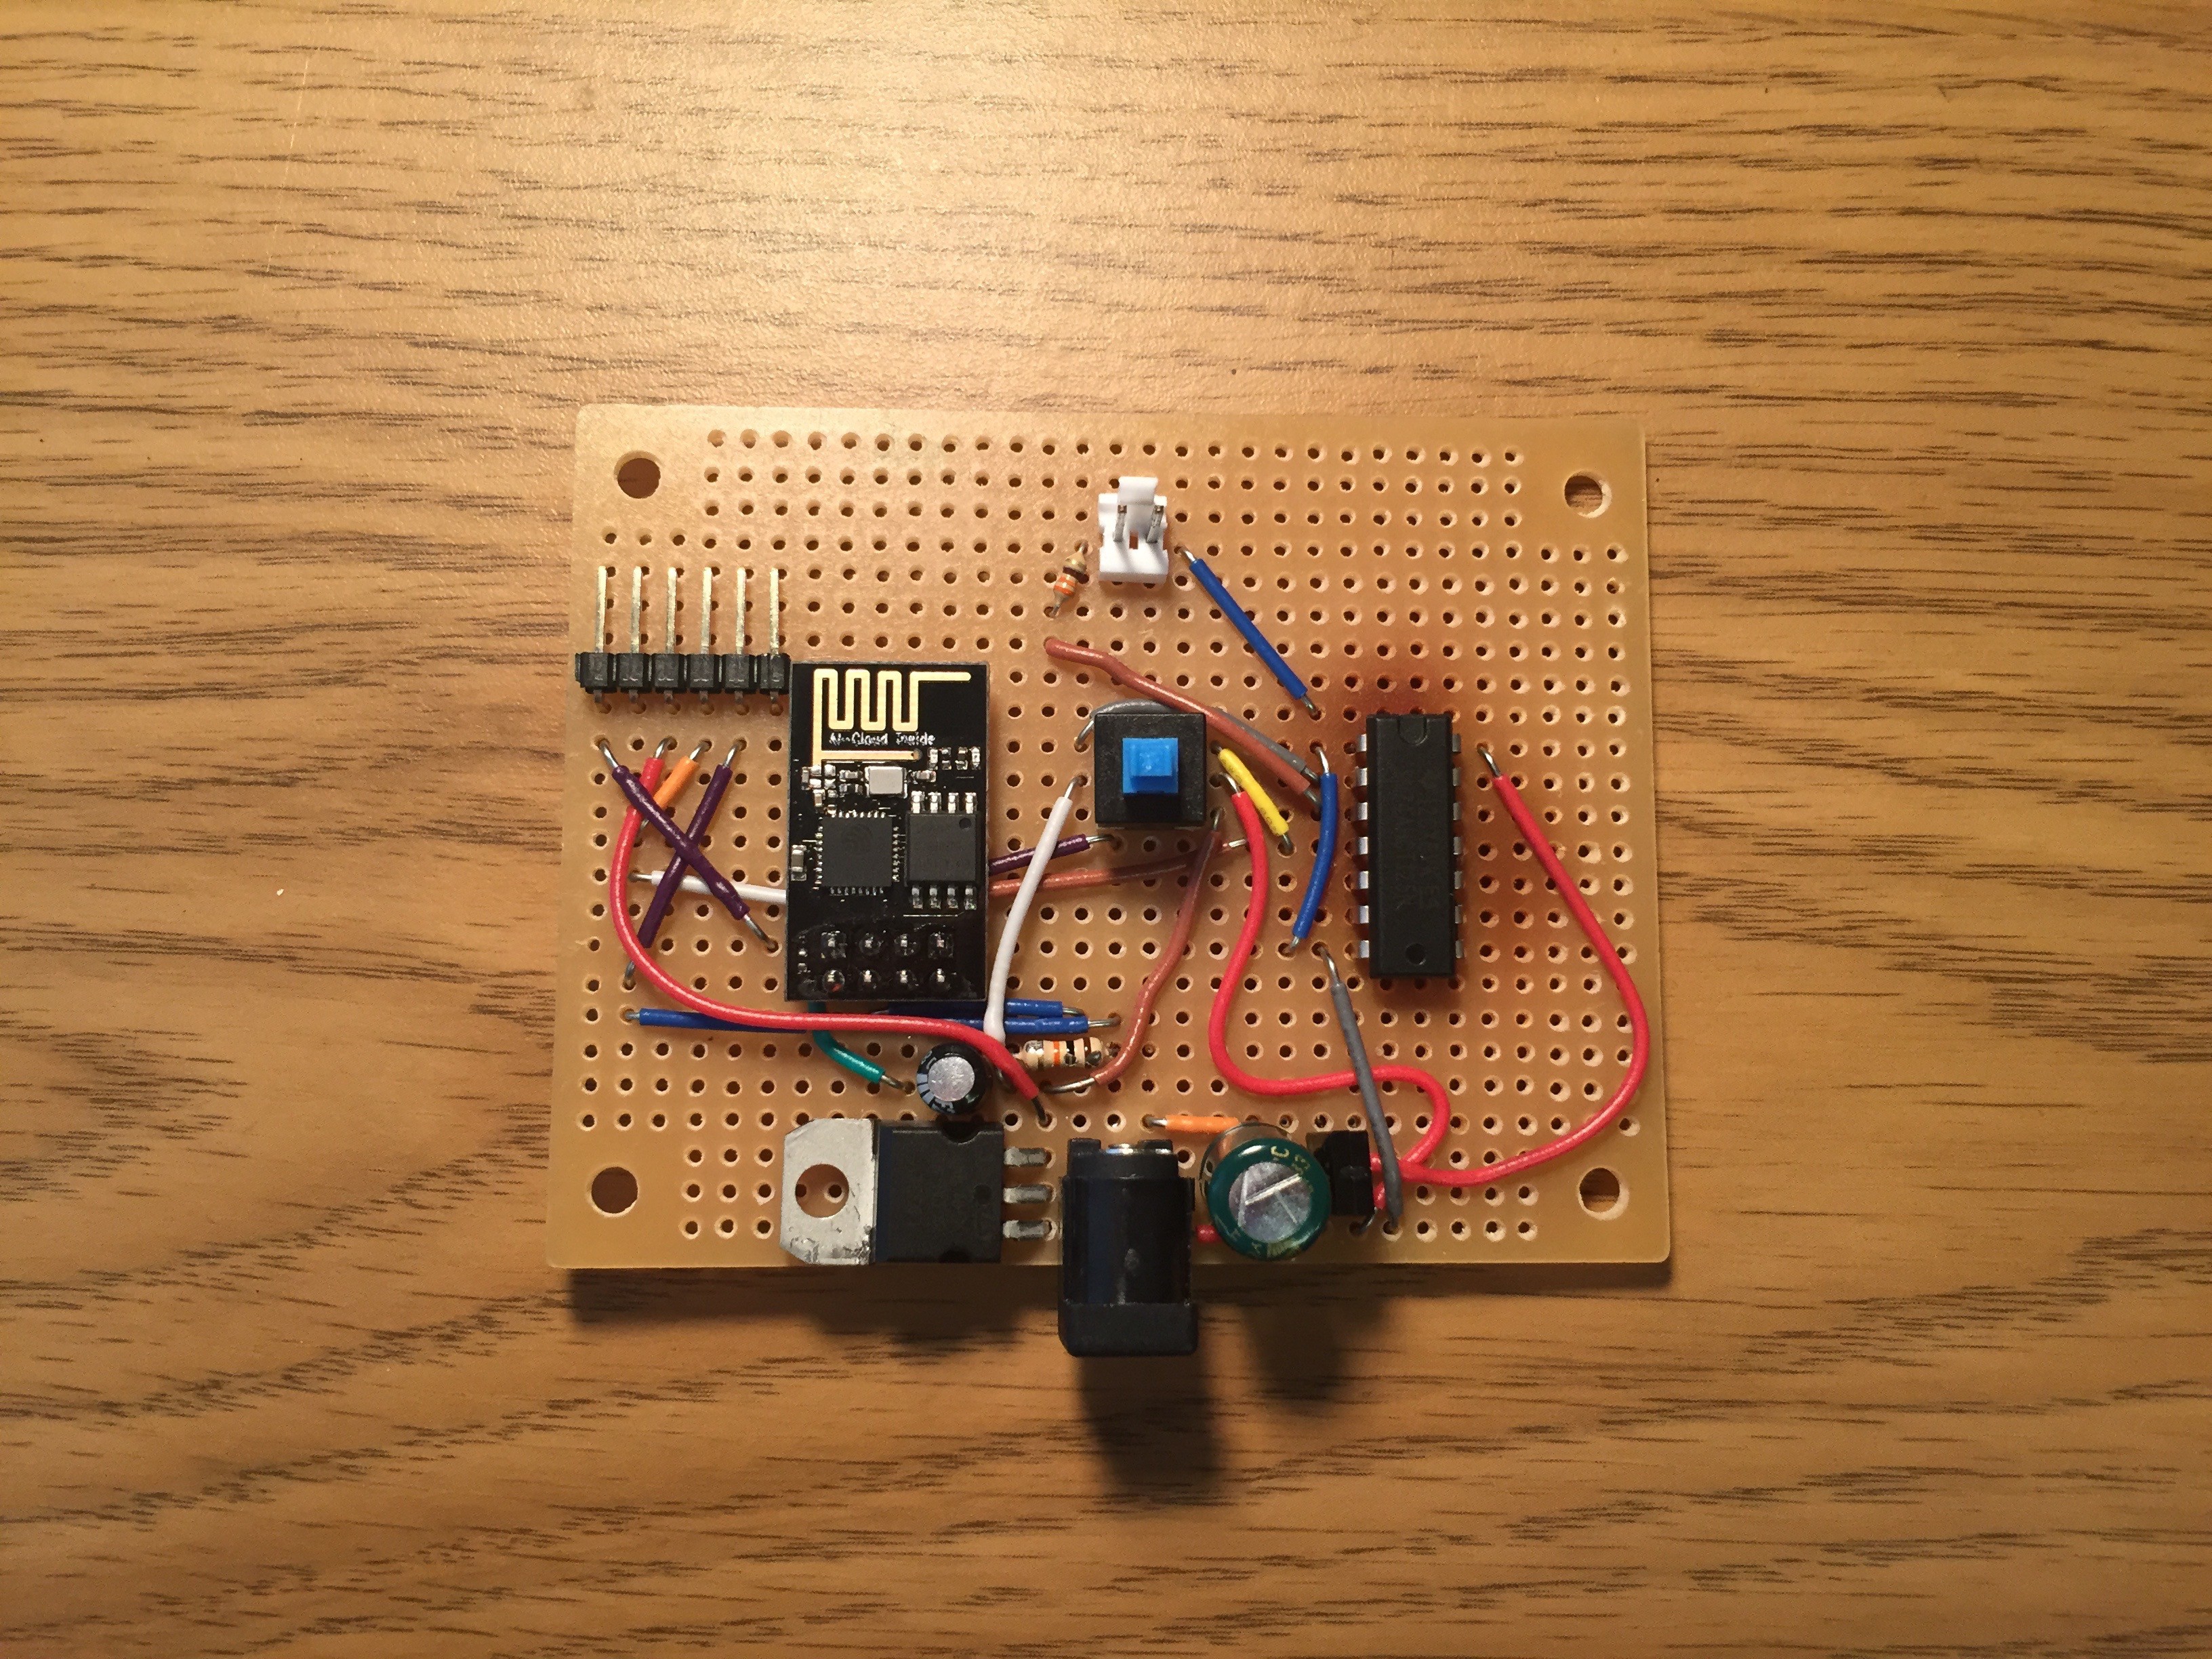
An ESP8266 controls the lights using Adafruit's NeoPixel library and synchronizes with an NTP server to keep accurate time. Between synchronizations, it uses the Arduino Time library with no external RTC. To detect the time zone, it uses an IP address geolocation service coupled with a time zone lookup service.

I also made a simple web interface to control the timezone, colors, brightness, etc.

(Thankfully, my university recently installed a WiFI network specifically for the Internet of Things, which is perfect for this project.)

Acknowledgments:

  • My sister Stephanie for giving me the original clock
  • Byron and Hanway for helping with the electrical debugging and soldering
  • Colten and Andrew from the fab lab for helping me design and build/print the backing
  • Daniel for shipping me the 3D printed parts

View all 19 components

  • Web server heap debugging

    Alex Cordonnier01/03/2016 at 02:01 0 comments

    tl;dr: ESP8266WebServer fails to serve any static files when the heap is less than a few thousand bytes. 3,500 bytes definitely fails, and 35,000 definitely works. I didn't test to find the exact turning point.

    I spent the past couple of days debugging an issue with the web server. Previously, custom request handlers such as /debug/reset, which restarts the ESP, would always work. However, statically served pages would only work intermittently. I could load a few pages, then would only get an ERR_CONTENT_LENGTH_MISMATCH for a few minutes, and then it would work again for a few more requests.

    This seemed like a memory issue, so I printed the amount of heap space when it changed in loop(). I was consistently seeing around 3,500 bytes, which would dip to around 2,800 bytes whenever I made a request. It didn't look like it was running out of heap space.

    First, I tried using a flat directory structure instead of using subfolders, but that didn't help. Then I thought it was just too big of a file, but it didn't work for tiny files either. I tried using curl in verbose mode, and I discovered that it was sending the headers correctly but simply didn't send any file content before closing the connection.

    I tried implementing my own serveStatic method that would read the file and transmit it line by line, but it would only transmit part of the file before closing the connection.

    Finally, I tried removing everything but the WebServer class, and the problem disappeared. I also had 10x the heap space, so something was up. I added classes back in one by one, and the offender was a header file called timezones.h. It had 418 timezone strings in an array so that they could be used with the timezone API.

    I looked into using PROGMEM to store the array, but I kept getting strange compiler errors that I couldn't figure out how to fix. So I ended up just cutting down the number of timezones to Eastern, Central, Mountain, and Pacific. This does somewhat reduce the worldwide usability of the software, although the auto-detect feature will still work. Another potential solution is to store the list as a file, but reading the file would be O(n) instead of O(1) for accessing an array.

  • Smarter software

    Alex Cordonnier12/30/2015 at 01:45 0 comments

    Last week saw some exciting new features being implemented in the clock repo on GitHub. I finally added all the things I mentioned I wanted to add in a previous project log: ad hoc setup, a settings webserver, better networking, and improved NTP.

    Ad hoc setup uses the WiFiManager library, which has some issues but is working well enough considering it's only at version 0.4. I'll probably contribute to the project soon.

    The settings webserver seemed easy, and it was until I tried to send the full list of 417 timezones. I figured out that it was running into a segfault when trying to construct the page dynamically. I tried several things, but the best solution was to simply serve a static page from the SPIFFS filesystem. It still fails to serve the page intermittently now, but I'm still debugging that issue. I also implemented a simple observer design pattern in the settings class itself to make it easy to hook into.

    Settings page screenshot:

    On the networking side, I added retries and exponential backoff to make sure it doesn't inundate the receiving server with endless requests in case something goes wrong.

    The improved NTP implementation took the longest and the most research. Most of the available documentation is intended to provide background for users of ntpd, not for people who want to write their own NTP implementation. Eventually, I found and fixed several errors in my previous assumptions about the timestamp and packet formats. Since the Time library I'm using doesn't support sub-second accuracy, I also made the synchronization code wait until the start of a new second before updating the time rather than simply rounding the fraction. In my basic eyeball testing, it's now synchronized perfectly to my Apple Watch with no perceptible drift over 4 hours (the time between synchronizations).

    In addition to all of those features, I realized once I added the color and brightness settings that the colors were wrong when not at full brightness. Turns out that I had forgotten to apply gamma correction. Adafruit explains it very well, so all I will say is that if you use an LED in your project and you want it to display colors or relative brightness accurately, you must use some form of gamma correction. I'll definitely keep this in mind in future lighting projects.

  • Putting it all together

    Alex Cordonnier12/22/2015 at 03:18 0 comments

    I worked a lot over the weekend to improve the clock's NTP implementation while waiting on my 3D printed parts to arrive. The details of that are for another log entry, but suffice it to say that the clock is now extremely accurate.

    Long story about the 3D printed parts. (tl;dr: just skip to the pictures.) I worked with Andrew from the fab lab last week to put together the CAD files and get the parts printed. However, due to size constraints, we could only print two of the four ring sections at a time. The first two printed Wednesday night and were only missing the last couple of layers before the printer must have jammed, so I took those and we printed the last two the next night. We had to restart that print because it jammed much earlier, but I had to leave for winter break before it would finish. Thankfully, my friend Daniel picked them up and mailed them to me so I wouldn't have to wait until next semester to finish the project. Those last two parts came in this morning.

    Here are all four parts, together at last:

    I got to work right away filing down the notches to get them to fit snugly, then epoxied them to the clock face for a strong connection.

    Next, I screwed on the backplates with self-tapping screws. I wasn't careful enough with the measurements, so some of the screws missed the printed holes.

    Then I hot glued the NeoPixels to the ring.

    I wanted to attach the protoboard to the screw holes in the center of the clock (where the gearbox and batteries used to be), but the NeoPixel wires were too short to reach. I extended power and ground with some 16-gauge wire and crimp connectors, and I extended data and ground by cutting off the mating wires at the other end of the strip.

    I tried using my dad's soldering iron at home, but it wouldn't heat up at all. So I improvised and tried iron-less soldering, which completely failed. I ended up borrowing my grandpa's iron to finish the job.

    I needed a few washers to prevent the screws from poking through the front of the clock. Speaking of which, here's the finished product:

    I'll be continuing to improve the software for a while, but it's a good feeling to have the hardware done. Let me know if you have any cool time visualizations instead of the boring 3 LEDs.

  • Building the backing

    Alex Cordonnier12/16/2015 at 04:36 0 comments

    I spent the past two days at the fab lab designing the clock backing, and I've learned a lot so far. My intention was to build a 12.53" outer diameter ring (1m in circumference) in 4 parts using the CNC machine, then laser cut a 13" diameter circle out of 1/8" plywood for the backplate.

    However, the CNC machine seemed to be having issues because it kept skittering around on the wood. Since the only staff member who knew how it worked was away (it was originally an art installation), I decided to try something different.

    Next, I tried using the laser engraver to cut the pattern out of plywood as a stencil to use on the router. But the router kept cracking the board so much that the pieces were unusable.

    Lastly, I tried 3D printing the pieces. One of the staff members was nice enough to convert the SVG to a model and let it print overnight, so I'll see tomorrow how it turned out.

    The one thing that did work on the first try was laser cutting the backplate. I had to do it in 2 pieces because the laser cutter couldn't handle such a big circle. Even though I would have preferred one piece, I like the Death Star-esque look.

  • Debugged and protoboarded

    Alex Cordonnier12/14/2015 at 16:34 0 comments

    It turns out it's not a good idea to connect RST and CH_PD directly to Vcc. Adding a 10k resistor on those pins solved pretty much every problem I was having.

    This was the final breadboard:

    Once that was done, I went ahead and soldered (almost) everything to the protoboard last Friday. It's not the best layout ever, but I think it's not bad for my second real electronics project. The dark area around the IC is from a botched hot air rework job because I didn't solder it flat. On the plus side, I learned how to make proper solder bridges instead of massive solder blobs.

    The only things left to solder are the Neopixels' power and ground. That's going to pose a fun challenge because the wire gauge is too big for my protoboard, so I've been trying to think of good ways to solve it. The strip draws a lot of power (3.5 amps maximum), so it needs to be as close as possible to the big capacitor. I don't want to cut some strands of the power wire just to make it fit, but I might have to. Please let me know if you have any better ideas!

    I'm going to head over to the local fab lab this afternoon to build the housing. More pictures to come.

    PS: Solid core breadboard wire is the best thing. I finally bought some last week instead of using stranded wires and a rat's nest of jumper cables, and it was an epiphany. This must seem obvious to someone with formal training, but you can put up with a lot when you don't realize something better is out there.

  • Some hiccups

    Alex Cordonnier12/10/2015 at 16:50 0 comments

    Yesterday evening, I brought all my electronics over to a hardware lab on campus to get everything soldered. Before I went to work, I tested it one last time on the breadboard. Unfortunately, it didn't run my code (the TX light on the ESP wasn't blinking). I had been testing it with the FTDI connected, and as soon as it wasn't, it didn't work anymore. Even when the FTDI was plugged in, the problem sometimes occurred in streaks.

    Four hours of debugging later, with the help of an electrical engineering friend, we determined that adding pullup resistors to TX and RX makes it work most of the time. The rest of the time, it fails and produces lots of noise on GPIO2 between 3.3V and 5V at 26 MHz. I have a theory that this is because I'm using a 5V FTDI with the 3.3V ESP, so I'll try my hand at building a 5V to 3.3V level shifter after my exam and see if that fixes it.

  • Finished breadboard, ready to build

    Alex Cordonnier12/09/2015 at 23:39 0 comments

    After a long hiatus due to classes getting busier, finals week has arrived. Which means: watching movies and working on projects (and maybe studying a little bit).

    Over the weekend, I finally got around to making the NeoPixels work. I ran into a frustrating issue with the blue LEDs not lighting when I had more than a few other LEDs on. Thanks to some scope work, it turned out that I had wired the NeoPixels to 3.3V instead of 5V so that I wouldn't need to use the level shifter. Giving it 5V was enough to fix it. Another issue I had was that the pixels would flicker very annoyingly. Adding a 1,000 μF capacitor from Vcc to ground fixed it. (I realize that to an electrical engineer, these must seem painfully obvious, but not so much to a computer science major.)

    I also fixed up the software by refactoring the NeoPixel code into its own ClockDisplay class and adding a timeout/retransmit loop for the NTP implementation. More software changes are coming eventually. I'd like to add the following features:

    • Ad-hoc network setup if no known networks were found, a la Chromecast
    • Settings page on the local network for changing timezone, colors, Wi-Fi settings, etc.
    • More robust networking code
    • Taking into account network delay in NTP implementation

    I'm planning to build the housing at the local fab lab and solder everything to perfboard later this week.

    Photo:

  • Getting time over the internet

    Alex Cordonnier09/23/2015 at 05:11 0 comments

    Over the weekend, I wrote the code that lets the clock get the time over the internet using the Network Time Protocol. As I discovered, NTP is a rather intricate system, but thankfully this project doesn't need the microsecond accuracy that requires a complicated setup. It didn't take terribly long to write a simple NTP implementation.

    However, writing an NTP implementation was not enough. My goal is to make the clock "just work" after plugging it in, and that means displaying time in the local time zone. To detect the time zone requires knowing the user's location, which for this project can be reasonably approximated by the location of the clock's public IP address. So I wrote another helper class to roughly locate the clock and determine the time zone from that.

    Next, I wrote some very simple initialization that would connect to WiFi, print some debugging info, and set up the geolocation and NTP.

    Once I received the hardware today, I could finally test the code. I fixed several embarrassing bugs, but it seems to work just fine now. The clock drifts more than I hoped, so I may need to synchronize more frequently and/or write code to apply a correction factor based on the typical amount of drift.

    The next step is to hook up the NeoPixels and start displaying the time visually. I would also like to provide a simple web interface for settings like the time zone and WiFi network, but that's low priority for now.

View all 8 project logs

Enjoy this project?

Share

Discussions

Similar Projects

Does this project spark your interest?

Become a member to follow this project and never miss any updates