I worked a lot over the weekend to improve the clock's NTP implementation while waiting on my 3D printed parts to arrive. The details of that are for another log entry, but suffice it to say that the clock is now extremely accurate.
Long story about the 3D printed parts. (tl;dr: just skip to the pictures.) I worked with Andrew from the fab lab last week to put together the CAD files and get the parts printed. However, due to size constraints, we could only print two of the four ring sections at a time. The first two printed Wednesday night and were only missing the last couple of layers before the printer must have jammed, so I took those and we printed the last two the next night. We had to restart that print because it jammed much earlier, but I had to leave for winter break before it would finish. Thankfully, my friend Daniel picked them up and mailed them to me so I wouldn't have to wait until next semester to finish the project. Those last two parts came in this morning.
Here are all four parts, together at last:
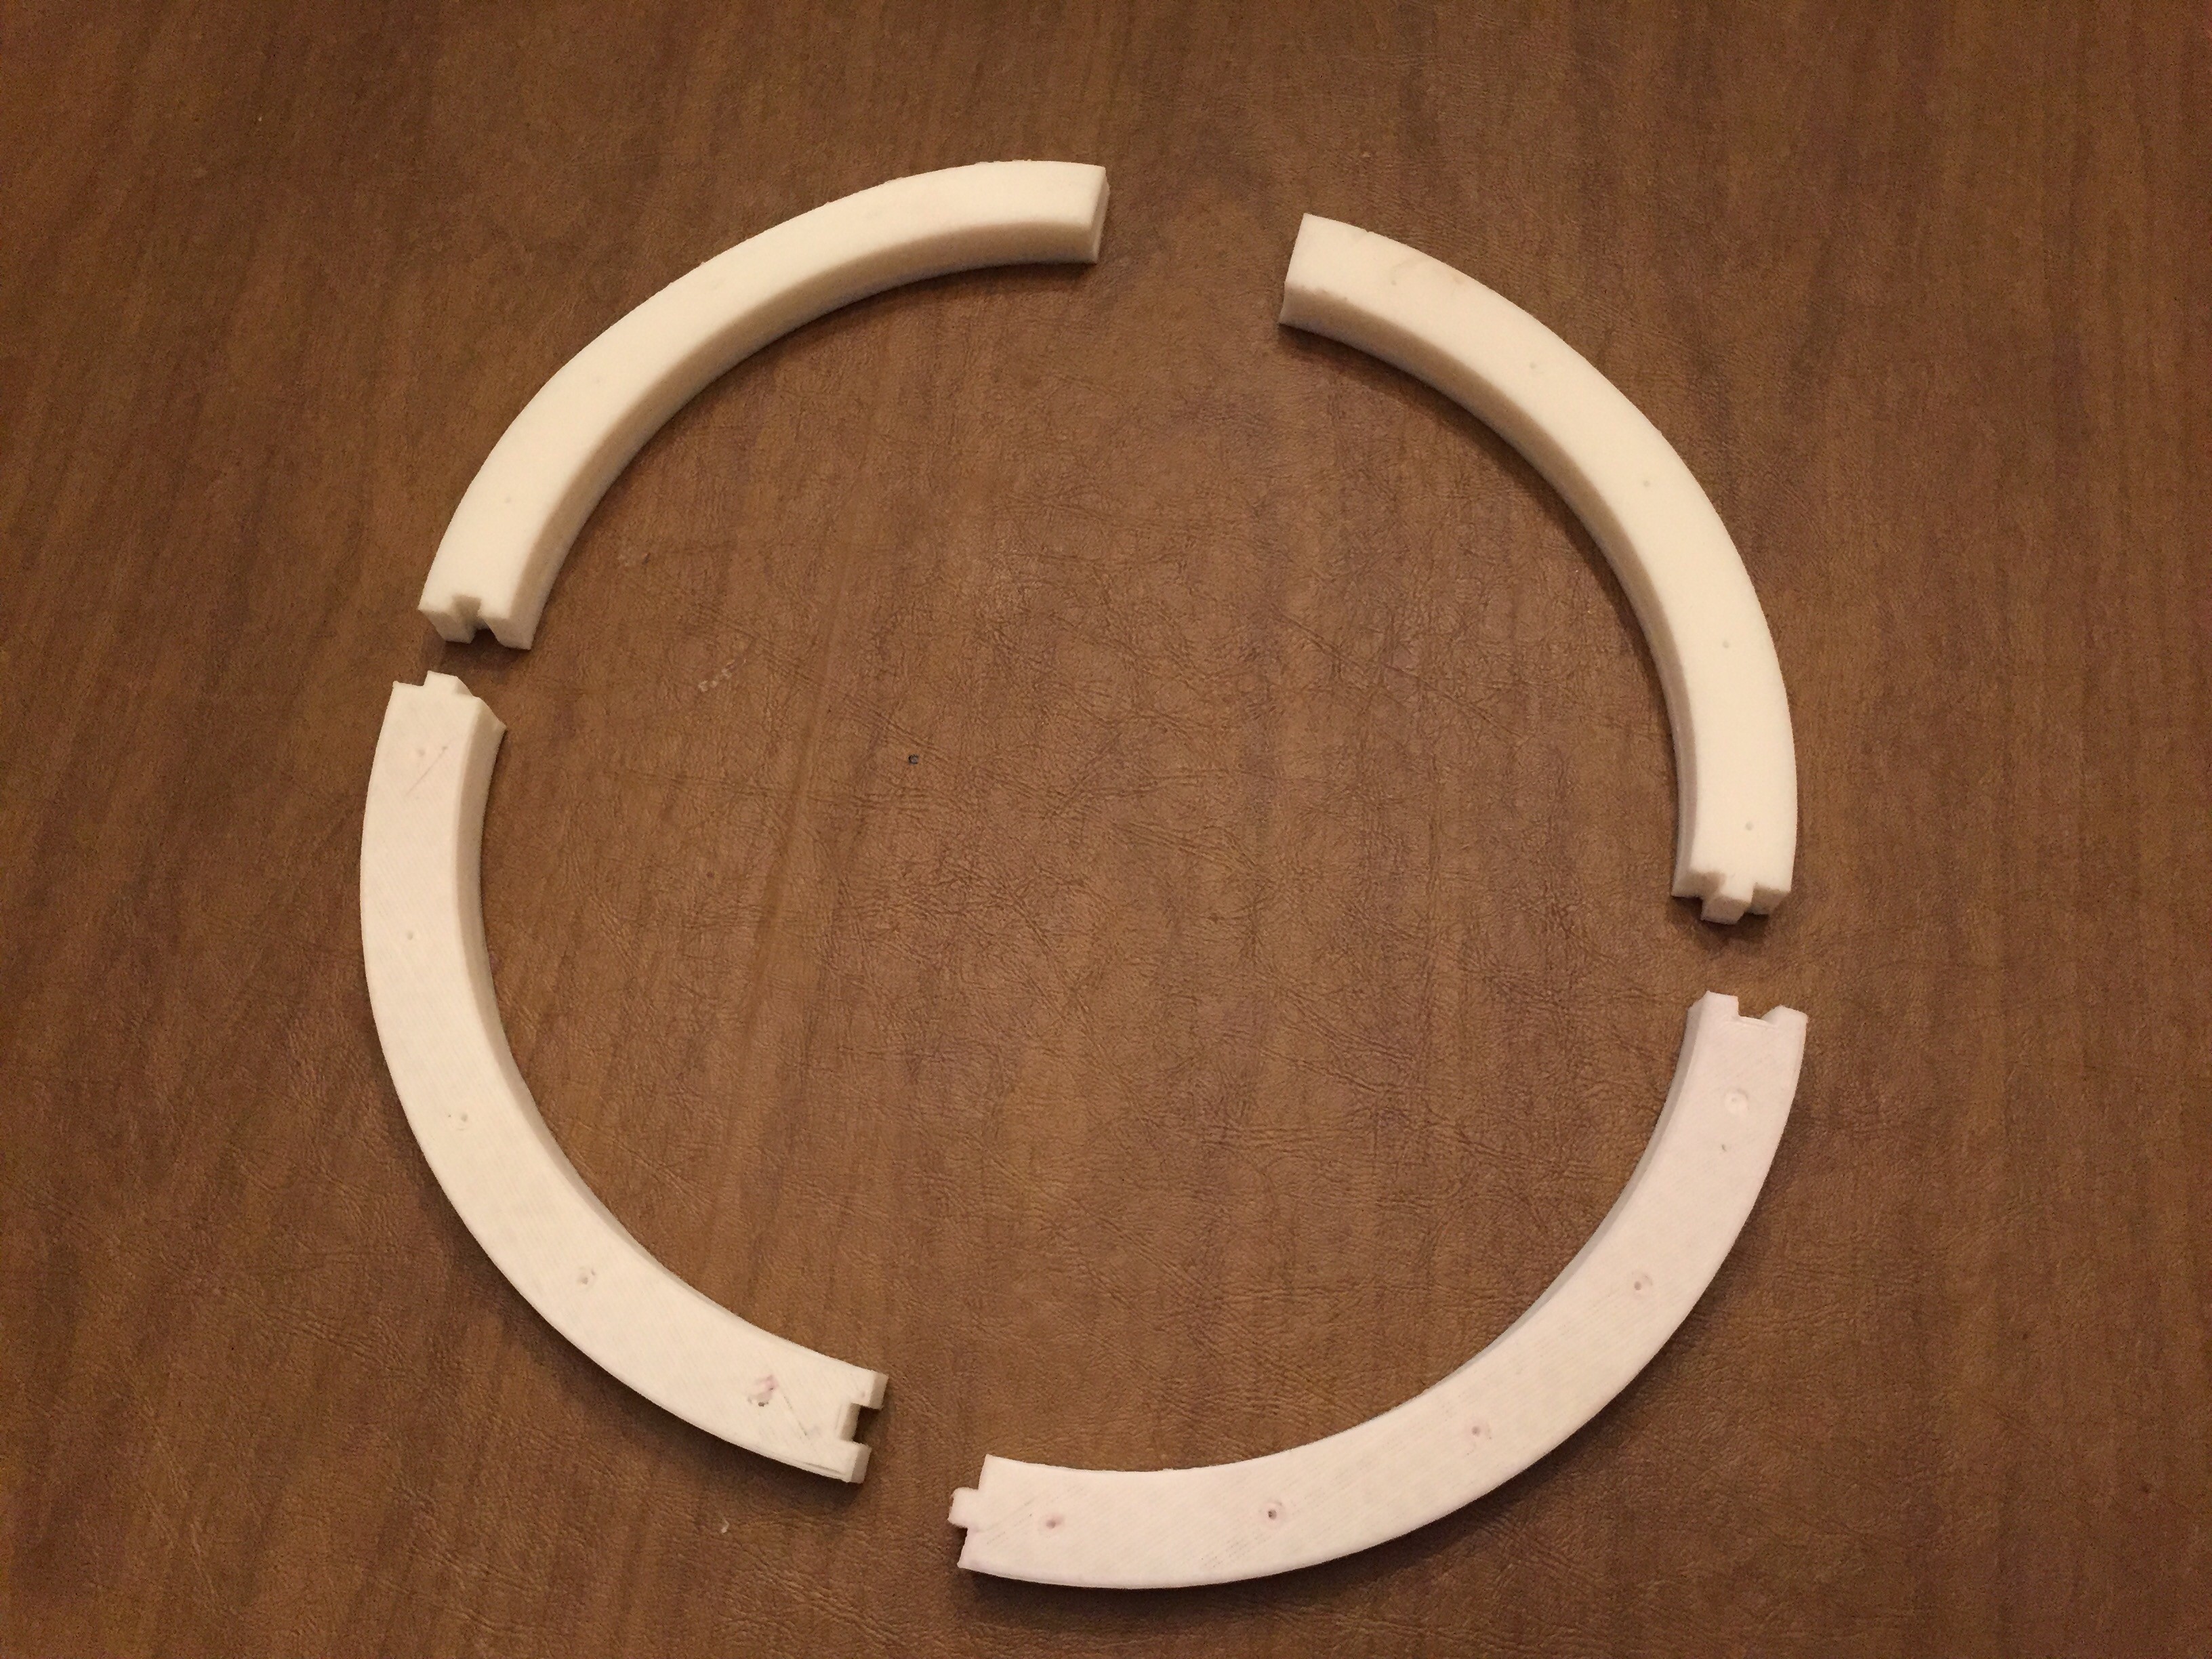
I got to work right away filing down the notches to get them to fit snugly, then epoxied them to the clock face for a strong connection.

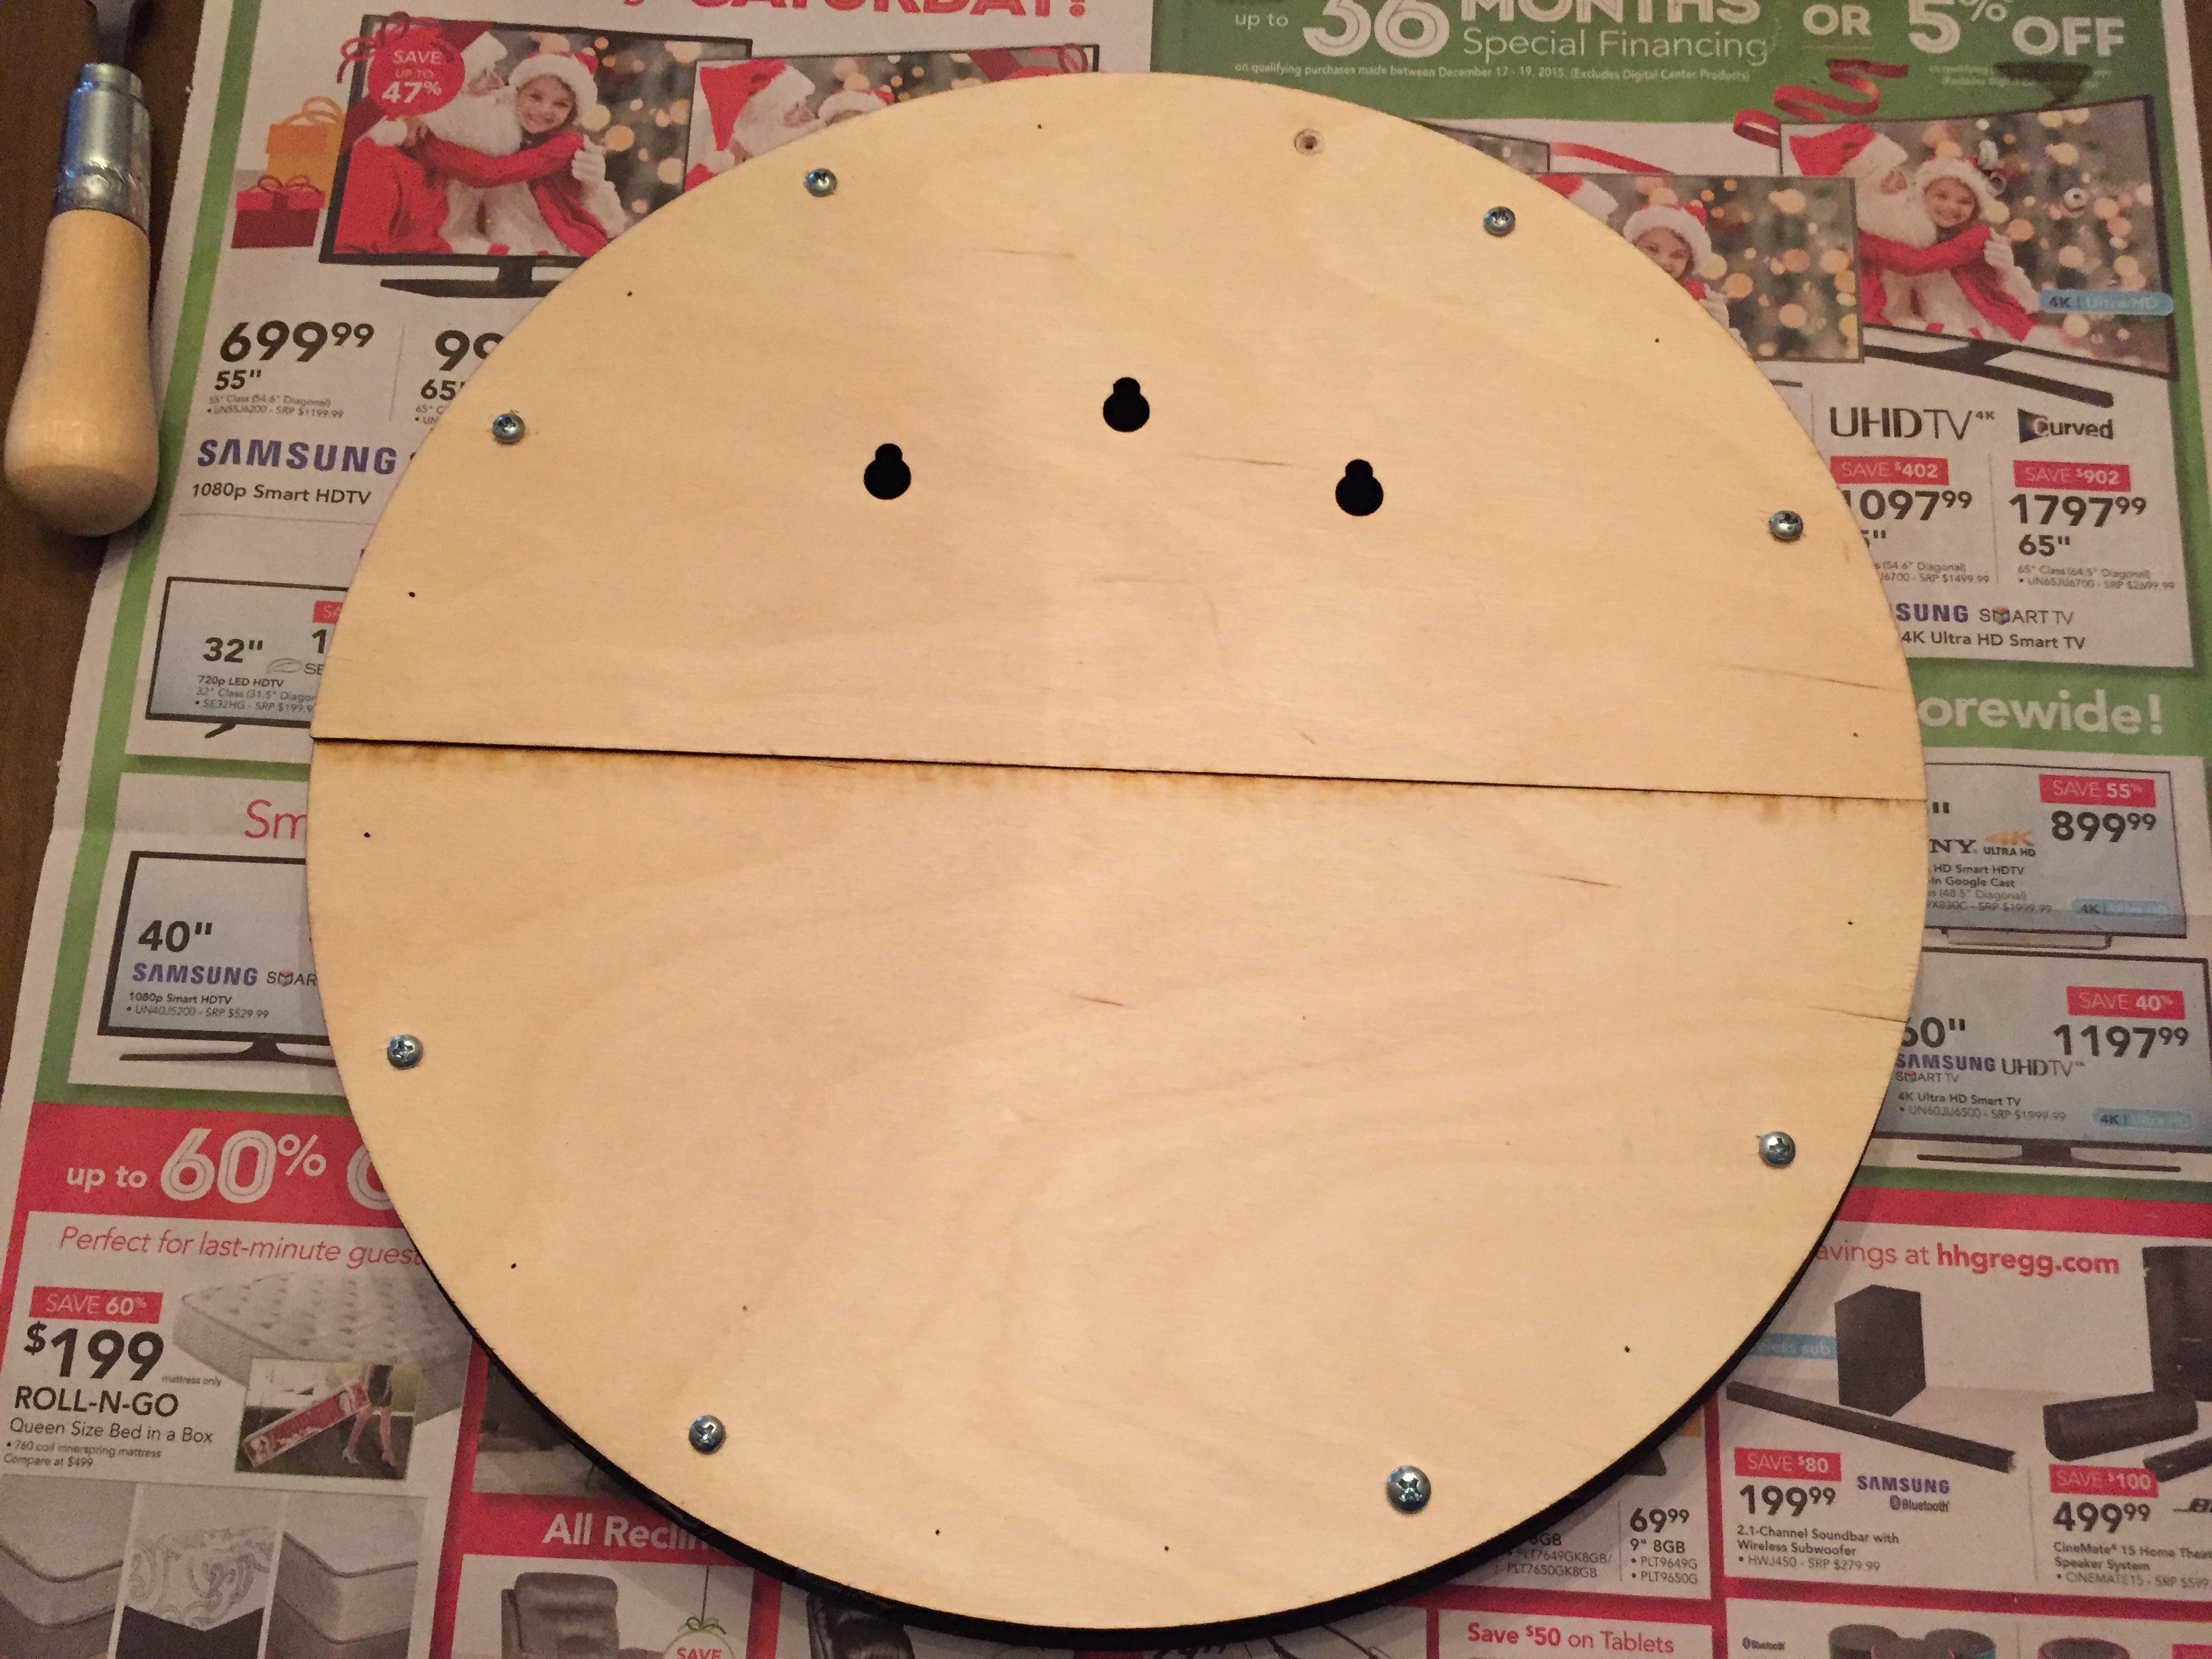
Next, I screwed on the backplates with self-tapping screws. I wasn't careful enough with the measurements, so some of the screws missed the printed holes.
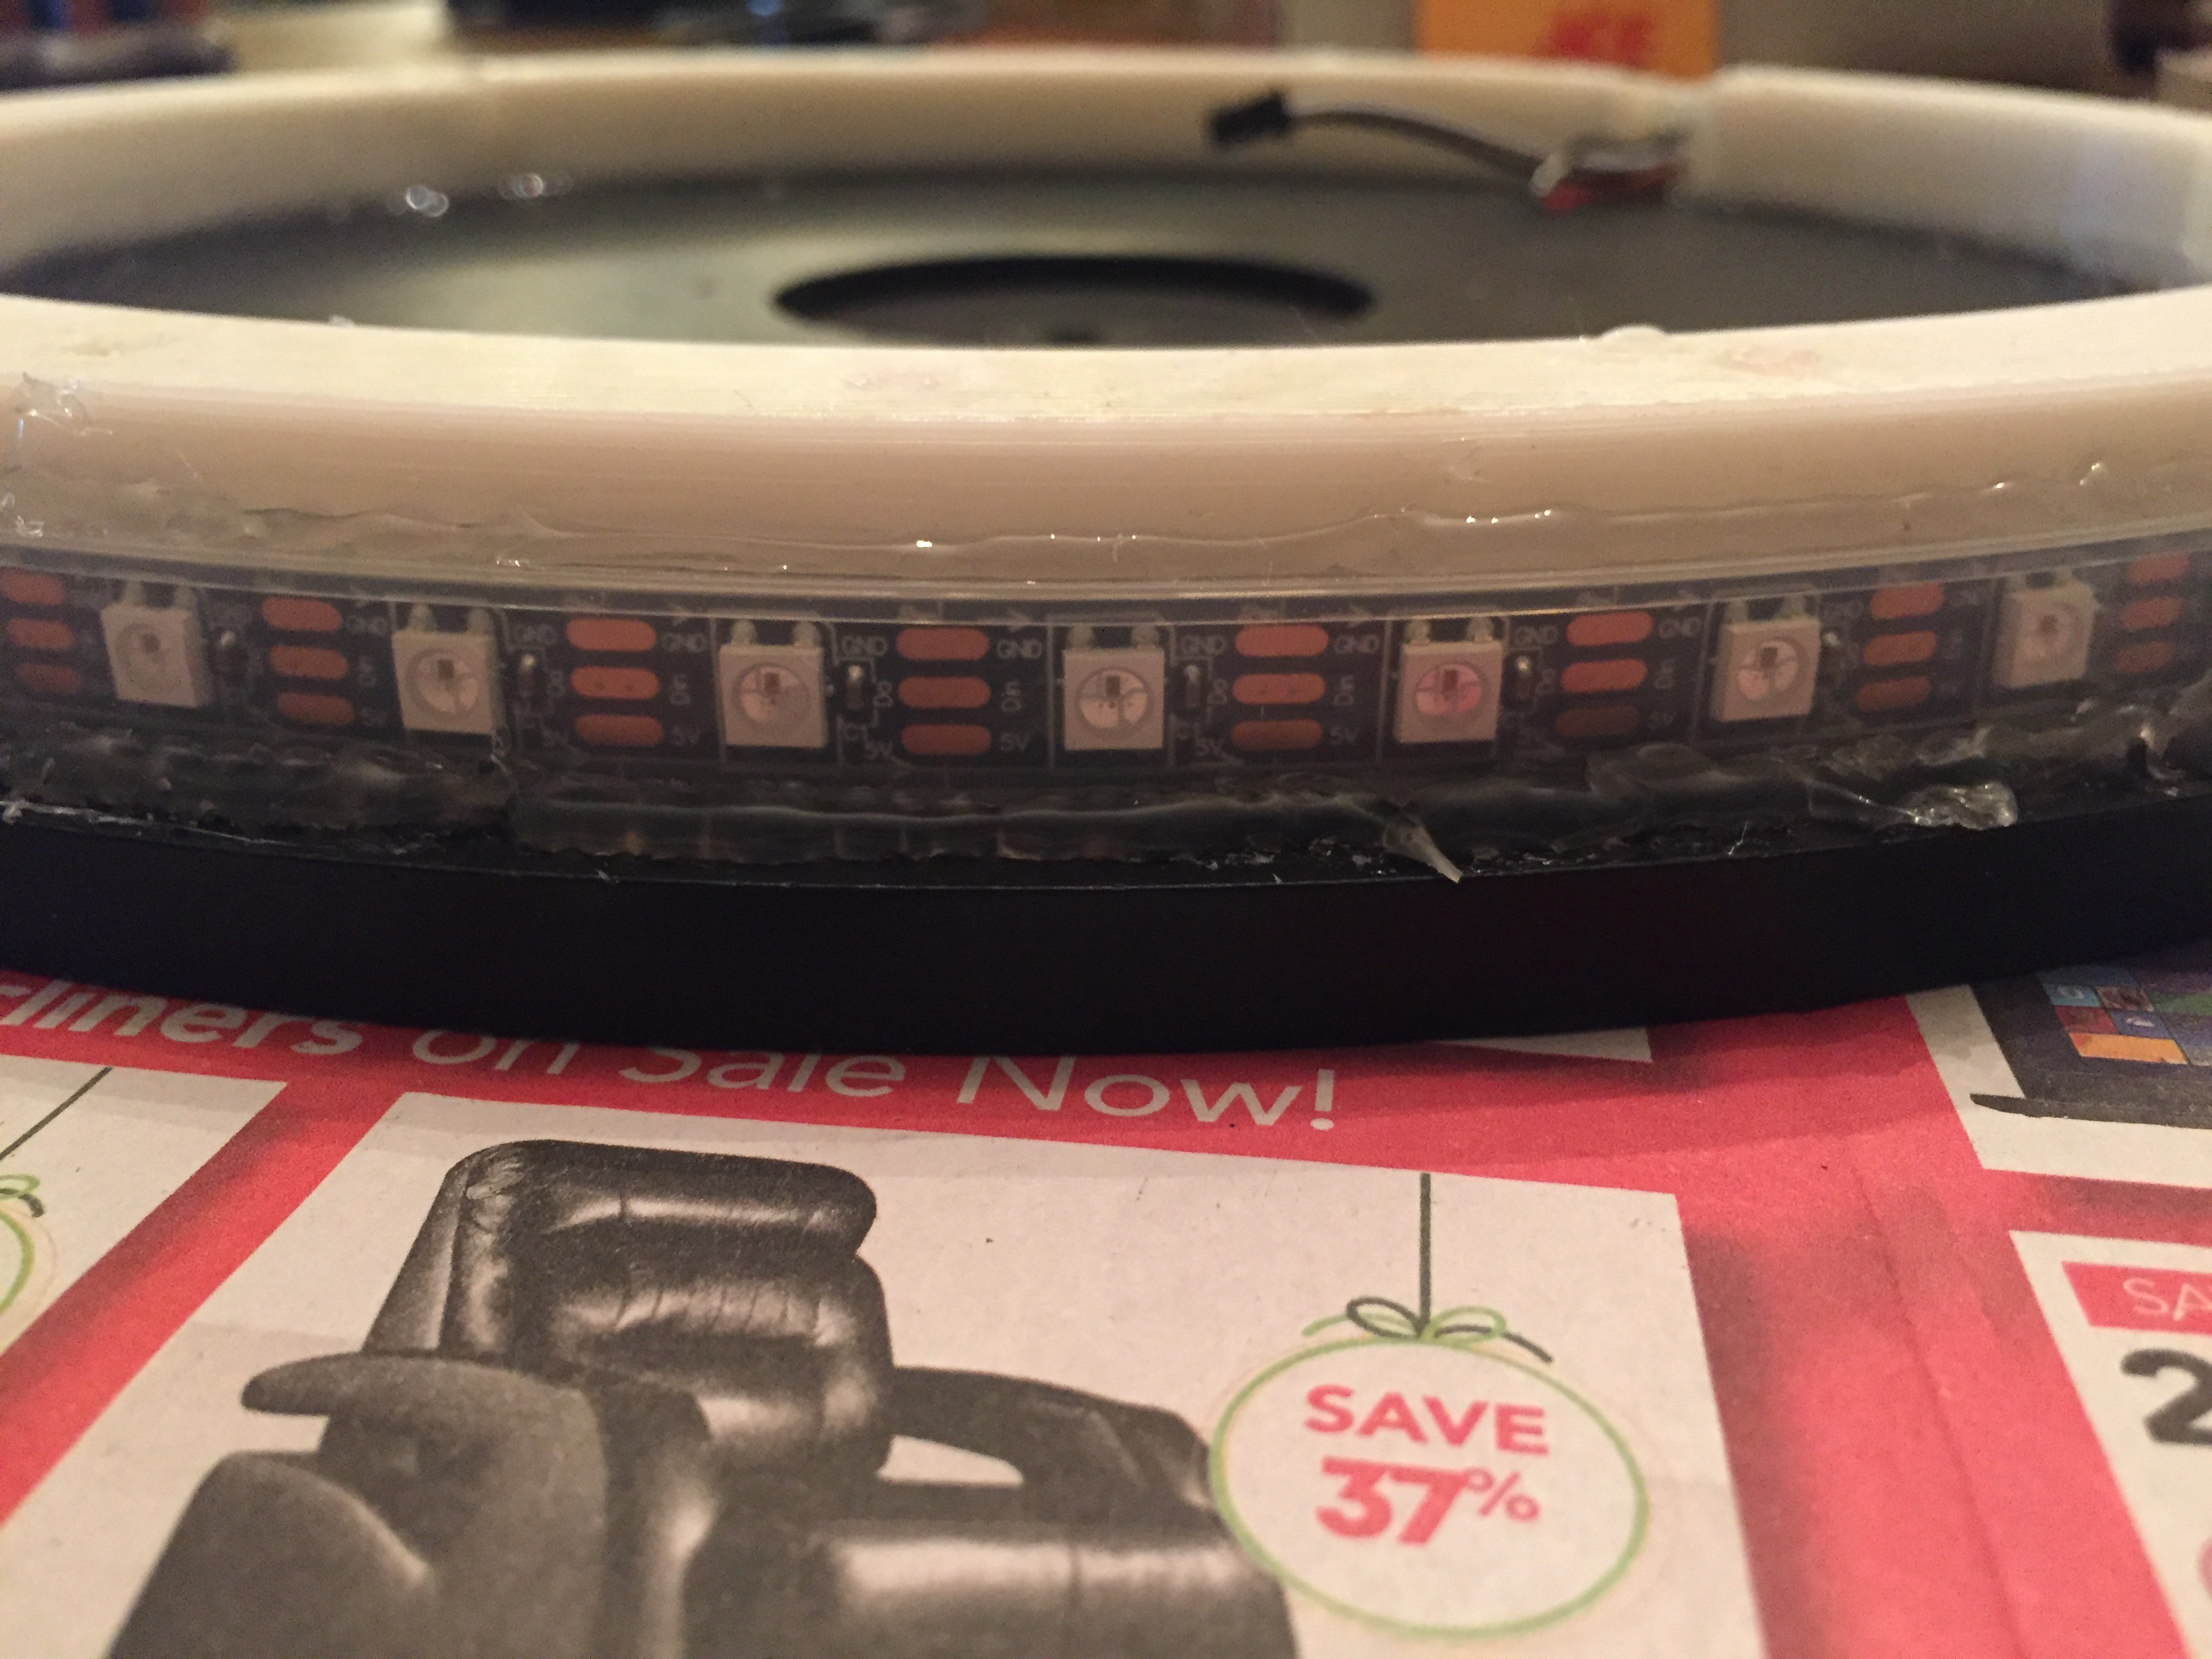
Then I hot glued the NeoPixels to the ring.
I wanted to attach the protoboard to the screw holes in the center of the clock (where the gearbox and batteries used to be), but the NeoPixel wires were too short to reach. I extended power and ground with some 16-gauge wire and crimp connectors, and I extended data and ground by cutting off the mating wires at the other end of the strip.
I tried using my dad's soldering iron at home, but it wouldn't heat up at all. So I improvised and tried iron-less soldering, which completely failed. I ended up borrowing my grandpa's iron to finish the job.
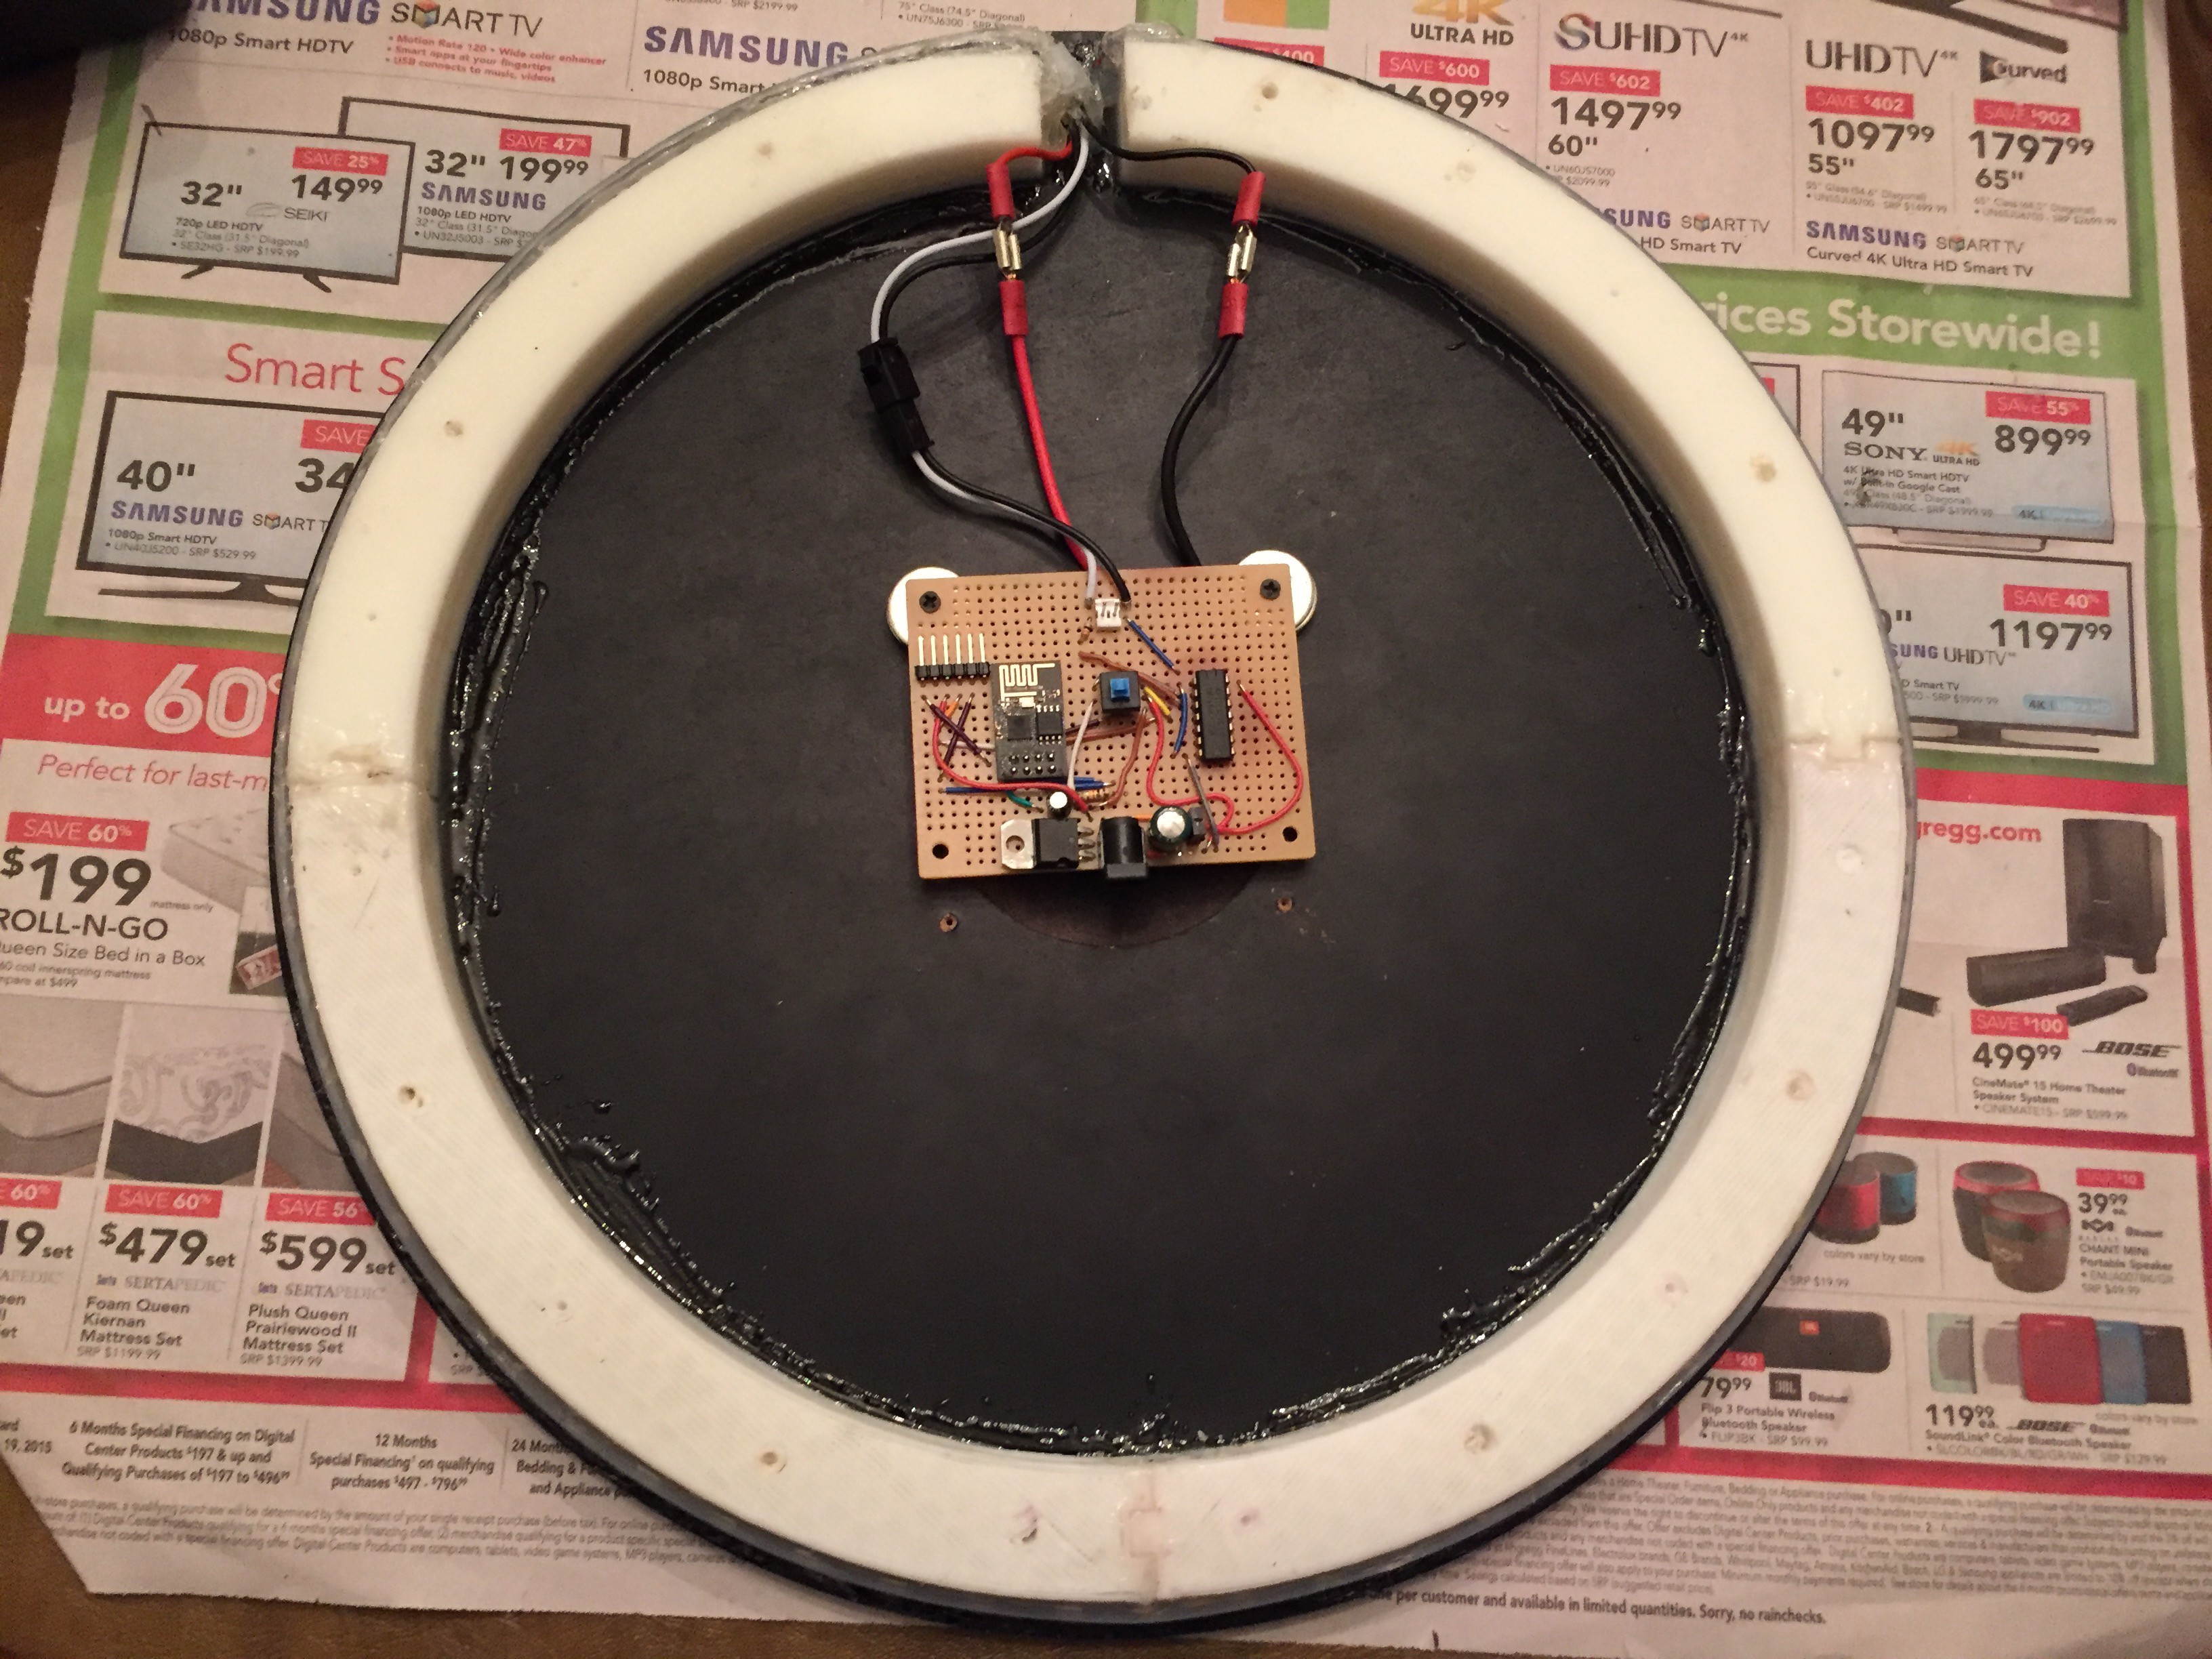
I needed a few washers to prevent the screws from poking through the front of the clock. Speaking of which, here's the finished product:
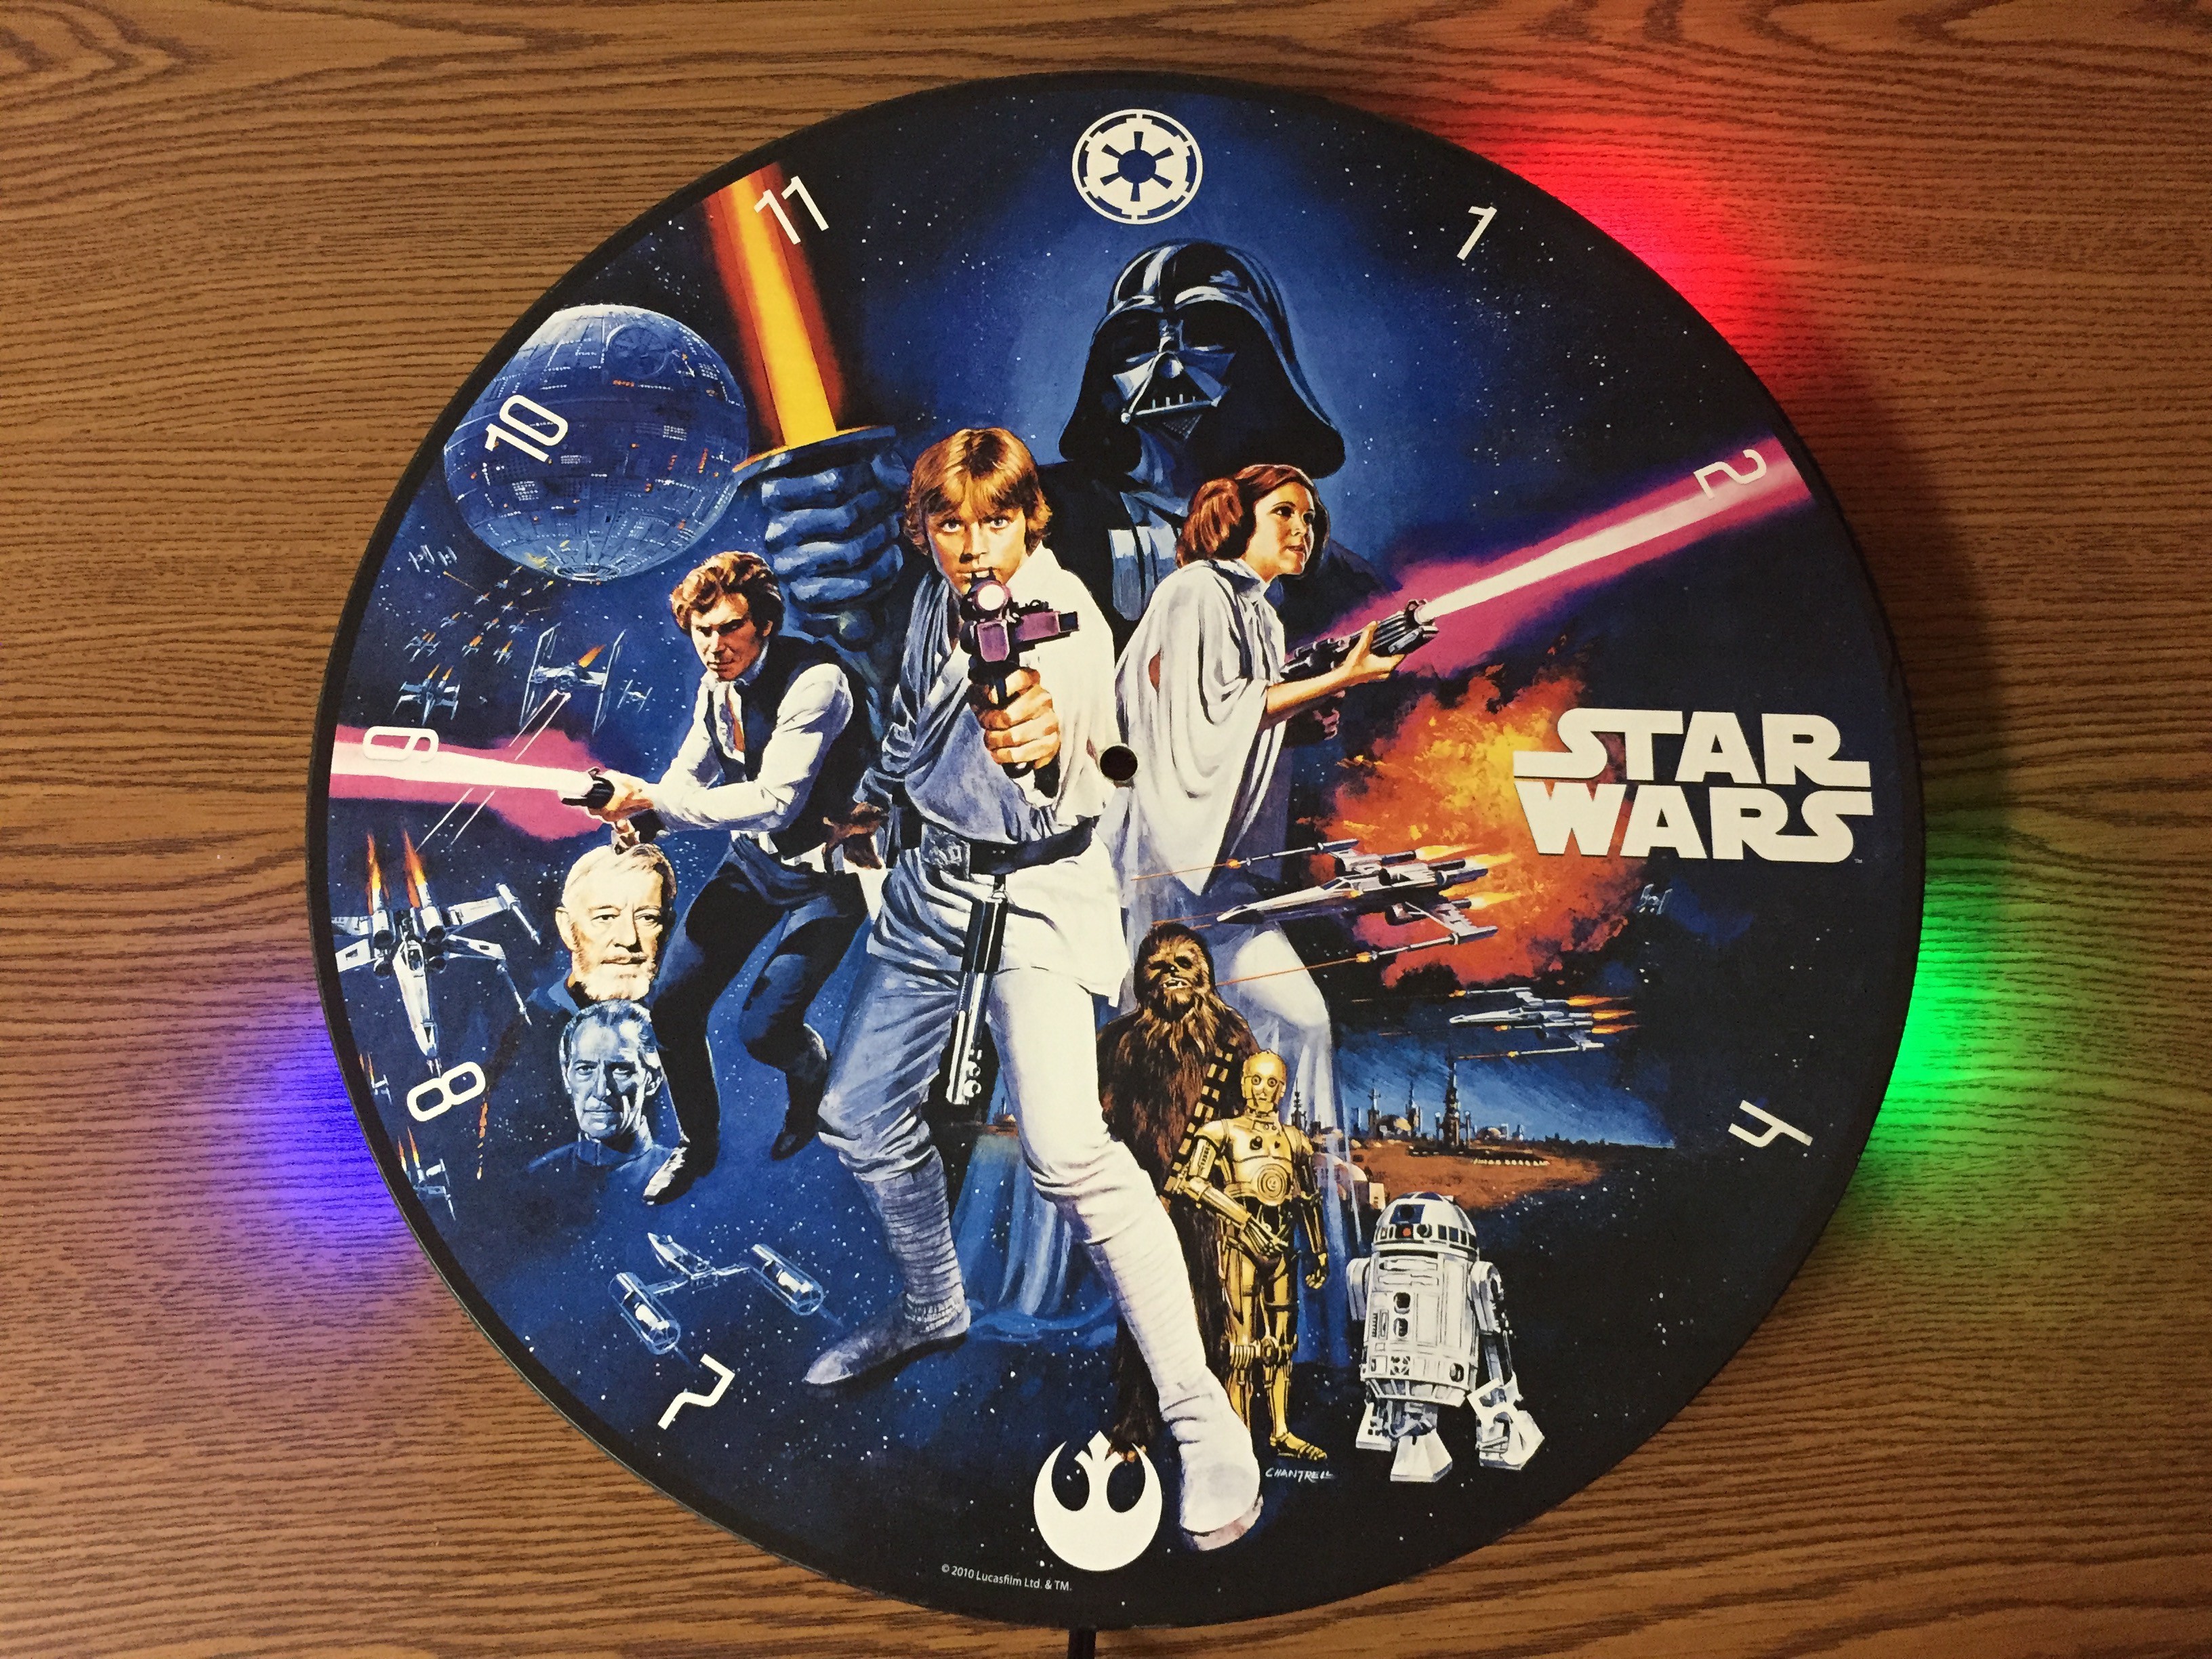
I'll be continuing to improve the software for a while, but it's a good feeling to have the hardware done. Let me know if you have any cool time visualizations instead of the boring 3 LEDs.
Discussions
Become a Hackaday.io Member
Create an account to leave a comment. Already have an account? Log In.