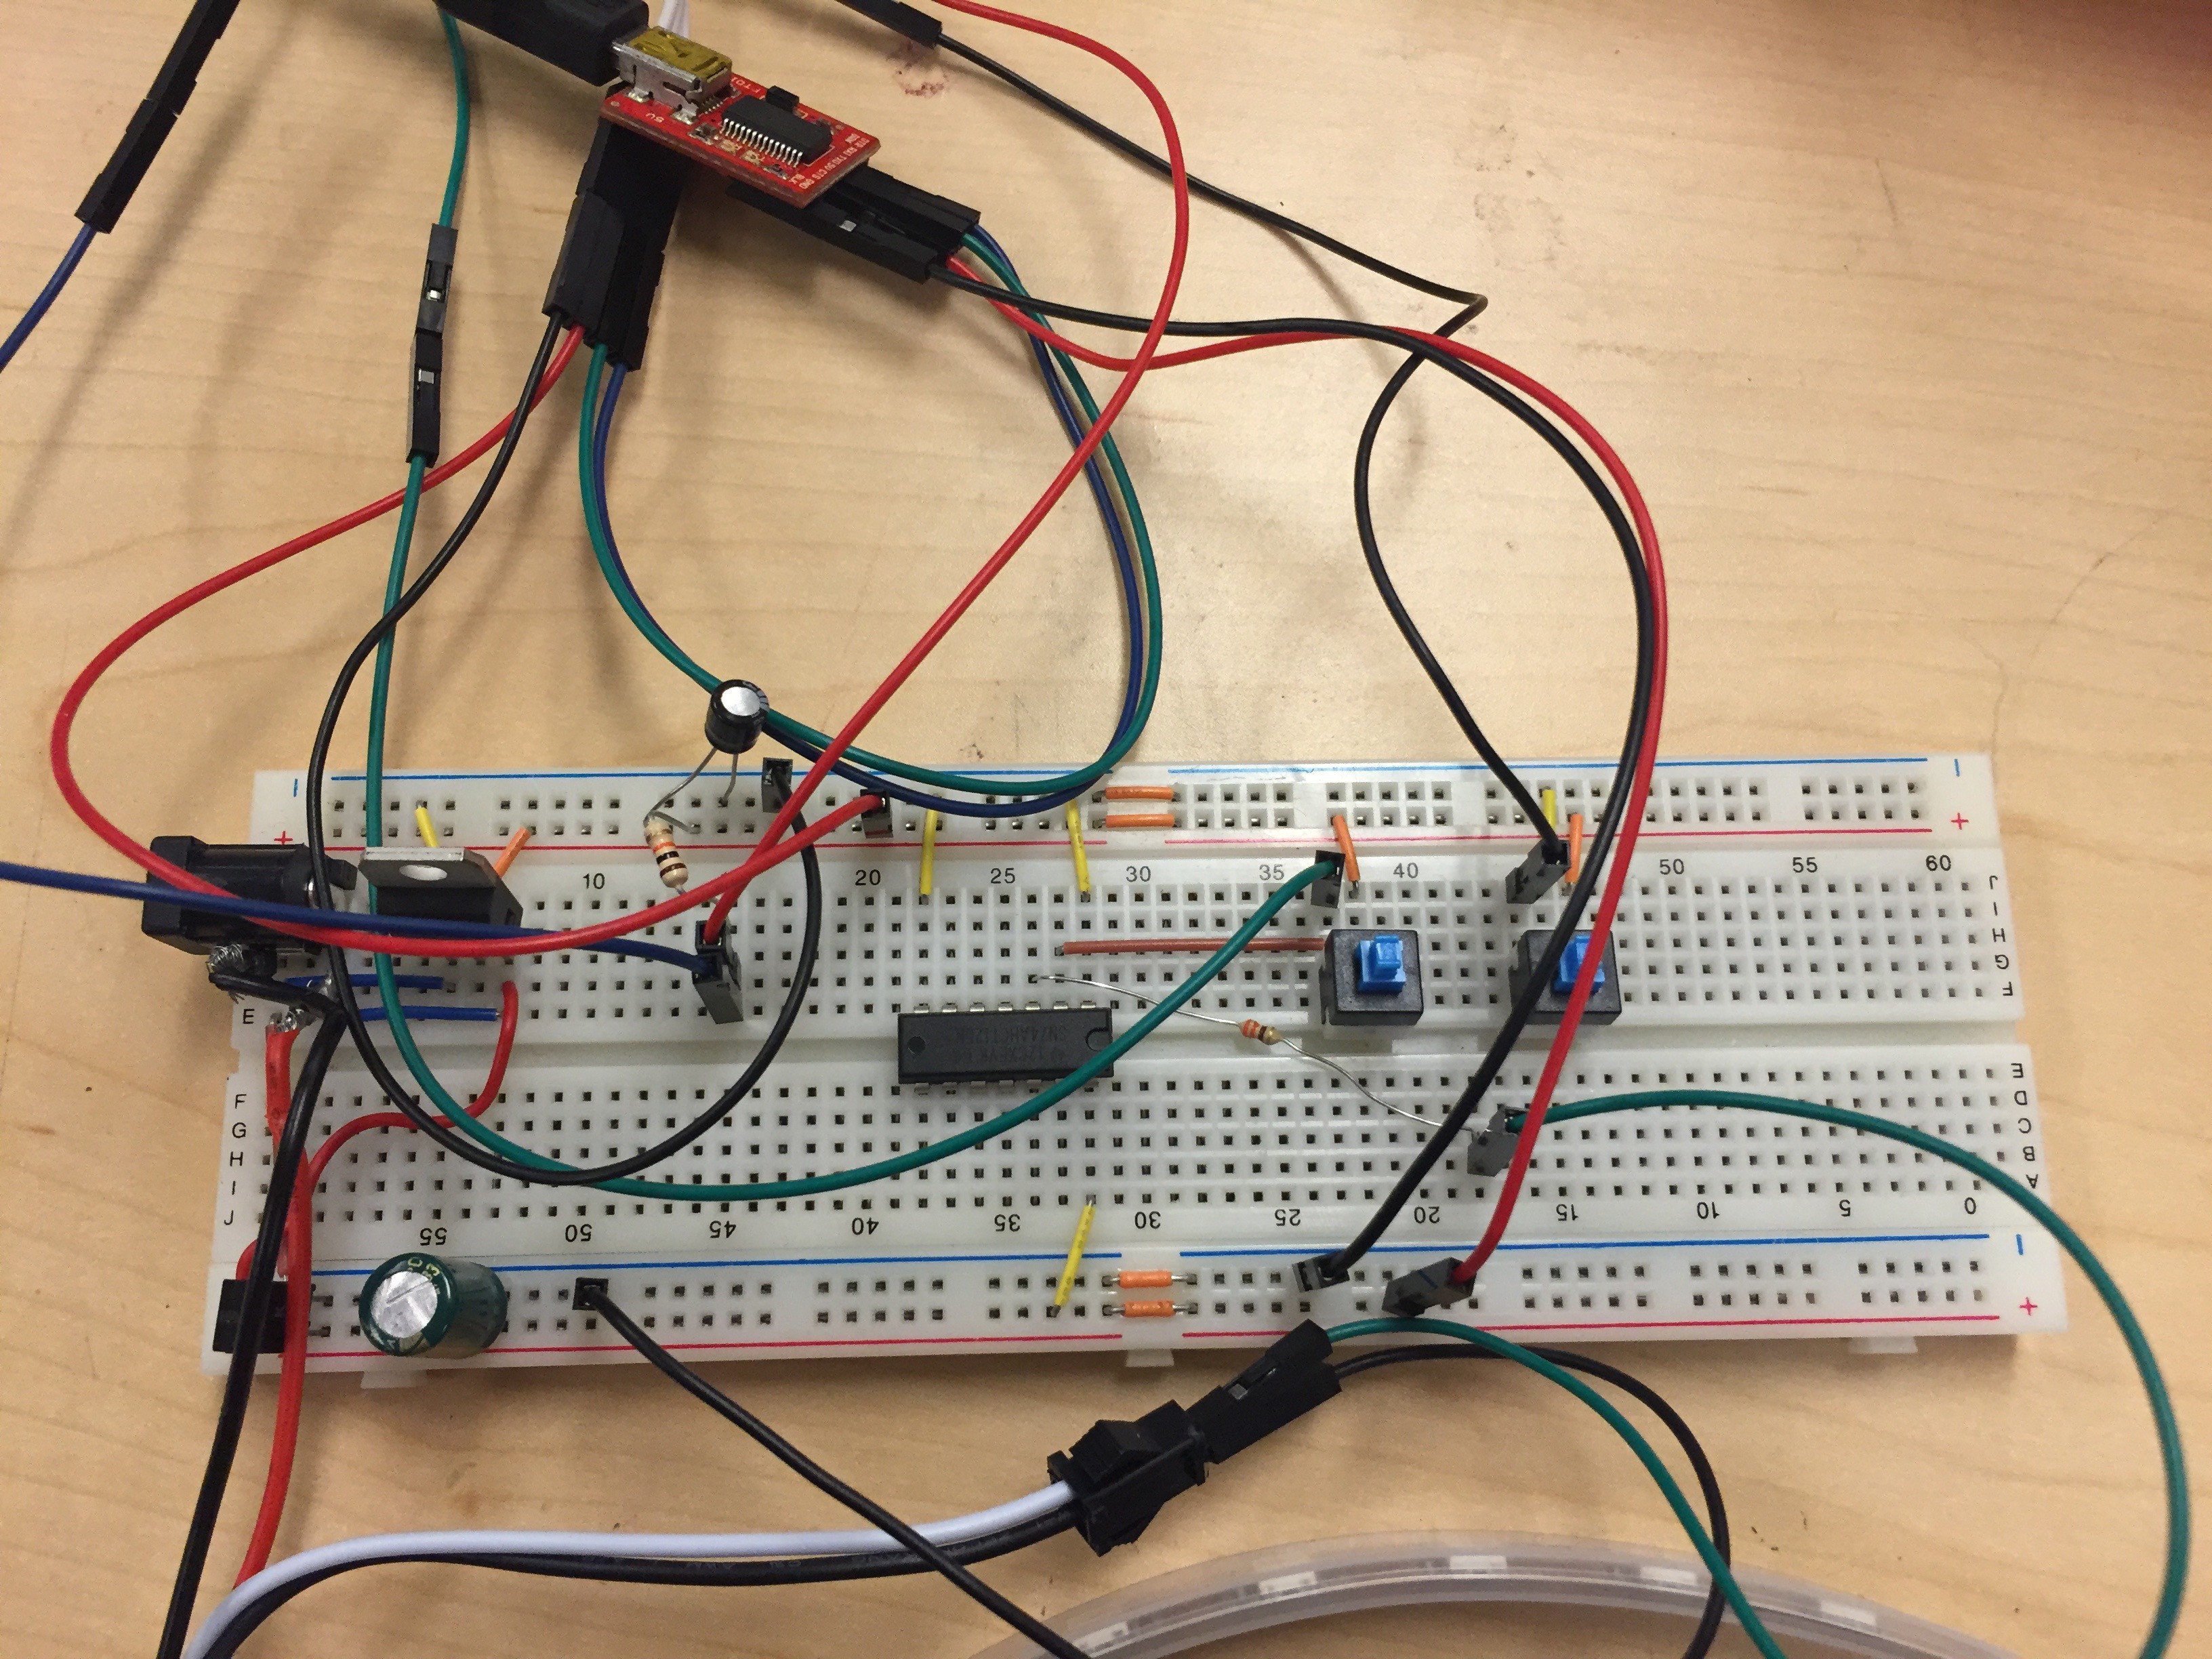
It turns out it's not a good idea to connect RST and CH_PD directly to Vcc. Adding a 10k resistor on those pins solved pretty much every problem I was having.
This was the final breadboard:
Once that was done, I went ahead and soldered (almost) everything to the protoboard last Friday. It's not the best layout ever, but I think it's not bad for my second real electronics project. The dark area around the IC is from a botched hot air rework job because I didn't solder it flat. On the plus side, I learned how to make proper solder bridges instead of massive solder blobs.
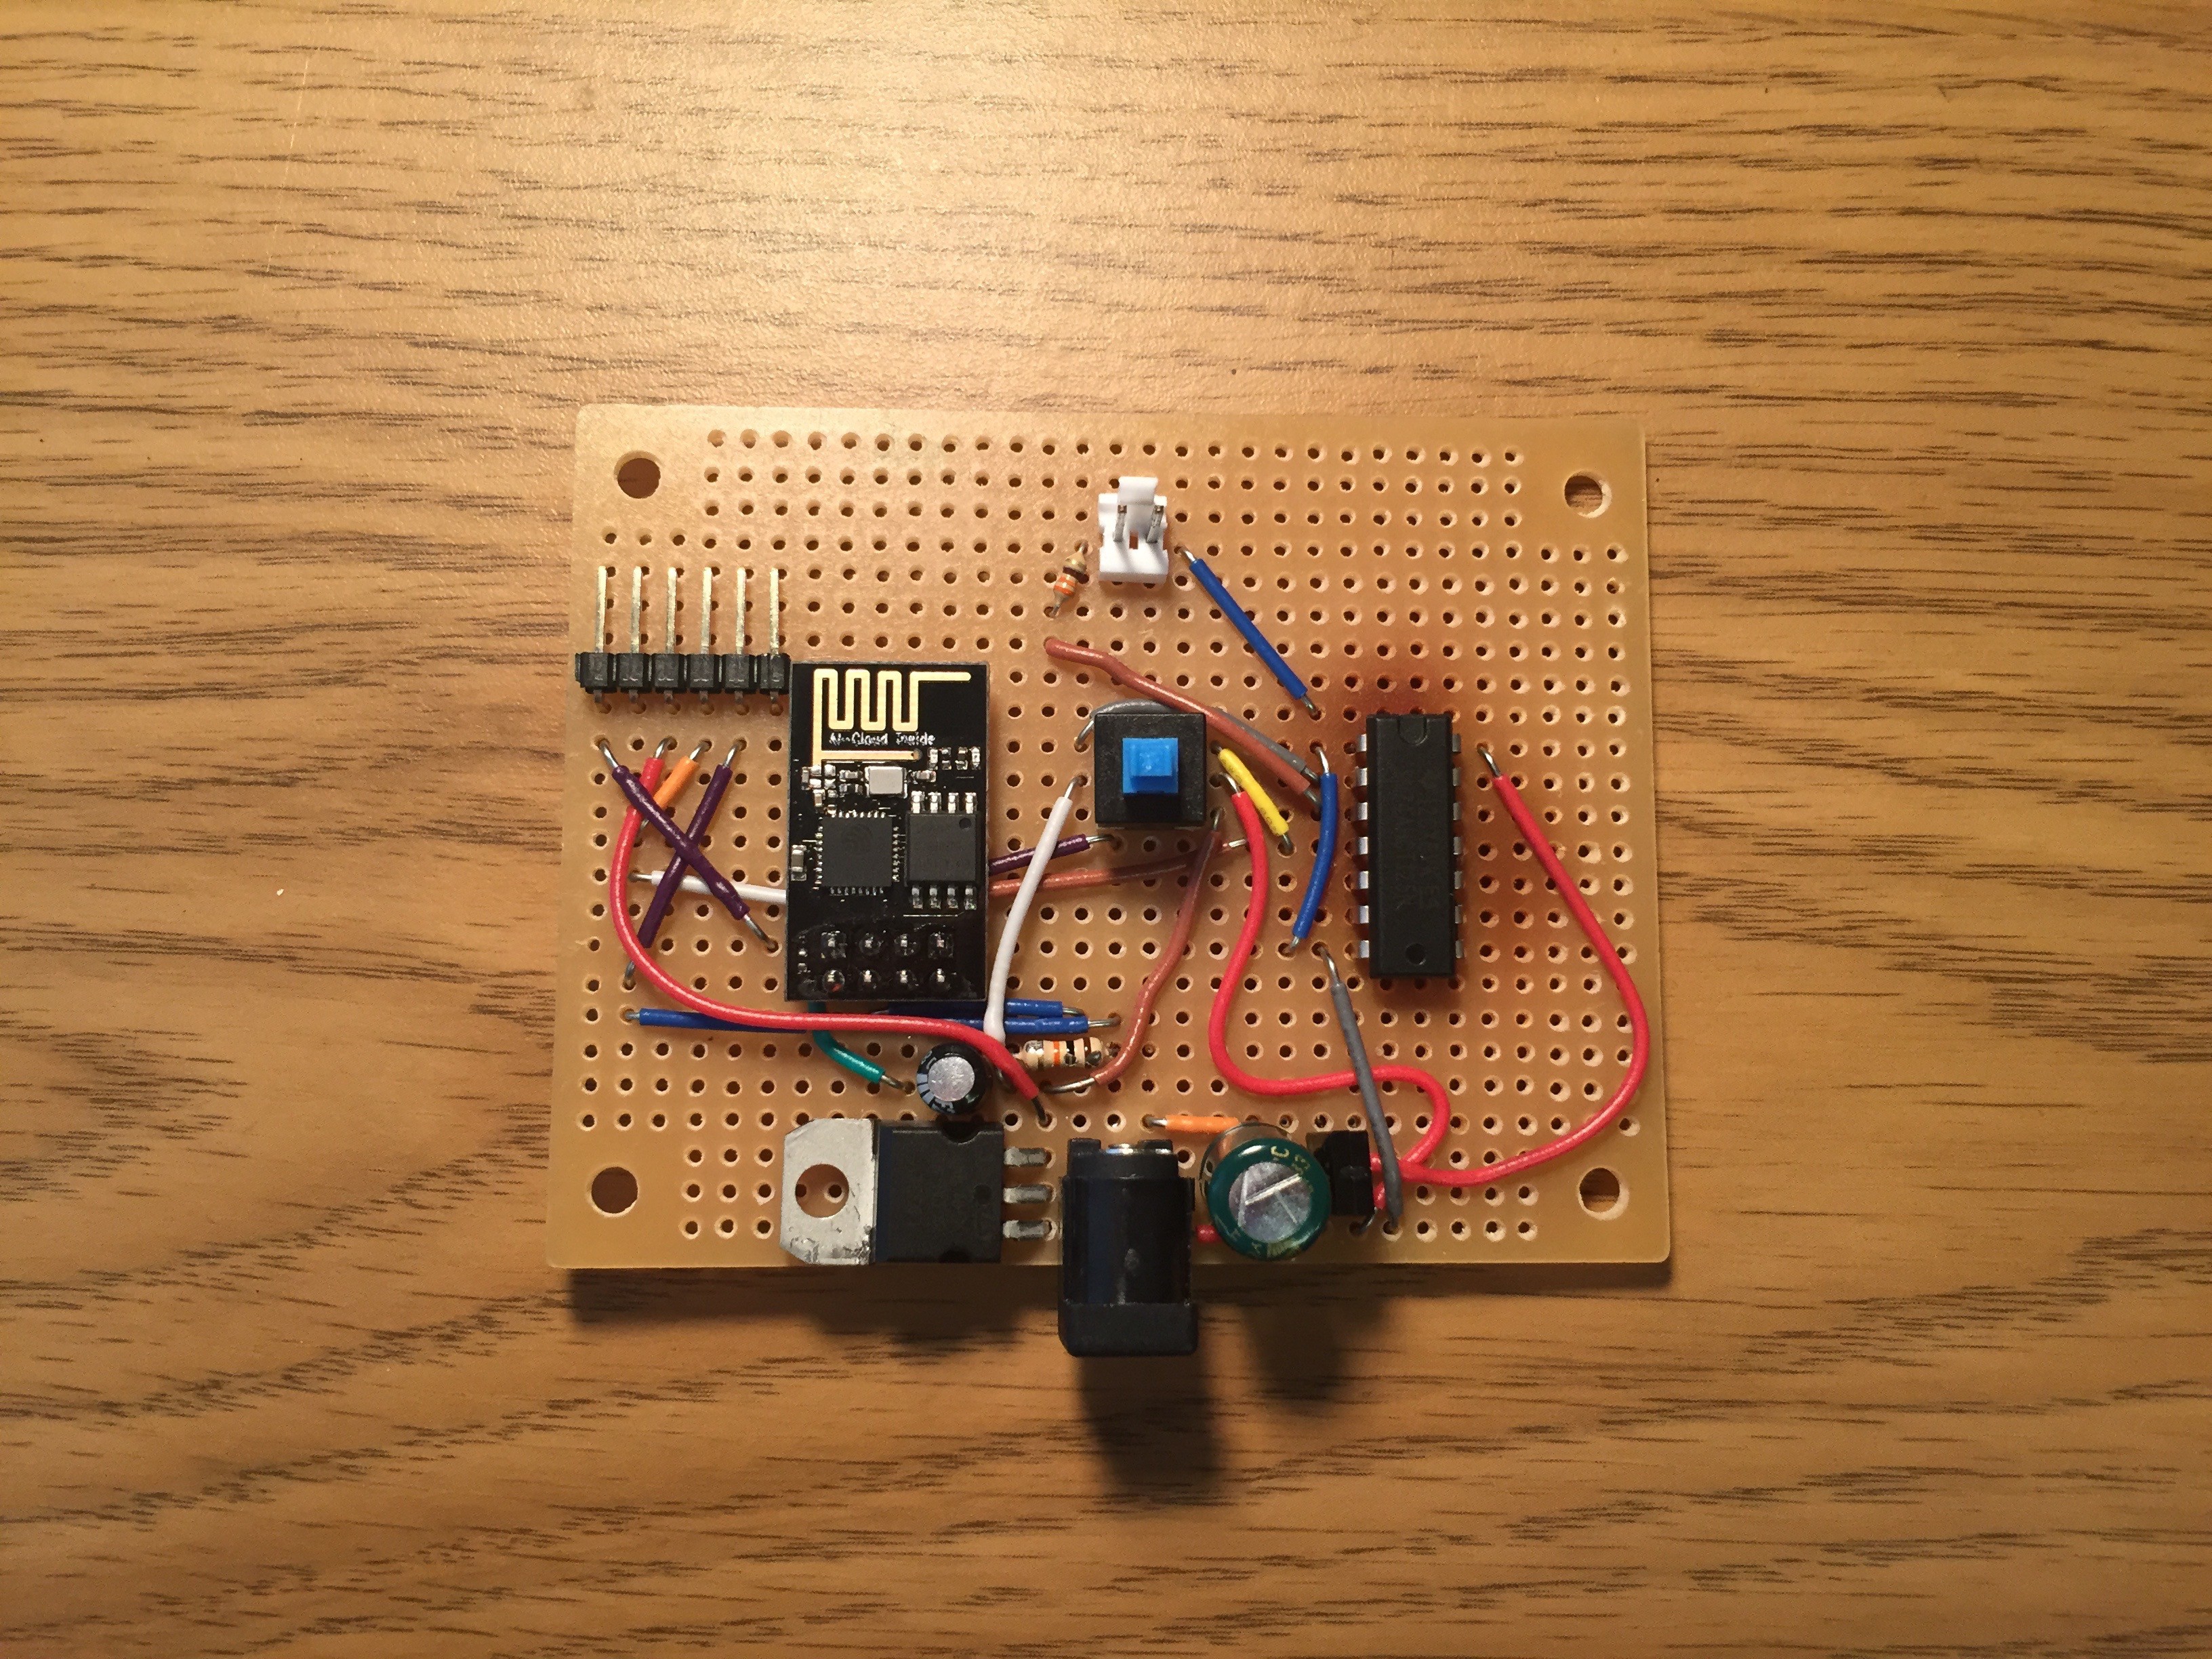
The only things left to solder are the Neopixels' power and ground. That's going to pose a fun challenge because the wire gauge is too big for my protoboard, so I've been trying to think of good ways to solve it. The strip draws a lot of power (3.5 amps maximum), so it needs to be as close as possible to the big capacitor. I don't want to cut some strands of the power wire just to make it fit, but I might have to. Please let me know if you have any better ideas!
I'm going to head over to the local fab lab this afternoon to build the housing. More pictures to come.
PS: Solid core breadboard wire is the best thing. I finally bought some last week instead of using stranded wires and a rat's nest of jumper cables, and it was an epiphany. This must seem obvious to someone with formal training, but you can put up with a lot when you don't realize something better is out there.
Discussions
Become a Hackaday.io Member
Create an account to leave a comment. Already have an account? Log In.