 The Big One
The push rod design I played with tonight works; plus, I gained some experience in soldering screws (although I think this is actually closer to brazing...)
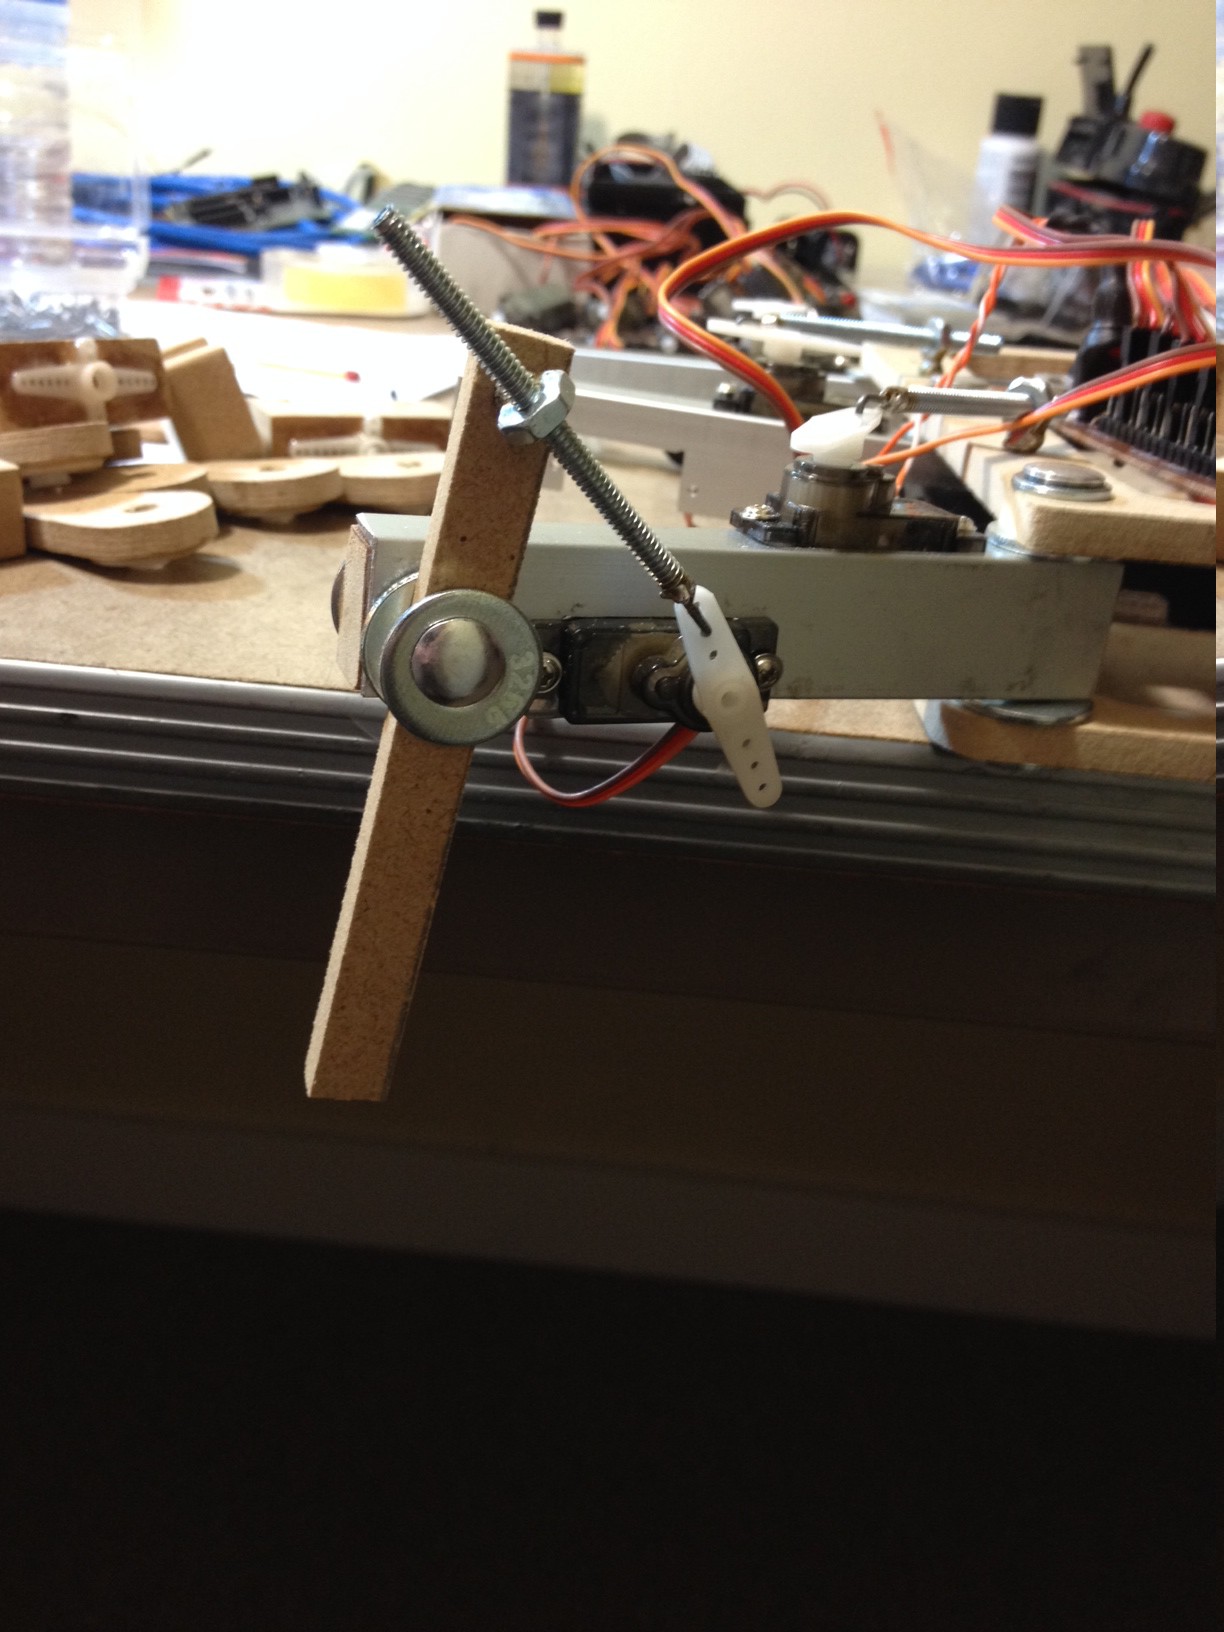
The design is very simple: a threaded rod with a small finishing nail soldered to the end, connects to the servo horn. A nut soldered to a machine screw is attached to the chassis. That's it! Pictures are below.
Soldering the rod to the nails. The nails are bent (first about 45 degrees, then 90 degrees). The 90 degree bend is where the servo horn will attach:

Soldering the push rods to the nails:
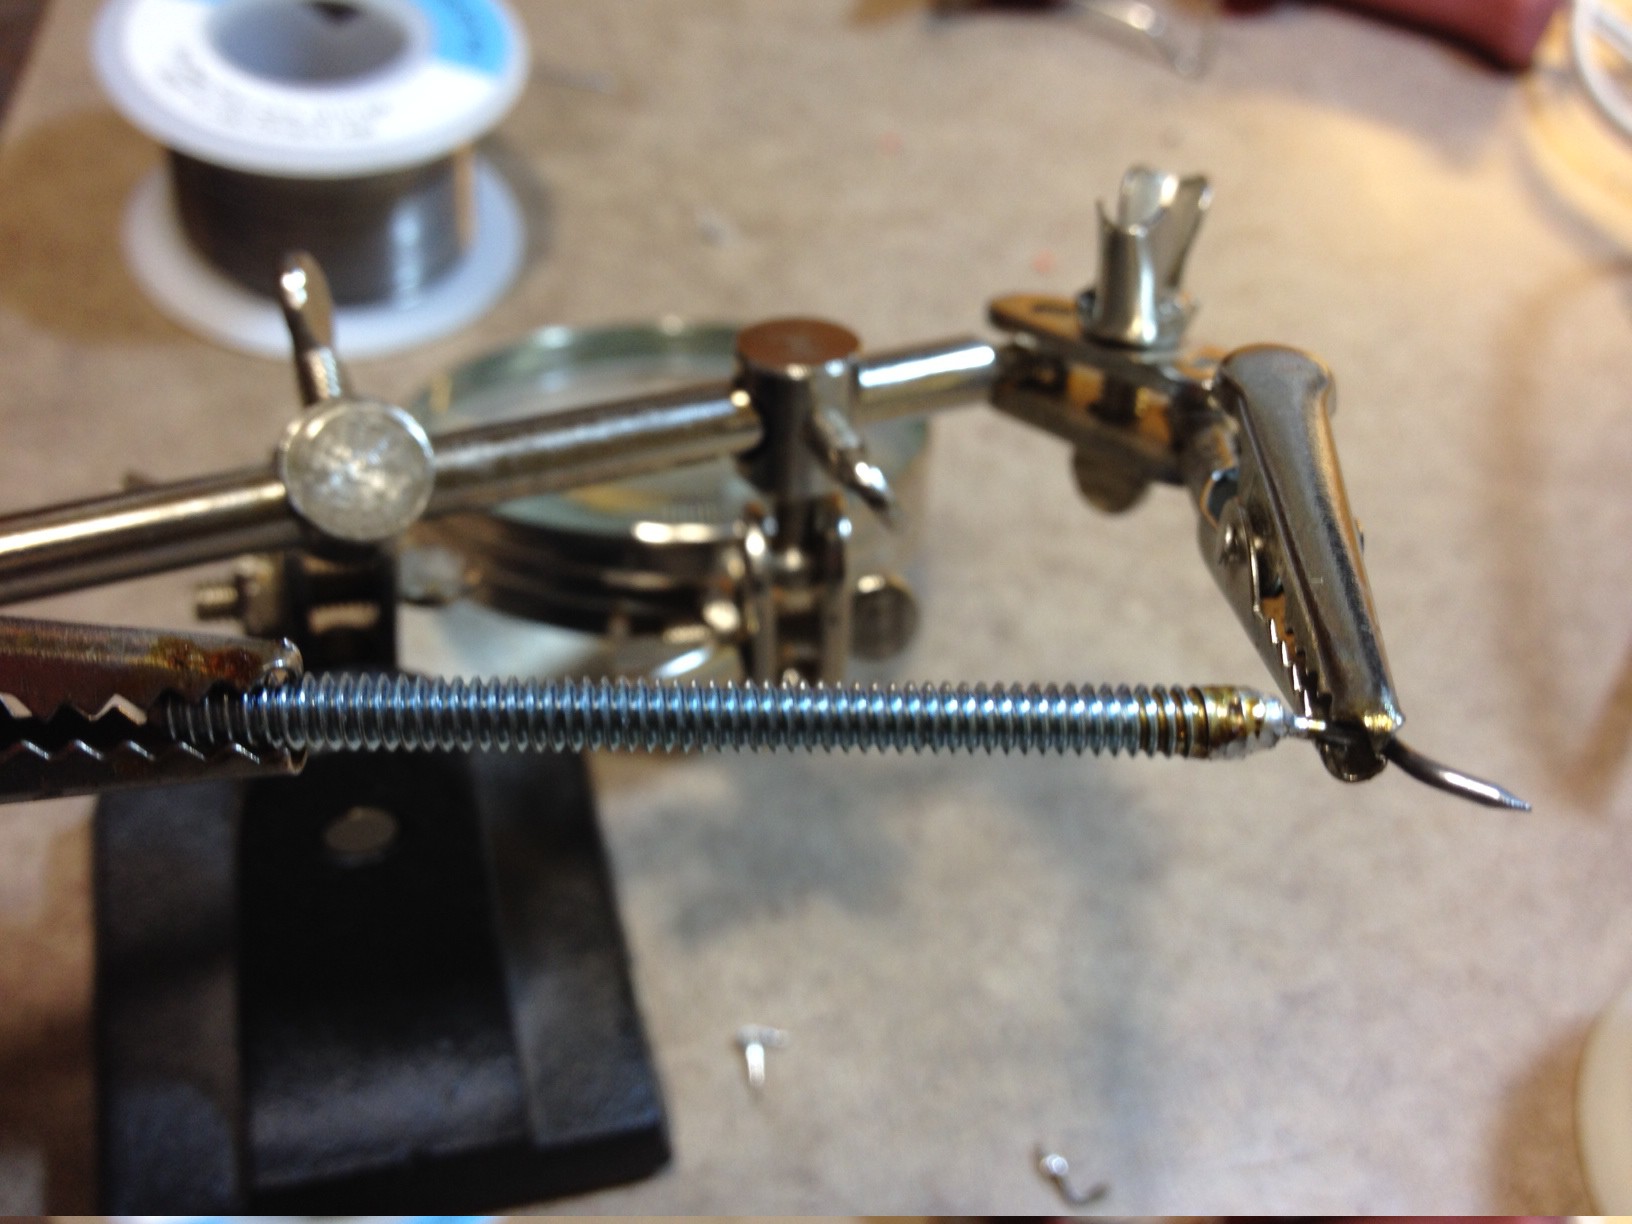
Some completed push rods:
 Here is a video
I have finished the design for the tibias, and hope to have them cut and assembled tomorrow. Yay!
Discussions
Become a Hackaday.io Member
Create an account to leave a comment. Already have an account? Log In.