 AndyMac
The build would have to be put together in several parts. A prototyping shield on top of the Arduino would hold most of the circuitry, including the all-important MSGEQ7s, an input for an 1/8" audio jack (for direct audio input instead of the microphones), and a toggle switch between the two. The microphones would be mounted on long wires to each side of the hat as "ears" to provide some amount of directional sensing. A separate "power supply board" would include the two large capacitors used to protect the NeoPixels. Battery packs would be located off to the side. I wanted a rough schematic to work off of while assembling, but the final product has a few differences from the one below.
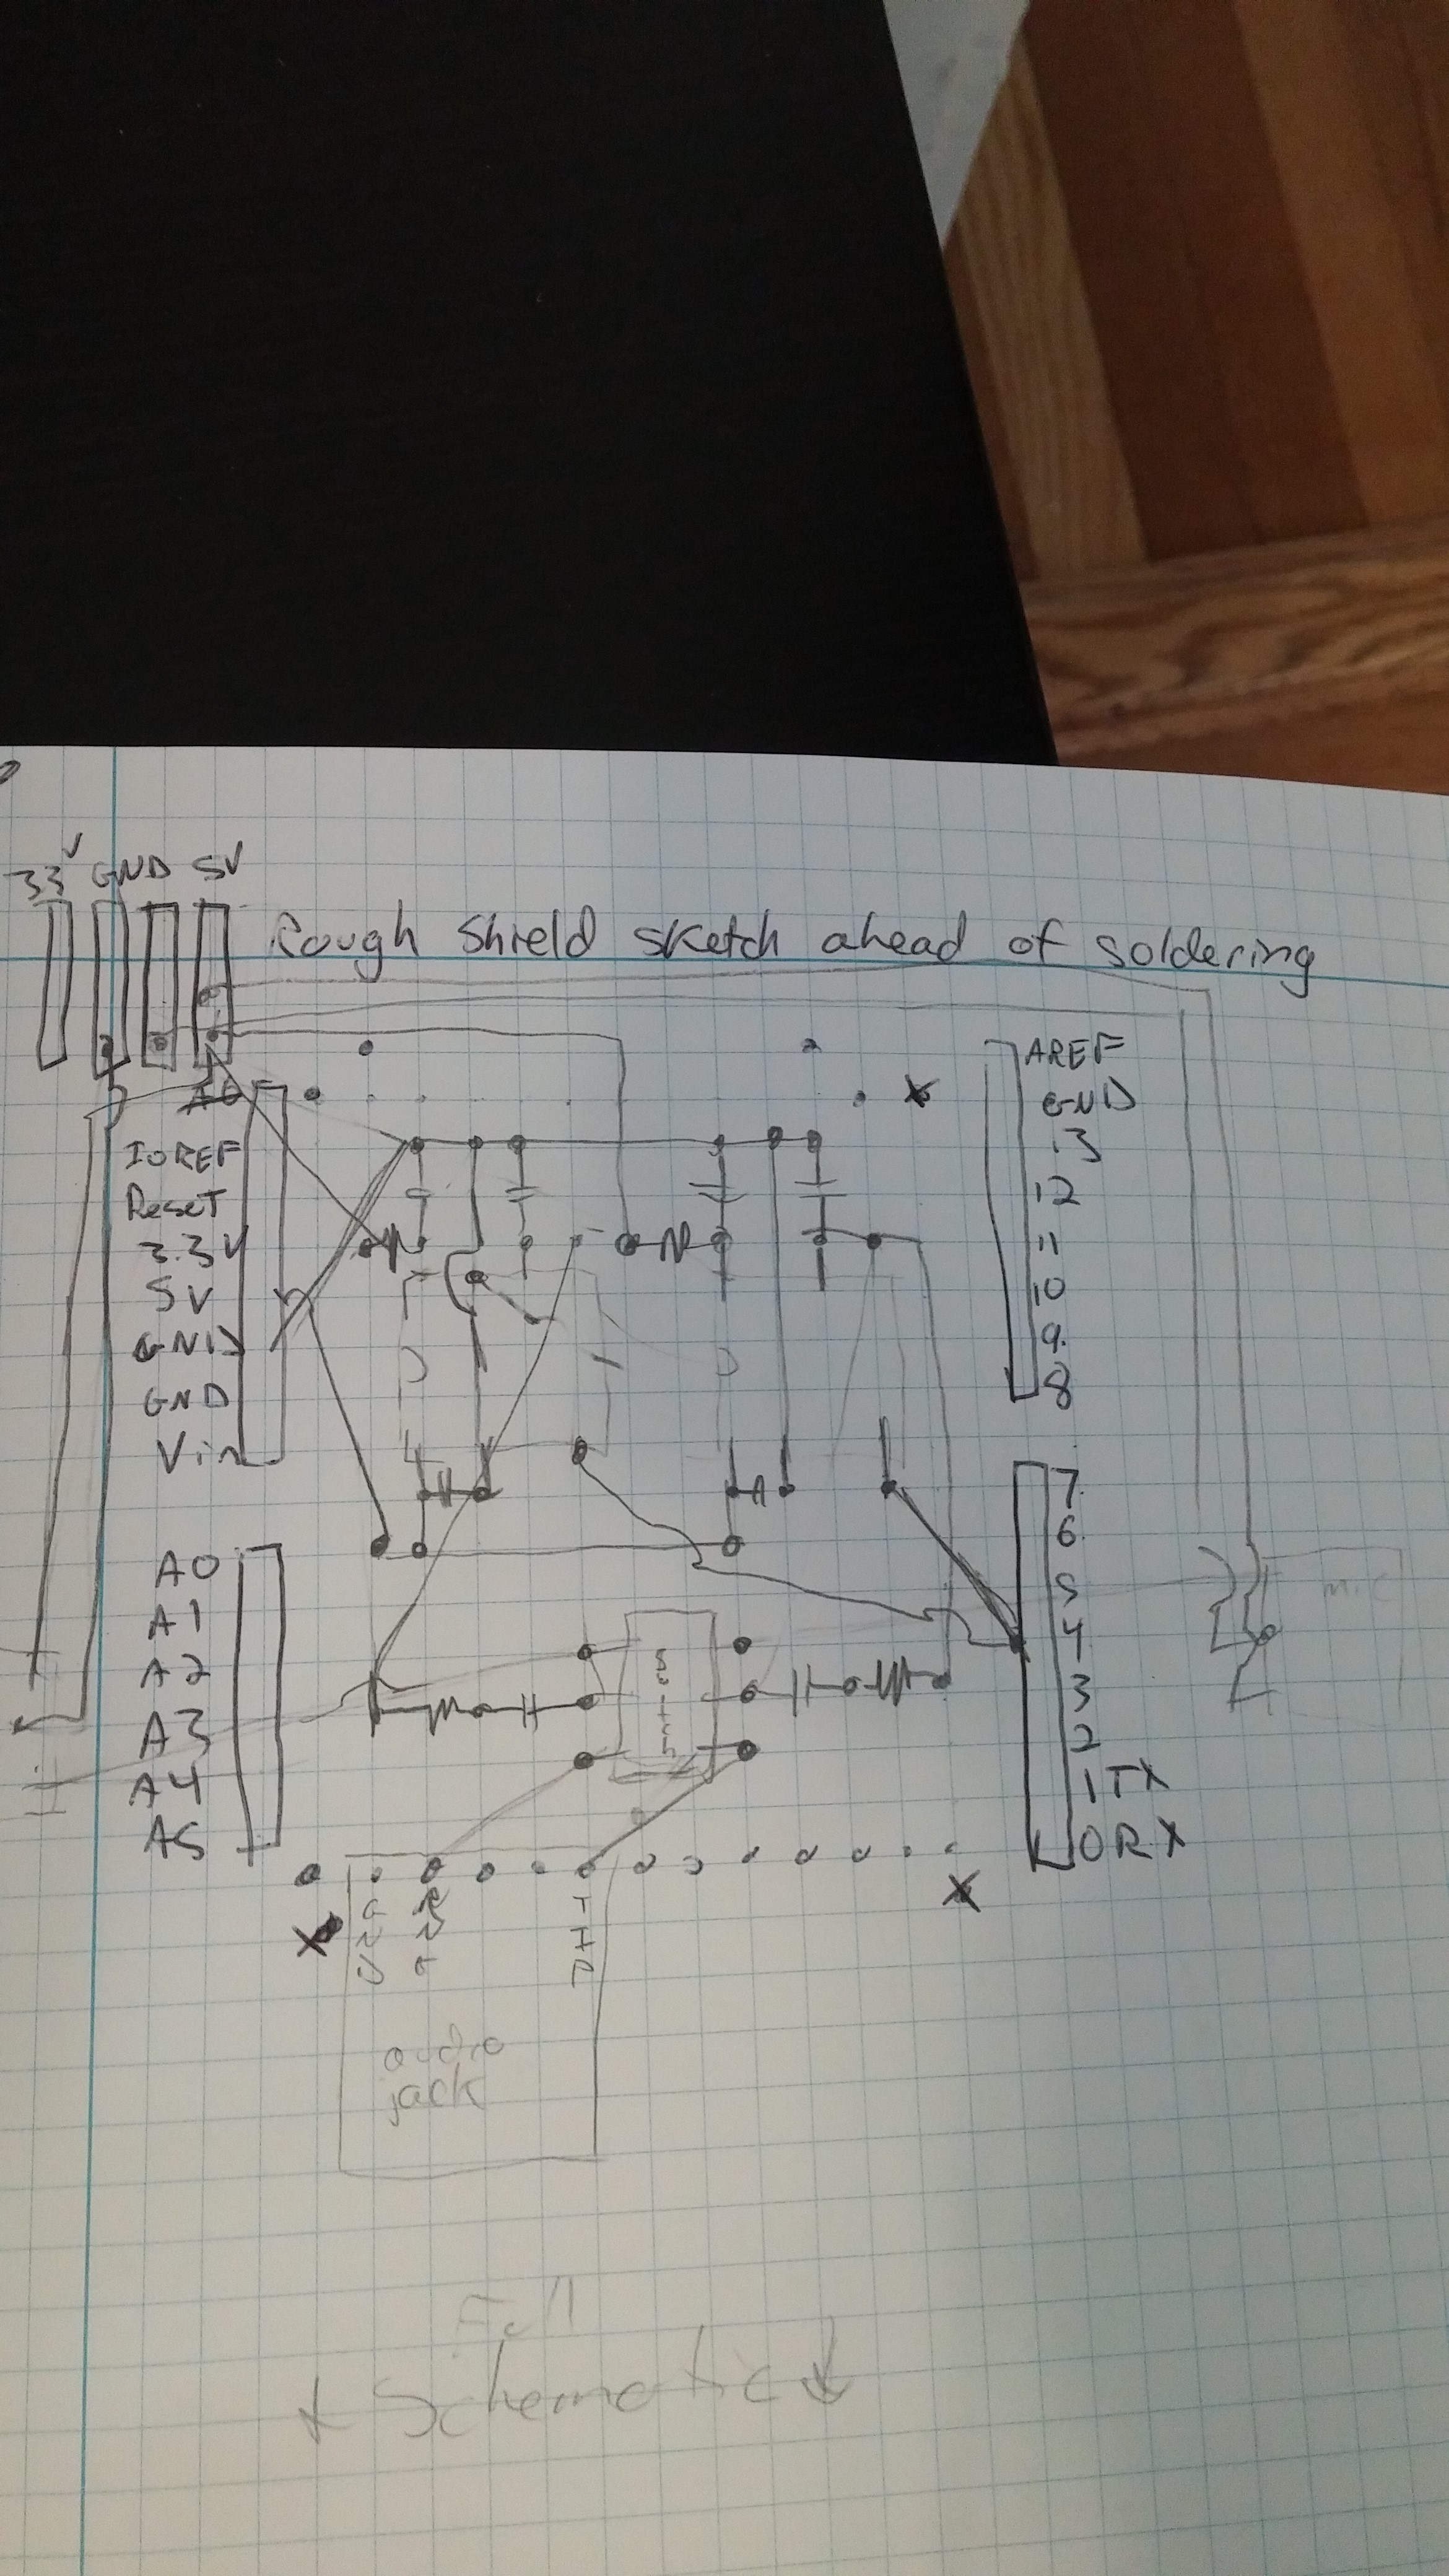
A generalized sketch of how the audio inputs work is seen below. I wanted to have two microphone inputs to be analyzed separately, as well as a standard 1/8" audio jack, with a select switch to change between the two.

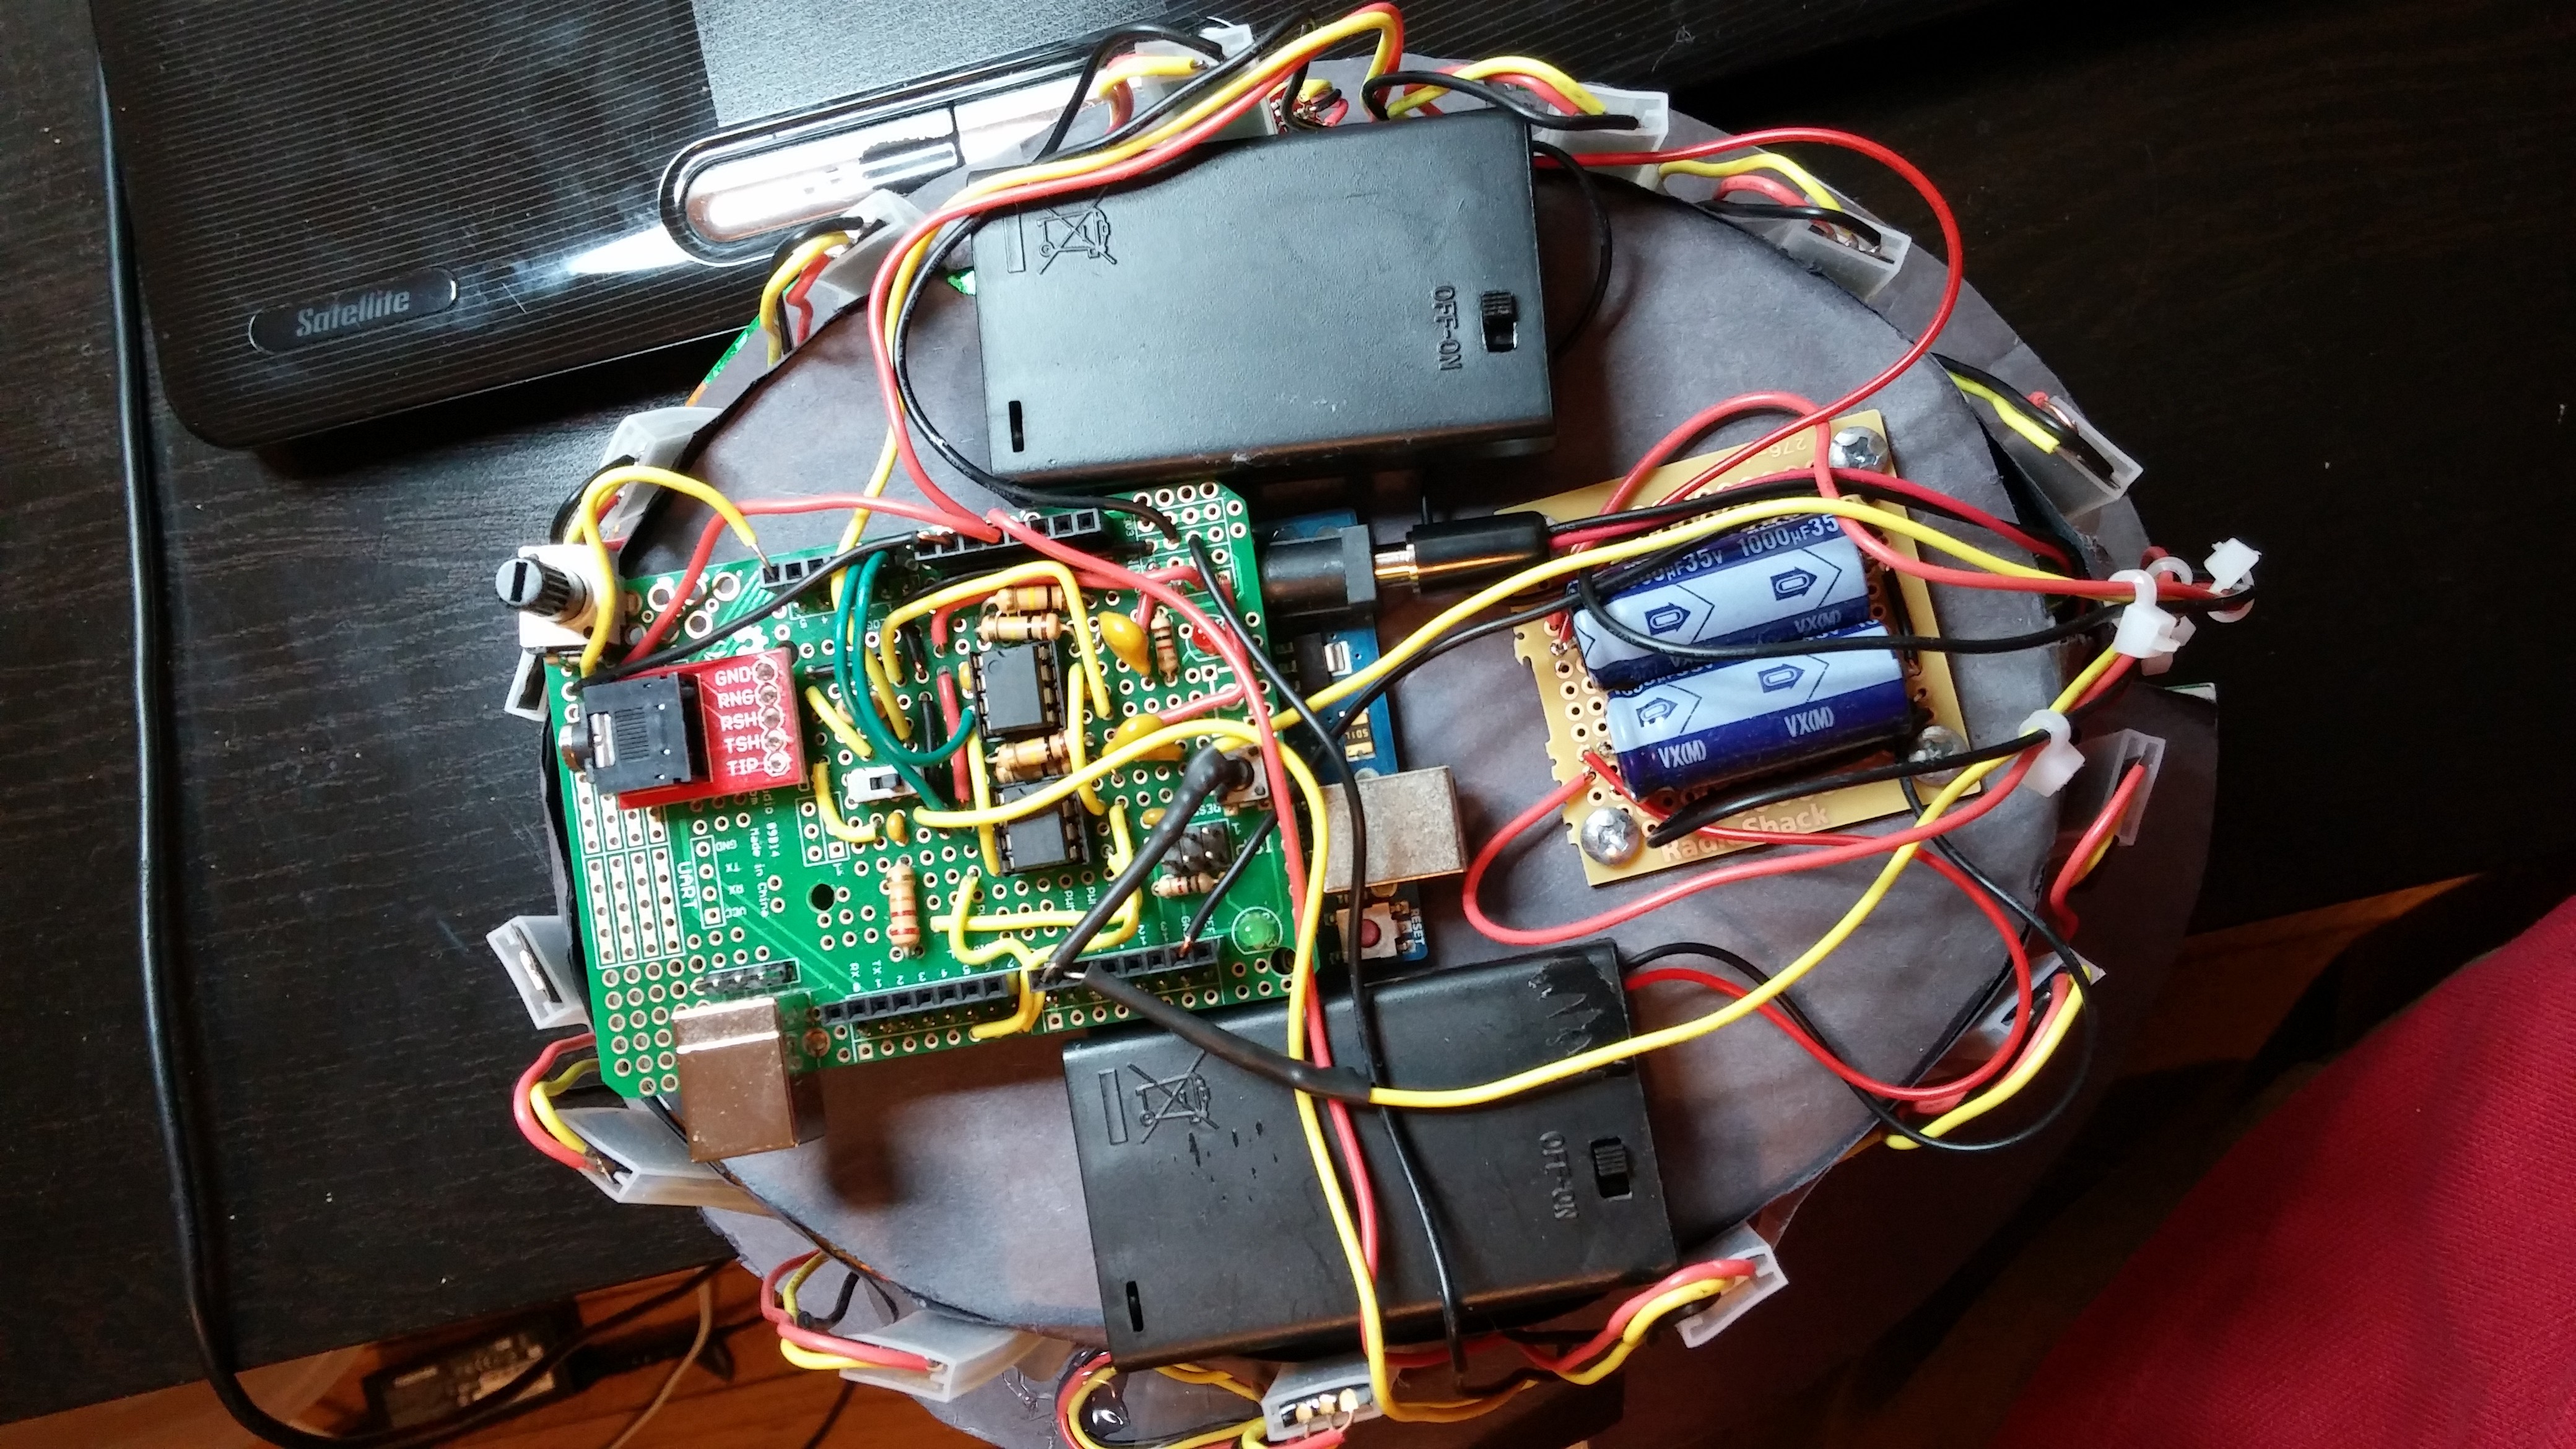
This is a shot of the assembled circuit. This circuit had to last through several full day competitions, as well as a week long Global Finals, so I went a little overboard on the batteries. The two packs on top of the hat power each strip of NeoPixels, one for left channel and one for right channel. If the input is loud and/or constant most of the LEDs would be lit up, so the power requirements are actually fairly heavy. At 14 strips, 8 pixels per strip, and 200 mA max draw, the theoretical max is 19.6 A! Obviously by running the lights in Red-Green-Yellow I could limit the max to 1/3 of that, and a maximum brightness would turn it down even further, but that is still a decent amount of power to be carrying around on my head.
The protoboard on the left is mounted on top of the Arduino and does all audio analysis, sending display info to the NeoPixel strips. A third battery pack underneath the hat (not shown) provides power for the Arduino. There is a 10KOhm trimpot on the upper-left hand corner of the shield that was not in the original plan. This was used as a real-time adjustable gain so the hat would work well in both loud and quiet environments.
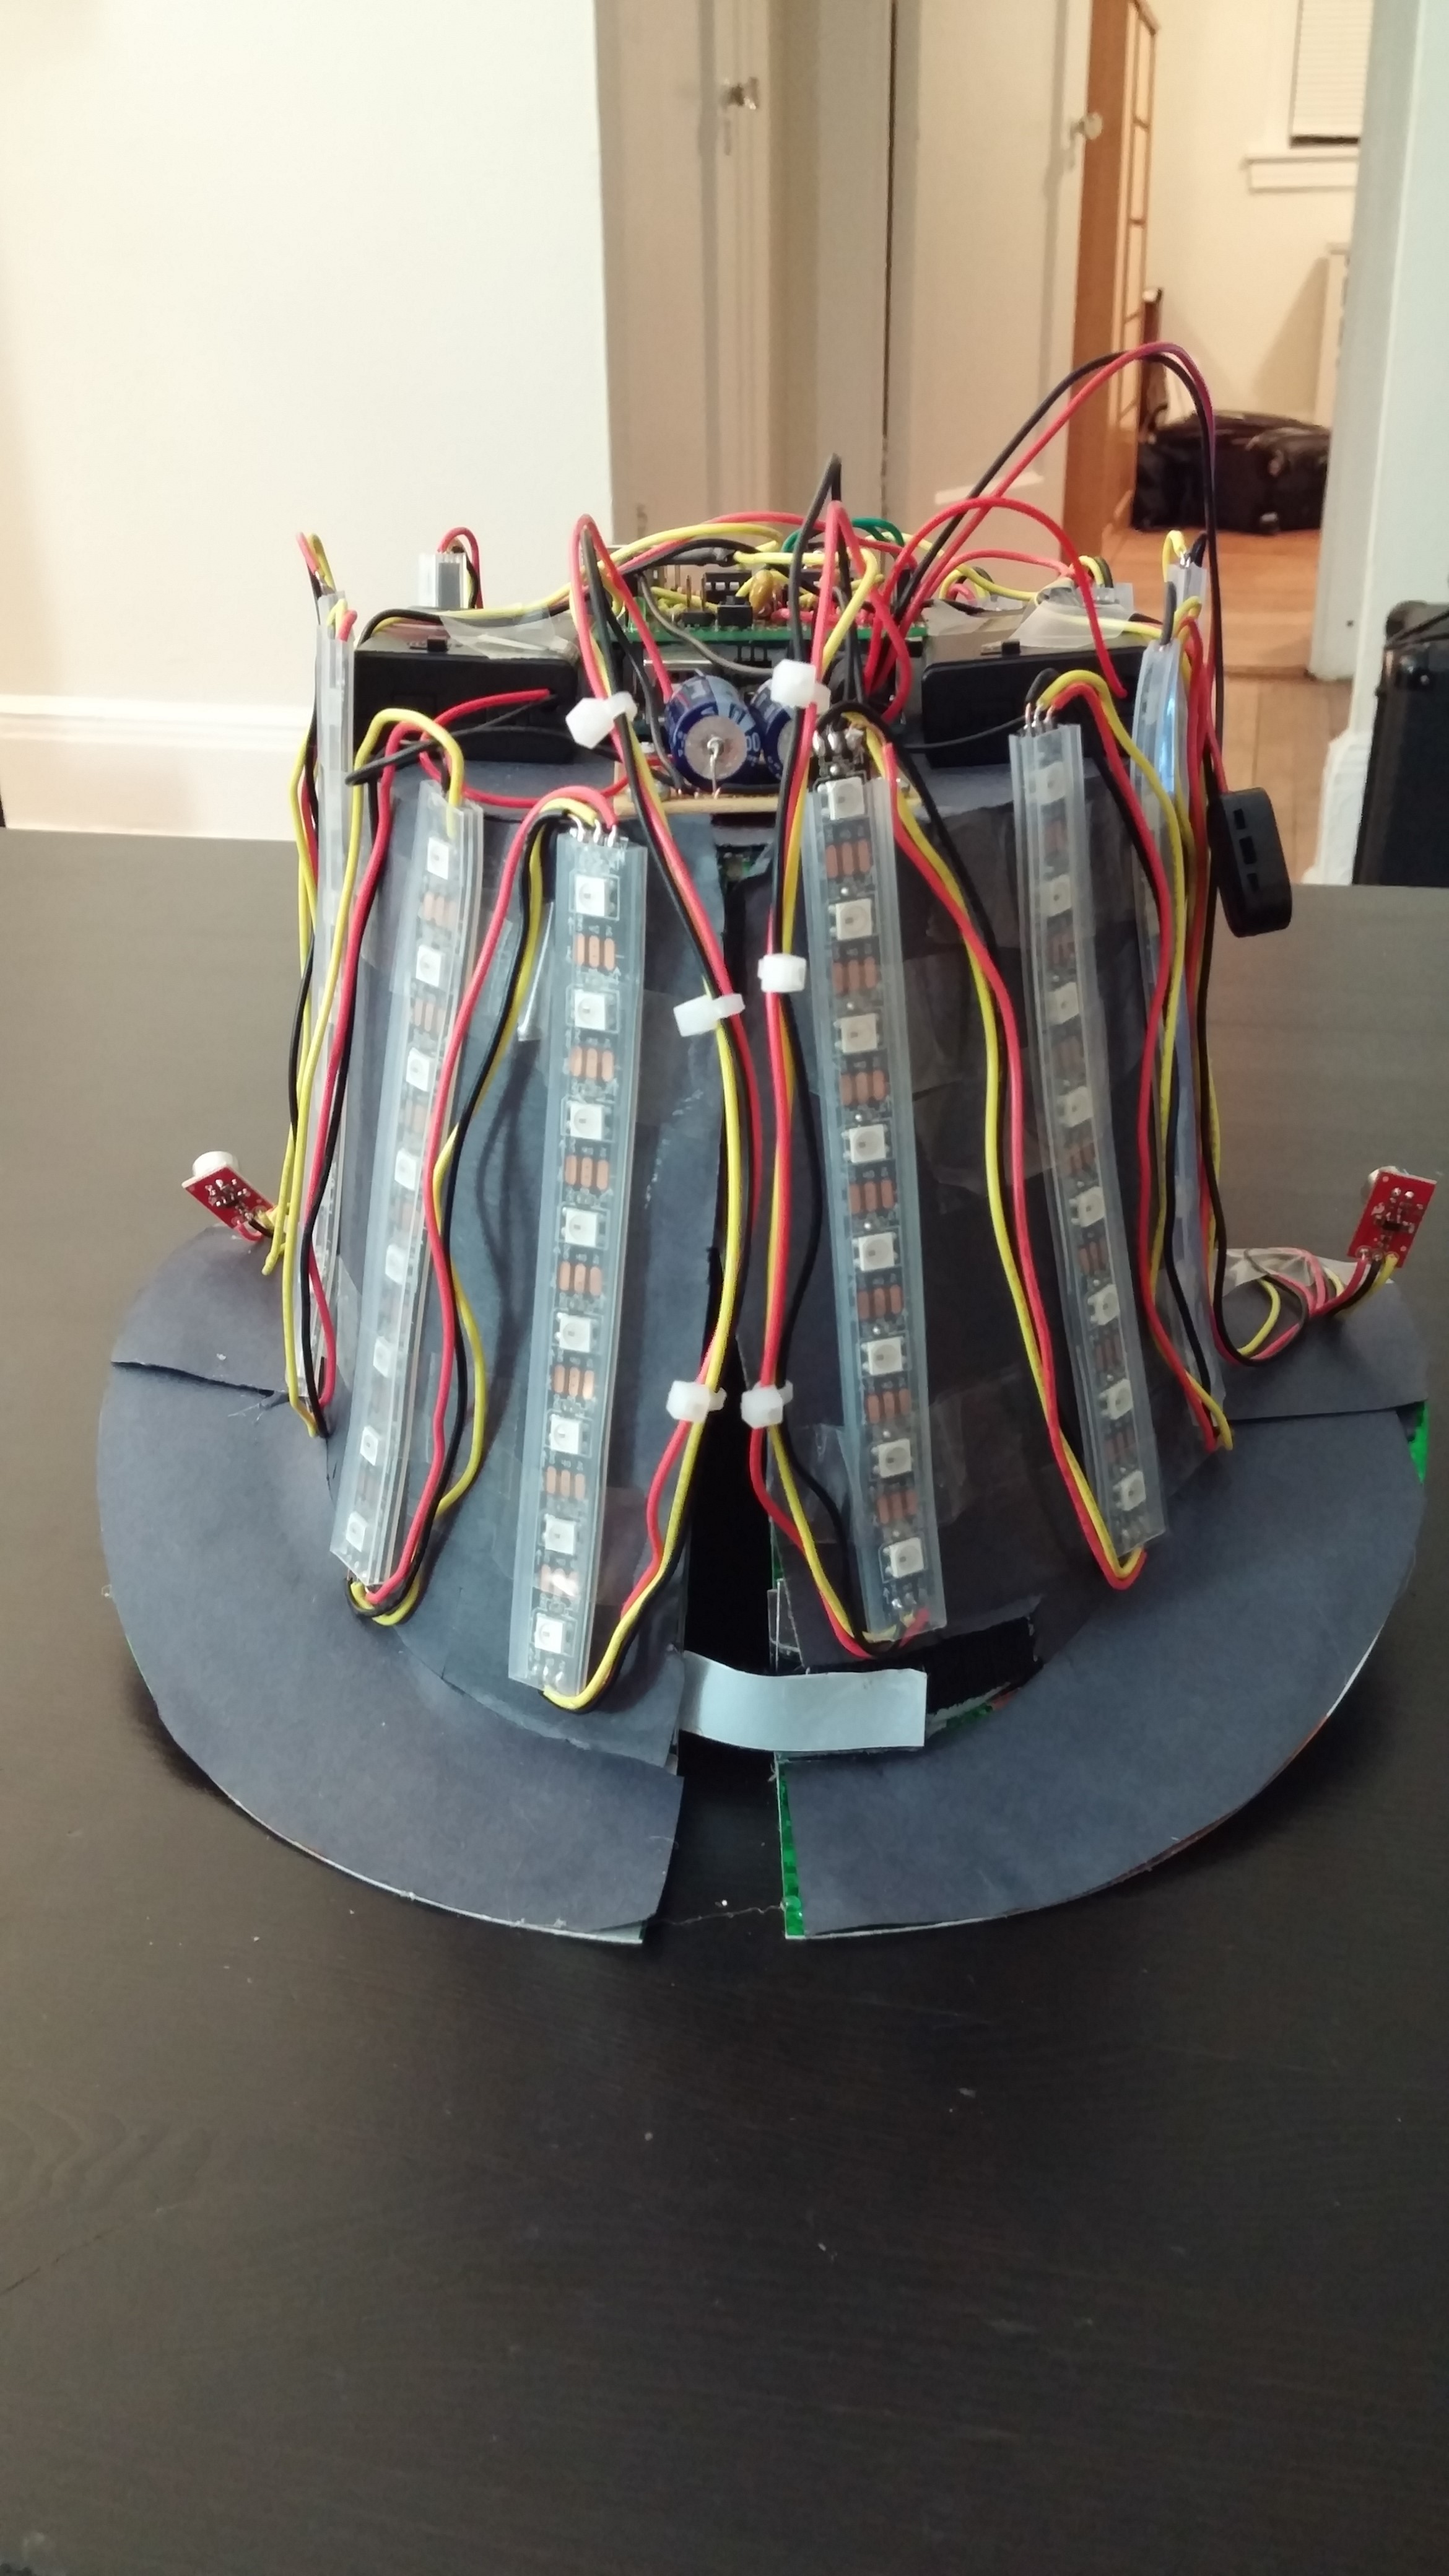
The toughest part of assembly was actually attaching the NeoPixel strips. The silicone cover on each strip does not stick to ANYTHING. As a temporary measure I just ran clear tape across them and onto the hat itself. It was not meant to be a permanent method, but ended up working well enough and held together over the few days I needed it to.
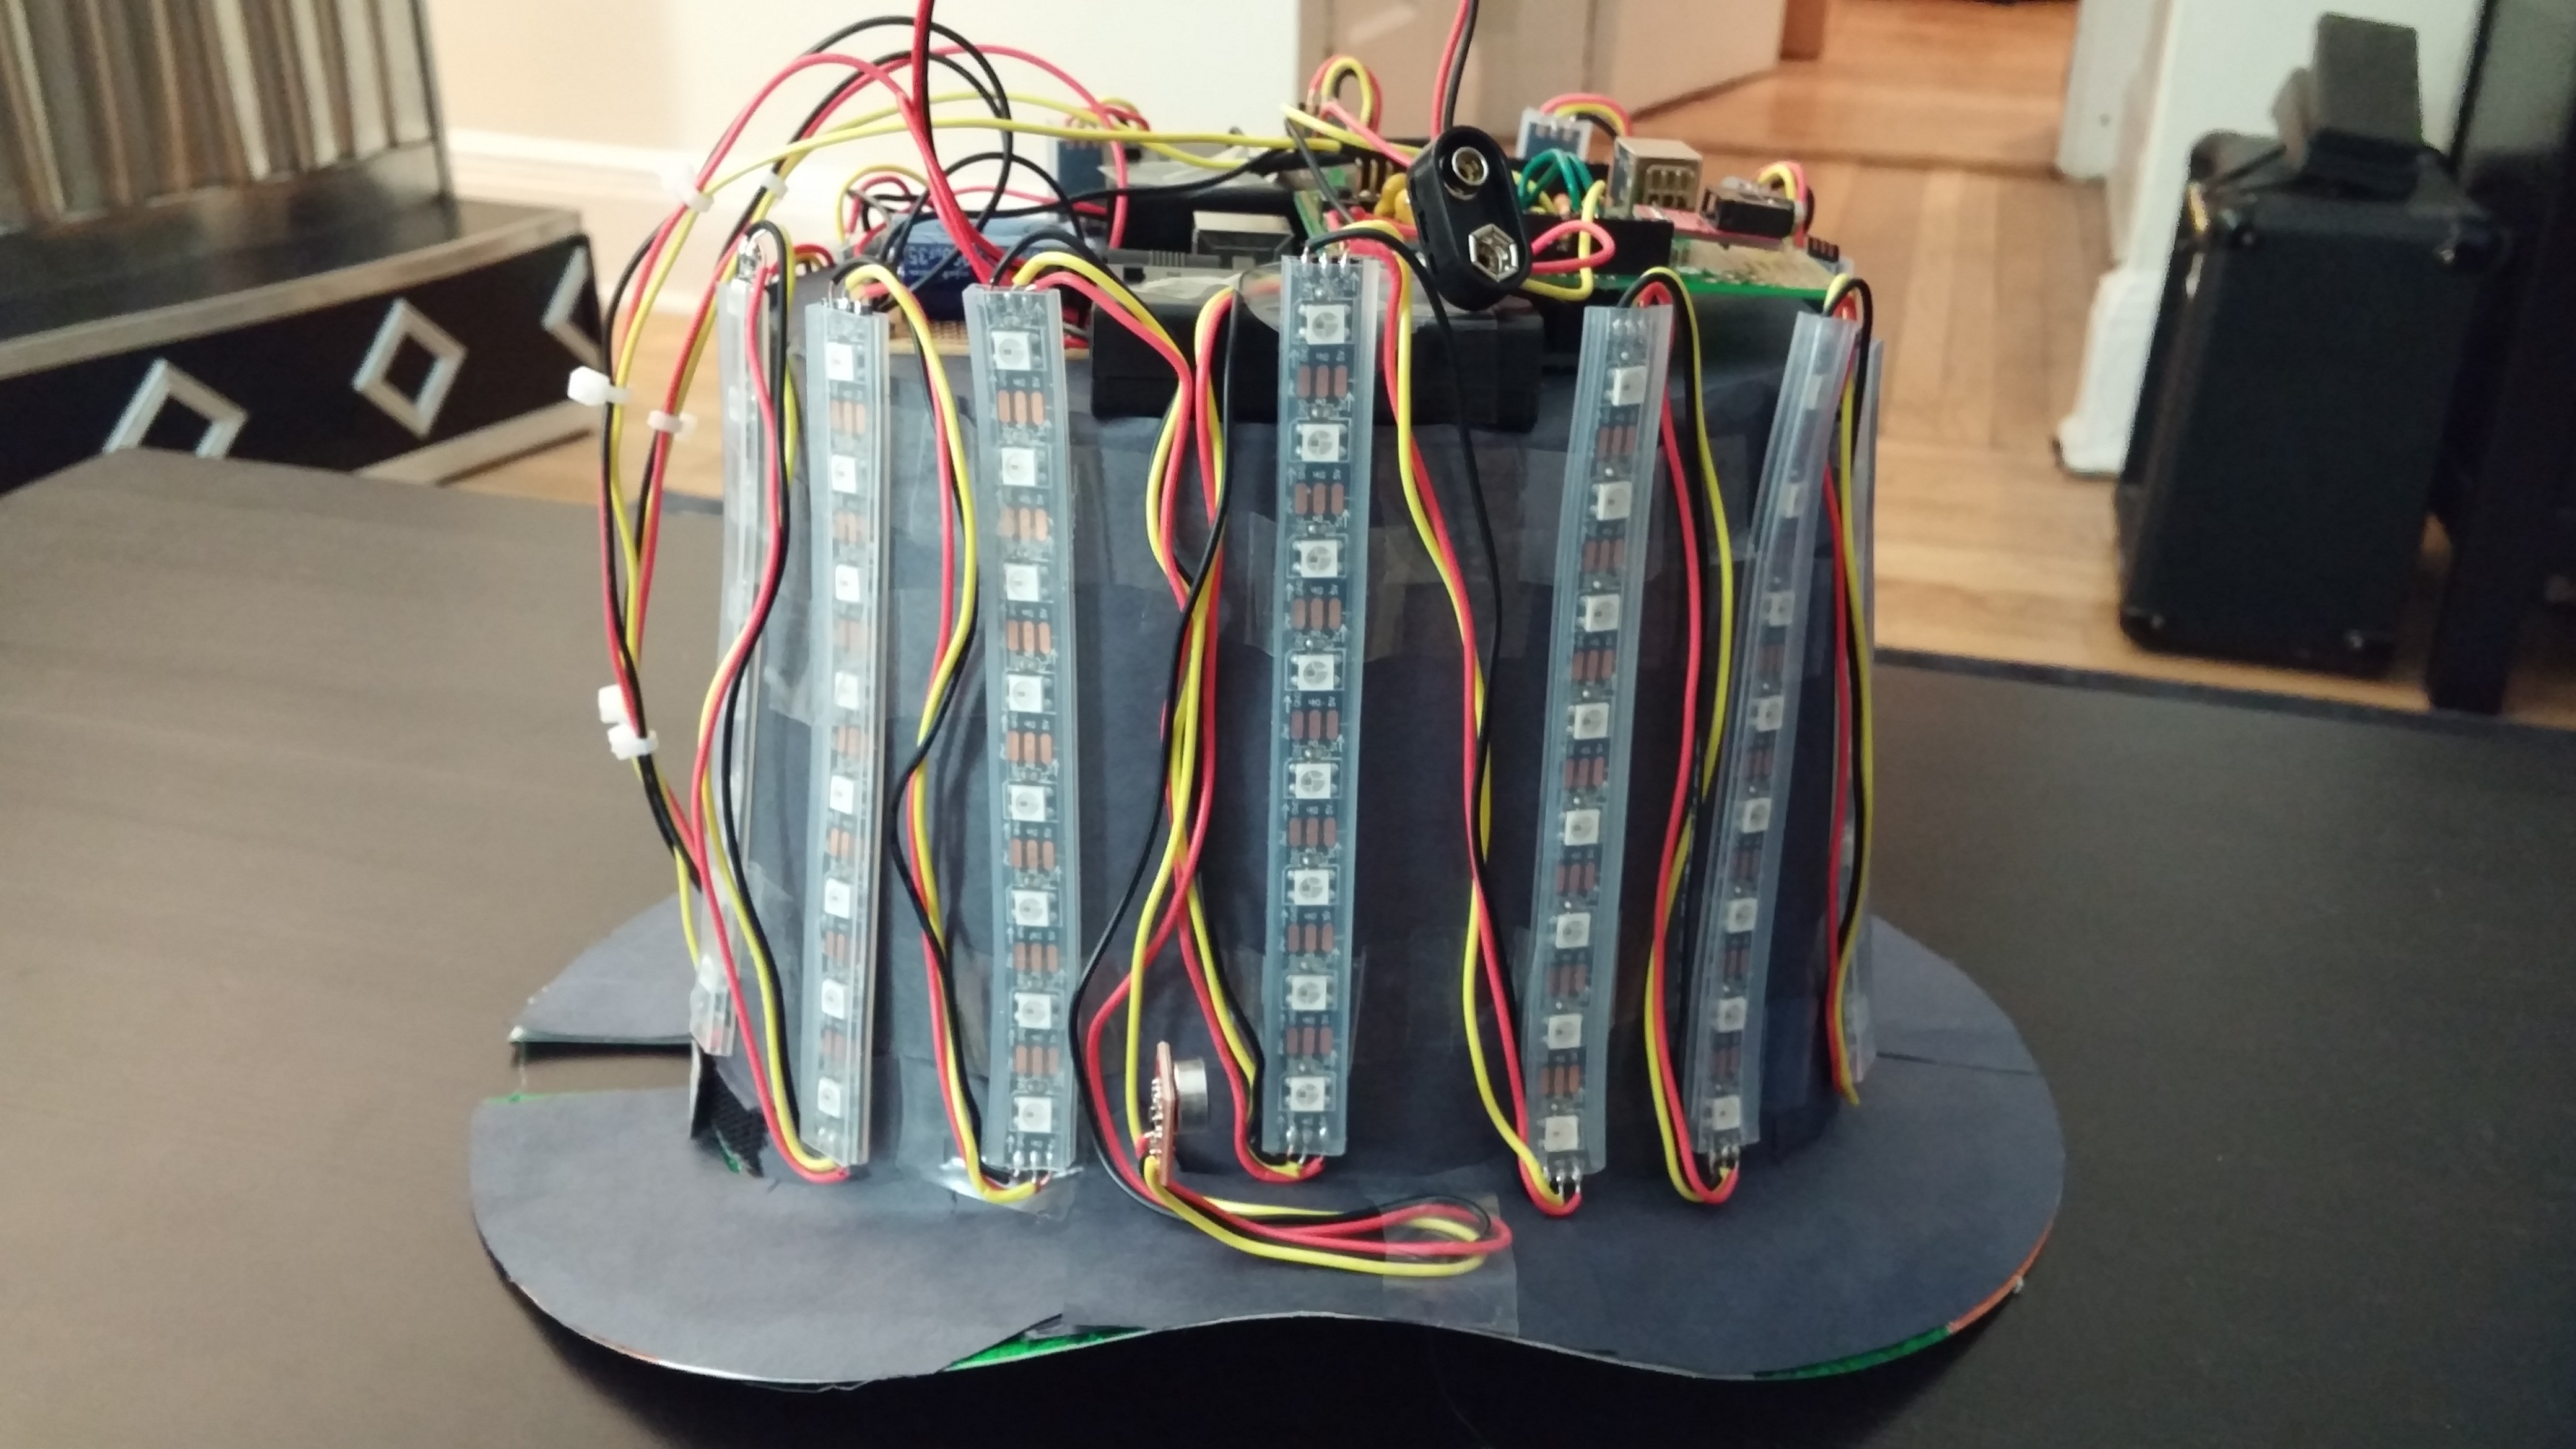
The hat itself is a cheap cardboard top hat from Party City (the green strips visible under the construction paper gives it away as a St. Patrick's Day hat). Those hats fit very poorly, but a slit up the back with some Velcro (ahem, "hook-and-loop") actually turns it into a very wearable fashion accessory. You can also see the two microphone "ears" on each side of the hat.
Finally, the test. The hat works remarkably well. Some tweaking was needed to the gain in each strip: the high and low frequencies did not show up well. I ended up with 1.5 - 1.5 - 1 - 1 - 1 - 1.5 - 1.5 just to boost the ends a bit. The song is "Valerie" by the Zutons.
The hat was always intended to work during the daytime, and luckily the NeoPixels are bright enough, even at 1/4 brightness.
The cymbal crash in the beginning of Marvin Gaye's "Let's get it on" really hits well on this project.
Discussions
Become a Hackaday.io Member
Create an account to leave a comment. Already have an account? Log In.