 davedarko
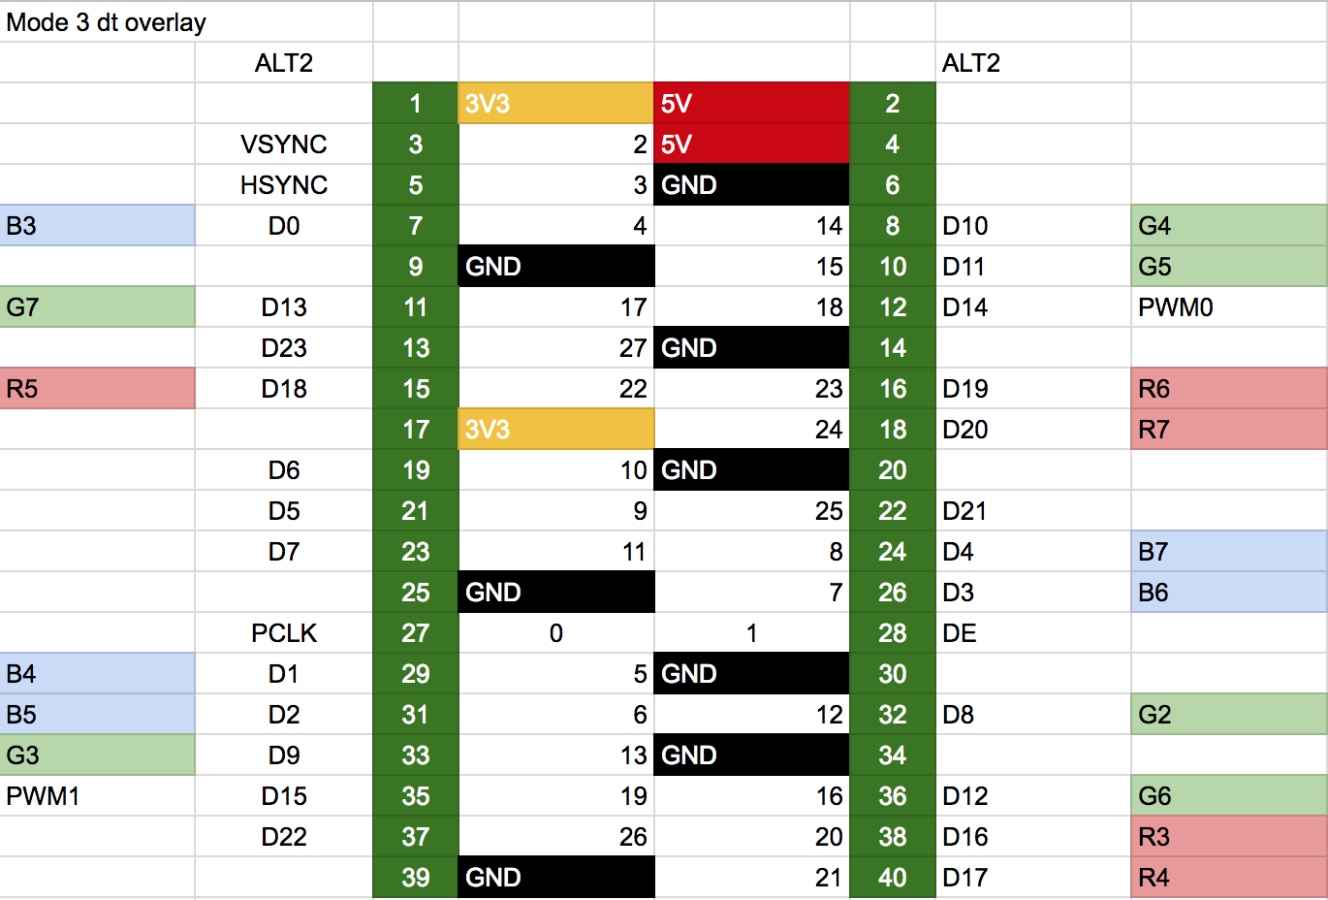
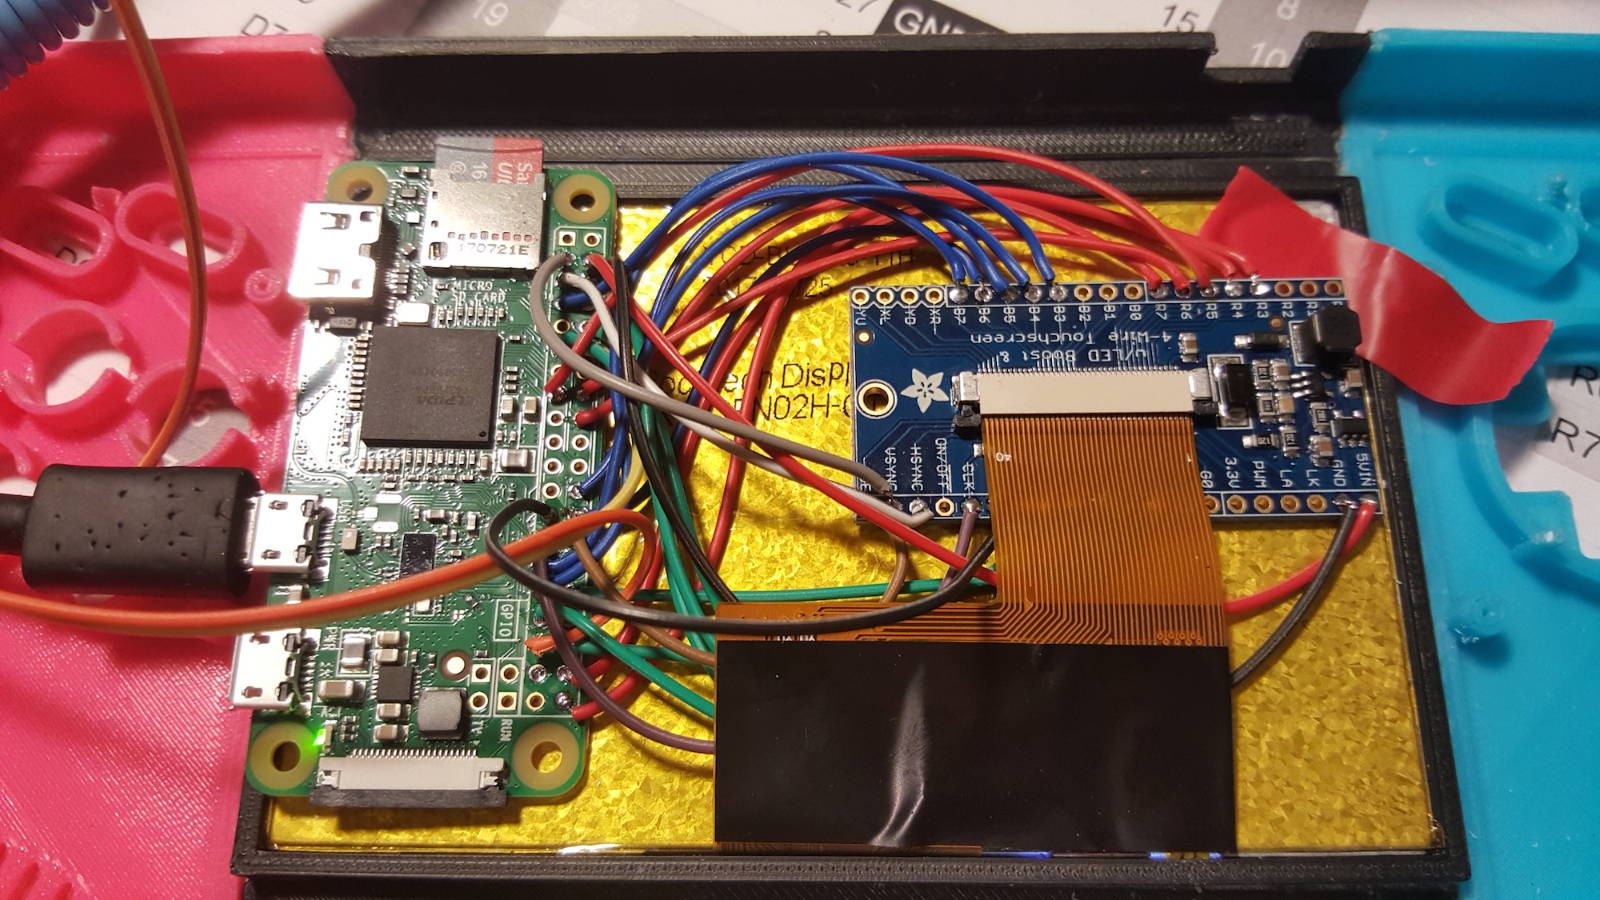
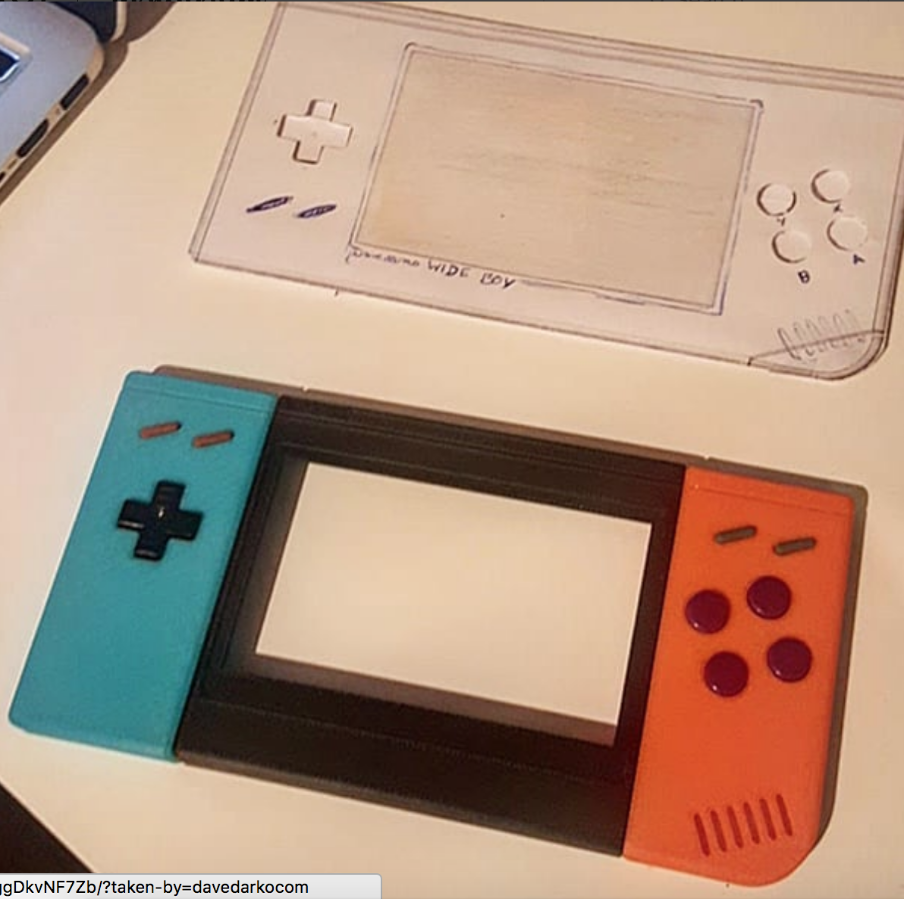
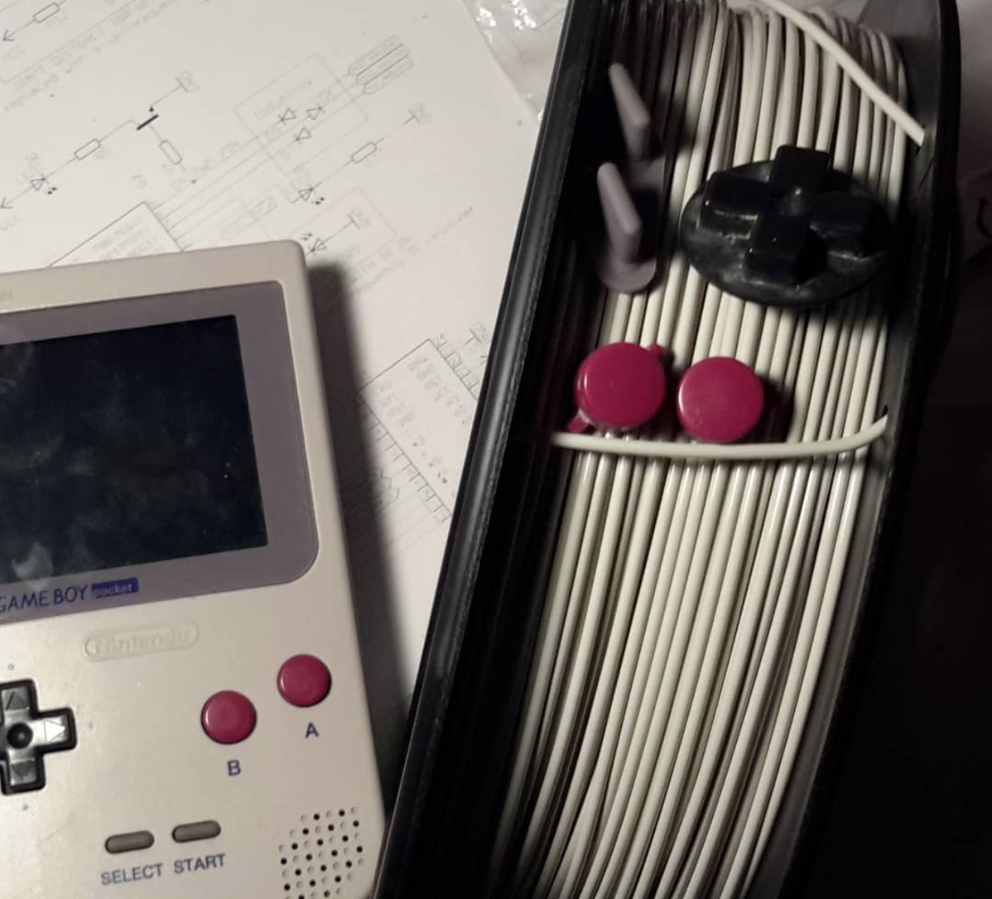
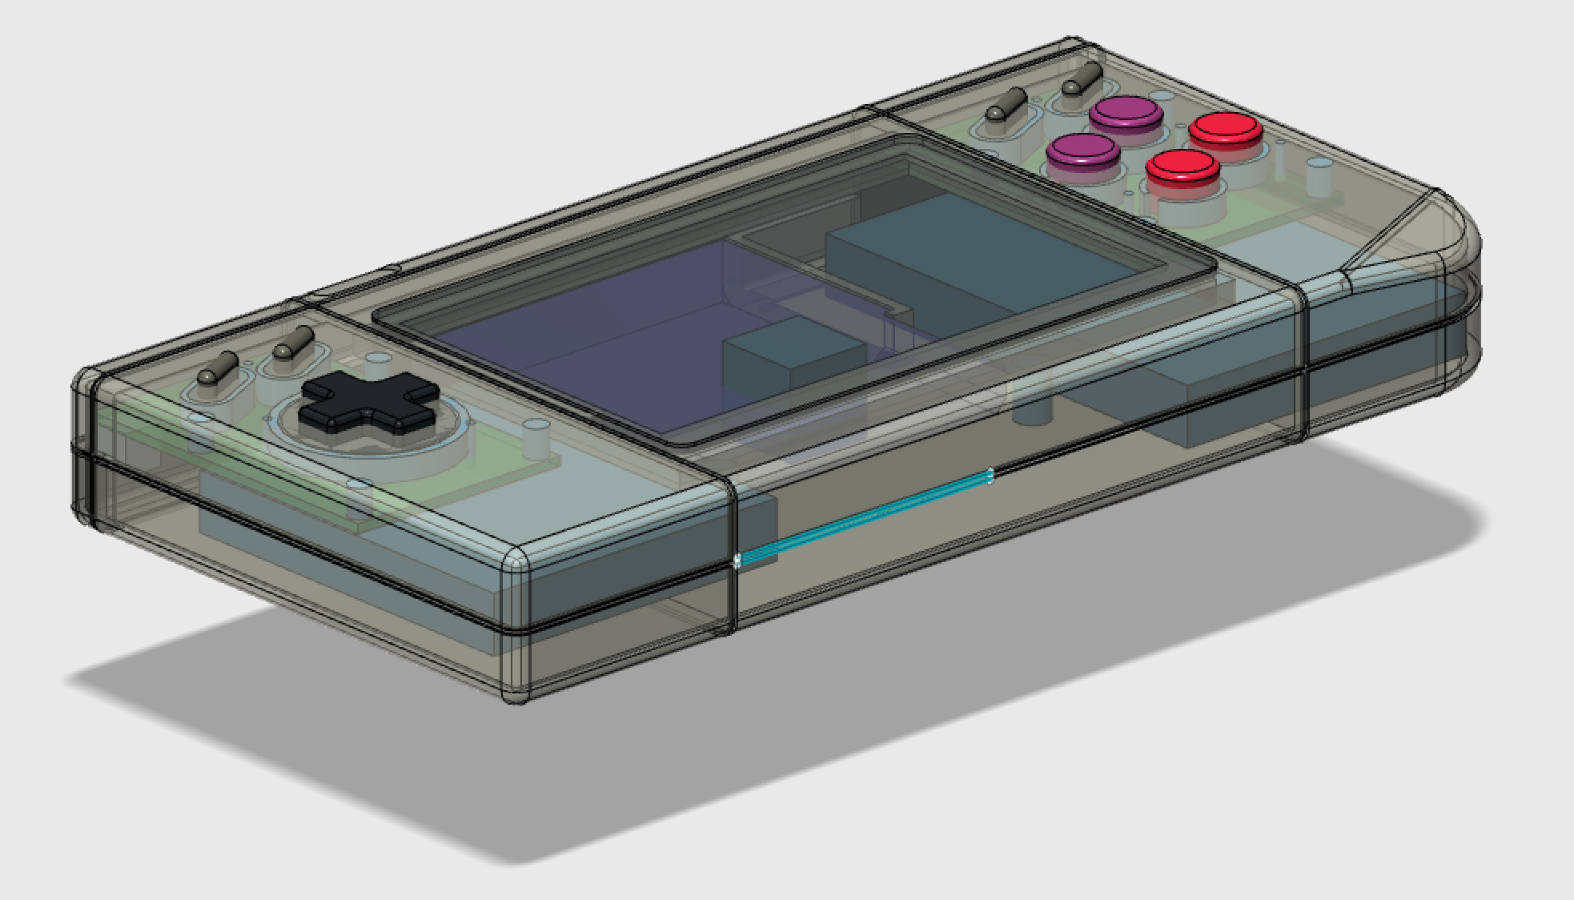
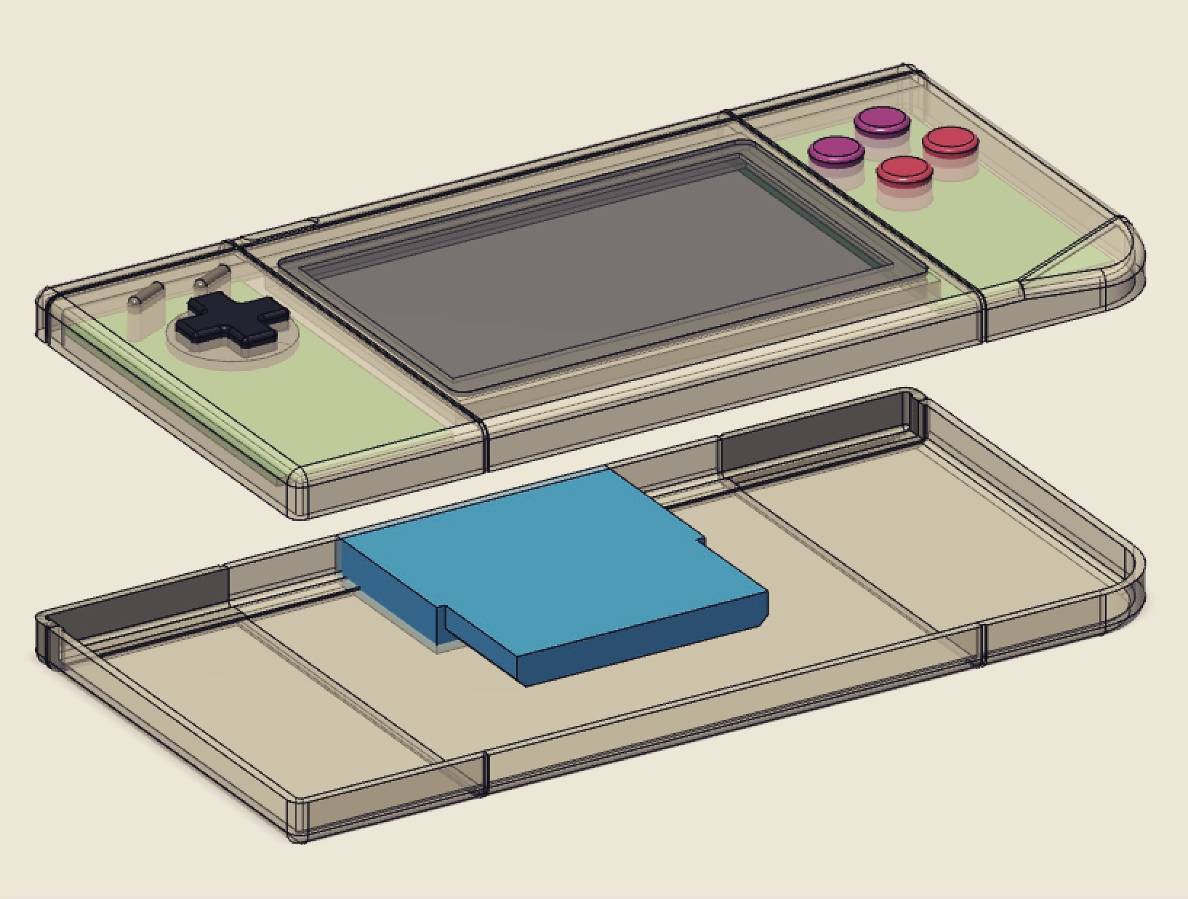
The project is a Raspberry PI zero with a 4.3 inch TFT display and some other boards. A 3D printed case with original GAME BOY design elements and the color scheme of a switch. Bonus feature is an integrated cartridge reader for original, color and advance Game Boy games!
BOM
- Raspberry PI Zero W
- 4.3inch TFT display
- Adafruit TFT Friend
- Adafruit Power Boost 1000
- 2500mAh LiPo
- USB hub (called a spider hub)
- Sparkfun Pro Micro 3V3 for the buttons
- microSD card
- PI0 soundboard from OSHpark
- Adafruit MAX98306 AMP
- tiny speaker 4 Ohm
- self designed USB cartridge reader
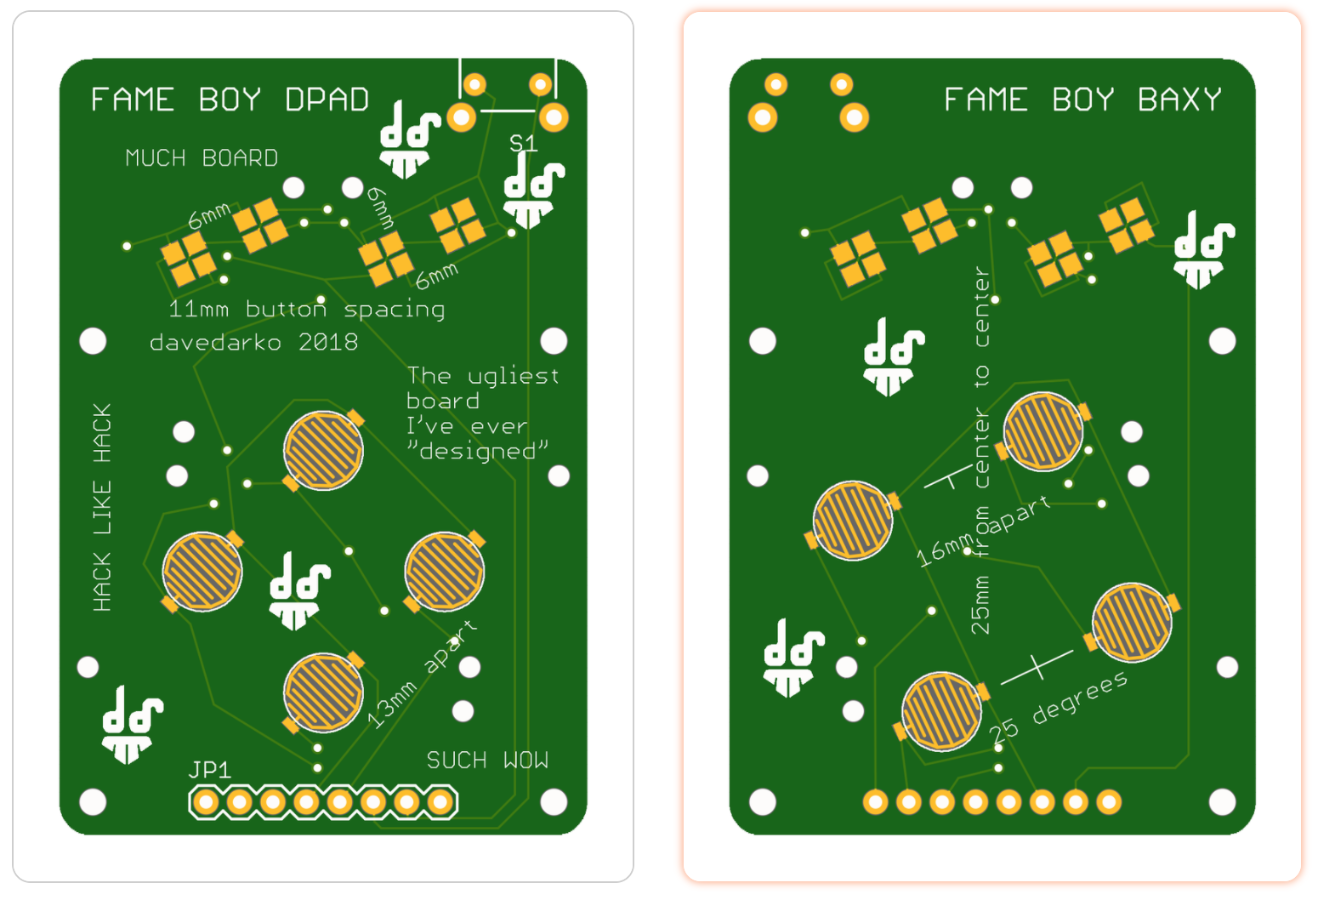
- self designed button board
- lasercut screen bezel
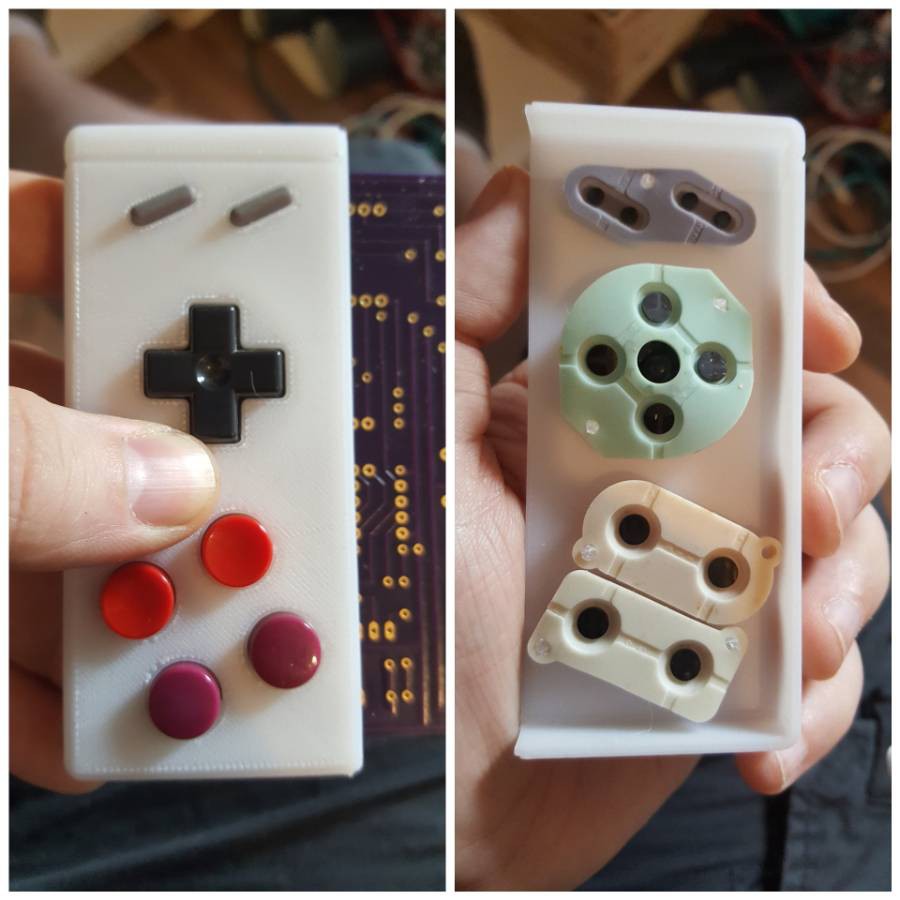
- reused GAME BOY buttons
- lots of 3D filament
- wayyy too much hot glue
- wires


 Yann Guidon / YGDES
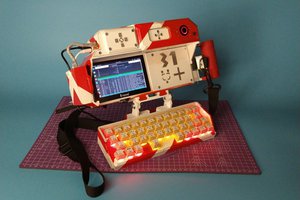
 mkdxdx
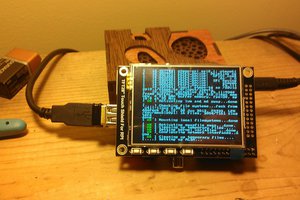
 j0z0r pwn4tr0n
 charliex
Neat! from far it looks realy like a switch!
Did you think about use the Raspberry Pi Compute module instead of Pi Zero?