Close
0%
0%

Stage, a Tile and Sprite Engine

A library for MicroPython for drawing tiles and sprites on a RGB SPI screen.

Similar projects worth following

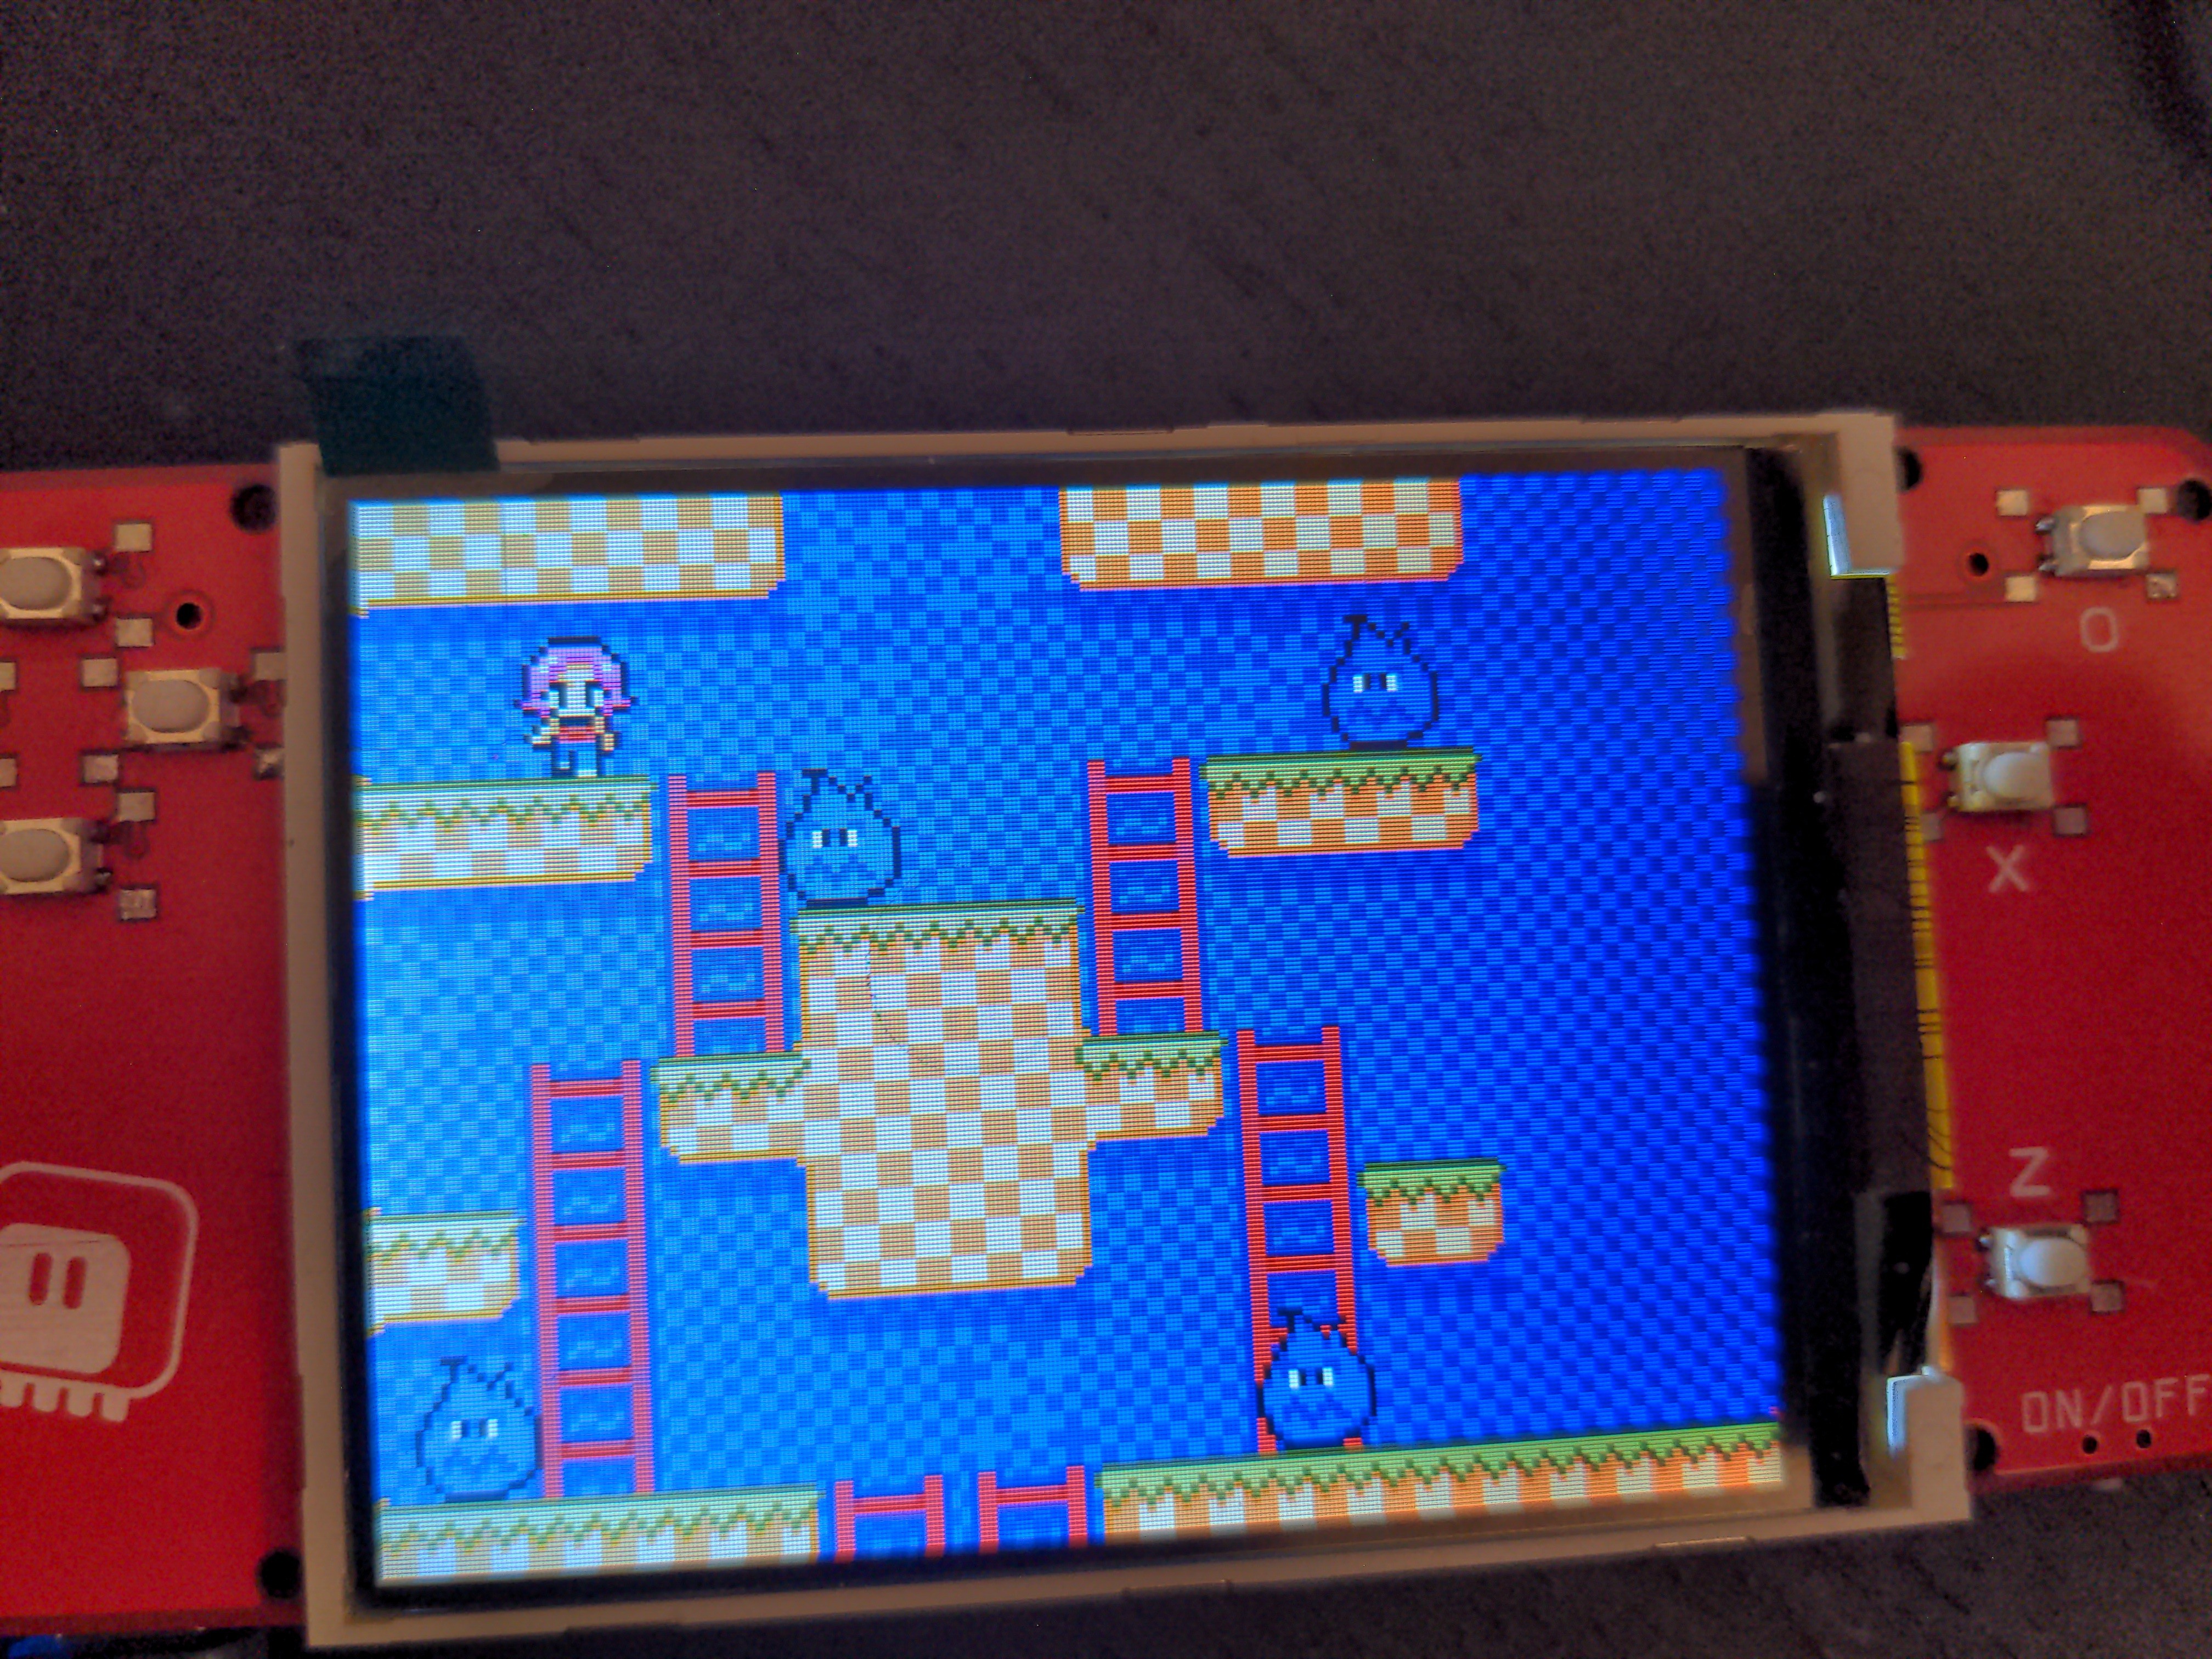
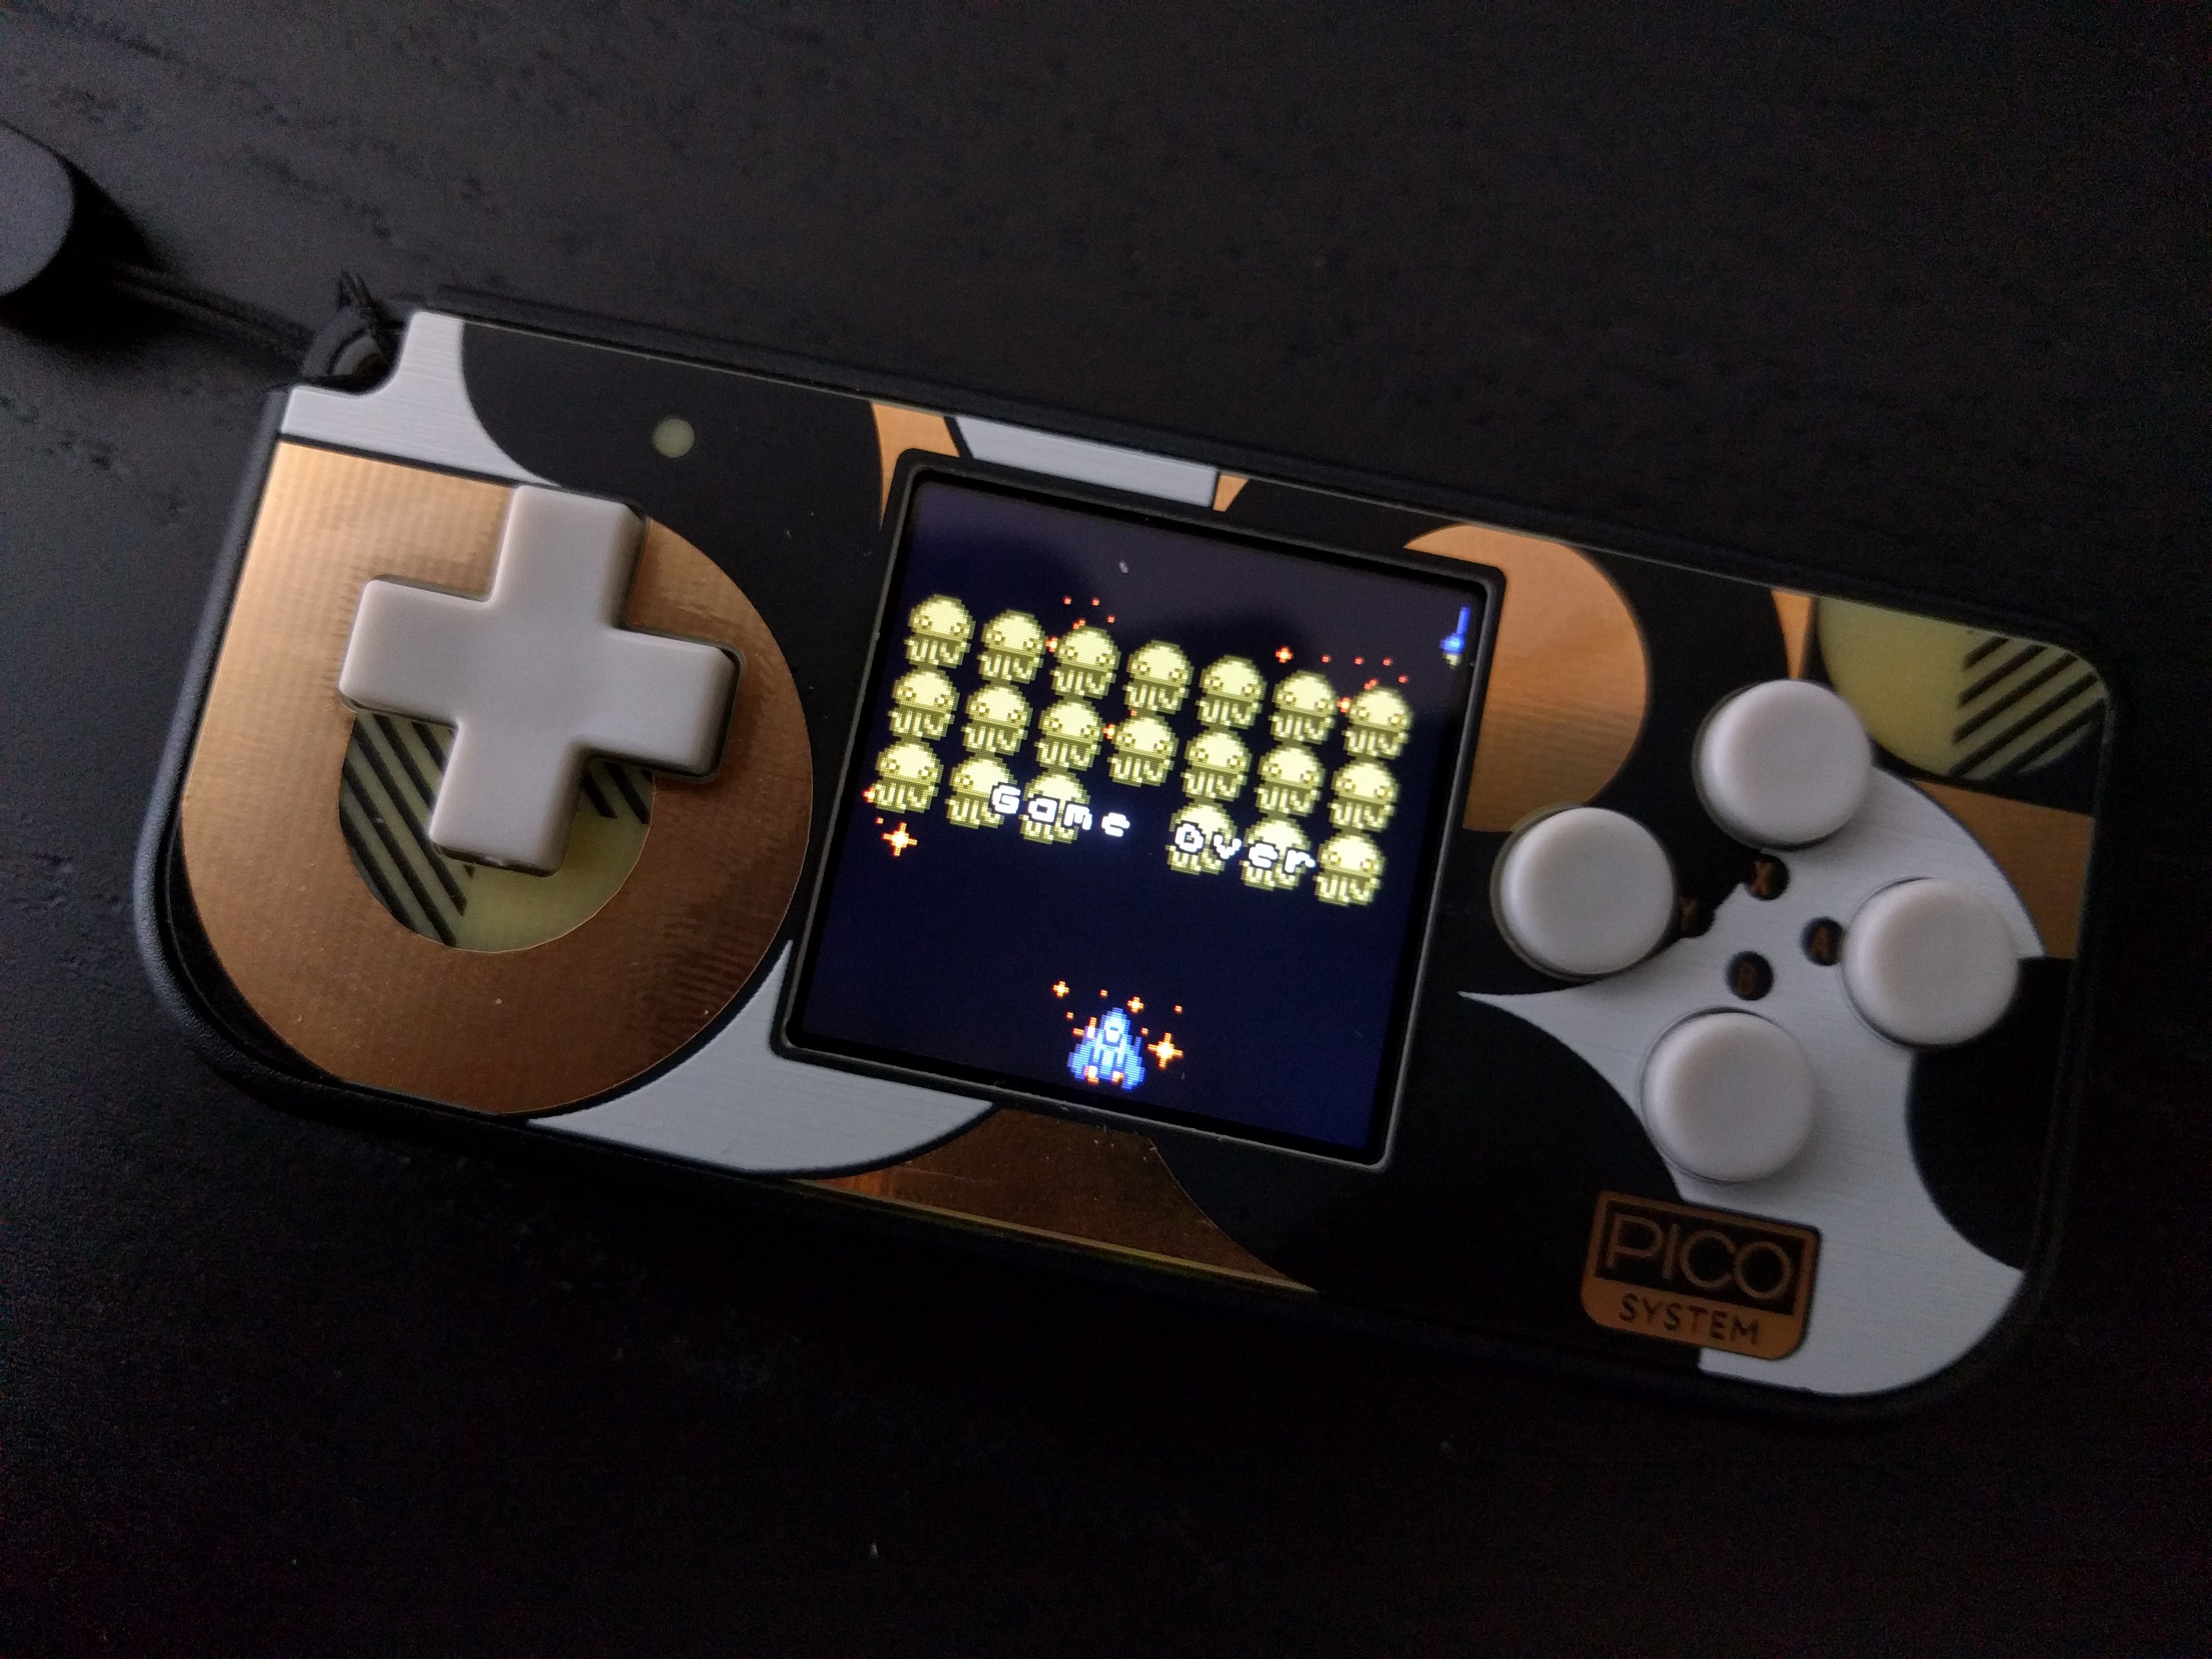
This is a MicroPython library that provides the means for drawing sprites with tiled background on 16-bit SPI-based displays. It consists of a small part written in C that needs to be compiled into the firmware, and the rest written in Python, usually also included in the firmware as frozen modules.

This library was originally created in CircuitPython for #µGame, but has since been ported onto other platforms.

  • PNG Support

    deʃhipu07/26/2022 at 22:13 0 comments

    When I just started with the Stage library, I used BMP files for the graphics, mostly because they were uncompressed, so it seemed the easiest way. And it was good enough for a prototype, to confirm this is possible. But there are a lot of problems with BMP files, starting with their size, end ending with the fact that there isn't really any official spec of them, and they have a lot of incompatible variants and versions. So while my code worked fine with images saved with GIMP, it didn't with those created with other programs. And honestly, forcing people to use GIMP is just too cruel.

    So for easier use, I decided to add GIF support. I took some work, as the compression algorithm is pretty tricky, but I got it done in pure Python, and with some restrictions, included it in the Stage library. GIF files are pretty much the same no matter what saves them, so that makes things a little bit easier for everyone. Or so I thought.

    Unfortunately, when I looked at how people try to use this library at the recent EuroPython conference, I had to revise my conclusions. You see, for most people GIF is animated format. That means that most sprite-making software, when asked to save as GIF, will create an animation of your sprite's frames, instead of an atlas. And that is very much not what Stage expects. The fact that you need to have at most 16 colors is also a problem, as many programs will happily add colors to your palette while handling or converting your GIFs, resulting in files that used to work stopping working when you edit them.

    So what format should I be using? PNG is the most popular format for static pixel-art in the community, and most tools support exporting atlases of frames to that format. It's also pretty well specified, so all the tools generate the same format. But the compression algorithm for PNG is even more complicated than for GIF, so what can I do? Turns out that the compression algorithm used by PNG, zlib deflate, is actually built-in into Python! And CircuitPython has an efficient C implementation of it available as a module too! So I don't have to worry about the compression at all, I just need to handle the file structure, which is even simpler than in GIF.

    So today I sat down, read the PNG specification, and wrote the ~50 lines of code needed to load the images. And it works! I even managed to fit the extra code and the zlib module on the PewPew M4 boards (I just had to nudge a bit the Japanese translation). Once the pull request merges, we will be able to use PNG images, and I will try to write a detailed tutorial.

    Update: I had to remove the GIF support after all, to make room.

  • PicoSystem

    deʃhipu10/07/2021 at 14:26 0 comments

    Pimoroni has released their PicoSystem, which is a handheld game console with an RP2040 microcontroller — and since it runs CircuitPython, of course I had to make it run the Stage library as well. I received a beta unit from Pimoroni, and with help from Gadgetoid, we got everything working:

    The changes are getting merged into CircuitPython even as we speak, so they should be available in any version greater than 7.0.0 (not in 7.0.0 itself, though, too late for that).

    I had to fix screen scaling, because I forgot to implement it in the CircuitPython version — I only had it working in MicroPython. I also improved the menu program, so that it adjusts to the screen size.

  • Meowbit

    deʃhipu08/30/2021 at 19:34 0 comments

    Today I finally sat down and got Stage running on the Meowbit. I had this very neat little console in my drawer for years now, and CircuitPython has been ported to the STM32 chip that it uses, but there was a bug preventing me from re-initializing the display to the settings that Stage expects. A few days ago I got reminded about Meowbit, and realized that I don't have to re-initialize the display to make it work, I can change the default display settings, since I have to recompile CircuitPython firmware for it anyways to include the parts of Stage written in C.

    So here it is:

    As an addition, I also modified to Stage library to allow using different sound output than the audioio module it defaults to. The Meowbit, for example, uses audiopwmio, but you could also use audiobusio for a device that uses I2S.

    If the pull request is accepted, the support should be available in CircuitPython 7.0 to be released soonish.

  • Tinypico Play Shield

    deʃhipu12/18/2020 at 17:33 6 comments

    After watching Unexpected Maker's stream on which he builds his Play Shield for Tinypico, I decided to try and see if the Stage library would run on it.

    I asked him about which display he uses and how it is connected, and made this "driver" for it:

    import ustruct
    import utime
    
    
    class Display(object):  # ST7739
        _BUF = bytearray(4)
    
        width = 240
        height = 240
    
        def __init__(self, spi, dc, cs=None, rst=None):
            self.spi = spi
            self.dc = dc
            self.cs = cs or (lambda x: x)
            self.rst = rst or (lambda x: x)
            self.reset()
    
        def reset(self):
            self.rst(0)
            utime.sleep_ms(50)
            self.rst(1)
            utime.sleep_ms(50)
            self.cs(0)
            for command, data in (
    #            (b'\x01', None), # reset
                (b'\x11', None), # wake
                (b'\x3a', b'\x55'),  # format
                (b'\x36', b'\xc8'),  # mad
                (b'\x21', None), # invert
                (b'\x13', None), # no partial
                (b'\x29', None), # on
            ):
                self.write(command, data)
                utime.sleep_ms(150)
            self.cs(1)
            utime.sleep_ms(50)
    
        def write(self, command=None, data=None):
            if command is not None:
                self.dc(0)
                self.spi.write(command)
            if data:
                self.dc(1)
                self.spi.write(data)
    
        def block(self, x0, y0, x1, y1):
            y0 += 80
            y1 += 80
            ustruct.pack_into('>HH', self._BUF, 0, x0, x1)
            self.write(b'\x2a', self._BUF)
            ustruct.pack_into('>HH', self._BUF, 0, y0, y1)
            self.write(b'\x2b', self._BUF)
            self.write(b'\x2c')
            self.dc(1)
    
        def clear(self, color=0x00):
            self.cs(0)
            self.block(0, 0, self.width, self.height)
            chunks, rest = divmod(self.width * self.height, 512)
            pixel = ustruct.pack('>H', color)
            if chunks:
                data = pixel * 512
                for count in range(chunks):
                    self.spi.write(data)
            if rest:
                self.spi.write(pixel * rest)
            self.cs(1)
    
        def __enter__(self):
            self.cs(0)
            return self
    
        def __exit__(self, exc_type, exc_val, exc_tb):
            self.cs(1)

    One surprising thing that took me a while to figure out is that to get correct colors, you have to put the display in inverted color mode — a bit weird, but I guess it's a question of how the actual LCD is connected to the chip inside. A quick test confirms that it works:

    Next I needed to handle the buttons. The Play Shield uses MPR121 chip to handle them, so I just added this button-handling class:

    class Buttons: # mpr121
        def __init__(self, i2c, address=0x5a):
            self._i2c = i2c
            self._address = address
            for register, value in (
                (0x80, b'\x63'), # reset
                (0x53, b'\x00'), # stop mode, reset config
                (0x2b, b'\x01\x01\x0e\x00\x01\x05\x01\x00\x00\x00\x00'),
                (0x5b, b'\x00\x10\x20'), # debounce, config1, config2
                (0x53, b'\x8f'), # exit stop mode
            ):
                self._i2c.writeto_mem(self._address, register, value)
    
        def _get_pressed(self):
            return int.from_bytes(
                self._i2c.readfrom_mem(self._address, 0x00, 2), 'big')
    

    Not having an MPR121 chip at hand, I couldn't test it, but once I sent the compiled binaries and some example code to Unexpected Maker to test on the actual shield, it ran correctly, as he shows on Twitter:  https://twitter.com/unexpectedmaker/status/1339756136224890880

    Well, OK, that demo doesn't actually use the buttons, but it initializes the chip, and that seems to have worked.

    I can do further refining once I get my hands on the actual shield.

    The full code and compiling instructions are at https://github.com/python-ugame/micropython-stage/tree/master/tinypicost7789

  • Dynamically Loadable Modules, Continued

    deʃhipu03/08/2020 at 22:31 0 comments

    I got some help with that, and did a little bit of progress, though it still doesn't work the way it should.

    People who are smarter than me started to figure things out, and there is a pull request with more documention with some additional discussion that has cleared some stuff for me.

    Basically you can only call functions that have been explicitly exposed to the native module mechanism, and if you need some additional functions, they need to be added to a list. Sounds simple enough, and I managed to get that to work, but there is a small catch: it will only work with the firmware that has those functions added as well, so it kind of defeats the whole purpose.

    Fortunately, there seems to be some ongoing work on solving this:

    So hopefully in a couple of months it will be possible.

  • Dynamically Loadable Module

    deʃhipu12/25/2019 at 23:04 0 comments

    MicroPython 1.12 is released, and the new release includes an interesting feature: the .mpy modules can now contain native code compiled with C or any other language that produces standard object files. Of course such .mpy files are then architecture-specific. This is great news for the stage library, because it means that you won't need to compile it into the firmware anymore — you should be able to just copy the .mpy file to the filesystem and import it as any other Python module.

    But how to actually do this? There is very brief documentation at http://docs.micropython.org/en/latest/develop/natmod.html and there are some examples at https://github.com/micropython/micropython/tree/master/examples/natmod — not much to go by, but I will try anyways.

    The first, naive, try failed badly. Just removing the module initialization code and replacing it with mpy_init with equivalent functions is maybe enough for the factorial example, but not for my library — in particular, the dicts that act as namespaces for the two classes that I defined fail to compile, because they would normally go to fixed code, and that is not supported with dynamic loading. So I started to dig through the examples, and figured out from the framebuf and regexp modules how to dynamically declare those classes. So far so good. Now the mpy_ld.py script crashes. Great. After naively fixing the script, the compilation still fails, because it can't locate the mp_obj_get_array function. Which is super-weird, because it has no problem locating other functions from the py/obj.c file.

    My code is available https://github.com/python-ugame/micropython-stage/tree/master/mpy if anybody wants to give it their try.

    At this point I've given up. I might try it again after the next release, maybe this feature will be more ready for actual use.

  • M5Stack Support

    deʃhipu08/01/2019 at 20:02 0 comments

    I added support for the buttons on the game face of M5Stack, (it's very similar to my #D1 Mini X-Pad Shield, I basically just had to change the numbers for the button maping, the I²C address, and negate the output). Together with the automatic 2× scaling, it means you can play the µGame games on it now (and, what is more important, easily make your own).

    What I don't like is the noise from the speakers — for some reason that happens only when the face is connected, and not on USB — perhaps grounding issues? There is no sound from the game, because so far MicroPython doesn't support it (though technically it's possible, someone just needs to write the code).

  • Scaling

    deʃhipu08/01/2019 at 14:00 0 comments

    One problem with supporting devices other than #µGame is that they use different displays. The 160×128 version of ST7735 is not that bad — there is just a strip of 32 unused pixels — but the ILI9341 is almost twice as large, with 320×240 pixels. So you either play the game on a tiny postage stamp, or you adapt it to the platform — but the 16×16 tiles and sprites are still too small.

    That's why I just added a "scale" optional parameter to the Stage object in the library, that allows you to scale the display 2× or more, giving you back the chunky pixels we so love.

  • Proper Repository

    deʃhipu08/01/2019 at 13:53 1 comment

    While the CircuitPython port of this library is being used both on the #µGame and a number of Adafruit boards (see #PyBadge Hacking), and is included in the official repository, the MicroPython port is not as well supported. In fact, if you wanted to use it on MicroPython, you were up for a bit of a challenge, figuring out what files to modify in order to have the C portion of the library compiled in your firmware. But that is no more.

    Recent releases of MicroPython have a primitive but workable way for adding third-party modules, and I finally took the time to follow that guide and make a proper repository for the MicroPython version of Stage, available now at https://github.com/python-ugame/micropython-stage. The documentation is still lacking, and the only fully working example is for a D1 Mini with the #D1 Mini X-Pad Shield and an ST7735 display, with some partial support for M5Stack, but I plan to extend that to a couple of third-party devices, including OdroidGo, Meowbit, and maybe even Pokitto.

  • Build for ESP8266

    deʃhipu01/30/2019 at 23:17 0 comments

    If you want to try playing with this, but don't feel like compiling your own MicroPython firmware, I prepared a build for the ESP8266 with the #D1 Mini X-Pad Shield and an ST7735 display module: https://github.com/deshipu/micropython/releases/download/v1.10-34-g711238a95-dirty/firmware-combined.bin

    I also updated and rebased the "stage" branch, here: https://github.com/deshipu/micropython/tree/stage

View all 15 project logs

Enjoy this project?

Share

Discussions

Makerfabs wrote 03/12/2018 at 03:48 point

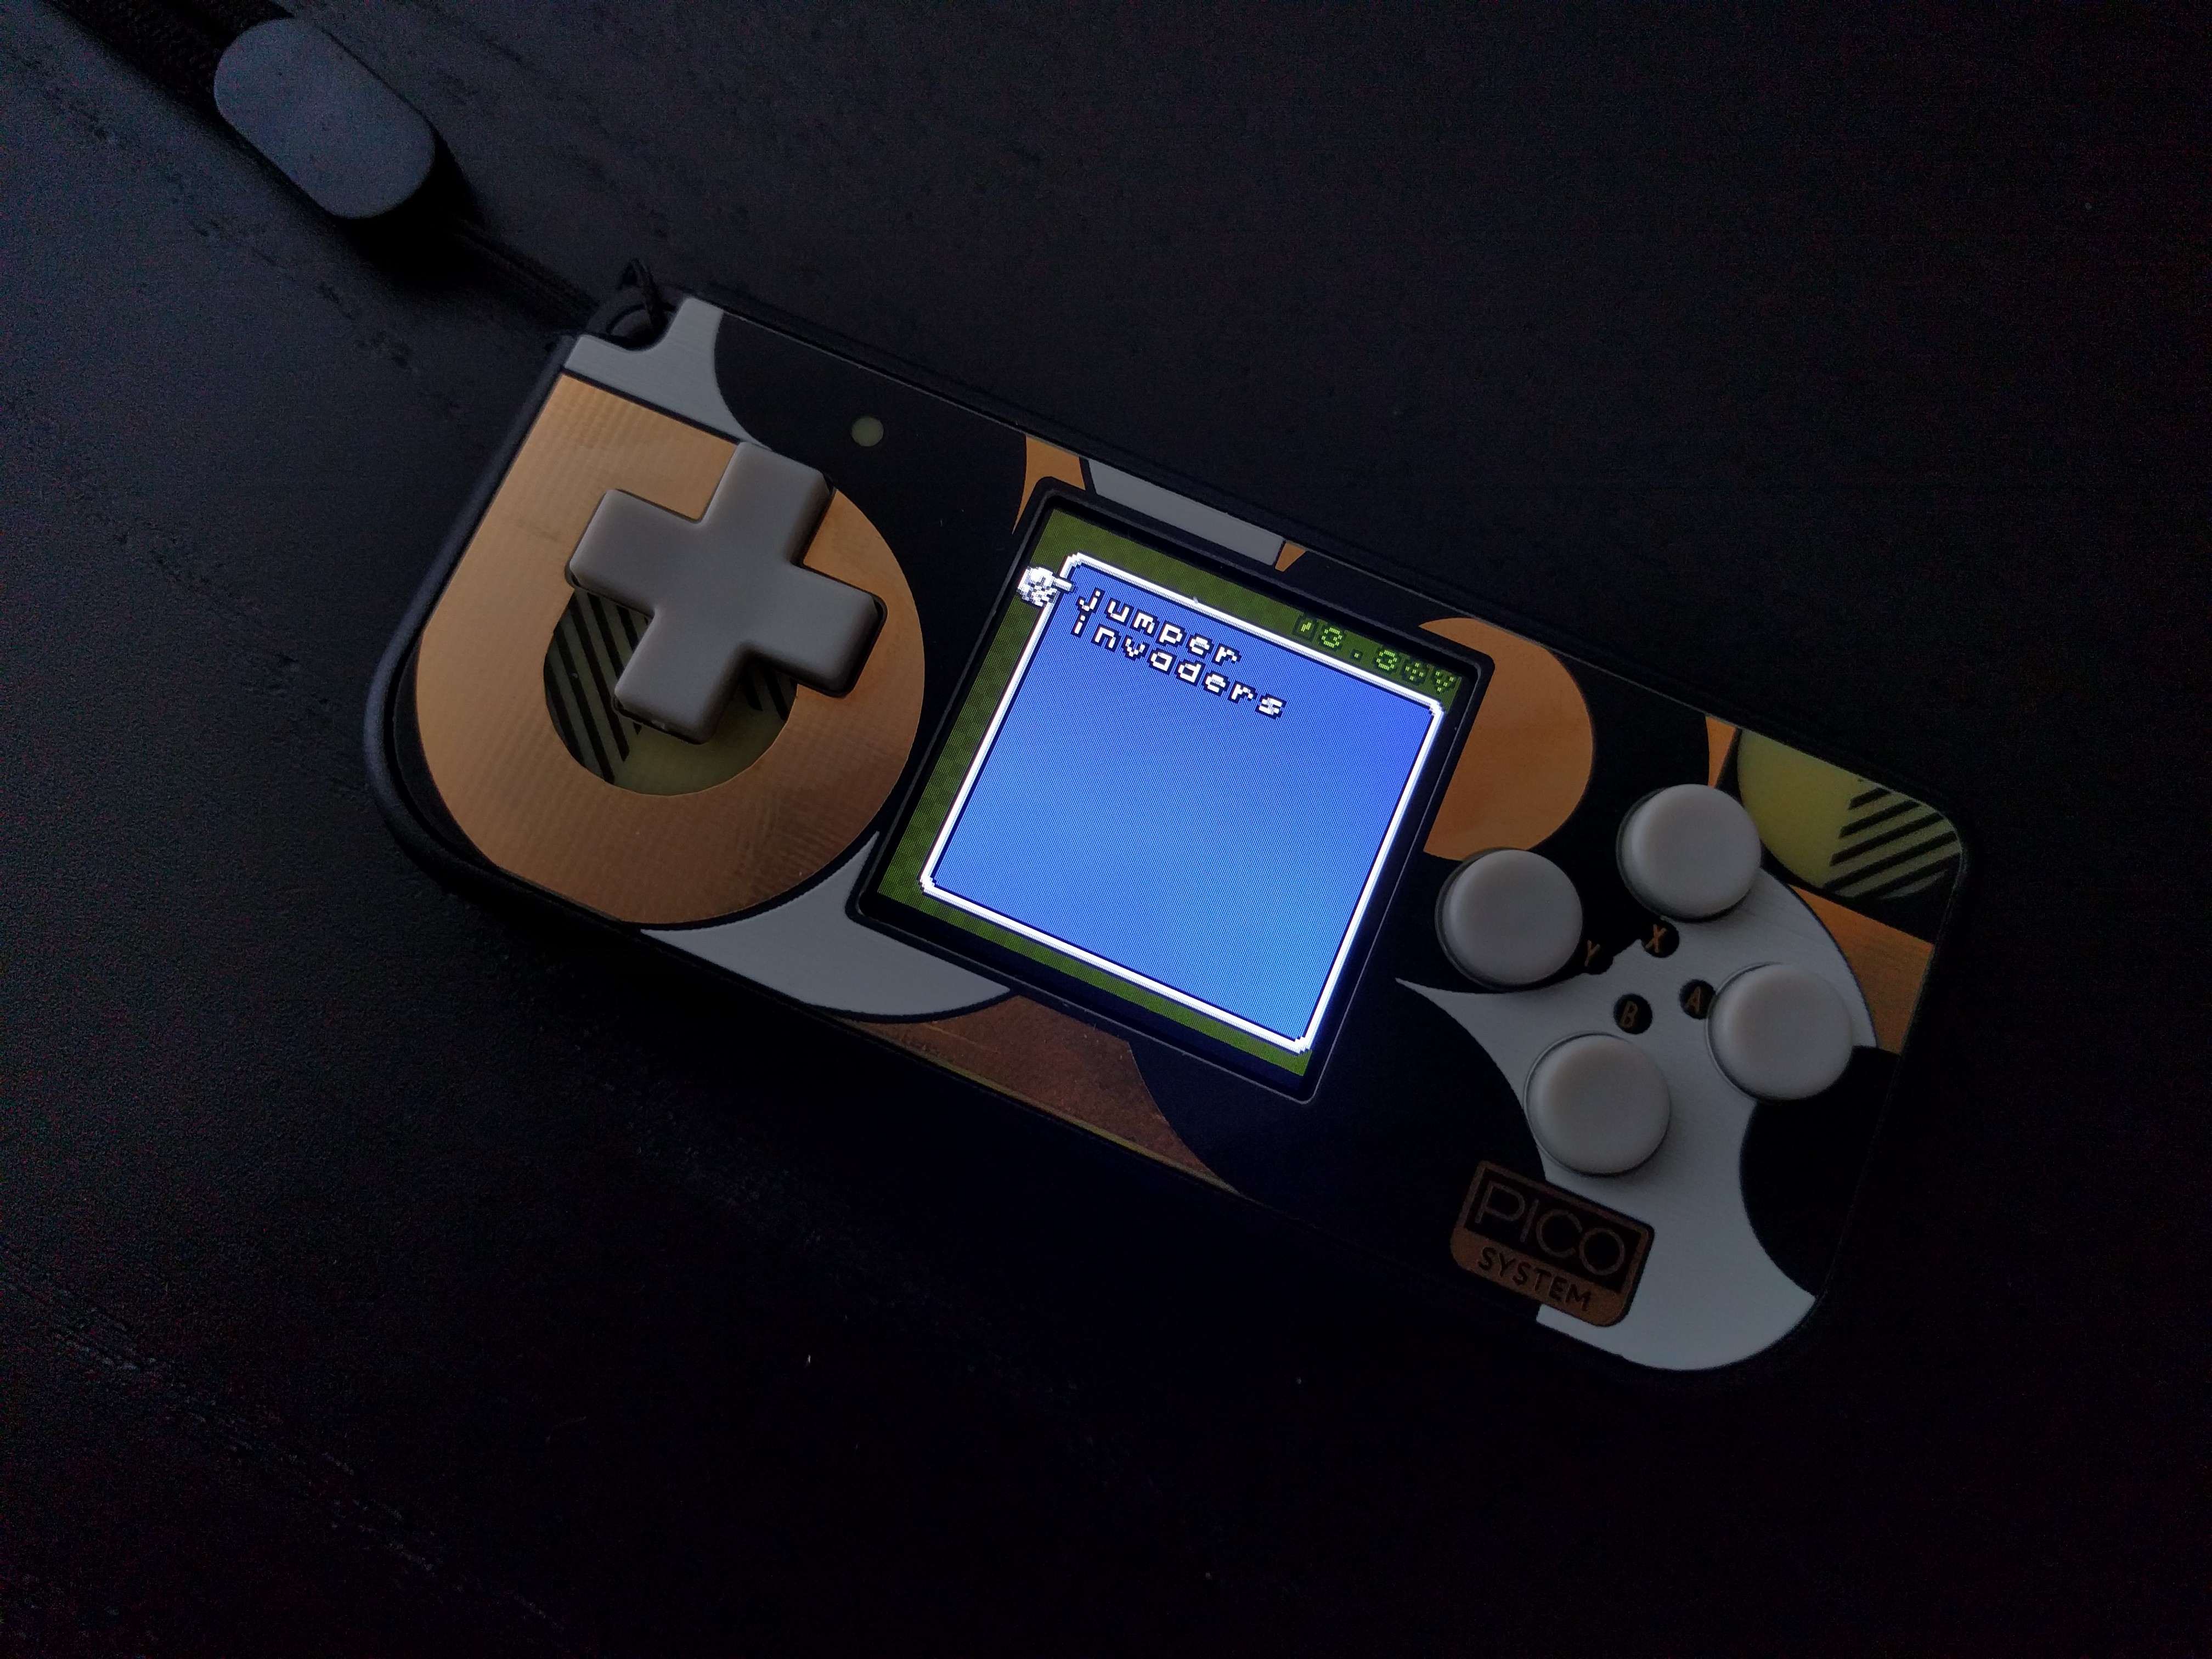
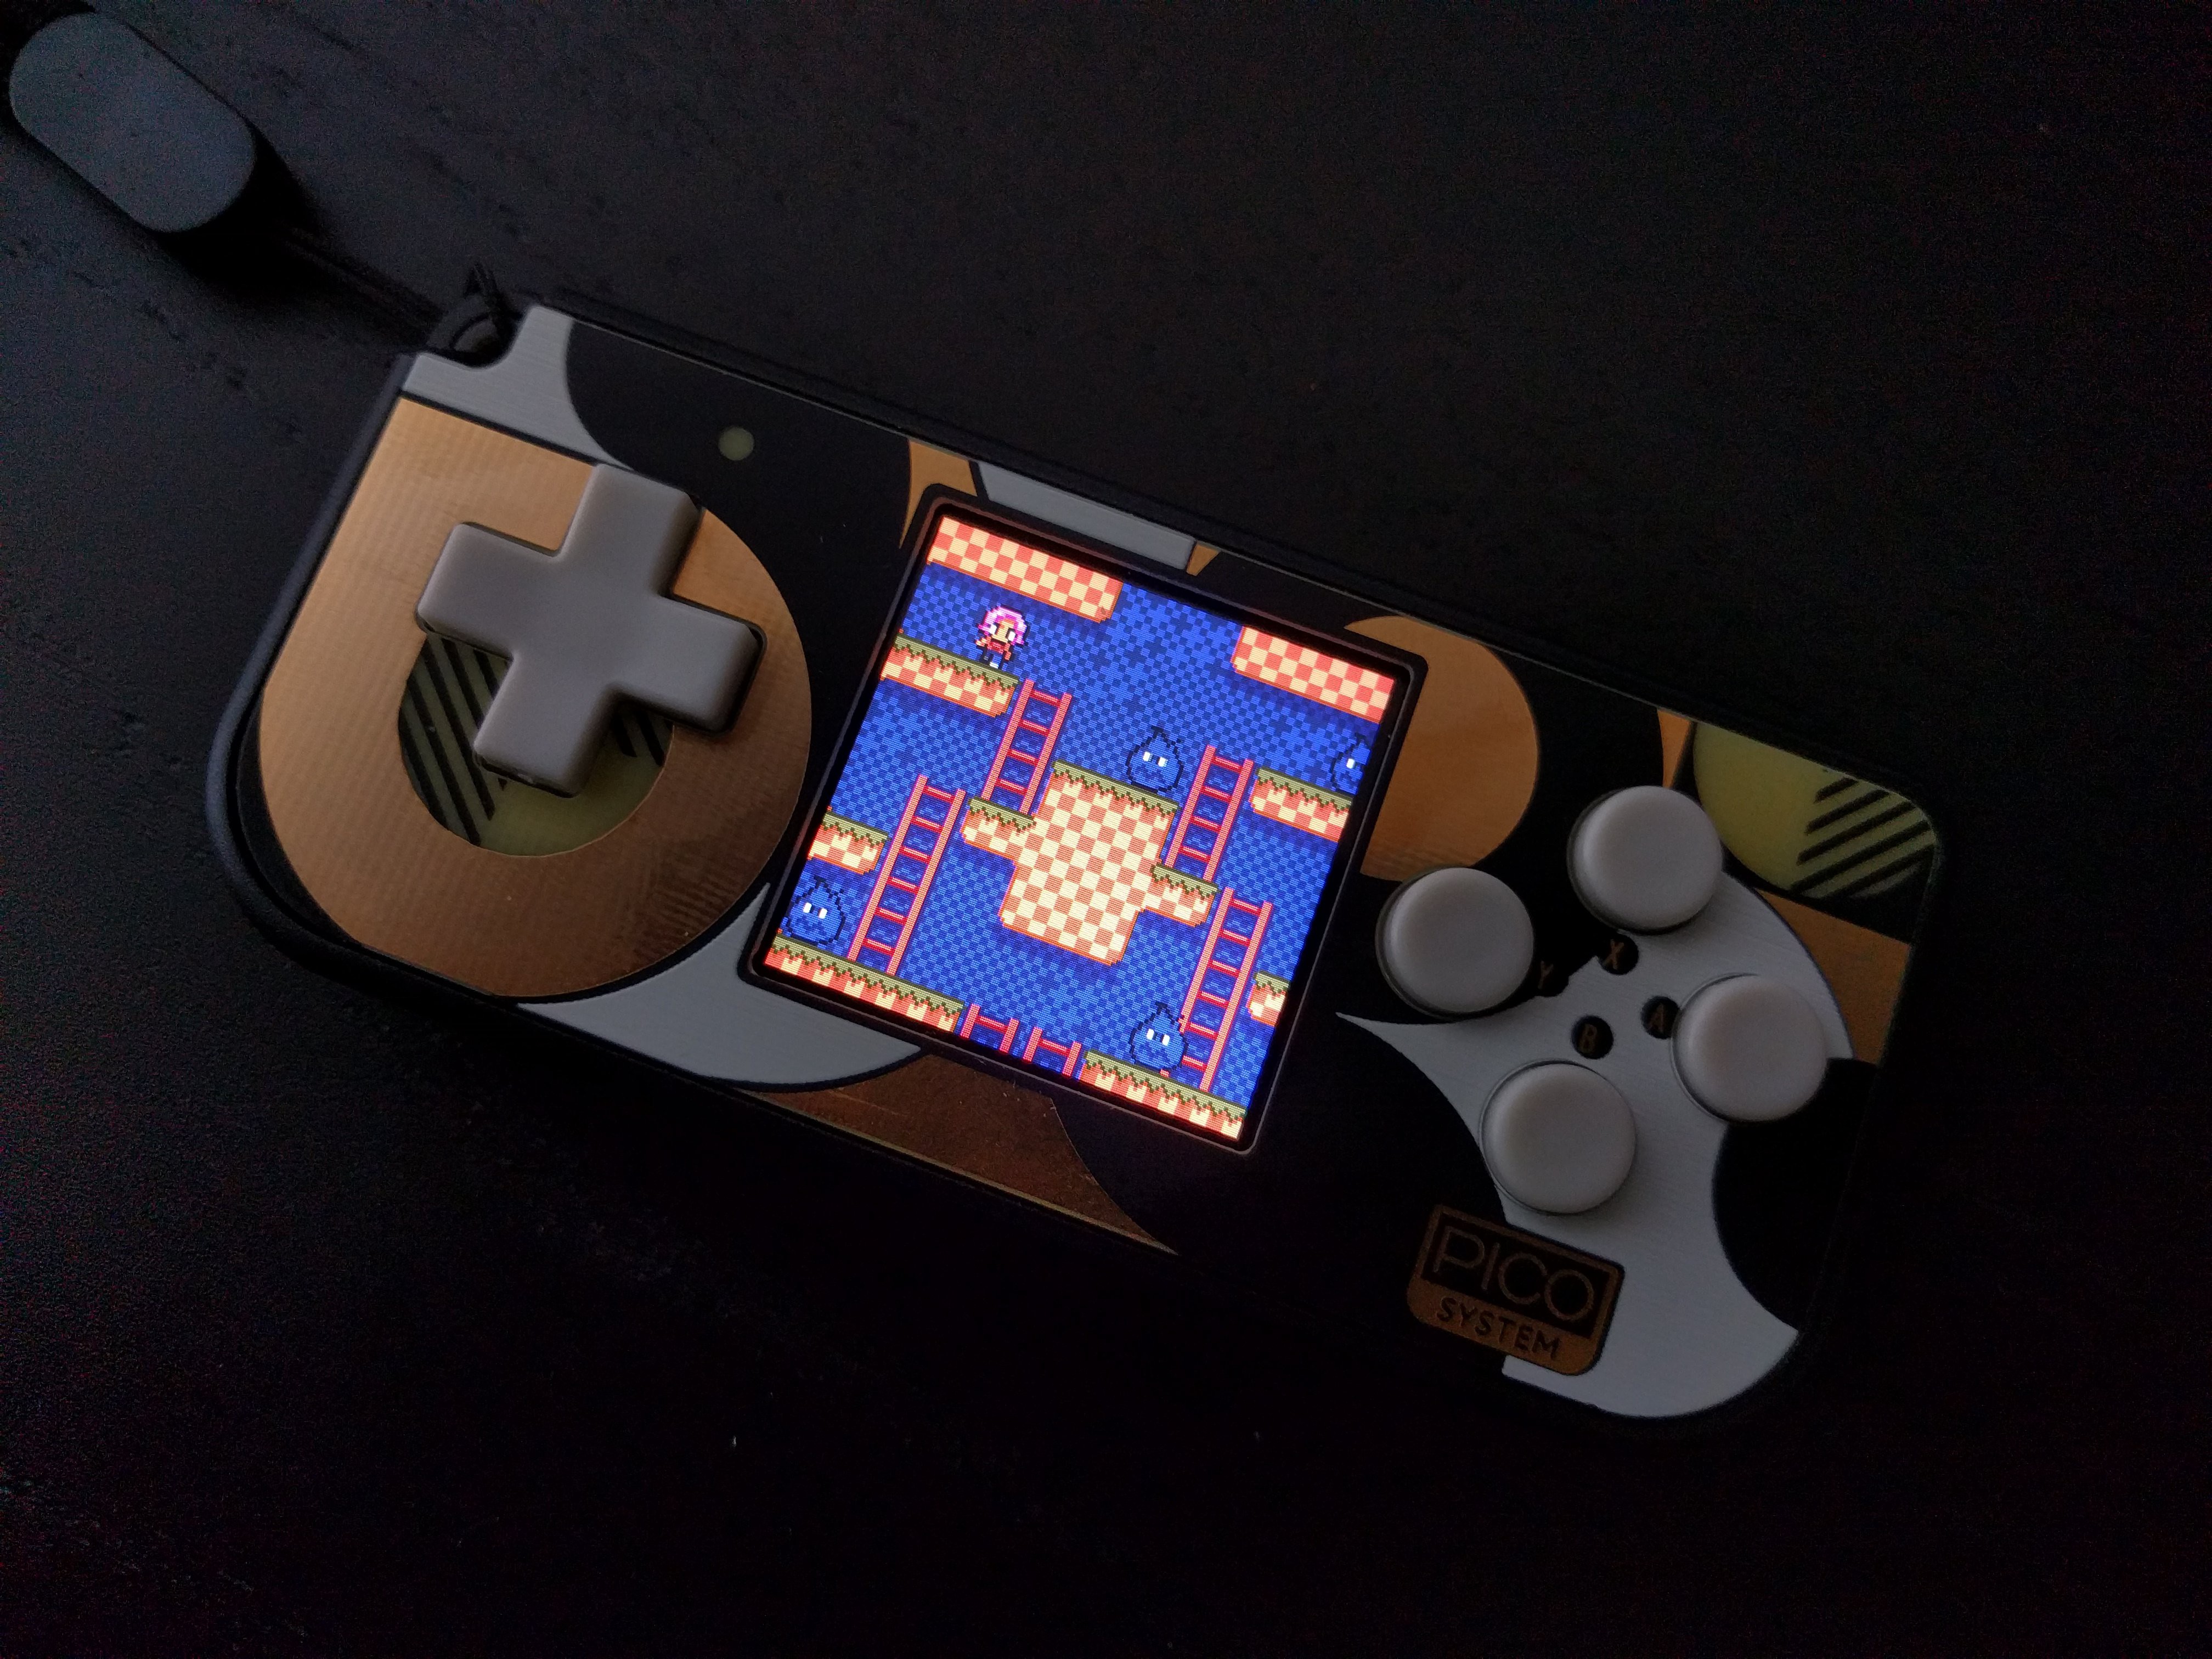
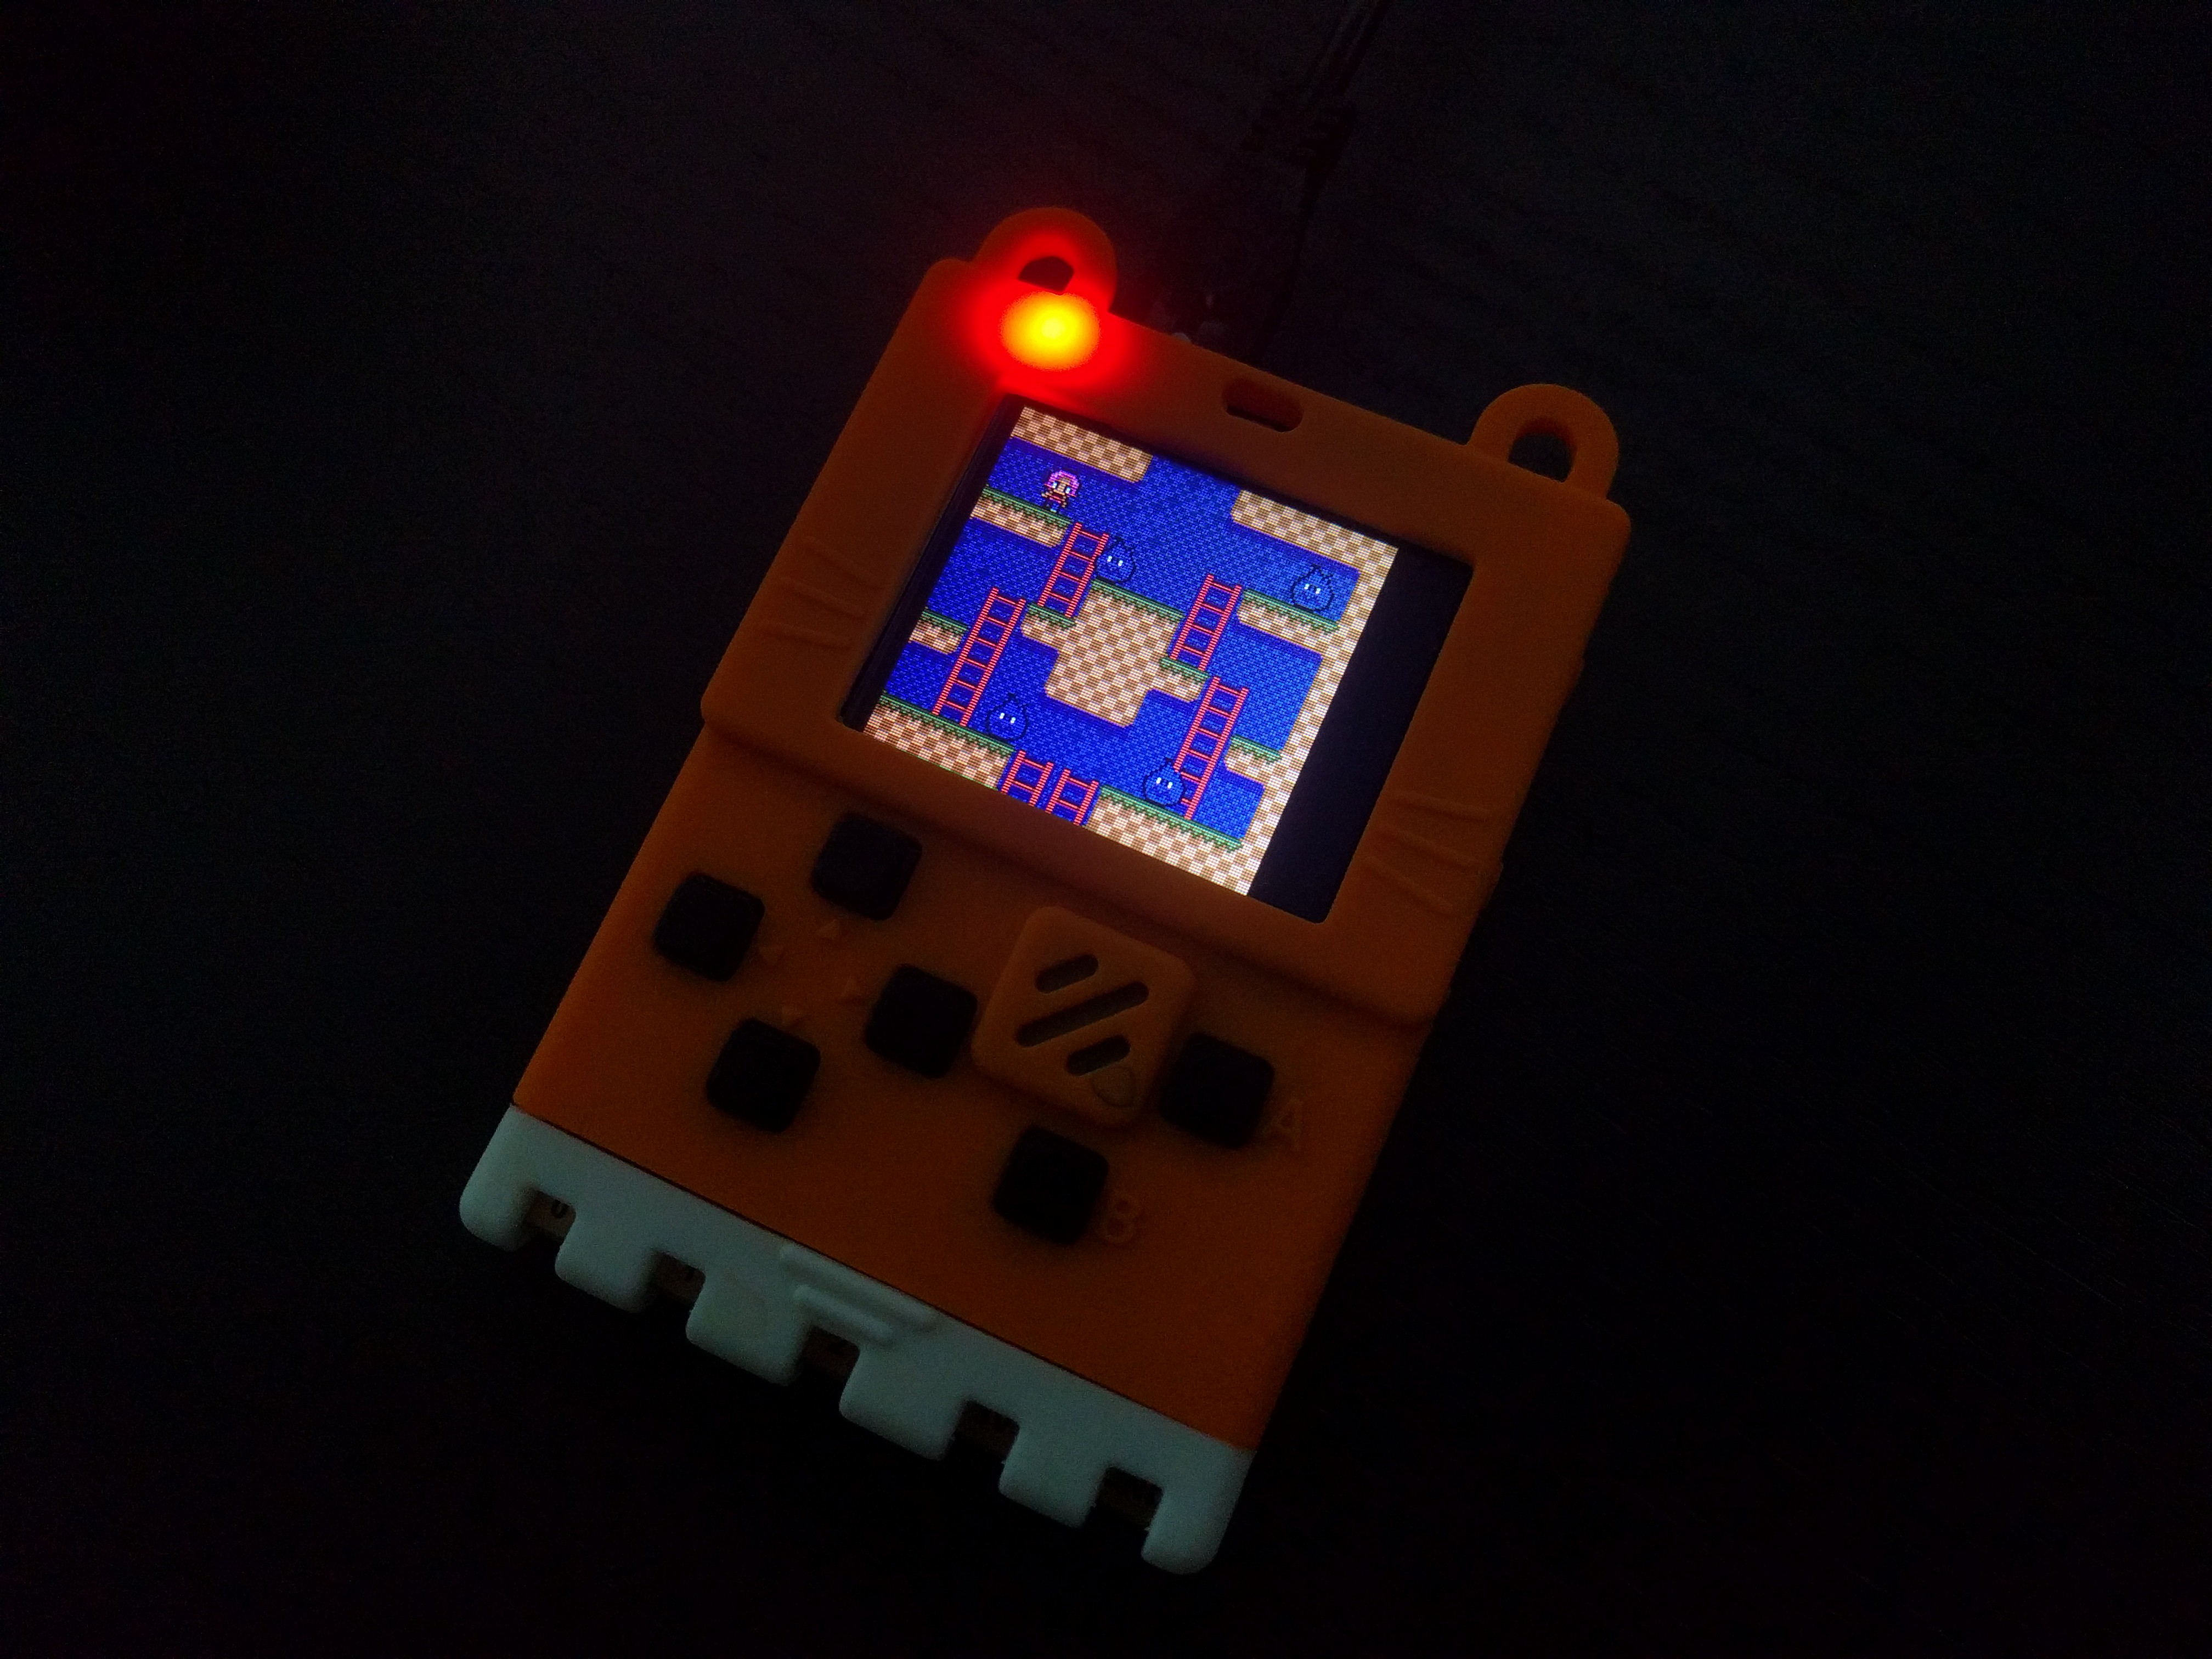
An 3D printer enclosure makes the projects friendly to none-hardware engineers...

  Are you sure? yes | no

deʃhipu wrote 03/12/2018 at 09:50 point

Definitely! Also safer to put in your pocket, etc. 

  Are you sure? yes | no

Ted Yapo wrote 03/10/2018 at 23:43 point

How fast is it?  I guess I could figure it out by the number of bits and SPI speed, but it's easier if you tell me :-)

I assume you update just the dirty areas of the display?

  Are you sure? yes | no

deʃhipu wrote 03/11/2018 at 00:03 point

ESP8266 could do the same speed as the MCU clock, so 80MHz without overclocking, and 160MHz with. The ESP32 has a 240MHz clock, but I'm not sure what the SPI clock limits are. Well, HSPI is limited to 26MHz in full-duplex mode, but VSPI doesn't seem to be.

Yes, I only update the dirty areas, that's how I managed to make it work with 24MHz SPI on the µGame. Of course that mans no scrolling, but the ILI9341 has hardware scrolling in one direction, so I might be able to make use of that.

  Are you sure? yes | no

Josh Lloyd wrote 05/01/2019 at 00:03 point

I believe the SPI Baudrate limit on the ESP32 is 80MHz if you're lucky, I've had the chip fail to perform at 80MHz, and getting 40MHz instead. This applies to the QSPI also that the Flash and PSRAM are on. 

  Are you sure? yes | no

deʃhipu wrote 05/01/2019 at 19:13 point

Before you hit the limitation of the ESP8266, you hit the limitation of the display itself. I'm driving it at 24MHz SPI, but that is already outside of its official limit of 20MHz for writes.

  Are you sure? yes | no

Similar Projects

Does this project spark your interest?

Become a member to follow this project and never miss any updates