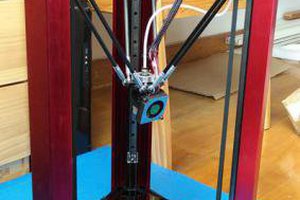
My 3D printer uses Marlin as firmware so this are the modifications you need to do for it to work:
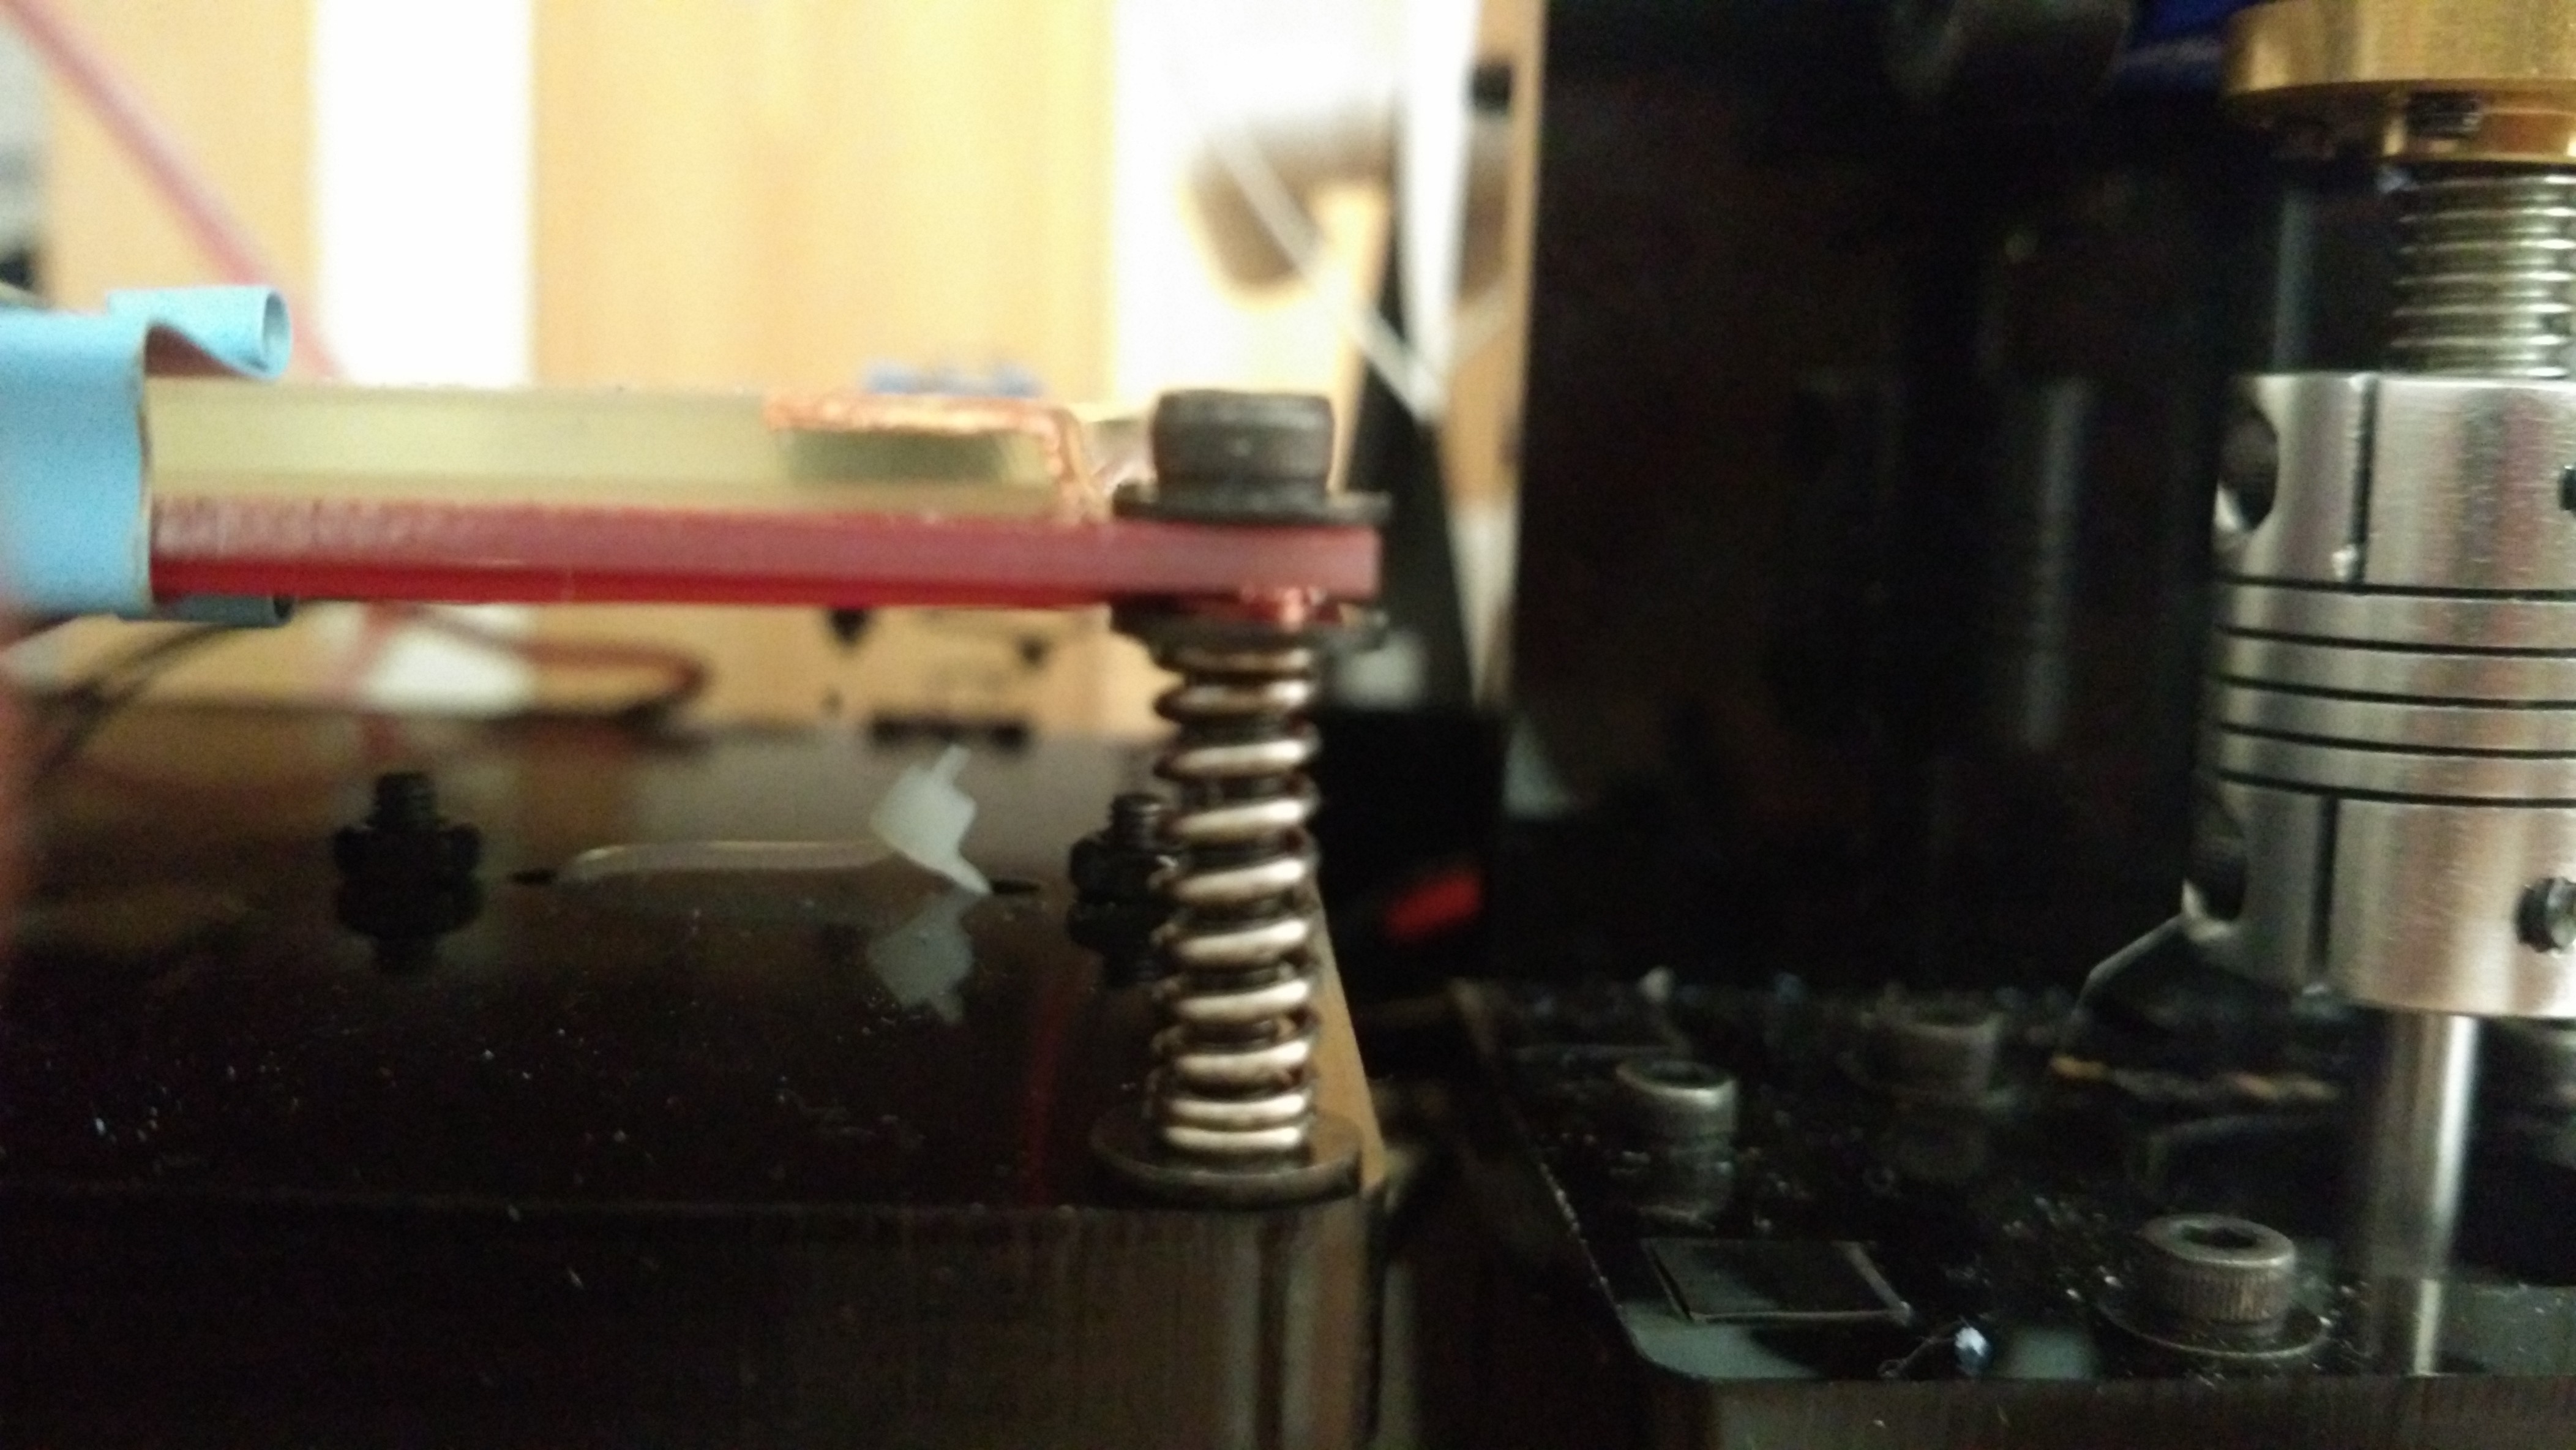
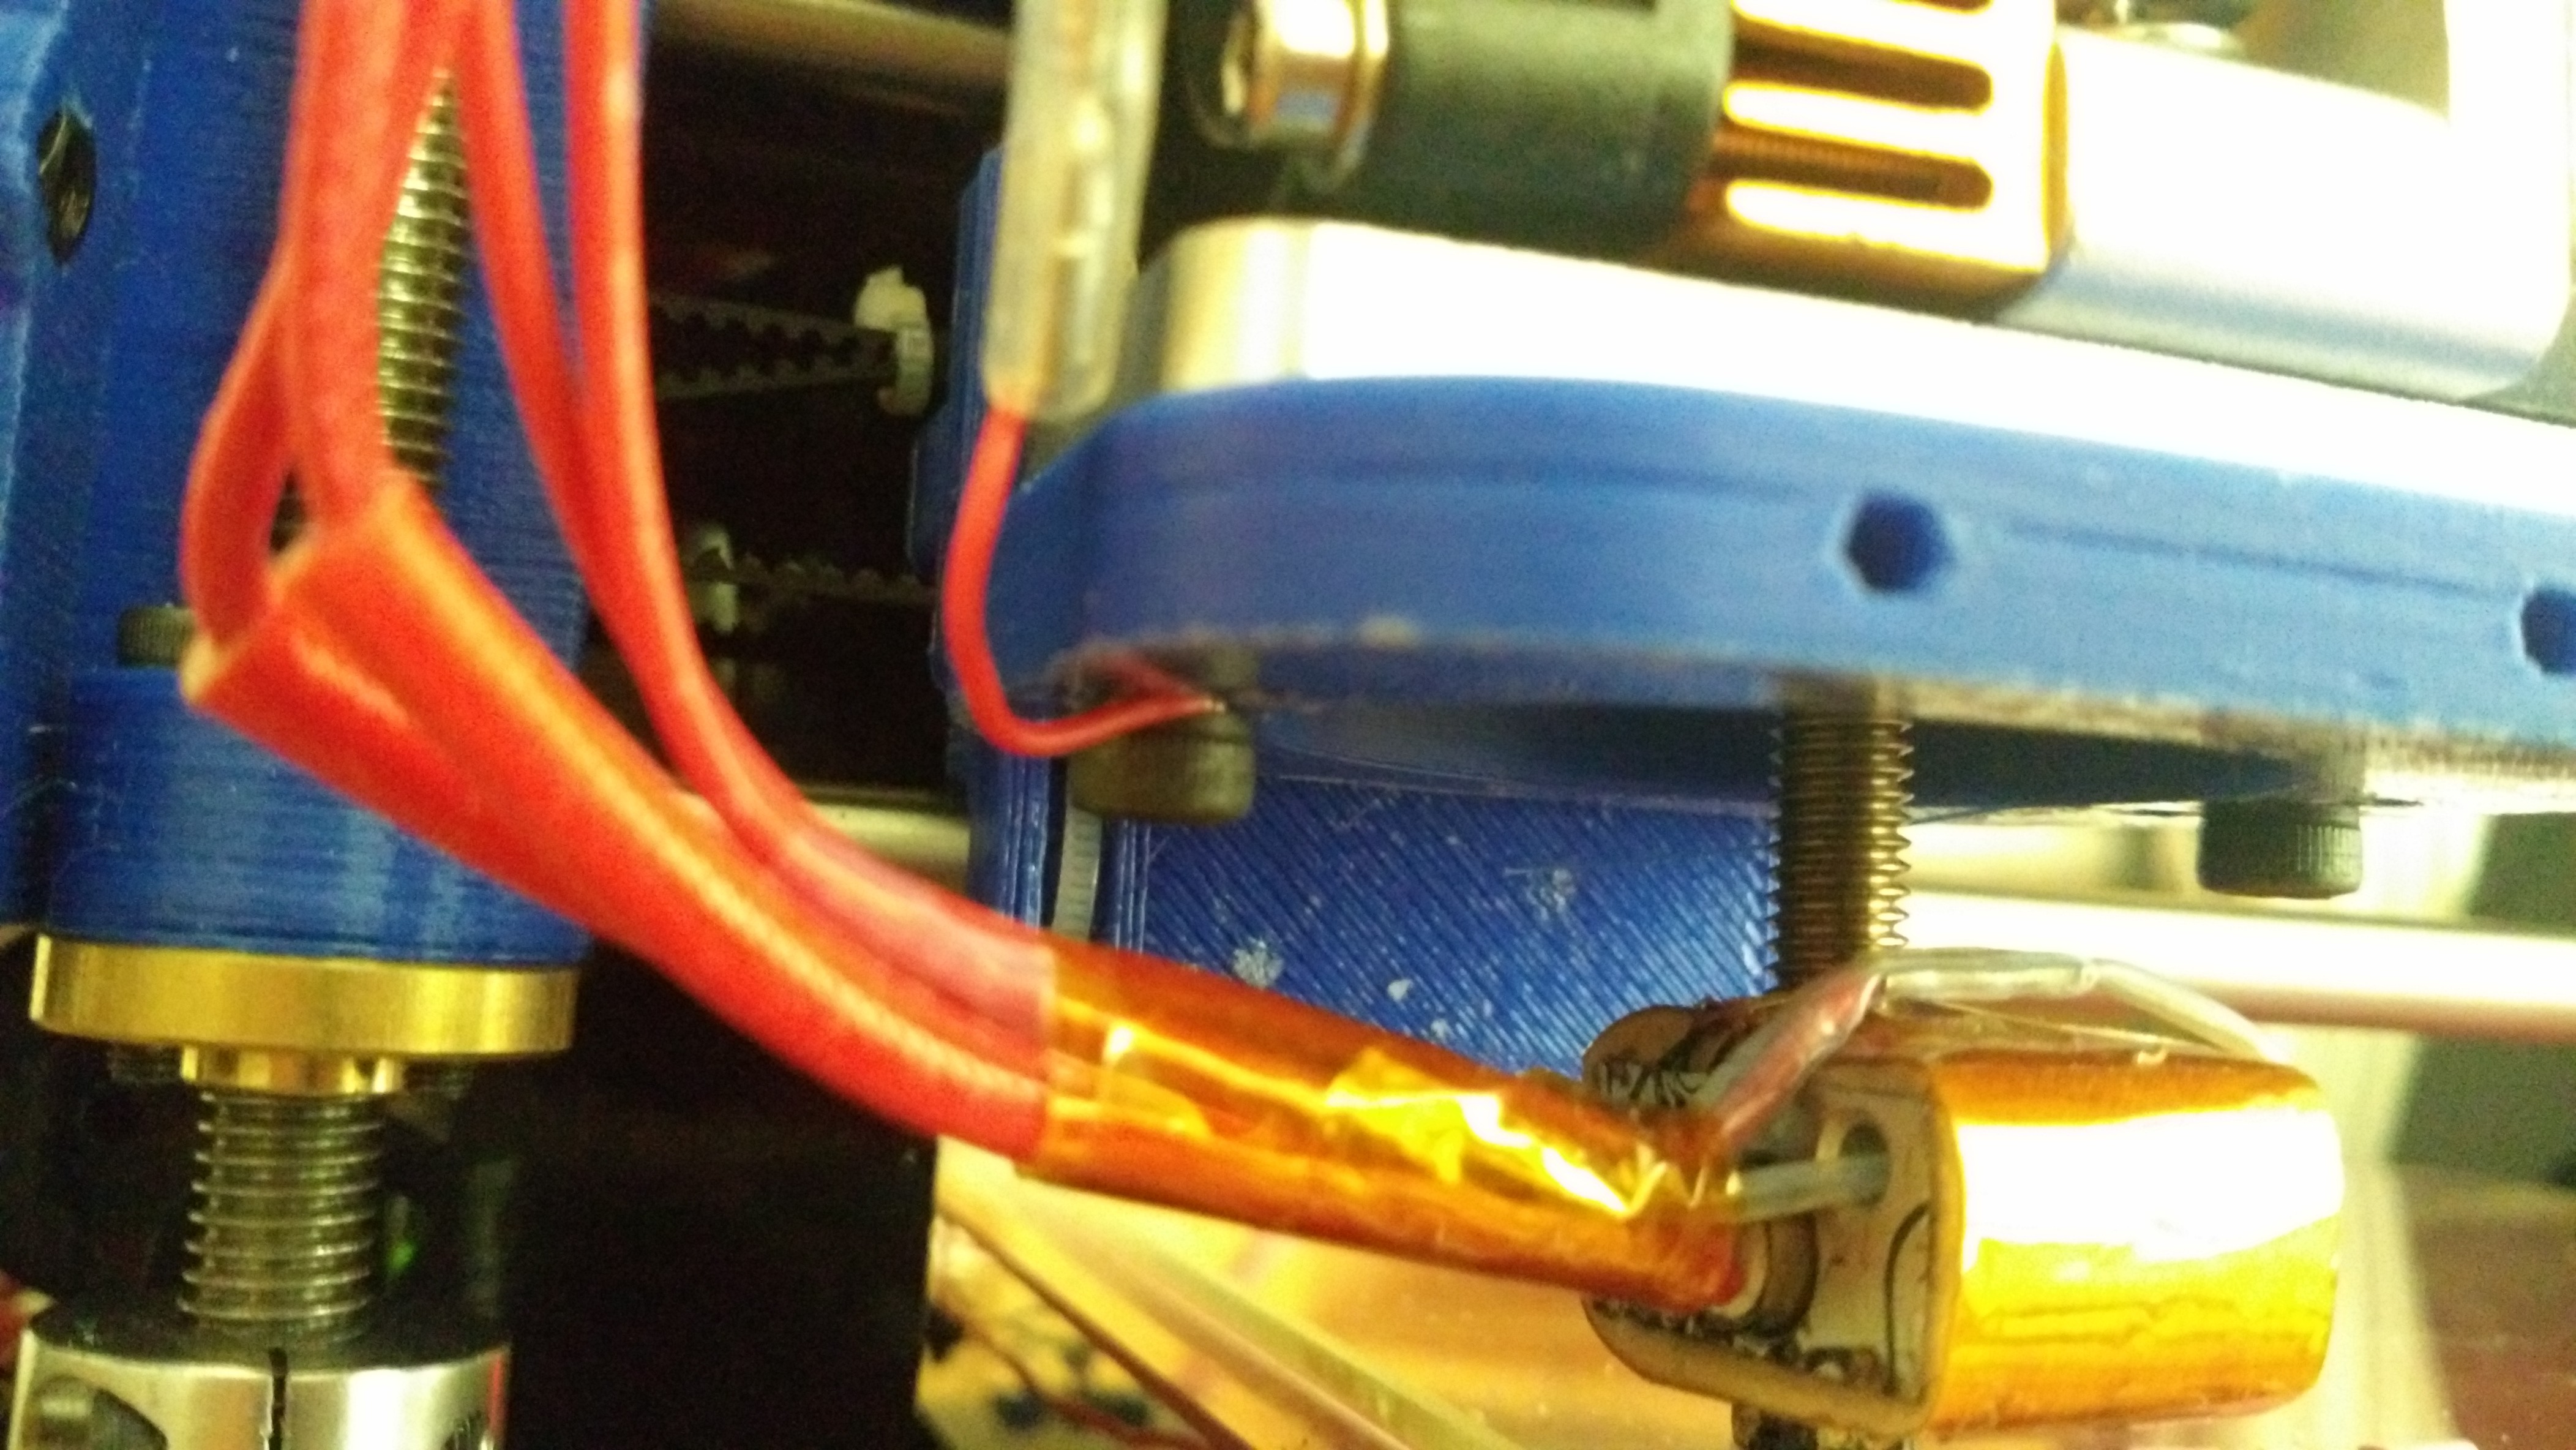
The tape acts as a NO Switch so you need to invert the endstop
const bool Z_MIN_ENDSTOP_INVERTING = true; // set to true to invert the logic of the endstop.
Enable Auto leveling by uncommenting this line
#define ENABLE_AUTO_BED_LEVELING // Delete the comment to enable (remove // at the start of the line)
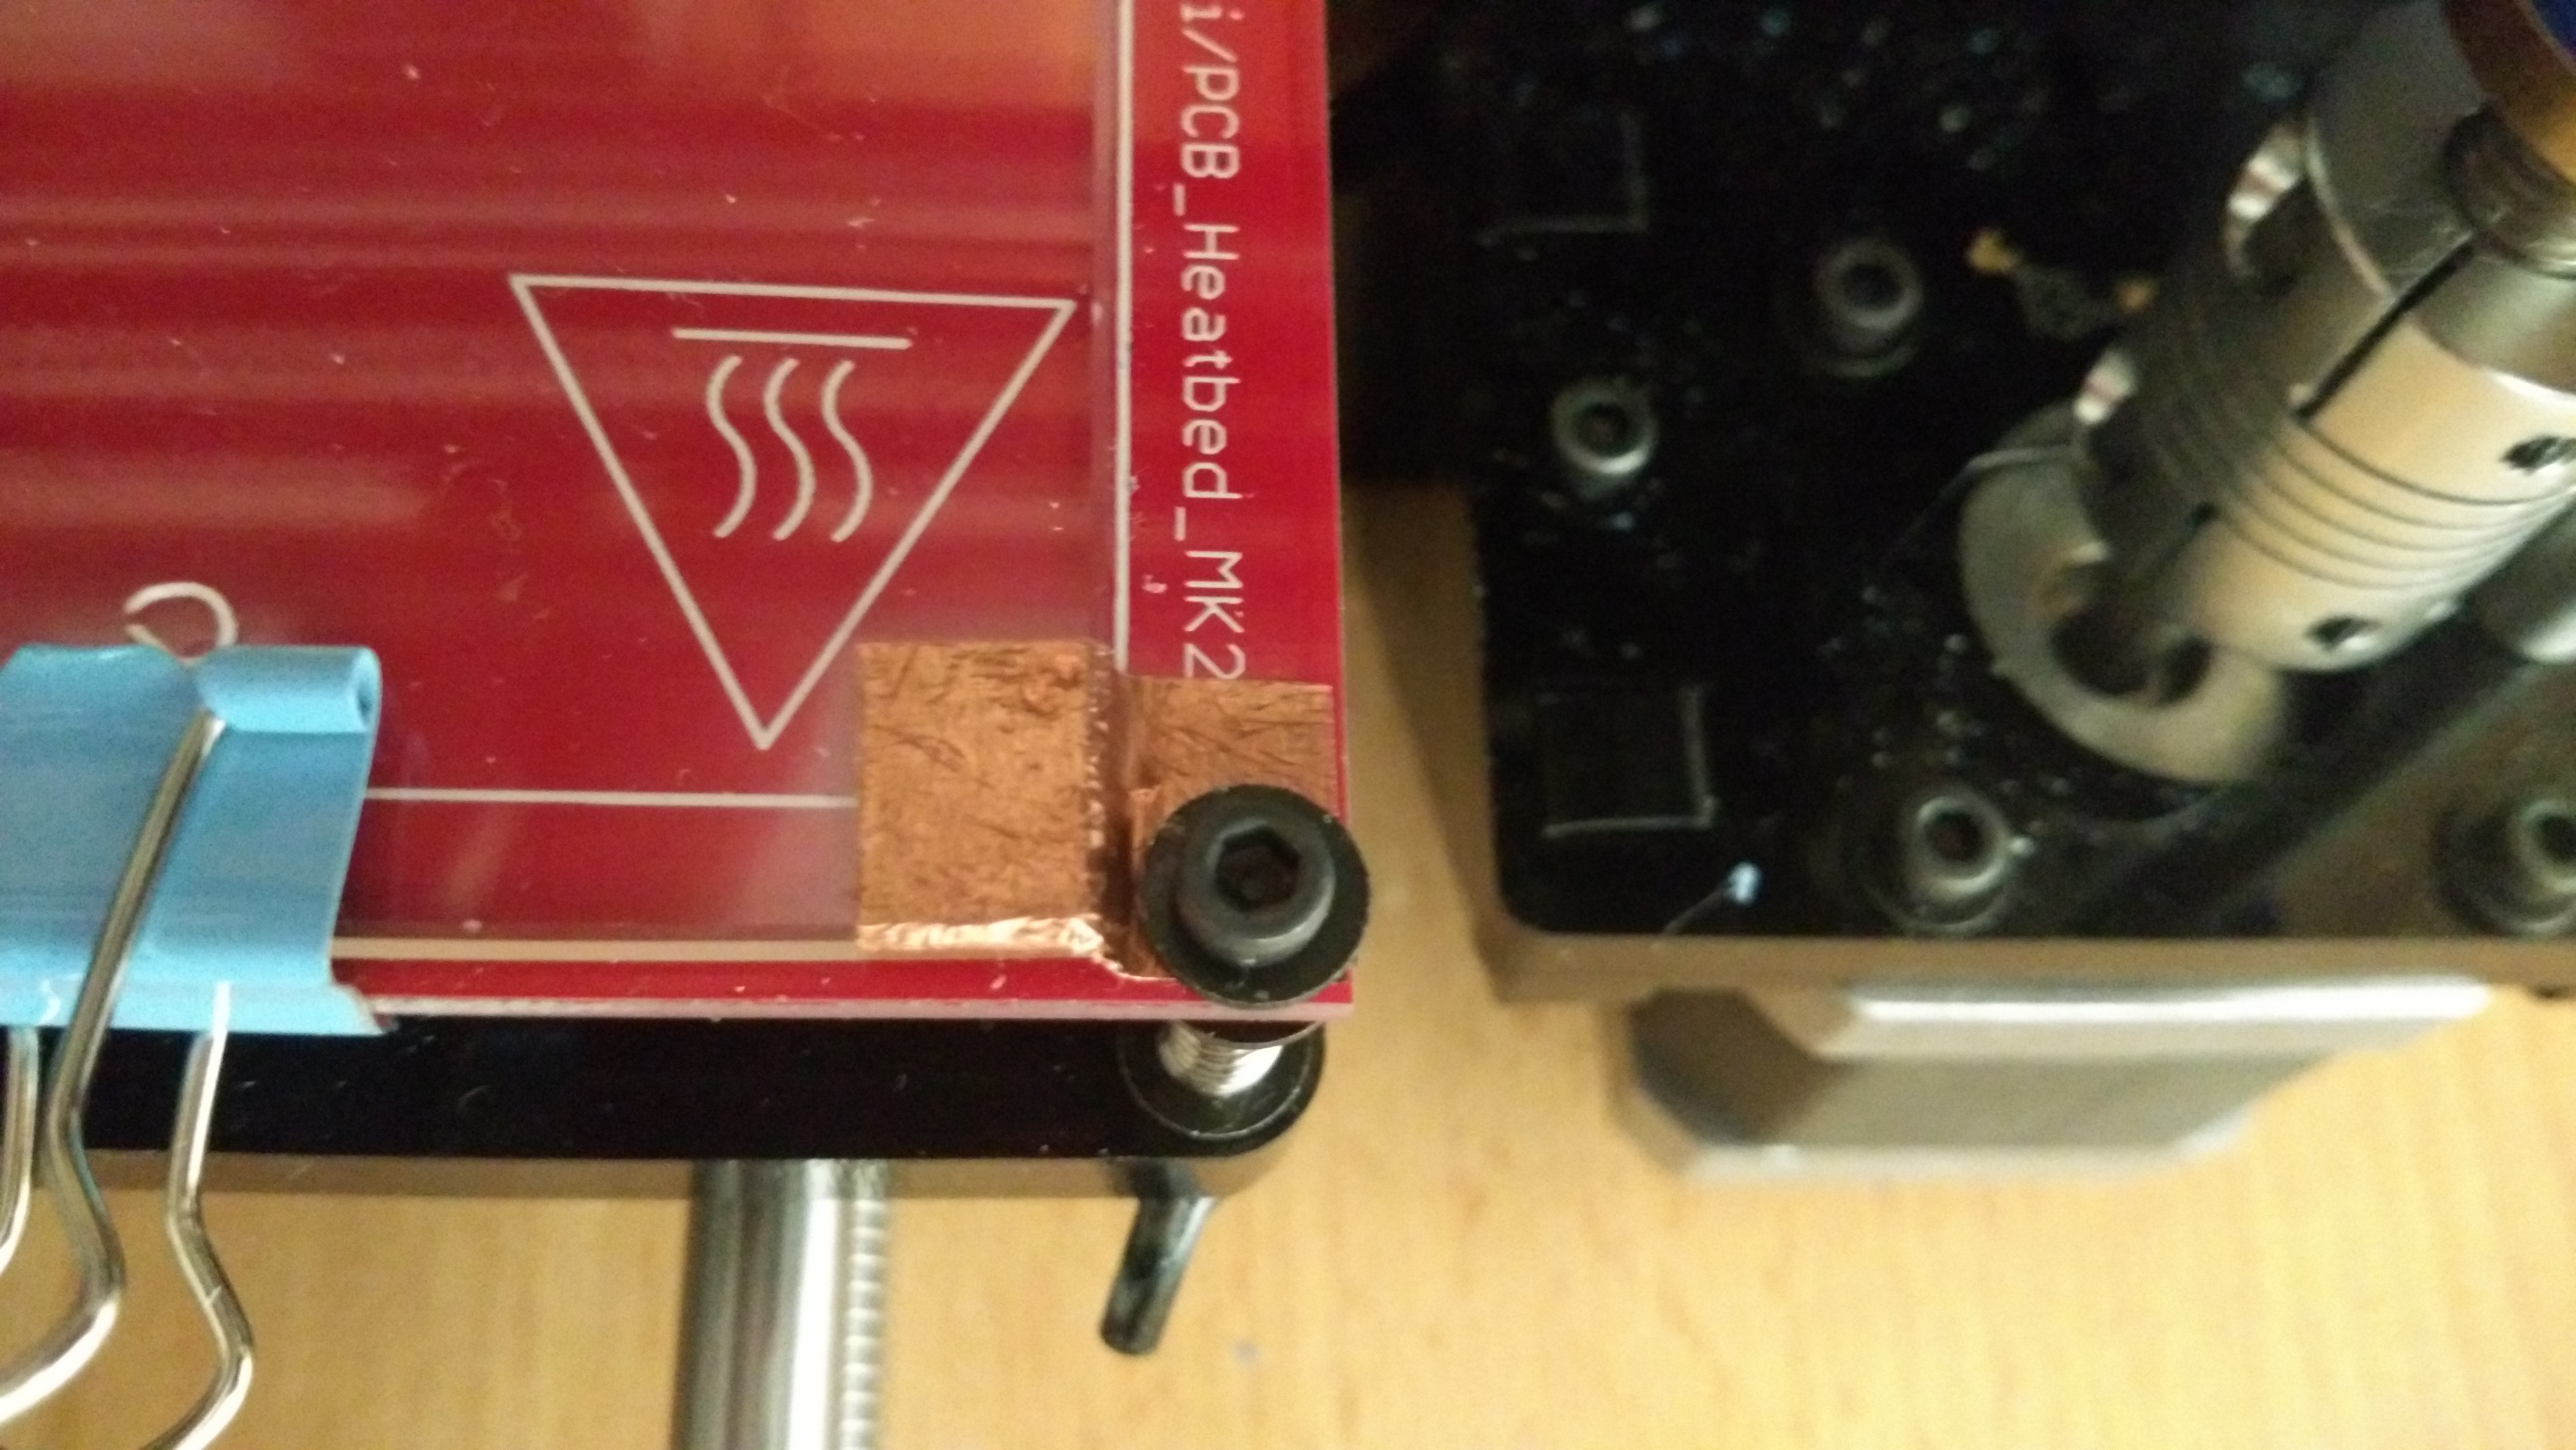
I used 4 pices of tape (one on each corner) so you only need 2 Grid points
#define AUTO_BED_LEVELING_GRID_POINTS 2
Add the points where you pasted the tape
#define LEFT_PROBE_BED_POSITION 0
#define RIGHT_PROBE_BED_POSITION 188
#define BACK_PROBE_BED_POSITION 198
#define FRONT_PROBE_BED_POSITION 0
You add the offset of the copper tape thikness (still trying to find the perfect value)
#define X_PROBE_OFFSET_FROM_EXTRUDER 0
#define Y_PROBE_OFFSET_FROM_EXTRUDER 0
#define Z_PROBE_OFFSET_FROM_EXTRUDER 0.35
Deactivate Z Safe Homing there ins no probe so there is no need, also it gives some problems when activated.
//#define Z_SAFE_HOMING // This feature is meant to avoid Z homing with probe outside the bed area.
Done!


 Andrew McAteer
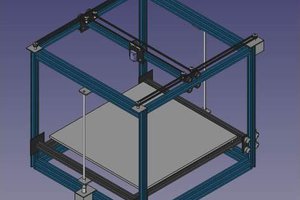
 Michael O'Toole
 RobotDigg ME
Hi Jorge,
My Z endstop is in the top (my hotend home is in he top to save movement).
If I want to add auto leveling like your. So I need to add Z endstop in the bottom?. What code need to change?
Thanks.
Dwi