Jess Eskow
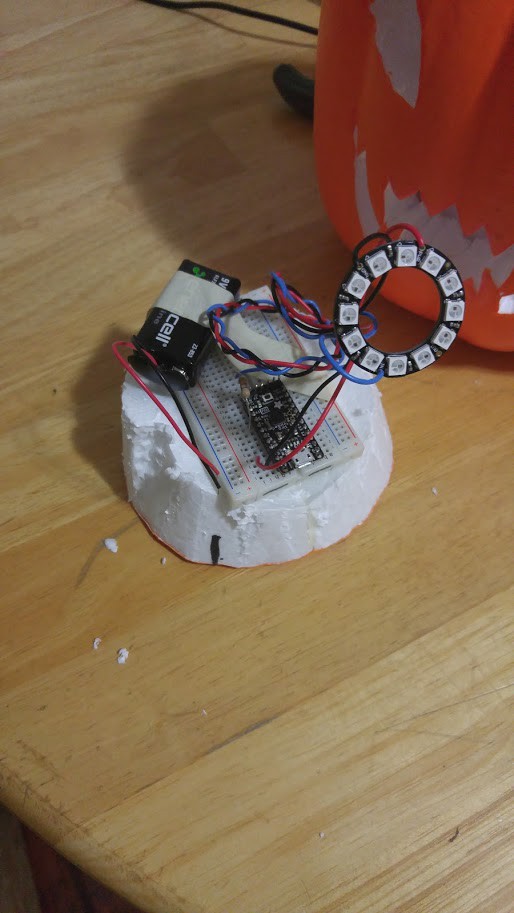
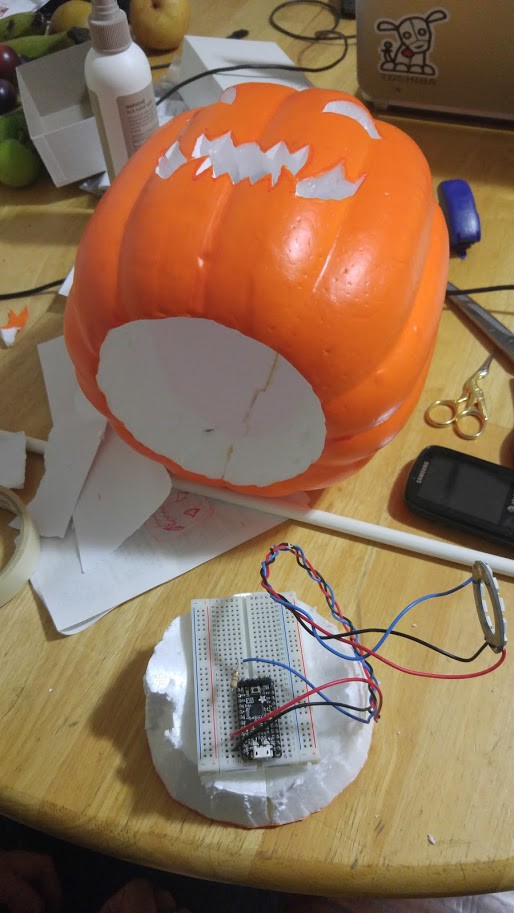
The Magic Pumpkin was a co-op project between my wife and I. It cycles through 4 different patterns. I used classes so the project is expandable and can power multiple rings without tripping up the MCU.
//video of one of the patterns
//video of another pattern going into a pattern
https://goo.gl/photos/SehcP1hrAyfzMYAR9
//link to the code for the project (it's a long one)
https://github.com/faradayRage/arduinoCode/blob/master/pumpkin_v2/pumpkin_v2.ino/pumpkin_v2.ino.ino
 deqing
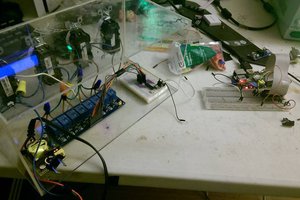
 Joey Pongallo
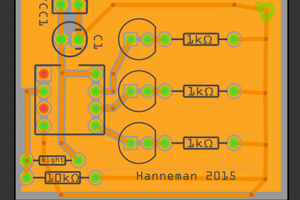
 Caleb Hanneman