Background
As the IT guy you wouldn't think that I would be involved in working on industrial equipment that eats up scrap. But SURPRISE! all of that stuff has computers in it now. So often times I get asked to help with someone or to see if there is anything I can do when no one else can do anything and contacting the OEM is going to cost to much.
So that's kind of what happened this time, we had have a conveyor belt and pre chopper (big machine that crews up wire) that gets loaded from a crane. Sometimes when they are loading the machine wire will get wrapped around and stuck in the contraption, in the worst cases burning out some belts or overheating a motor. In the past we used to have a full time employee just stand by the control panel watching over everything (really not being able to see because everything is high off the ground) but listening for a problem when something went wrong he hit the STOP button.
Times being what they are management decided that wasn't a very efficient use of resources (which I agree with, honestly if they would have talked to me in the first place (since the machine is only a year old) this wouldn't have ever been a problem) but I digress ... anyways, the whole thing is run off of a Allen Barley PLC (three of them (including two touch screens) connected with ethernet, wifi, and some coaxial cable for something) They contacted the vendor asking if there was simple way to stop everything from the crane, mostly because they use a wireless windows tablet to control most of the finer details of the operation. The problem is to stop this piece of the equipment they have to flip through three different screens and you can't let it sit there because it times out and moves back to the main screen, they wanted something simpler then that.
So we call the OEM asking for a cheap solutions (I know I said that already), the smiled then happily came back with $20,000 and two months, while this is certainly cheaper then paying someone full time to wait to push a button while watching someone else work, its not quite the cheap and timely solution we were looking for.
Idea
So however it happened, it happened, someone asked me what I thought. I took a day or so looked at everything talked to the maintenance people, just in general tried to get a better understanding of how this thing worked and what we were actually trying to do. (including but not limited to understanding who was going to be around and if we were actually looking for just a STOP or an ESTOP)
I have been playing around with arduino for a couple of years, mainly doing some lame things (flashing lights at halloween and other silly stuff) I found out from the prints and plans that all I needed to do get the desired result is connect a input on the PLC to ground.
I talked to the maintenance people (one is a master electrician) finding out how he would be comfortable making that connection. For reasons that I didn't want to argue about he wants a relay that switches a 5 V power supply that he supplies that will in turn switch a relay that he supplies that will connect to the PLC, I'm ok with that an extra $20 in stuff a couple extra minutes in his install time and everyone is happy ... fine !
After I got the end requirements figured out, (and actually the electrician) just tests his little setup and we know that the machine stops how we want. I just have to get a button in the crane to flip a relay in a cabinet. Simple (or so I hope)
I plan to jam an arudino in to this thing with a 433 transceiver in it, then put another one on the other side to flip the relay.
Mount the button in the crane power it up and call it GOOD

I'll go over how I put everything together when I get the rest of the pieces
so far I have:
the arduino for the panel
The DC to DC transformer (24 V to 5 V the cranes run on 24 V)
A couple LM317s for powering up the 433 modules
and the arduino for inside the button
BTW:
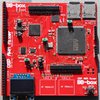
I decided it would be prettier to use this for in the panel

since its DIN...
Read more »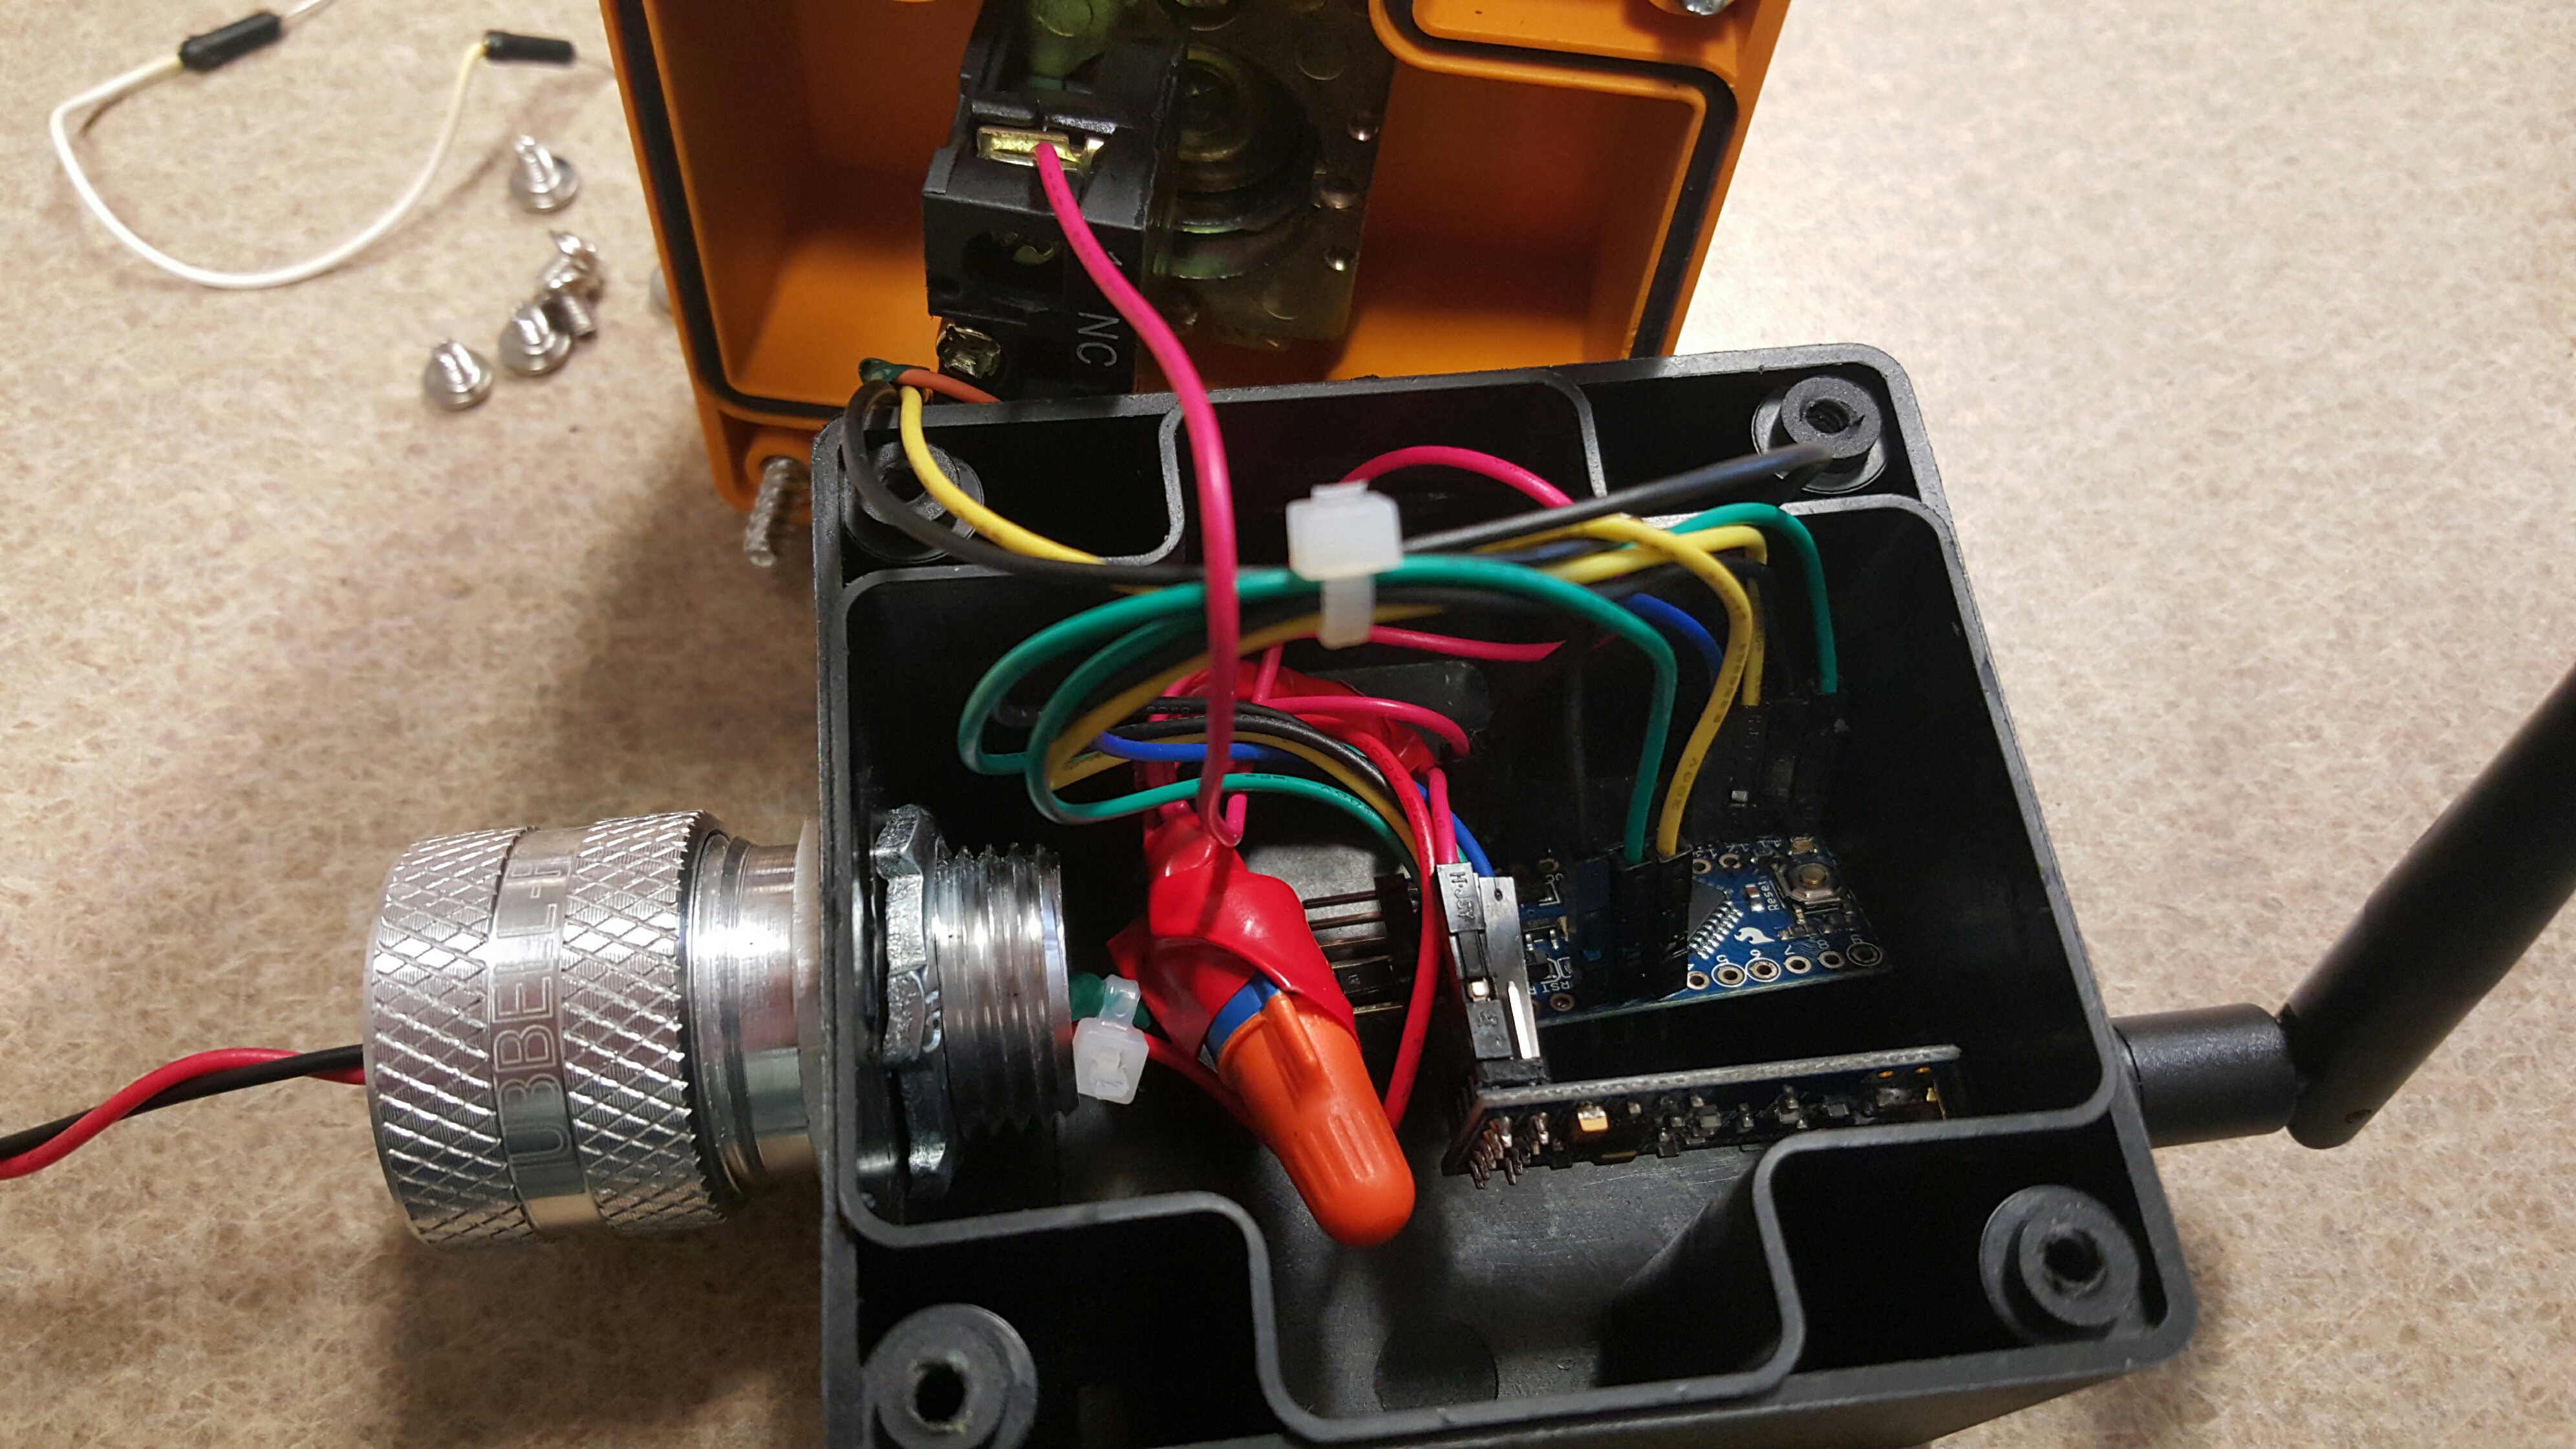


 Douglas Miller
 novak
novak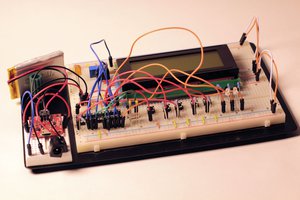
 The Feature Creep
 origamimavin
Hi just a quick thought but some of these (http://www.banggood.com/DC-12V-Single-Channel-Electronic-Access-Remote-Switch-Self-Locking-p-997084.html) remote controls with fob controls do the job reliably, all you'd need is to perhaps slip one of these babies into the Big Red Button housing, the receiver into the machine housing and maybe extend the receiver by a piece of co-ax to a whip antenna. I have a 4 channel version of this and got about 20m reliably Certainly a fairly inexpensive thing to try, and might solve your worries.