 Alex
Alexsoldering ready. And it did also work (but I did not change the pin mapping in the code so no right numbers are shown). First some pictures:
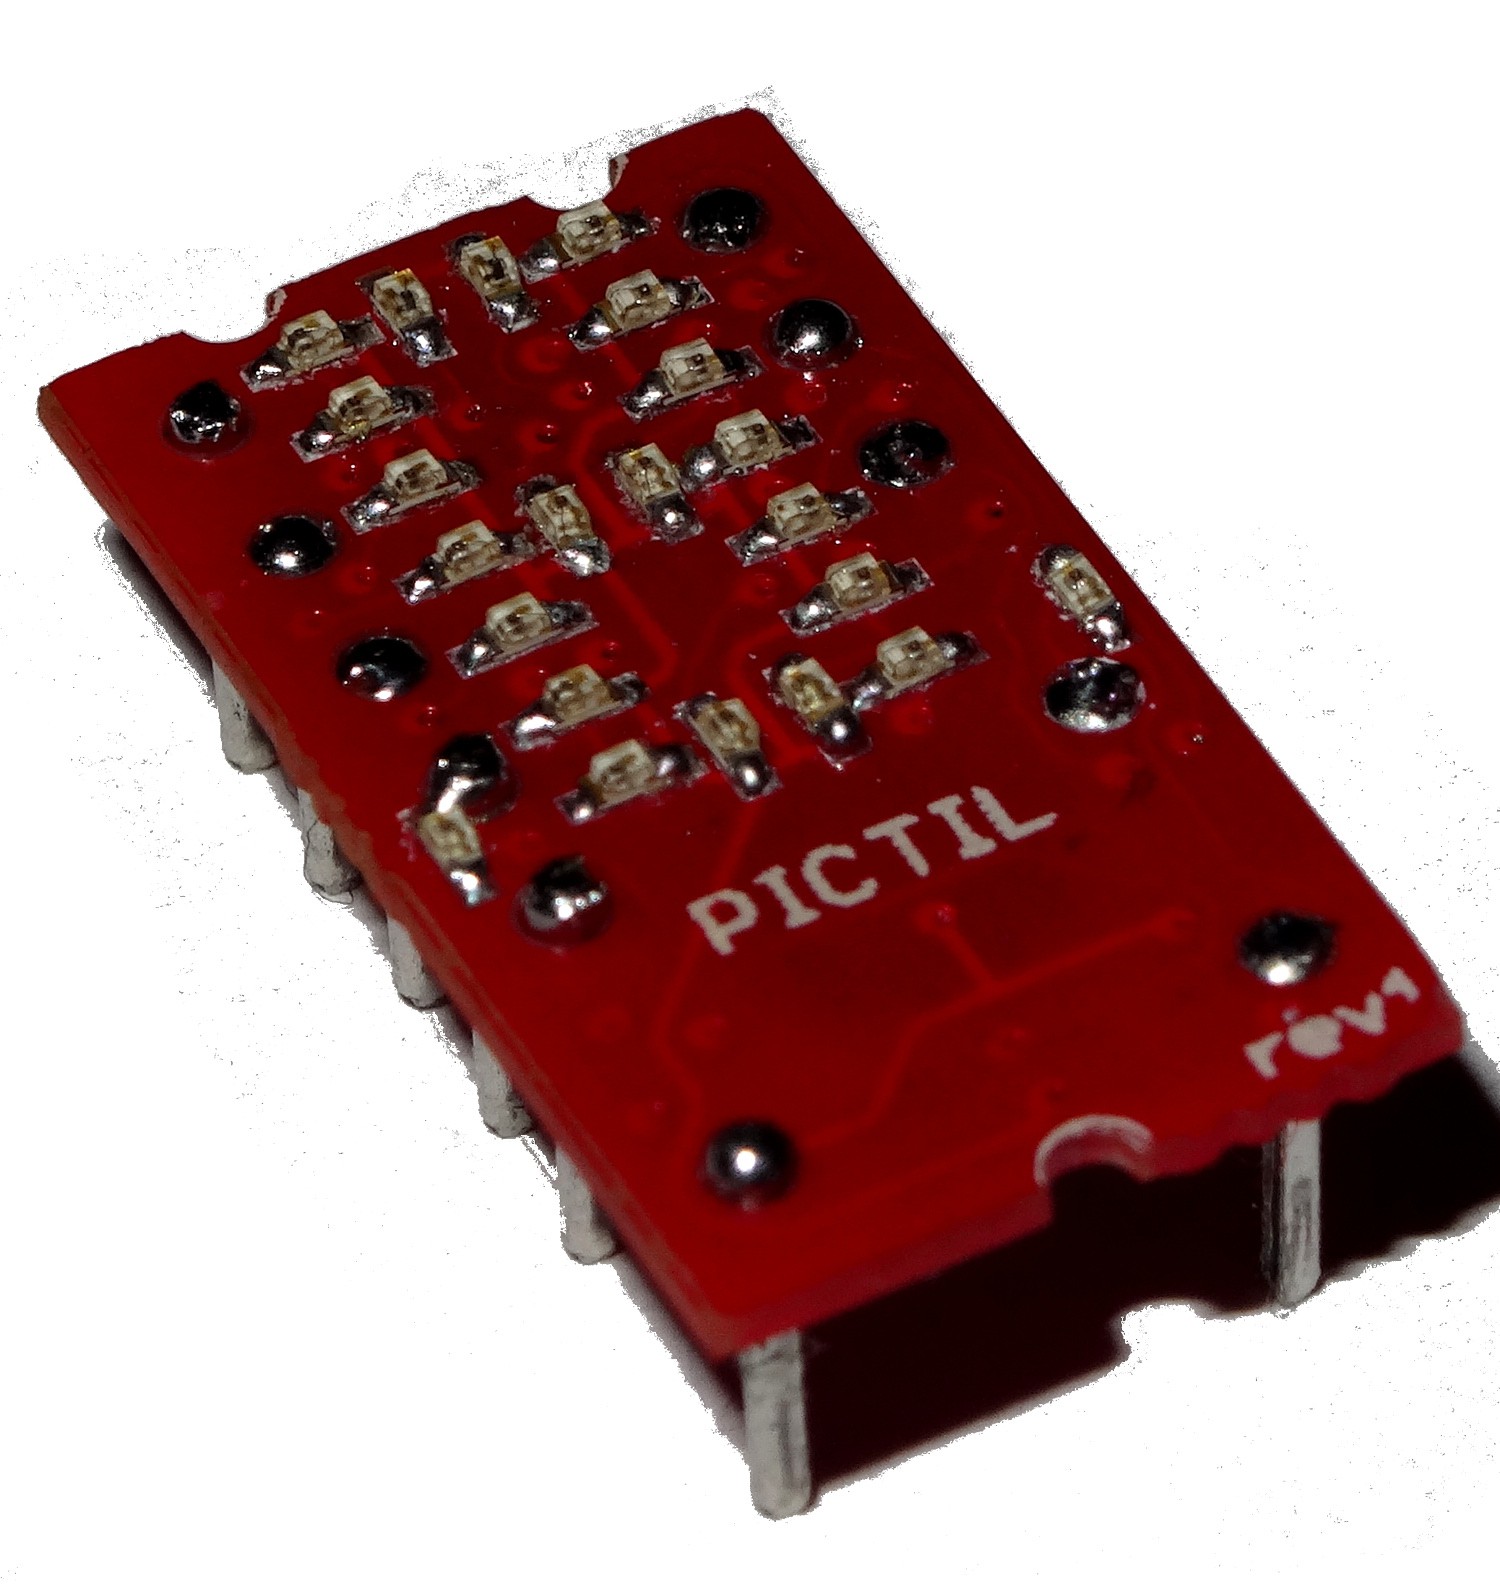
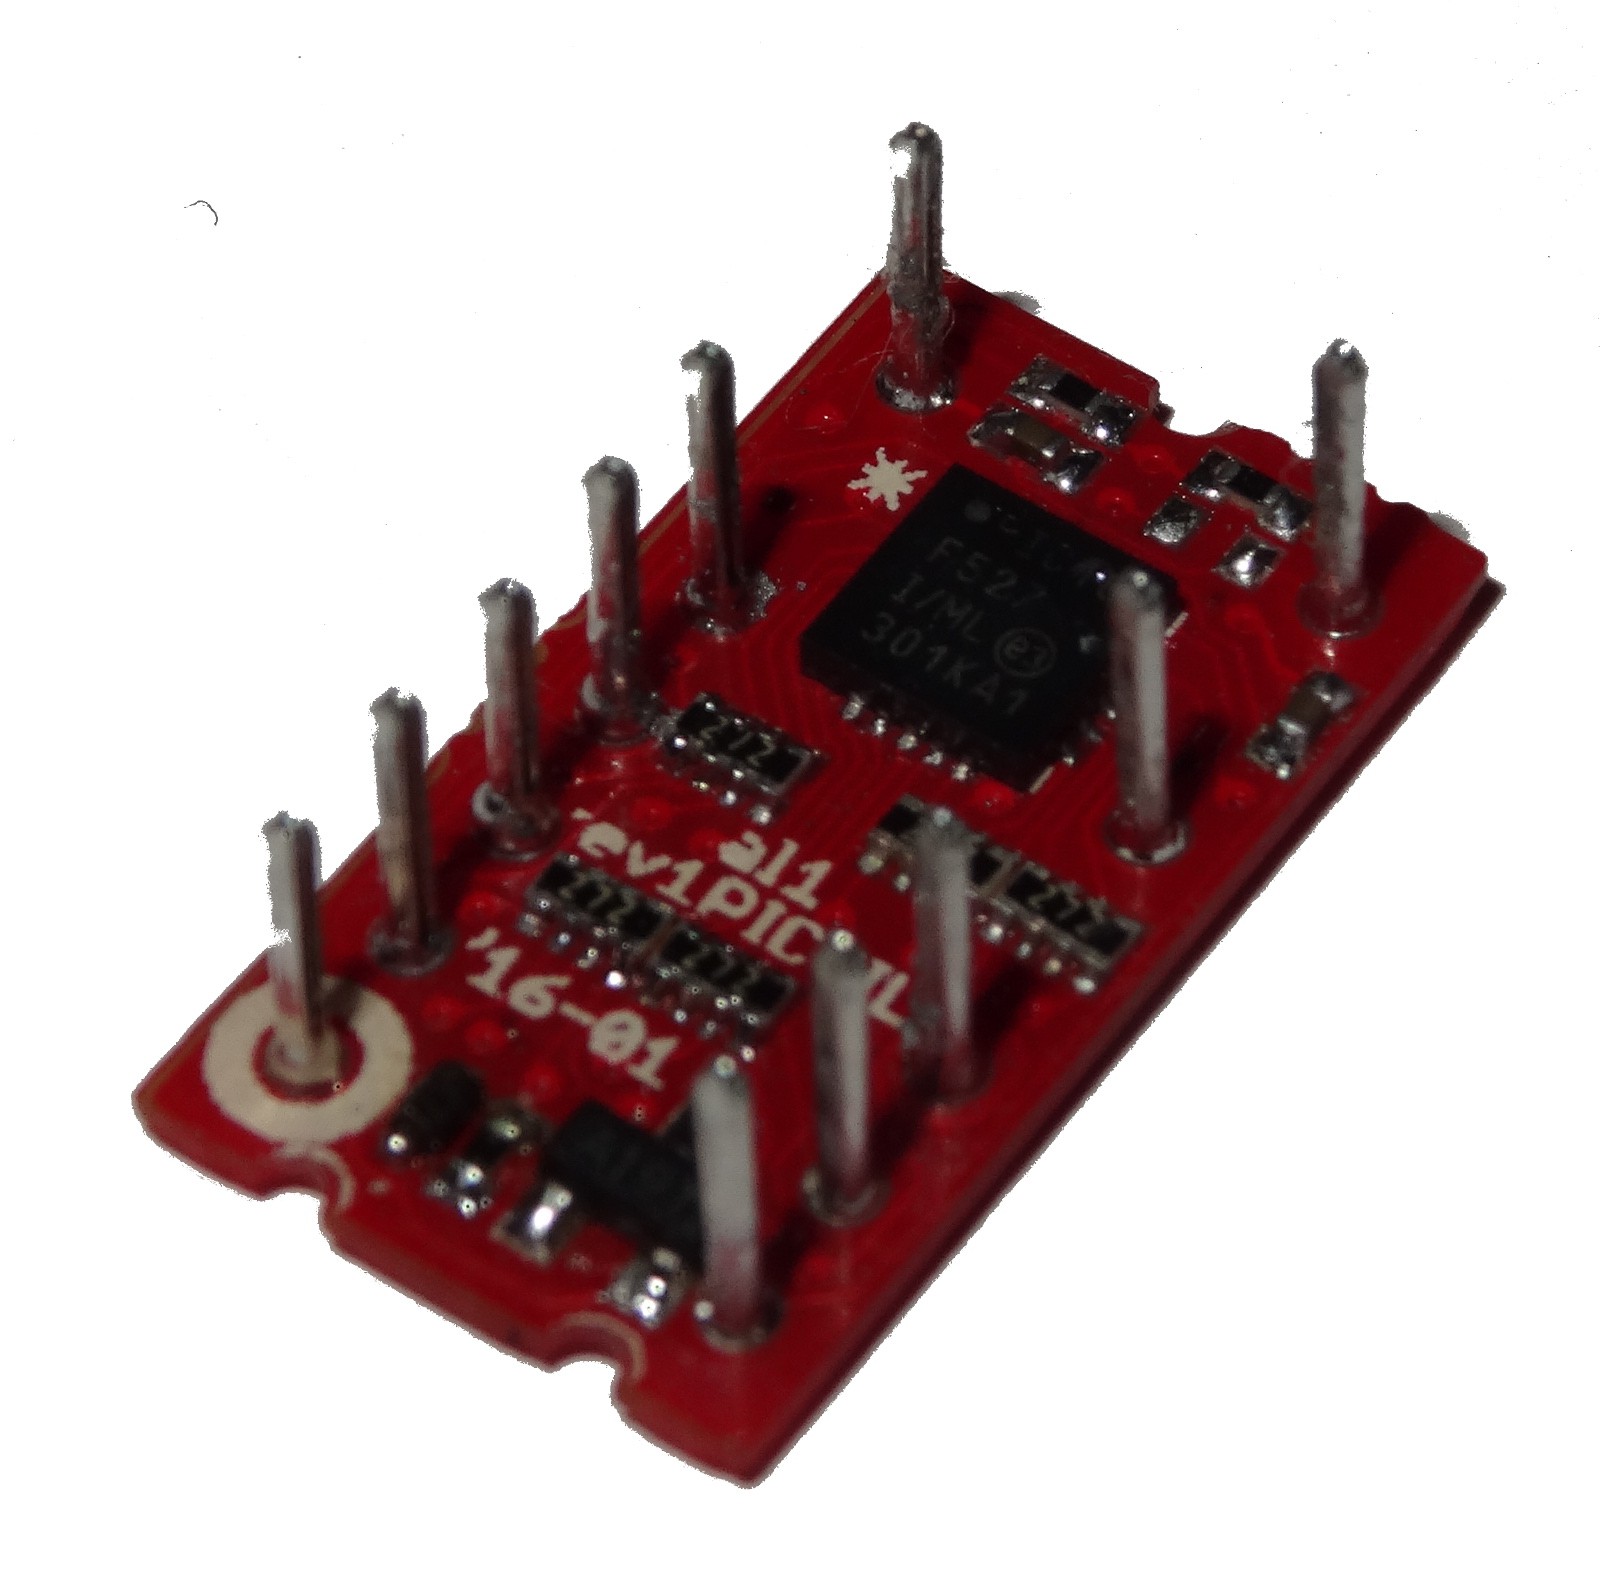
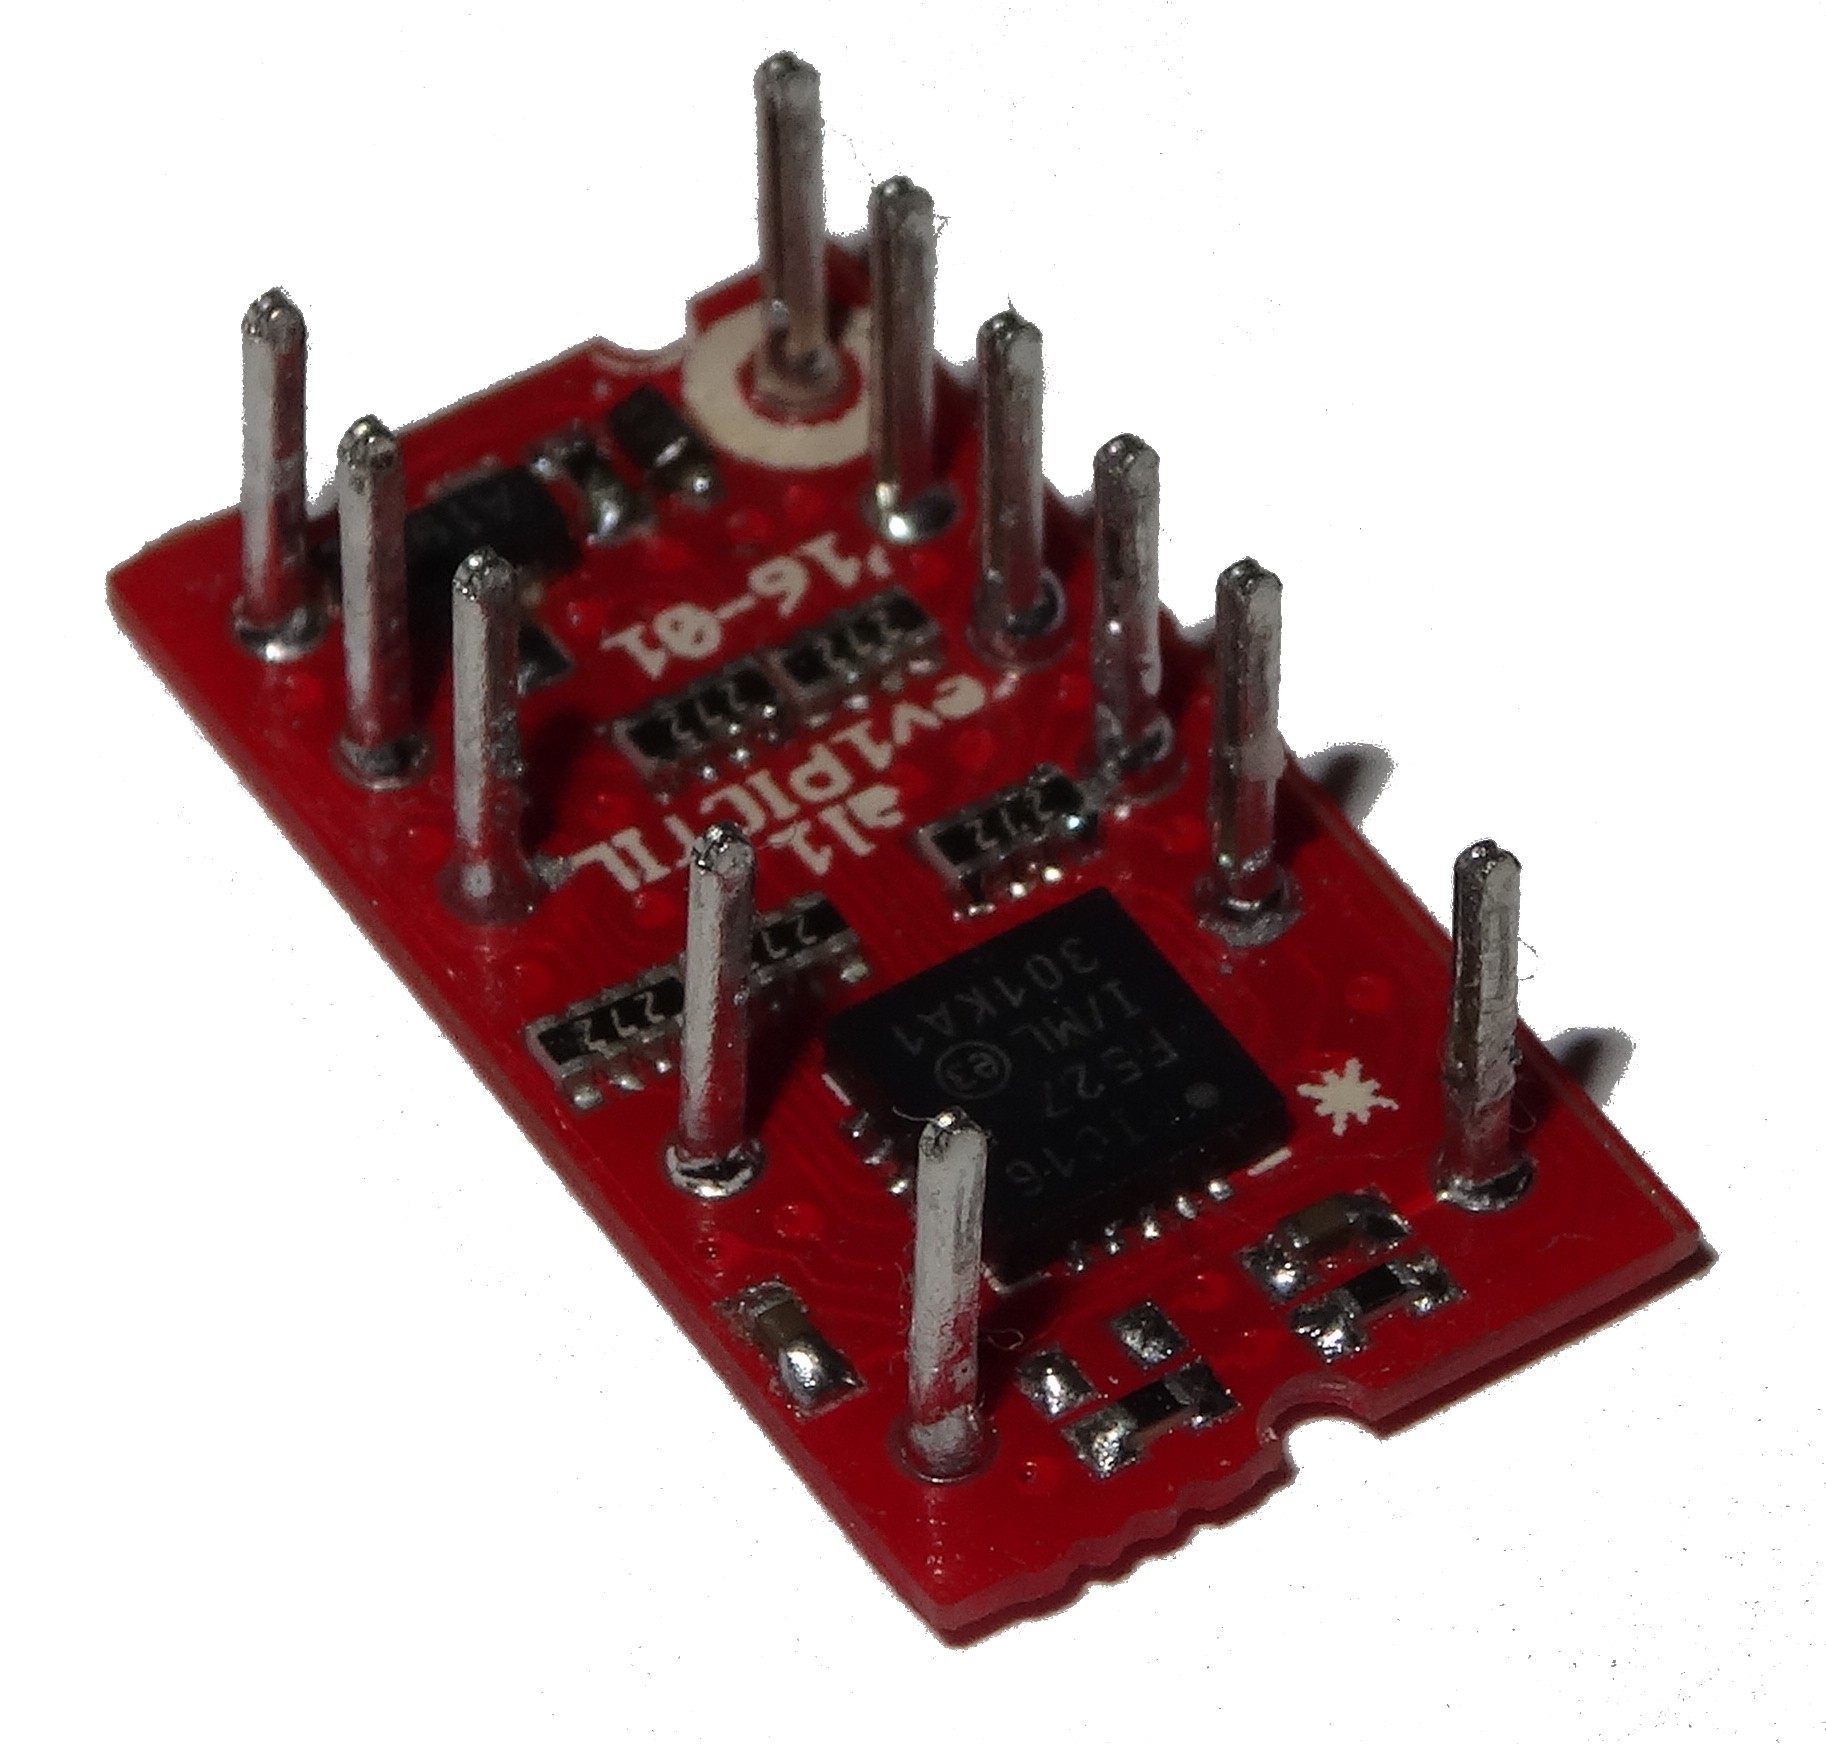
This is the most extreme thing I soldered so far and is working.
Sadly I did not corrected the mistake in the schematic. I did wrote about that in a previous log. But that is only affect the BLANK pin.
The PCB is 0.6mm thick. The single resistors, capacitors and LEDs are 0402. The dimensions are now the same as the original TIL311 (I will take a side by side picture the next days).
To the pins: There where some very good suggestions in the comments of a previous log. I do still like the idea of using nails. But I was to lazy to get them. So I did searched for substitute which I had available. I ended up with the pin of these wires:
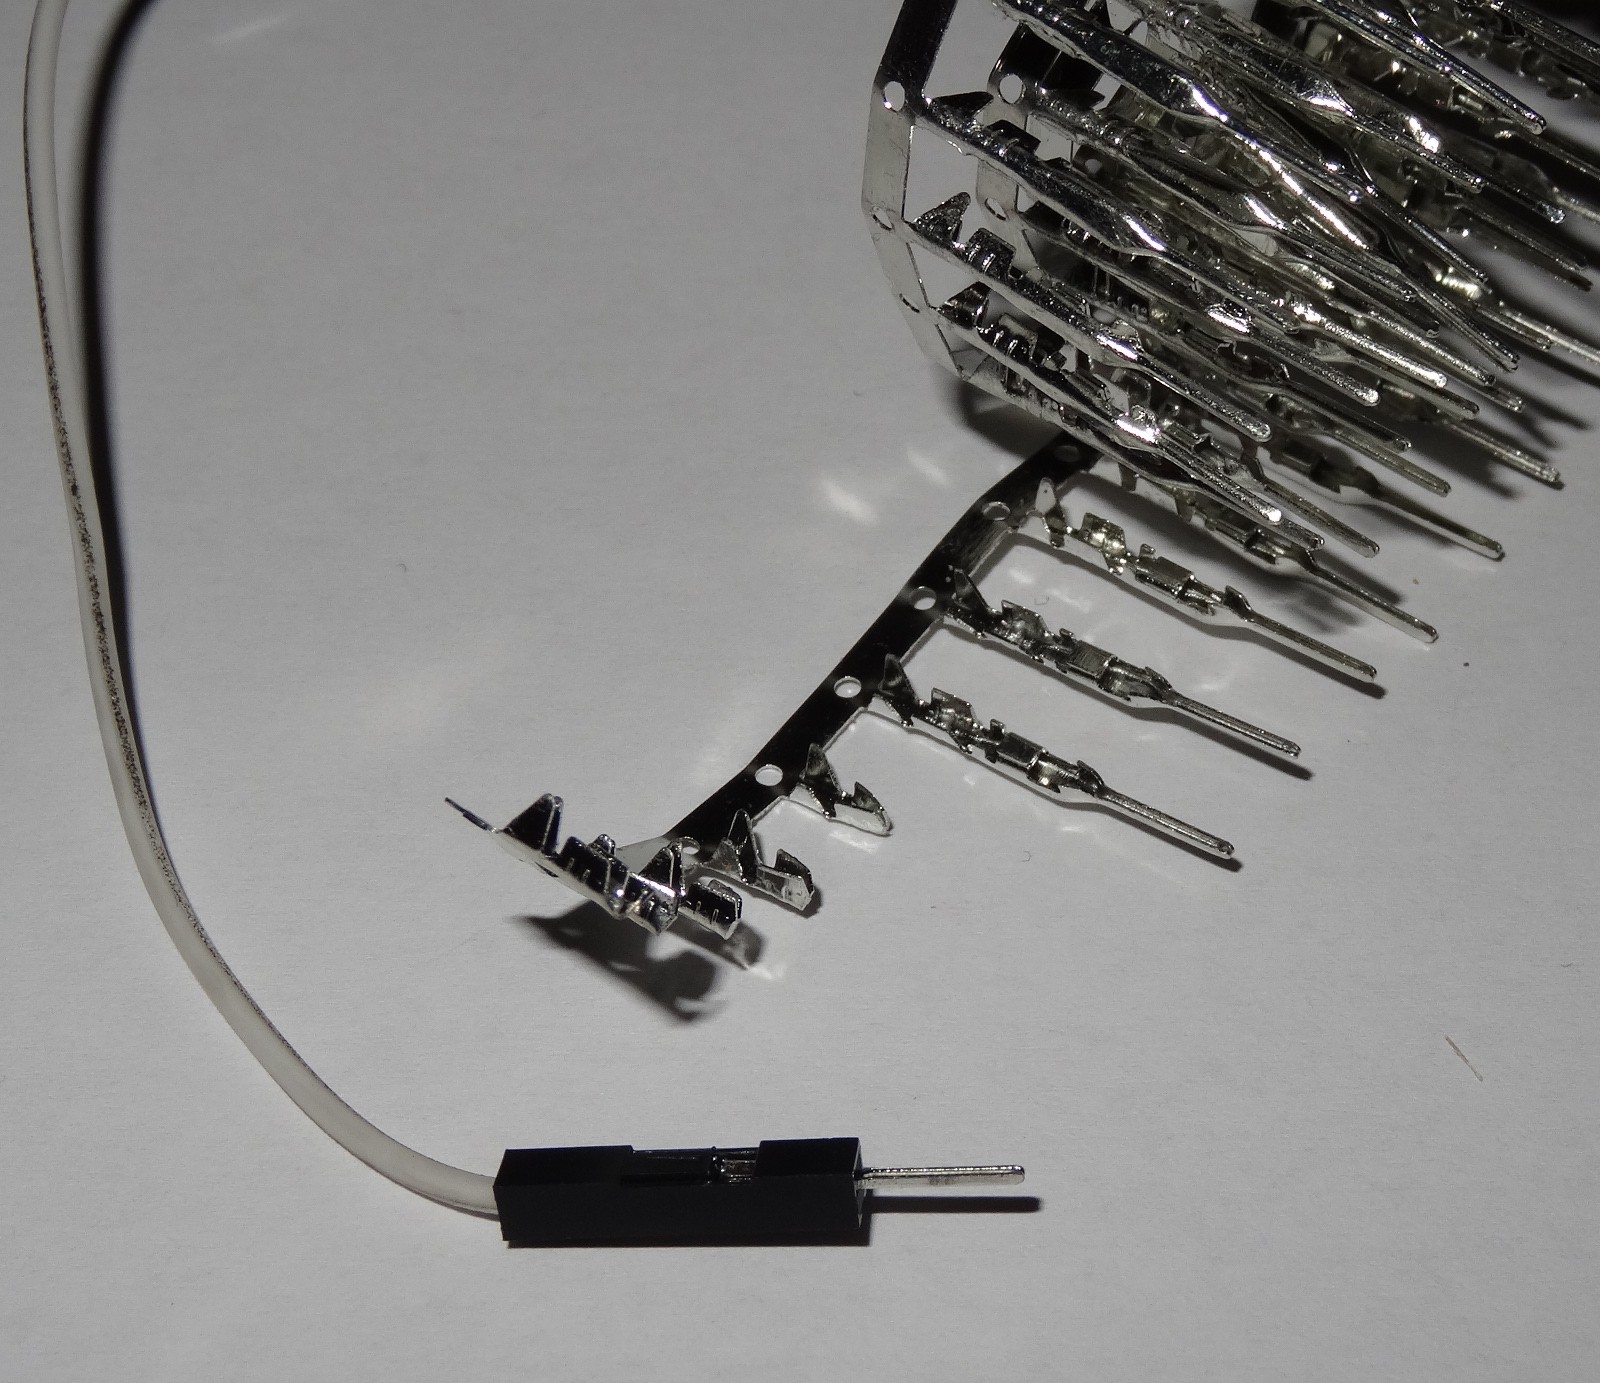
After soldering the whole pin in I did cut of the crimp part of it. This came out good enough and is also not expensive (0.82€ / 100 pins).
Next I will update the software. This is needed because I changed the pin mapping of the LEDs.
Discussions
Become a Hackaday.io Member
Create an account to leave a comment. Already have an account? Log In.
Found these for $3.05. Seems to be the size that goes into machine socket. They add a lot of height unfortunately.
http://www.aliexpress.com/store/product/Free-shiiping-10Pcs-Gold-Plated-2-54mm-Male-Female-40-Pin-Single-Row-Straight-Round-Pin/506373_32404996541.html
Are you sure? yes | no
Yes they do add some height. I did used very similar Pins in rev0. (see older logs/photos). I was not 100% satisfied with these pins. There were already some very good suggestions about pins under a previous log. I did used these mostly because there were available. And beside that there are also very cheap.
Are you sure? yes | no
Awesome ! Congratulations :-)
Are you sure? yes | no